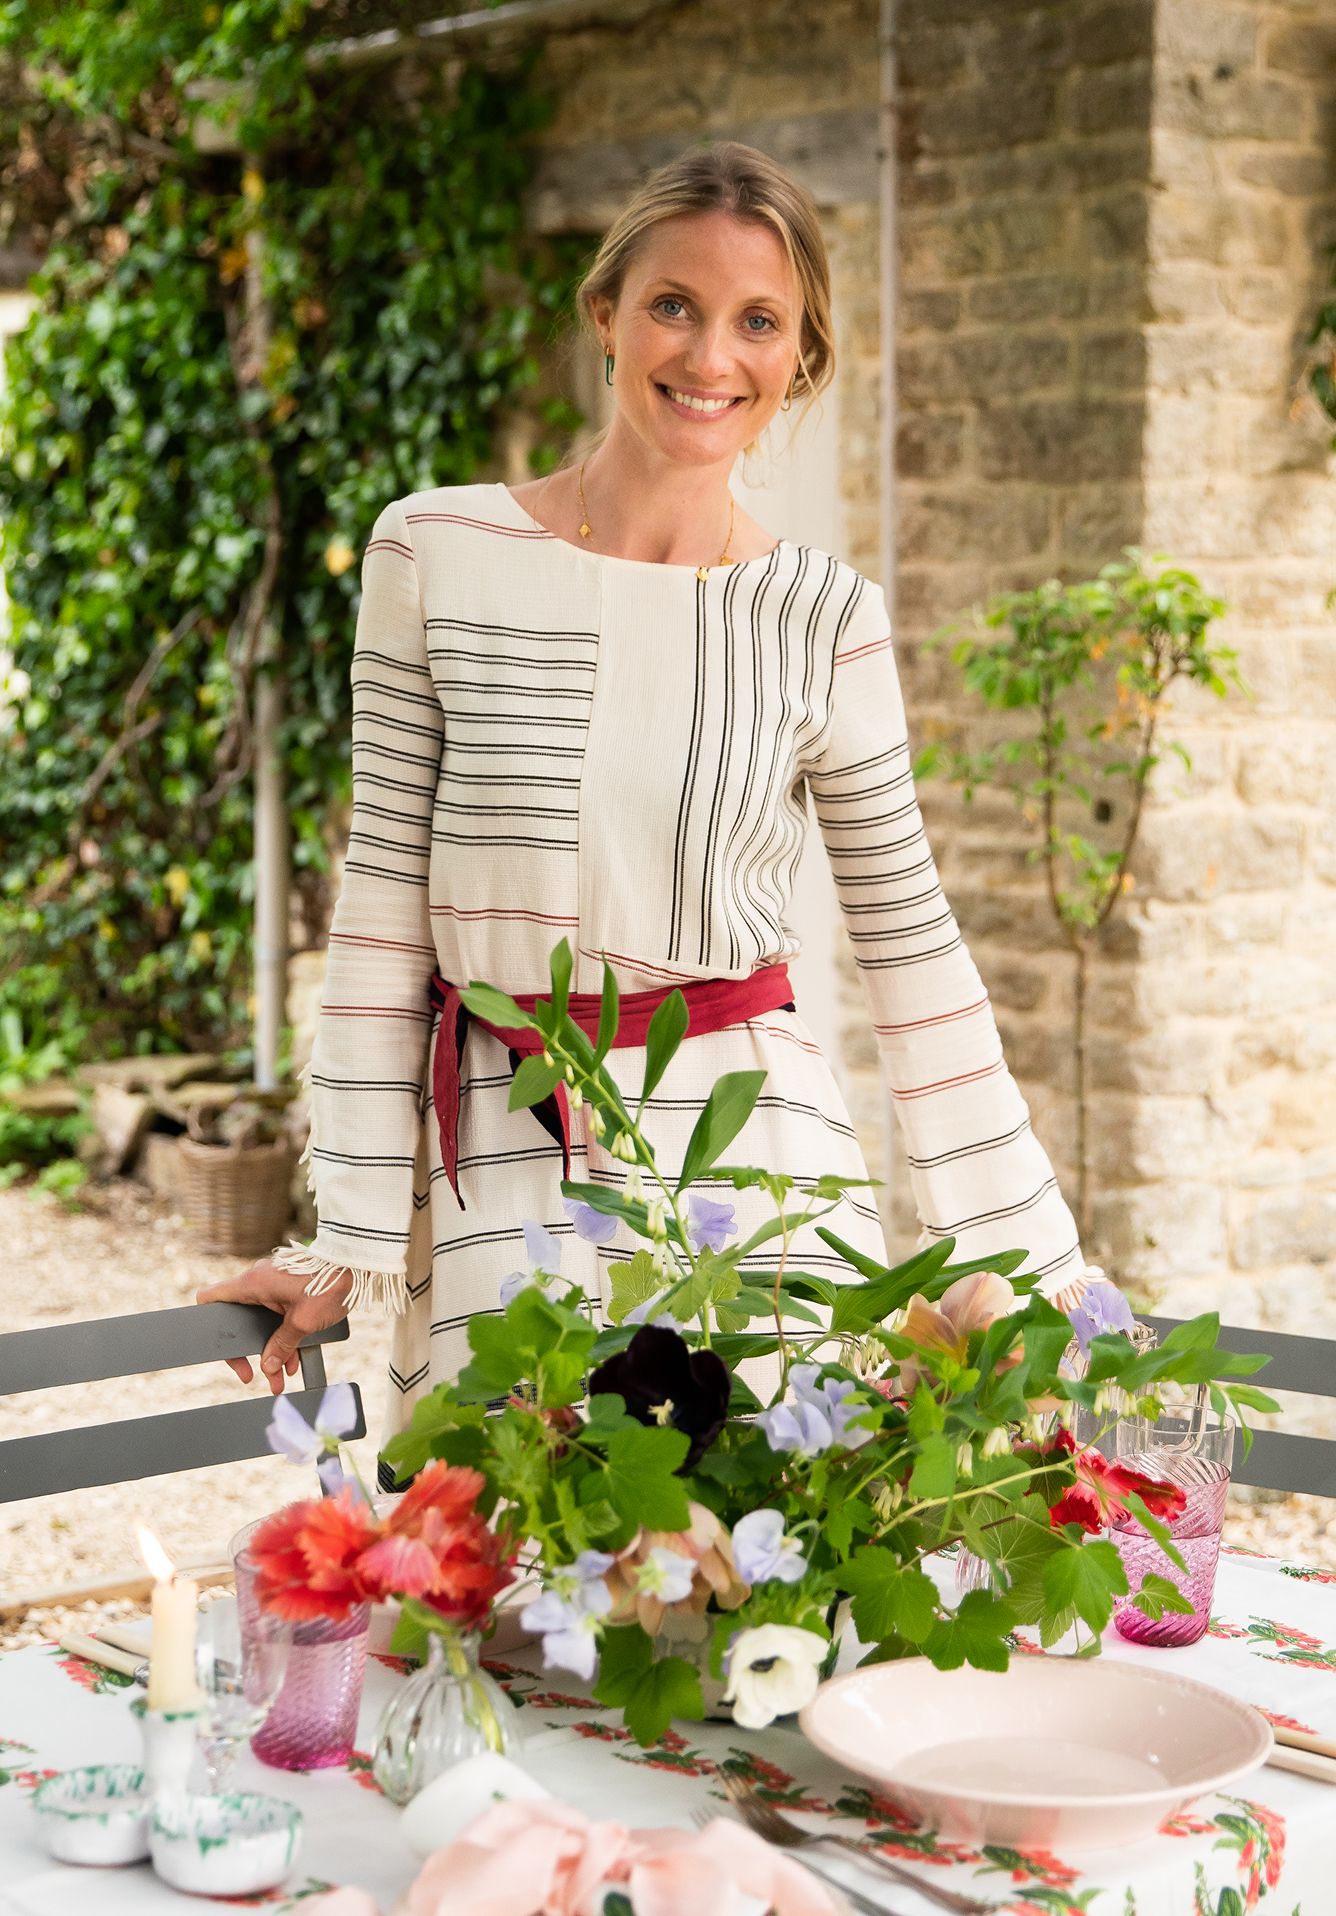
Follow along with Willow Crossley as she creates a beautiful flower arrangement that makes the perfect centrepiece for alfresco dining with friends, or for a whimsical wedding. Use the same flower and foliage combination as Willow, or apply this technique to you own seasonal blooms to achieve the colour pallet of your choice. This step-by-step guide to arranging flowers is a small taster lesson taken from Willow Crossley’s floristry course.
A beautiful bouquet of fresh flowers instantly makes any space more inviting. Whether a romantic Valentine’s Day gift or a simple pick-me-up over a candlelit table, they add a touch of natural beauty. Read on to learn how to create your own flower arrangement from expert floral designer Willow Crossley.
You’ll need
- Pudding bowl
- Two mini vases (optional)
- Secateurs
- Chicken wire
- Pot tape
- Black and white anemone, mistral variety
- Solomon’s Seal
- Parrot tulips
- Lilac sweet peas
- Wild currant foliage
- Spring green tulip
- Belle époque tulips
- Black tulips
RECOMMENDED: The Fundamentals of Floristry with Willow Crossley
STEP 1: Choose a container for your flower arrangement
Take the chicken wire and scrunch it into a ball to fit your vase or container, this needs to be quite dense and tightly packed. Now put the chicken wire inside the container and tape it in place with your pot tape.
STEP 2: Cut and prepare the flowers
Fill your container with water. Now lay your flowers and foliage out in front of you on the table. Condition the stems, removing any leaves that are lower down to prevent them from catching. You want a neat clean long stem. Once they are conditioned lay them down into groups of their families i.e. tulips together, Solomon’s seal together etc.
STEP 3: Create a base with foliage
Begin creating the shape of the flower arrangement by just using the foliage. Keep in mind when you are creating an arrangement, where it will be seen from. In this instance, it will be seen from a seated level from all sides of the vase. Therefore as you are adding the foliage pause to view it from a seated level and make sure you turn the vase around so that you are adding interesting shapes from all angles. Placing the vase on a lazy Susan can help you to see all sides without having to disrupt the arrangement.
Make sure the flower arrangement is hiding the pot tape. It should look almost finished with roughly seventy per cent of the arrangement being foliage.
STEP 4: Adding the flowers
Now we can start to add the flowers. When doing an arrangement like this using a small vase and large budded flowers, it is a general tip to keep the number of big flowers odd, otherwise, it can look too matching and ruin the natural balance of the arrangement.
Start by adding your spring green tulip first, then turn the bowl and add your Bella pock tulip. Add one at a time, trimming as you go and make sure that you cut them to different heights.
Turn the bowl again and begin to add your Solomon’s seal, turning in between each time you add a stem. You can gauge the correct height for each stem by holding it against the arrangement. Always trim the stem little by little, as the chicken wire allows you to remove each stem and trim it again if necessary. You can always shorten a stem but if it is too short there isn’t any way to rectify this, hence it is always better to trim too little as opposed to too much.
With Solomon’s seal they can tend to sit at the same level and look flat if using a small bowl therefore, they may need to be trimmed quite short or twisted so that they are positioned upright.
STEP 5: Add focal flowers
Once you are happy with your arrangement begin to add accents of pinky-red with the parrot tulips. Now do the same with the lilac sweet pea, which really lifts all the other colours.
STEP 6: Finish your design
Collect any flowers and foliage that you have left over and place one or two stems in each of the two small vases. Then place one vase on either end of the middle arrangement so that the display runs down the table. This adds different heights to your display and creates a fluidity of colour.