


Very good tutorial from a professional garden...
I have subscribed to access all the courses so have watched one on interior design and this one with Butter Wakefield who specialises in small garden design. She ...
Louise Brown
Apr 10, 2026
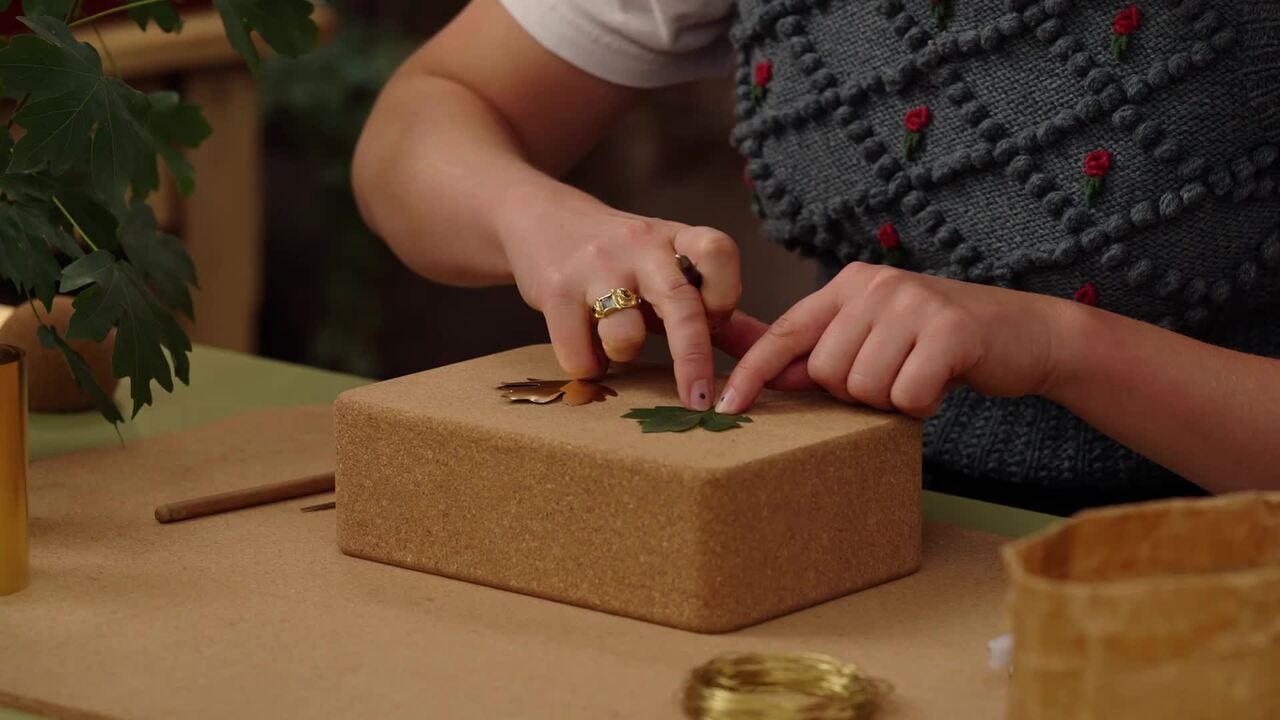
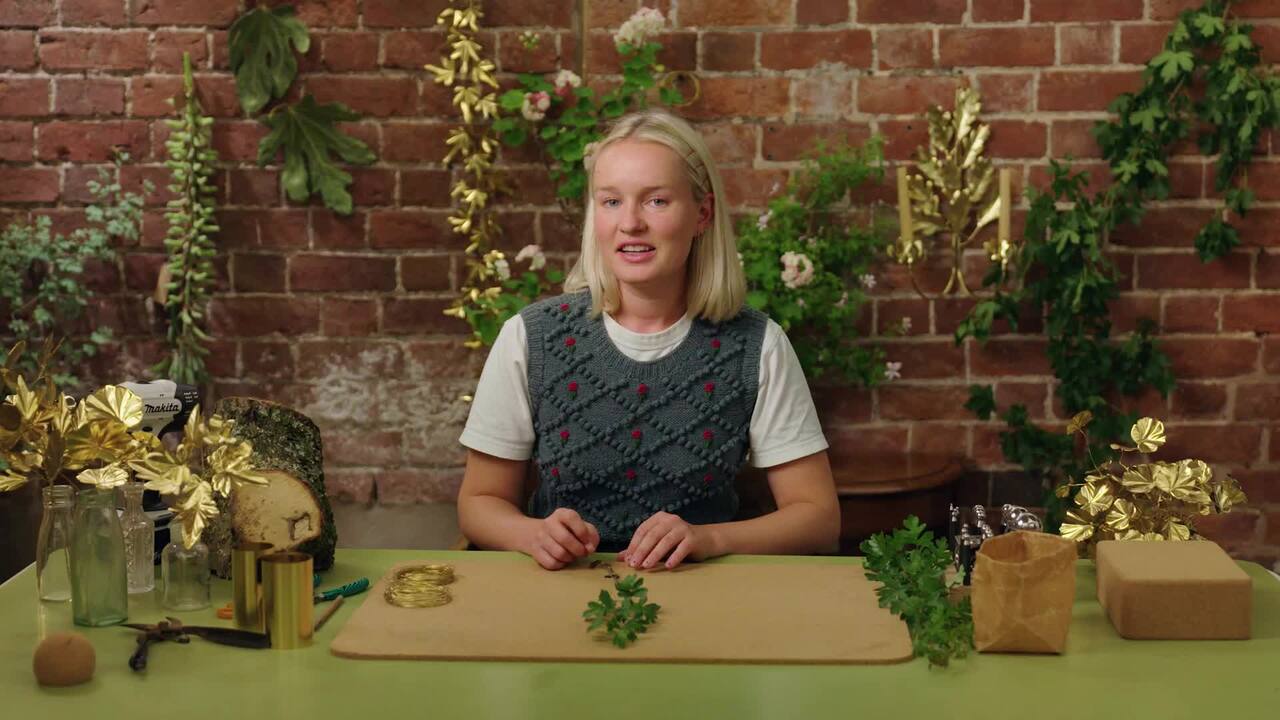
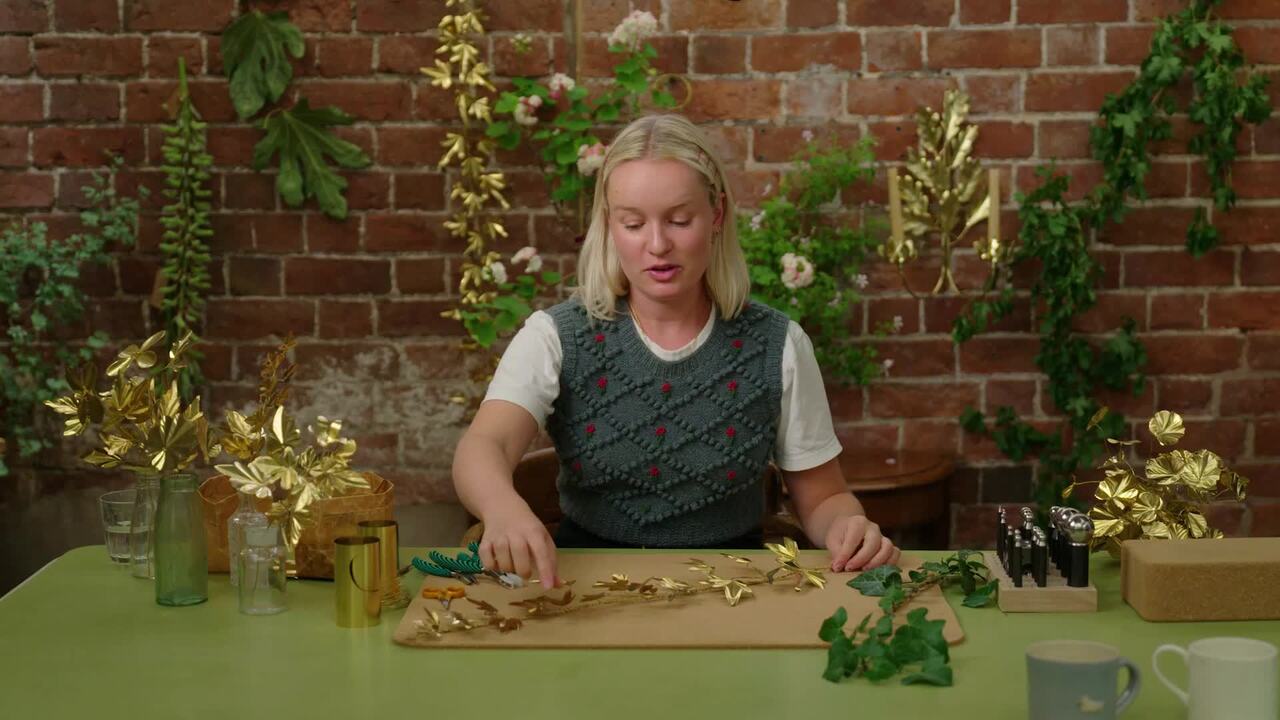
Making Botanical Art with Metal
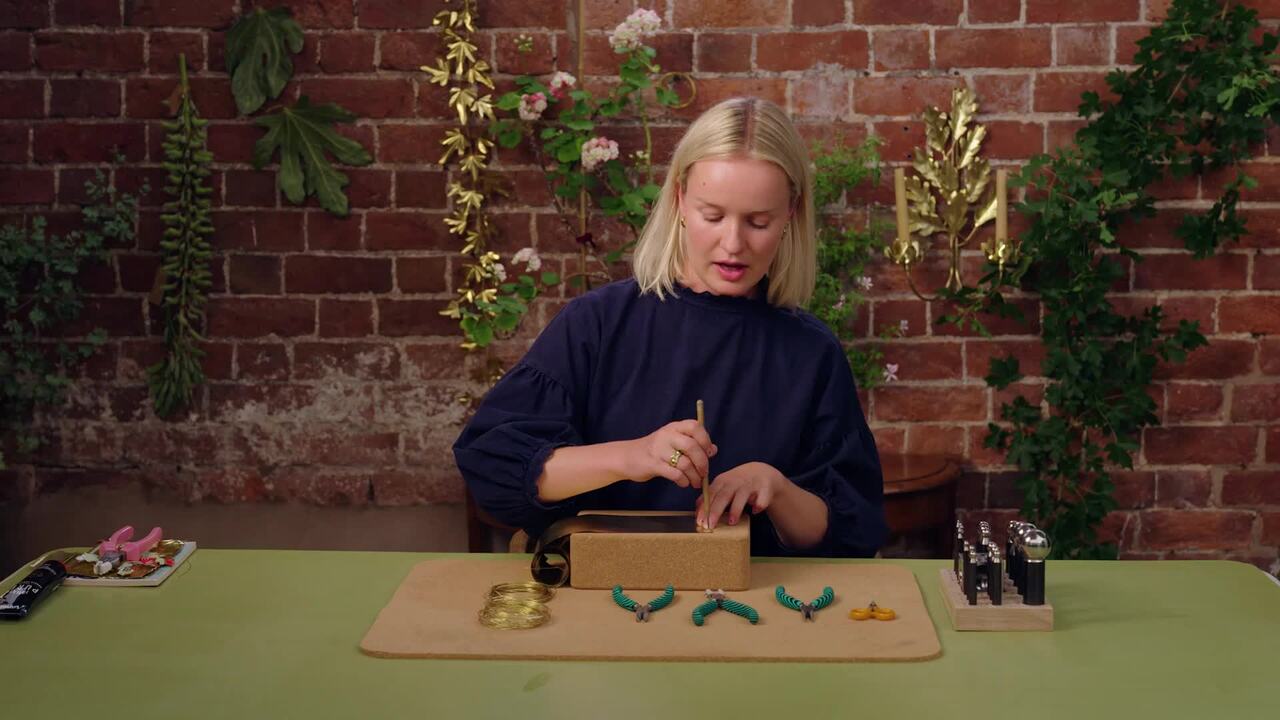
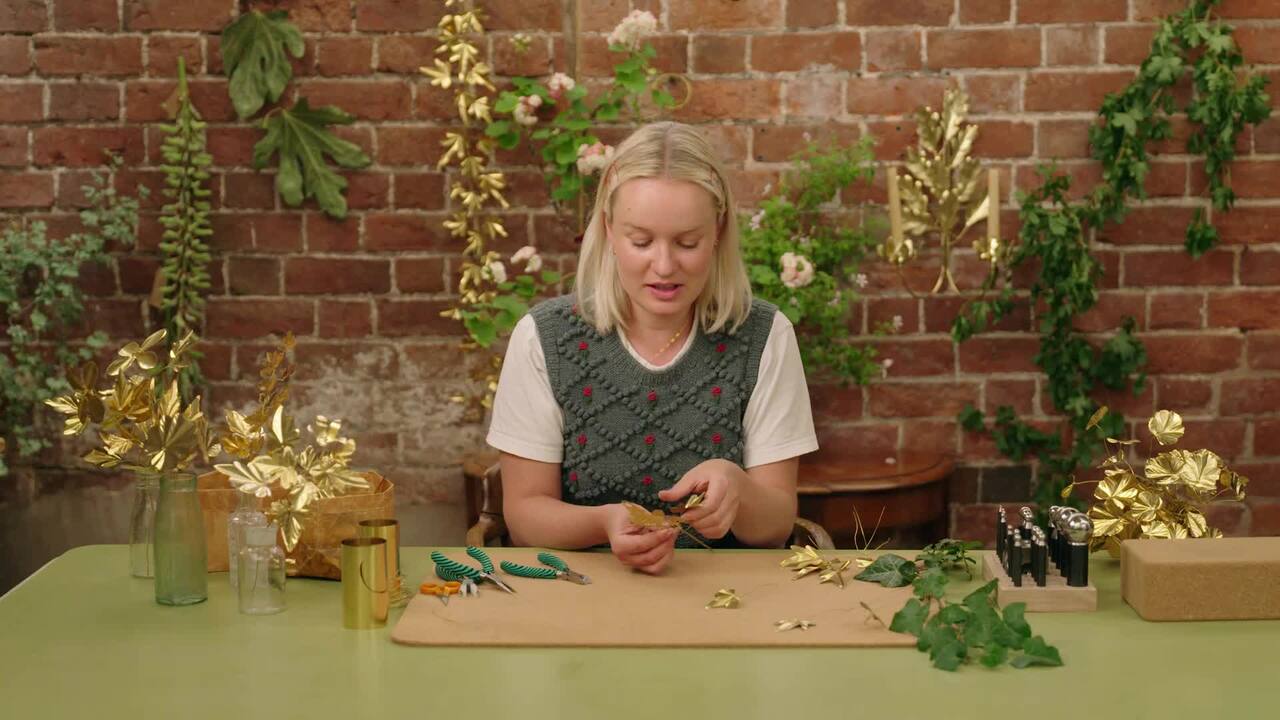
with JESS WHEELER — Artist and homewares product designer specialising in metal and plasterwork inspired by nature.
Lesson 10 of 20
Buy or subscribe to watch
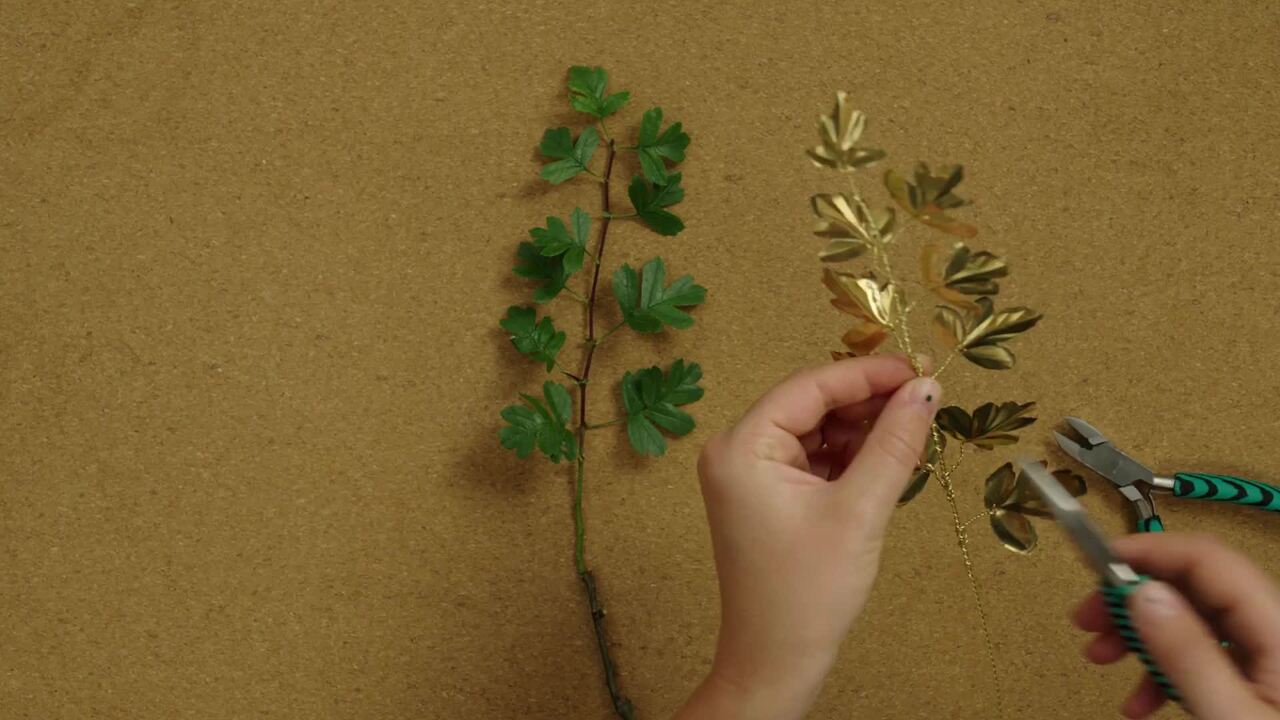
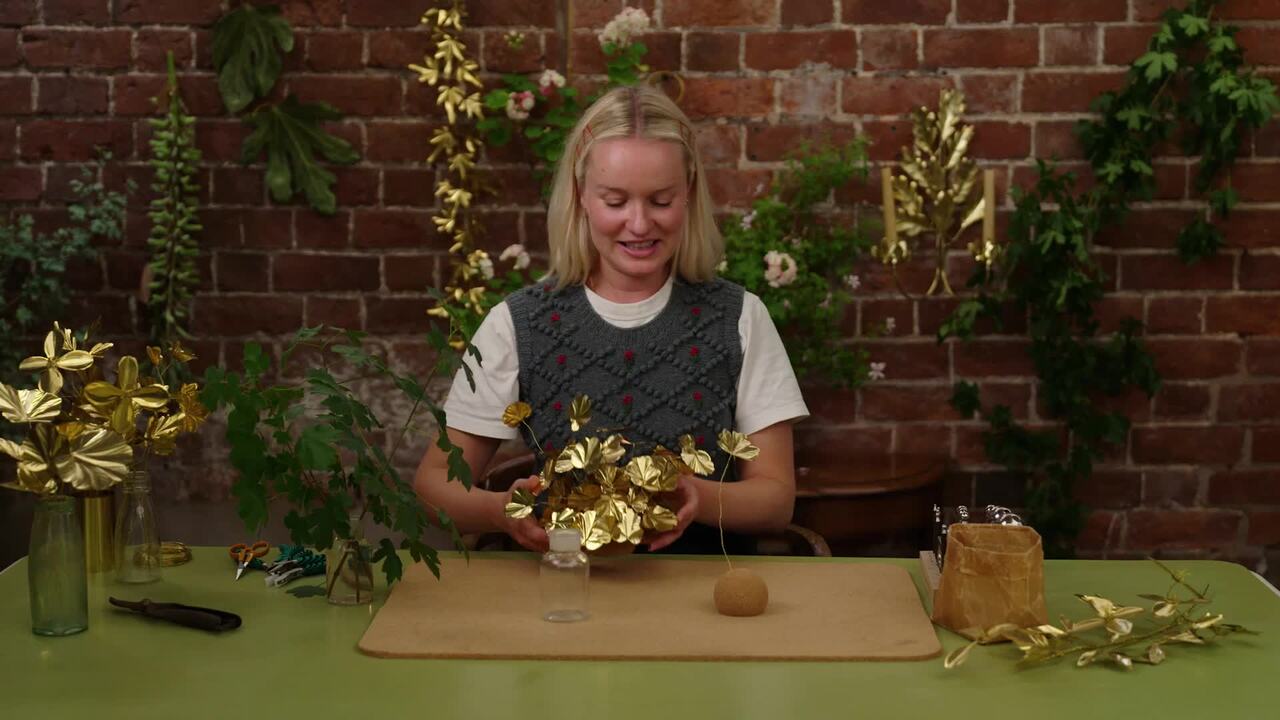
Let’s take a look at the finished piece. Plus, discover some inspiration on how to display your single brass leaf creation.
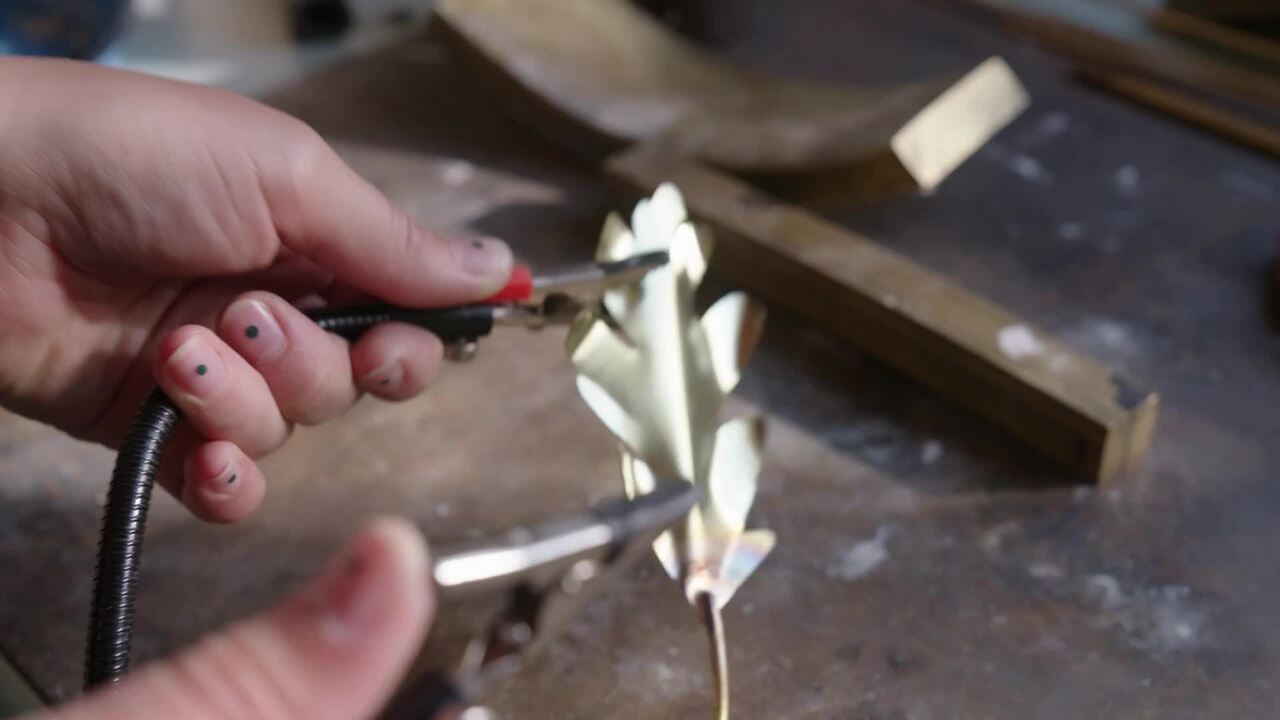
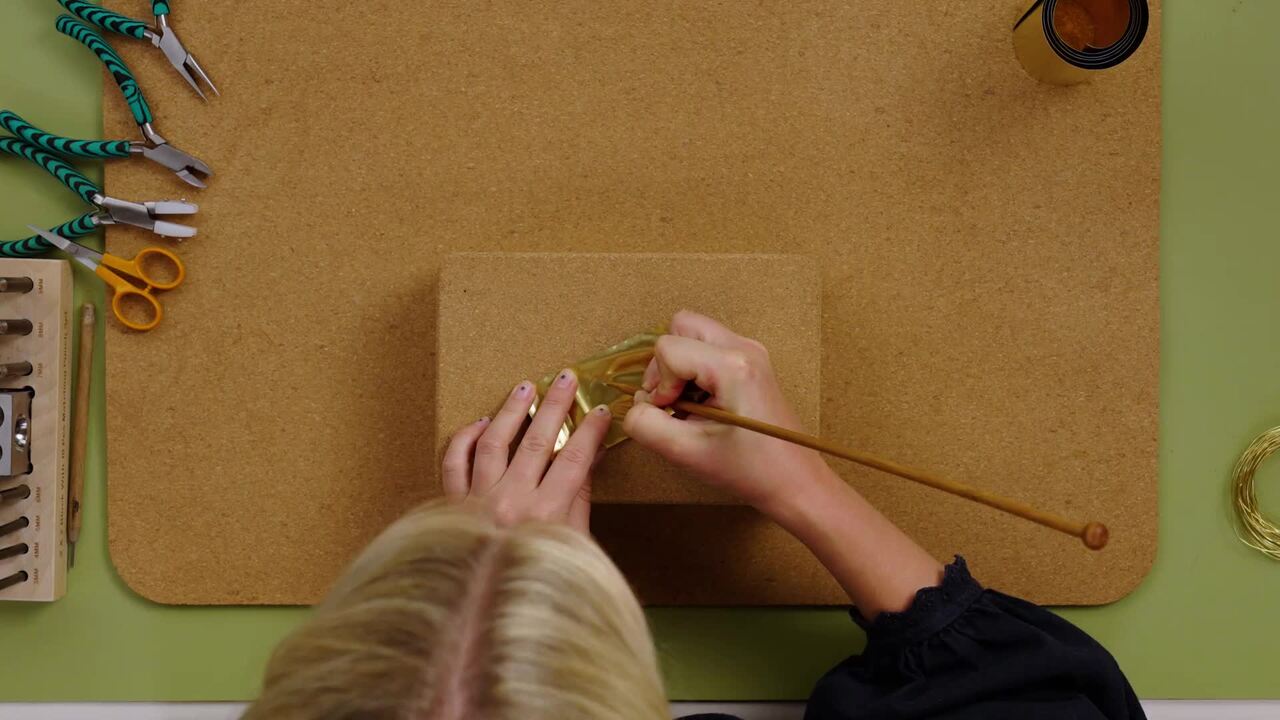
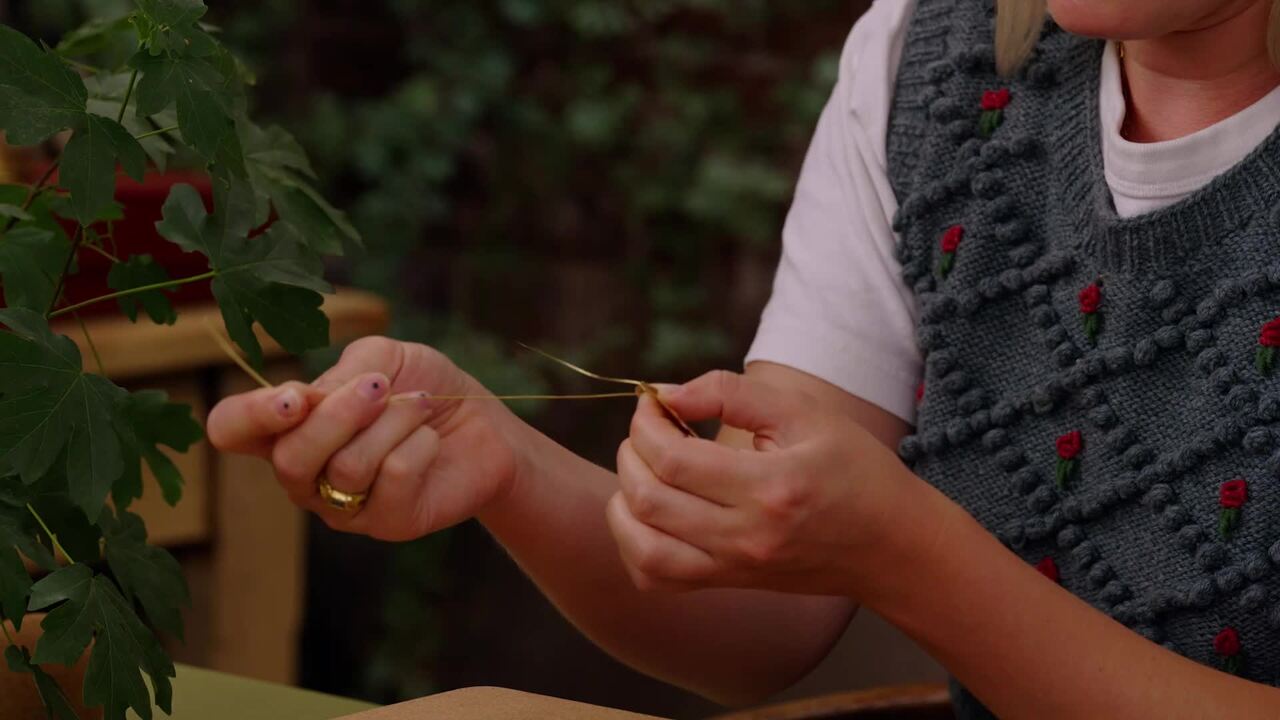
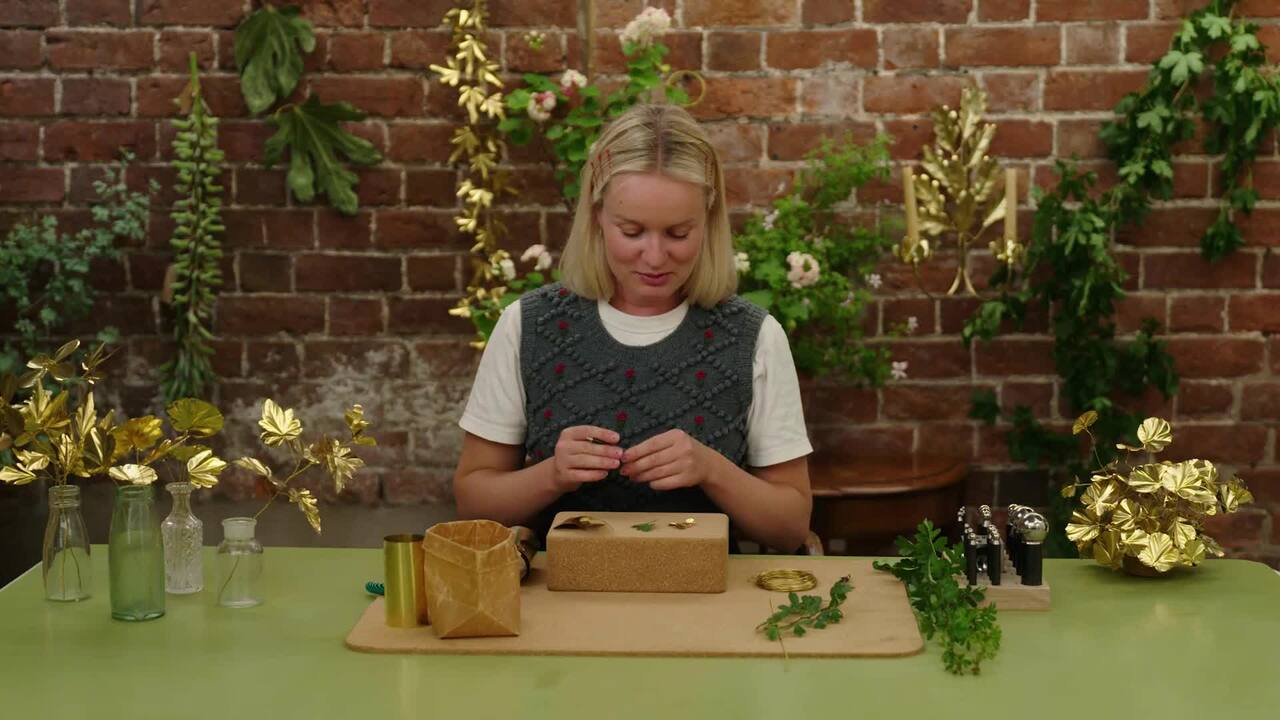
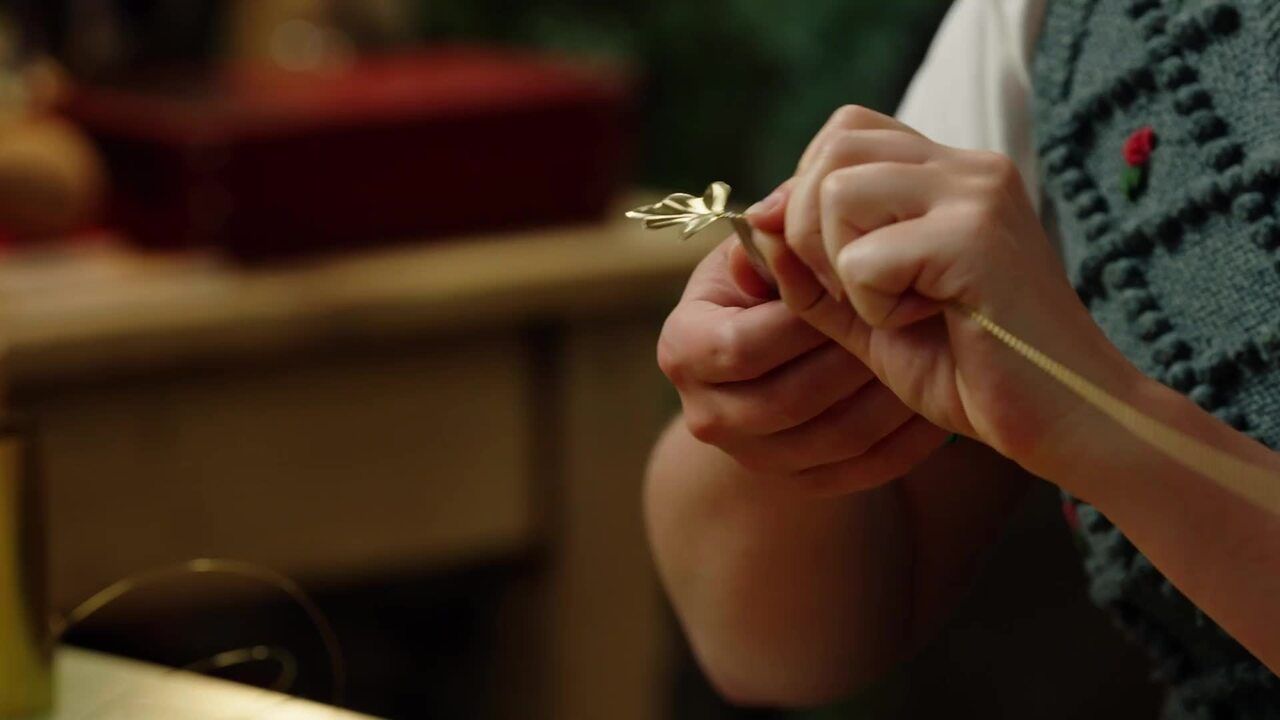
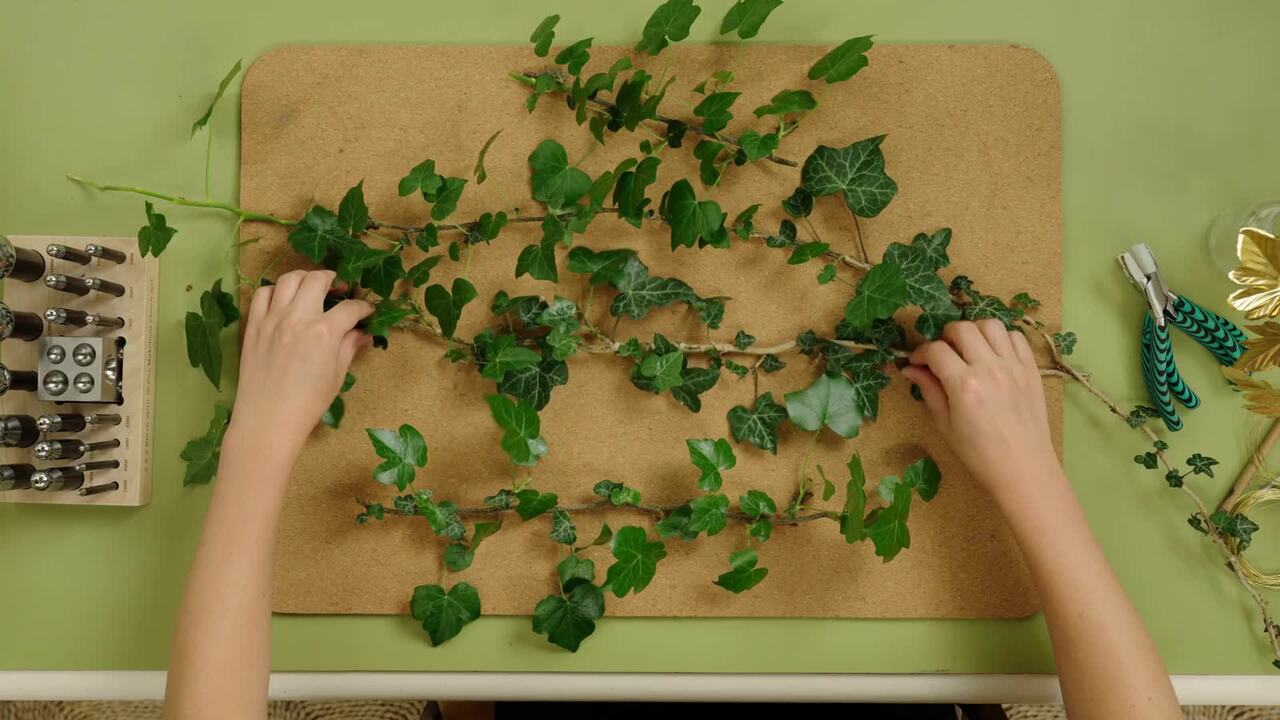
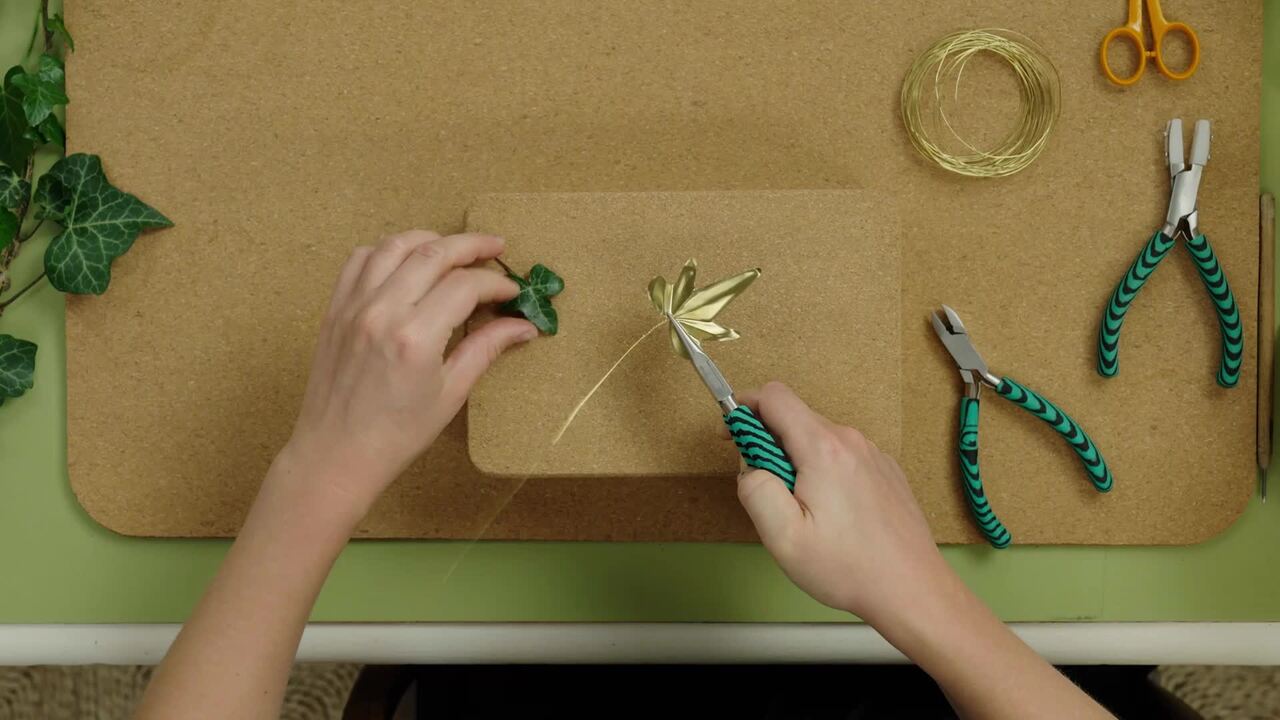
It's time to get creative. For our first project, we'll be putting the techniques we have just learnt into practice to create a field maple leaf on a twisted brass stem.
MATERIALS YOU'LL NEED
TOOLS YOU'LL NEED
Get the full workbook, video lessons, and more with a Create Academy subscription.
Subscribe to access the full workbookAlready a member? Sign in to watch
437 reviews
Read moreI have subscribed to access all the courses so have watched one on interior design and this one with Butter Wakefield who specialises in small garden design. She ...
Louise Brown
Apr 10, 2026
I love CreateAcademy. I came in for the gardening and floristry courses, but am also watching an interior design one at present. And the photography course is an ...
Wellesley
Apr 1, 2026
What a great investment, I have learned such a lot from the first three courses. My evenings have gone from not being able to find anything that captured my imagi...
sojojo
Mar 30, 2026
I loved this course with Amanda Lindroth! Her approach to decorating is so relaxed and she makes it feel attainable. She explains the reasons behind her decisions...
Elizabeth
Mar 27, 2026
I have subscribed to access all the courses so have watched one on interior design and this one with Butter Wakefield who specialises in small garden design. She has a lovely personality and comes across as ...
Louise Brown
Apr 10, 2026
I love CreateAcademy. I came in for the gardening and floristry courses, but am also watching an interior design one at present. And the photography course is an absolute must, best I've ever done.
Wellesley
Apr 1, 2026
What a great investment, I have learned such a lot from the first three courses. My evenings have gone from not being able to find anything that captured my imagination on TV to learning and expanding my kno...
sojojo
Mar 30, 2026
Your Instructor
Artist and homewares product designer specialising in metal and plasterwork inspired by nature.
Jess Wheeler is a designer and artist based in North Wales. Once a successful set designer for fashion shoots, Jess’s practice now focuses on her passion for metalwork and homeware design. Her cross disciplinary approach has a unified, nostalgic, nature driven narrative inspired by the landscape around her, with her work exploring the beauty and fragility of our natural world. Jess is fascinated by the ways in which a rigid material can be manipulated into an intricate organic form, exemplified in her much sought after delicately crafted brass sconces and chandeliers.

Access to all courses


