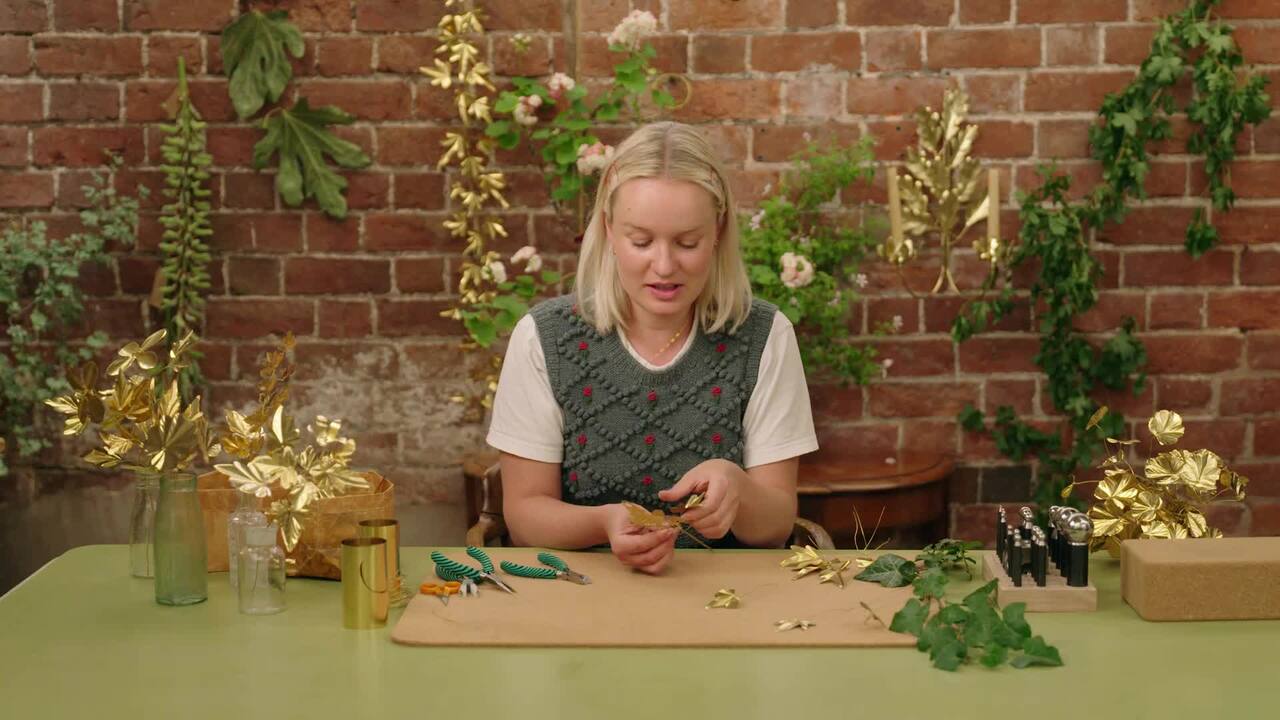
Making Botanical Art with Metal

The finishing touches

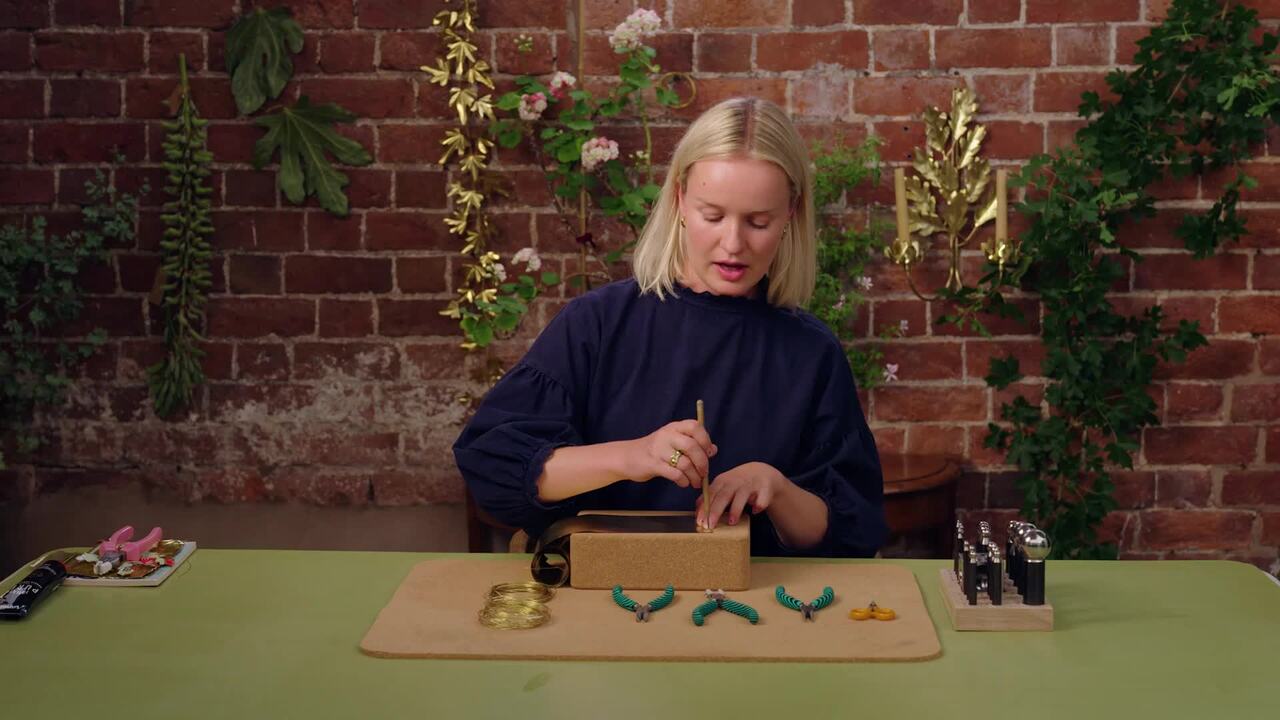
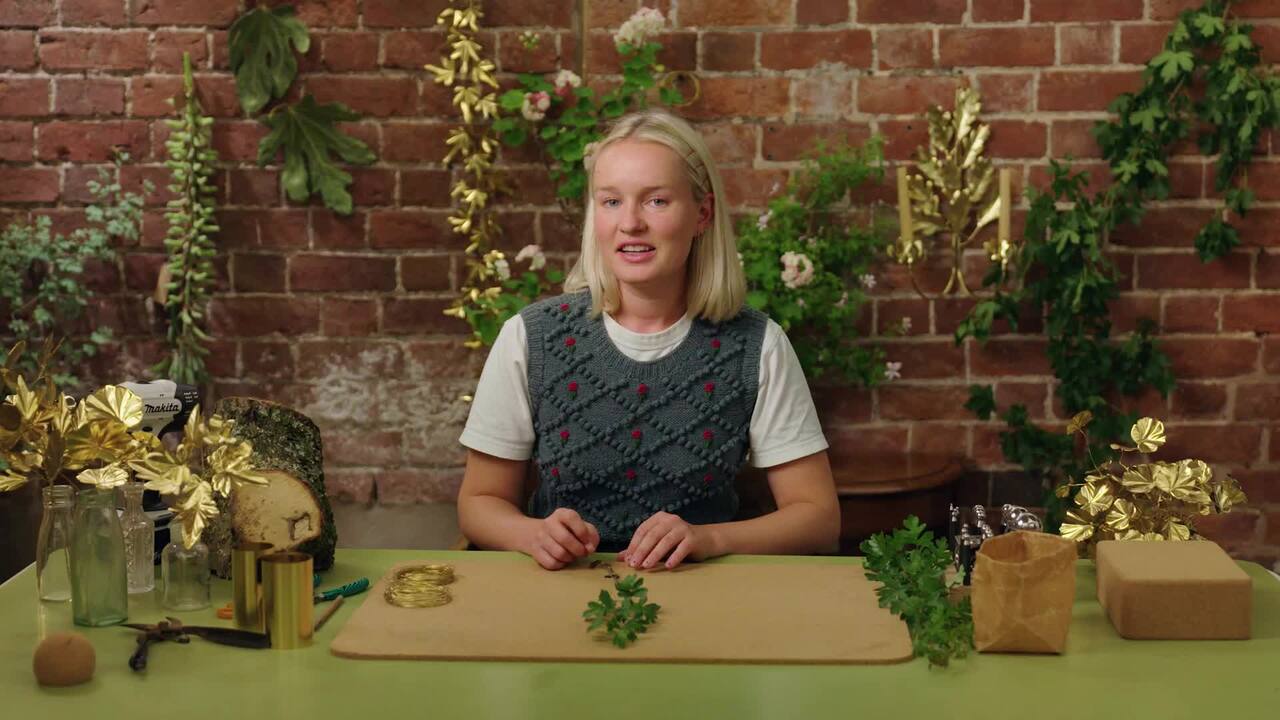
with JESS WHEELER — Artist and homewares product designer specialising in metal and plasterwork inspired by nature.

Lesson 14 of 20

Rated 4.7/5 on Trustpilot
|

Learn from the world's best creative minds on Create Academy

The finishing touches - Video thumbnail

Buy or subscribe to watch

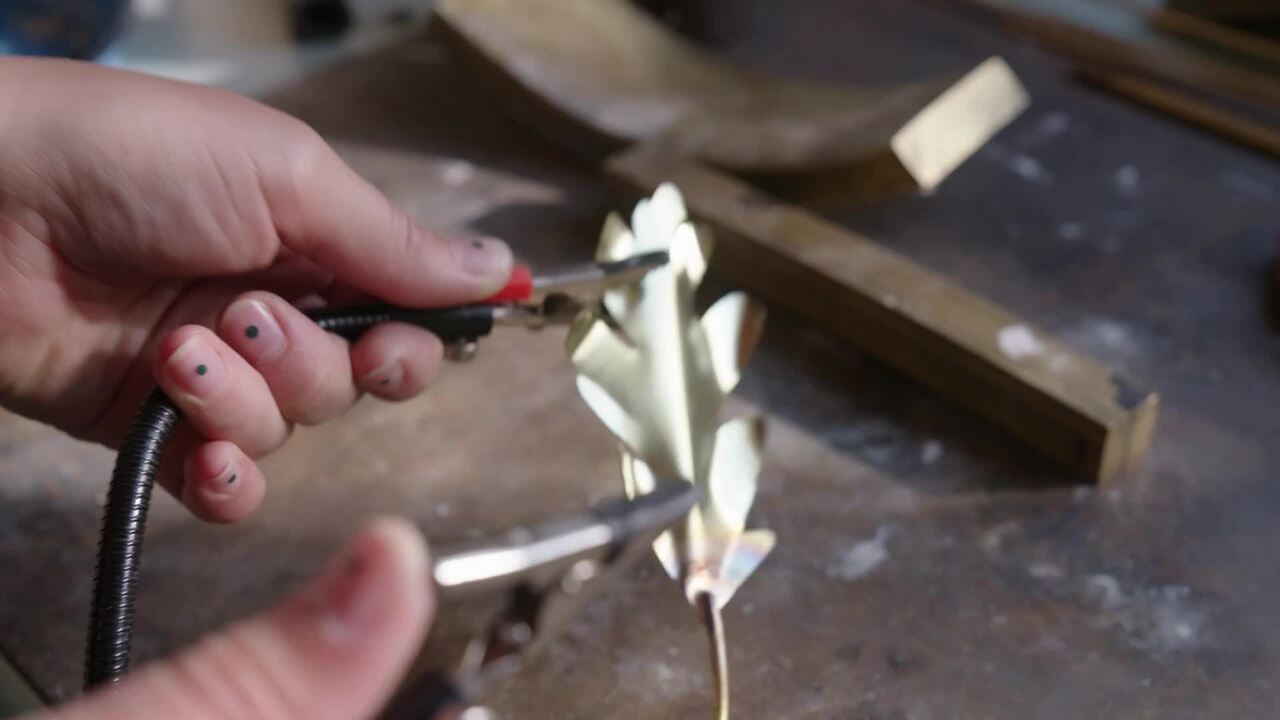
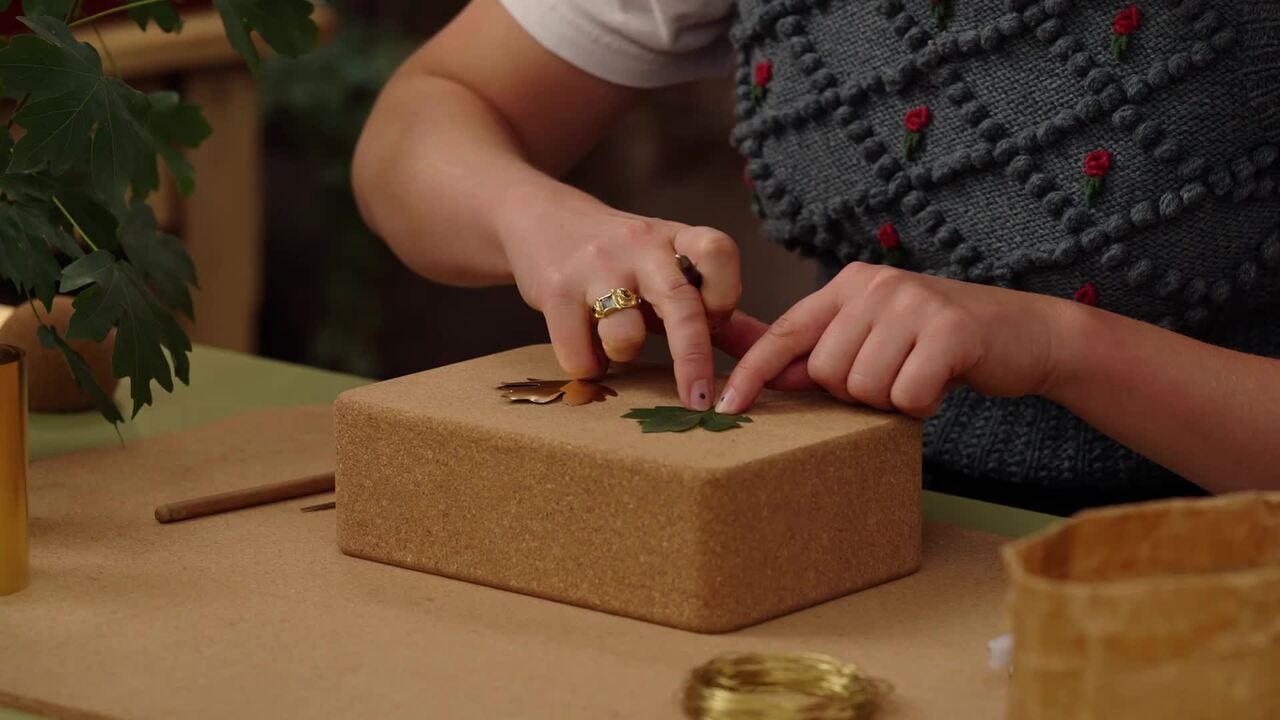
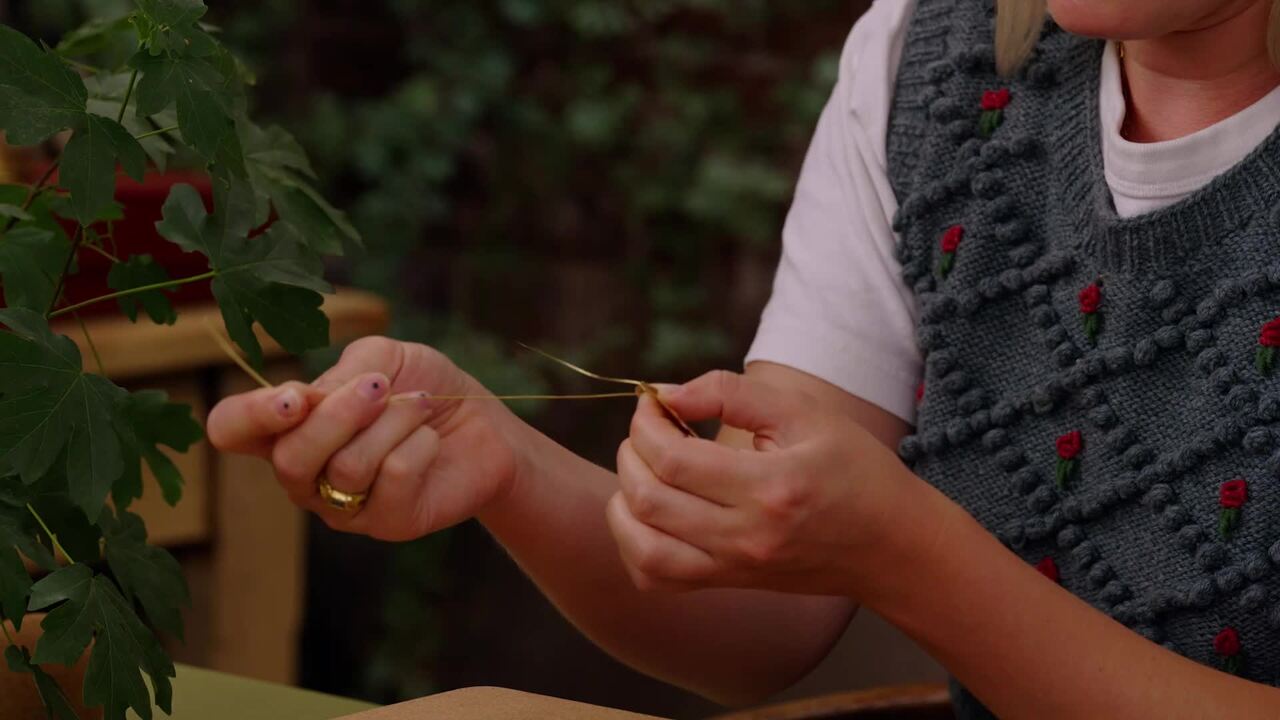
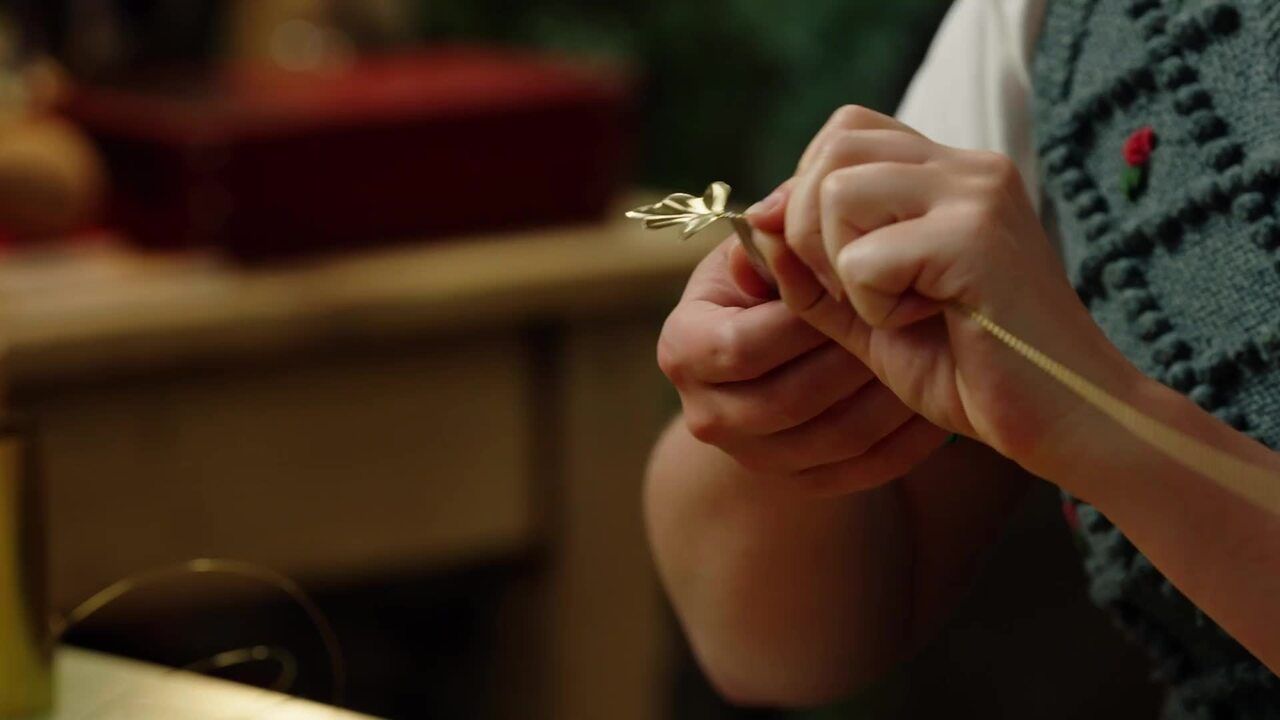
Add some dimension and movement to your hawthorn branch with a few simple finishing touches. Jess shows you how.

From the Lesson Workbook

Project 2: Creating a Small Branch from Hawthorn

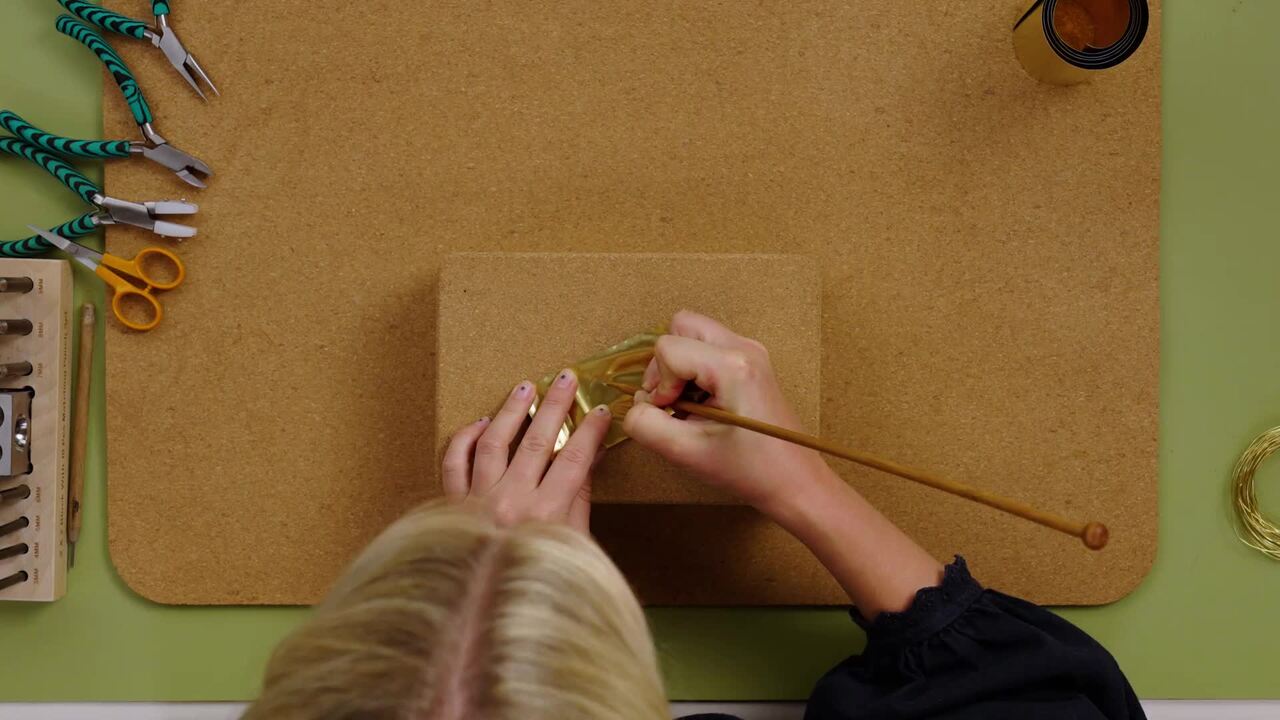
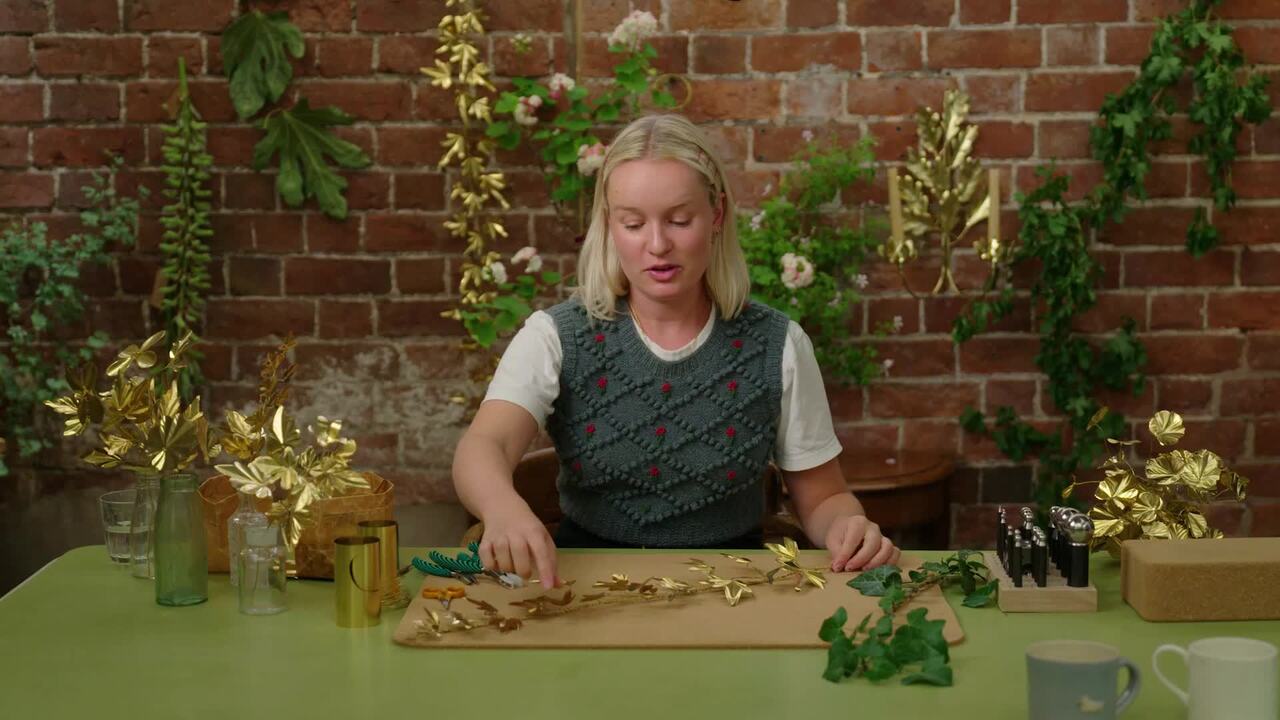
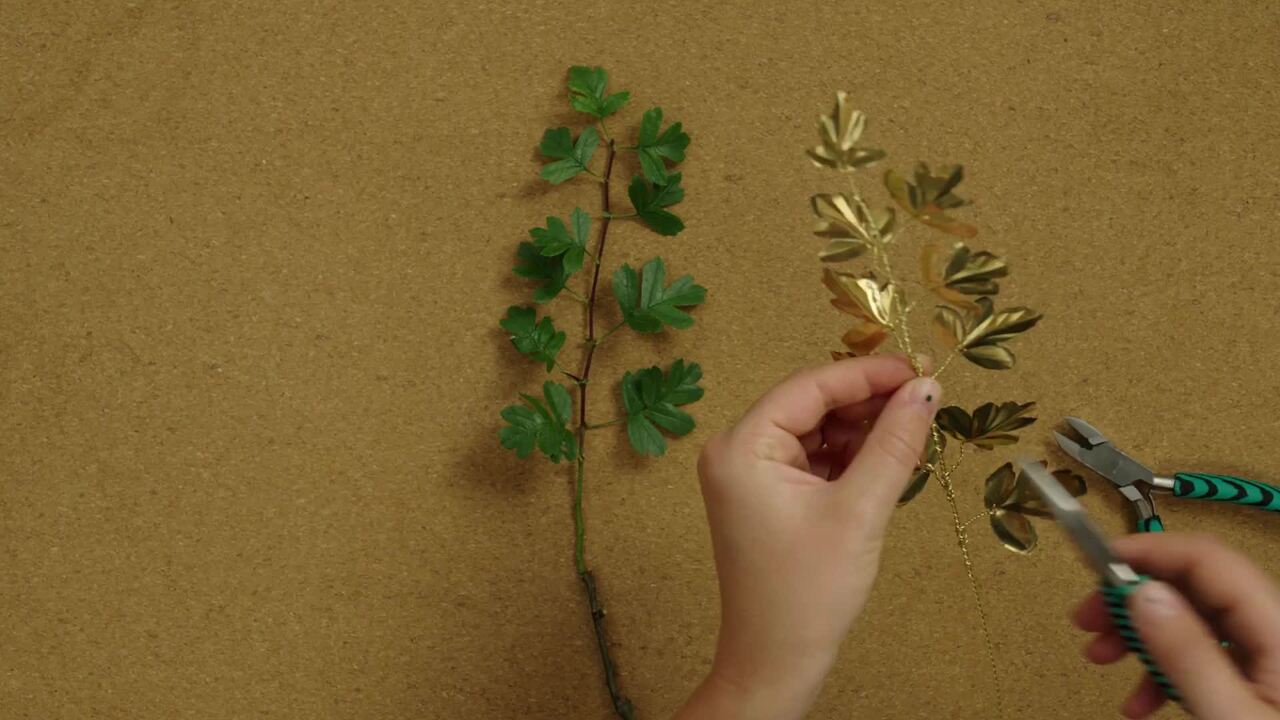
For our second project, we'll be sculpting a few hawthorn leaves from brass and attaching them to twisted stems to make a branch.

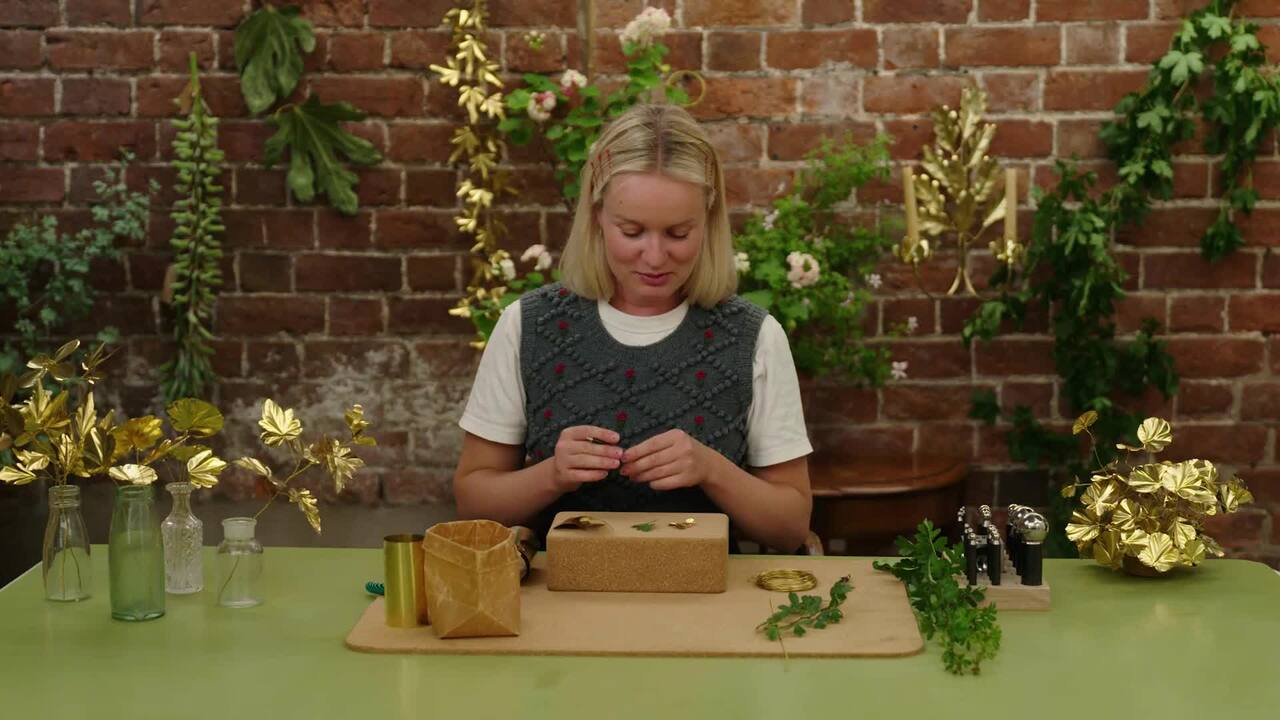
MATERIALS YOU'LL NEED

  • Brass
  • Reference leaf (hawthorn if possible)
  • 0.8mm/20 gauge brass wire
  • 0.4mm/26 gauge or 0.6mm/24 gauge brass wire
  • Screw or nail attached to a wall, log or solid object

TOOLS YOU'LL NEED

  • Wire snips
  • Drill
  • Cork yoga block
  • Stabbing tool
  • Embroidery scissors
  • Waste bag
  • Small dapping tool
  • Bigger dapping tool, 10 inches if possible
  • Nylon jaw pliers

Step One: Creating the Central Stem

  1. Using wire snips, cut a double length of your 0.8mm/20 gauge brass wire.
  2. Find the halfway point of your brass wire and wrap it two or three times around something solid, like a nail in a wall (or, as I have used in this example, a log with a nail screwed into it). Pull it tight then create a couple of twists at the loose ends of the brass wire and make a small knot.
  3. Insert the small brass knot into the end of a drill and tighten the drill around it. Create some tension in the wire by holding it straight. Press down slowly on the drill until it starts to twist the wire.
  4. Once evenly spun, detach the wire from the log and trim both ends with your wire snips over your waste bag.

Step Two: Cutting Out the Leaves

  1. Roll out the brass sheet on top of your cork yoga block and place your chosen reference leaf on top.
  2. Use your stabbing tool like a pencil and draw a circle around the leaf on the brass sheet. You can repeat this step a few times to quicken the process.
  3. Use your embroidery scissors to cut out the circle/s.
  4. Place the reference leaf back on top of the brass circle/s and use the stabbing tool to draw more closely around the outline.
  5. Take your embroidery scissors and cut out the outline/s. Use a waste bag or box to catch the smaller shards of brass beneath.
  6. Over your cork yoga block, take your stabbing tool and punch two small holes next to each other at the bottom of the brass leaf.
  7. Turn your brass leaf over and use the stabbing tool to punch back through the two holes you've just made.
  8. Take your smallest dapping tool and start by drawing the midrib vein on the brass leaf. Continue to deboss the brass leaf, replicating the visible veins in your reference leaf.
  9. Turn the brass leaf over to the back and use the same dapping tool to emboss.
  10. Turn the brass leaf over to the front and use a bigger dapping tool to apply pressure to the edge of the brass leaf.
  11. Repeat points 1 to 10 to create as many leaves as you need.

Step Three: Arranging the Leaves

  1. Loosely arrange your brass leaves on a flat surface to replicate how they will look on the brass stem.
  2. Place your twisted brass stem in the middle of your leaves so you can visualise how your final piece is going to look, before you attach them.

Step Four: Add the Leaf Stems

  1. Using wire snips, cut a double length of your 0.6mm/24 gauge brass wire.
  2. Thread the wire through one of the holes in your brass leaf until it reaches the other brass wire end and the leaf is in the middle.
  3. Grab your nylon jaw pliers and squeeze on the wire join to secure it.
  4. Thread the other piece of brass wire through the second hole until it meets the other brass wire end. Use your nylon jaw pliers to crimp again at the join.
  5. Holding the join with your nylon jaw pliers, twist the wire six or seven times.
  6. Repeat points 1 to 5 until all of your leaves have stems.

Step Five: Attach the Leaves to the Main Stem

  1. At the top of your main twisted stem, open up the twist slightly using nylon jaw pliers. Take one leaf and sandwich its stem into the twist. Use nylon jaw pliers to hold the two joins together. Wrap the leaf stem around the main twisted stem in the same direction it has been twisted in, until it feels secure.
  2. Tidy up the top of the main stem by wrapping it around the leaf or by trimming it with your wire snips.
  3. Take your second leaf and place the two pieces of wire either side of the main stem. Use your nylon jaw pliers to hold the leaf in place at the join. Wrap the leaf stem around the main twisted stem in the direction it has been twisted in.
  4. Repeat this process until you have attached all of your leaves.

Step Six: Finishing Touches

  1. Use wire snips to trim off any rogue pieces of wire.

Step Seven: Recreate the Movement of Your Reference Leaf

  1. Take your nylon jaw pliers and move the leaves and stems into place to recreate some natural movement.
  2. If necessary, bend your main twisted stem to replicate the movement of the branch.

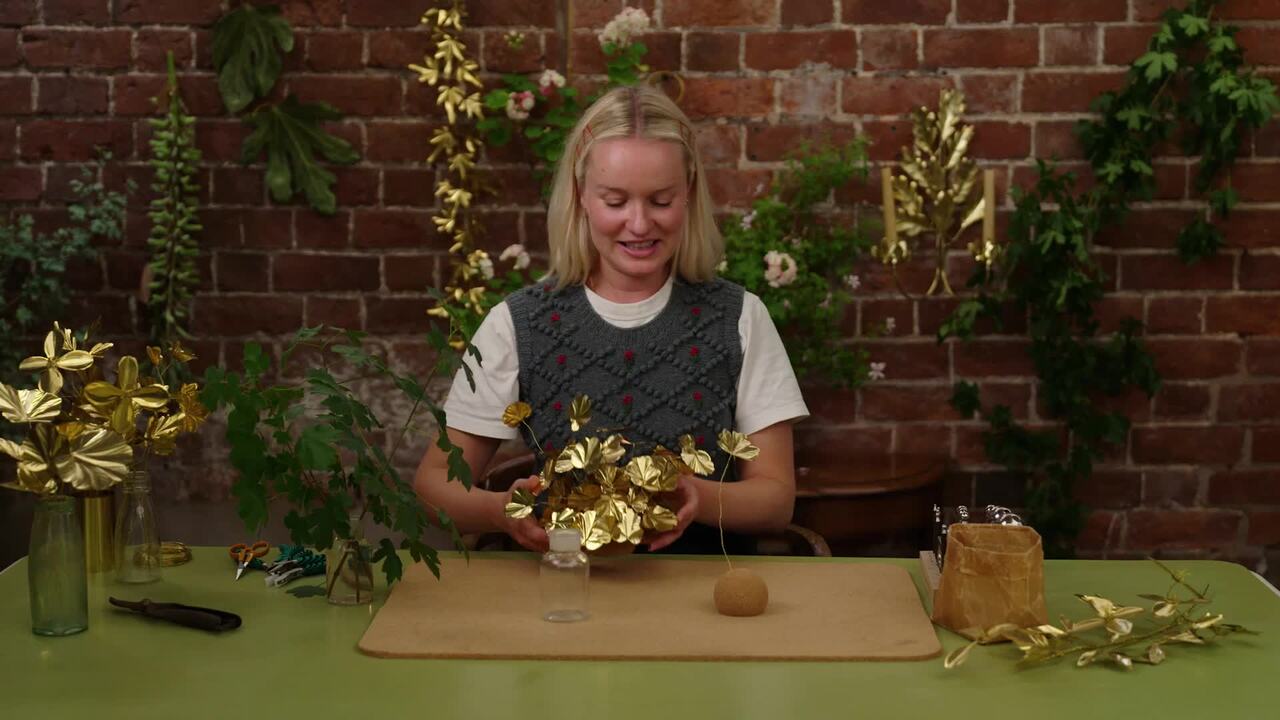
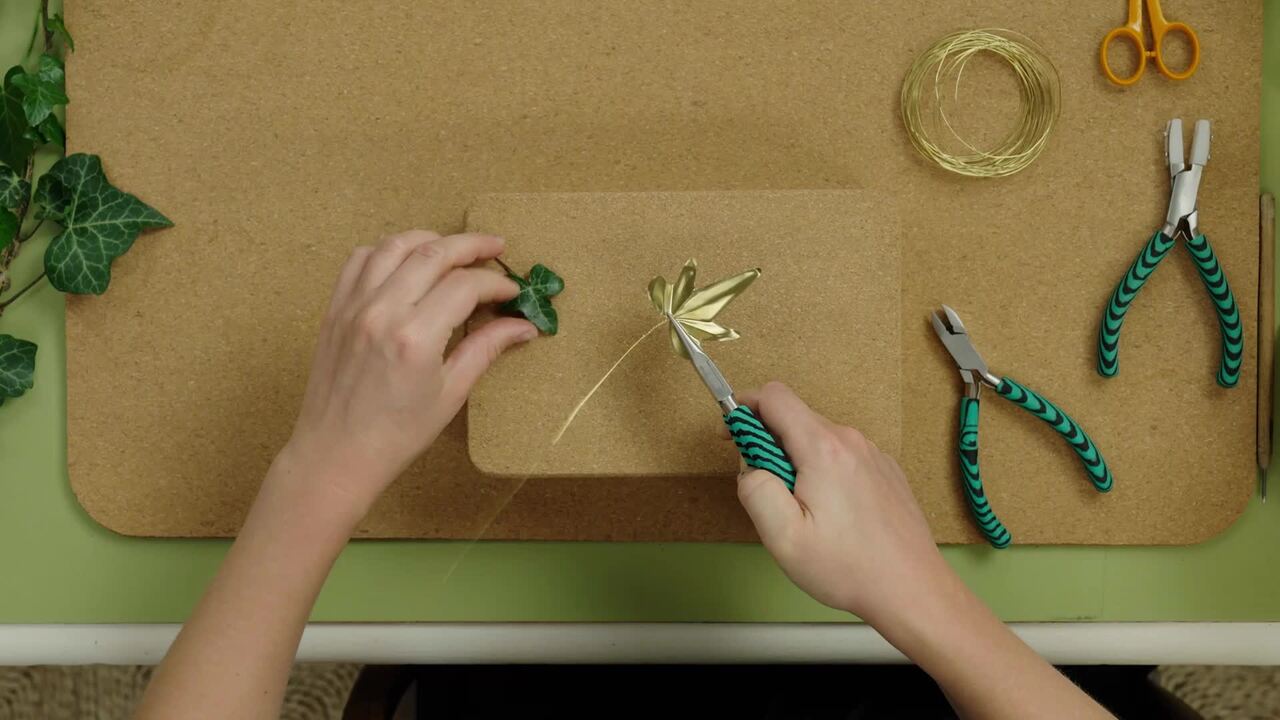
Congratulations, you've now made a whole branch! Just like with the single leaf you can display this in a vase. Why not try something different and create several different branches and display them on your wall. We can now move on to our final project.

Get the full workbook, video lessons, and more with a Create Academy subscription.

Subscribe to access the full workbook
Access all courses
$30 /month

Access 57+ courses, billed annually

Subscribe Now
Buy this course
$130 one-time

Lifetime access to this course

Buy Course

Already a member? Sign in to watch

Rated 4.7/5 on Trustpilot

437 reviews

Read more

Very good tutorial from a professional garden...

I have subscribed to access all the courses so have watched one on interior design and this one with Butter Wakefield who specialises in small garden design. She ...

Louise Brown

Apr 10, 2026

Time spent well

I love CreateAcademy. I came in for the gardening and floristry courses, but am also watching an interior design one at present. And the photography course is an ...

Wellesley

Apr 1, 2026

What a great investment

What a great investment, I have learned such a lot from the first three courses. My evenings have gone from not being able to find anything that captured my imagi...

sojojo

Mar 30, 2026

I loved this course with Amanda\u2026

I loved this course with Amanda Lindroth! Her approach to decorating is so relaxed and she makes it feel attainable. She explains the reasons behind her decisions...

Elizabeth

Mar 27, 2026

Jess Wheeler

Your Instructor

Jess Wheeler

Artist and homewares product designer specialising in metal and plasterwork inspired by nature.

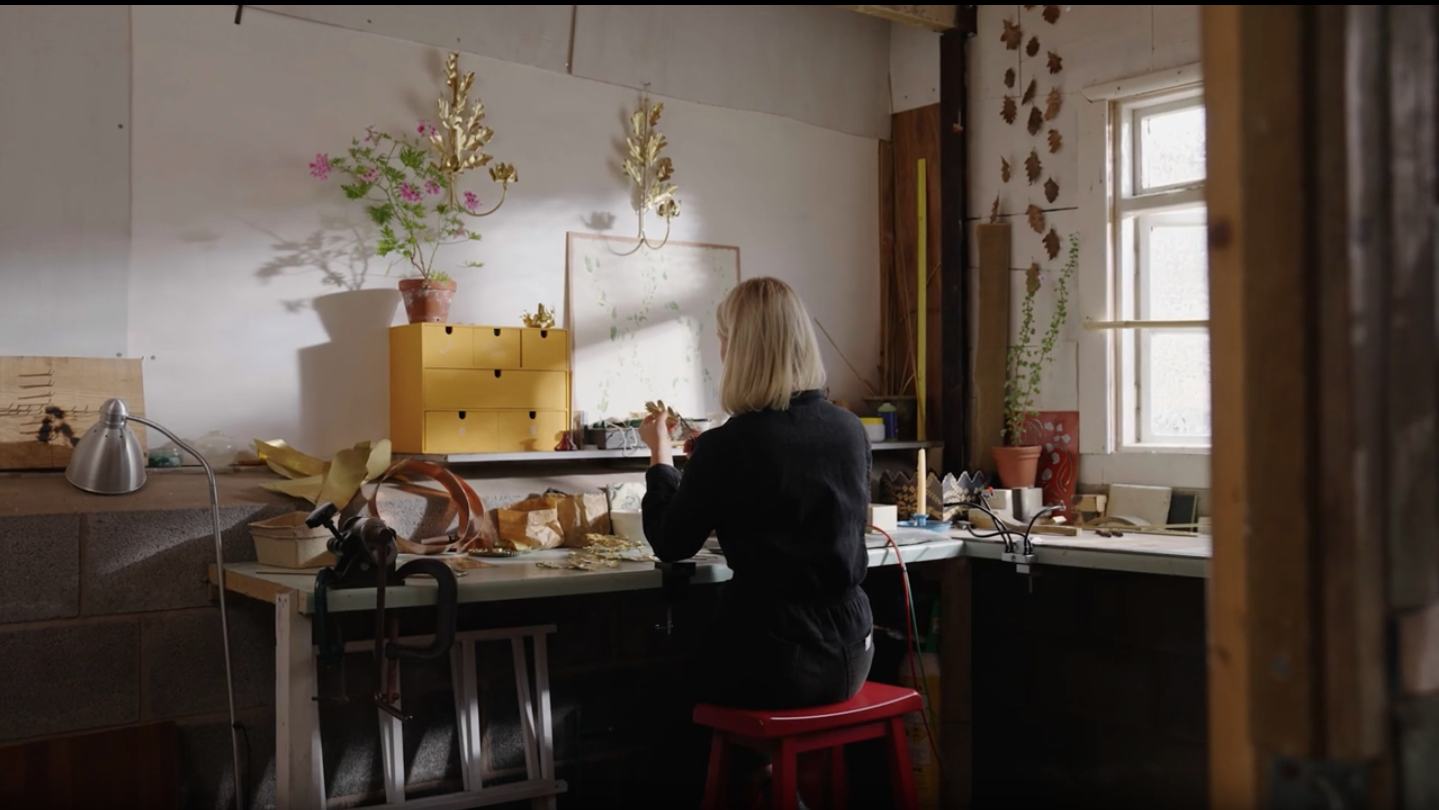
Jess Wheeler is a designer and artist based in North Wales. Once a successful set designer for fashion shoots, Jess’s practice now focuses on her passion for metalwork and homeware design. Her cross disciplinary approach has a unified, nostalgic, nature driven narrative inspired by the landscape around her, with her work exploring the beauty and fragility of our natural world. Jess is fascinated by the ways in which a rigid material can be manipulated into an intricate organic form, exemplified in her much sought after delicately crafted brass sconces and chandeliers.

Access to all courses

Get access to unlimited learning with a Create Academy subscription