


Very good tutorial from a professional garden...
I have subscribed to access all the courses so have watched one on interior design and this one with Butter Wakefield who specialises in small garden design. She ...
Louise Brown
Apr 10, 2026
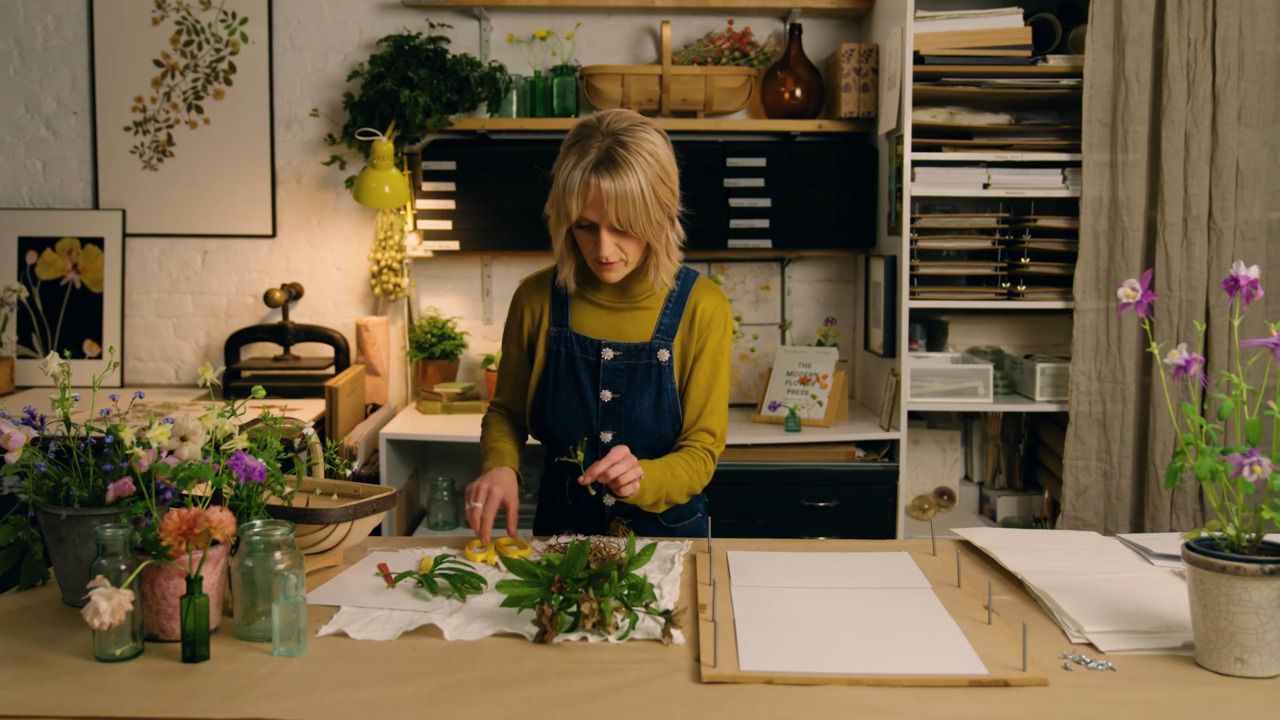
Learn the Art of Flower Pressing
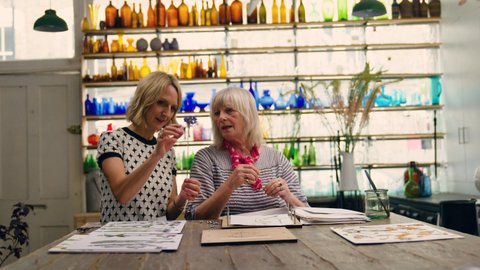
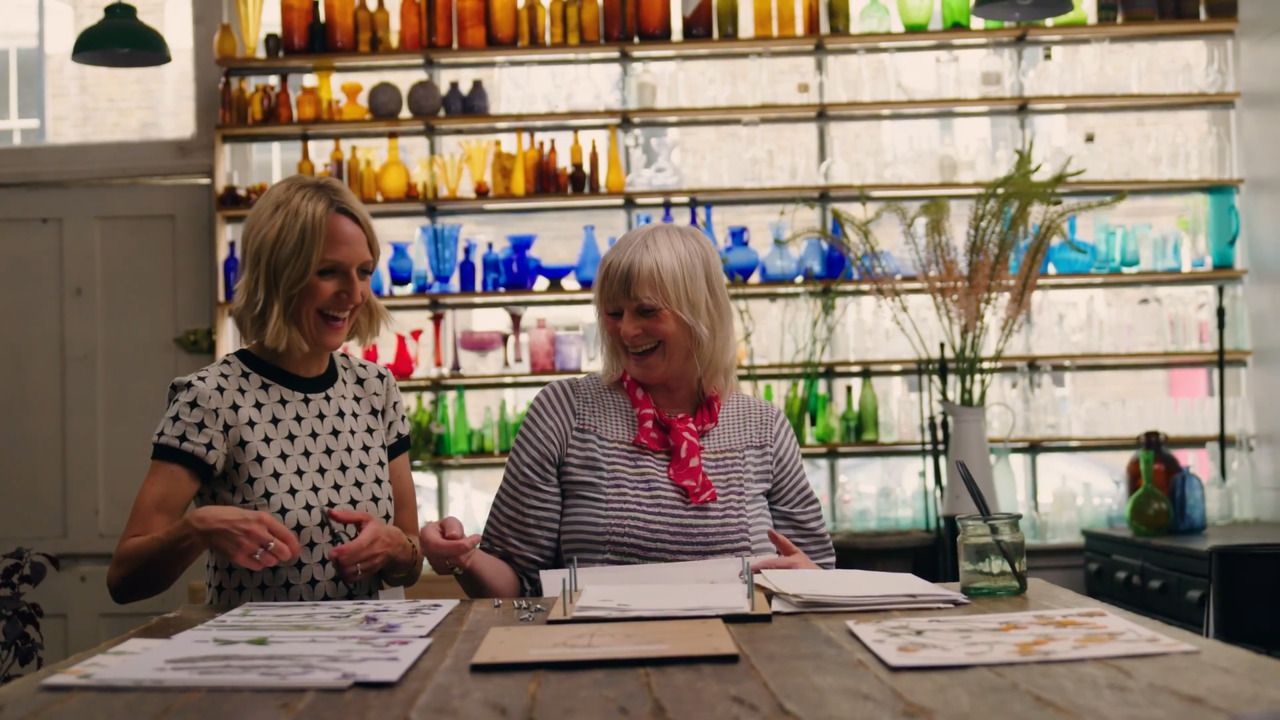
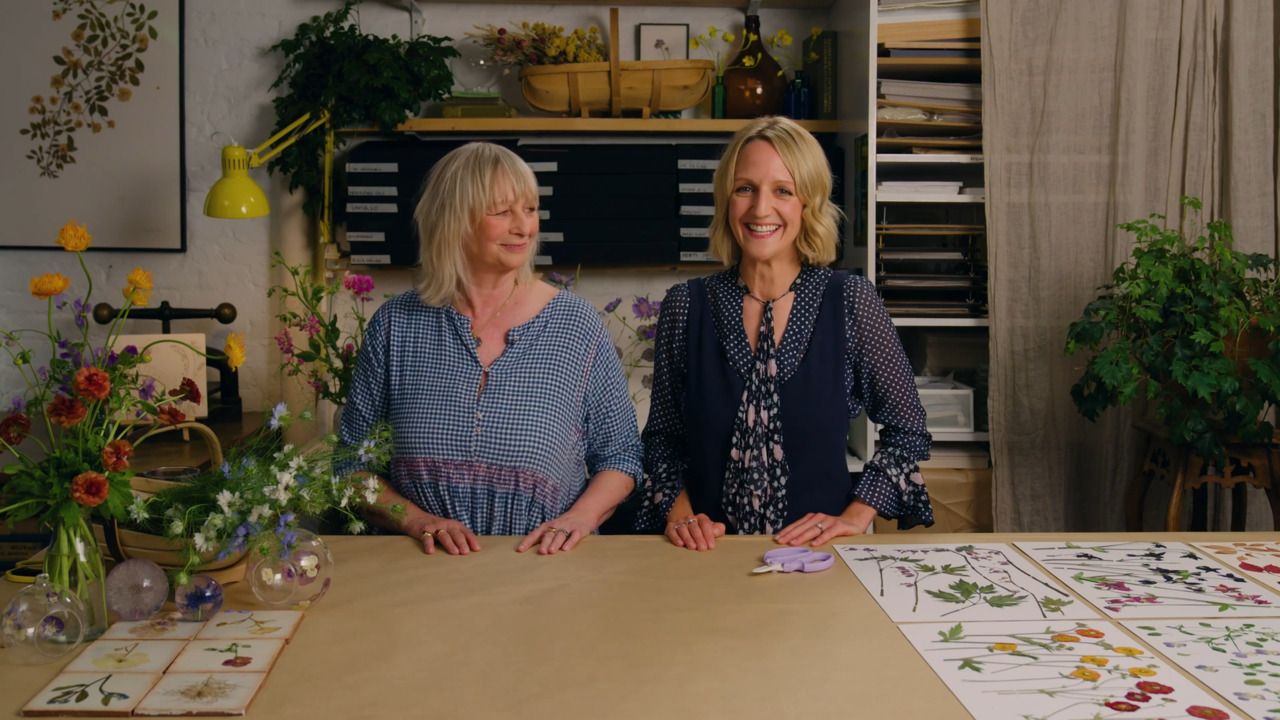
with JAMJAR EDIT — Renowned florists and flower pressing studio specialising in unique nature-inspired homewares.
Lesson 16 of 23
Buy or subscribe to watch
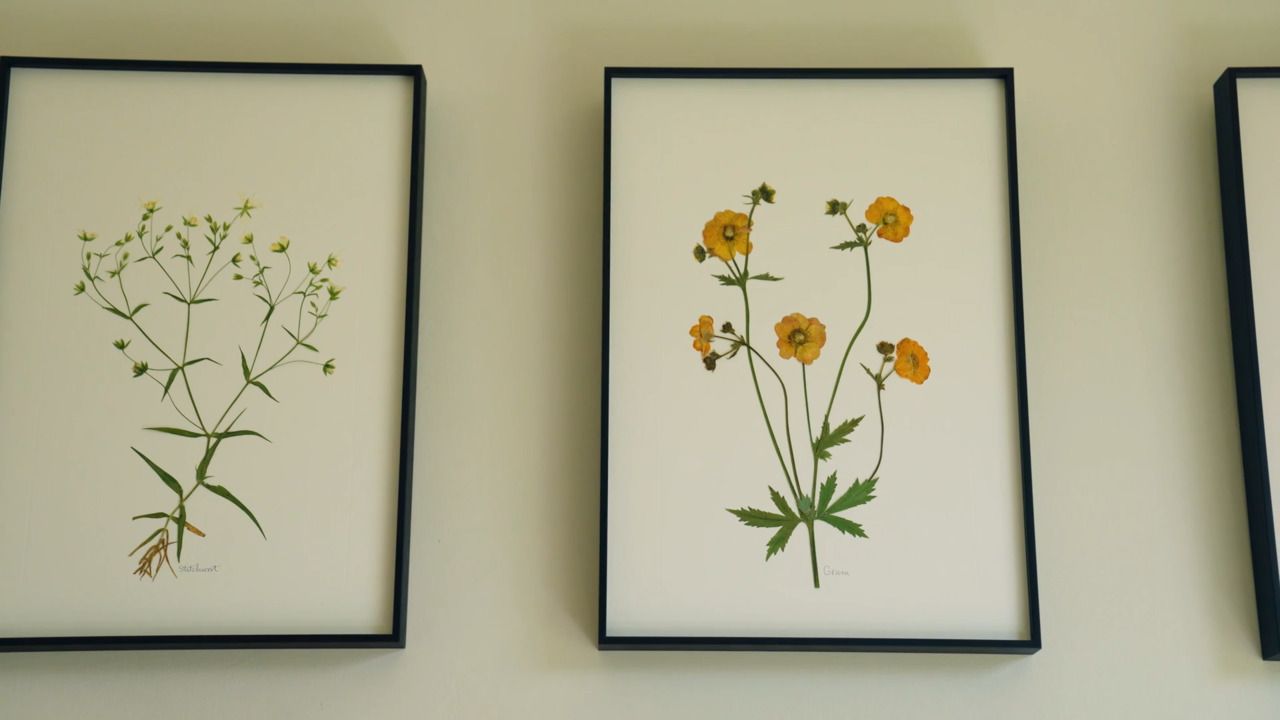
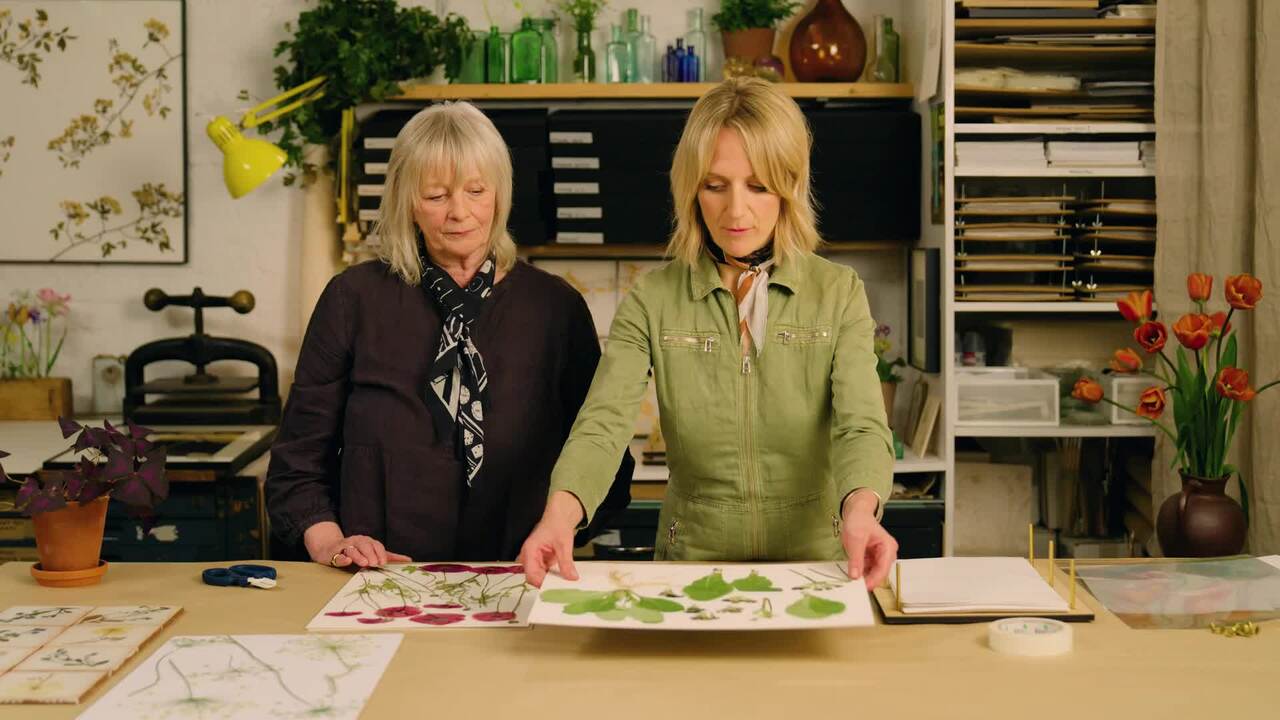
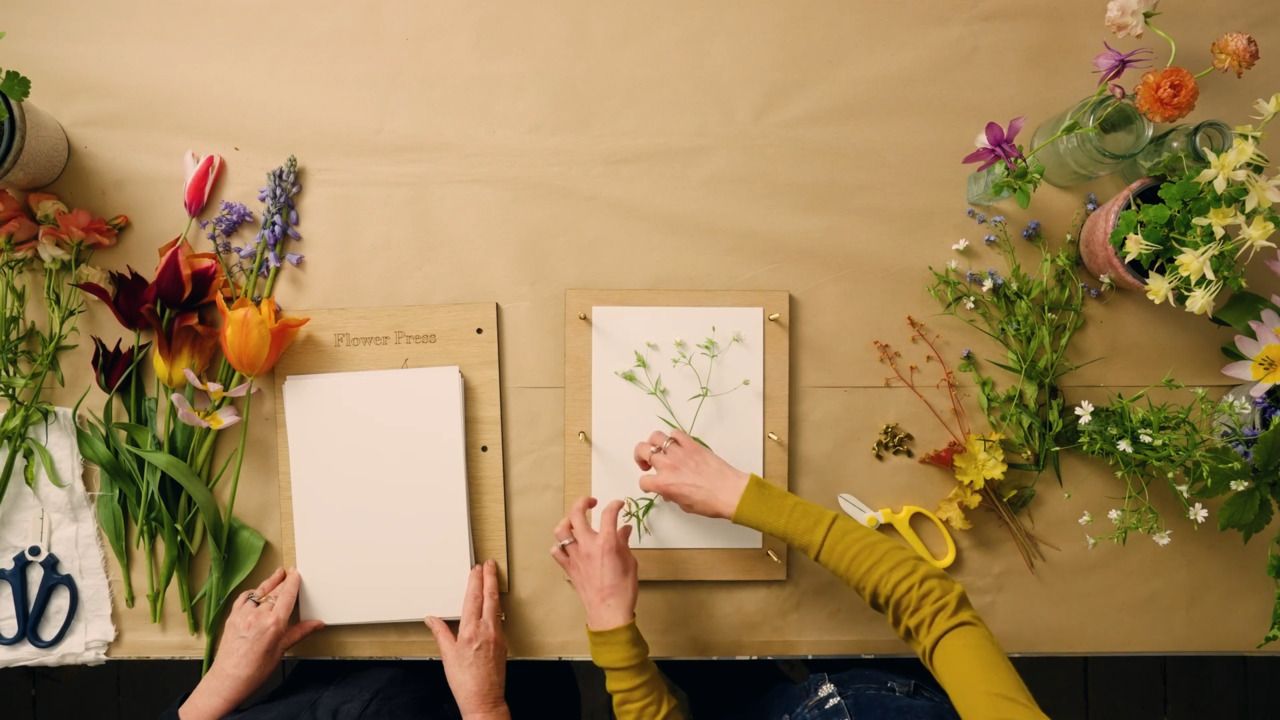
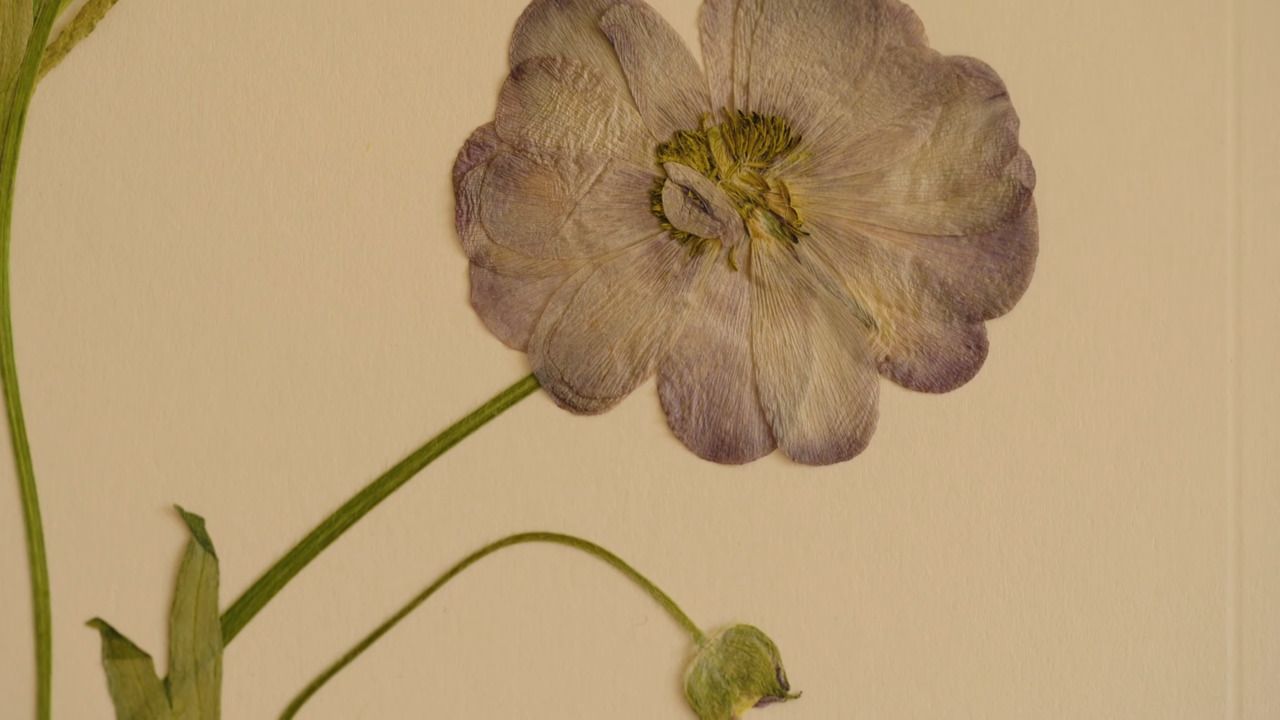
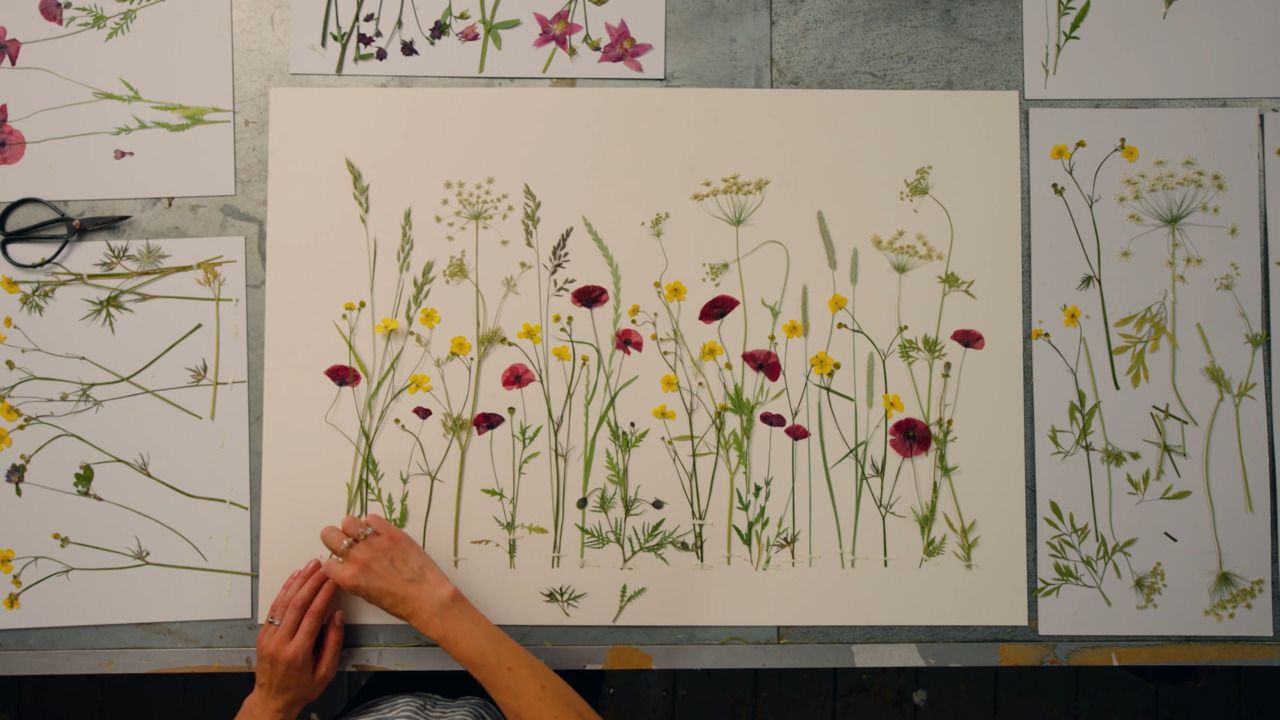
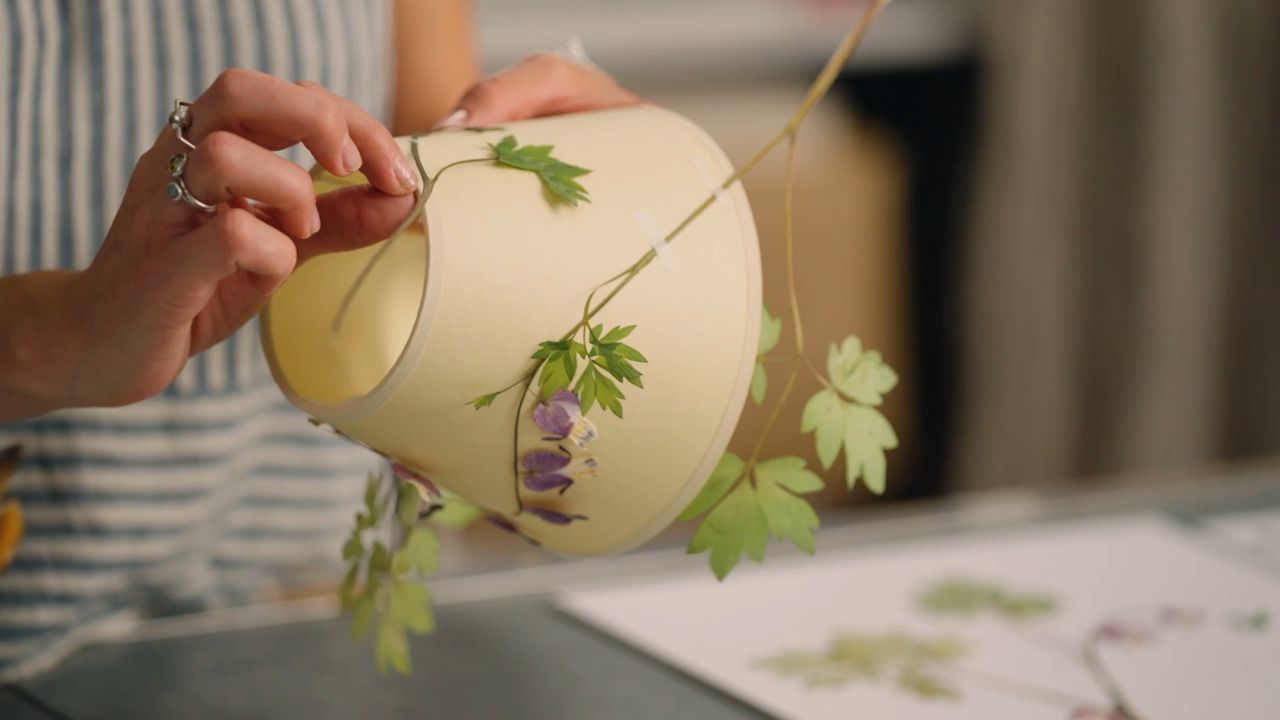
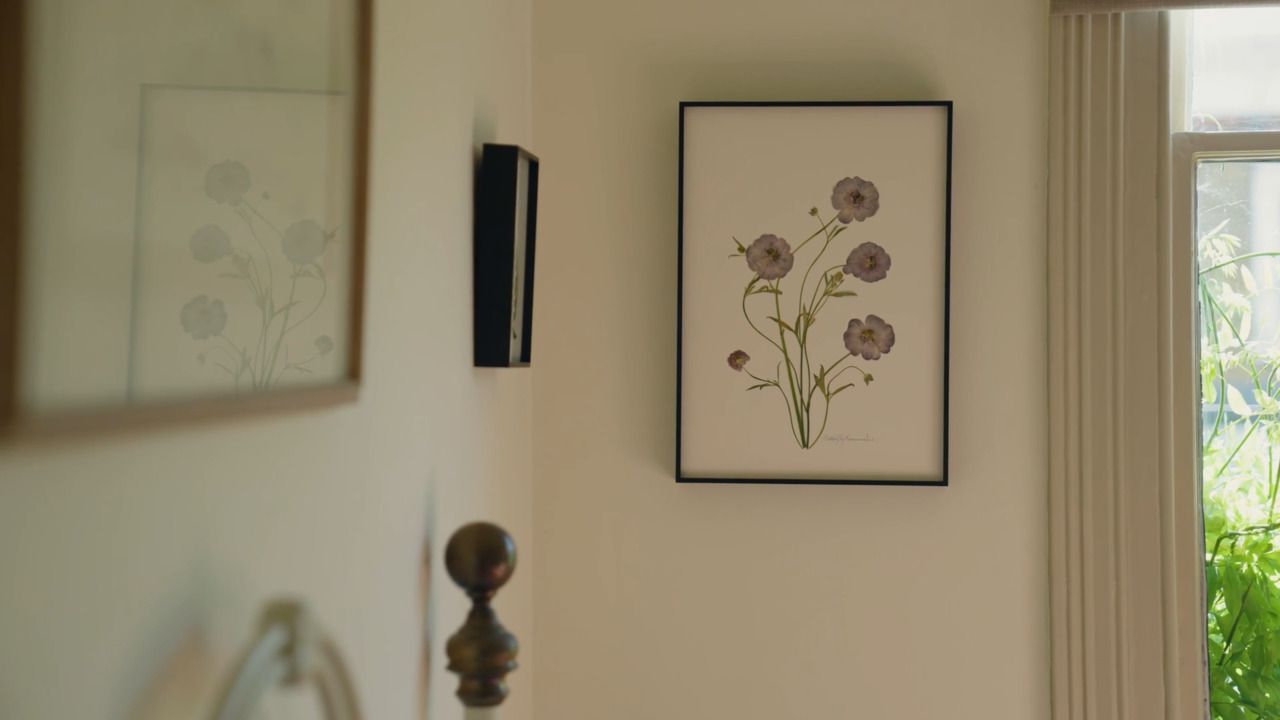
We are now at the point in the course where you are ready to tackle some pressed flower projects. There are many different ways you can use your pressings to create something decorative for your home - one option is to turn a single stem into a pressed flower artwork.
There are many different ways you can use your pressings to create something decorative for your home. One option is to turn a single stem into a pressed flower artwork.
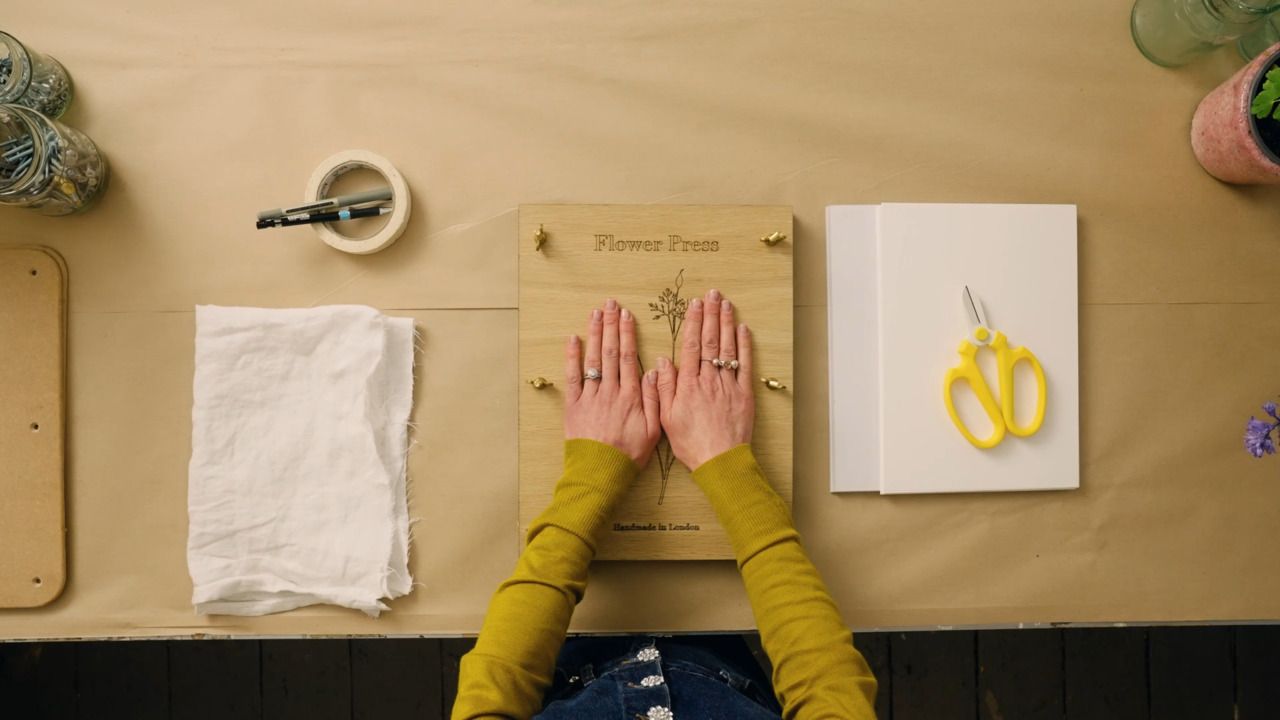
YOU WILL NEED:
FLOWERS USED:
Step 1: Score a border onto your mount board using a scalpel or scoring tool - we like to do this as it helps to frame the pressing and gives the artwork an elevated feel.
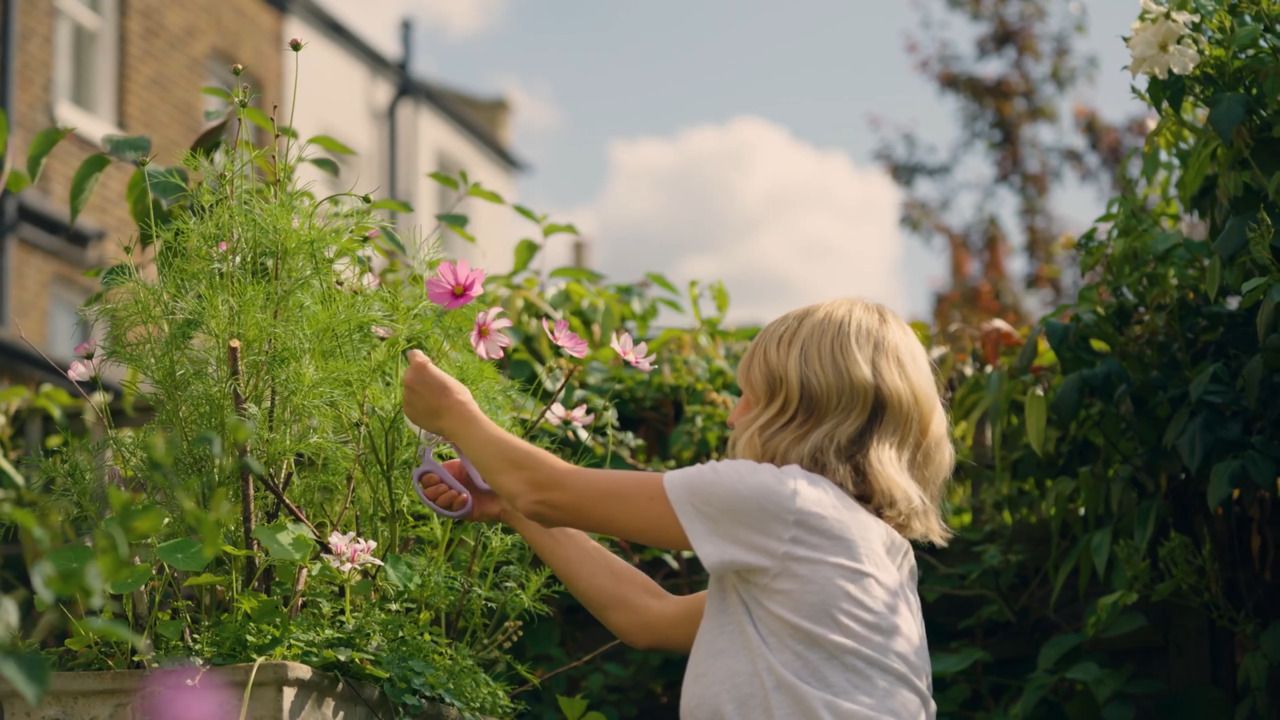
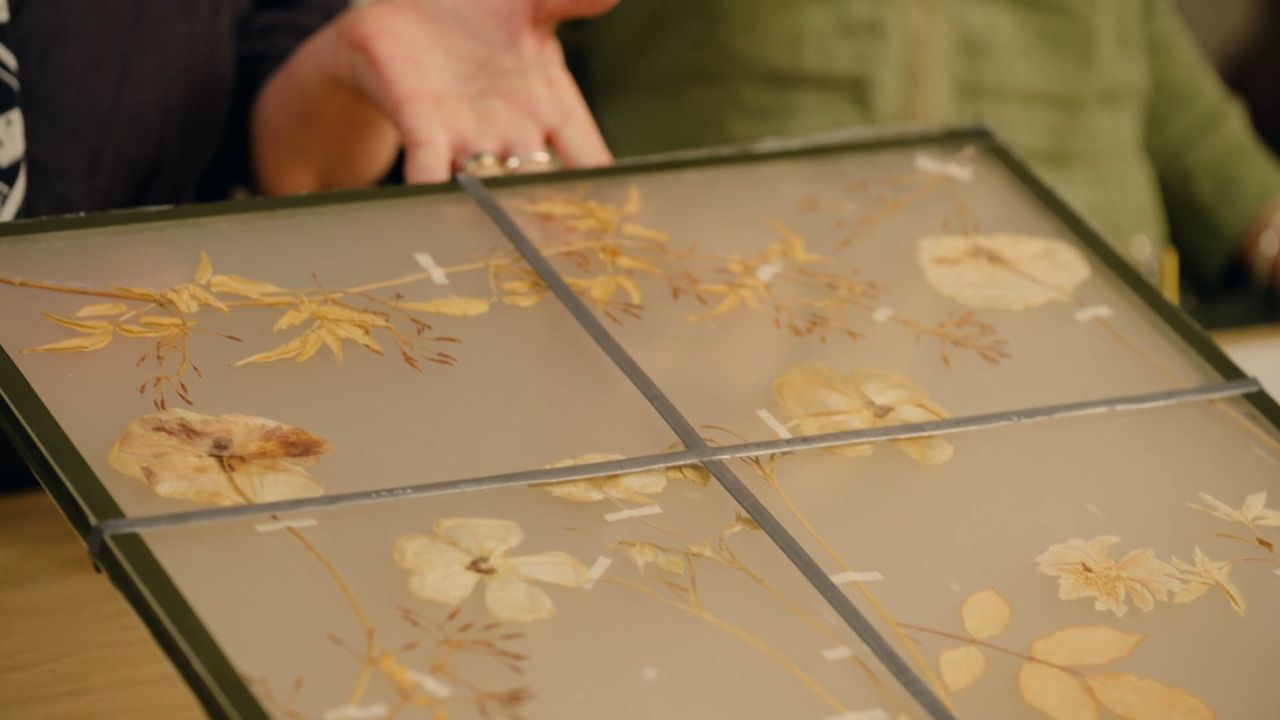
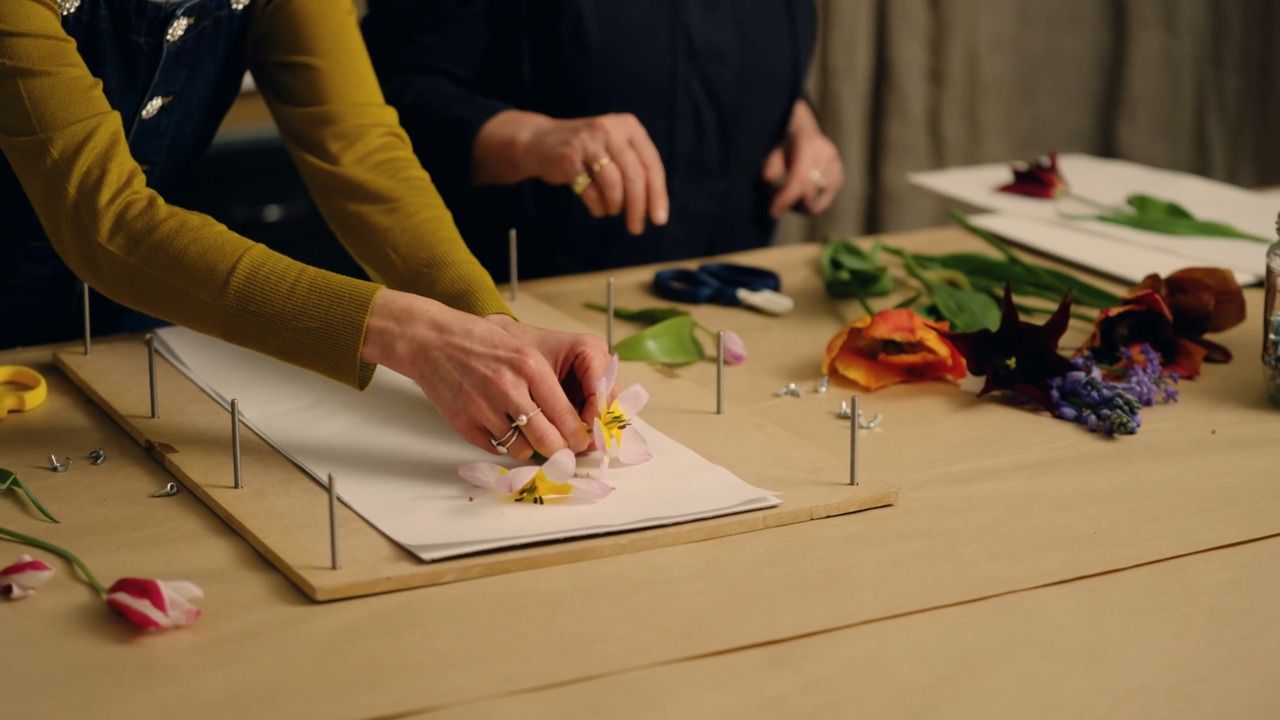
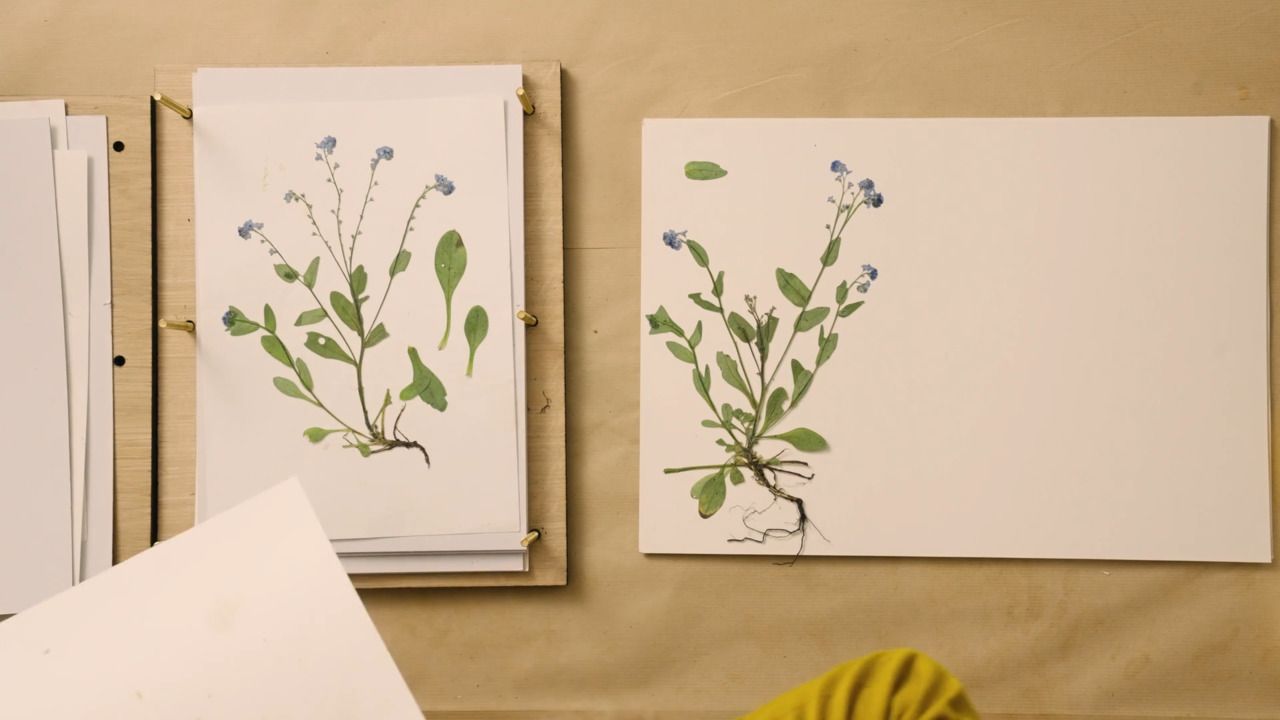
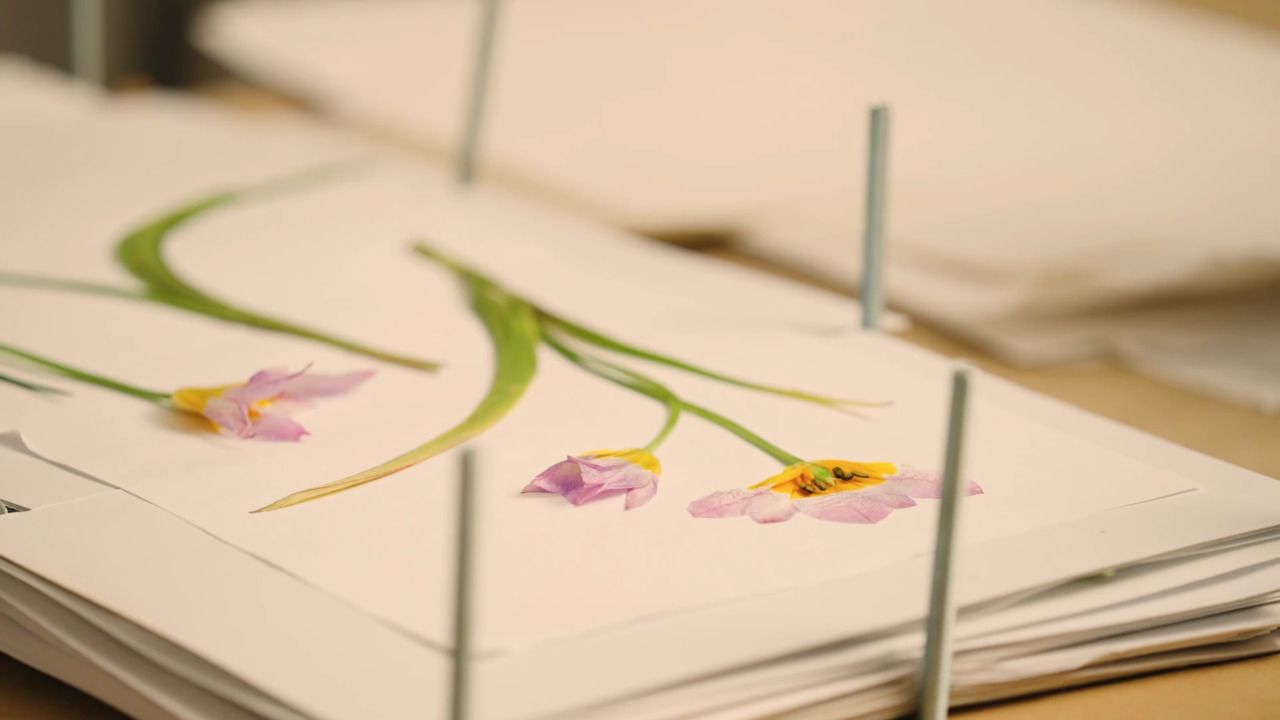
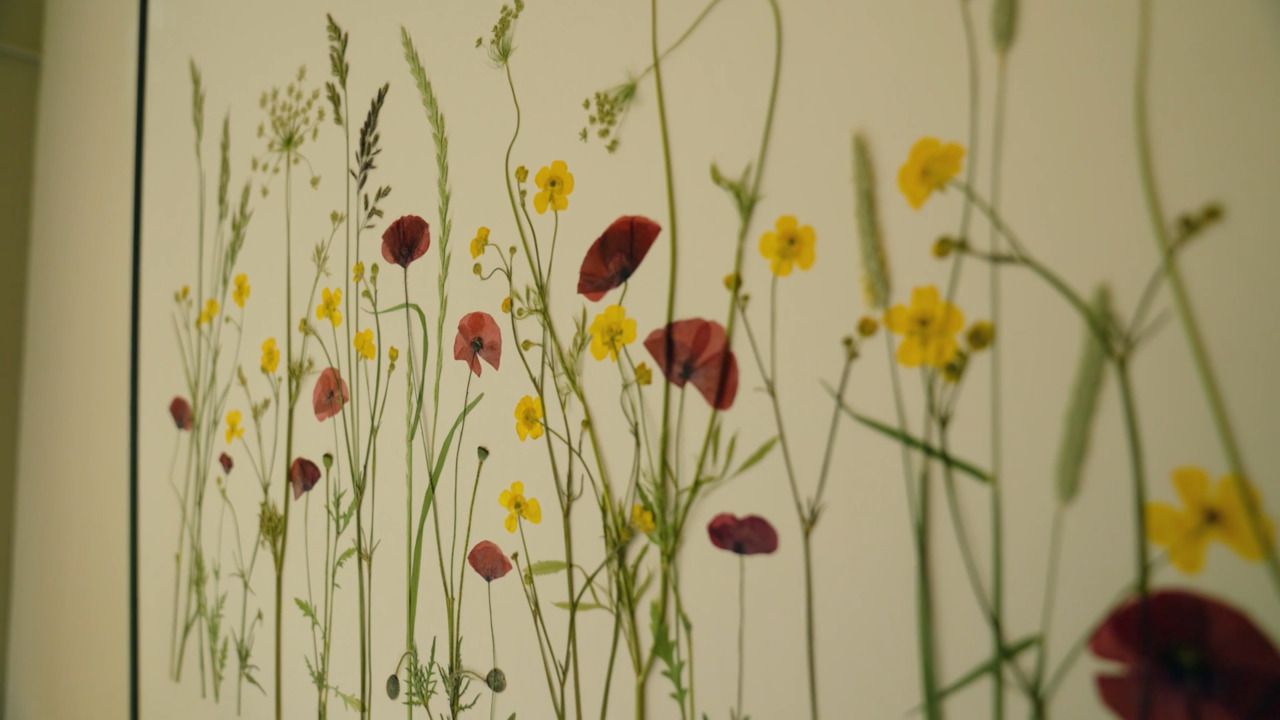
Step 2: Next, it's time to play around with composition. If you have a perfect specimen, this could be placed straight onto the board and look beautiful as it is. Or, you can reconstruct a flower by delicately placing parts onto the board and experimenting with different compositions.
Step 3: Once you're happy with the composition, take a picture to use as a reference and to help you remember where each element sits on the page.
Step 4: Carefully lift off the top layers of your composition and put to one side, until you reach the very first layer on the board.
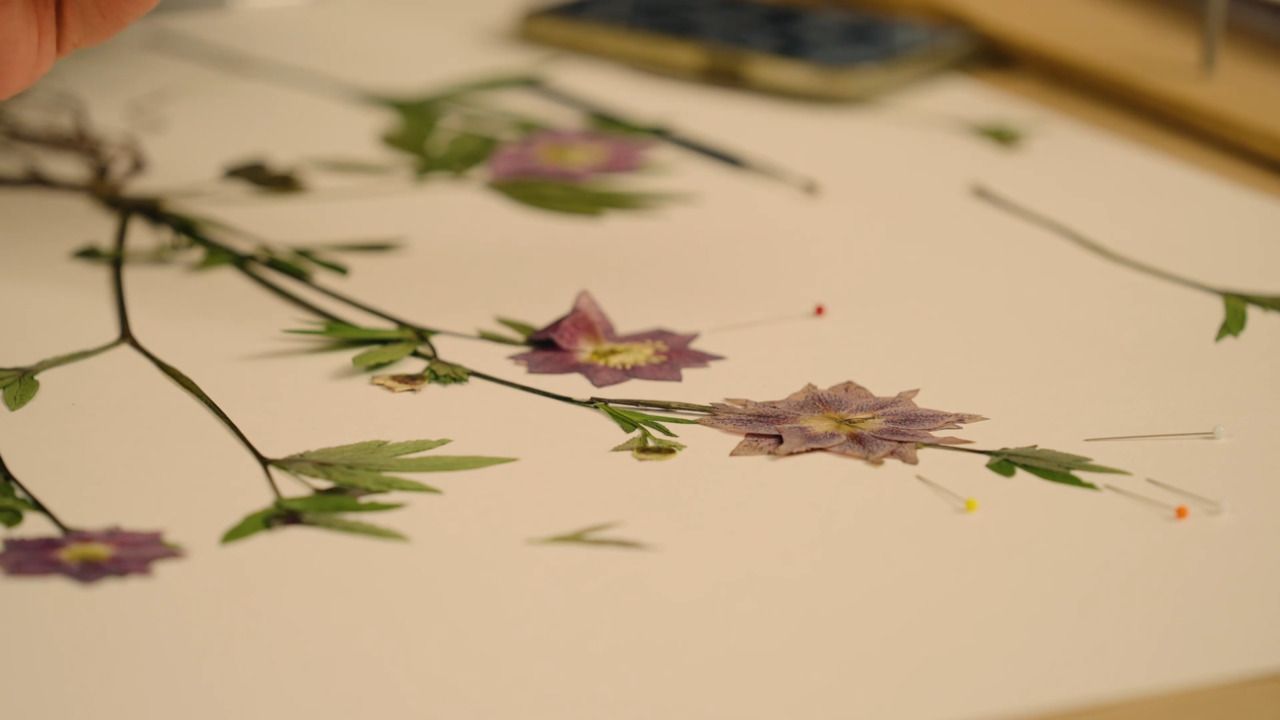
Step 5: Use pins to mark exactly where the pressing lies on the board.
Step 6: Pick up the pressing and lift it out of place using tweezers, being careful not to move the pins, and place it upside down on a scrap piece of paper ready for glueing.
Step 7: Moving quickly and precisely, apply glue to the pressing using a paintbrush. Start in the centre of the flower and gently brush outwards, and then brush upwards as you move down the stem.
Step 8: Place the pressing back onto your board with tweezers, glue side down, using your pins to ensure the placement is correct. For larger specimens, you can use the end of a paintbrush to help you lower it down into position.
Step 9: Use your finger to lightly press and secure it, then put a clean sheet of paper on top and press down firmly with your hand to make sure it is firmly glued down.
Step 10: Repeat this process for each element of your pressed flower artwork.
Step 11: Once each specimen is glued into place, check for any loose petals or leaves. Use a pin to gently lift the loose parts and apply glue using a paintbrush directly onto the board, then press the specimen down onto the glue.
Step 12: When you are finished, lay a clean piece of paper over the top of the entire artwork then weigh it down with some heavy books and leave it to dry overnight.
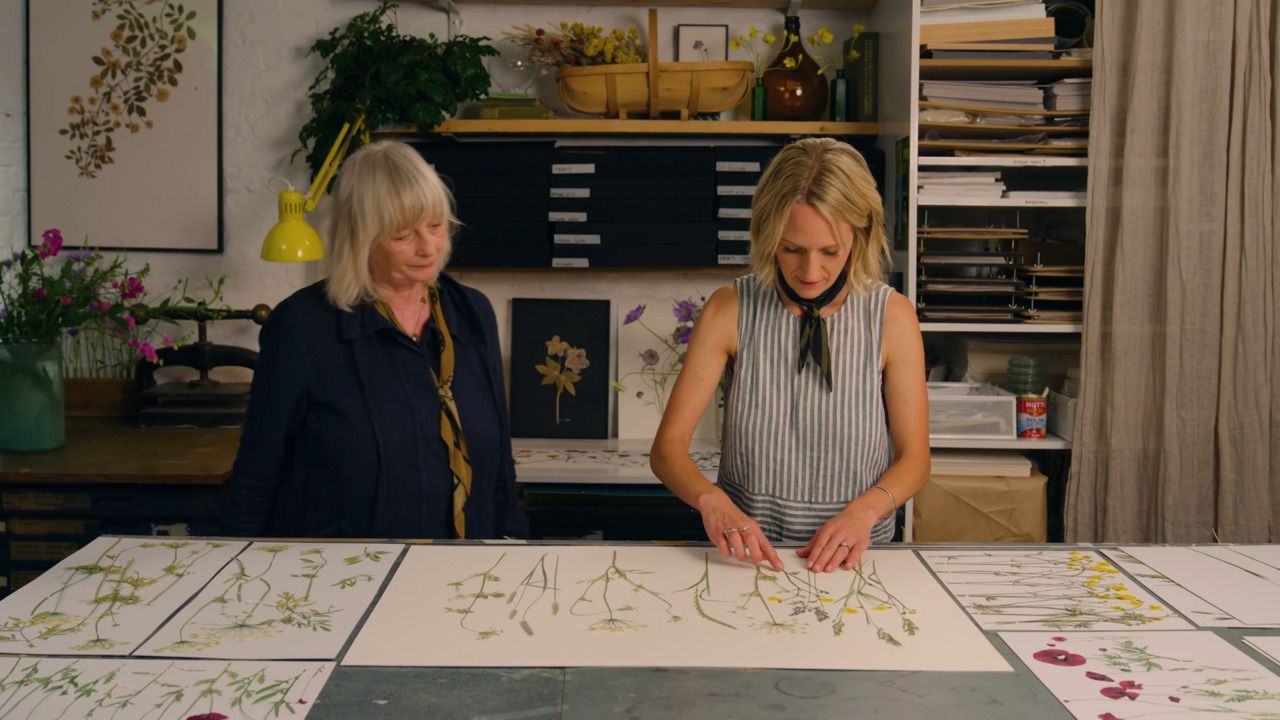
Step 13: We like to write the name of the specimen in calligraphy style onto the artwork, and then place it into a thin black frame for a modern look. Opting for UV protection art glass helps to slow the process of fading.
Get the full workbook, video lessons, and more with a Create Academy subscription.
Subscribe to access the full workbookAlready a member? Sign in to watch
437 reviews
Read moreI have subscribed to access all the courses so have watched one on interior design and this one with Butter Wakefield who specialises in small garden design. She ...
Louise Brown
Apr 10, 2026
I love CreateAcademy. I came in for the gardening and floristry courses, but am also watching an interior design one at present. And the photography course is an ...
Wellesley
Apr 1, 2026
What a great investment, I have learned such a lot from the first three courses. My evenings have gone from not being able to find anything that captured my imagi...
sojojo
Mar 30, 2026
I loved this course with Amanda Lindroth! Her approach to decorating is so relaxed and she makes it feel attainable. She explains the reasons behind her decisions...
Elizabeth
Mar 27, 2026
I have subscribed to access all the courses so have watched one on interior design and this one with Butter Wakefield who specialises in small garden design. She has a lovely personality and comes across as ...
Louise Brown
Apr 10, 2026
I love CreateAcademy. I came in for the gardening and floristry courses, but am also watching an interior design one at present. And the photography course is an absolute must, best I've ever done.
Wellesley
Apr 1, 2026
What a great investment, I have learned such a lot from the first three courses. My evenings have gone from not being able to find anything that captured my imagination on TV to learning and expanding my kno...
sojojo
Mar 30, 2026
.png)
Your Instructor
Renowned florists and flower pressing studio specialising in unique nature-inspired homewares.
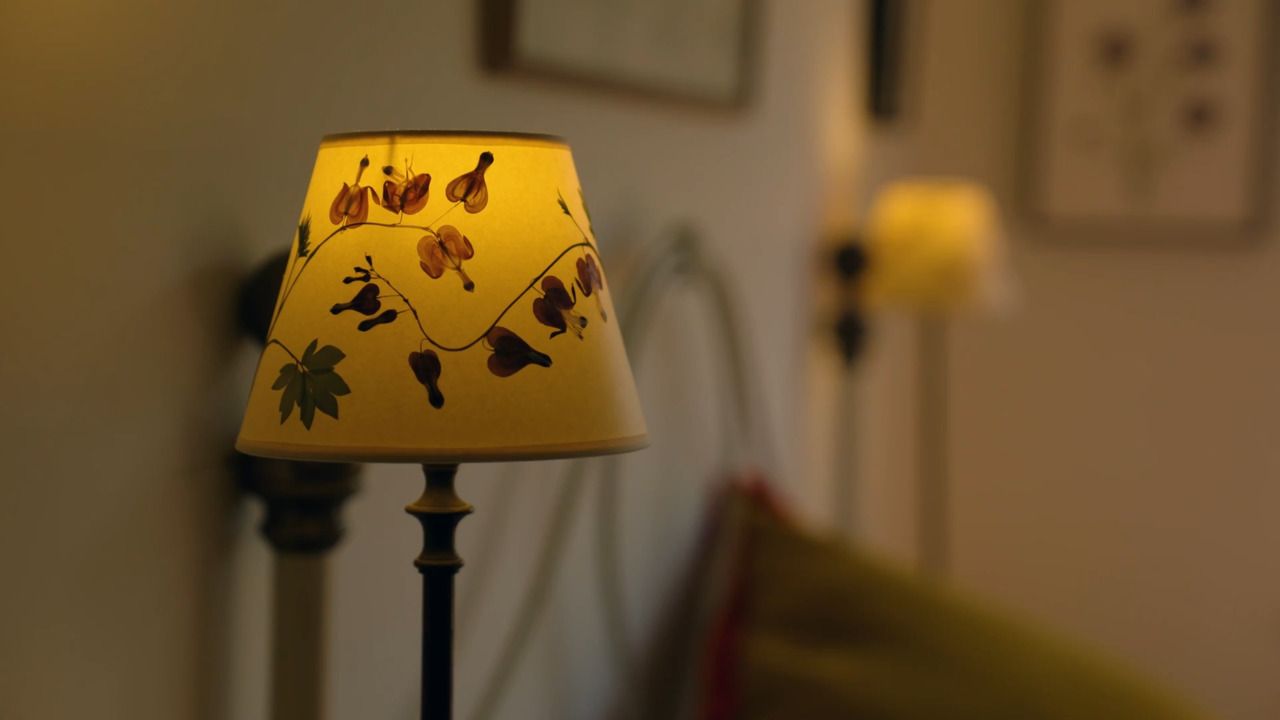
JamJar Edit is a seasonally led floral design studio with an online edit of artwork and curated homewares. Inspired by the Sussex garden and woods that surrounded her childhood home, JamJar Flowers was founded by Melissa Richardson in 2009, with her signature style reflecting the simple charm of seasonal British flowers artfully arranged in jam jars. From these uncomplicated beginnings, JamJar Flowers has become one of London's leading florists. Melissa went on to create JamJar Edit with co-founder Amy Fielding in 2017; beginning as an eclectic collection of botanically inspired homewares and now an innovative design studio specialising in creating pressed flower artworks, from single stem framed pieces and private commissions, to ambitious installations and exhibitions. Their book, The Modern Flower Press, is the go-to-guide for pressing flowers in the 21st century.

Access to all courses


