


Very good tutorial from a professional garden...
I have subscribed to access all the courses so have watched one on interior design and this one with Butter Wakefield who specialises in small garden design. She ...
Louise Brown
Apr 10, 2026
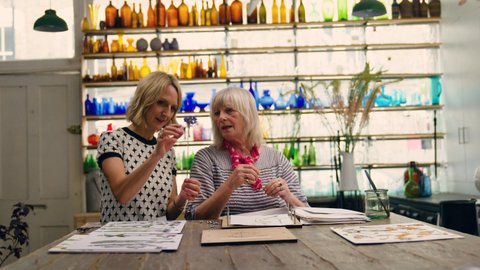
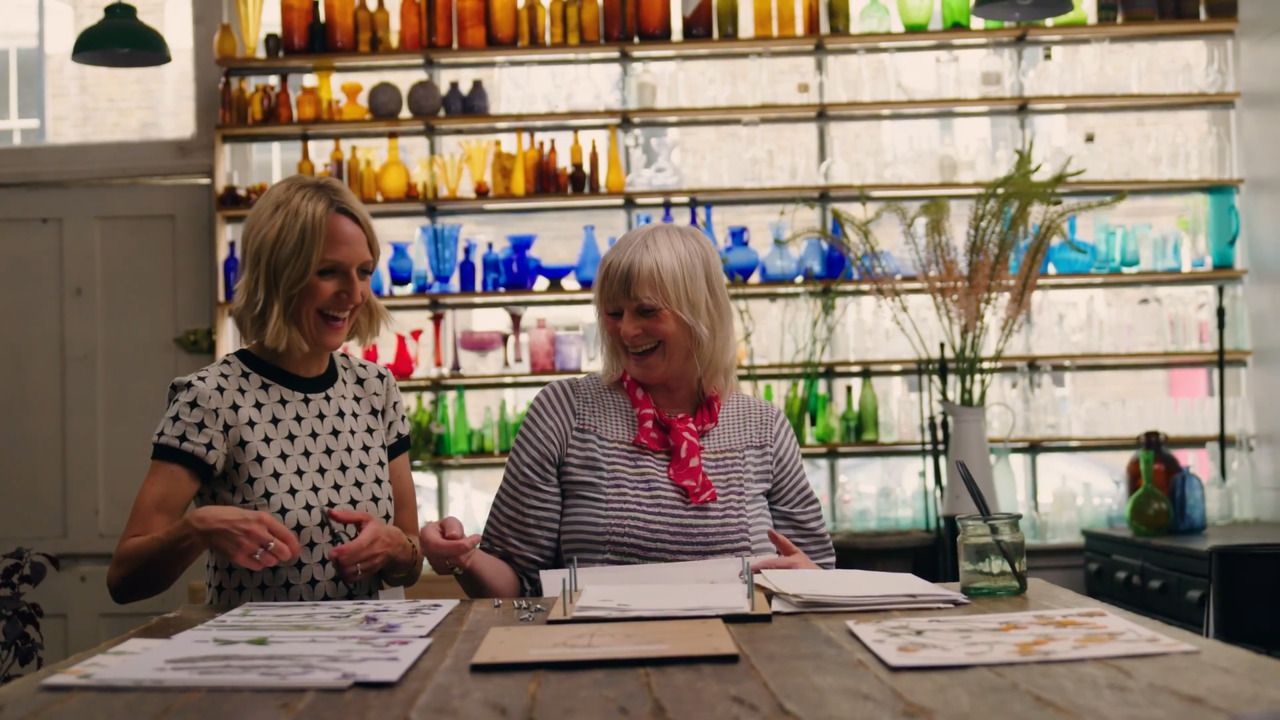
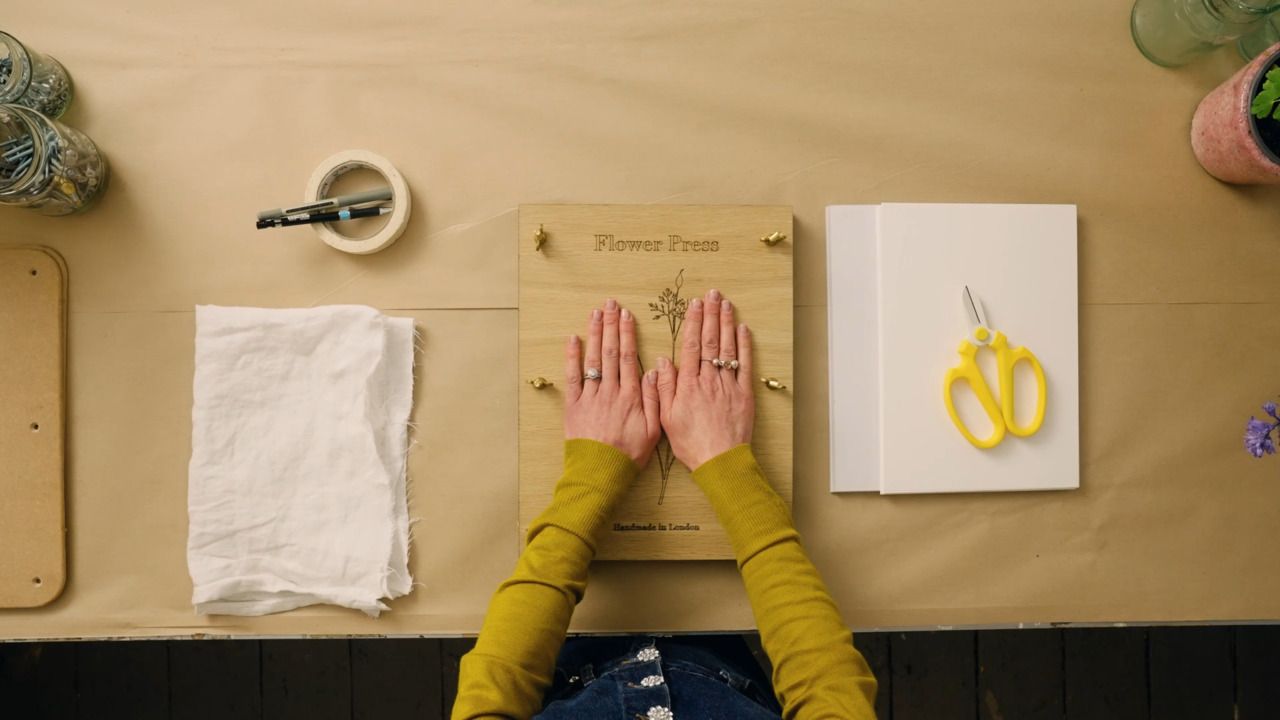
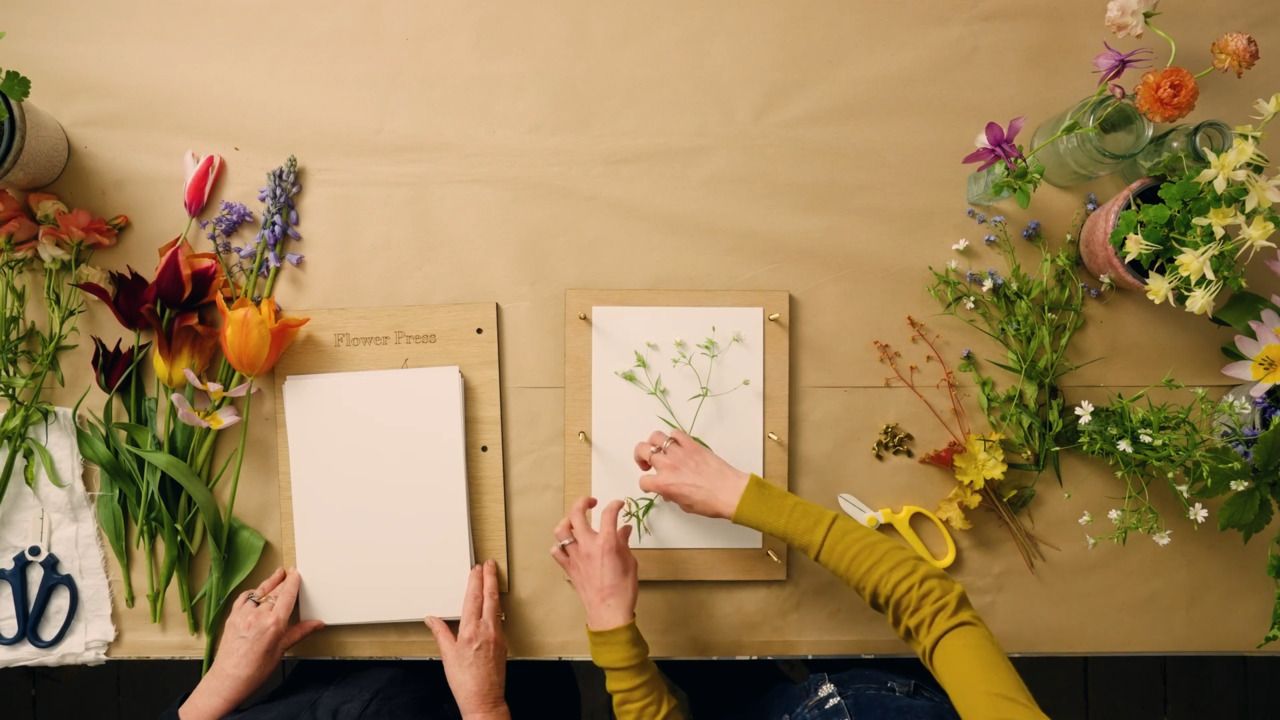
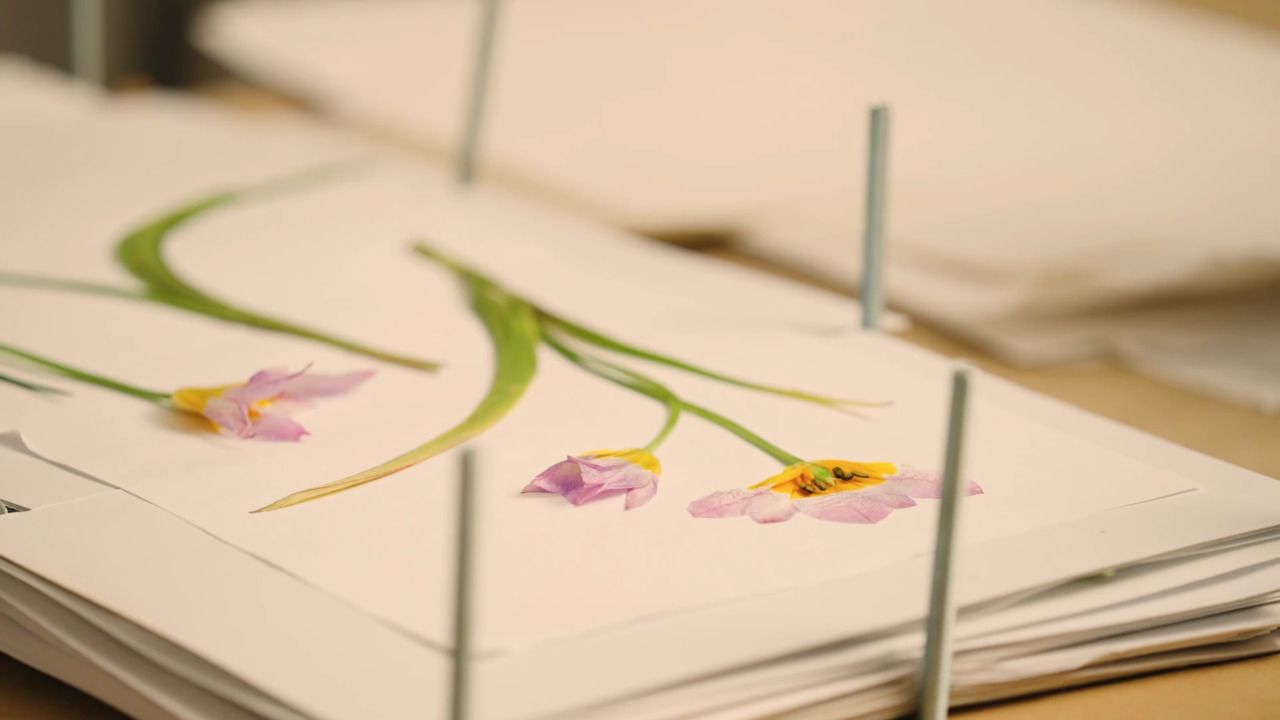
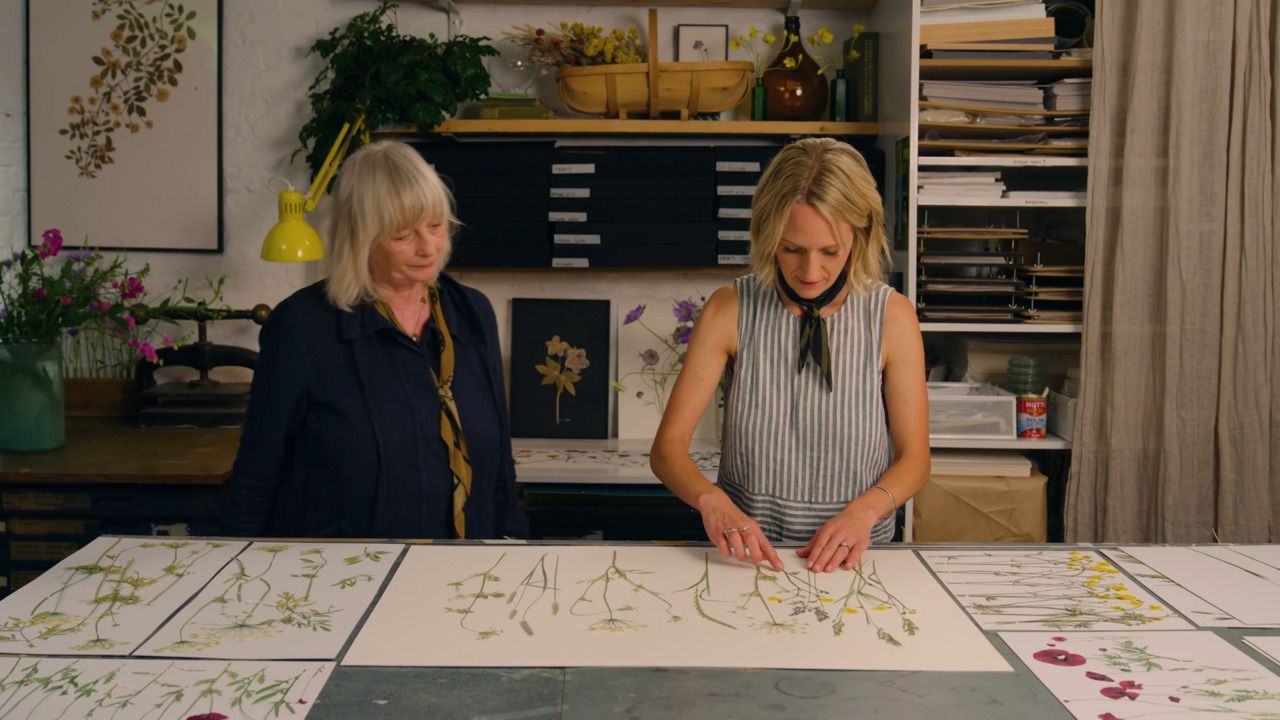
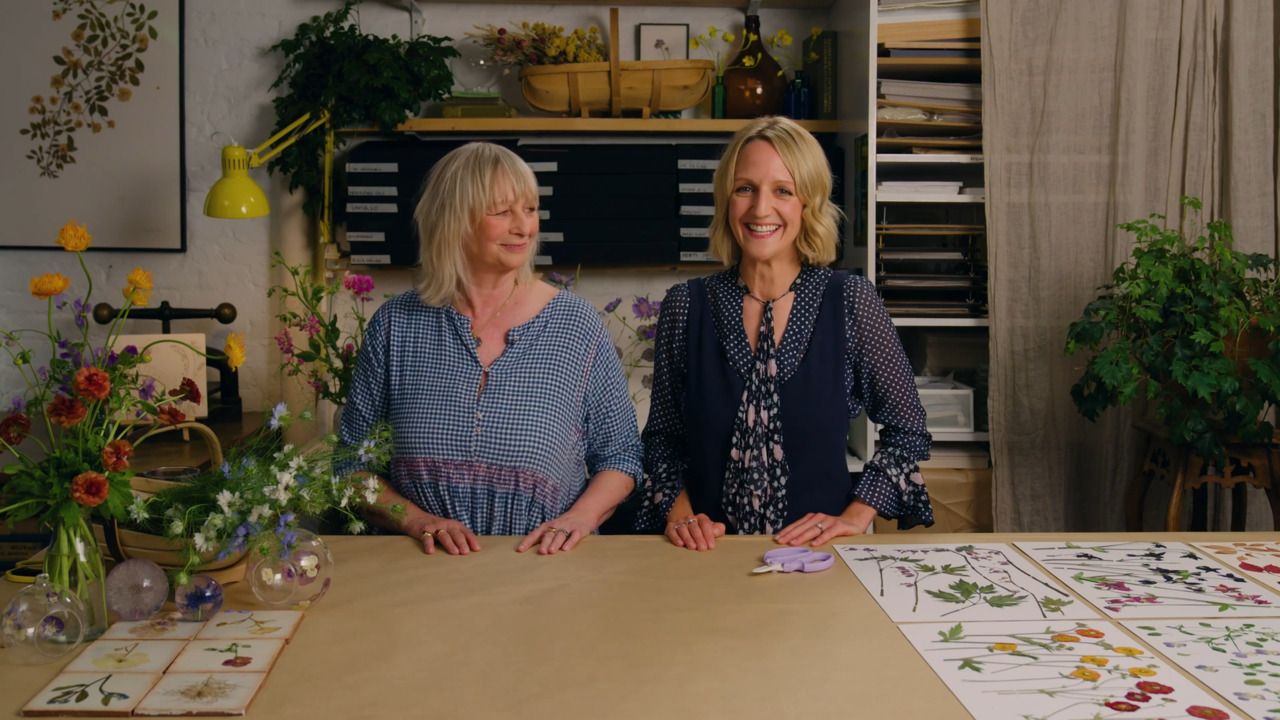
Learn the Art of Flower Pressing
with JAMJAR EDIT — Renowned florists and flower pressing studio specialising in unique nature-inspired homewares.
Lesson 22 of 23
Buy or subscribe to watch
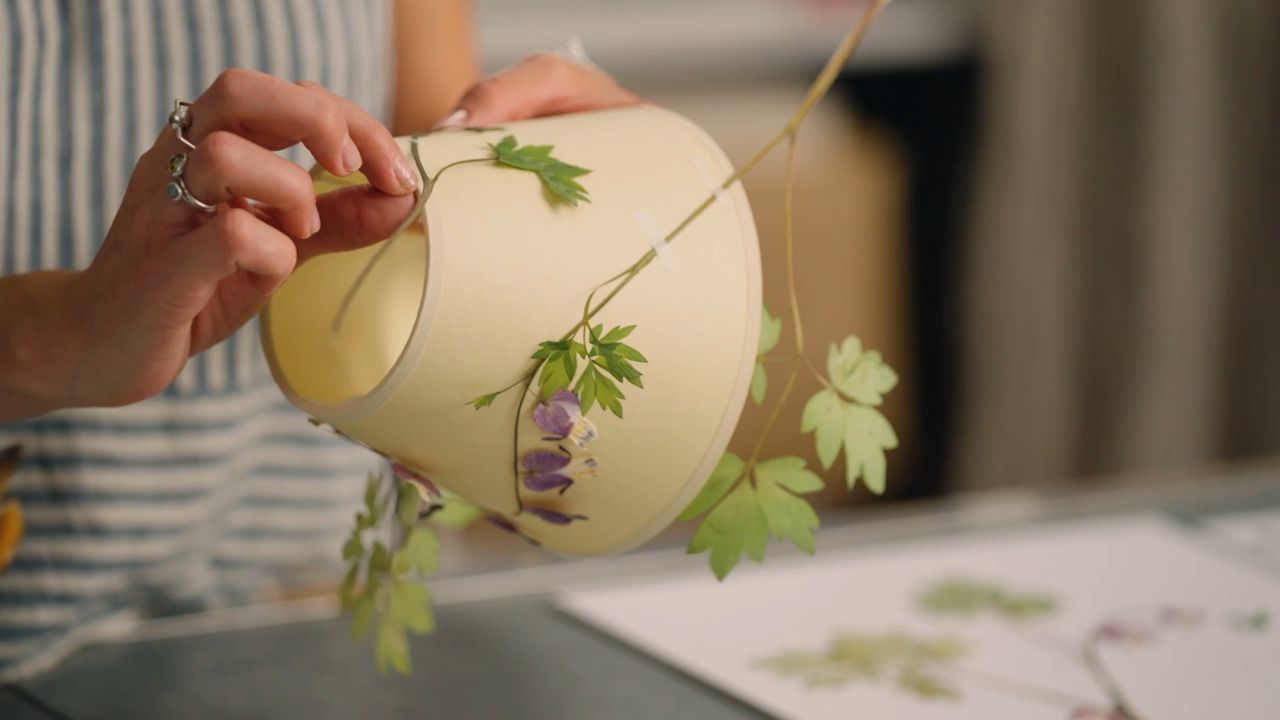
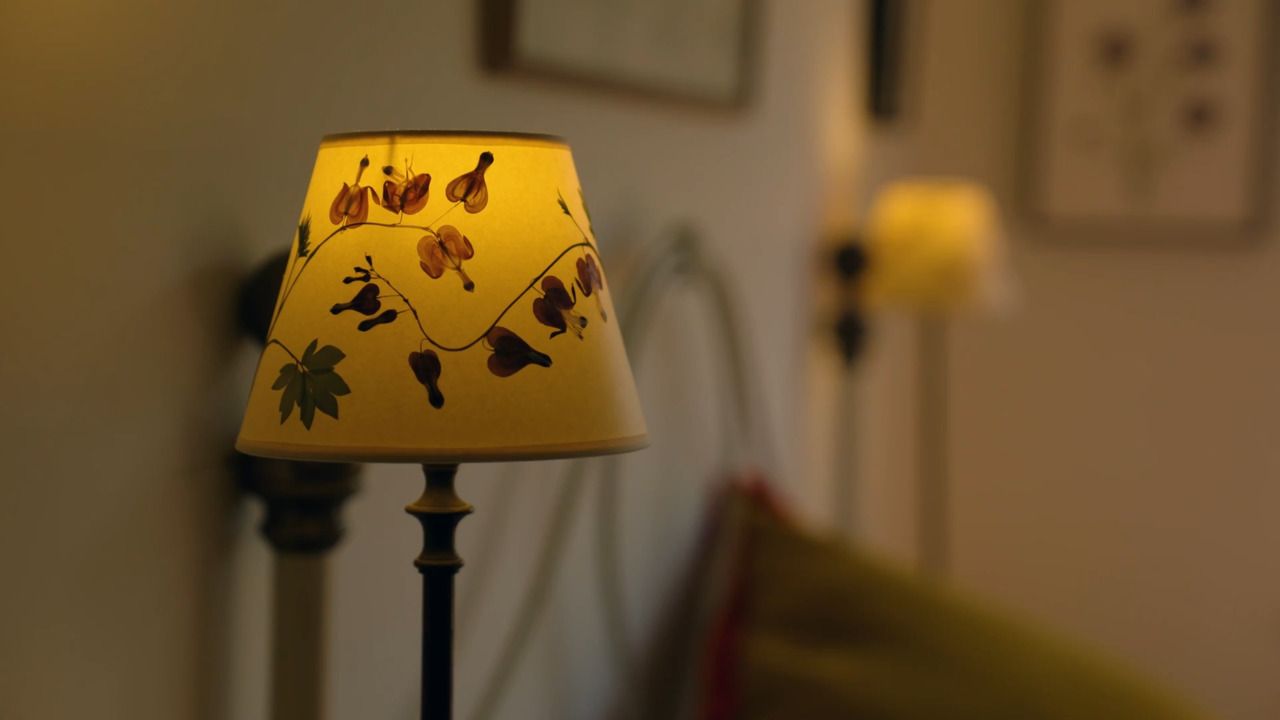
The process of securing your design to the lampshade is a little trickier due to the curved surface, but very achievable with a little patience and some tips from Amy.
The process of securing your design to the lampshade is a little trickier due to the curved surface, but very achievable with a little patience and technique.
Step 1: Use masking tape to mark the positioning of the first stem you want to glue. It's a good idea to mark as many points as you can to help you match it back up later - this could be the edge of a prominent leaf, the top of a petal and the end of a stem.
Step 2: Remove the stem from the lampshade, and place it face down onto scrap paper.
Step 3: Apply the glue delicately using a paint brush in an upward motion being careful of any delicate areas. Leave any particularly flimsy petals to be glued at a later stage.
Step 4: Lay the stem back onto the lampshade, using your markers to get it in the correct position. Wipe away any excess glue with eco-friendly baby wipes.
Step 5: Gently press it into place using a scrap piece of paper - as it is a curved surface and you can't weigh it down with books, use masking tape to hold it down while the glue dries.
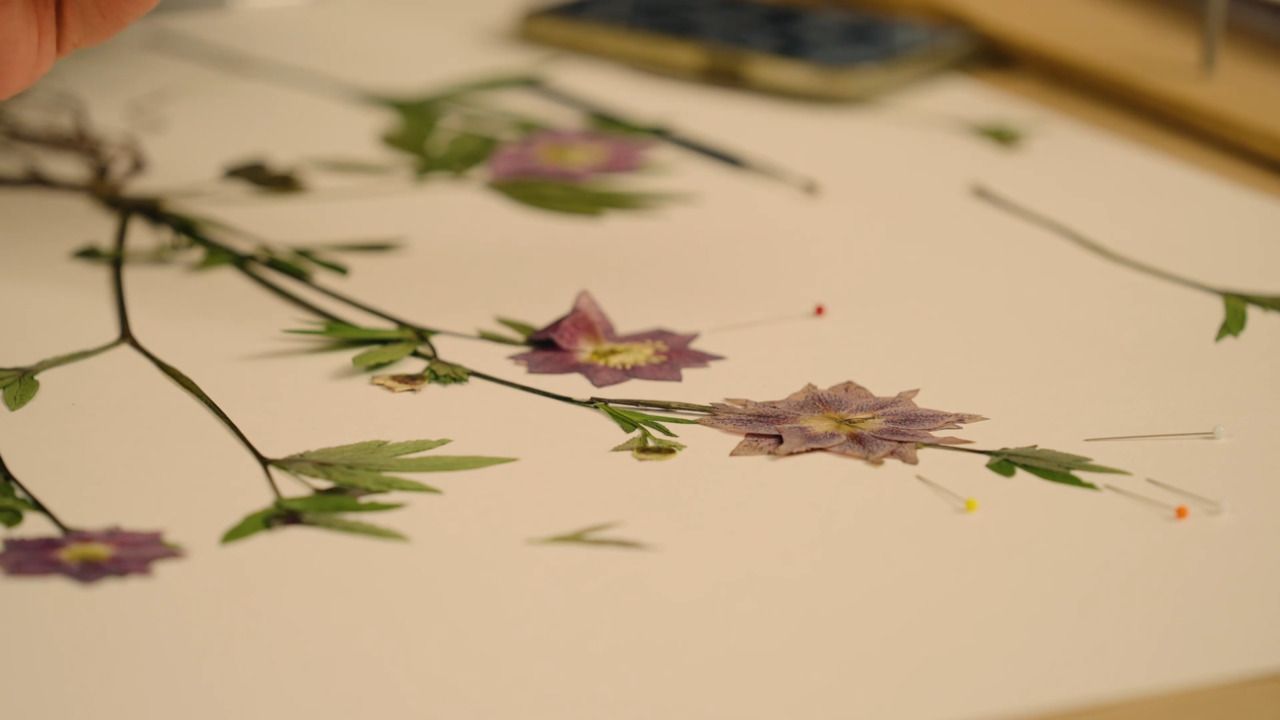
Step 6: Once all of your stems are glued down, work around the shade glueing any loose leaves. This is a delicate process, so take your time. Use pins or tweezers to carefully lift the leaf away from the shade, then if the leaf is sturdy enough, you can fold it up slightly and slide a scrap piece of paper beneath to apply the glue. You can then use the scrap piece of paper to fold it back into position and secure it onto the shade.
Step 7: Next, you can glue down any loose petals - they will be particularly delicate. Try to use your paintbrush and tweezers to apply the glue to the petal as this is the most accurate way. However, it might be easier to apply the glue straight onto the lampshade and then press the petals into place.
Step 8: If a leaf or petal breaks, don't worry - you can replace it with something from another pressing. You can also use any extra pressings you have to add extra detail to the end of stems.
Step 9: When you have finished, it's a good idea to leave the masking tape on your stems for at least a few hours to ensure the glue has fully dried and cured.
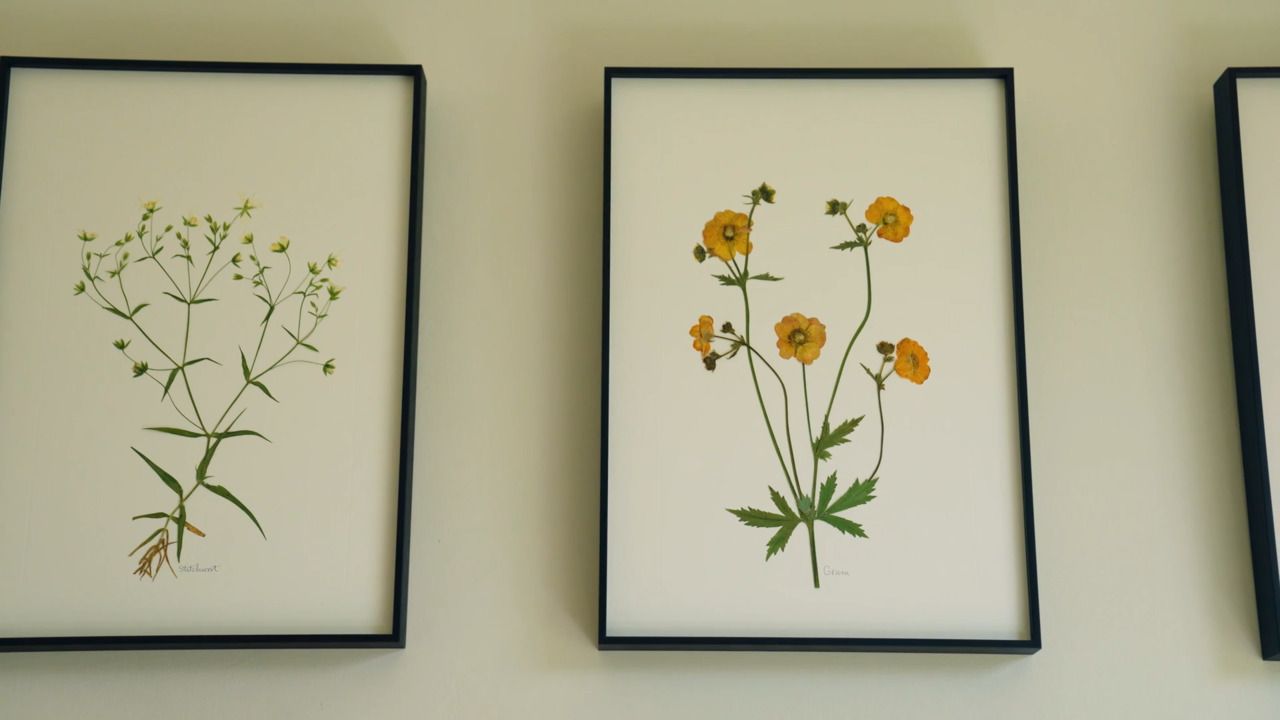
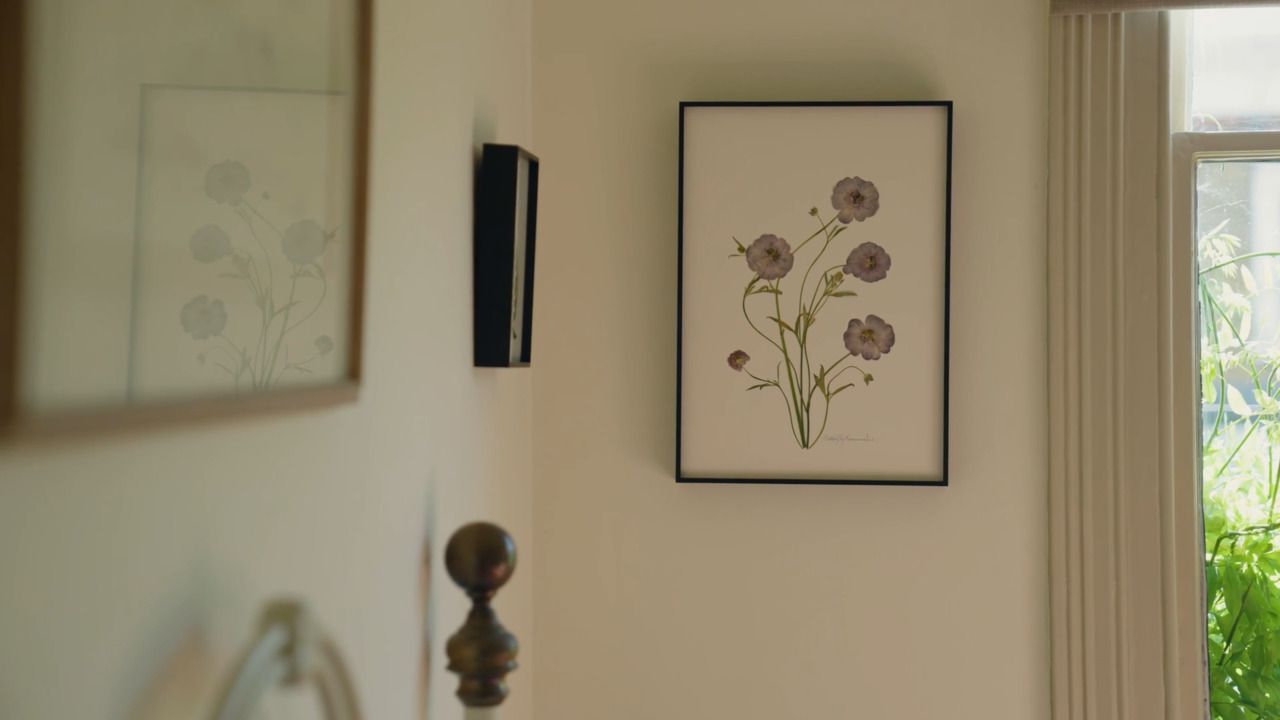
Step 10: Your finished shade is ready to be added to a lamp base!
These techniques can be used to create all sorts of decorative pieces for your home. As well as the surface you use, you can also experiment with using different stems and creating different patterns - the more creative you can be, the better.
Get the full workbook, video lessons, and more with a Create Academy subscription.
Subscribe to access the full workbookAlready a member? Sign in to watch
437 reviews
Read moreI have subscribed to access all the courses so have watched one on interior design and this one with Butter Wakefield who specialises in small garden design. She ...
Louise Brown
Apr 10, 2026
I love CreateAcademy. I came in for the gardening and floristry courses, but am also watching an interior design one at present. And the photography course is an ...
Wellesley
Apr 1, 2026
What a great investment, I have learned such a lot from the first three courses. My evenings have gone from not being able to find anything that captured my imagi...
sojojo
Mar 30, 2026
I loved this course with Amanda Lindroth! Her approach to decorating is so relaxed and she makes it feel attainable. She explains the reasons behind her decisions...
Elizabeth
Mar 27, 2026
I have subscribed to access all the courses so have watched one on interior design and this one with Butter Wakefield who specialises in small garden design. She has a lovely personality and comes across as ...
Louise Brown
Apr 10, 2026
I love CreateAcademy. I came in for the gardening and floristry courses, but am also watching an interior design one at present. And the photography course is an absolute must, best I've ever done.
Wellesley
Apr 1, 2026
What a great investment, I have learned such a lot from the first three courses. My evenings have gone from not being able to find anything that captured my imagination on TV to learning and expanding my kno...
sojojo
Mar 30, 2026
.png)
Your Instructor
Renowned florists and flower pressing studio specialising in unique nature-inspired homewares.
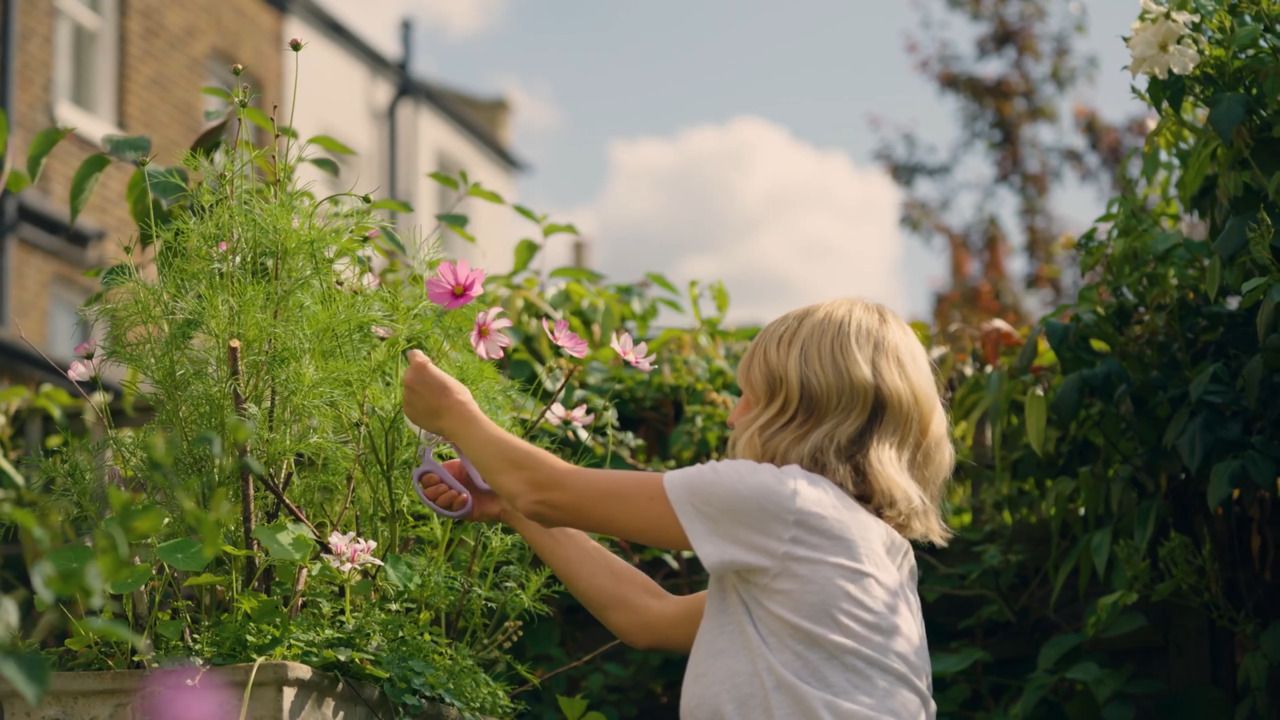
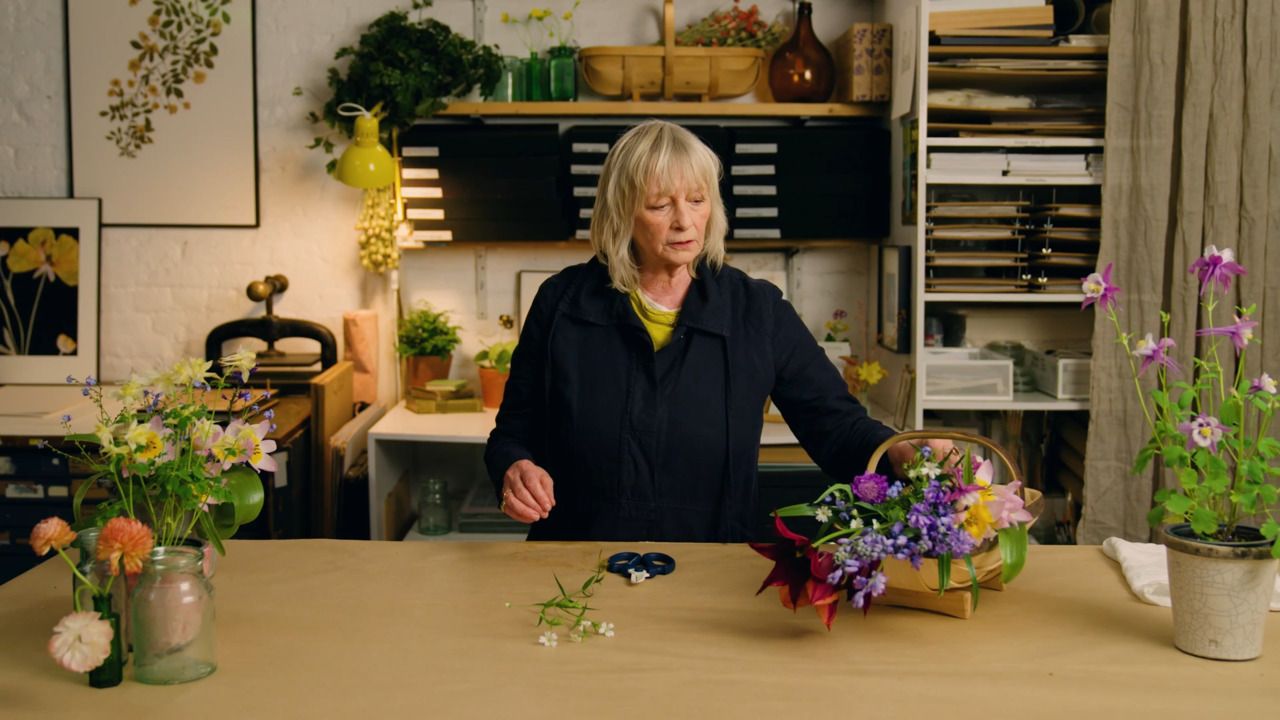
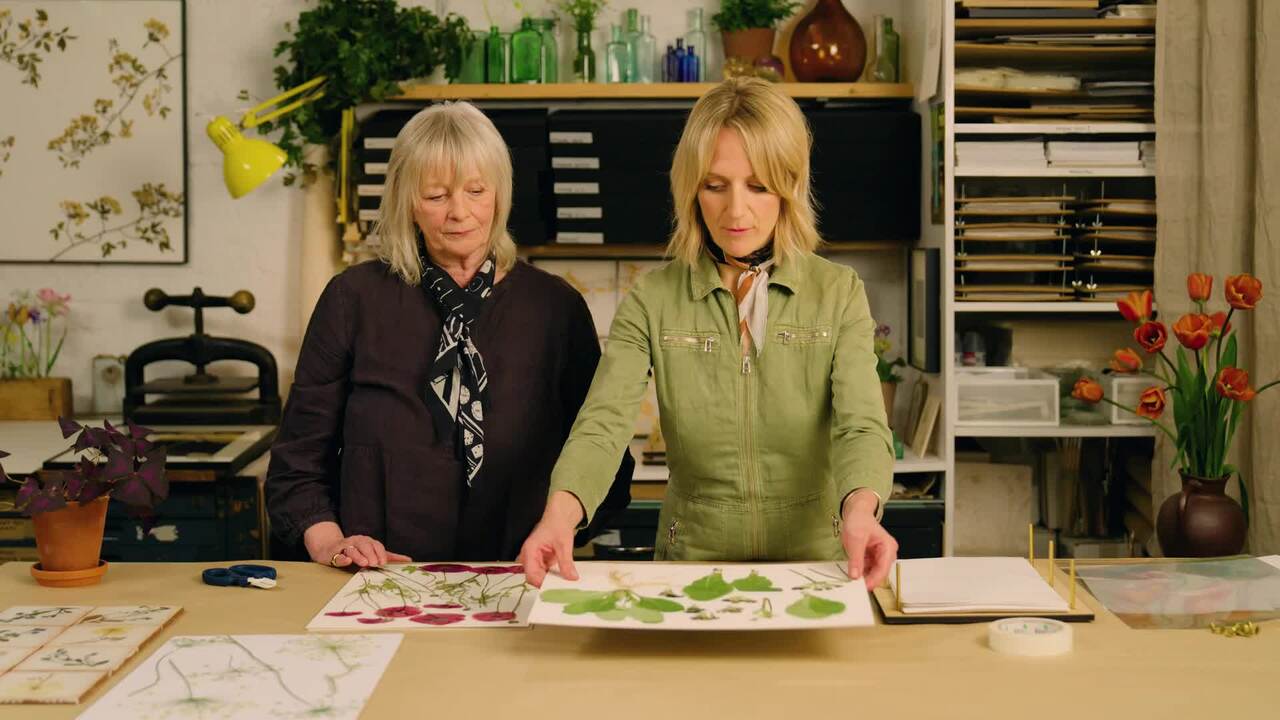
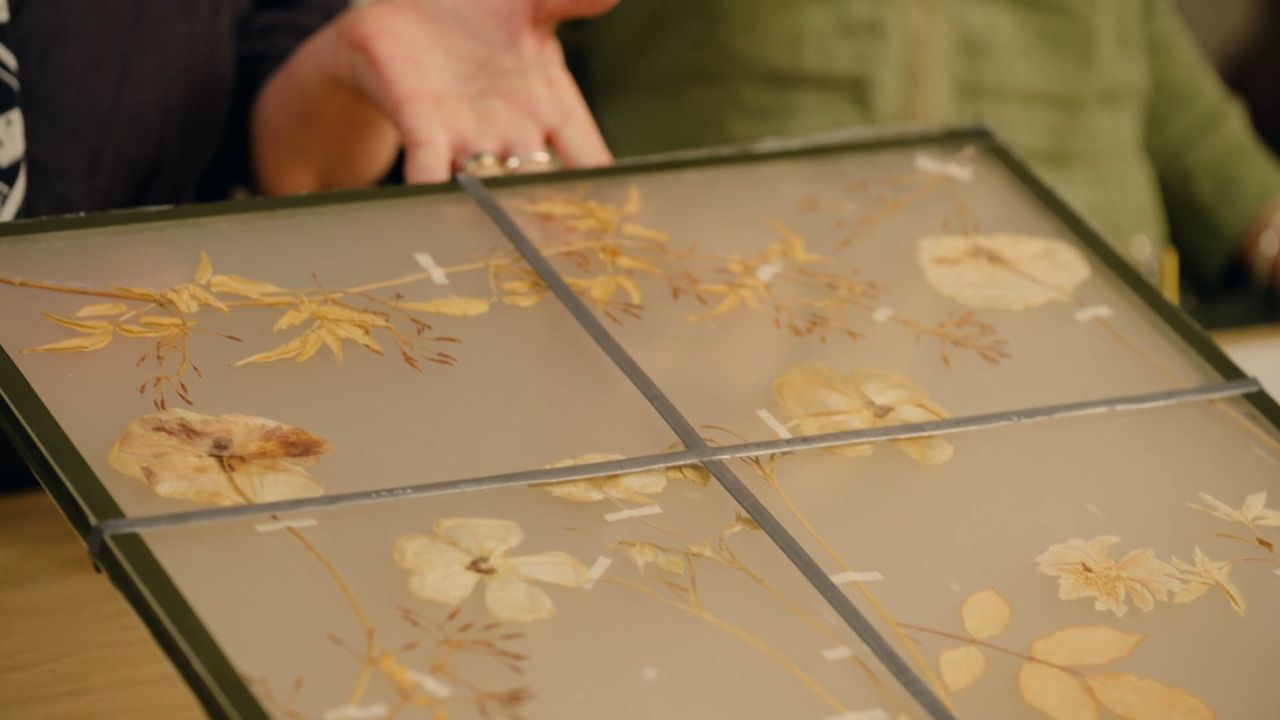
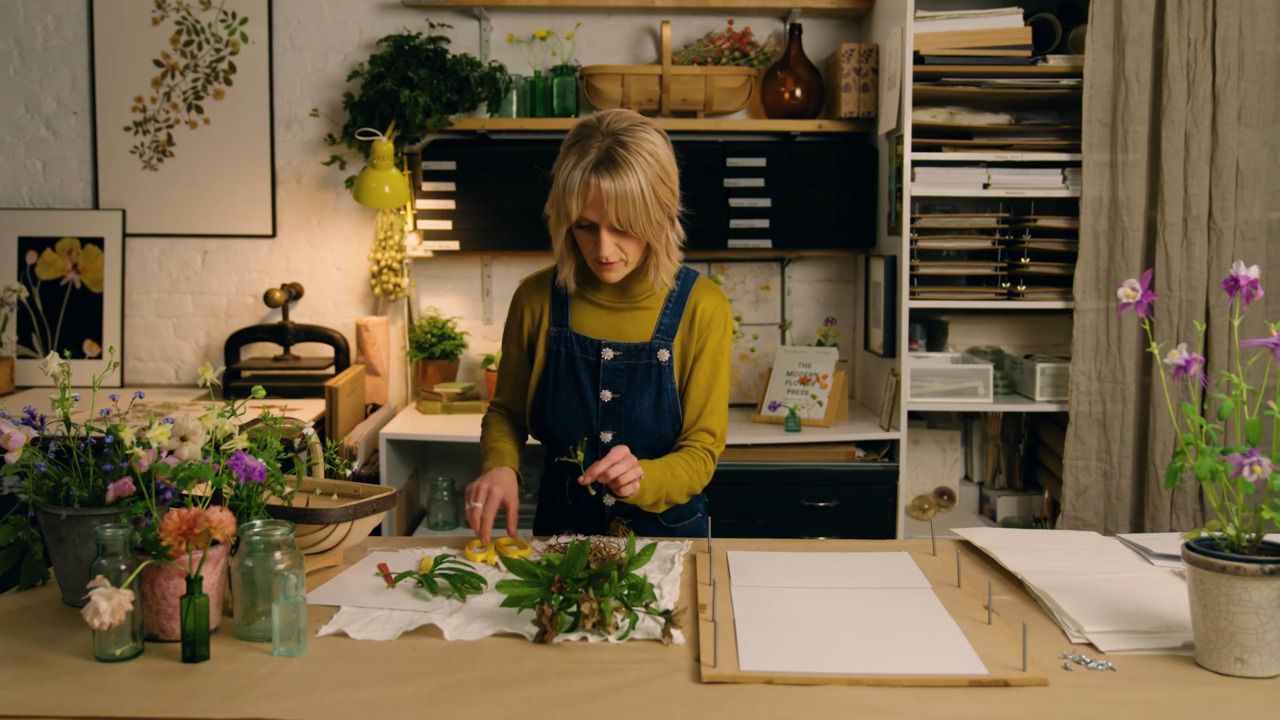
JamJar Edit is a seasonally led floral design studio with an online edit of artwork and curated homewares. Inspired by the Sussex garden and woods that surrounded her childhood home, JamJar Flowers was founded by Melissa Richardson in 2009, with her signature style reflecting the simple charm of seasonal British flowers artfully arranged in jam jars. From these uncomplicated beginnings, JamJar Flowers has become one of London's leading florists. Melissa went on to create JamJar Edit with co-founder Amy Fielding in 2017; beginning as an eclectic collection of botanically inspired homewares and now an innovative design studio specialising in creating pressed flower artworks, from single stem framed pieces and private commissions, to ambitious installations and exhibitions. Their book, The Modern Flower Press, is the go-to-guide for pressing flowers in the 21st century.

Access to all courses


