


Interior and exterior confidence
Create Academy has been such a great resource. I'm in the middle of renovating a bungalow with a very large garden and the courses have offered a wealth of inform...
Harvey
Jun 10, 2026
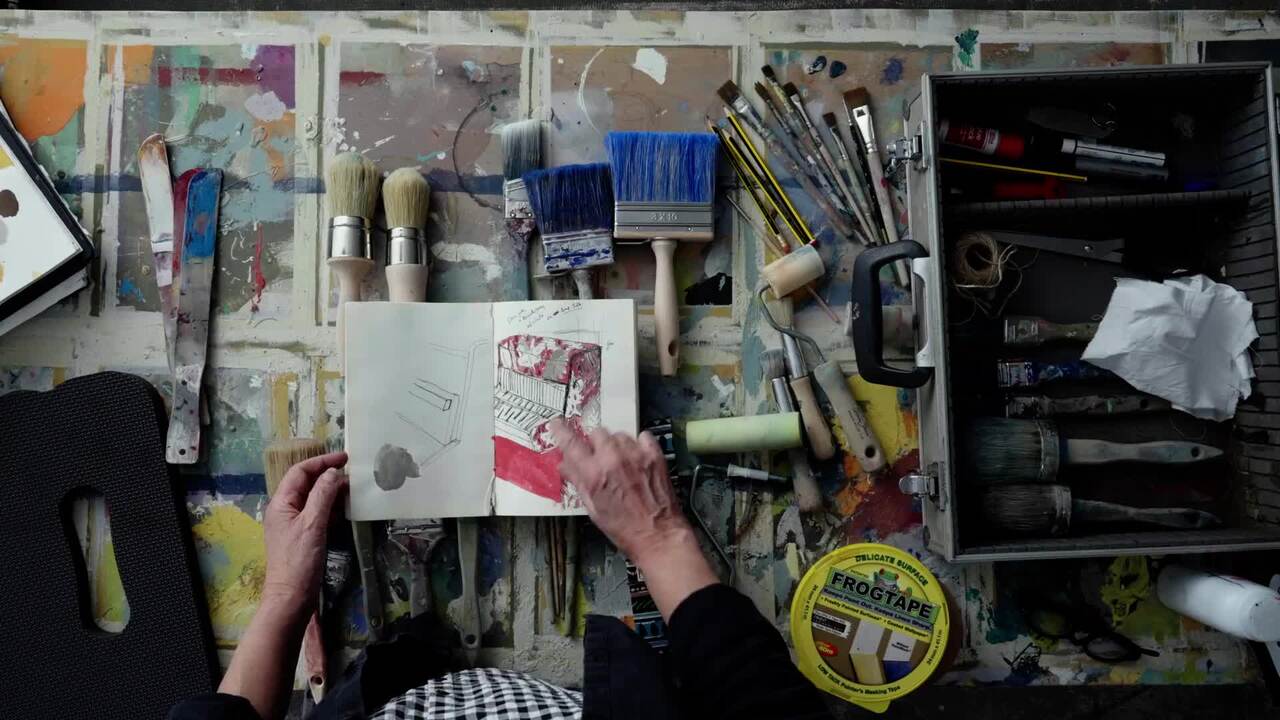
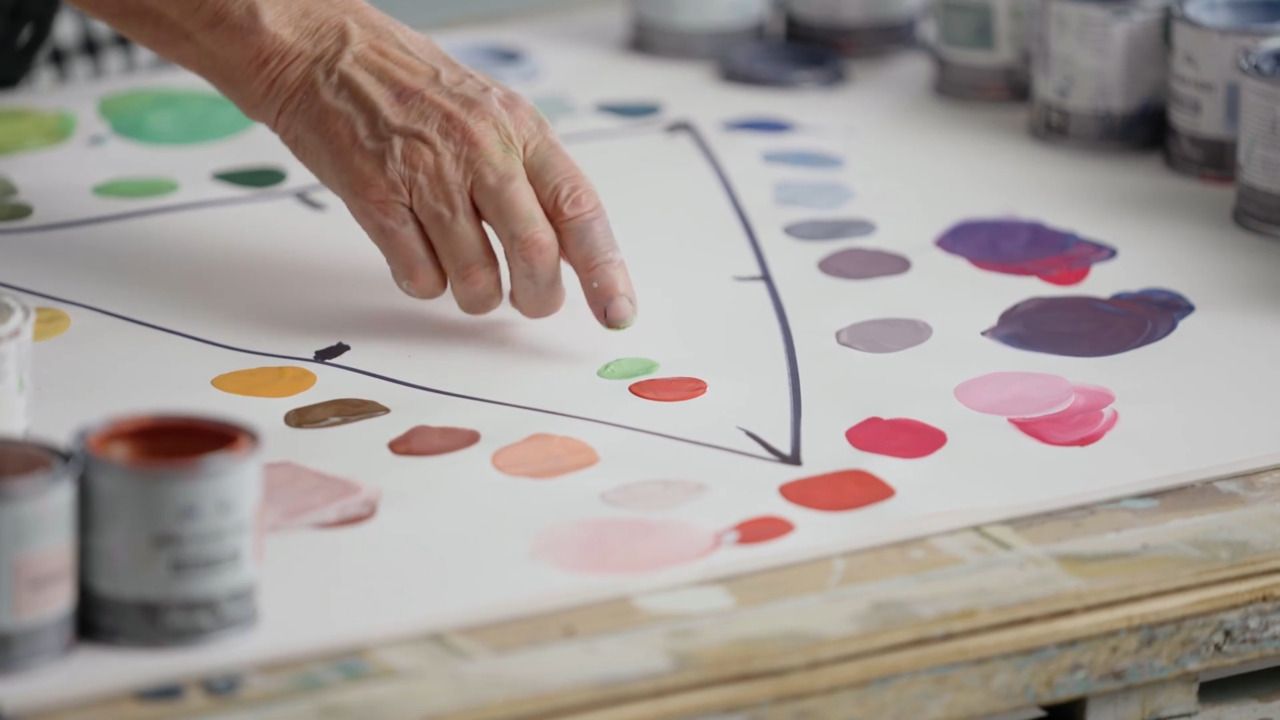
Furniture Painting Masterclass
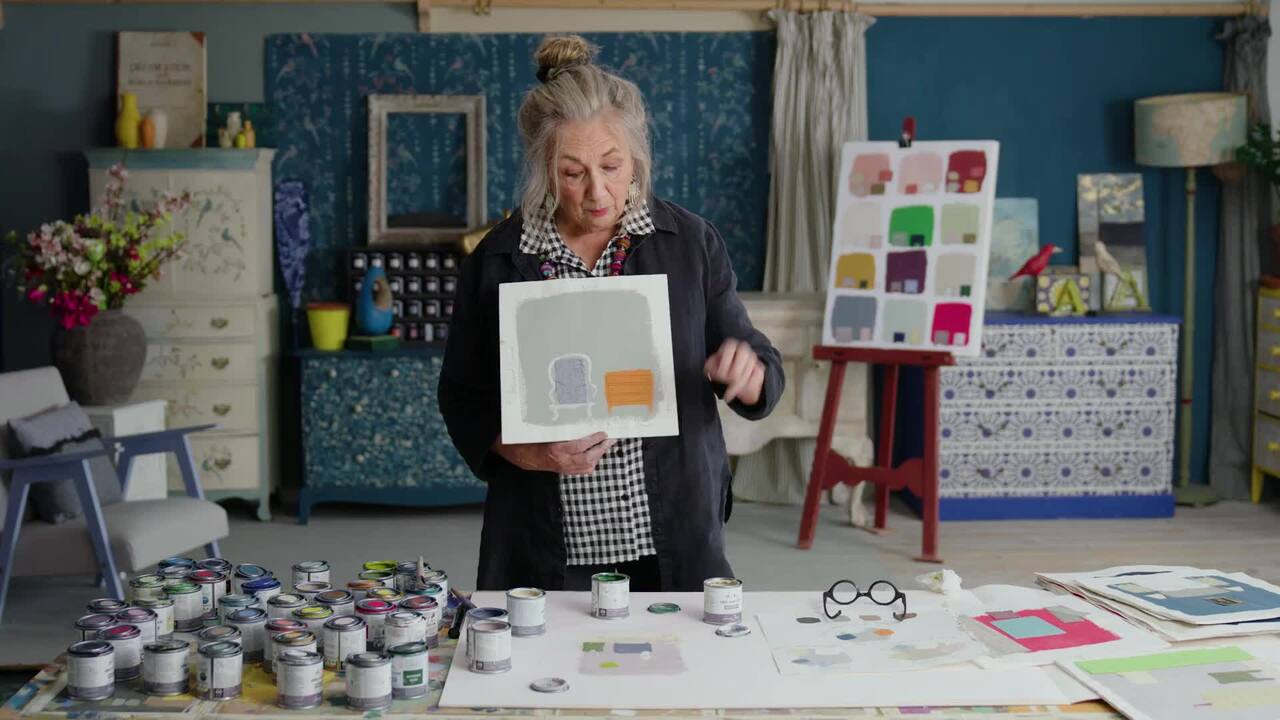
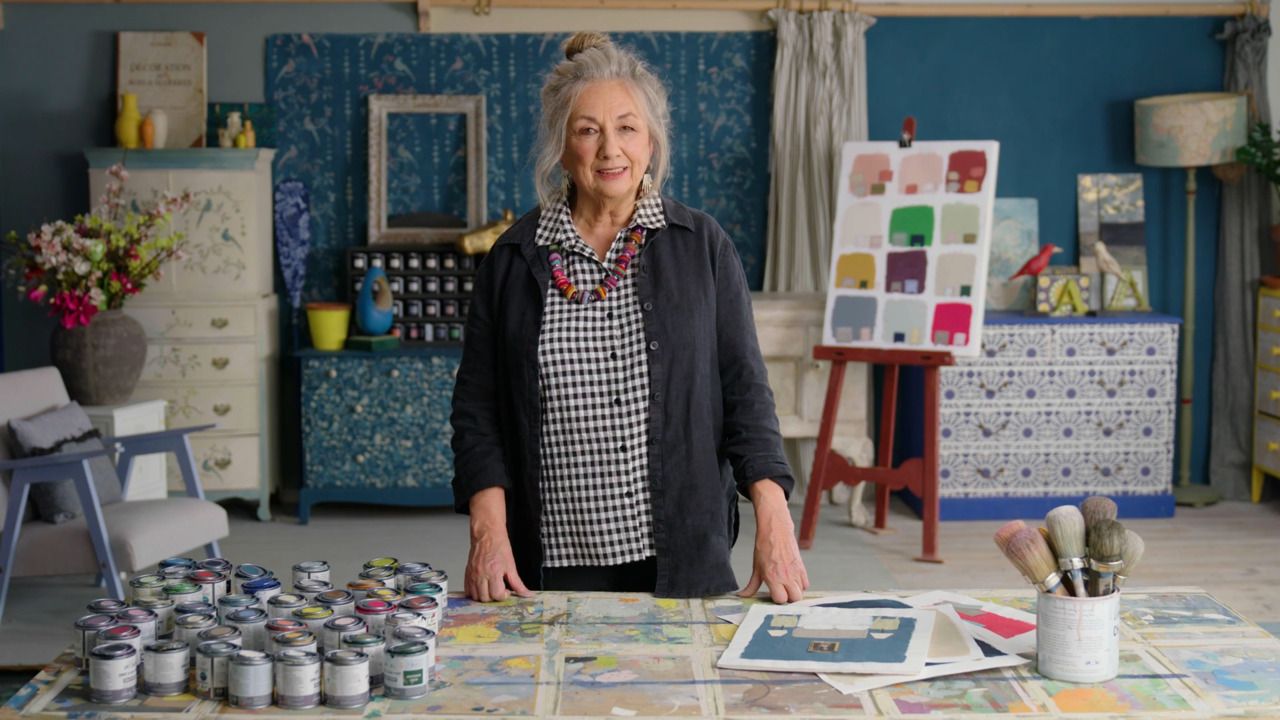
with ANNIE SLOAN — Artist, colour expert, author and inventor of Chalk Paint. CBE for services to interior design.
Lesson 14 of 22
Subscribe to watch
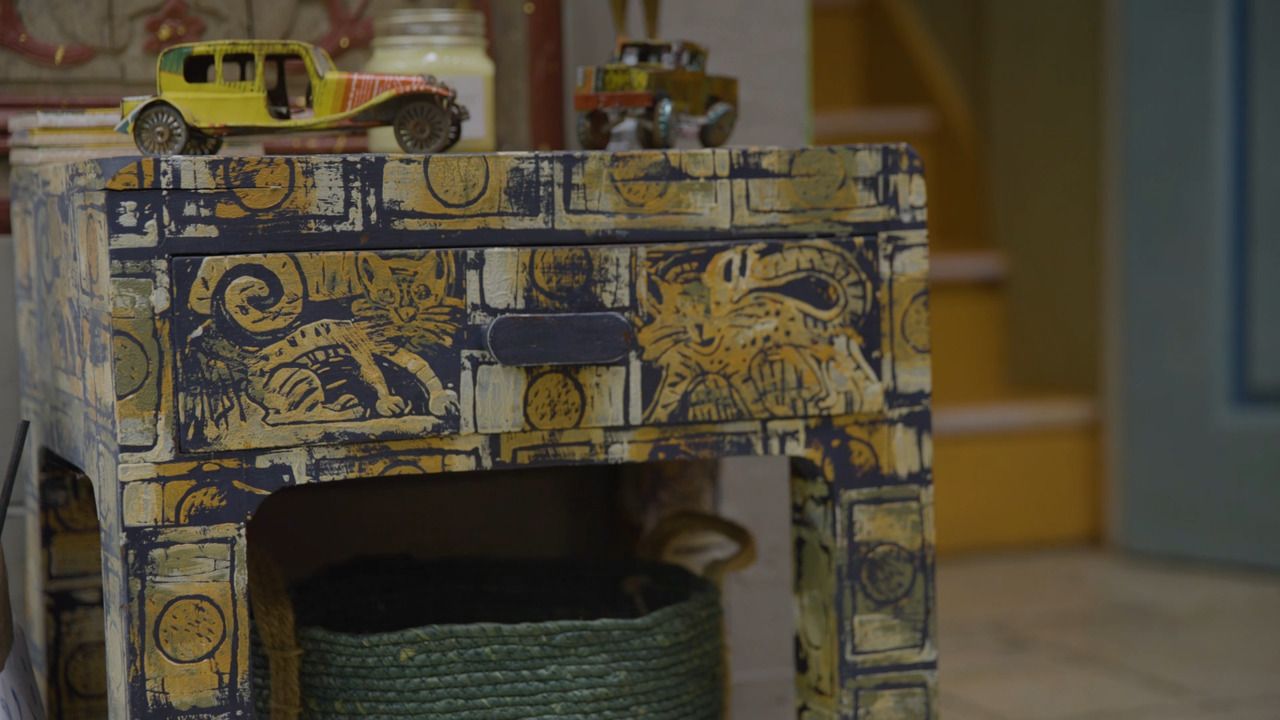
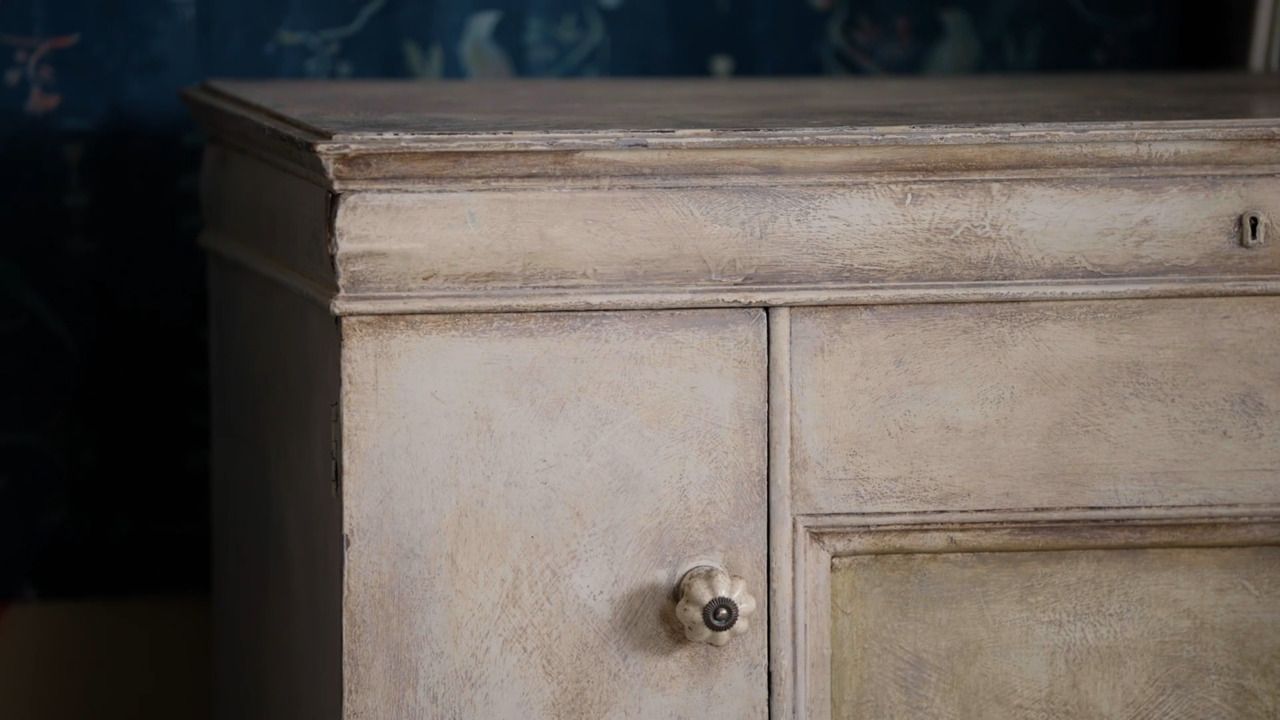
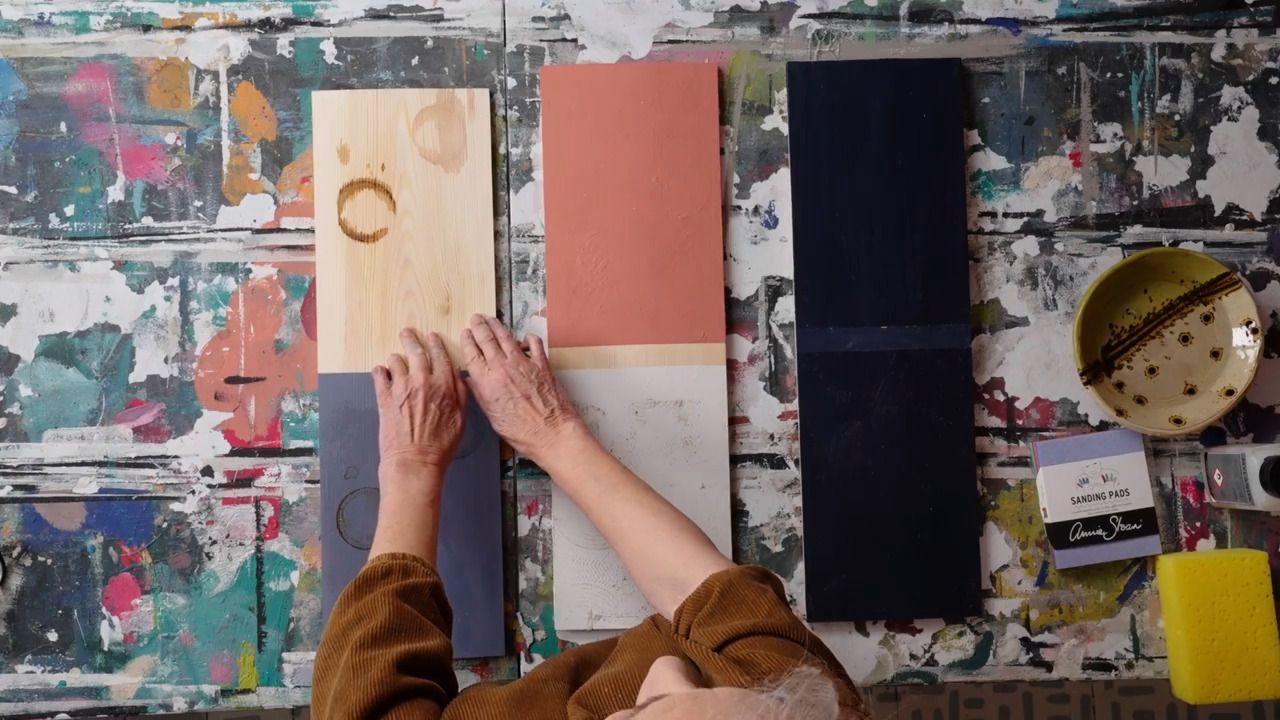
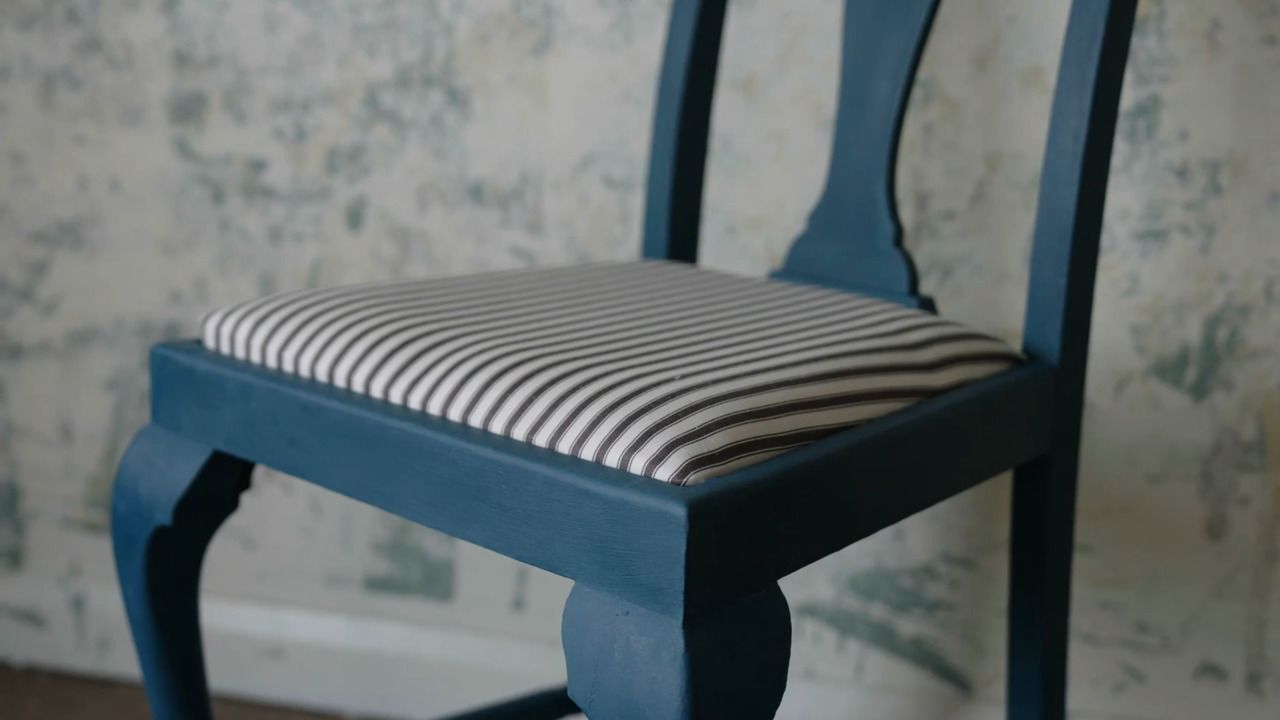
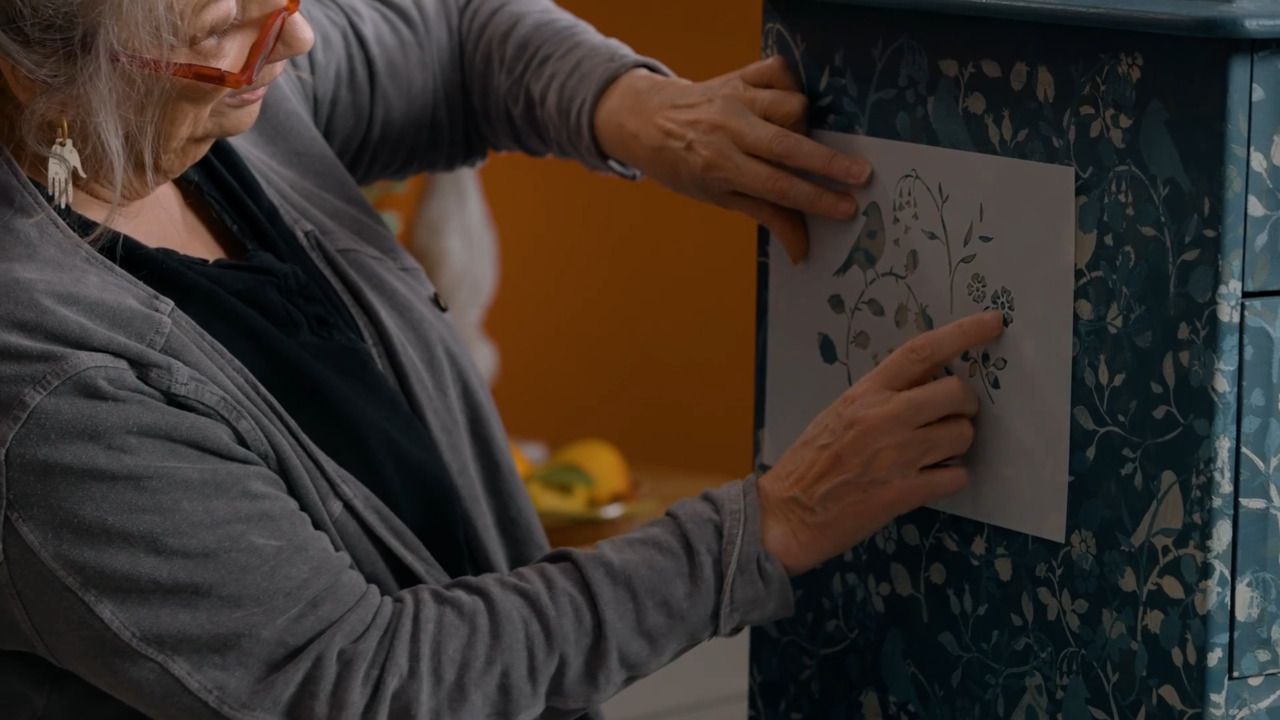
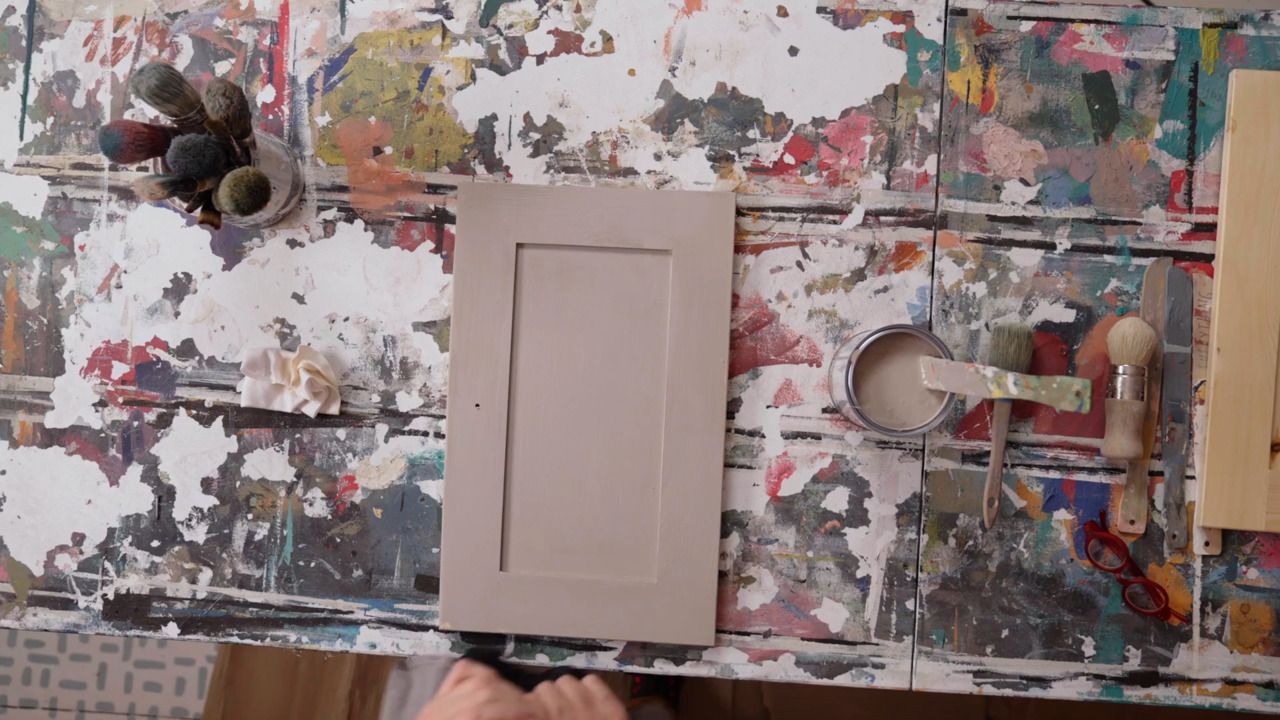
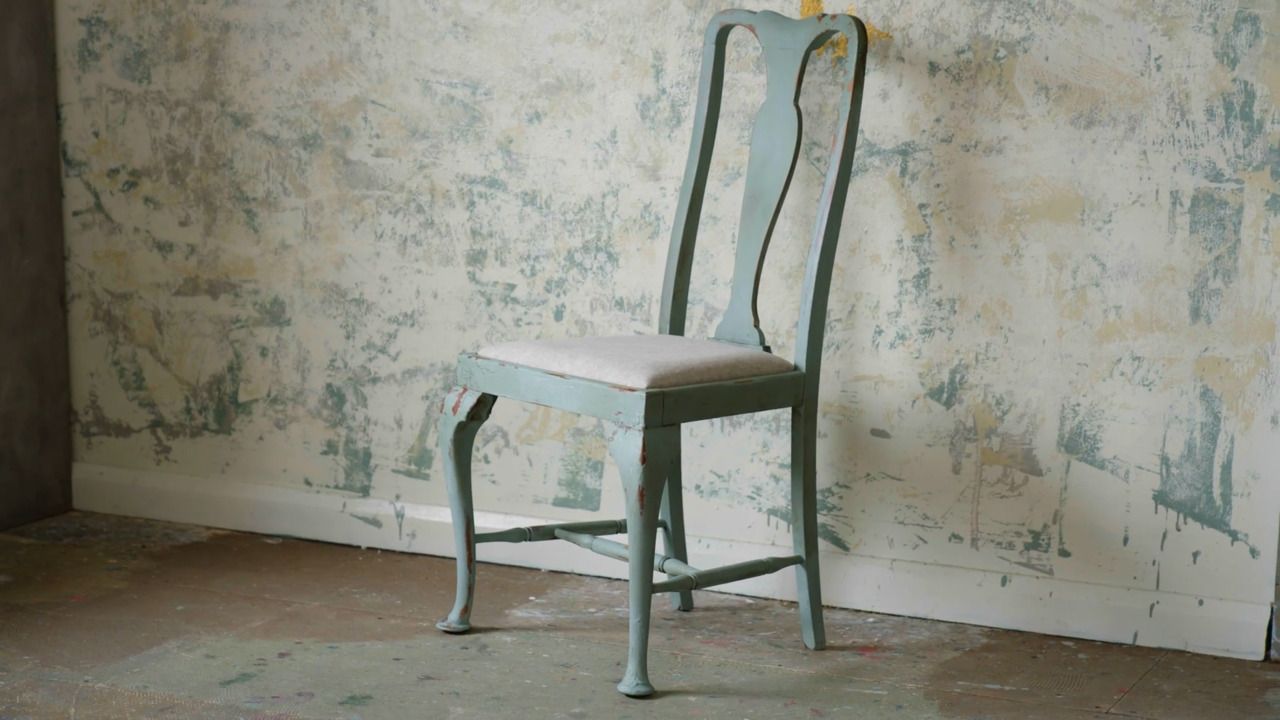
Learn different ways of adding texture and patina to your painted furniture - particularly brilliant for a farmhouse, country look.
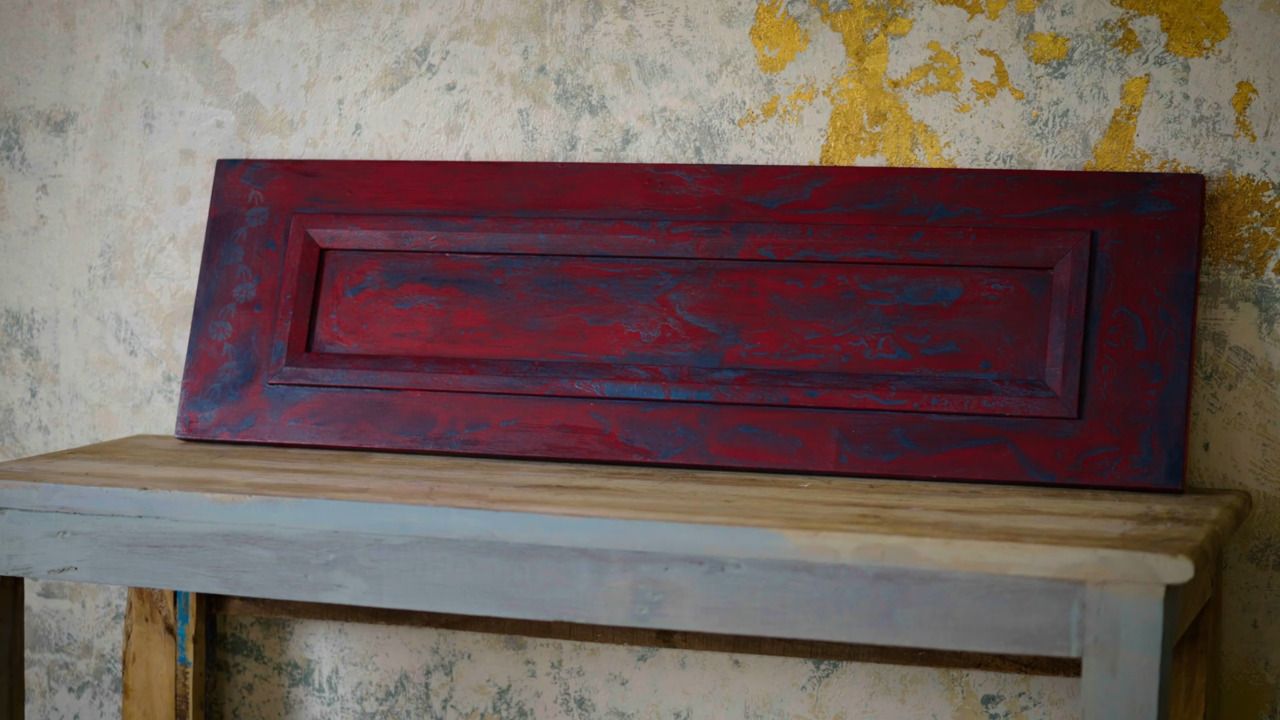
There are many ways to create an aged look, depending on whether you're after a farmhouse country look, or more of an antique patina. This particular technique will give you a textured, rustic finish.
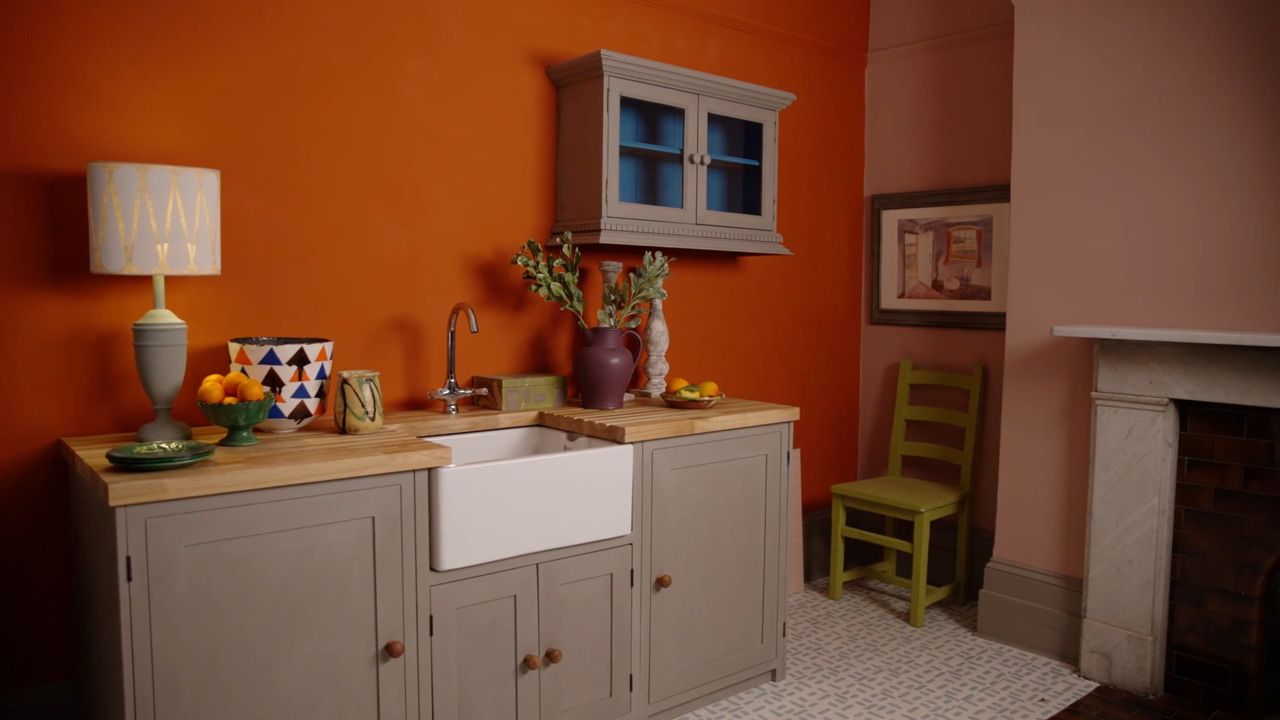
Duck Egg Blue
Get the full workbook, video lessons, and more with a Create Academy subscription.
Subscribe to access the full workbookAlready a member? Sign in to watch
479 reviews
Read moreCreate Academy has been such a great resource. I'm in the middle of renovating a bungalow with a very large garden and the courses have offered a wealth of inform...
Harvey
Jun 10, 2026
Absolutely love Create Academy! The instructors are extremely informative, and it is beautifully filmed. Create Academy is great value for money and plan on renew...
SG
May 31, 2026
Butter's creativity is stunning! Her ability to incorporate brilliance in small gardens is magical!
Carla
May 30, 2026
The best adventure. I like all the courses, but my favorite are both Rita Konig interior design courses and Anna Jones. Excellent!
Karolina Kluczewska
May 20, 2026
Create Academy has been such a great resource. I'm in the middle of renovating a bungalow with a very large garden and the courses have offered a wealth of information to dive into and explore new ideas. I'm...
Harvey
Jun 10, 2026
Absolutely love Create Academy! The instructors are extremely informative, and it is beautifully filmed. Create Academy is great value for money and plan on renewing my subscription yearly because there are ...
SG
May 31, 2026
Butter's creativity is stunning! Her ability to incorporate brilliance in small gardens is magical!
Carla
May 30, 2026
Your Instructor
Artist, colour expert, author and inventor of Chalk Paint. CBE for services to interior design.
Renowned author, artist and designer, Annie Sloan, is one of the world’s most popular experts in the field of decorative painting. After studying Fine Art at university in the 1970s, Annie went on to write her first book, The Complete Book of Decorative Paint Techniques – which is widely considered to be the industry bible on the subject. Since then, she has published 26 books on paint effects, colour, and interior design, and has transformed the world of furniture painting with the creation of her revolutionary paint, Chalk Paint. Passionate about empowering interior designers and hobbyists to reinvent their living spaces, Annie’s expertise and creative flair has led her to being named one of Britain's most influential female designers.

Access to all courses


