


Very good tutorial from a professional garden...
I have subscribed to access all the courses so have watched one on interior design and this one with Butter Wakefield who specialises in small garden design. She ...
Louise Brown
Apr 10, 2026
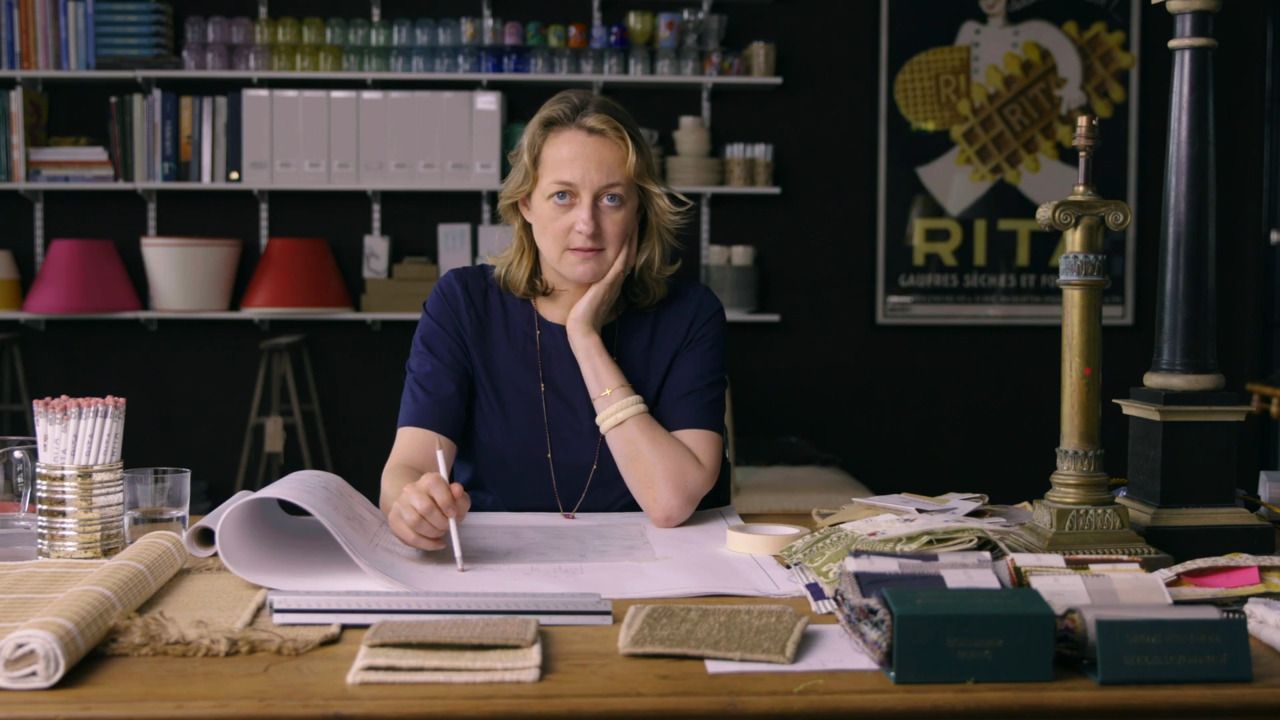
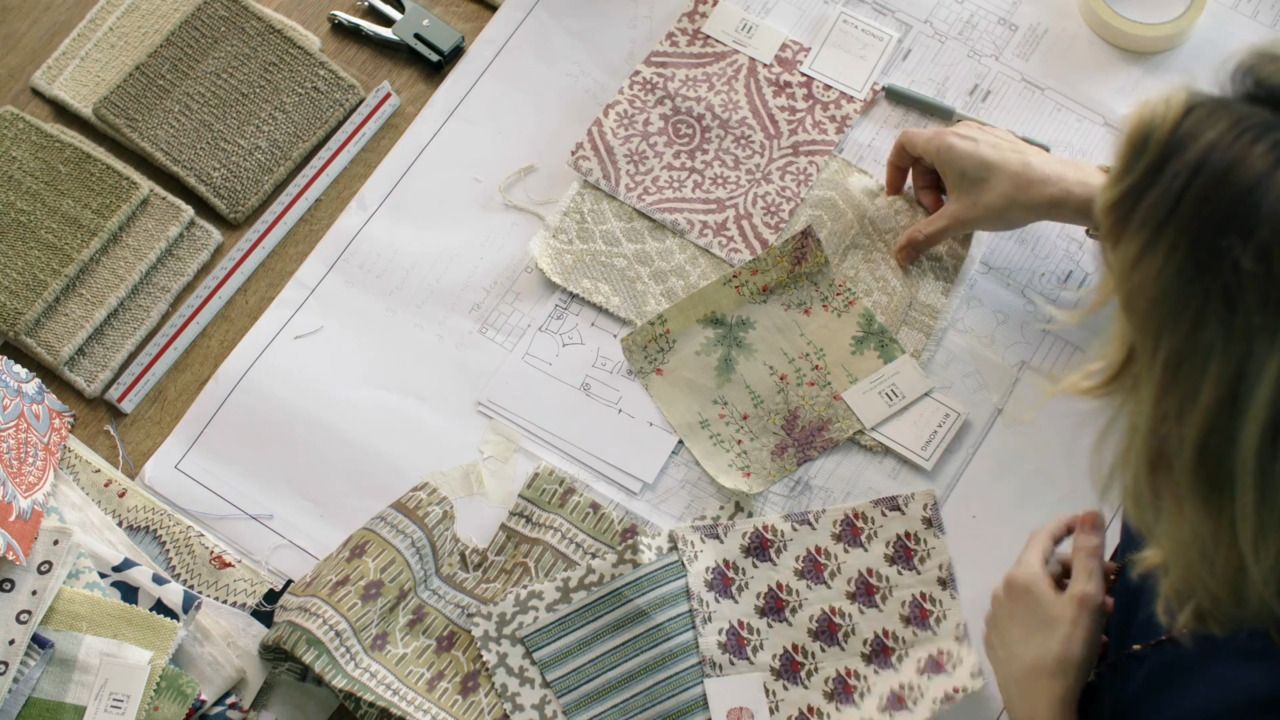
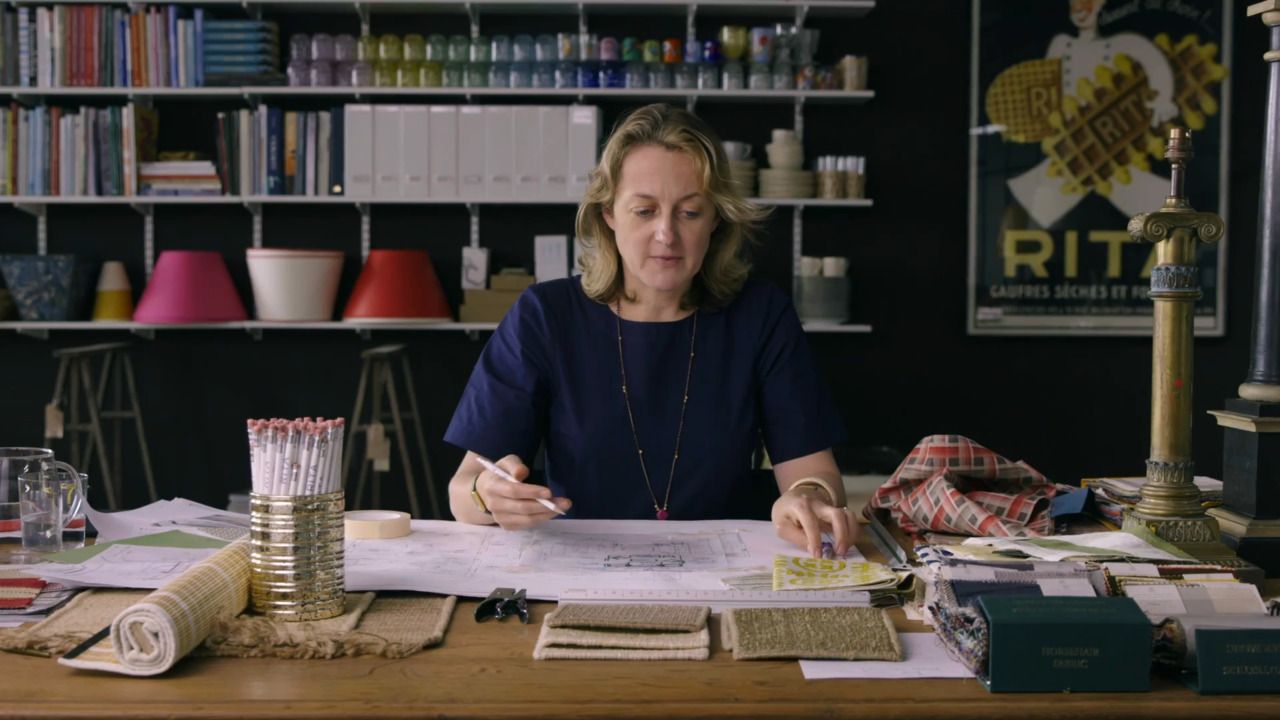
The Ultimate Guide to Interior Design
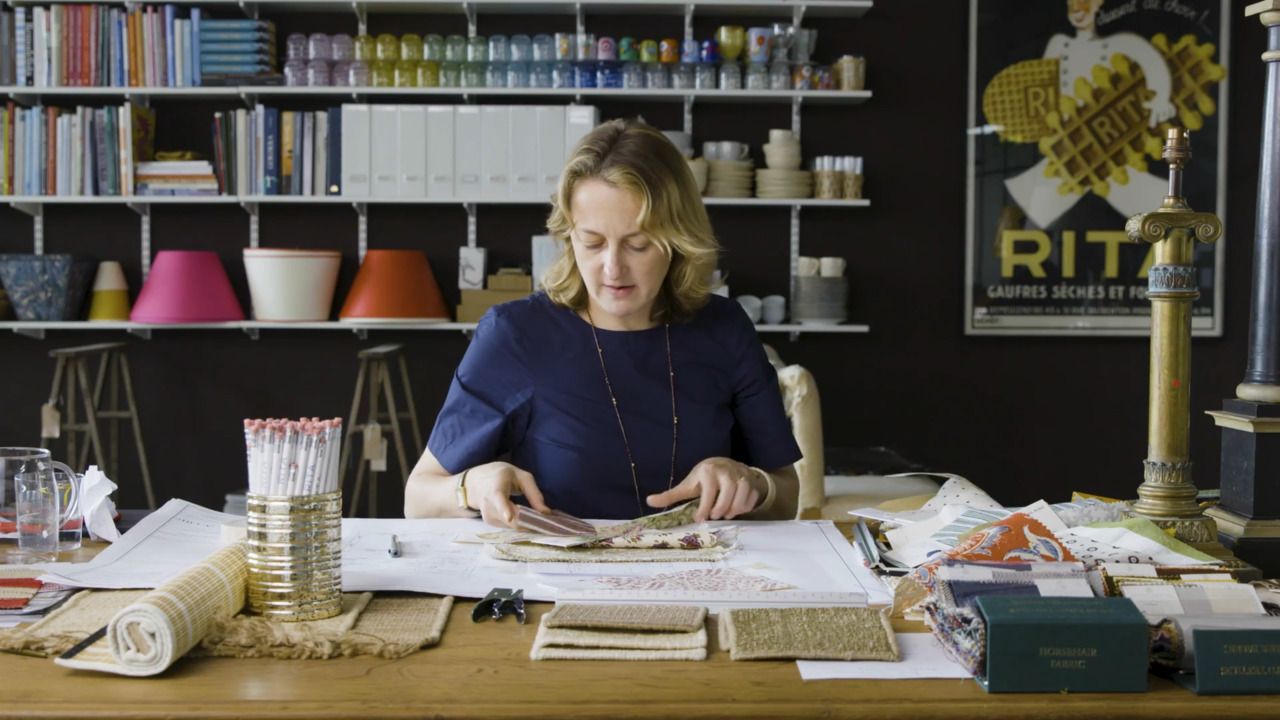
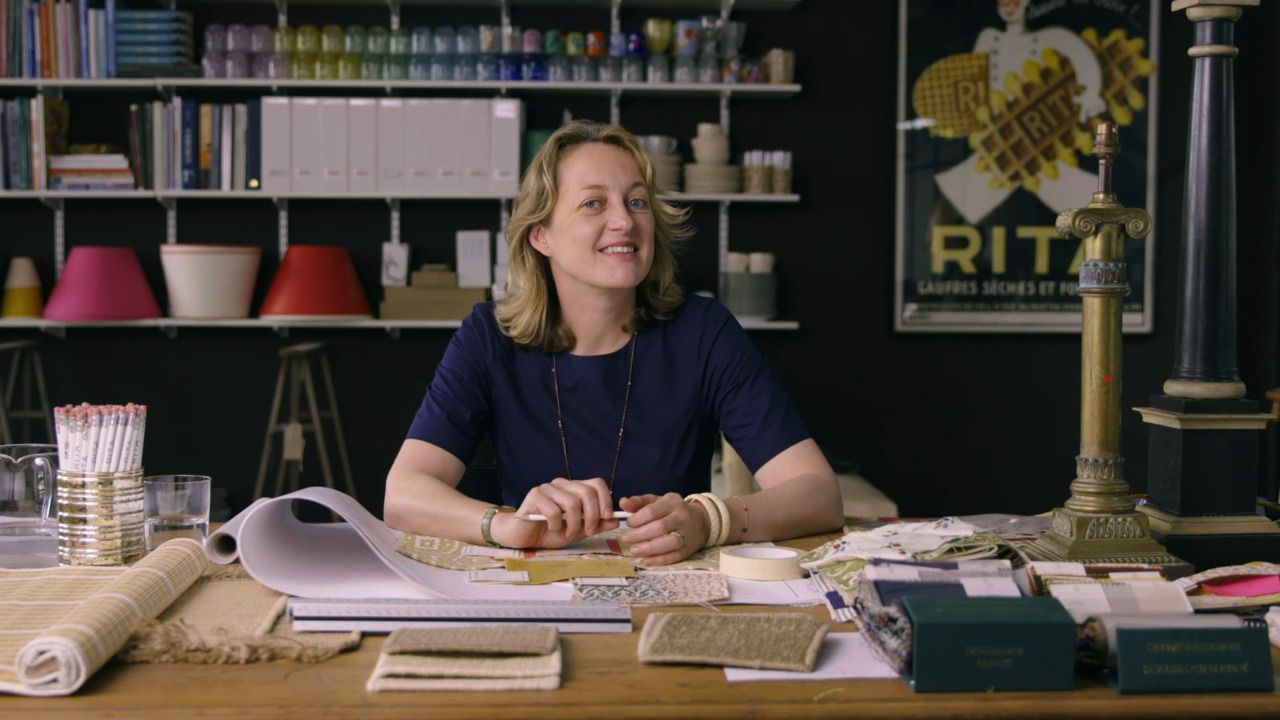
with RITA KONIG — Internationally renowned interior designer. AD100, House & Garden Top 100, Elle Decor A-List.
Lesson 22 of 36
Buy or subscribe to watch
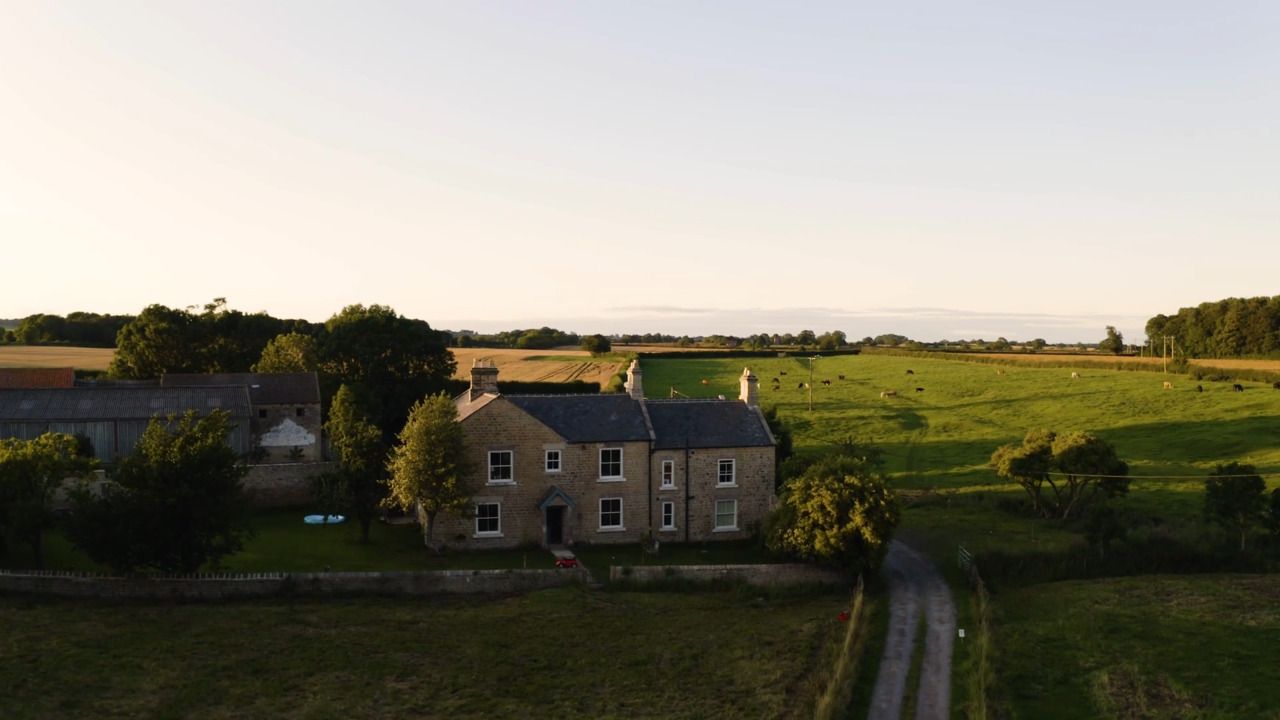
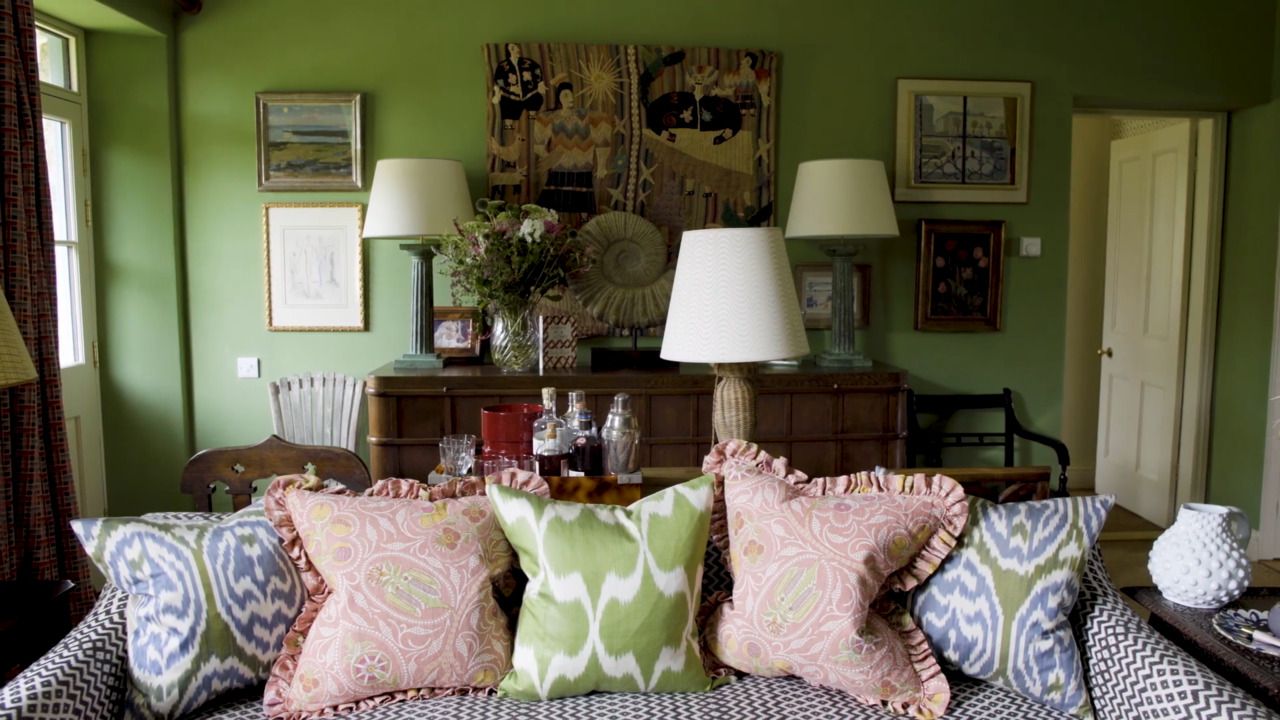
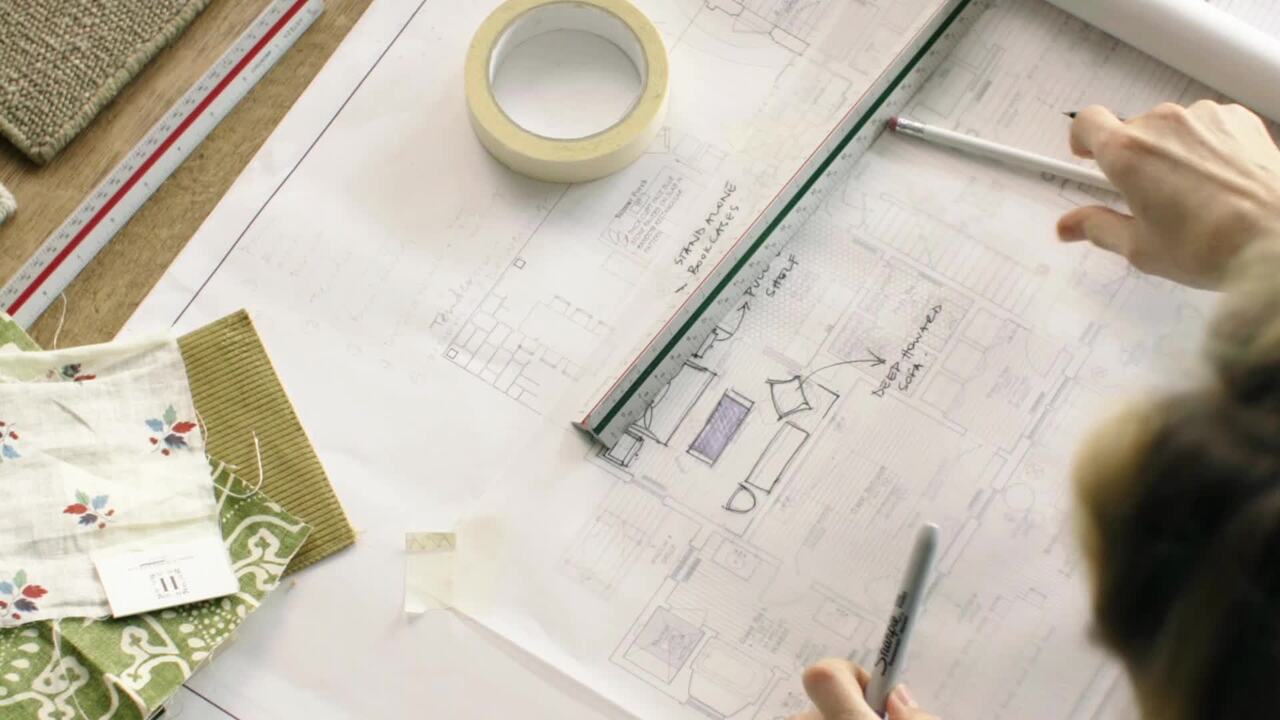
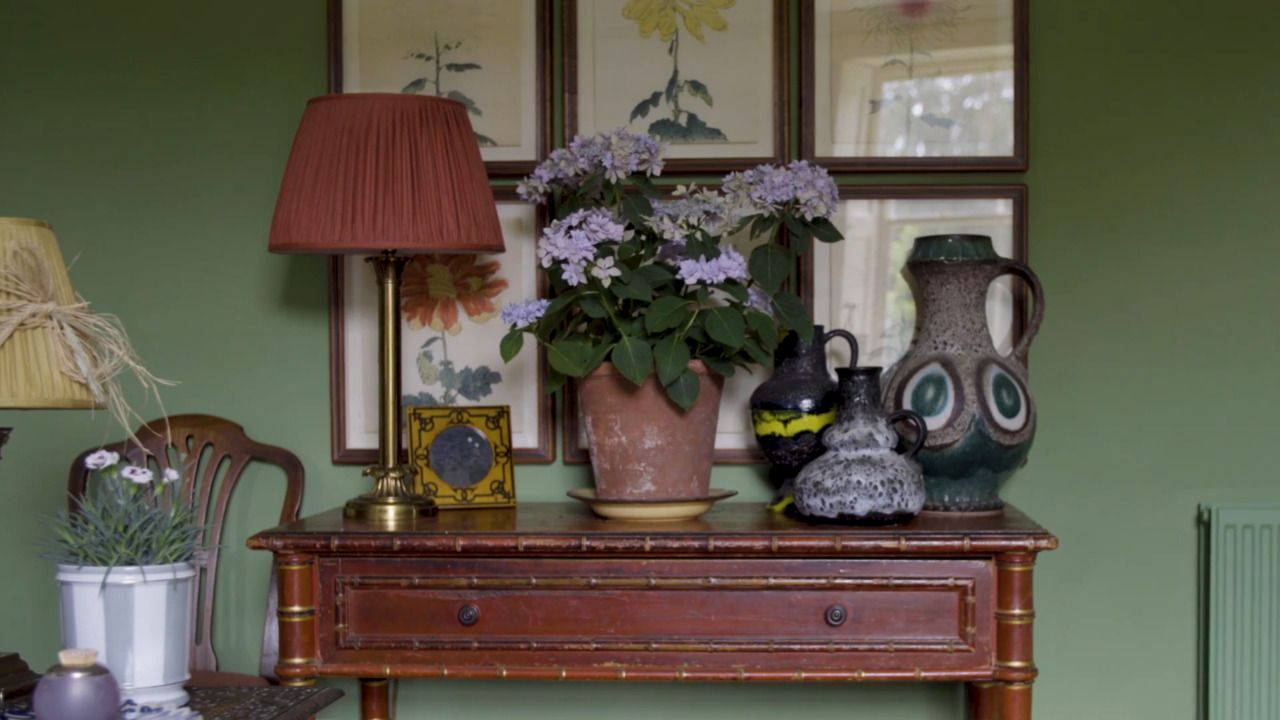
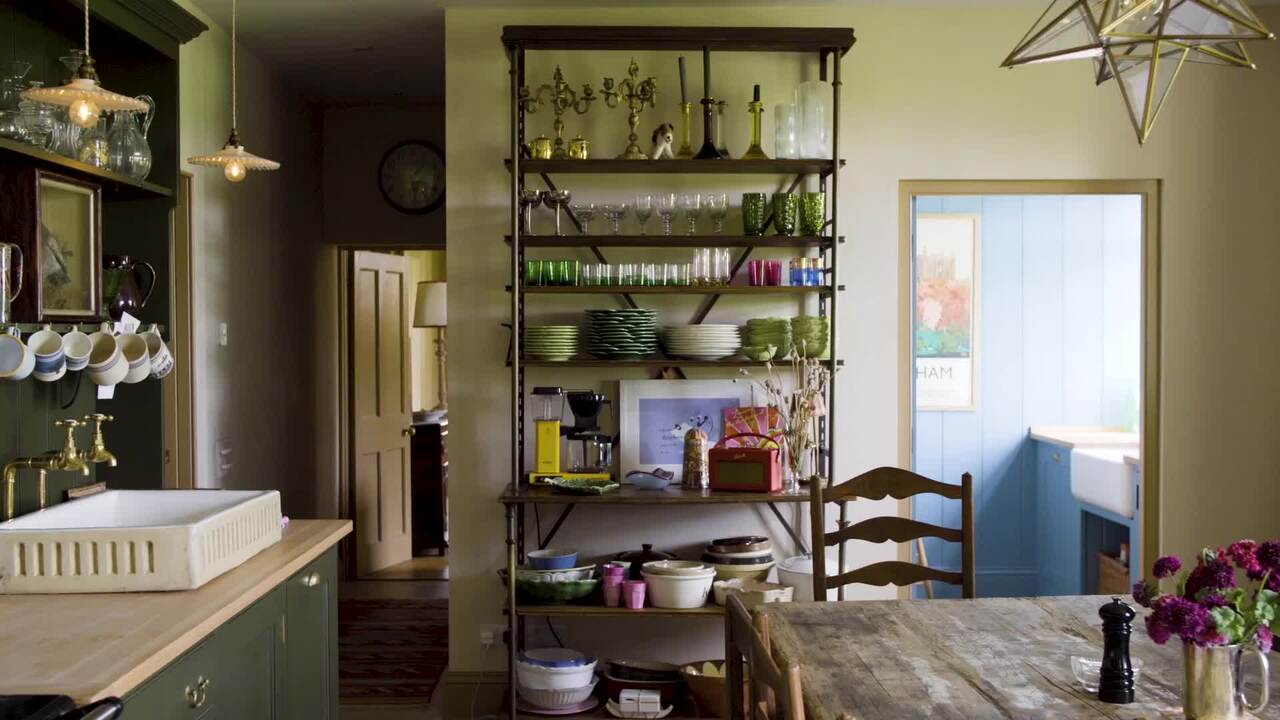
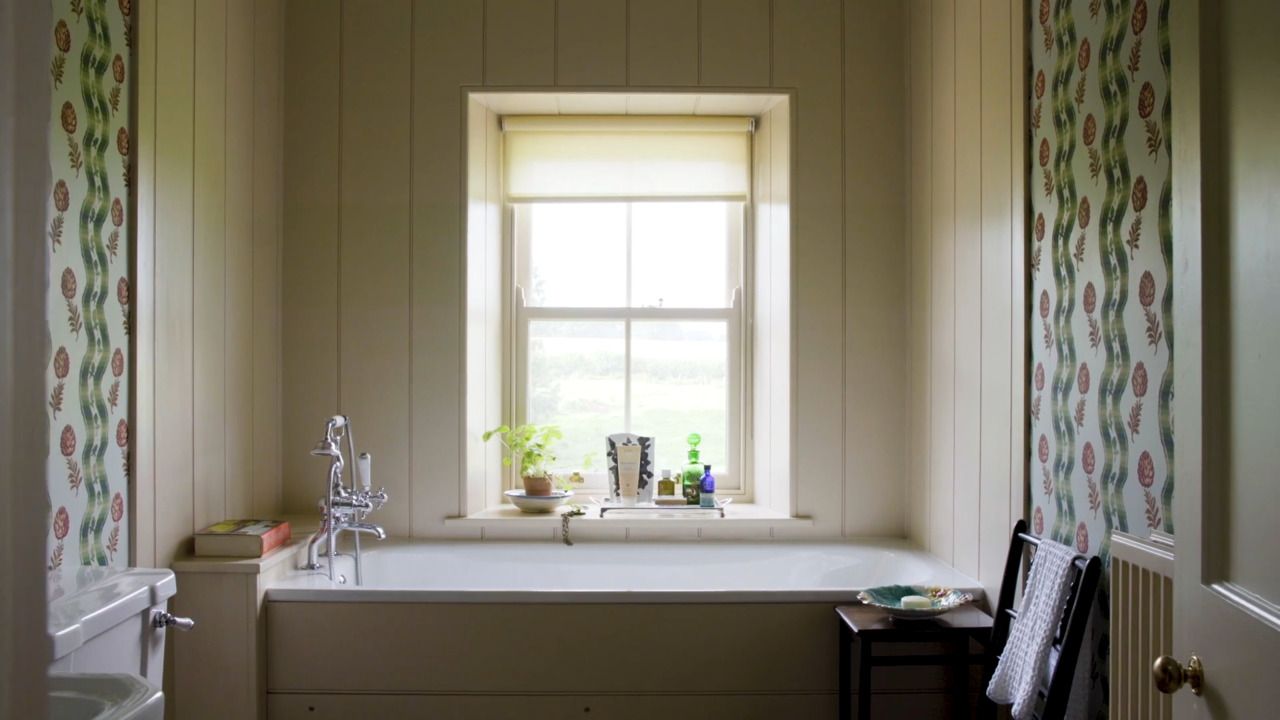
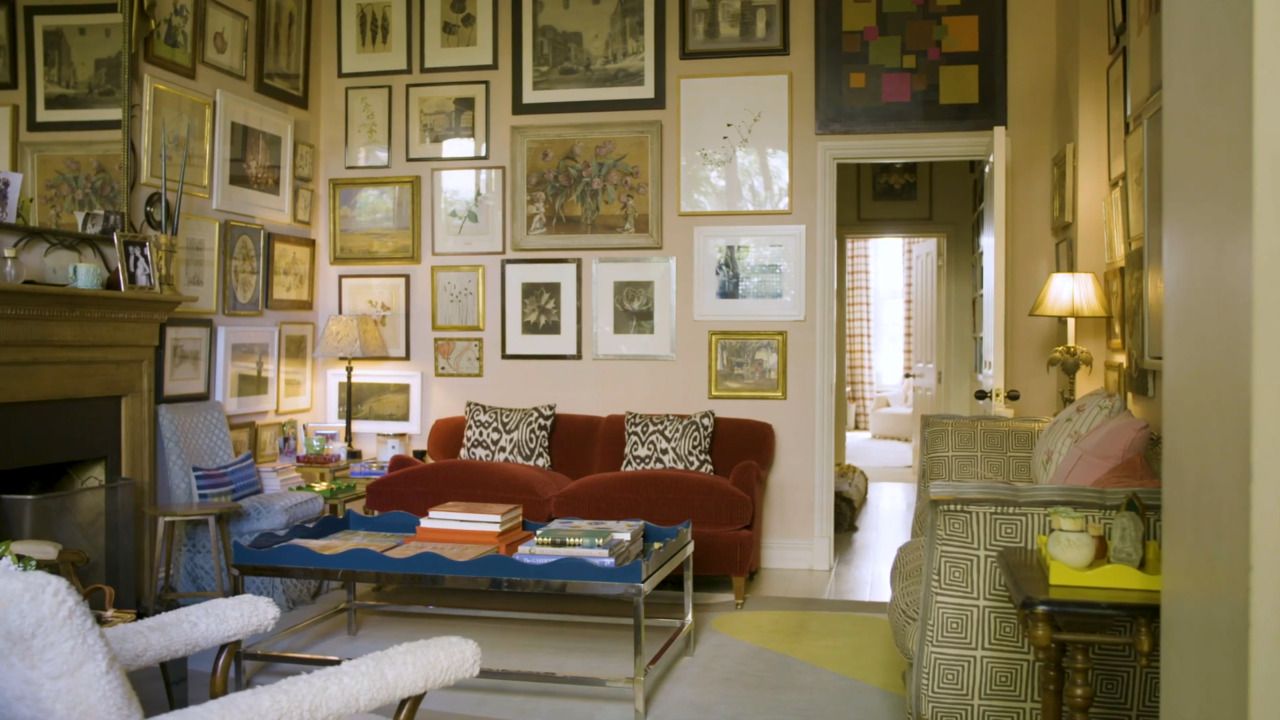
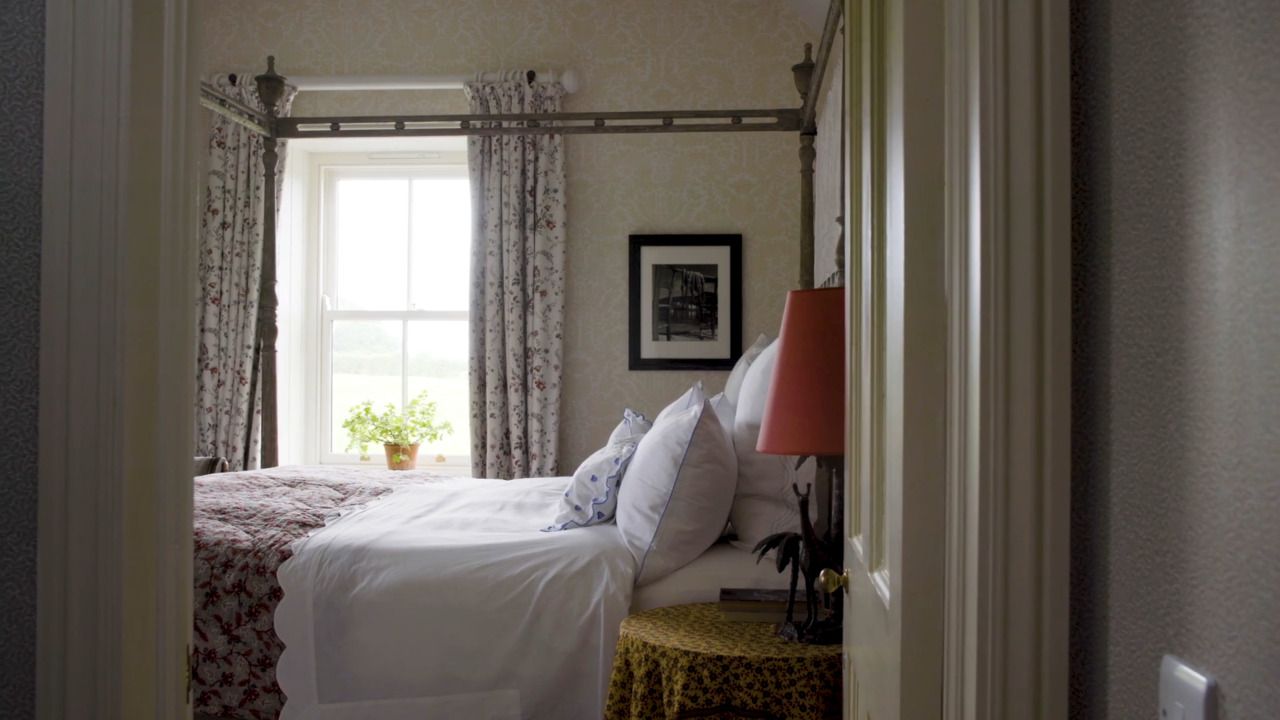
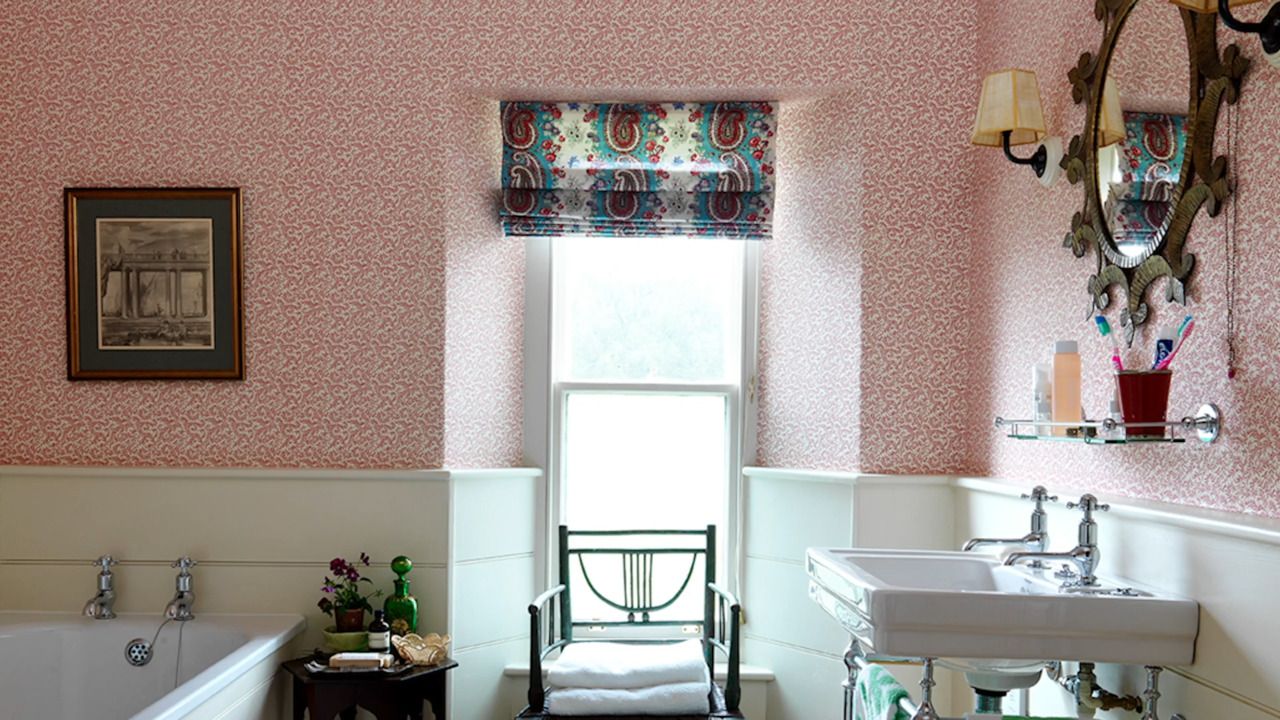
Rita takes you through one of the bathrooms at North Farm, decision-by-decision.
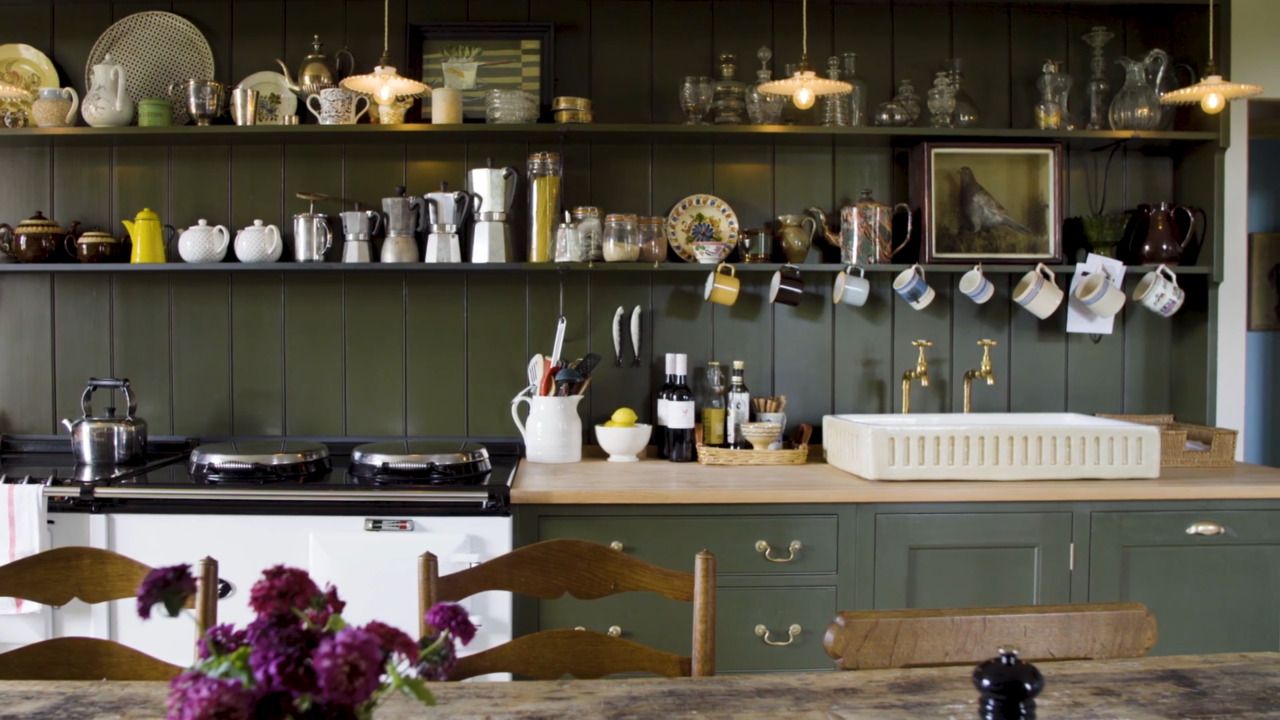
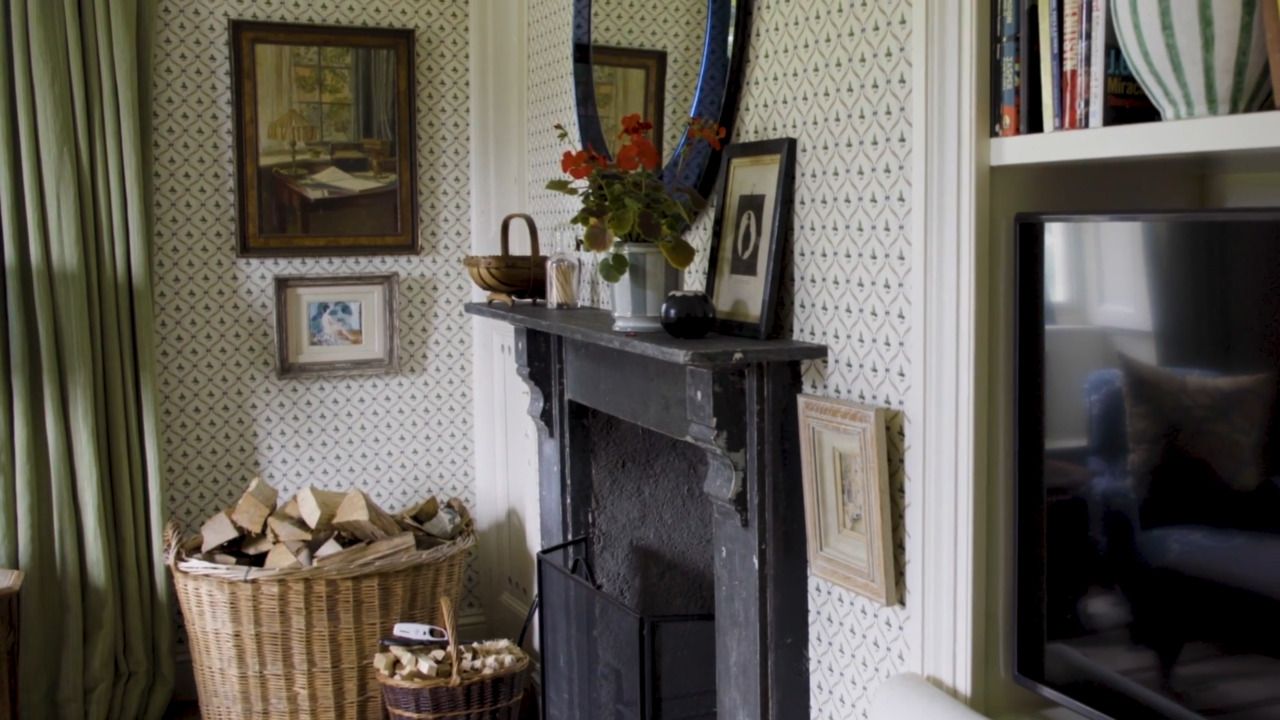
An elegant and durable panelling option is tongue-and-groove. You can paint it or stain it, or even leave the grooves unfinished. Tongue-and-groove panelling is constructed of planks with a little tongue along one edge and a corresponding groove along with the other. The tongue fits perfectly into the groove of the adjacent plank.
For further information about fitting wall panels visit Diy.com
Get the full workbook, video lessons, and more with a Create Academy subscription.
Subscribe to access the full workbookAlready a member? Sign in to watch
437 reviews
Read moreI have subscribed to access all the courses so have watched one on interior design and this one with Butter Wakefield who specialises in small garden design. She ...
Louise Brown
Apr 10, 2026
I love CreateAcademy. I came in for the gardening and floristry courses, but am also watching an interior design one at present. And the photography course is an ...
Wellesley
Apr 1, 2026
What a great investment, I have learned such a lot from the first three courses. My evenings have gone from not being able to find anything that captured my imagi...
sojojo
Mar 30, 2026
I loved this course with Amanda Lindroth! Her approach to decorating is so relaxed and she makes it feel attainable. She explains the reasons behind her decisions...
Elizabeth
Mar 27, 2026
I have subscribed to access all the courses so have watched one on interior design and this one with Butter Wakefield who specialises in small garden design. She has a lovely personality and comes across as ...
Louise Brown
Apr 10, 2026
I love CreateAcademy. I came in for the gardening and floristry courses, but am also watching an interior design one at present. And the photography course is an absolute must, best I've ever done.
Wellesley
Apr 1, 2026
What a great investment, I have learned such a lot from the first three courses. My evenings have gone from not being able to find anything that captured my imagination on TV to learning and expanding my kno...
sojojo
Mar 30, 2026
Your Instructor
Internationally renowned interior designer. AD100, House & Garden Top 100, Elle Decor A-List.
Rita’s effortless style has made her one of today’s most sought after interior designers, with her writing and work a staple of Vogue, The New York Times, House & Garden and The Wall Street Journal. She is an expert at bringing refined, relaxed comfort to a home, and is passionate about sharing her expertise and empowering people to decorate and design their homes themselves.

Access to all courses


