







.jpg)
.jpg)

Interior and exterior confidence
Create Academy has been such a great resource. I'm in the middle of renovating a bungalow with a very large garden and the courses have offered a wealth of inform...
Harvey
Jun 10, 2026
The Ultimate Guide to Interior Design
with RITA KONIG — Internationally renowned interior designer. AD100, House & Garden Top 100, Elle Decor A-List.
Lesson 10 of 36

Subscribe to watch
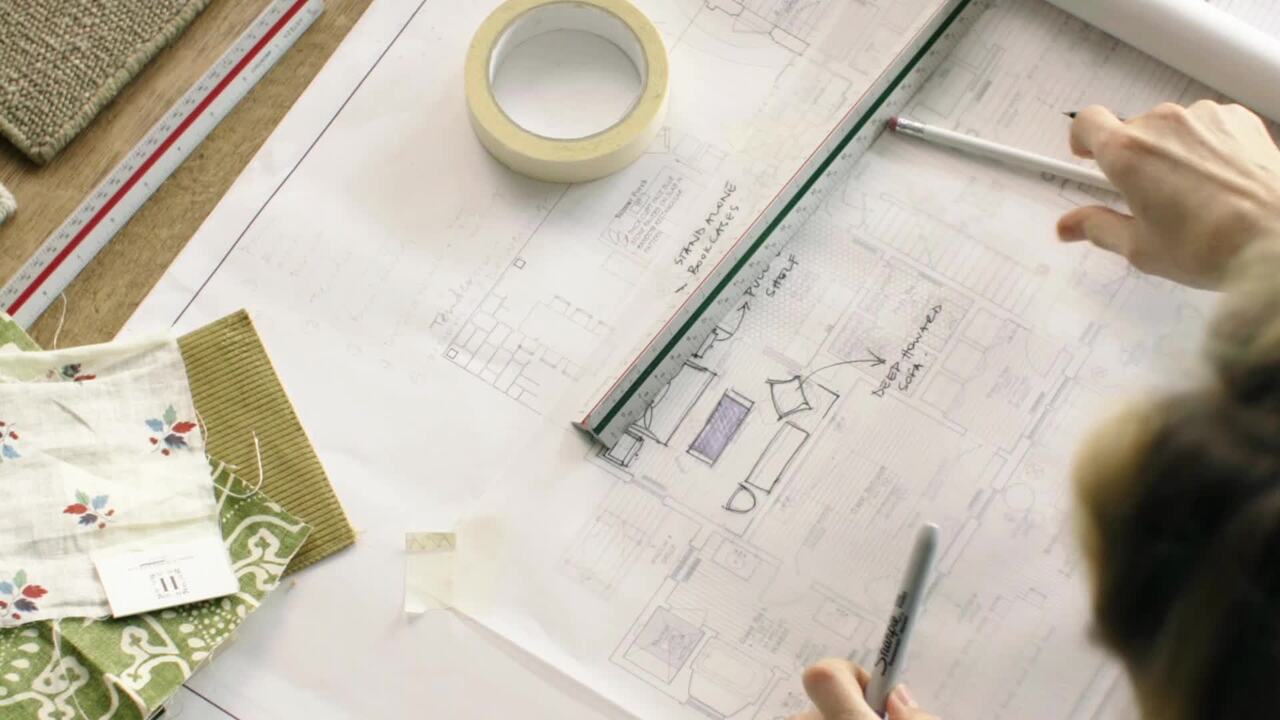
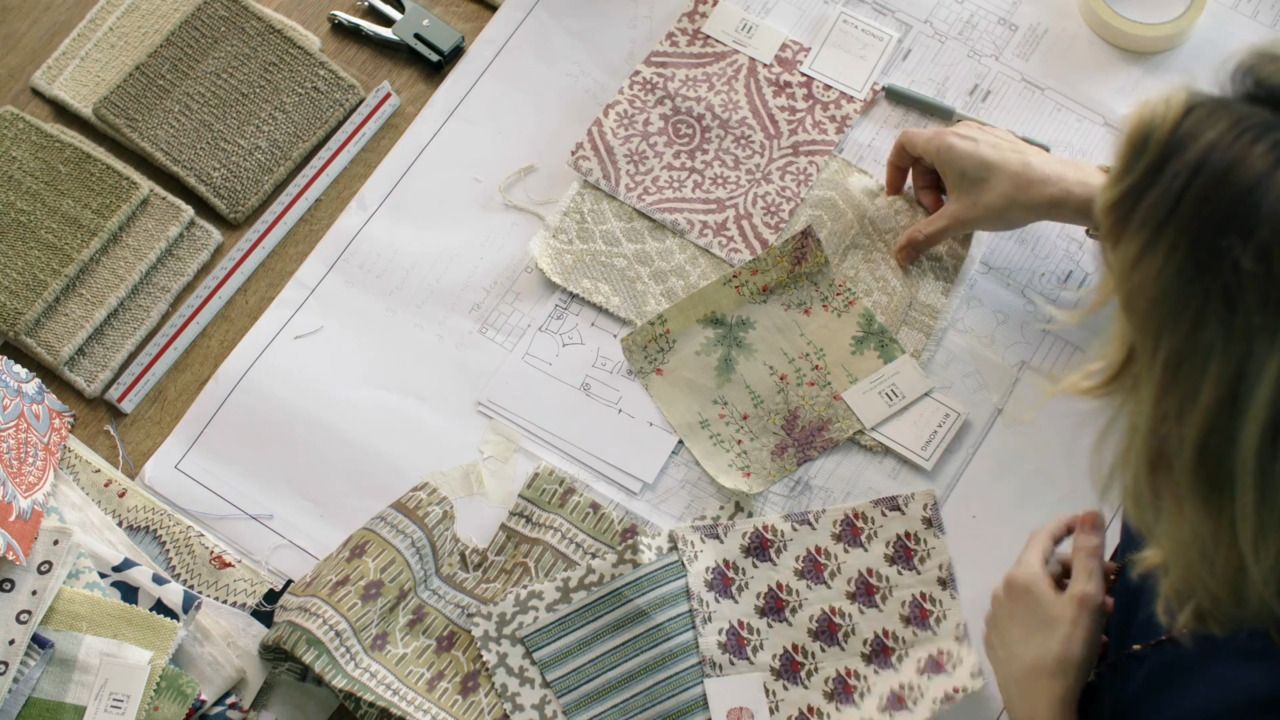
Following the right process can help you get the electrics in a project right the first time. Rita explains all the lessons she’s learnt by showing you how to draw your own electrical plan.
I use True Edge switch plates in a brass finish, Urban Cottage Industries for fittings, Factorylux bulbs and linen or silk flex.
There are 3-gang, two-way, toggle, dolly or dimmer modes. Gangs indicate the number of switches on the plate and each switch controls a different circuit. A 3-gang switch would do three circuits, which might be the ceiling spots, table lamps and wall lights. 'Ways' indicate the number of switches controlling the lights. So if you have one switch at one end of a corridor and one at the other working one set of lights, that is a 1-gang, two way switch.
Use your room layout sketch in the previous lesson and mark where each socket should be placed.
Would you advise for spotlights?
Use spotlights when necessary but avoid a grid formation. Incorporating a dimmer switch with spotlights is a great way to tone down the light when necessary.
What do you suggest for floor lamps?
Think about having sockets in the floor for lamps. Make sure the socket is adequately recessed so that, when something is plugged in, the lid can go back on and remain flush to the floor - your electrician may not think of this.
Get the full workbook, video lessons, and more with a Create Academy subscription.
Subscribe to access the full workbookAlready a member? Sign in to watch
491 reviews
Read moreCreate Academy has been such a great resource. I'm in the middle of renovating a bungalow with a very large garden and the courses have offered a wealth of inform...
Harvey
Jun 10, 2026
Absolutely love Create Academy! The instructors are extremely informative, and it is beautifully filmed. Create Academy is great value for money and plan on renew...
SG
May 31, 2026
Butter's creativity is stunning! Her ability to incorporate brilliance in small gardens is magical!
Carla
May 30, 2026
The best adventure. I like all the courses, but my favorite are both Rita Konig interior design courses and Anna Jones. Excellent!
Karolina Kluczewska
May 20, 2026
Create Academy has been such a great resource. I'm in the middle of renovating a bungalow with a very large garden and the courses have offered a wealth of information to dive into and explore new ideas. I'm...
Harvey
Jun 10, 2026
Absolutely love Create Academy! The instructors are extremely informative, and it is beautifully filmed. Create Academy is great value for money and plan on renewing my subscription yearly because there are ...
SG
May 31, 2026
Butter's creativity is stunning! Her ability to incorporate brilliance in small gardens is magical!
Carla
May 30, 2026

Your Instructor
Internationally renowned interior designer. AD100, House & Garden Top 100, Elle Decor A-List.
Rita’s effortless style has made her one of today’s most sought after interior designers, with her writing and work a staple of Vogue, The New York Times, House & Garden and The Wall Street Journal. She is an expert at bringing refined, relaxed comfort to a home, and is passionate about sharing her expertise and empowering people to decorate and design their homes themselves.

Access to all courses


