


Interior and exterior confidence
Create Academy has been such a great resource. I'm in the middle of renovating a bungalow with a very large garden and the courses have offered a wealth of inform...
Harvey
Jun 10, 2026
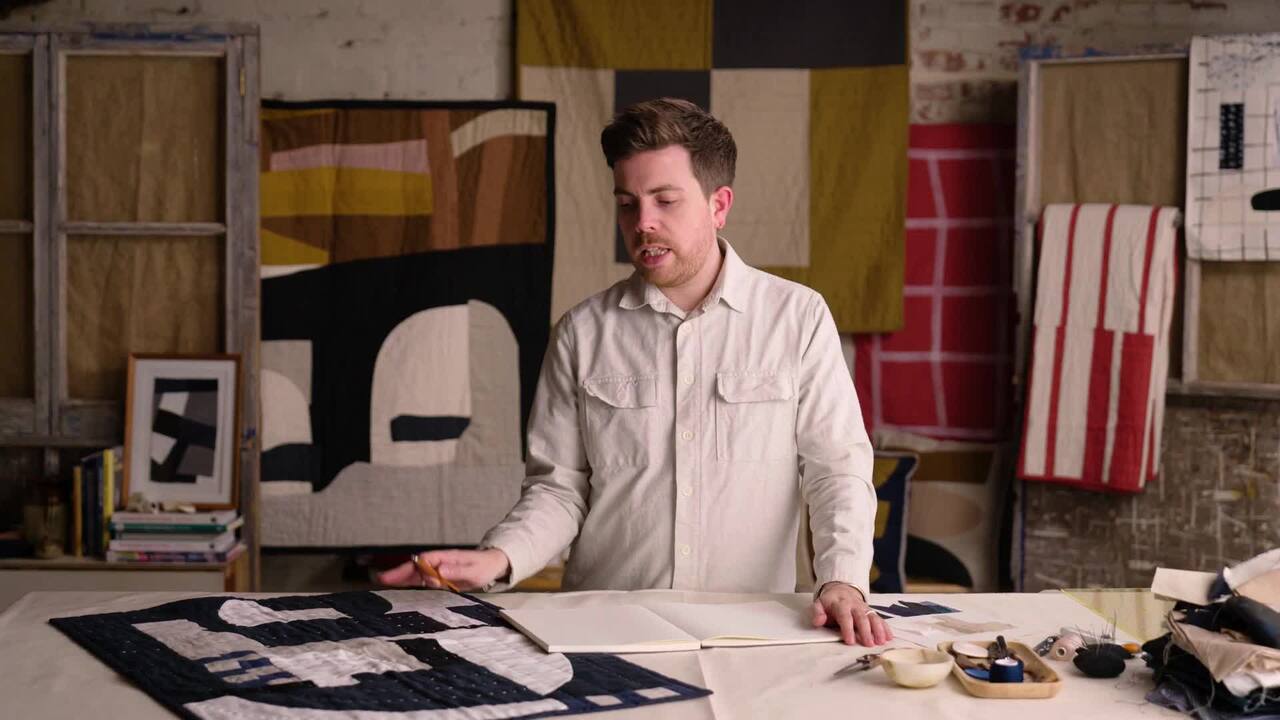
A Complete Guide to Contemporary Quilting
with JULIUS ARTHUR — British textile artist specialising in handmade quilts and unique textile objects for the home.
Lesson 22 of 27
Subscribe to watch
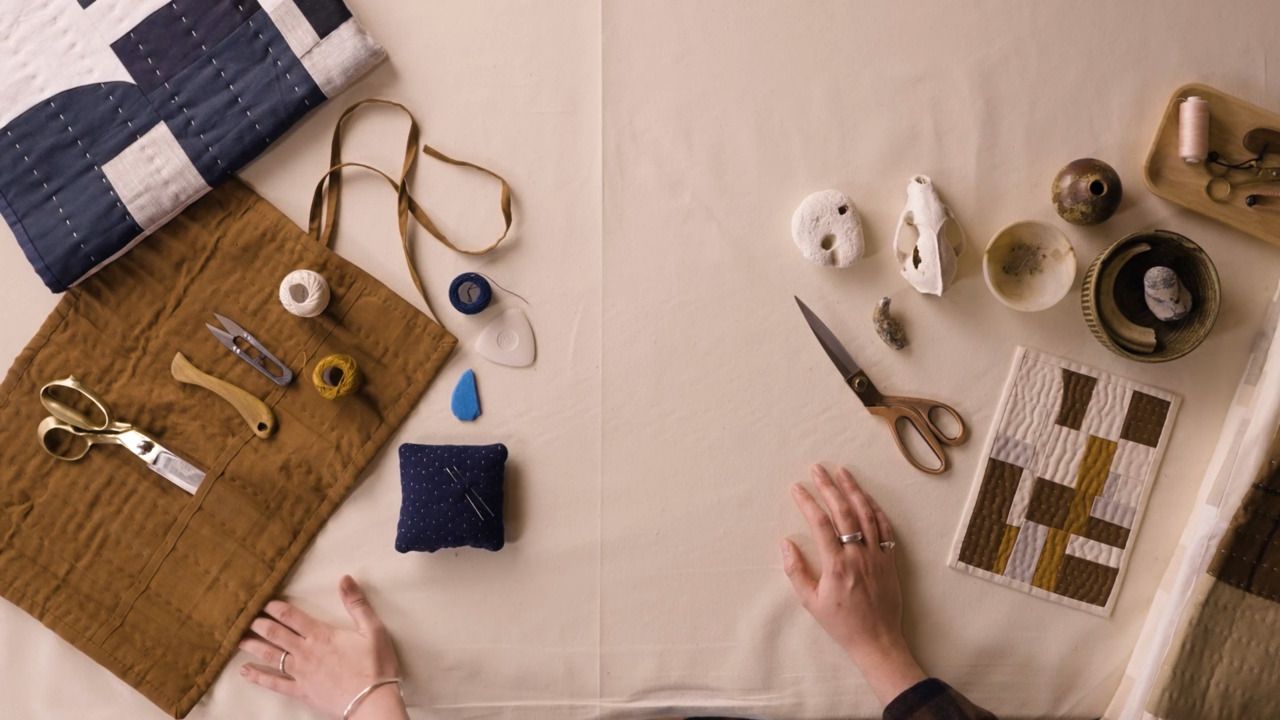
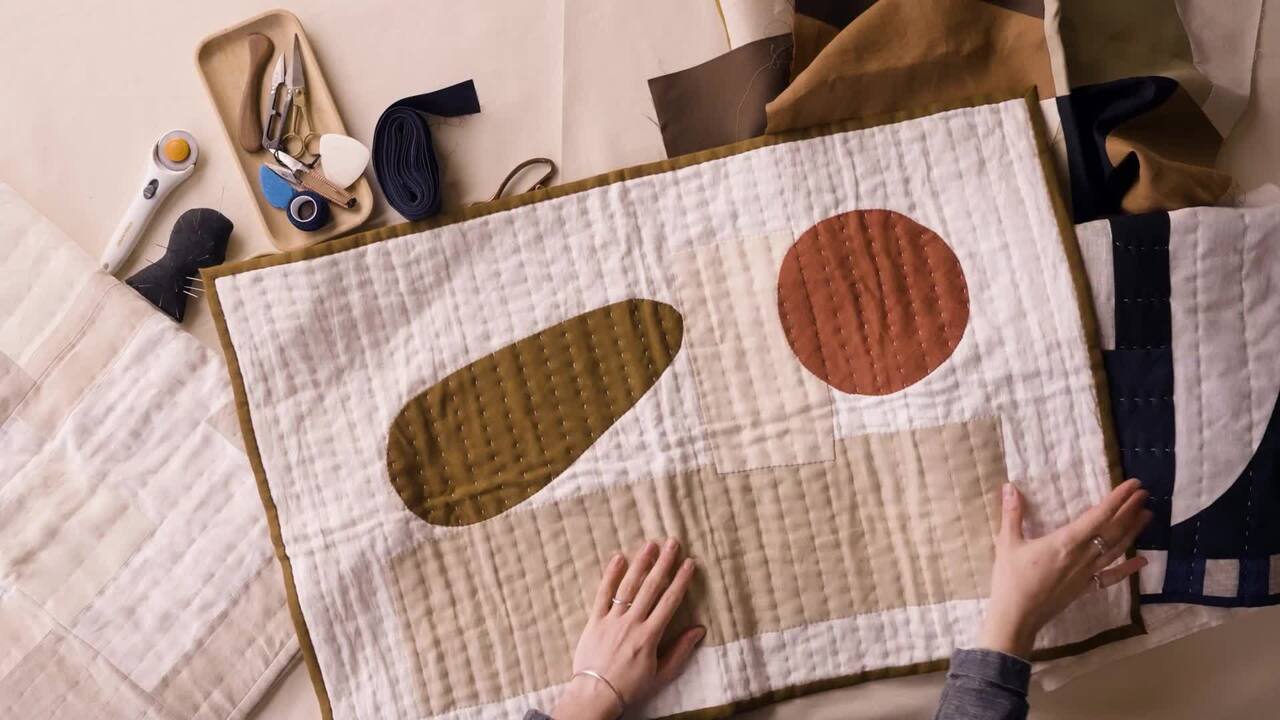
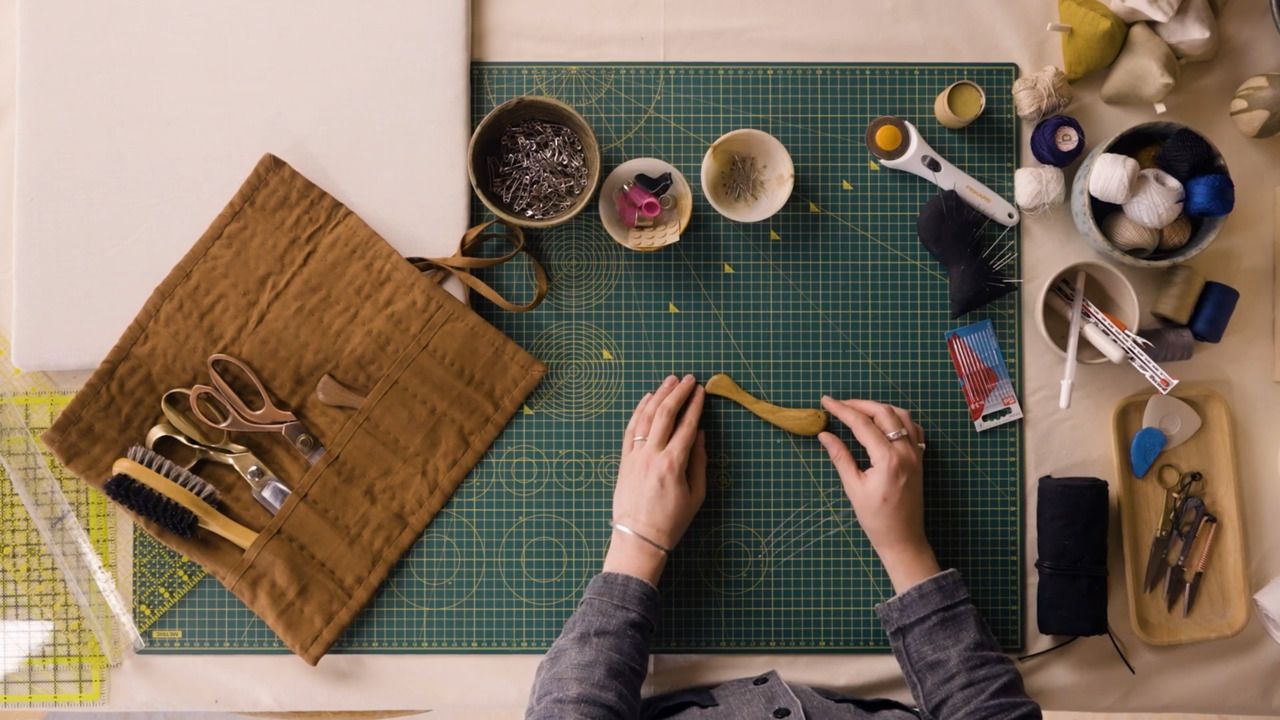
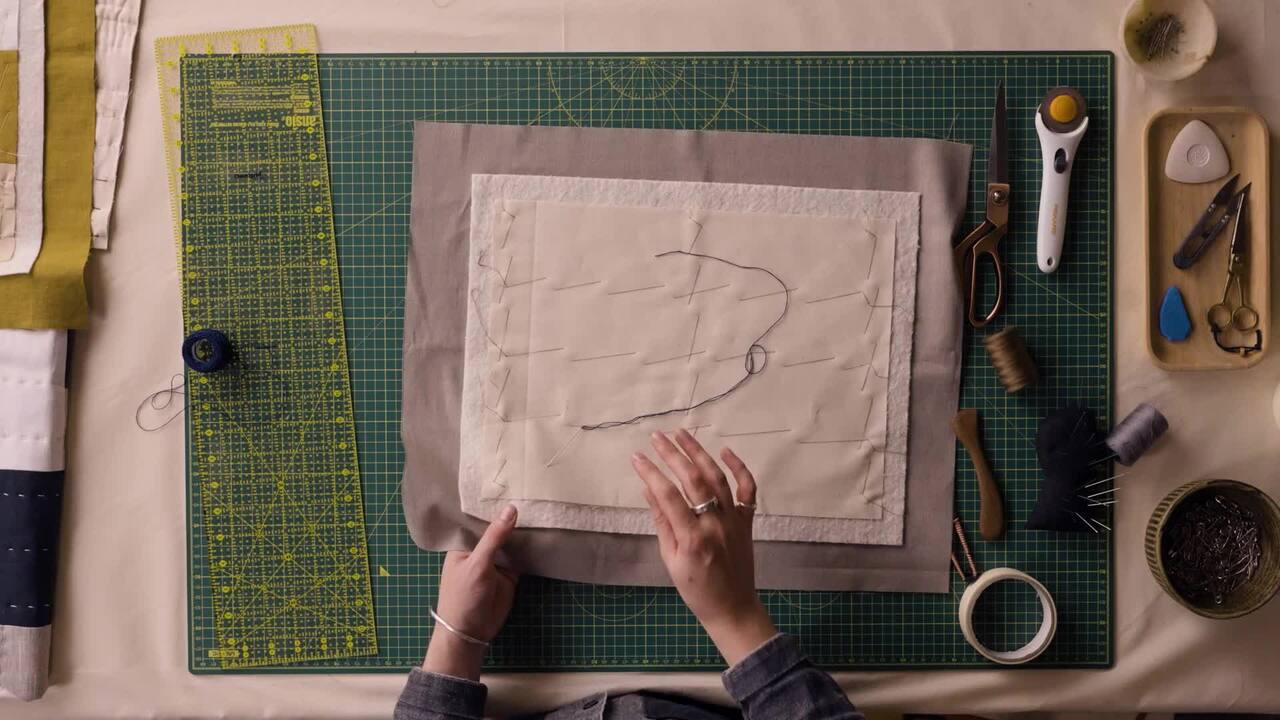
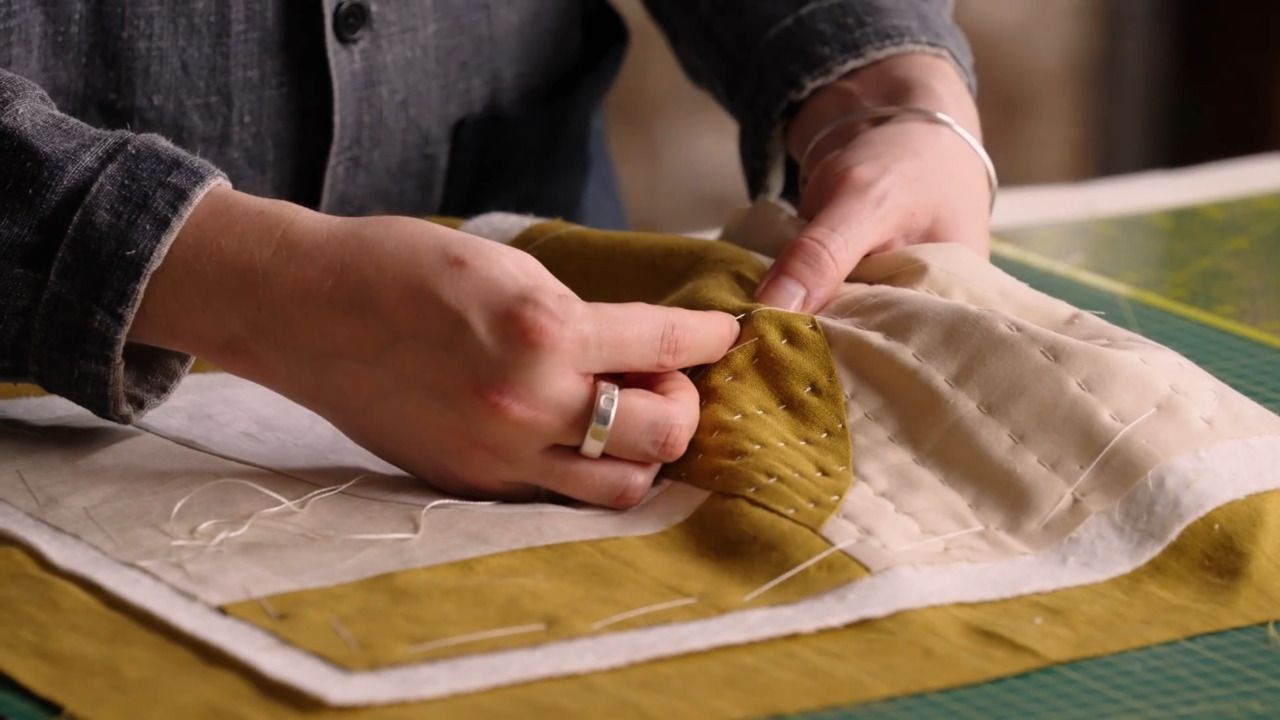
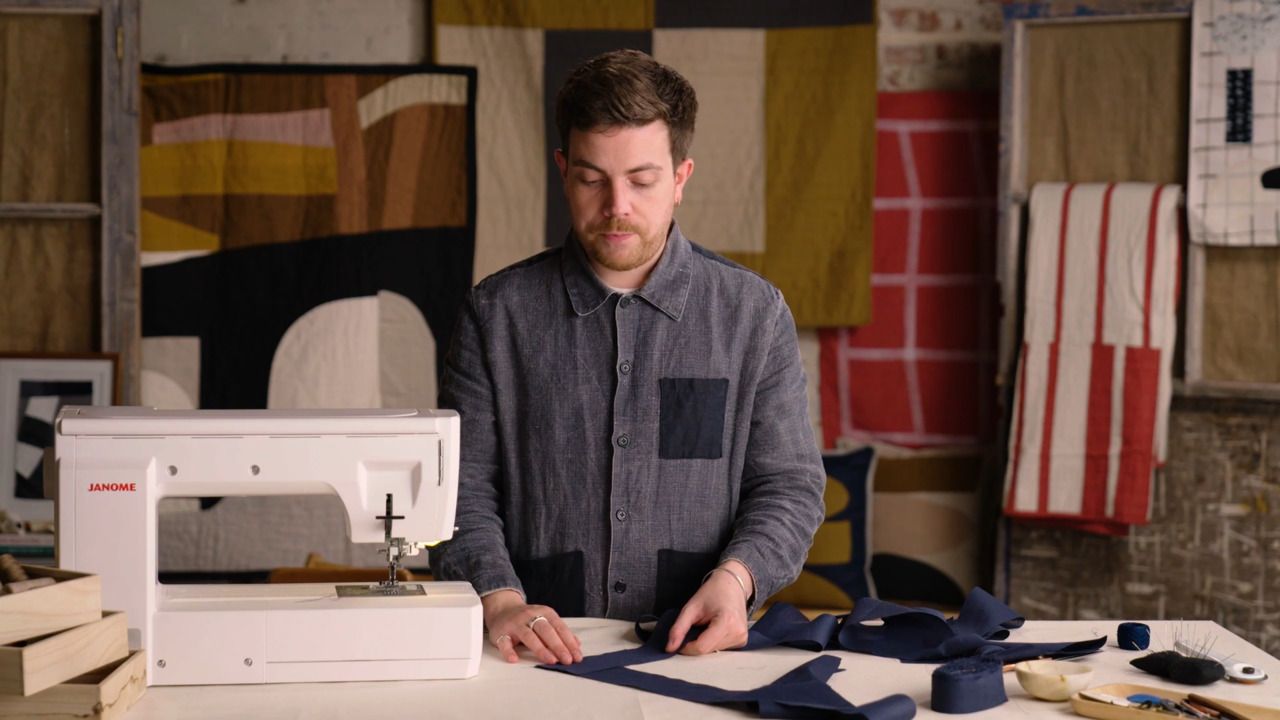
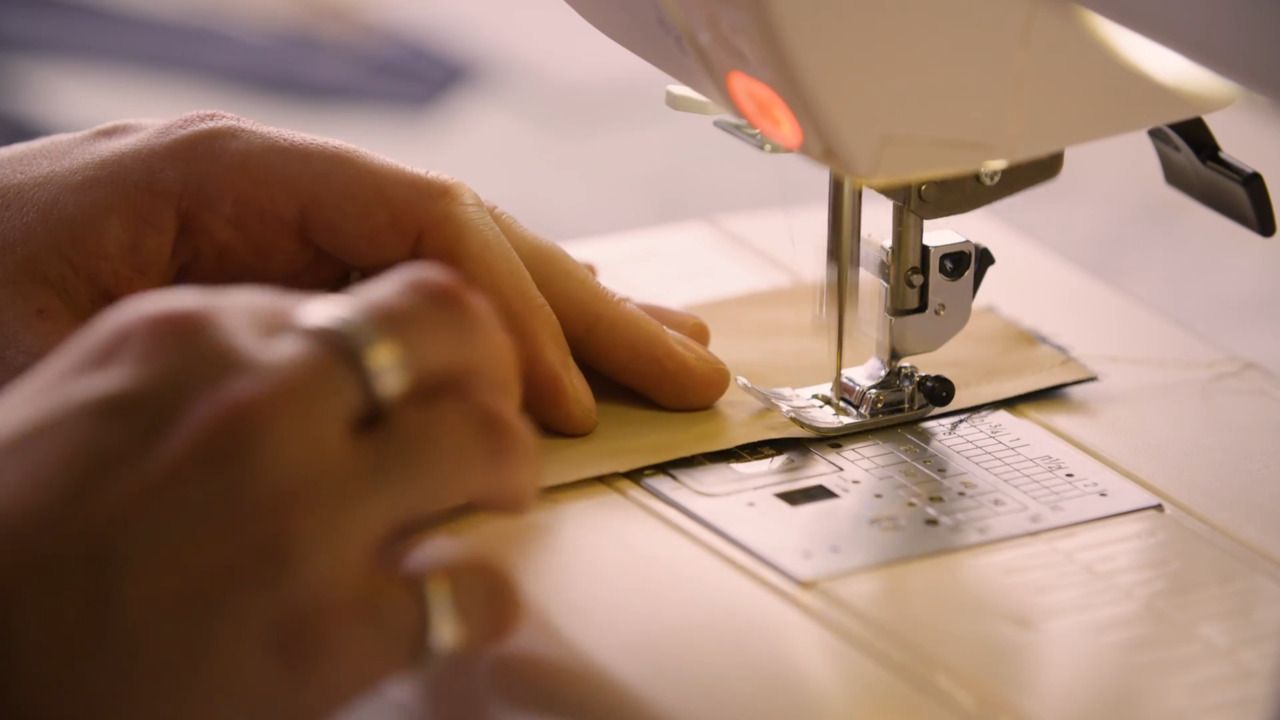
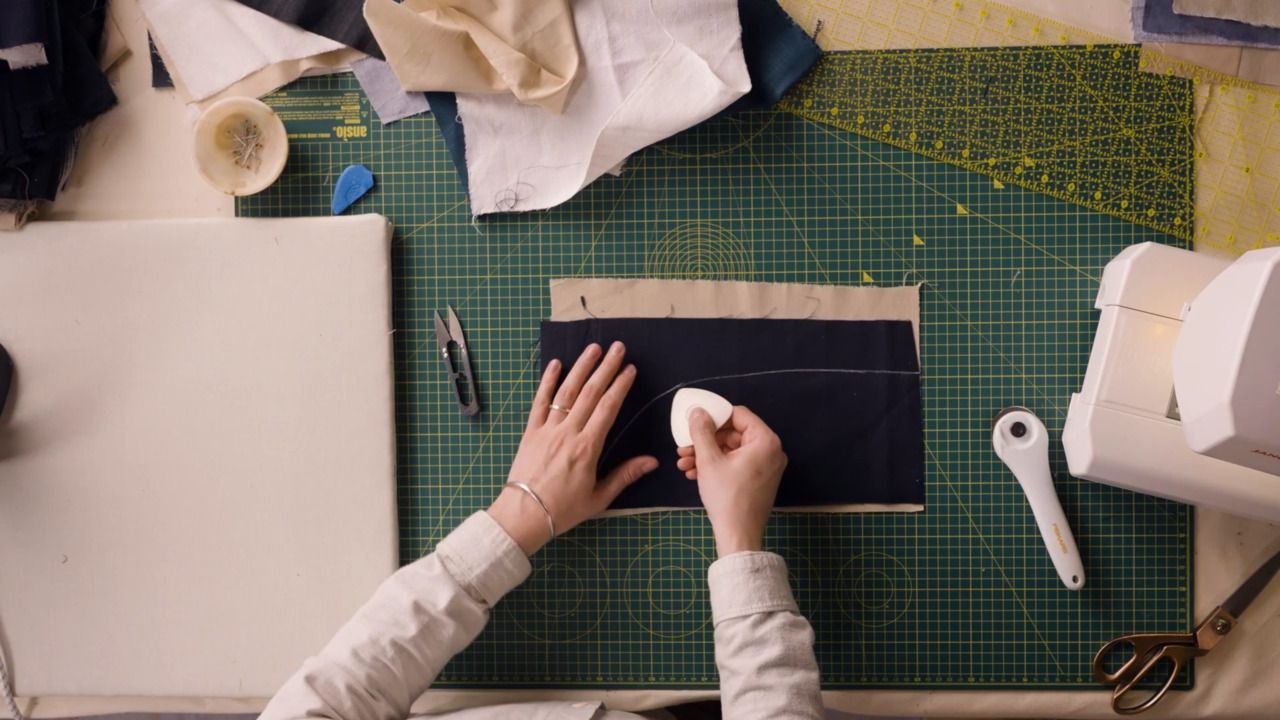
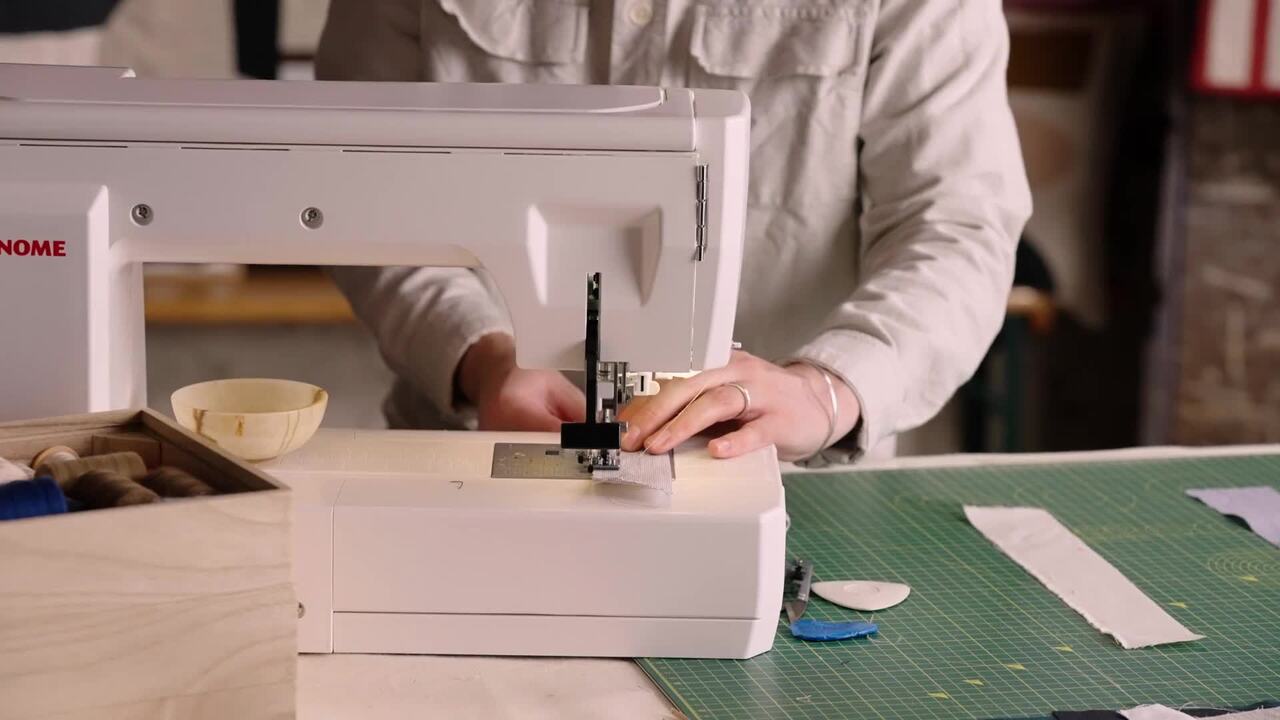
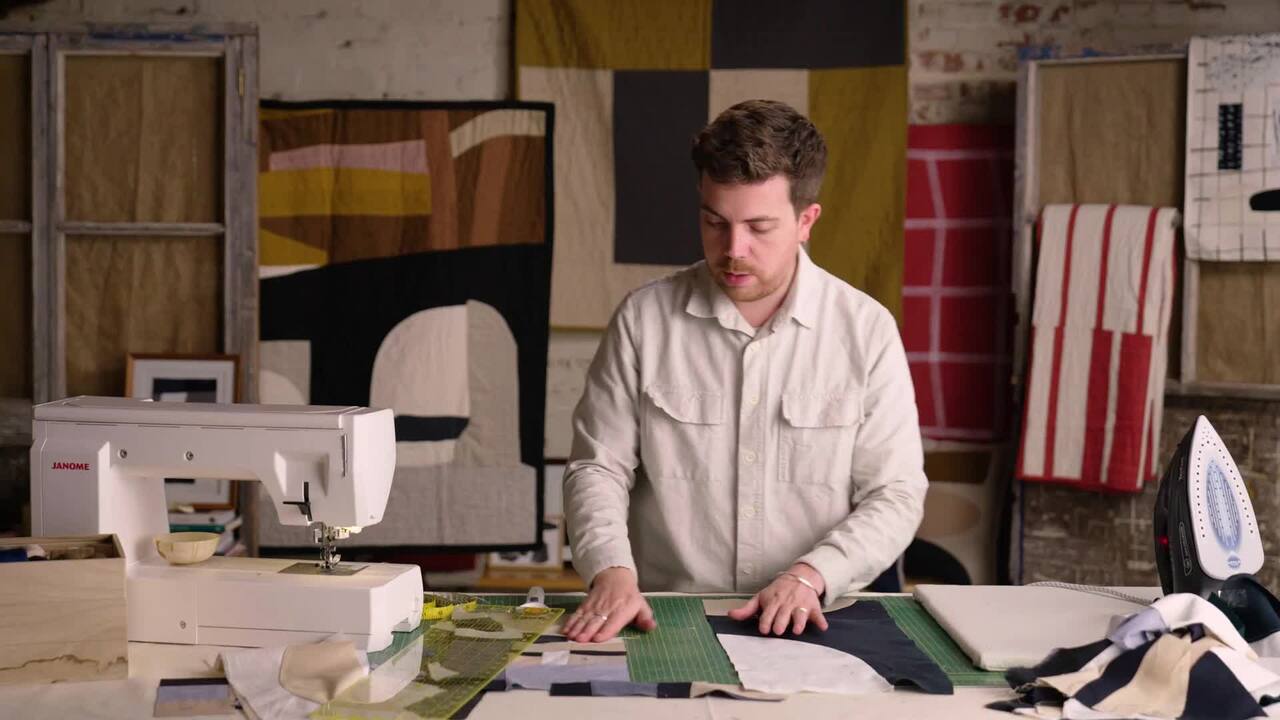
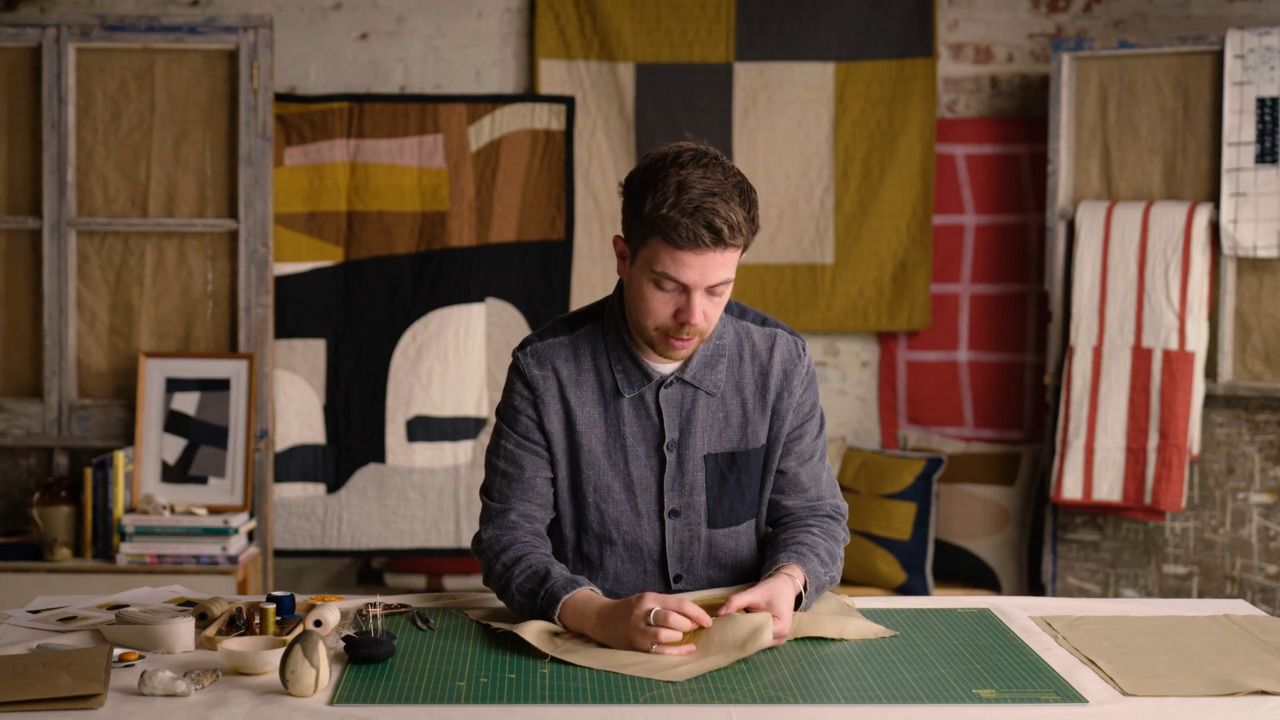
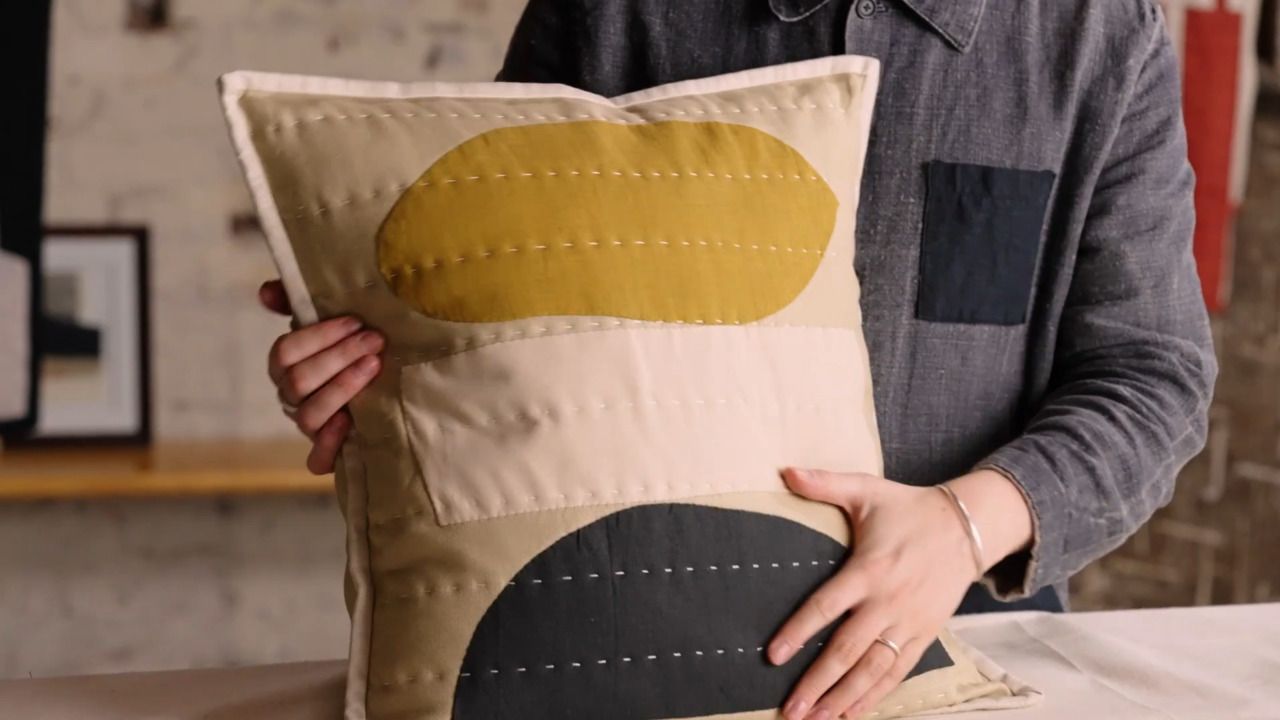
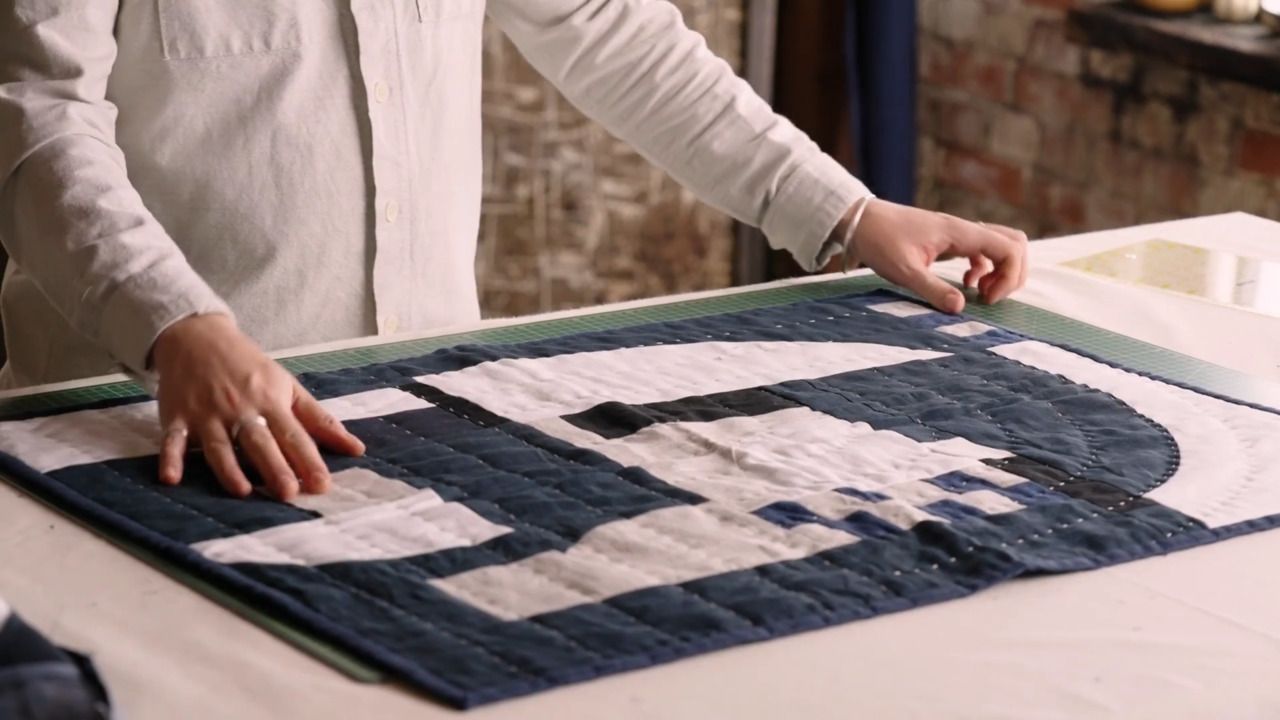
Once each of your blocks has been assembled (or appliquéd), it is time to sew the whole quilt top together. Learn the final steps in patchwork quilting and assemble your quilt top.
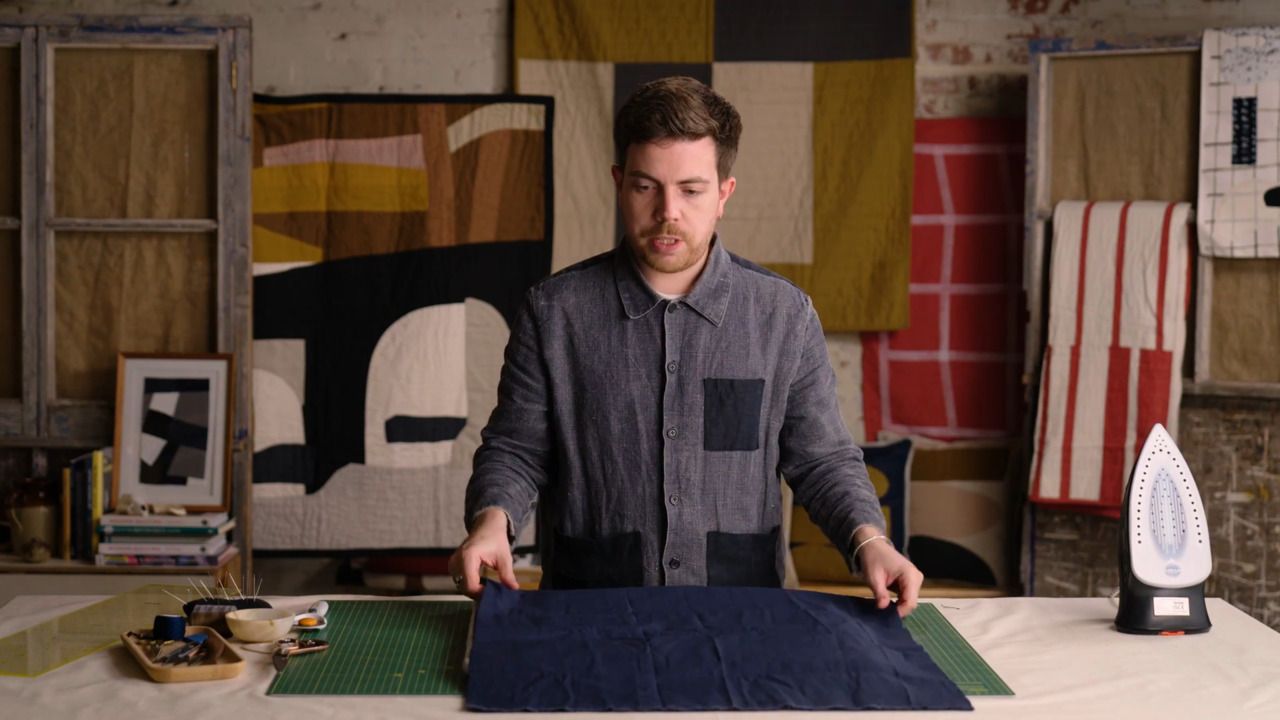
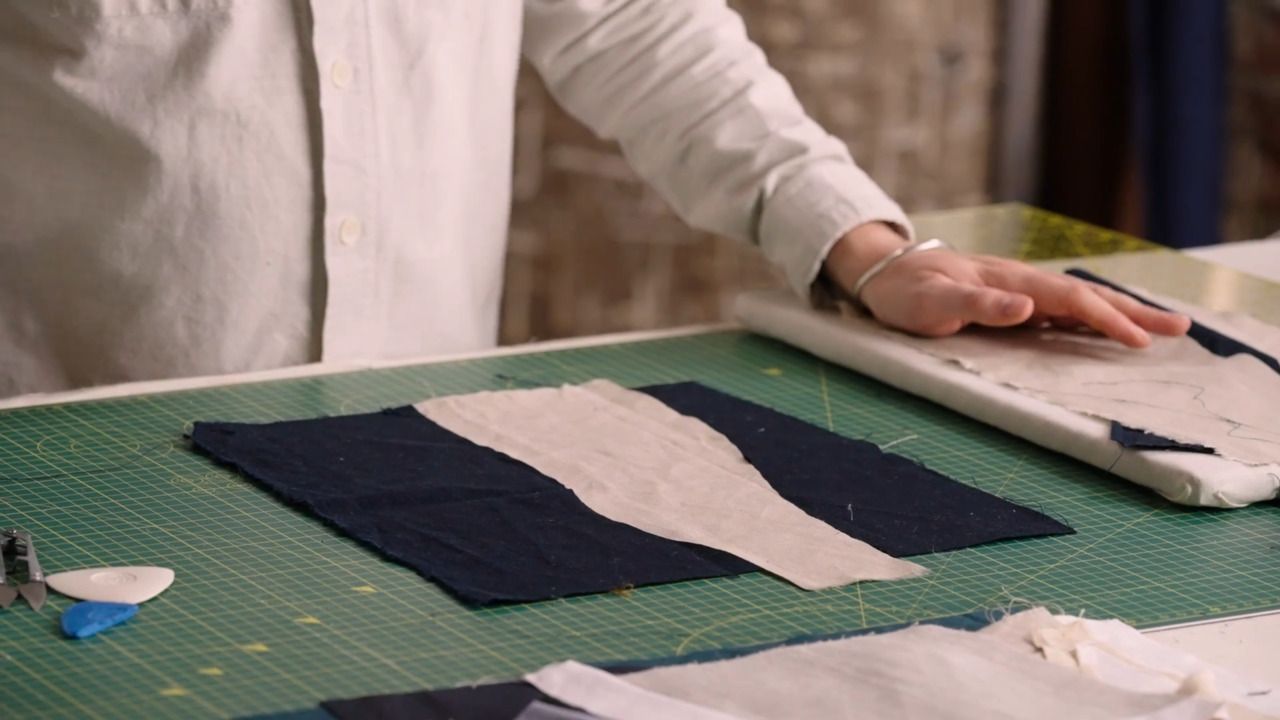
Move your panels around and start assembling your quilt composition.
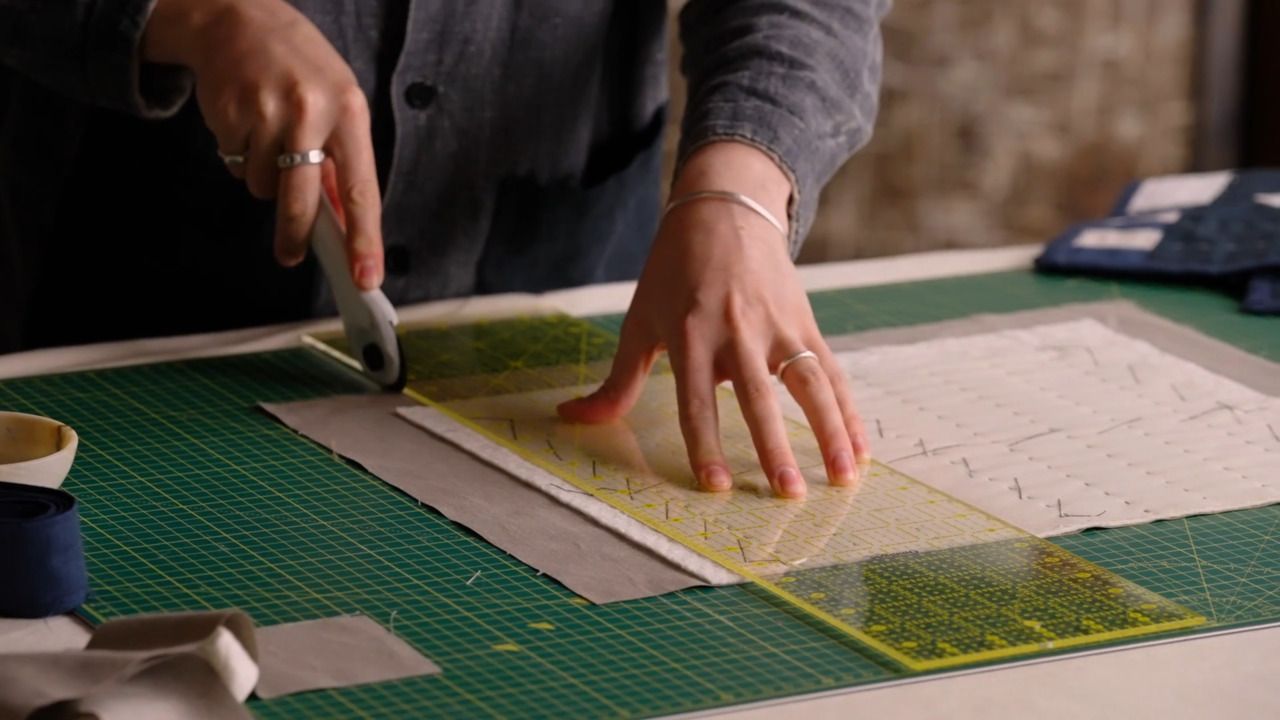
Tip: if you are constructing a larger quilt, you might want to put the backing fabric on the floor. If you are managing large pieces of fabric you can roll each of your layers onto a large cardboard roll and unroll them together.
Get the full workbook, video lessons, and more with a Create Academy subscription.
Subscribe to access the full workbookAlready a member? Sign in to watch
491 reviews
Read moreCreate Academy has been such a great resource. I'm in the middle of renovating a bungalow with a very large garden and the courses have offered a wealth of inform...
Harvey
Jun 10, 2026
Absolutely love Create Academy! The instructors are extremely informative, and it is beautifully filmed. Create Academy is great value for money and plan on renew...
SG
May 31, 2026
Butter's creativity is stunning! Her ability to incorporate brilliance in small gardens is magical!
Carla
May 30, 2026
The best adventure. I like all the courses, but my favorite are both Rita Konig interior design courses and Anna Jones. Excellent!
Karolina Kluczewska
May 20, 2026
Create Academy has been such a great resource. I'm in the middle of renovating a bungalow with a very large garden and the courses have offered a wealth of information to dive into and explore new ideas. I'm...
Harvey
Jun 10, 2026
Absolutely love Create Academy! The instructors are extremely informative, and it is beautifully filmed. Create Academy is great value for money and plan on renewing my subscription yearly because there are ...
SG
May 31, 2026
Butter's creativity is stunning! Her ability to incorporate brilliance in small gardens is magical!
Carla
May 30, 2026
Your Instructor
British textile artist specialising in handmade quilts and unique textile objects for the home.
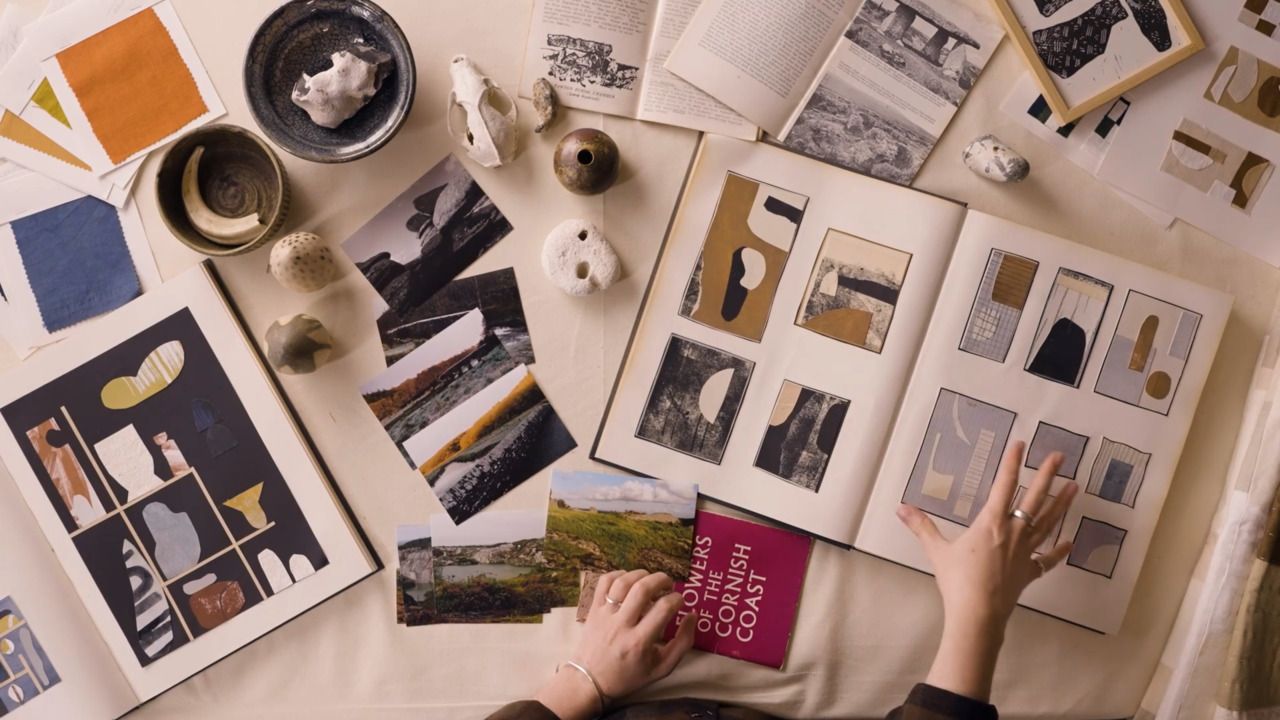
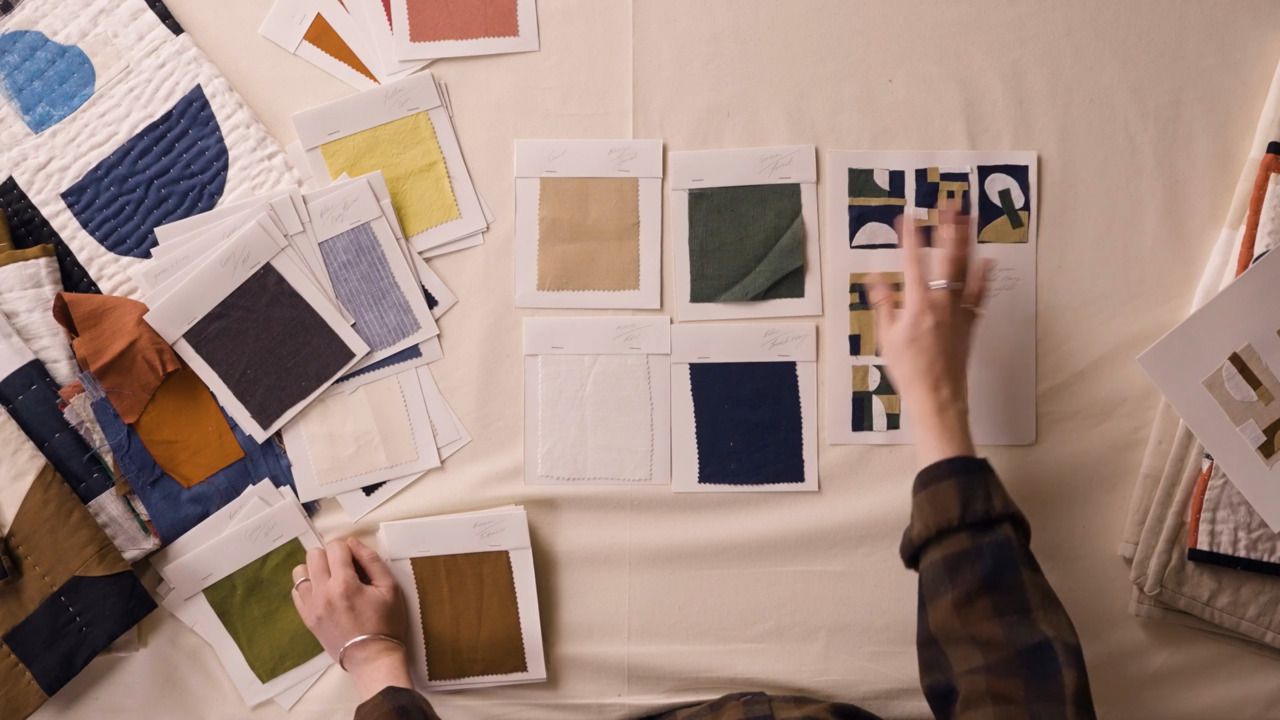
Julius Arthur is a textiles designer specialising in quilts and unique objects for the home. His design practice, House of Quinn, creates small-batch homeware using traditional and age-old craft techniques and practices to cultivate contemporary design narratives onto familiar objects. His work is grounded in uncomplicated - often repurposed - materials and inspired by an abstract view of the places and things around us. Growing up in Cornwall, memories of childhood and a sense of home and belonging intersect in Julius' work. Quilts have become a staple motif in Julius' work - a way of combining materials, connecting through stitch and exploring shape, form and line - and the subject of his book Modern Quilting.

Access to all courses


