


Interior and exterior confidence
Create Academy has been such a great resource. I'm in the middle of renovating a bungalow with a very large garden and the courses have offered a wealth of inform...
Harvey
Jun 10, 2026
with KATHARINE AMIES — Leading British botanical artist
Lesson 4 of 16
Subscribe to watch
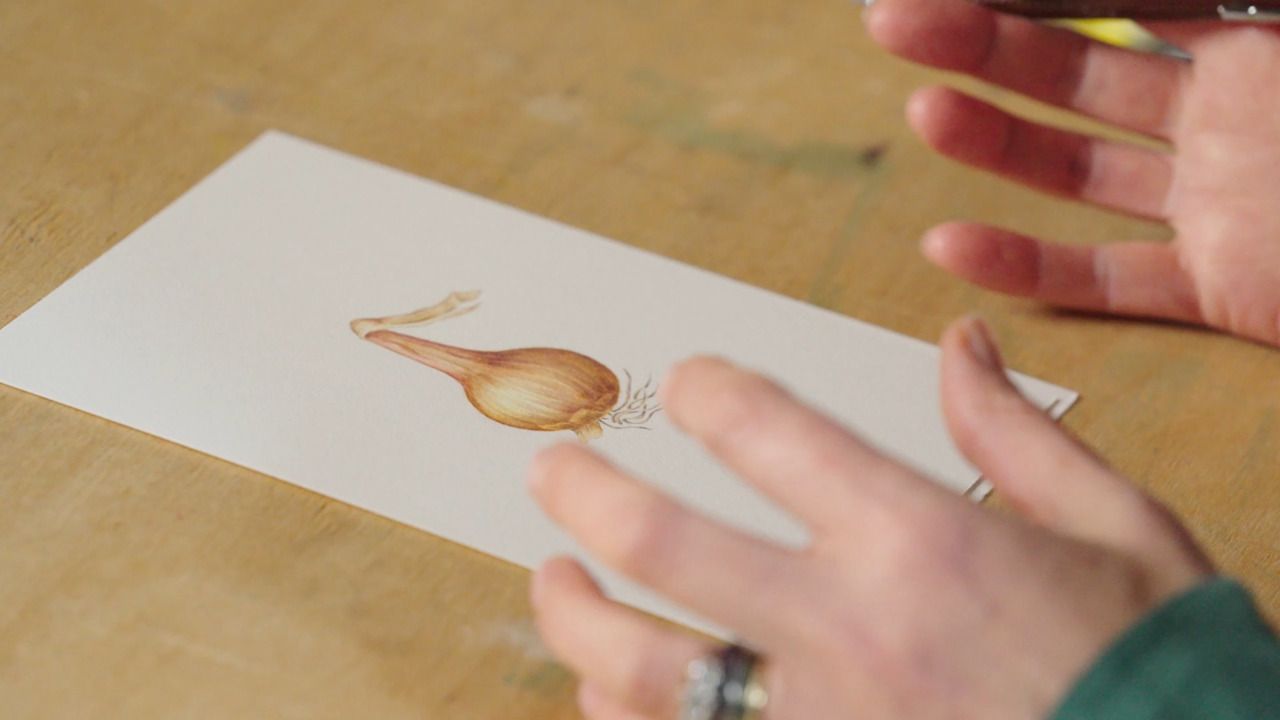
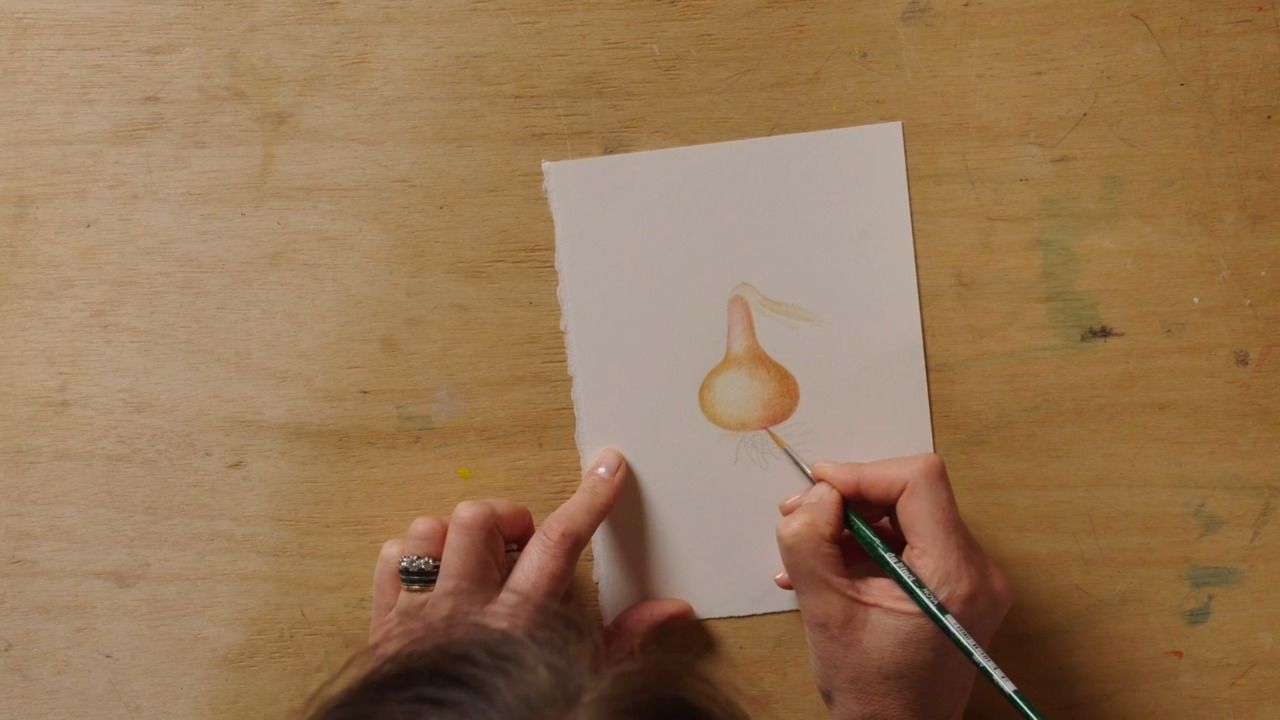
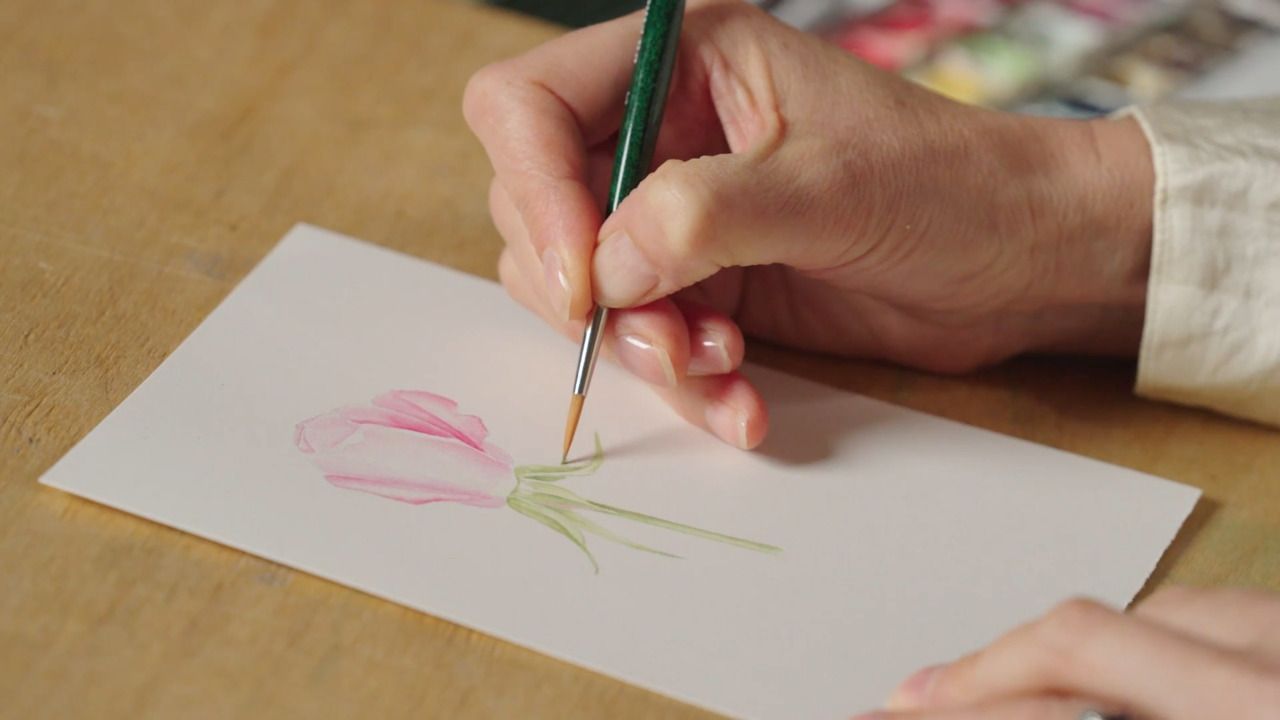
In this lesson, Katharine will show you how to apply your understanding of creating the illusion of shape with pencil drawing techniques learnt from the previous lesson by drawing a realistic shallot.
For this part of the lesson, I would really encourage you to draw along with me. I'll be breaking it down into manageable steps and offering tips along the way.
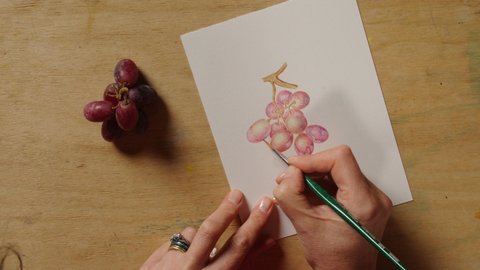
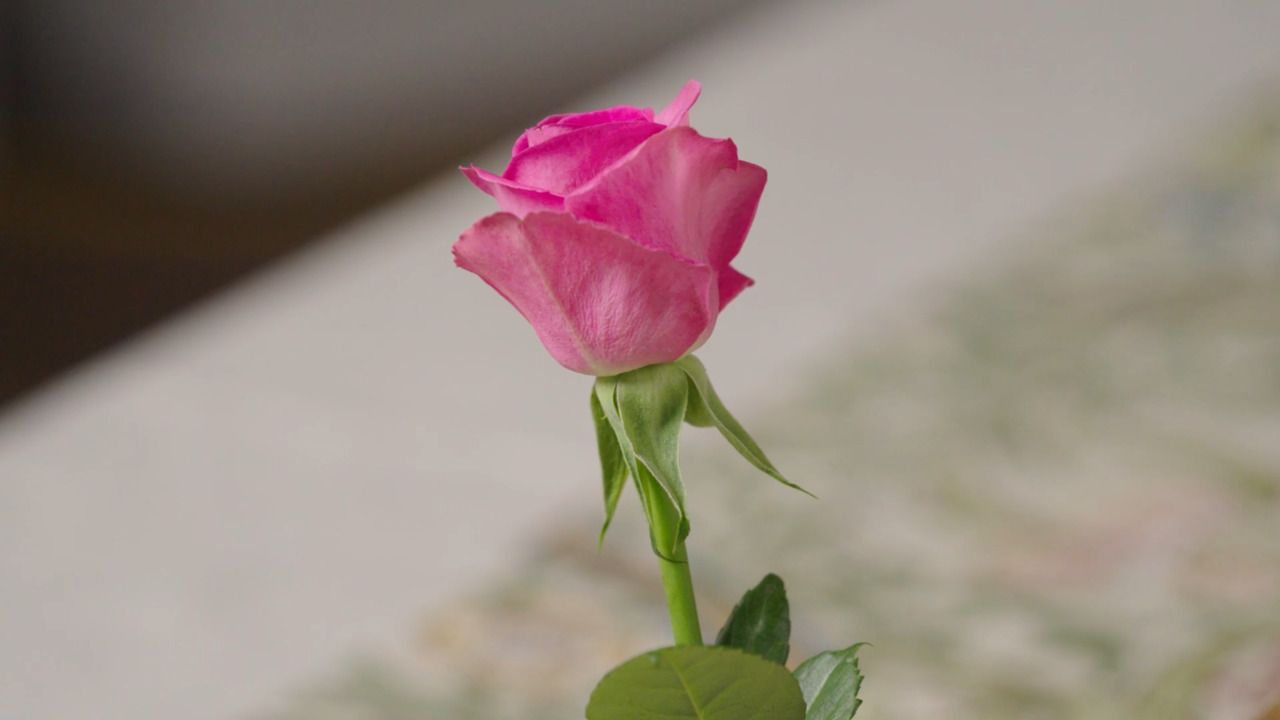
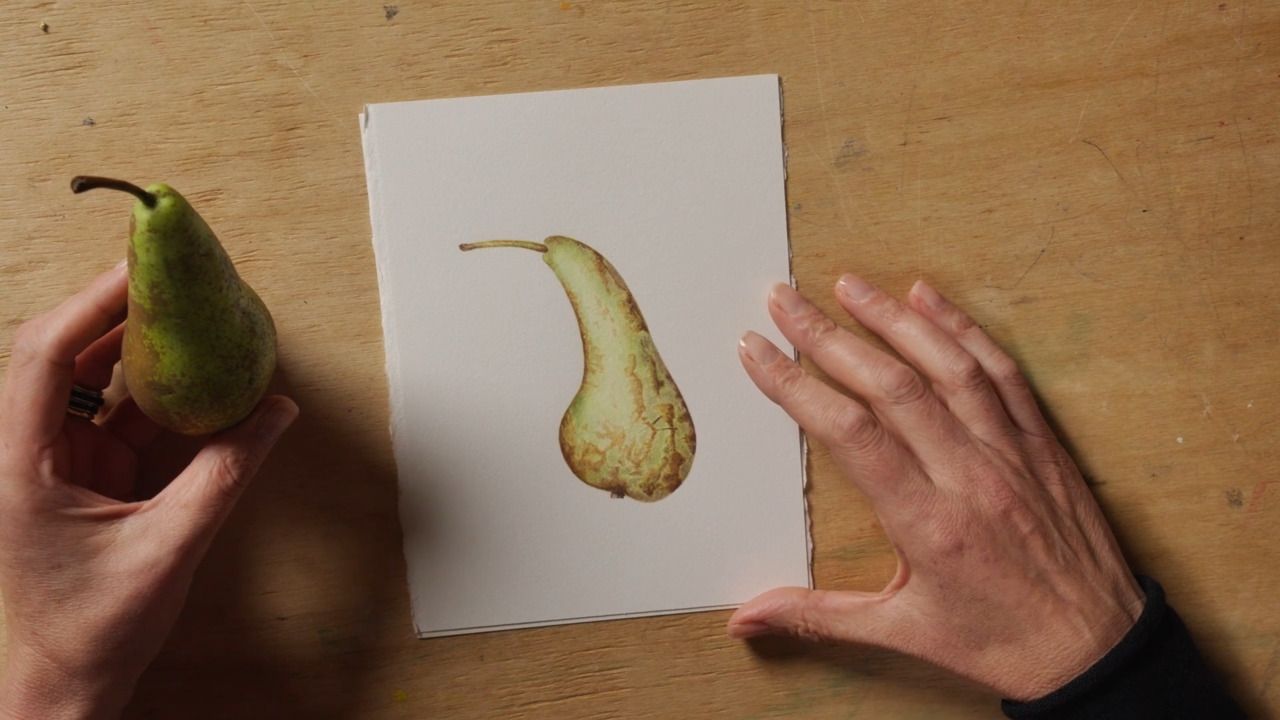
Choose a specimen that you like and that has some visual interest; this could be fluffy roots or an interesting stalk. It's also a good idea to select a specimen that is 'true to form' and matches what your viewer would expect a shallot to look like.
Get the placement of your specimen right, positioning it at an attractive angle that feels natural to draw. You want to avoid anything pointing directly towards you and instead position these elements to the side. Elevate it onto a plinth of some kind and secure the angle with a piece of putty rubber.
Draw the outline of your specimen. Unfortunately there are no magic shortcuts to drawing, and getting better is all about practice. Just like sport, you are training a muscle to perform. I can, however, offer some helpful tips for how to approach drawing.
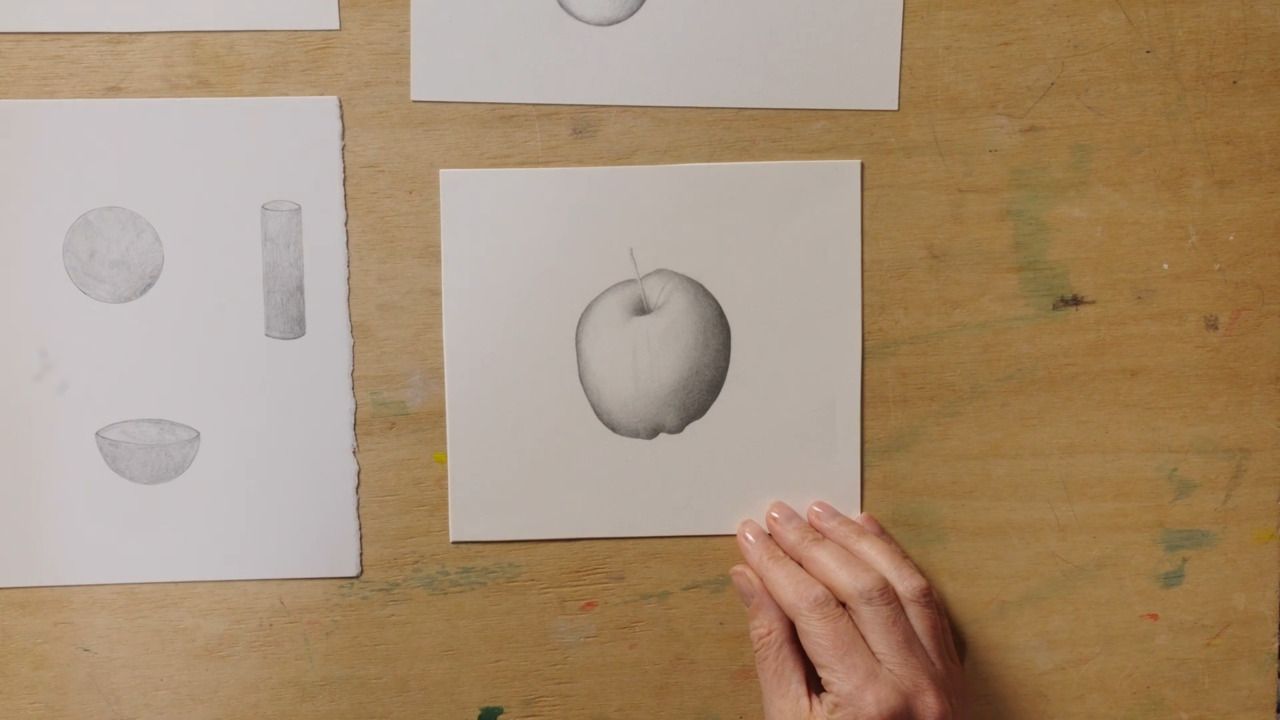
Once you're happy with the outline you have drawn, it's time to start shading. Begin on the lower right hand side; this will be your darkest part as it's the section where the specimen would receive the lowest amount of light. Use the pencil in a continuous tight circular motion, and try not to take it off the page as much as you can. As you move across the shape, take the pressure off the pencil gradually to make your shading lighter.
Keep going across your shape, creating sections of shadow and highlight to portray the illusion of form. There are a few key areas that are always darker on a specimen, and are good to keep in mind when shading.
When you have largely captured the form of your specimen with shading, you can begin to add in the details. This could be fine lines or marks on the skin, or fleshing out elements such as stalks, leaves or roots. Try to keep the sense of light and dark that you have built up with shading; when adding details into your highlight areas, keep them very light and vice versa within the areas of shadow.
Practise your shading using basic sphere, cylinder and bowl shapes. Then, if you haven't already followed along with me, have a go drawing a shallot yourself, focusing on the contrast between light and dark to create the illusion of form.
Get the full workbook, video lessons, and more with a Create Academy subscription.
Subscribe to access the full workbookAlready a member? Sign in to watch
479 reviews
Read moreCreate Academy has been such a great resource. I'm in the middle of renovating a bungalow with a very large garden and the courses have offered a wealth of inform...
Harvey
Jun 10, 2026
Absolutely love Create Academy! The instructors are extremely informative, and it is beautifully filmed. Create Academy is great value for money and plan on renew...
SG
May 31, 2026
Butter's creativity is stunning! Her ability to incorporate brilliance in small gardens is magical!
Carla
May 30, 2026
The best adventure. I like all the courses, but my favorite are both Rita Konig interior design courses and Anna Jones. Excellent!
Karolina Kluczewska
May 20, 2026
Create Academy has been such a great resource. I'm in the middle of renovating a bungalow with a very large garden and the courses have offered a wealth of information to dive into and explore new ideas. I'm...
Harvey
Jun 10, 2026
Absolutely love Create Academy! The instructors are extremely informative, and it is beautifully filmed. Create Academy is great value for money and plan on renewing my subscription yearly because there are ...
SG
May 31, 2026
Butter's creativity is stunning! Her ability to incorporate brilliance in small gardens is magical!
Carla
May 30, 2026
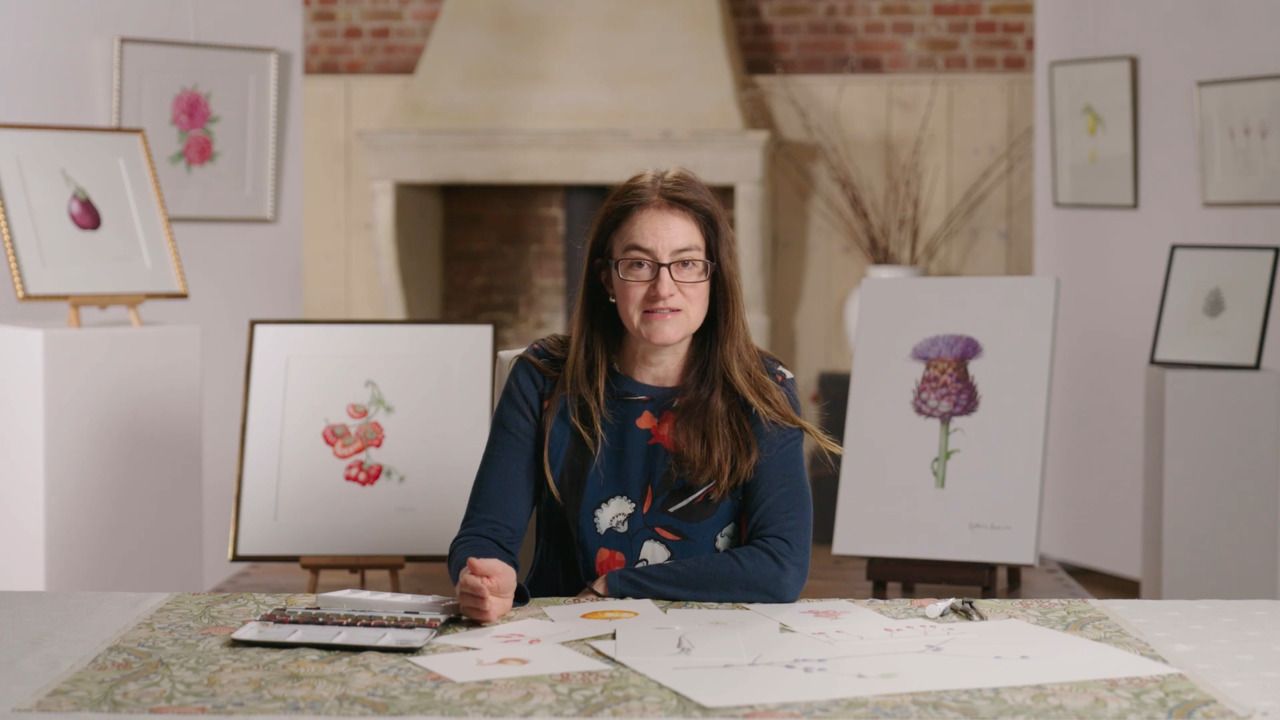
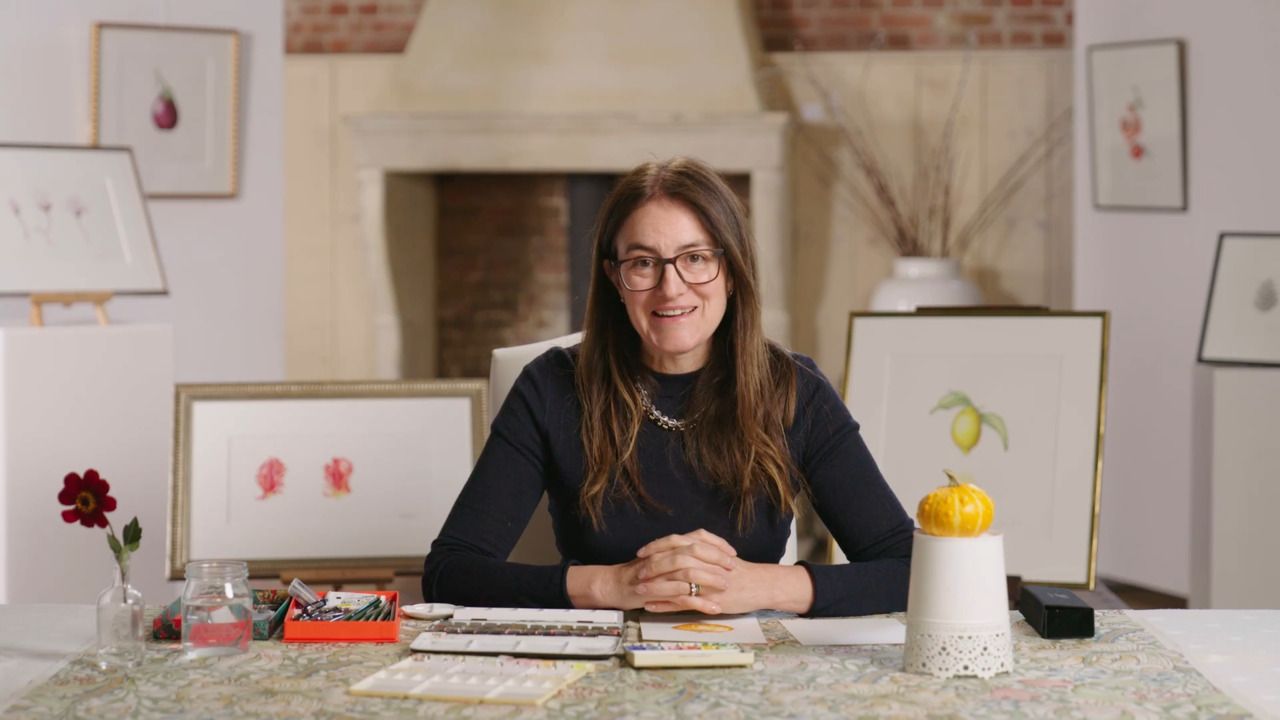
Your Instructor
Leading British botanical artist
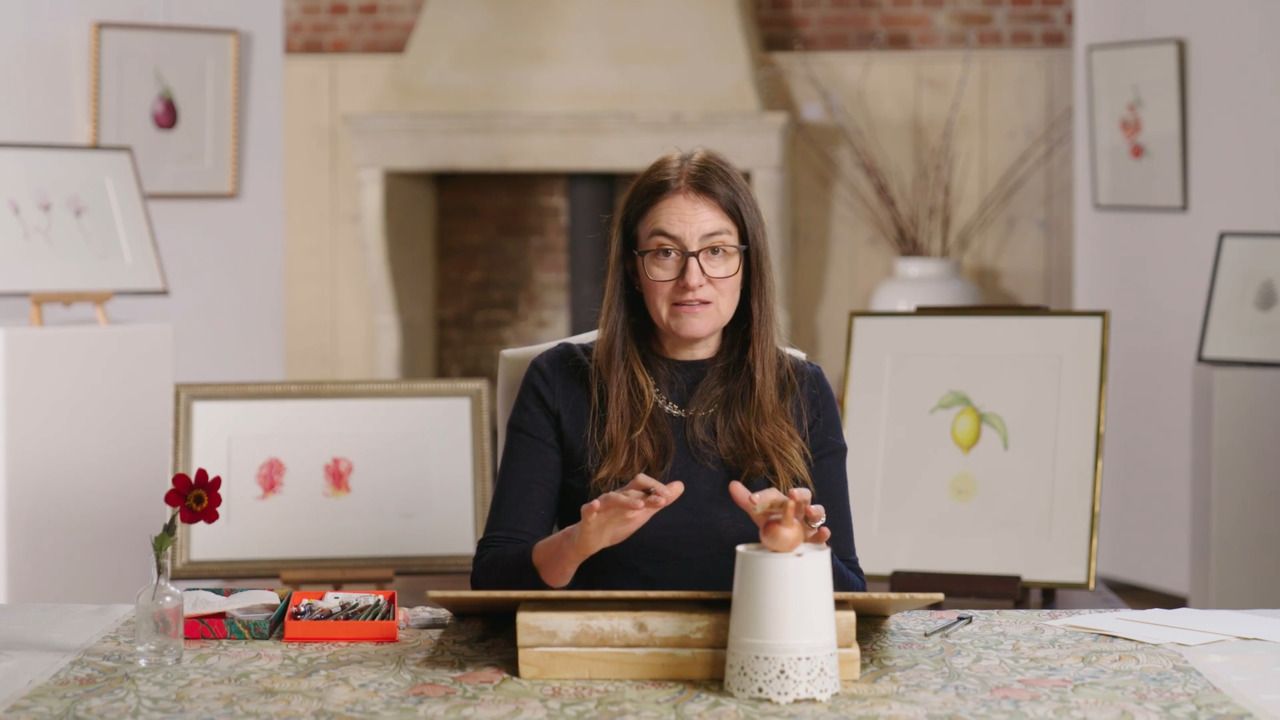
Katharine Amies is a leading British botanical artist. Katharine's work seeks to capture the intimate essence of plants in a manner that photographs, despite their detail, fail to convey. Katharine trained at the Chelsea Physic Garden in 2000. Her work is represented in the Shirley Sherwood Collection of Botanical Art at Kew Gardens which is the largest collection of contemporary botanical art in the world.

Access to all courses


