


Interior and exterior confidence
Create Academy has been such a great resource. I'm in the middle of renovating a bungalow with a very large garden and the courses have offered a wealth of inform...
Harvey
Jun 10, 2026
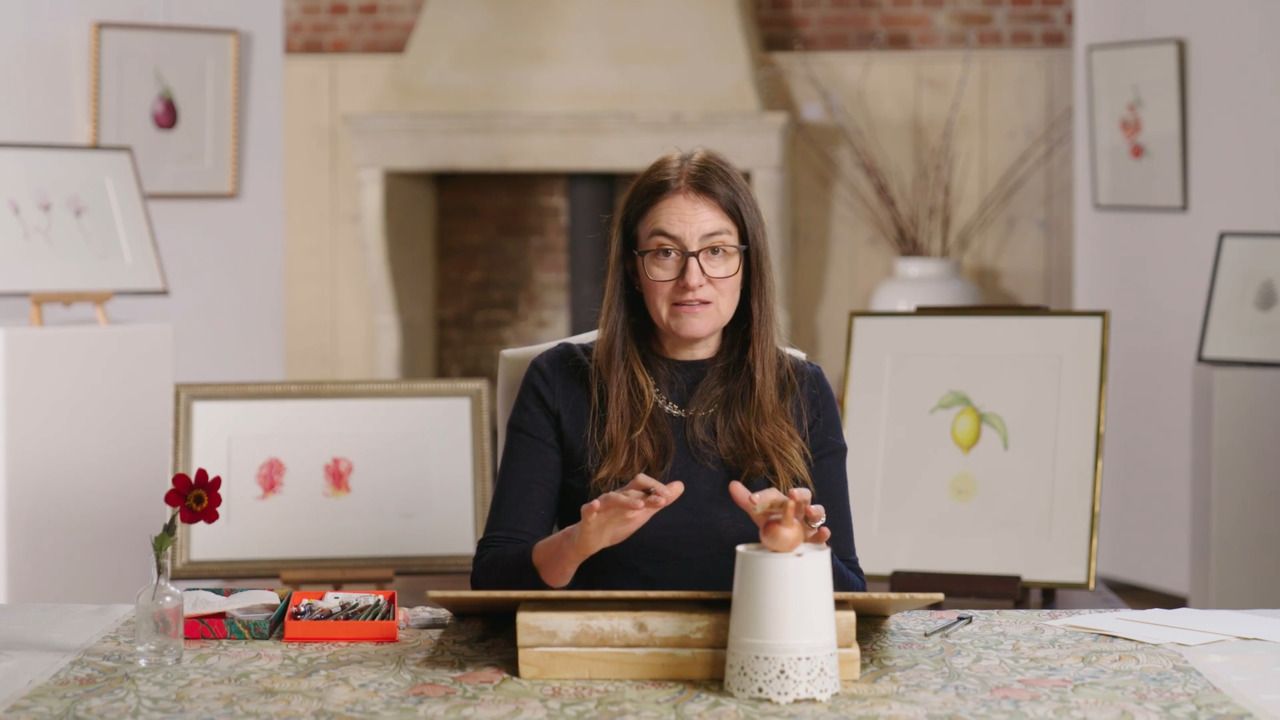
with KATHARINE AMIES — Leading British botanical artist
Lesson 9 of 16
Subscribe to watch
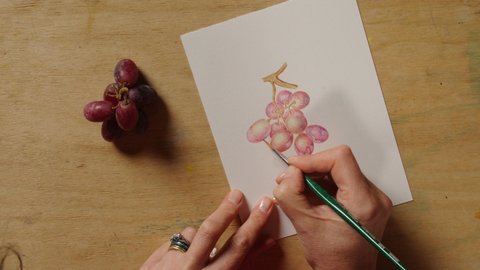
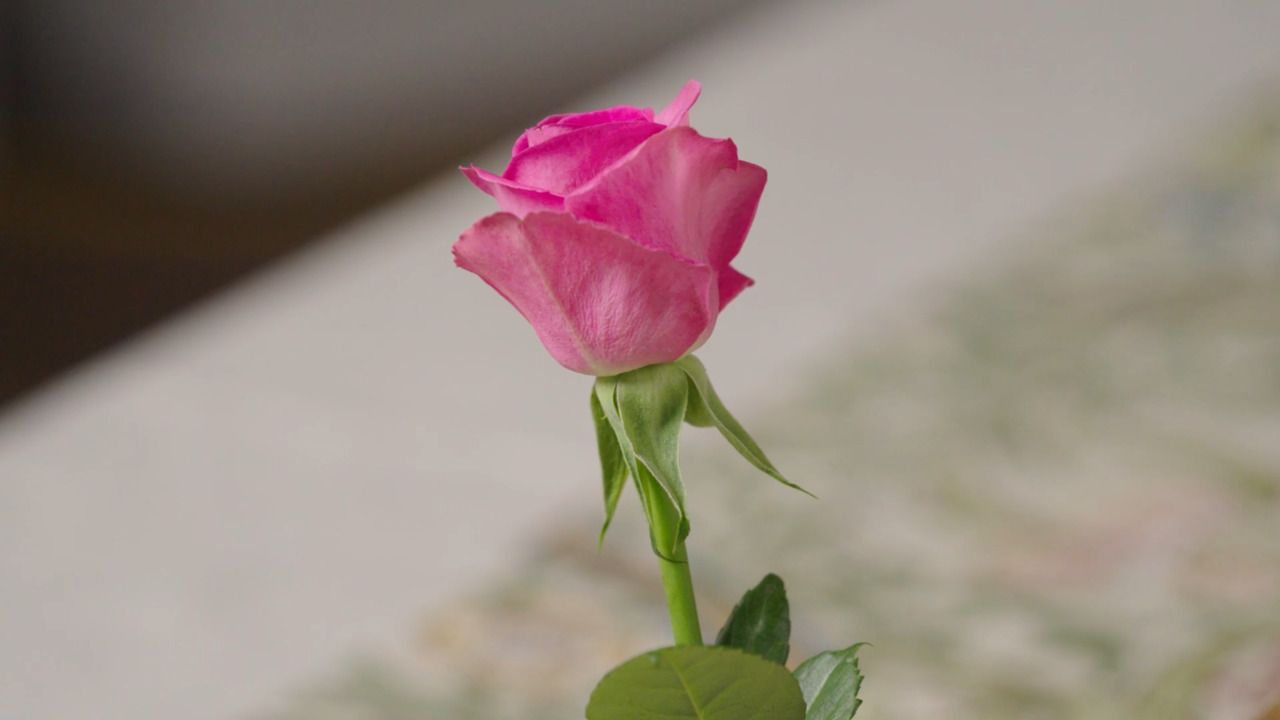
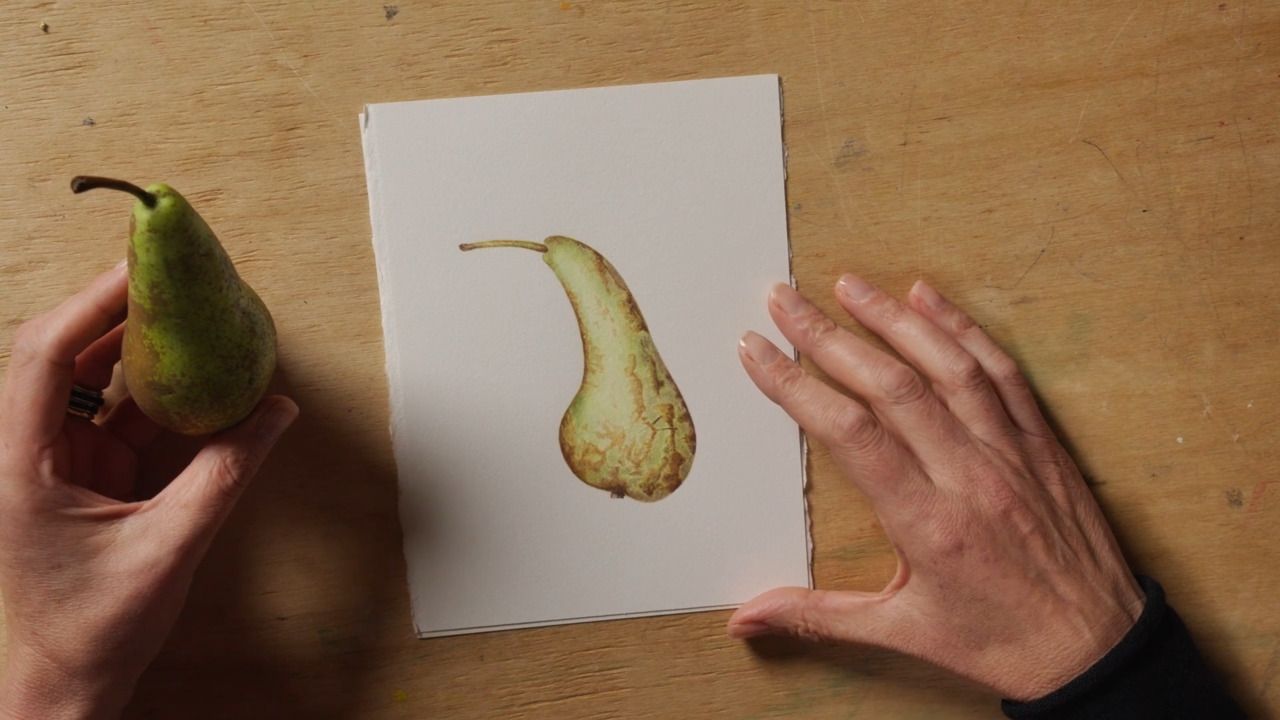
Moving on from fruit, you and Katharine will spend some time together painting a different kind of plant specimen; flowers. They can be a little trickier to paint as they are so delicate, but there are a few tricks to capture their unique beauty.
Moving on from fruit, we are now going to spend some time together painting a different kind of plant specimen; flowers. They can be a little trickier to paint as they are so delicate, but there are a few tricks to capture their unique beauty.
In comparison to fruit and vegetables, flowers can be a little more difficult to paint. Not only are they more delicate, but they also have much more of a tendency to change and move as you are painting them; shedding their petals, as well as opening, closing or drooping.
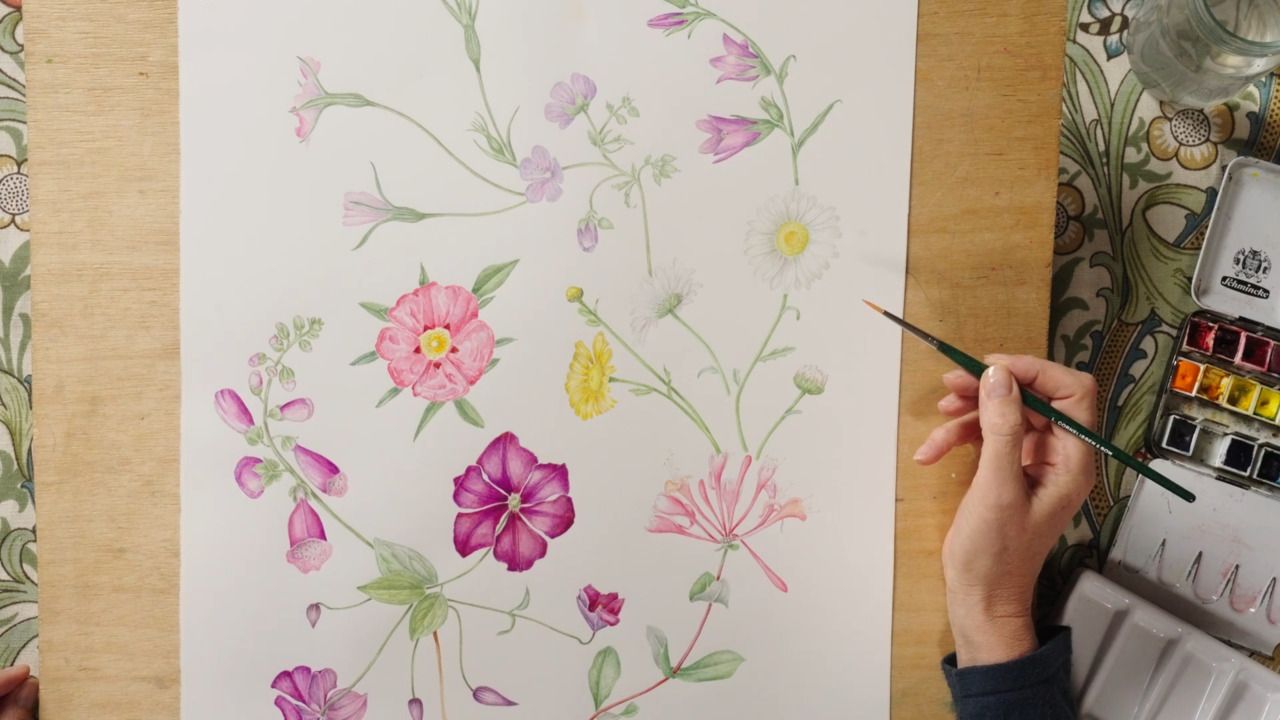
In this lesson, I'll be showing you how to paint a white petaled flower, which poses an additional challenge as watercolourists don't tend to use white paint. Instead, we'll be painting the shadows and letting the white of the paper show through - similarly to how we did when creating shine. We'll be mixing tones of grey from the primary colours.
Step 1
Position your stem in a vase; you may want to also use a plinth to bring it up closer to eye level.
Step 2
Begin to draw the outline with pencil, using your divider to measure each section to get the proportion right. My best advice would be to break it down into manageable chunks.
Step 3
As we have done before, rub out your pencil lines until they are very faint; this is particularly important when capturing flowers with white petals. Leave the stamen as is.
Step 4
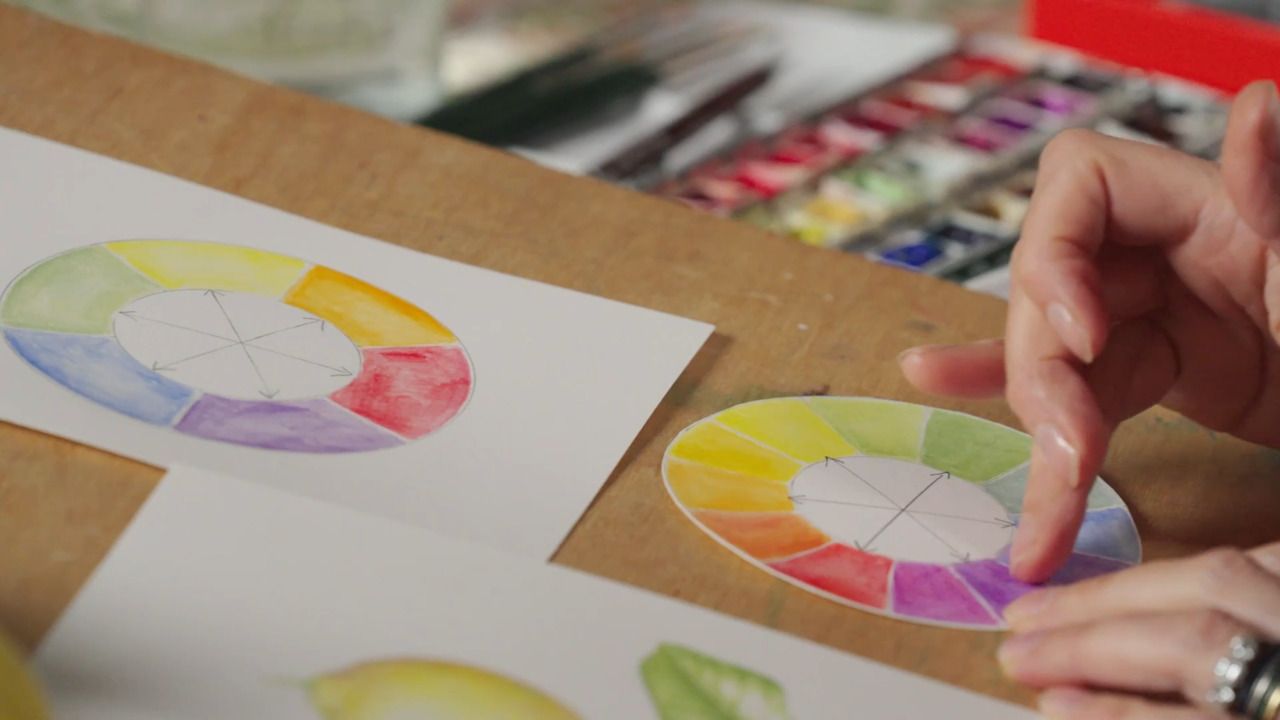
Select the colours you are going to use. For the stamen, it creates a more realistic effect if you're able to introduce some colour variation. Mix the green for the centre using blue and yellow, and a grey for the petals with the primary colours. If your grey becomes too muddy and brown, it can be cooled down by adding more blue.
Step 5
Start by painting your stamen in your lightest colour. I would recommend keeping a really dry brush for capturing the intricate detail; the drier the brush, the more control you'll be able to have. After you're done with the light colour, you can add a slightly darker colour into your stamen to add depth and contrast.
Step 6
Now move onto the centre of the flower. Start with a pale green wash, and slowly build up the areas of shadow to create the domed form.
Step 7
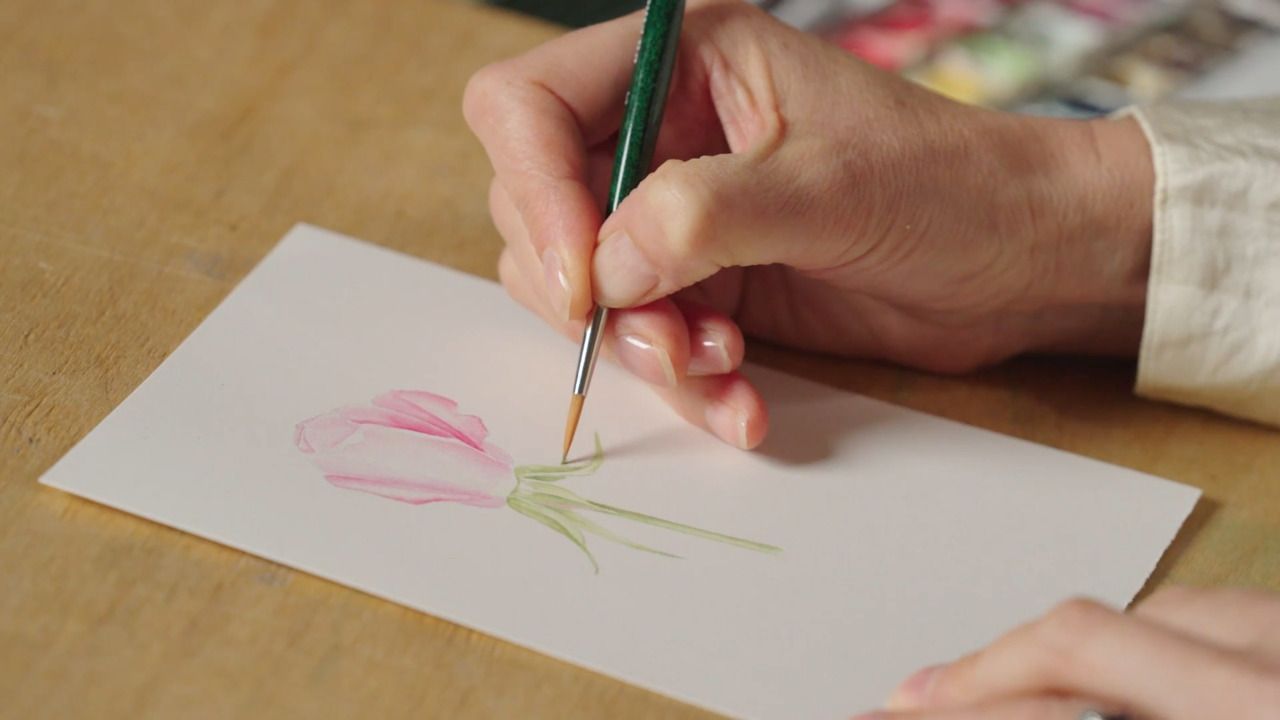
It's time to tackle the petals. Each petal should be articulated as a separate component, so take the time to really look at the unique characteristics of each one; be it crinkles, folds, undulations or fine lines. Taking the grey paint on your brush, begin to carefully paint in these distinctive details to communicate the differences between each petal to the viewer.
Step 8
As you near the end of your painting, consider whether there's any additional accents you can include, or moments of drama. These could be darkening some areas of shadows, incorporating subtle hints of pale colour, or increasing the contrast to give certain elements more visibility.
Get the full workbook, video lessons, and more with a Create Academy subscription.
Subscribe to access the full workbookAlready a member? Sign in to watch
479 reviews
Read moreCreate Academy has been such a great resource. I'm in the middle of renovating a bungalow with a very large garden and the courses have offered a wealth of inform...
Harvey
Jun 10, 2026
Absolutely love Create Academy! The instructors are extremely informative, and it is beautifully filmed. Create Academy is great value for money and plan on renew...
SG
May 31, 2026
Butter's creativity is stunning! Her ability to incorporate brilliance in small gardens is magical!
Carla
May 30, 2026
The best adventure. I like all the courses, but my favorite are both Rita Konig interior design courses and Anna Jones. Excellent!
Karolina Kluczewska
May 20, 2026
Create Academy has been such a great resource. I'm in the middle of renovating a bungalow with a very large garden and the courses have offered a wealth of information to dive into and explore new ideas. I'm...
Harvey
Jun 10, 2026
Absolutely love Create Academy! The instructors are extremely informative, and it is beautifully filmed. Create Academy is great value for money and plan on renewing my subscription yearly because there are ...
SG
May 31, 2026
Butter's creativity is stunning! Her ability to incorporate brilliance in small gardens is magical!
Carla
May 30, 2026
Your Instructor
Leading British botanical artist
Katharine Amies is a leading British botanical artist. Katharine's work seeks to capture the intimate essence of plants in a manner that photographs, despite their detail, fail to convey. Katharine trained at the Chelsea Physic Garden in 2000. Her work is represented in the Shirley Sherwood Collection of Botanical Art at Kew Gardens which is the largest collection of contemporary botanical art in the world.

Access to all courses


