


Interior and exterior confidence
Create Academy has been such a great resource. I'm in the middle of renovating a bungalow with a very large garden and the courses have offered a wealth of inform...
Harvey
Jun 10, 2026
Subscribe to watch
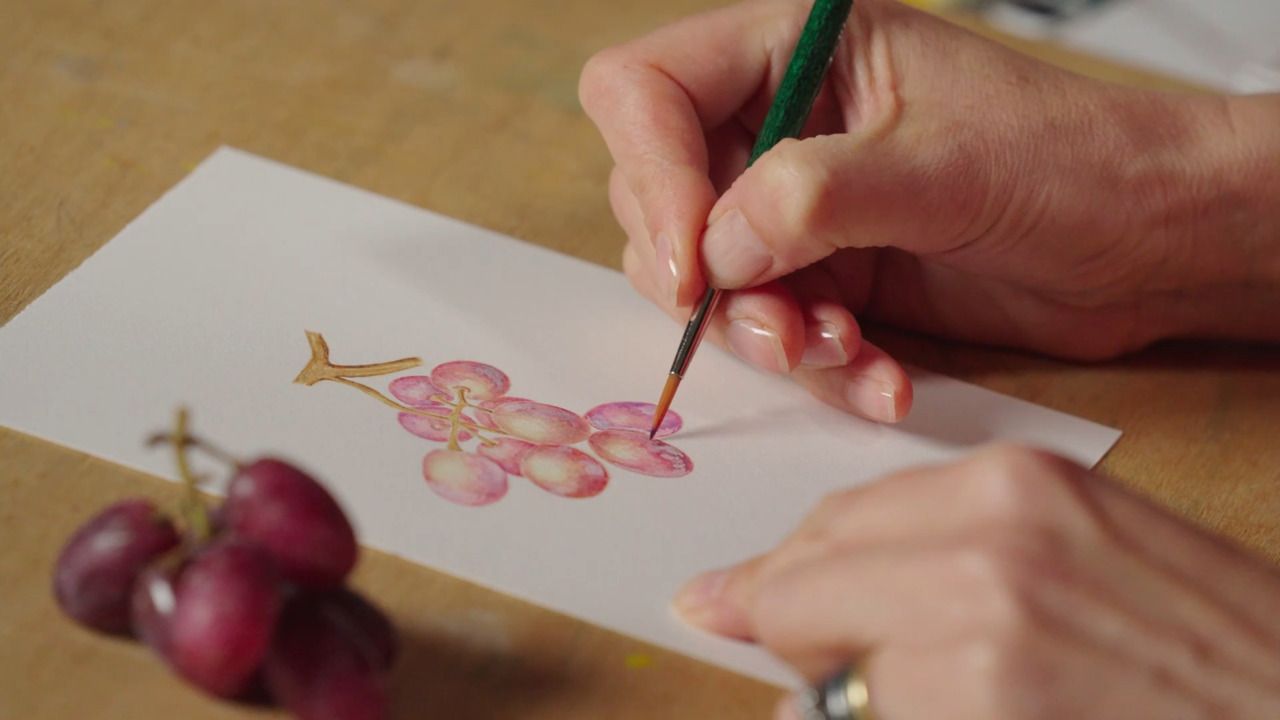
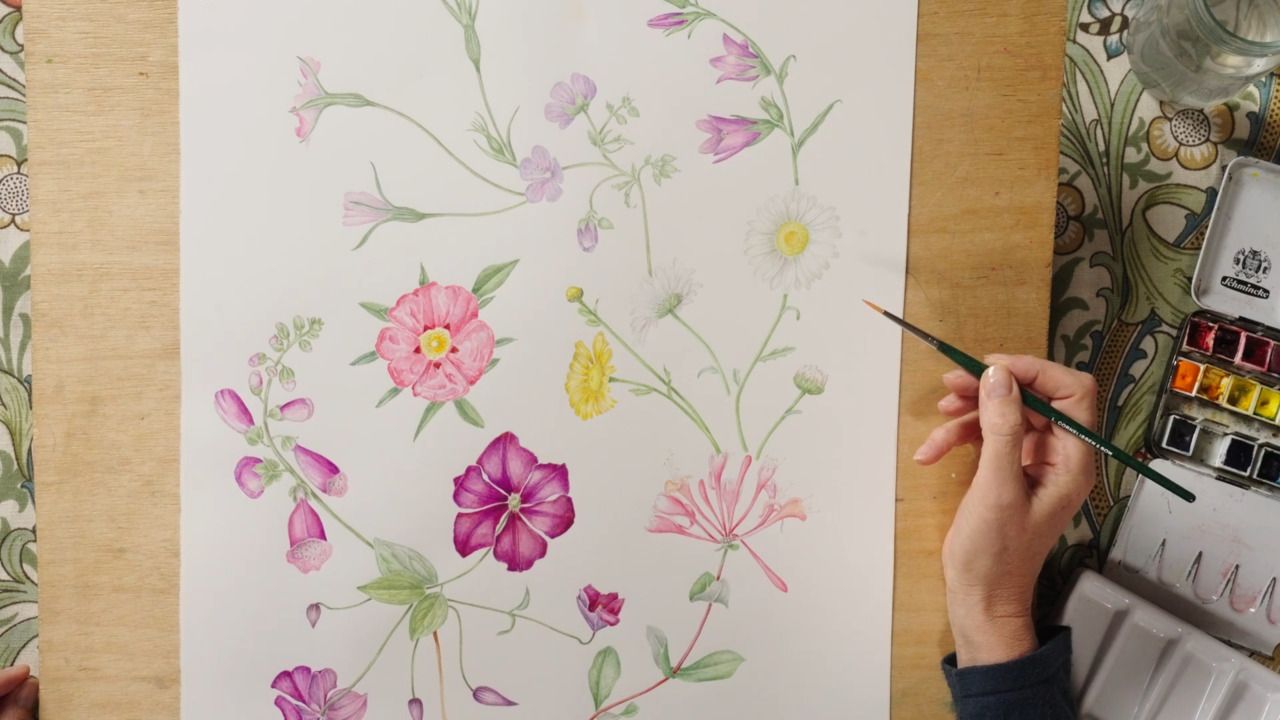
This lesson will see you applying what you have learnt to a different type of flower; one that has colour. Katharine also spends some time demonstrating how to capture the uniquely delicate nature of petals in watercolour.
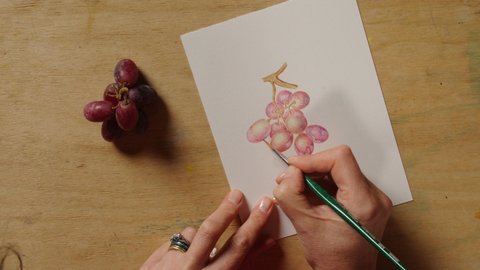
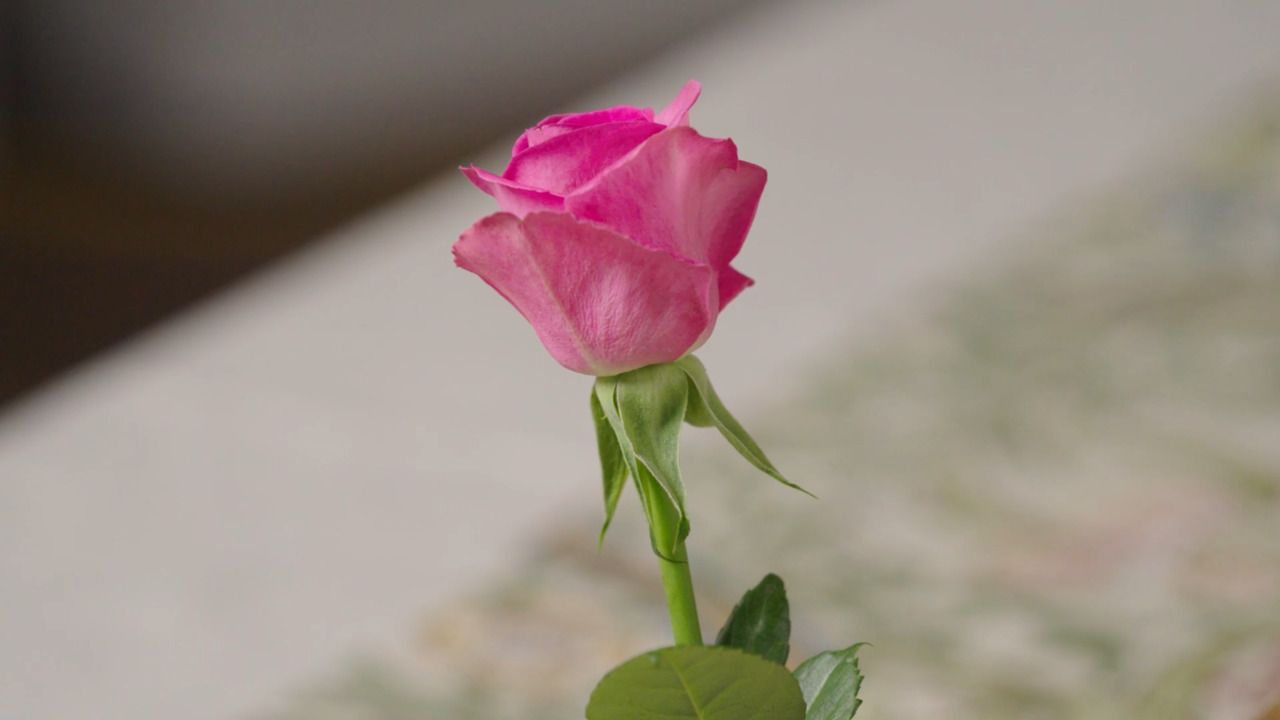
We will now be tackling how to paint a pink rose. I'll be sharing with you a few of my techniques for capturing the delicate nature of petals in watercolour.
Flowers can be a challenge to capture in watercolour due to their dainty composition. Certain flowers are much more susceptible to drooping and losing their petals than others. I would recommend steering clear of:
Instead, go for something more robust for your first few attempts - a rose is a good choice.
Try to get shop bought roses rather than home grown, as these will have been cultivated to last longer.
You might like to choose quite a tight budded rose, because these are slightly easier to draw and capture.
Place your rose stem into a vase of water and choose the position you want to draw it in. Ideally you want an angle that is easy to understand for the viewer, and that avoids any characteristics that are too tricky to capture.
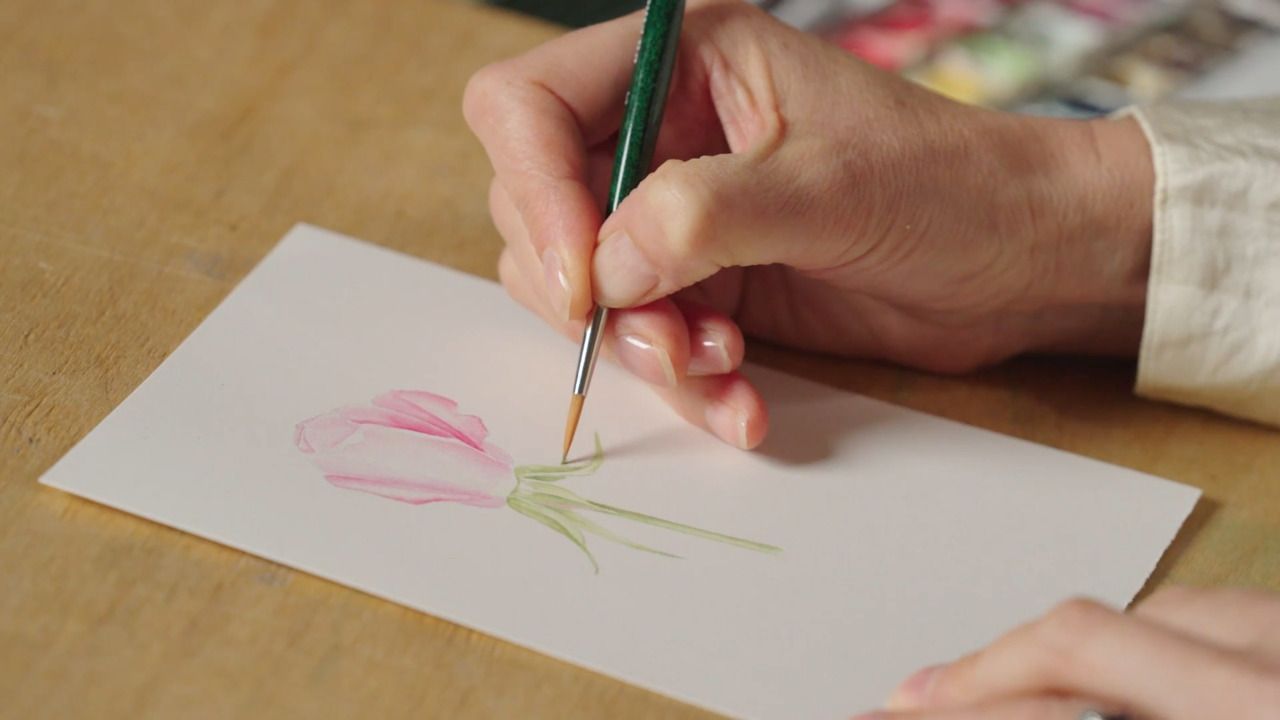
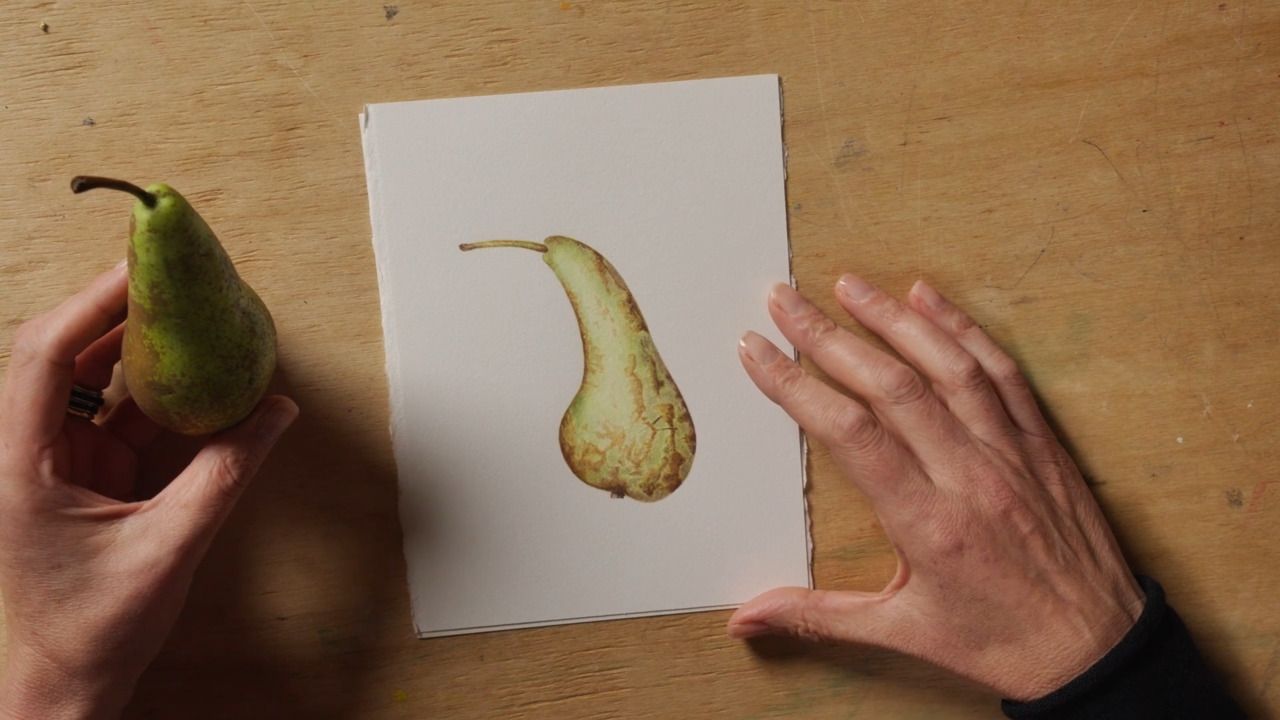
Draw the outline of your flower. Start at the base of the flower, drawing the sepals and stalk first before moving onto the petals. As always, slightly rub away your pencil lines once you're happy, so you're just left with a faint outline.
Mix a pale green, and apply it as a light wash to the sepals and stalk.
Next, use Permanent Rose across all of the petals and start to build up the form of each one.
To enable the viewer to differentiate between the petals, you can now add in an additional pink tone to communicate the lighter areas and provide some contrast - I recommend Cobalt Violet. Less light falls on the back of petals, so this can be represented by building up darker areas. Focus on the best way to communicate the order of petals through light and dark.
While you're waiting for areas of your petals to dry, revisit the sepals and stem to intensify the colours, adding depth and form with darker hues.
Going back to the petals, try using very thin layers of Permanent Magenta to build up your representation of the delicate folds and rolls of each petal - this is a good colour to use when you want to communicate depth in lighter areas.
If you can see any fine lines or details, now is the time to add these in.
As you're making the finishing touches, make sure your edges are all neat and crisp.
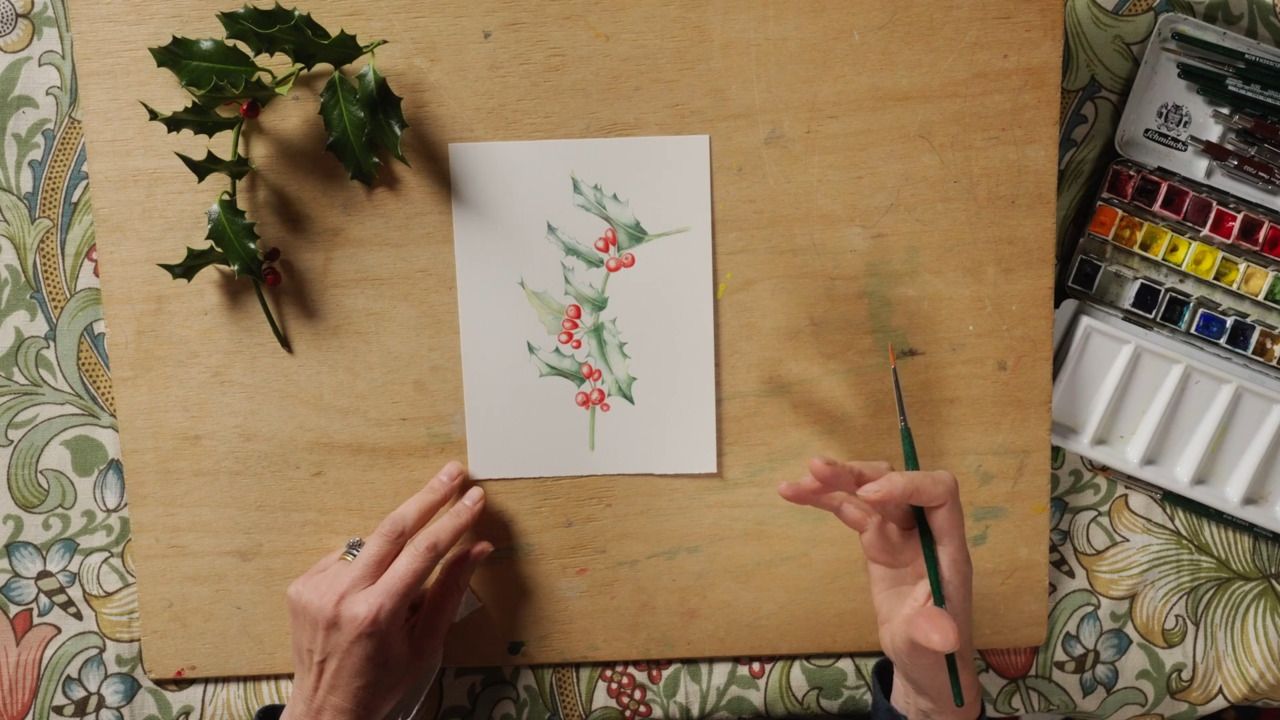
A lovely project you can do is paint a flower at each of its different stages: from when it's budding through to blooming and eventually drooping.
Get the full workbook, video lessons, and more with a Create Academy subscription.
Subscribe to access the full workbookAlready a member? Sign in to watch
479 reviews
Read moreCreate Academy has been such a great resource. I'm in the middle of renovating a bungalow with a very large garden and the courses have offered a wealth of inform...
Harvey
Jun 10, 2026
Absolutely love Create Academy! The instructors are extremely informative, and it is beautifully filmed. Create Academy is great value for money and plan on renew...
SG
May 31, 2026
Butter's creativity is stunning! Her ability to incorporate brilliance in small gardens is magical!
Carla
May 30, 2026
The best adventure. I like all the courses, but my favorite are both Rita Konig interior design courses and Anna Jones. Excellent!
Karolina Kluczewska
May 20, 2026
Create Academy has been such a great resource. I'm in the middle of renovating a bungalow with a very large garden and the courses have offered a wealth of information to dive into and explore new ideas. I'm...
Harvey
Jun 10, 2026
Absolutely love Create Academy! The instructors are extremely informative, and it is beautifully filmed. Create Academy is great value for money and plan on renewing my subscription yearly because there are ...
SG
May 31, 2026
Butter's creativity is stunning! Her ability to incorporate brilliance in small gardens is magical!
Carla
May 30, 2026
Your Instructor
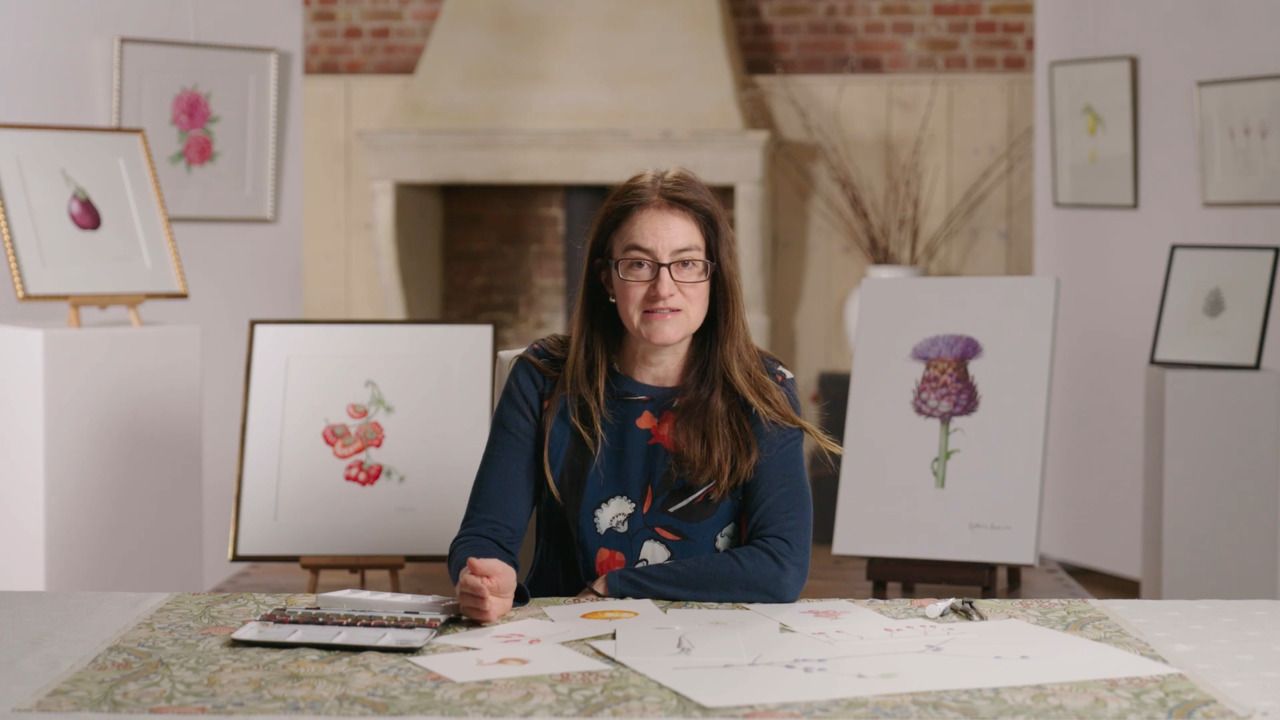
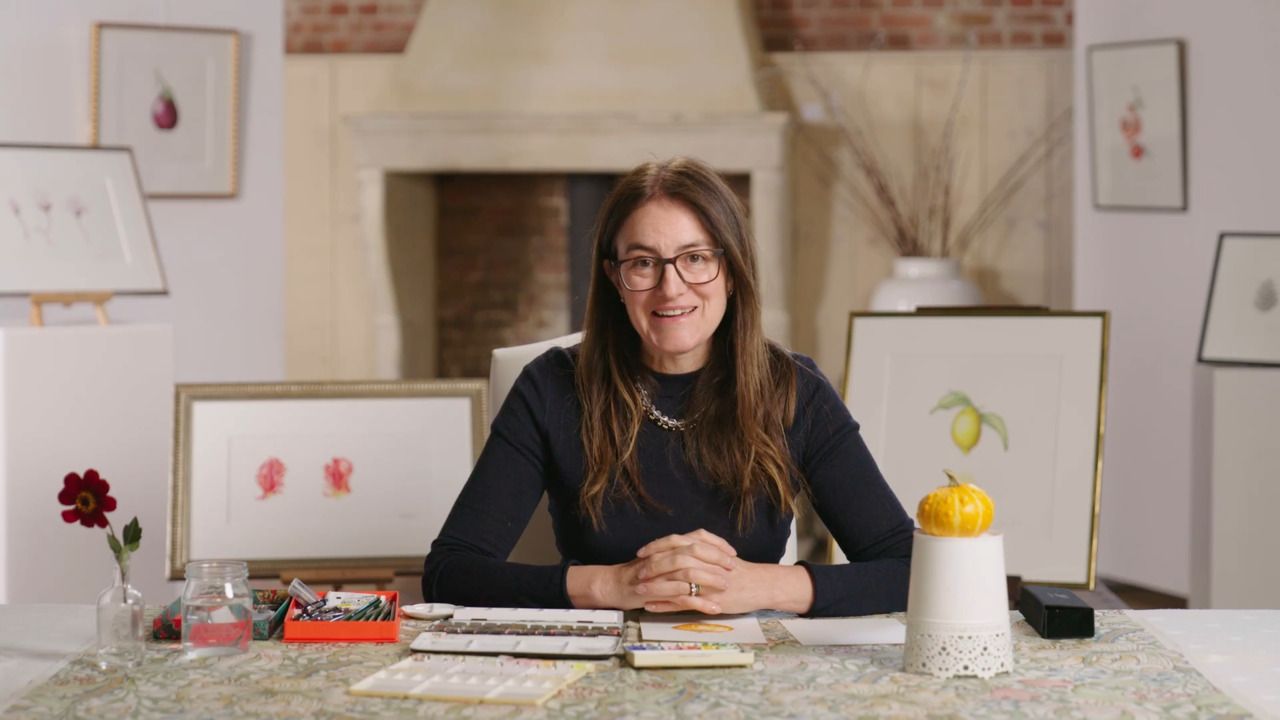
Leading British botanical artist
Katharine Amies is a leading British botanical artist. Katharine's work seeks to capture the intimate essence of plants in a manner that photographs, despite their detail, fail to convey. Katharine trained at the Chelsea Physic Garden in 2000. Her work is represented in the Shirley Sherwood Collection of Botanical Art at Kew Gardens which is the largest collection of contemporary botanical art in the world.

Access to all courses


