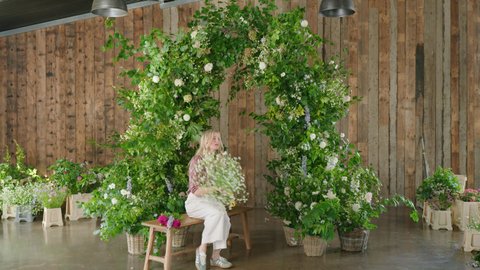


Interior and exterior confidence
Create Academy has been such a great resource. I'm in the middle of renovating a bungalow with a very large garden and the courses have offered a wealth of inform...
Harvey
Jun 10, 2026
with WILLOW CROSSLEY — World-renowned florist, author and designer, known as the UK’s ‘Queen of Flowers’.
Lesson 10 of 20
Subscribe to watch
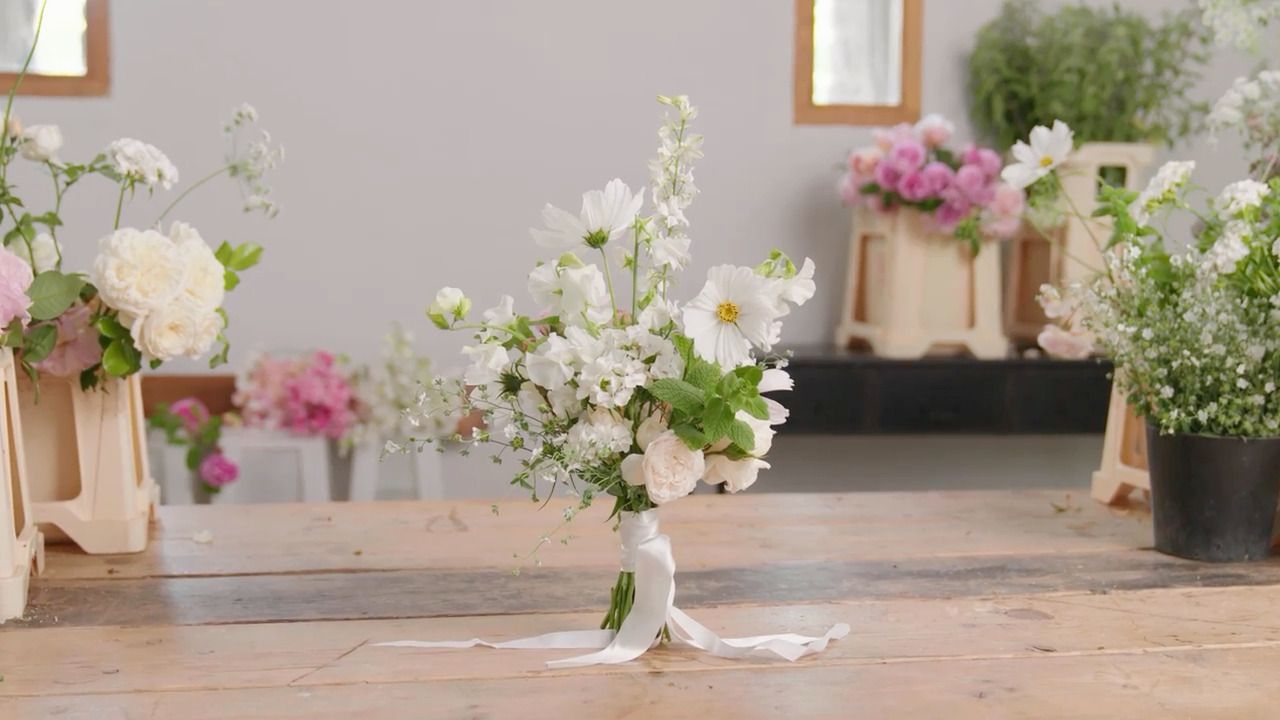
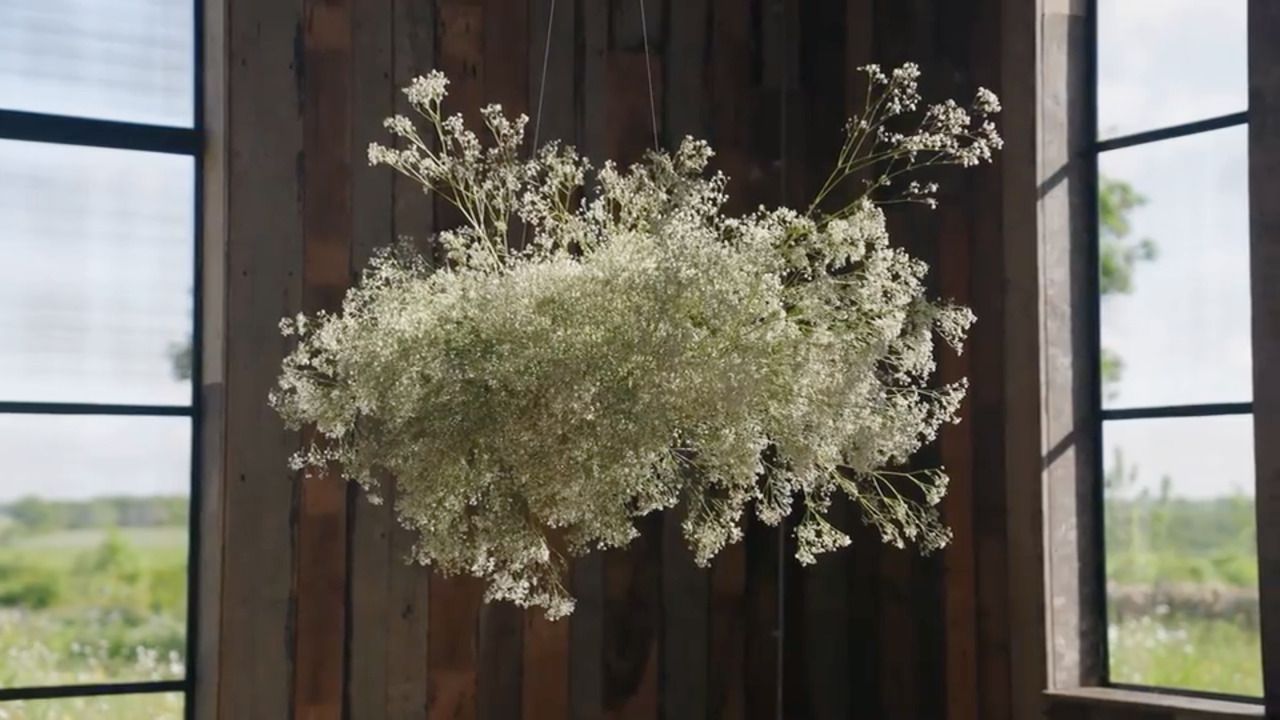
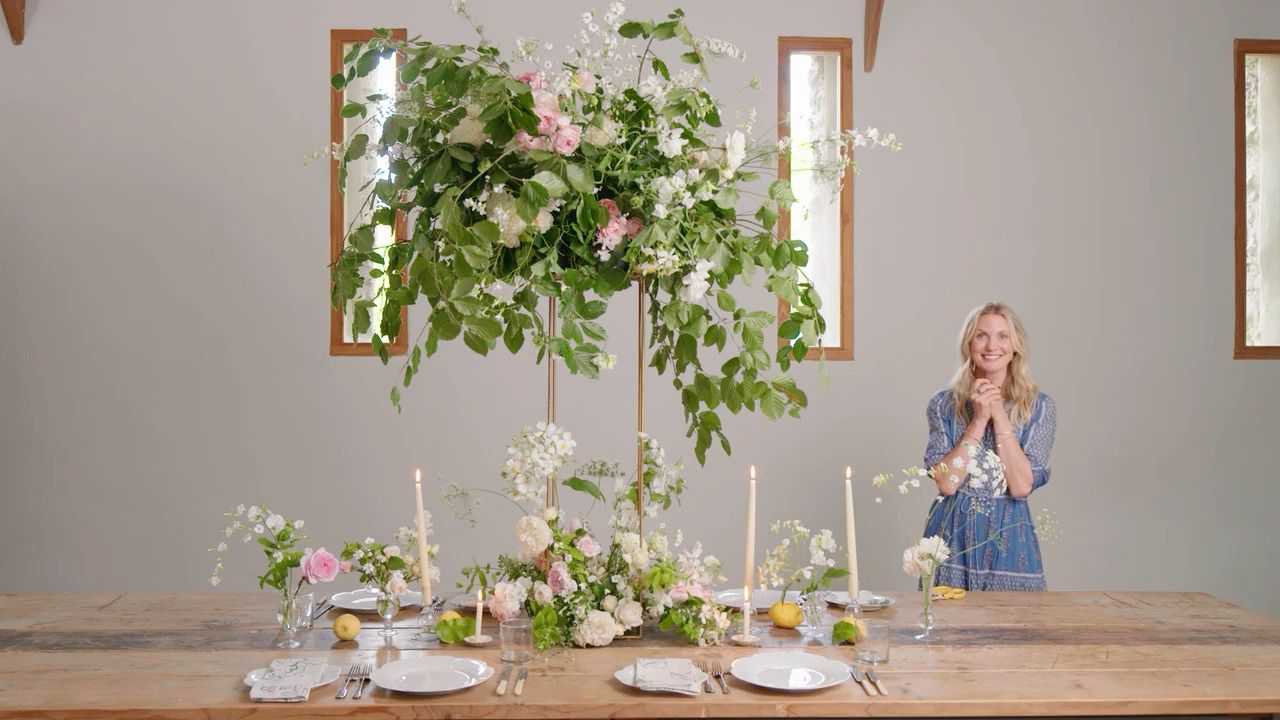
The second half of this project is all about creating the display, and Willow recommends specific flowers to use as well as offering advice on composition and structure.
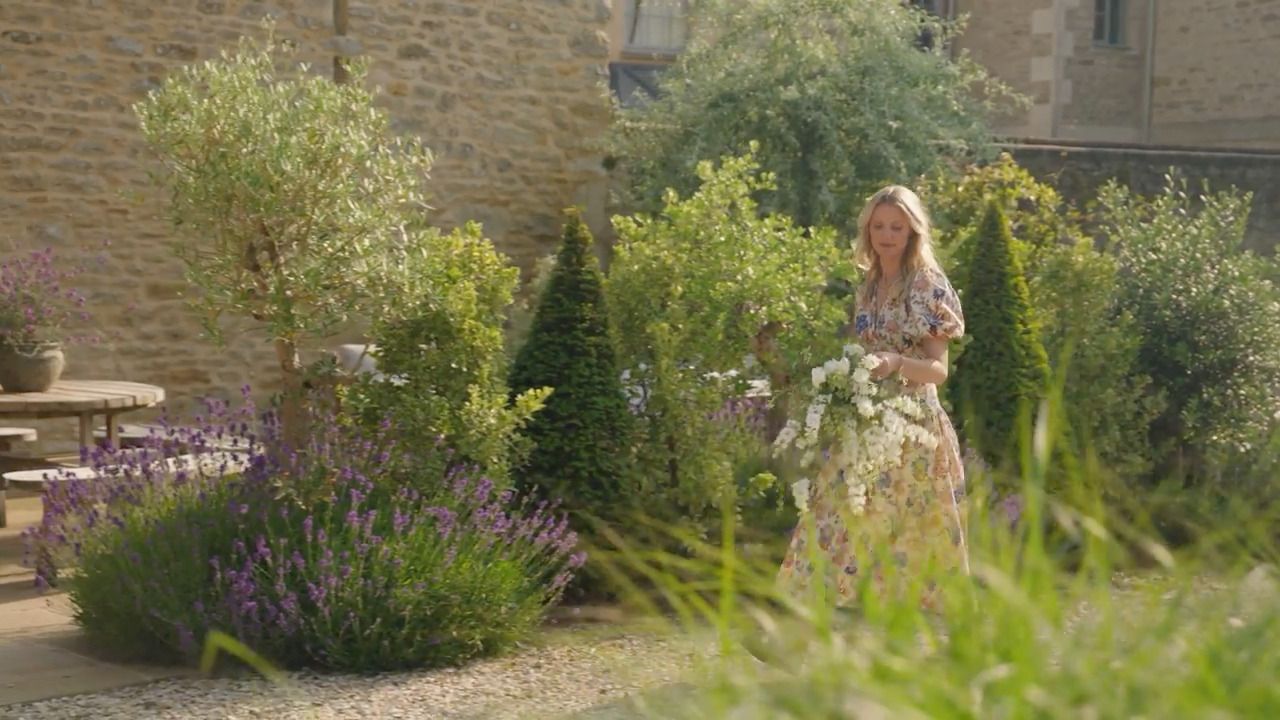
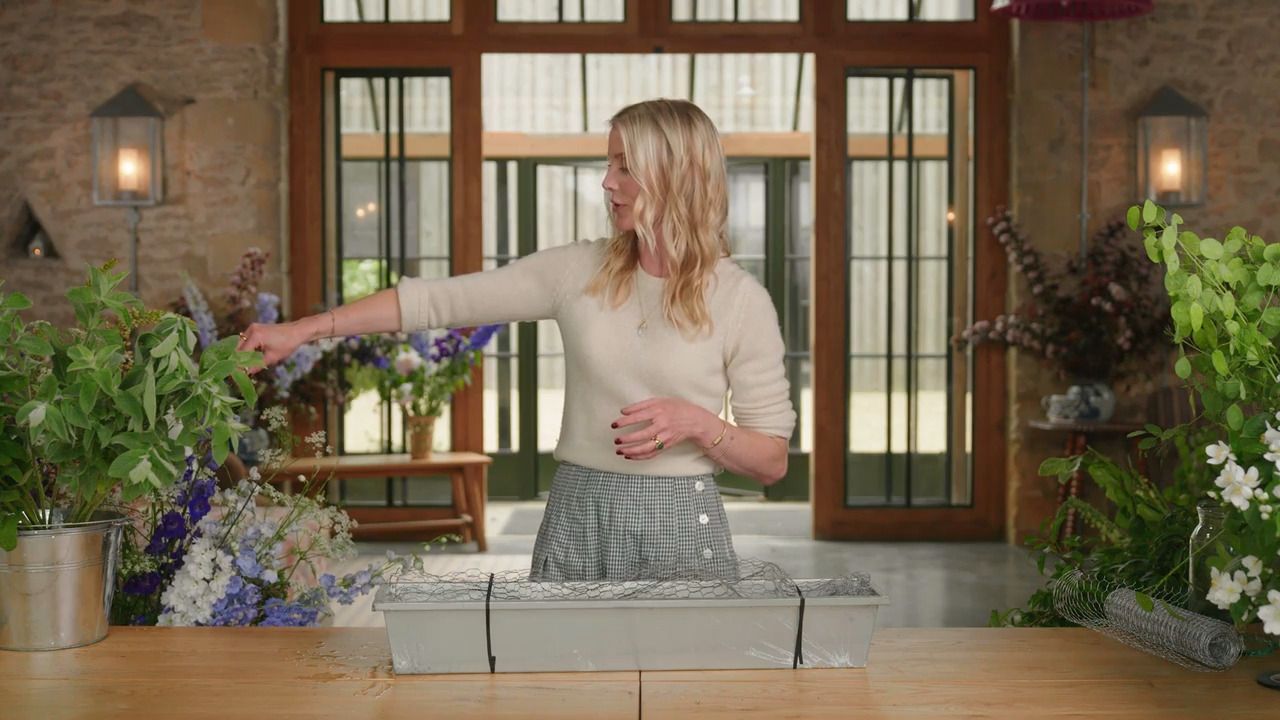
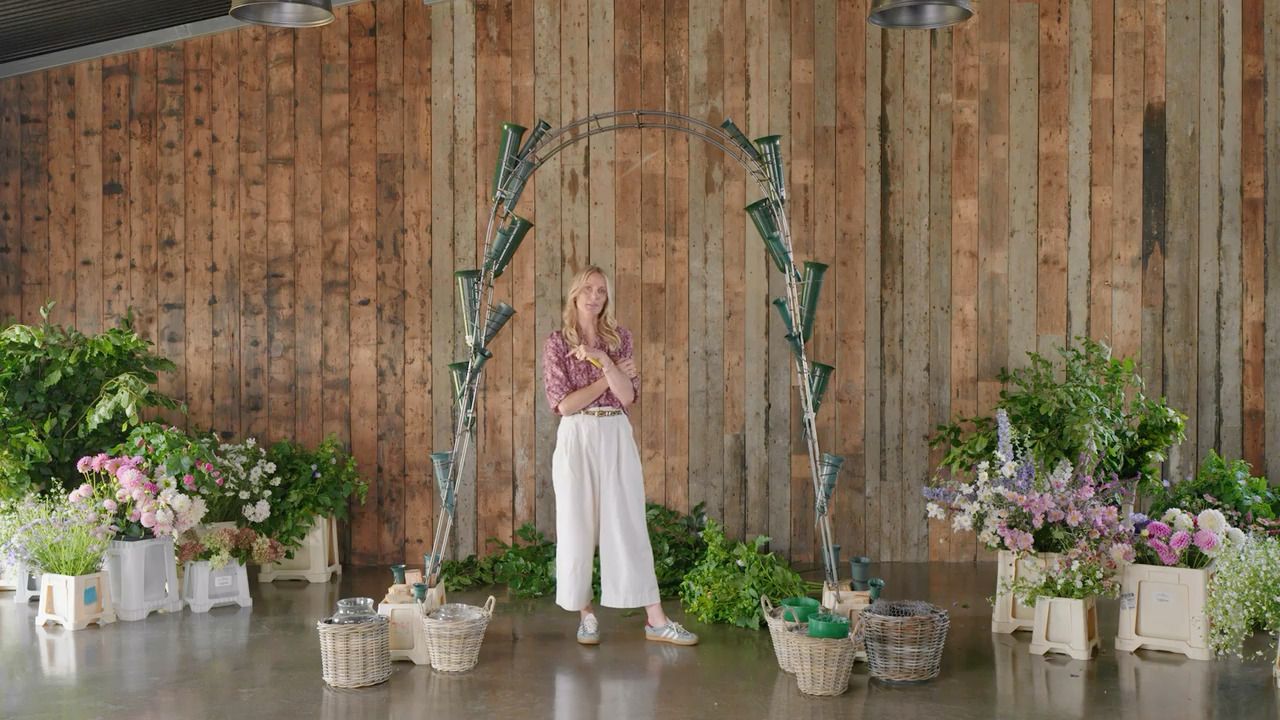
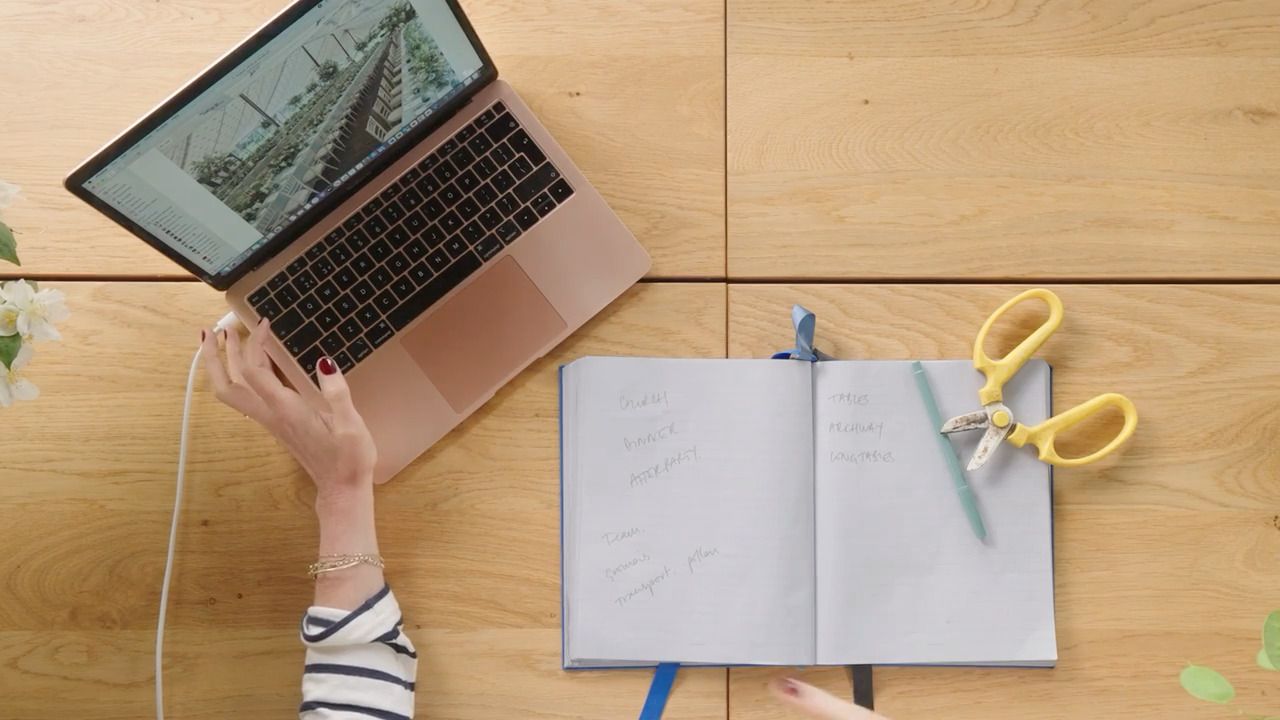
Now that you have prepped your container, it's time to get creative and begin arranging. I love the shape of my meadow boxes to feel wild and natural, replicating how they might grow from the ground.
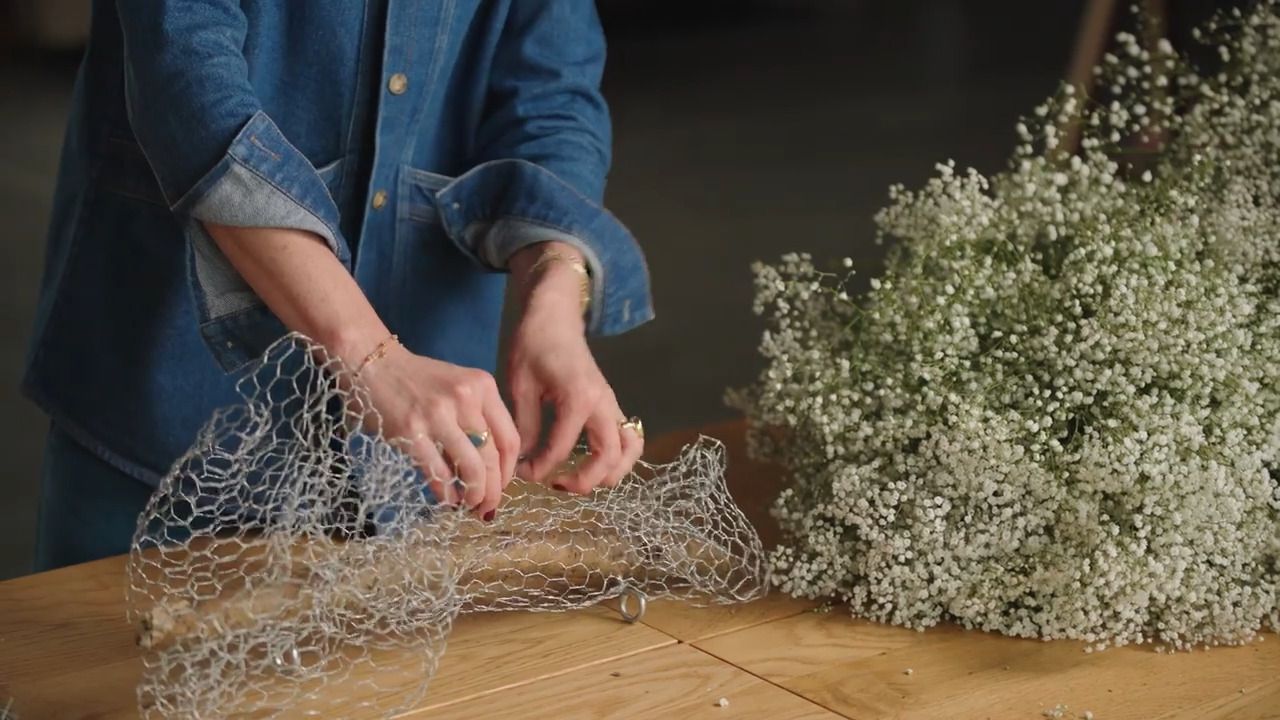
Condition your stems and branches carefully; when working with chicken wire, thorns and burls can make your life difficult. Removing unnecessary leaves is also a good way to extend the vase life of a stem.
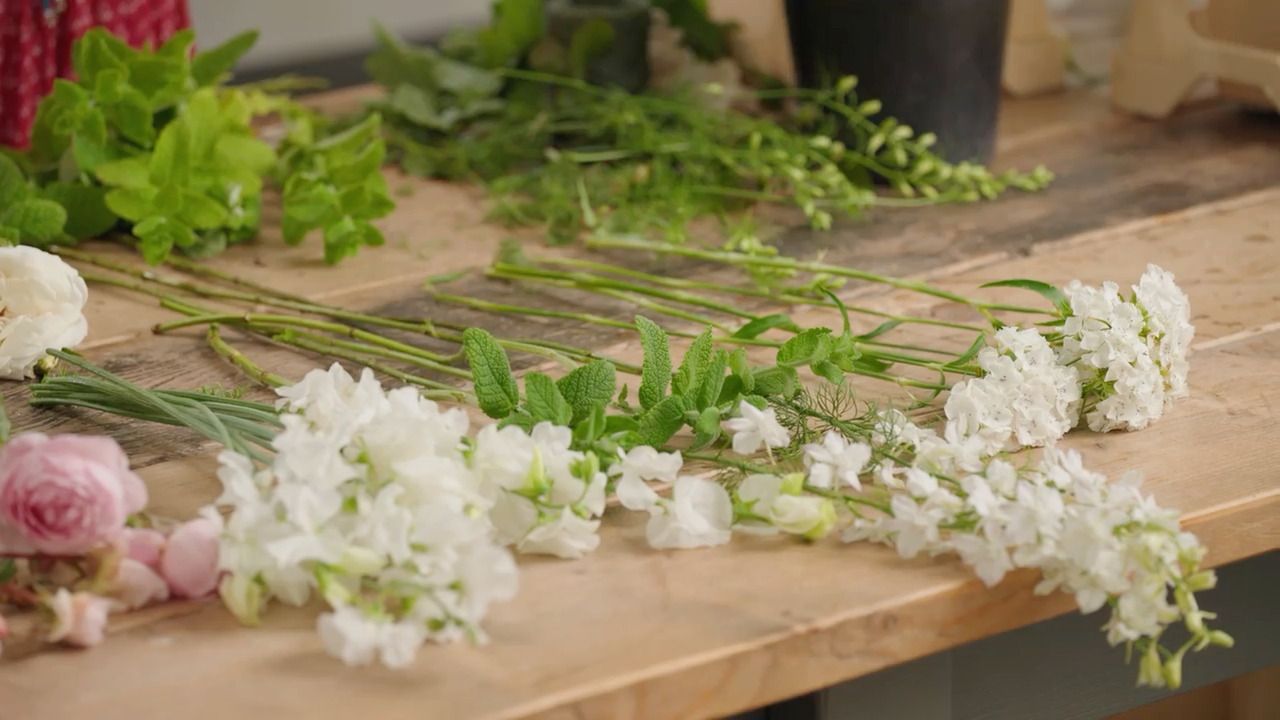
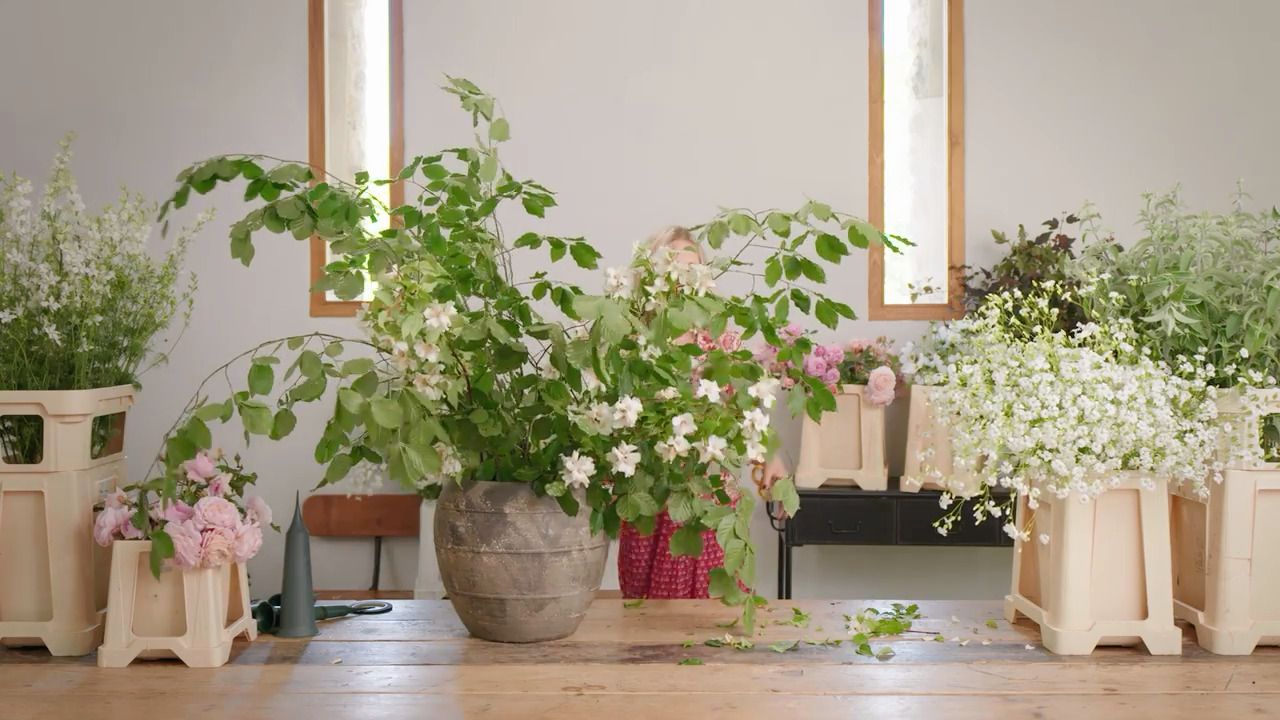
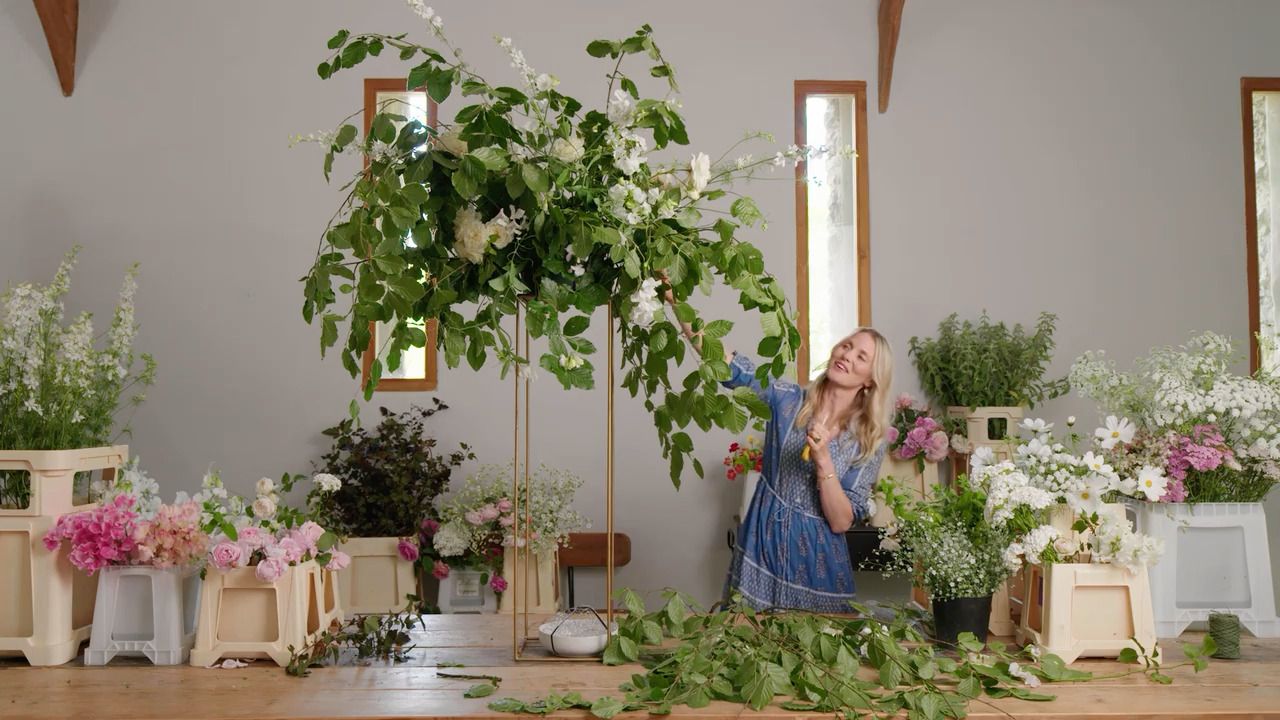
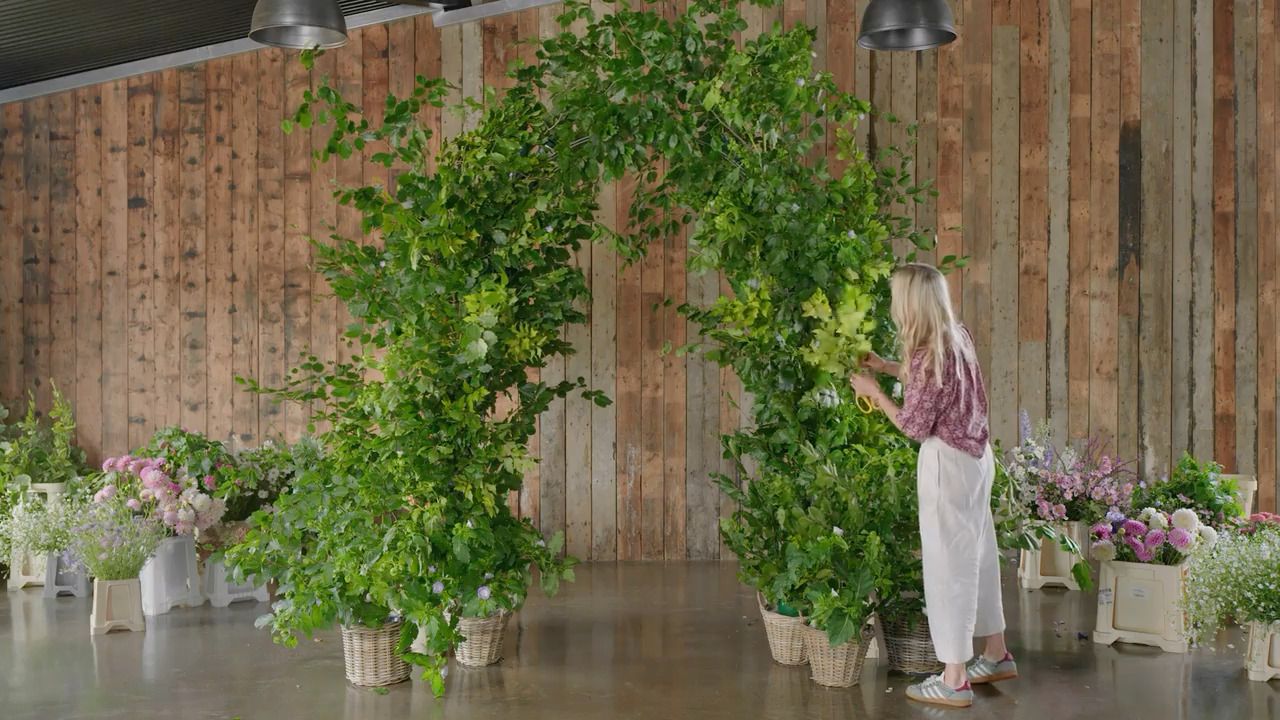
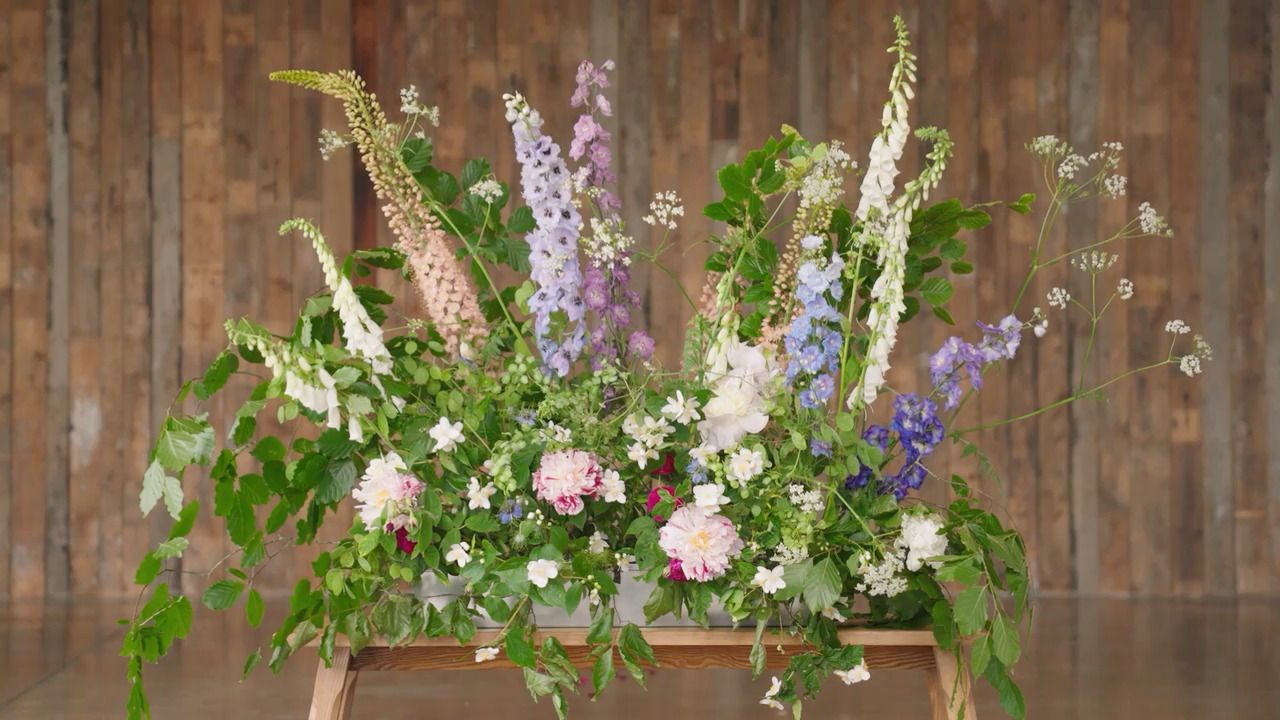
Start your arrangement with the foliage, and choose the tallest, straightest stems you have. Begin to build your shape by inserting stems one by one into the chicken wire.
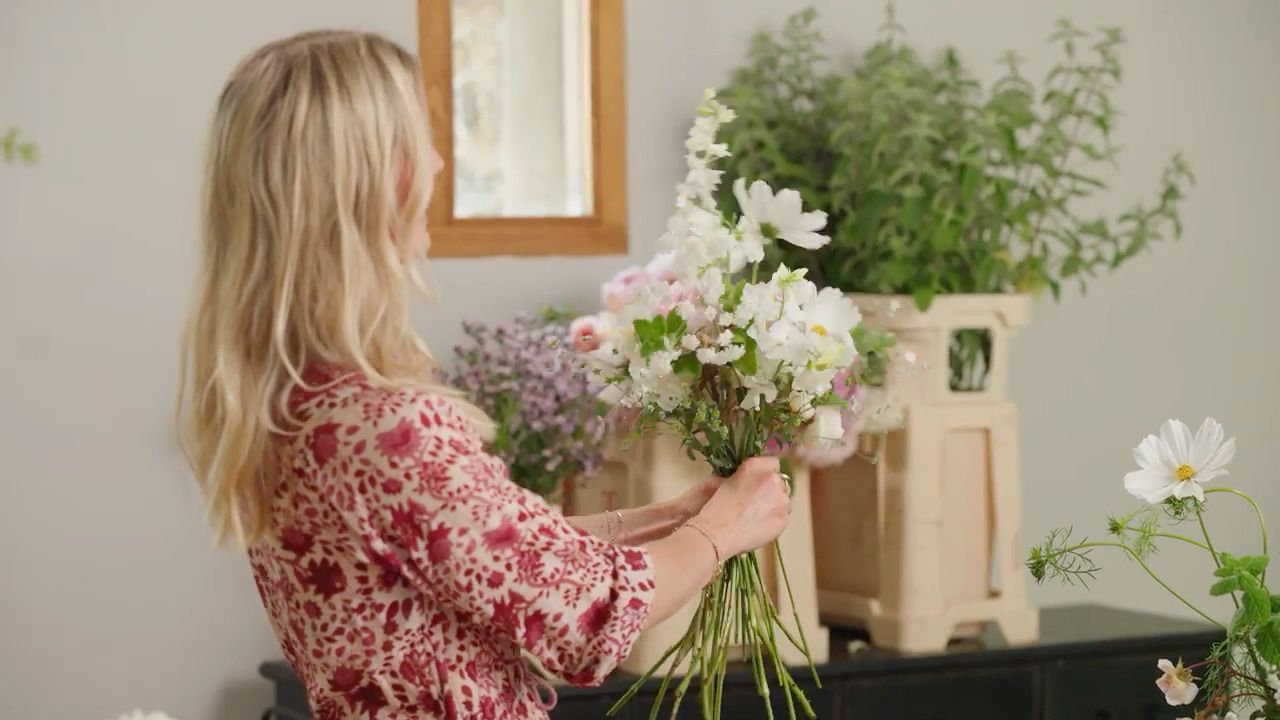
Introduce additional varieties of stems, and consider creating a variation in heights across the container for visual interest. I like to incorporate some stems that spill over the edge for a natural, untamed look.
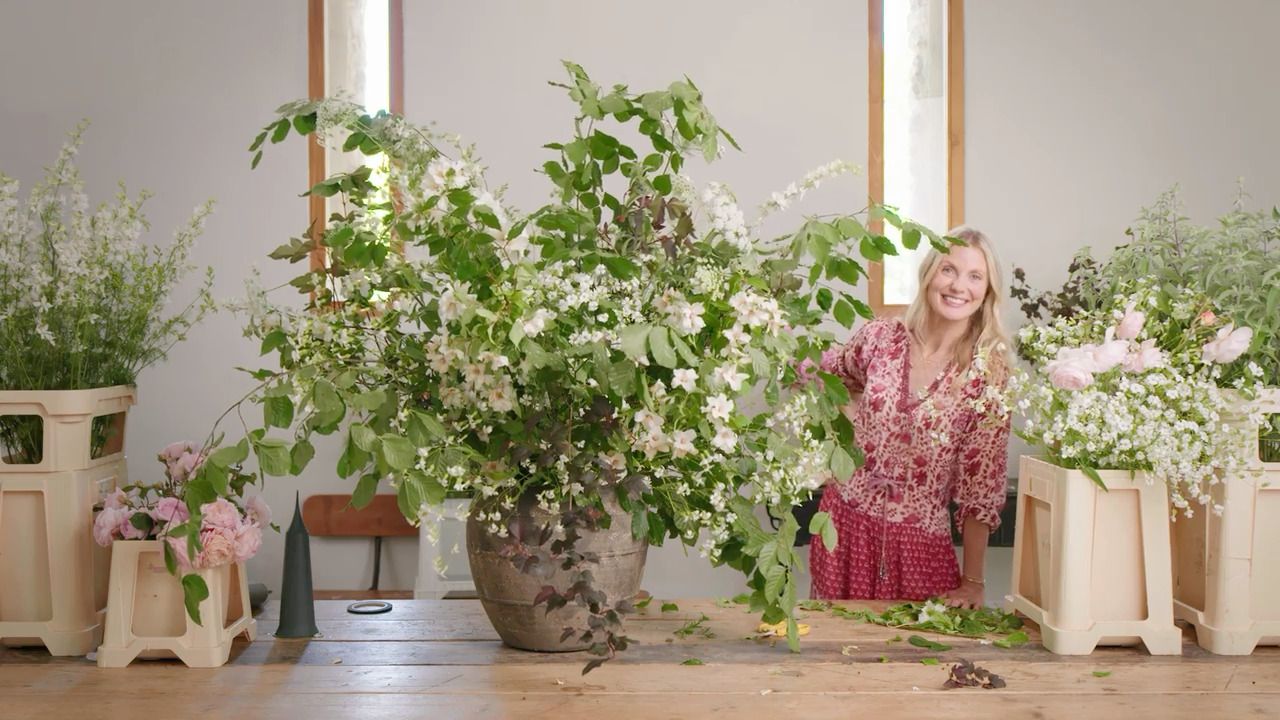
Be mindful of the angle your meadow box will be seen from, and as you have done in all of our other projects, take time to stand back and assess how the arrangement is looking from a distance.
Once you have a decent layer of foliage, you can move onto adding the more delicate stems. When arranging a meadow box, consider how the stem might grow naturally for a more realistic effect.
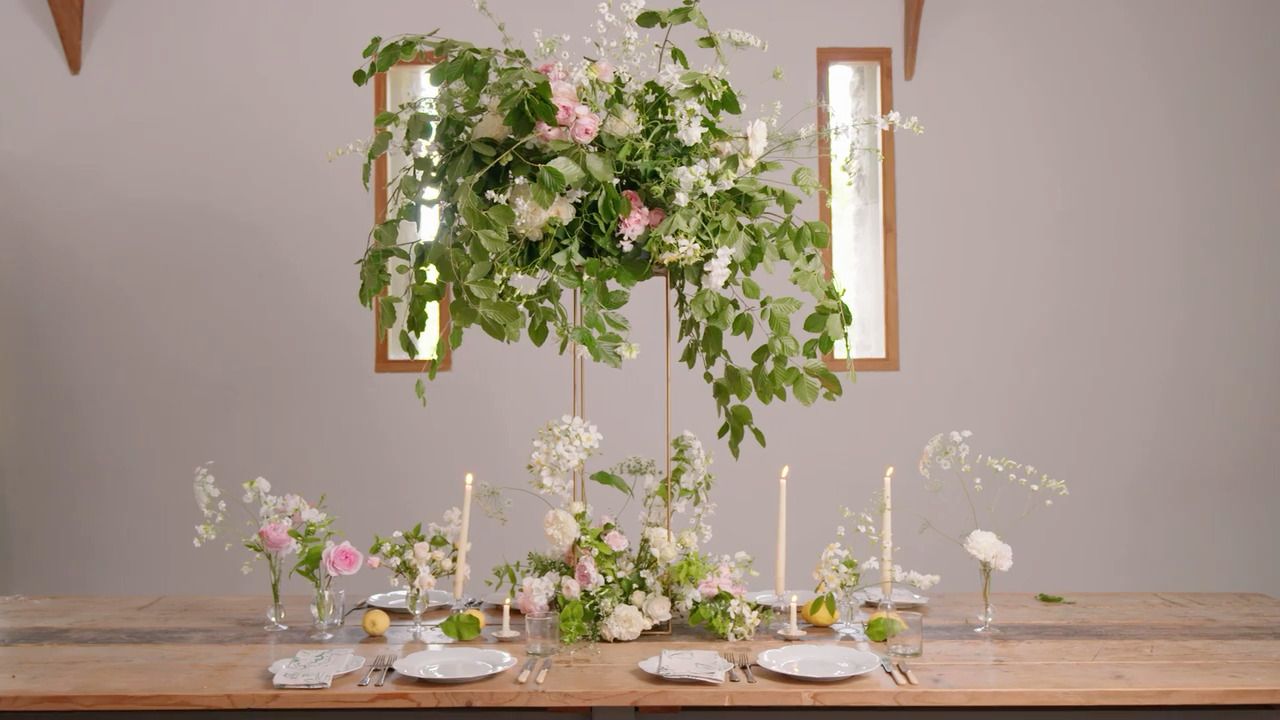
With the taller section of your arrangement taking shape, it's time to think about filling in the lower section to disguise the chicken wire.
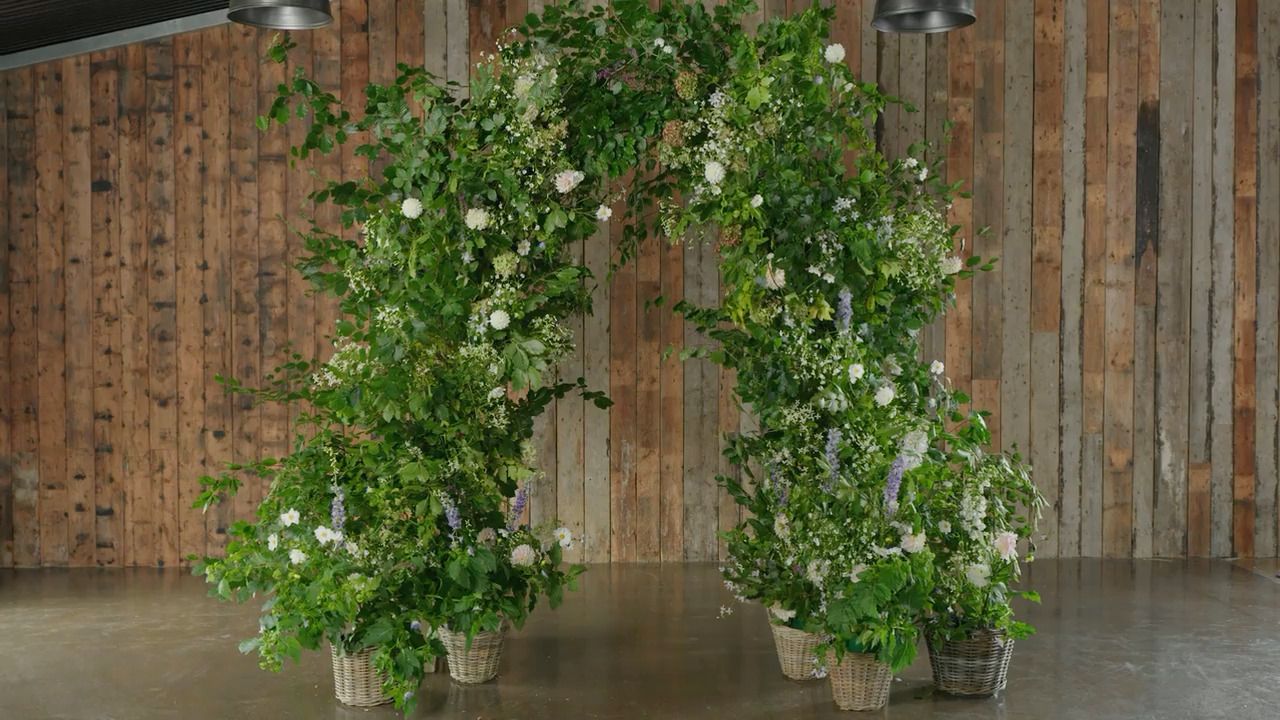
As you near the finishing point, you may want to add in a few pops of bright colour to really make the arrangement sing.
Be mindful of knowing when to stop; negative space is a really crucial part of a visually pleasing display.
Once you are finished and happy with your arrangement, the final stage is to conceal the pot tape if you haven't already. Take your thickest foliage and cut it short. Strategically position it within the chicken wire so that it falls over the pot tape and hides it.
Get the full workbook, video lessons, and more with a Create Academy subscription.
Subscribe to access the full workbookAlready a member? Sign in to watch
479 reviews
Read moreCreate Academy has been such a great resource. I'm in the middle of renovating a bungalow with a very large garden and the courses have offered a wealth of inform...
Harvey
Jun 10, 2026
Absolutely love Create Academy! The instructors are extremely informative, and it is beautifully filmed. Create Academy is great value for money and plan on renew...
SG
May 31, 2026
Butter's creativity is stunning! Her ability to incorporate brilliance in small gardens is magical!
Carla
May 30, 2026
The best adventure. I like all the courses, but my favorite are both Rita Konig interior design courses and Anna Jones. Excellent!
Karolina Kluczewska
May 20, 2026
Create Academy has been such a great resource. I'm in the middle of renovating a bungalow with a very large garden and the courses have offered a wealth of information to dive into and explore new ideas. I'm...
Harvey
Jun 10, 2026
Absolutely love Create Academy! The instructors are extremely informative, and it is beautifully filmed. Create Academy is great value for money and plan on renewing my subscription yearly because there are ...
SG
May 31, 2026
Butter's creativity is stunning! Her ability to incorporate brilliance in small gardens is magical!
Carla
May 30, 2026
Your Instructor
World-renowned florist, author and designer, known as the UK’s ‘Queen of Flowers’.
Willow Crossley is a professional floral stylist, creating wild and whimsical arrangements full of colour, pattern and movement for an array of top British brands (Jo Malone, OKA). She is the author of four books and is regularly featured in House & Garden and many other publications. Willow is passionate about the profound impact nature can have on how we feel, and has gained a substantial following for her down-to-earth and inclusive approach to floristry and gardening. Willow firmly advocates a sustainable approach to floristry, working with the seasons and sourcing locally grown stems wherever possible.

Access to all courses


