
Very good tutorial from a professional garden...
I have subscribed to access all the courses so have watched one on interior design and this one with Butter Wakefield who specialises in small garden design. She ...
Louise Brown
Apr 10, 2026
Spotlight on Hand Built Pottery
with FREYA BRAMBLE-CARTER — Contemporary ceramicist
Lesson 5 of 9
Buy or subscribe to watch
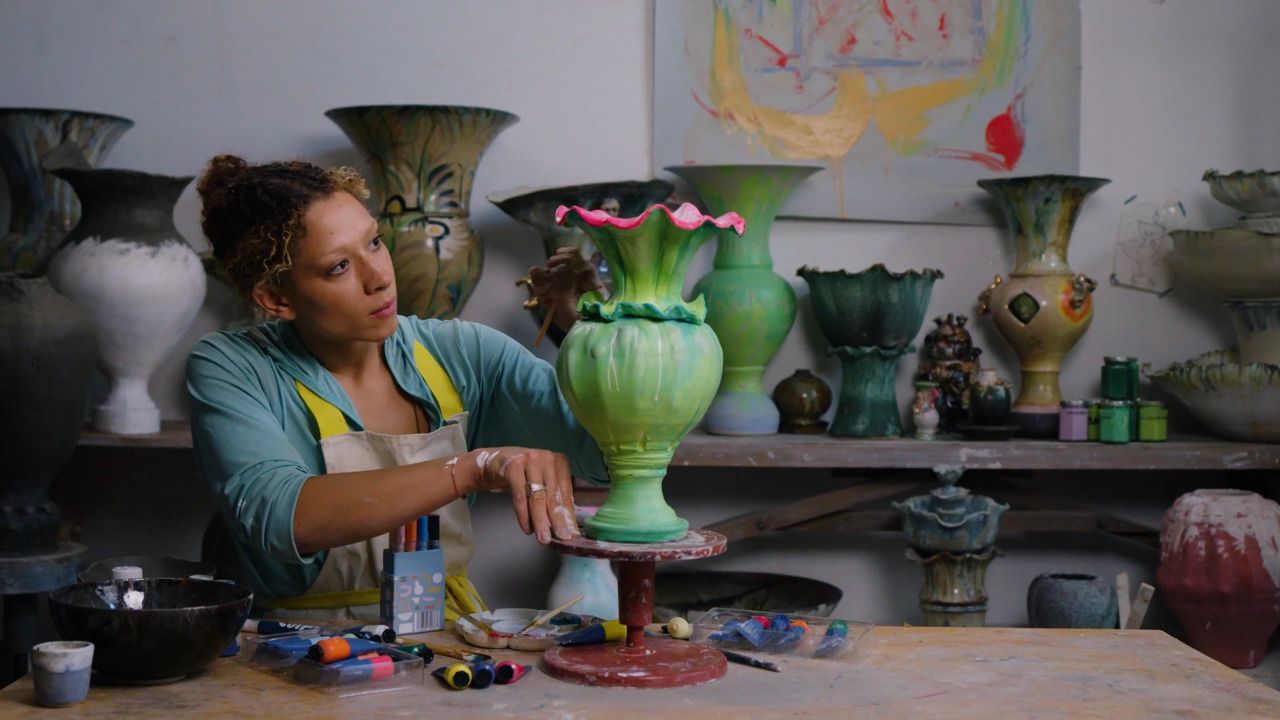
This lesson focuses on the core technique of hand-building: stacking and blending coils to shape the body of the vase. Freya demonstrates how to attach coils securely, smooth the surface, and gradually sculpt the form. With her gentle, rhythmic approach, she encourages learners to trust the pace of their own creativity and embrace the meditative nature of this ancient method.
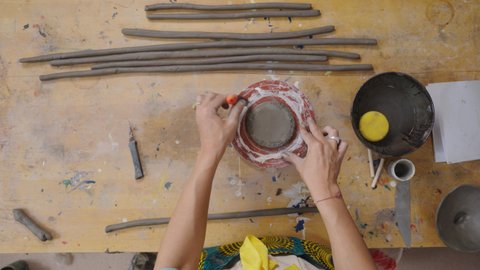
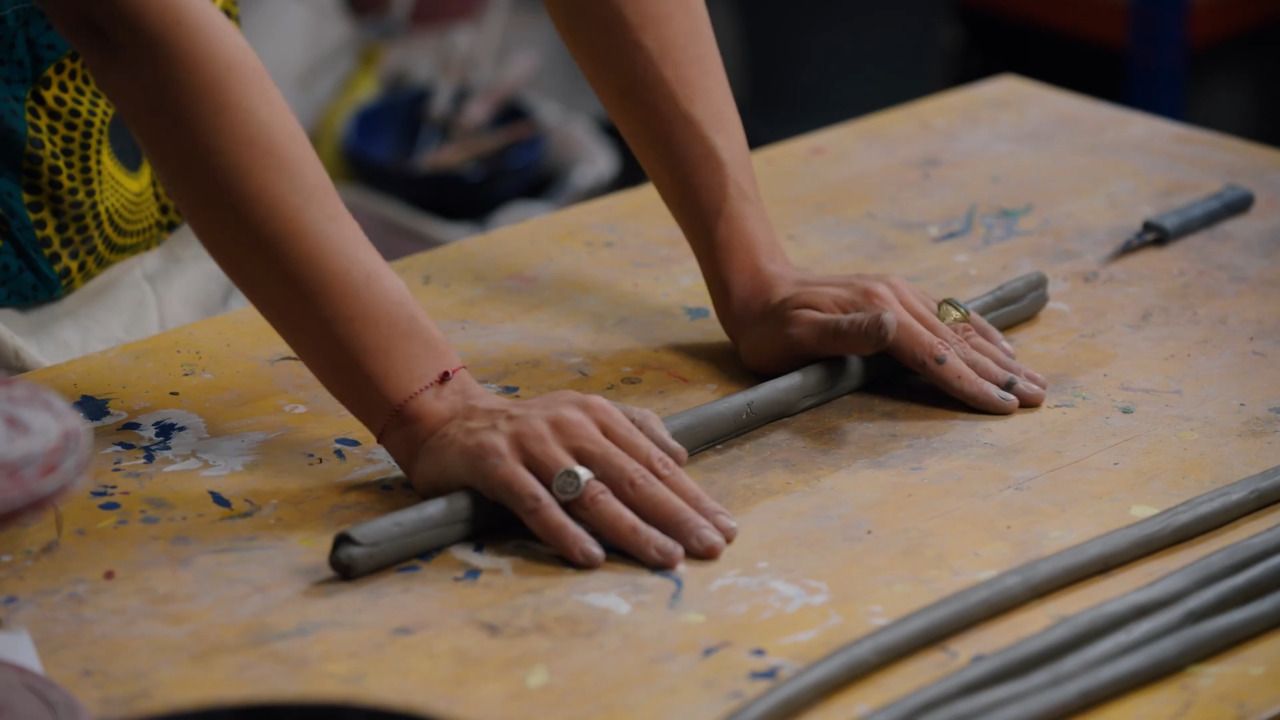
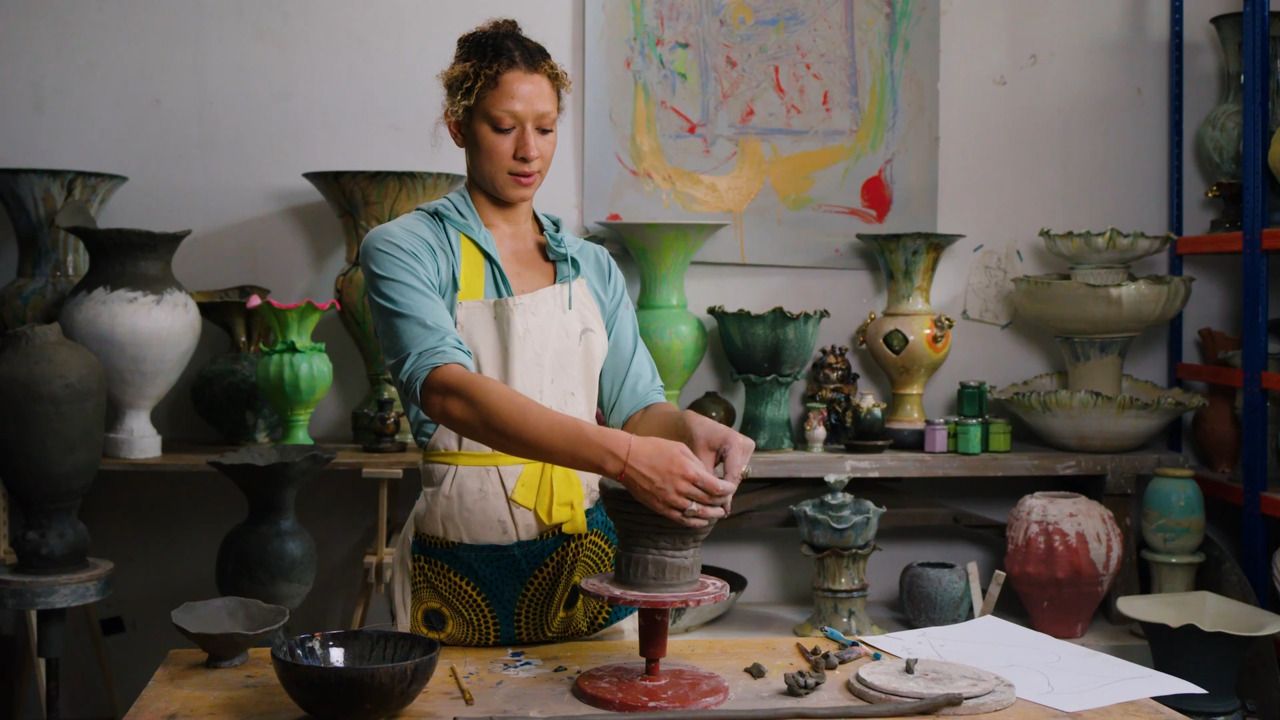
Now that we've got our base and coils ready, it's time to start the real building - layer by layer, we'll shape our pot by joining coils and blending them as we go. This is the heart of hand building with clay, and one of my favourite parts of the process.
We begin by attaching the first coil to the base. I always use my firmest coil for this - like the trunk of a tree, it needs strength to support everything above.
How to stick it on properly:
Cross-hatching locks the textures together. Water is the magic that binds them.
Make sure the base and first coil are firmly joined - press it on so you can hear little air bubbles escape. That's a good sign, it's bonding well.
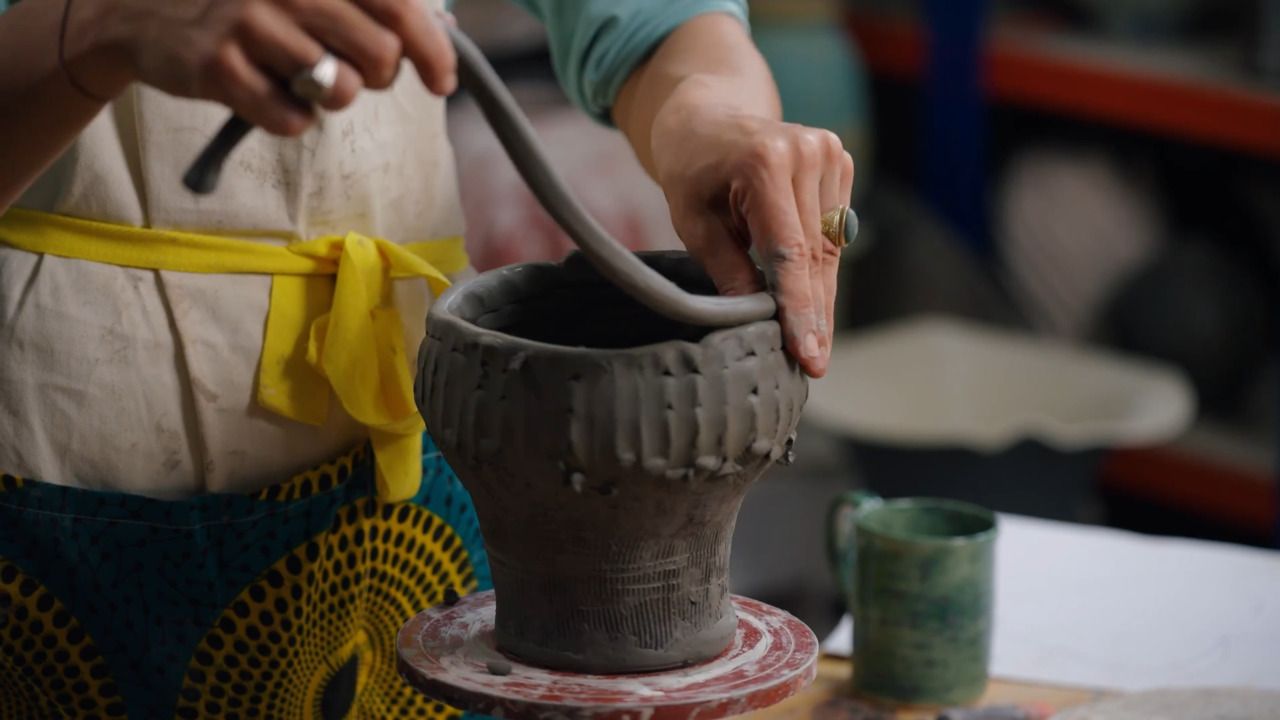
As you stack the coils:
You'll notice a rhythm forming: score, moisten, press, blend.
It's a gentle push and roll - not thinning the coil, just locking it in.
This is the stage where your form starts to emerge. I wanted mine to flare out gently, so I leaned my coils slightly outward as I went.
You can:
Both methods work - it just depends on your style and patience!
Some of the best coil builders I know do one ring at a time - it's meditative, slow, and stunning.
Once you've stacked a few coils:
If your pot is starting to curve or flare, pause to let it firm up before adding more coils. This helps it hold its shape and stops it from slumping.
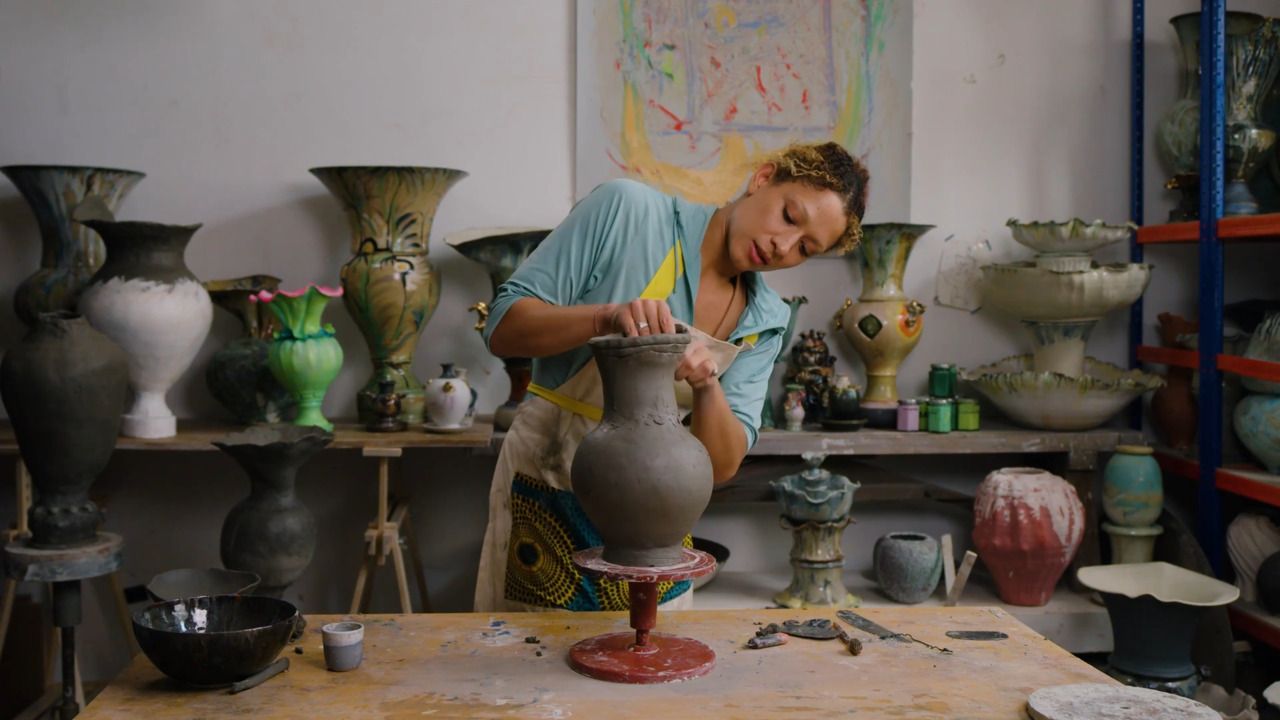
Posture matters! As you build:
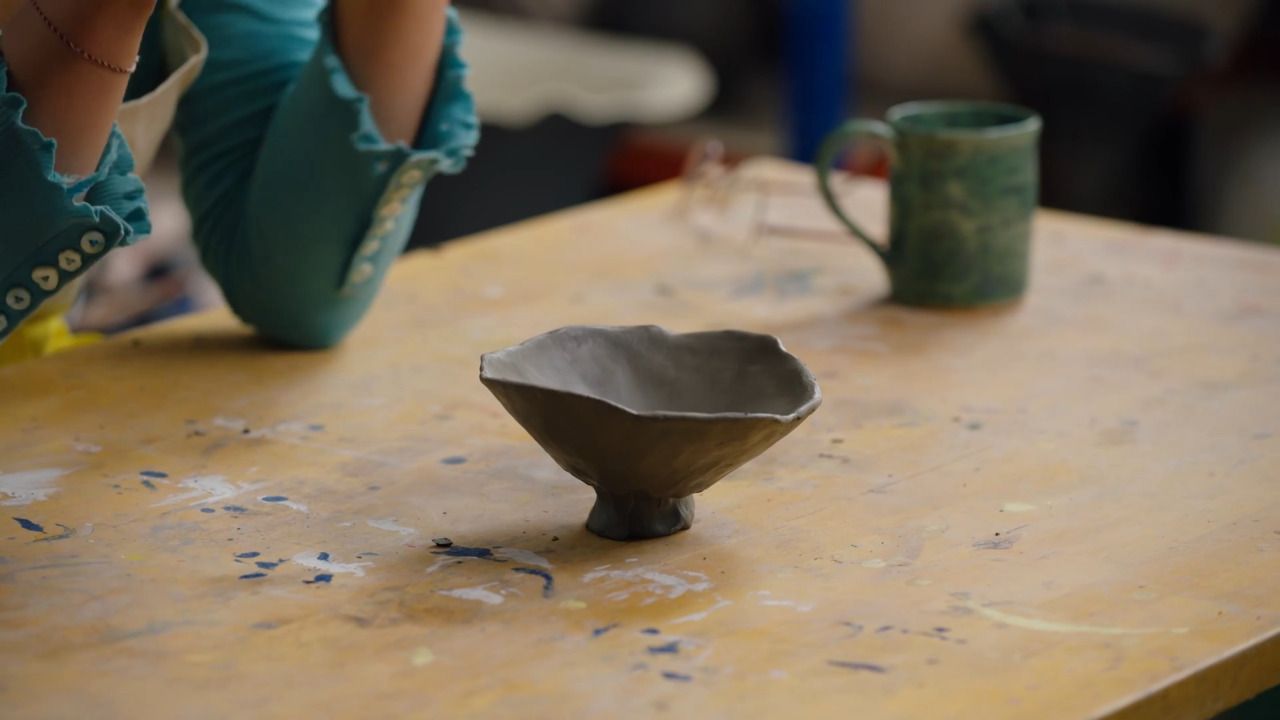
There's something about this process that feels ancient. Coiling connects you to clay in such a primal way - one ring at a time, you're creating a form that holds space, maybe even memory. The act of joining, layer by layer, is like building a story.
Every pot has it's own pace - trust yours.
Next time, we'll look at smoothing and refining the shape, and how to plan your form if you want to change direction mid-build. For now, take it slow, feel your clay, and enjoy this rhythm.
Get the full workbook, video lessons, and more with a Create Academy subscription.
Subscribe to access the full workbookAlready a member? Sign in to watch
437 reviews
Read moreI have subscribed to access all the courses so have watched one on interior design and this one with Butter Wakefield who specialises in small garden design. She ...
Louise Brown
Apr 10, 2026
I love CreateAcademy. I came in for the gardening and floristry courses, but am also watching an interior design one at present. And the photography course is an ...
Wellesley
Apr 1, 2026
What a great investment, I have learned such a lot from the first three courses. My evenings have gone from not being able to find anything that captured my imagi...
sojojo
Mar 30, 2026
I loved this course with Amanda Lindroth! Her approach to decorating is so relaxed and she makes it feel attainable. She explains the reasons behind her decisions...
Elizabeth
Mar 27, 2026
I have subscribed to access all the courses so have watched one on interior design and this one with Butter Wakefield who specialises in small garden design. She has a lovely personality and comes across as ...
Louise Brown
Apr 10, 2026
I love CreateAcademy. I came in for the gardening and floristry courses, but am also watching an interior design one at present. And the photography course is an absolute must, best I've ever done.
Wellesley
Apr 1, 2026
What a great investment, I have learned such a lot from the first three courses. My evenings have gone from not being able to find anything that captured my imagination on TV to learning and expanding my kno...
sojojo
Mar 30, 2026

Your Instructor
Contemporary ceramicist
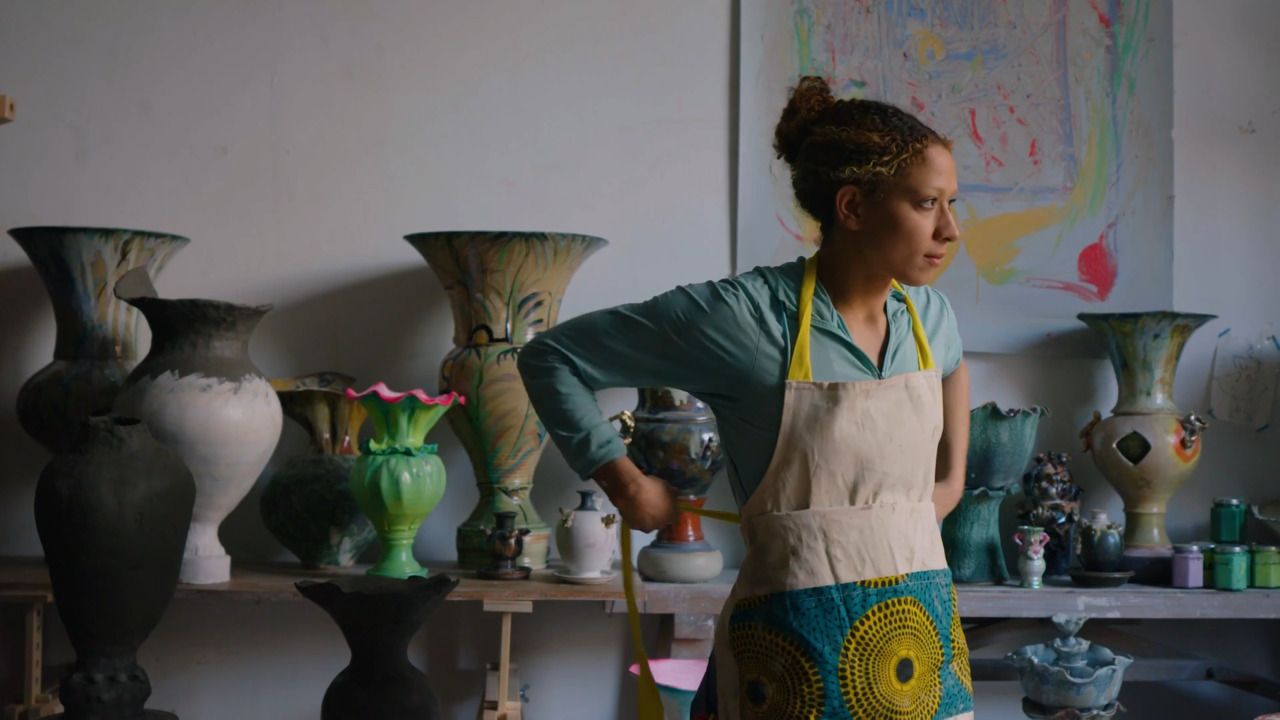
Freya is a ceramicist based in East London. She studied fine art at Chelsea College of Arts while also learning the craft of clay under the guidance of her father, Chris Bramble, a ceramic artist and teacher with over 30 years of experience with whom she shares studio space at Kingsgate Workshops in London. Freya creates tableware as well as larger sculptural vases. Her work incorporates contemporary designs, strongly inspired by the ethos of beauty and nature.

Access to all courses


