
Interior and exterior confidence
Create Academy has been such a great resource. I'm in the middle of renovating a bungalow with a very large garden and the courses have offered a wealth of inform...
Harvey
Jun 10, 2026
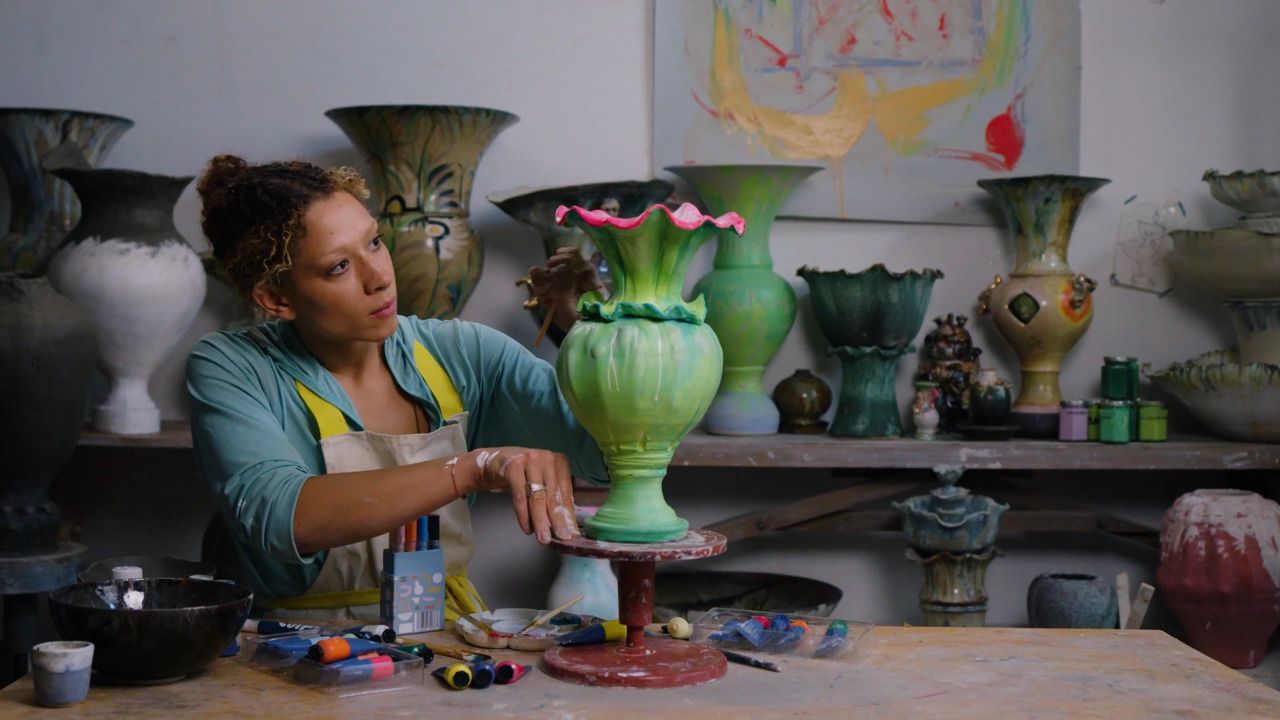
Spotlight on Hand Built Pottery
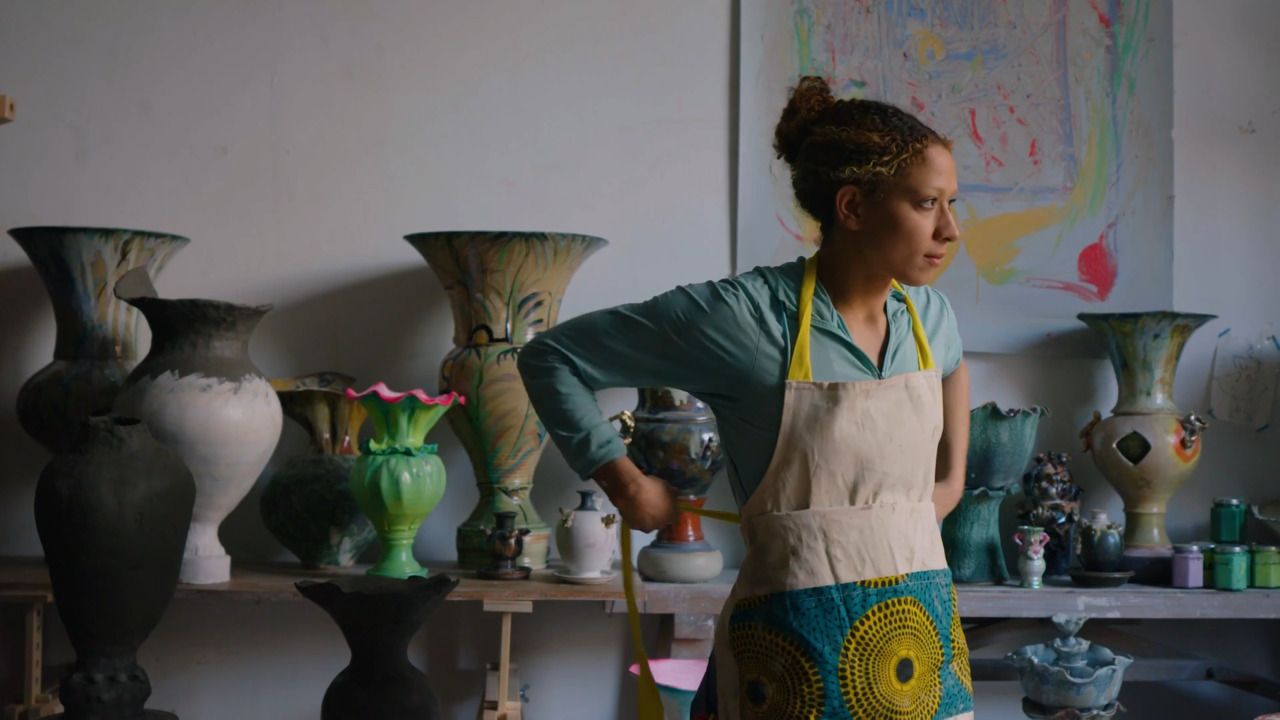
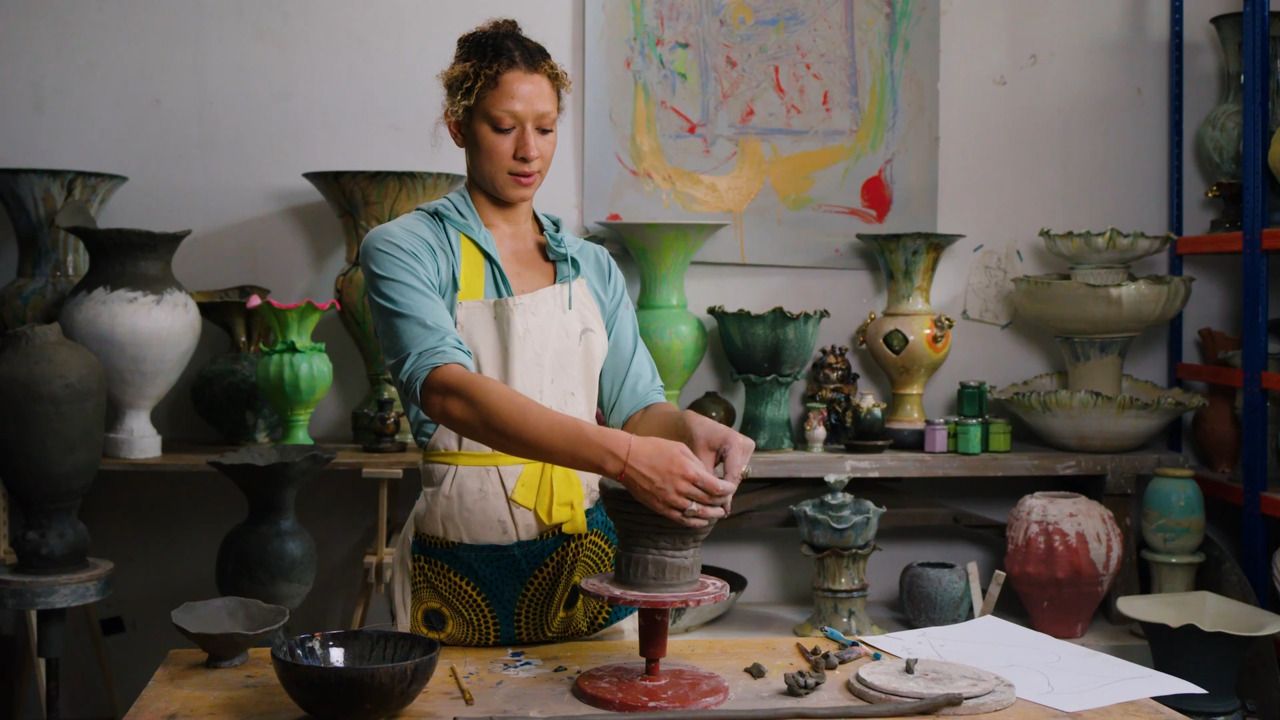
with FREYA BRAMBLE-CARTER — Contemporary ceramicist
Lesson 6 of 9
Subscribe to watch
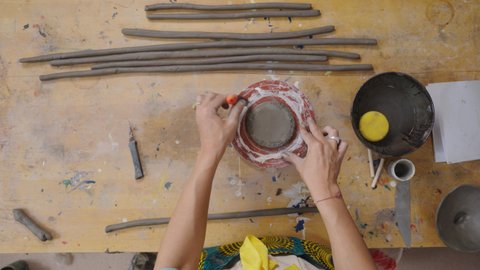
Freya shows how to shape the main form of your vase using coiling, guiding you through proportions, balance, and sculpting with intention. This is where the vase comes to life - intuitive, meditative, and deeply creative.
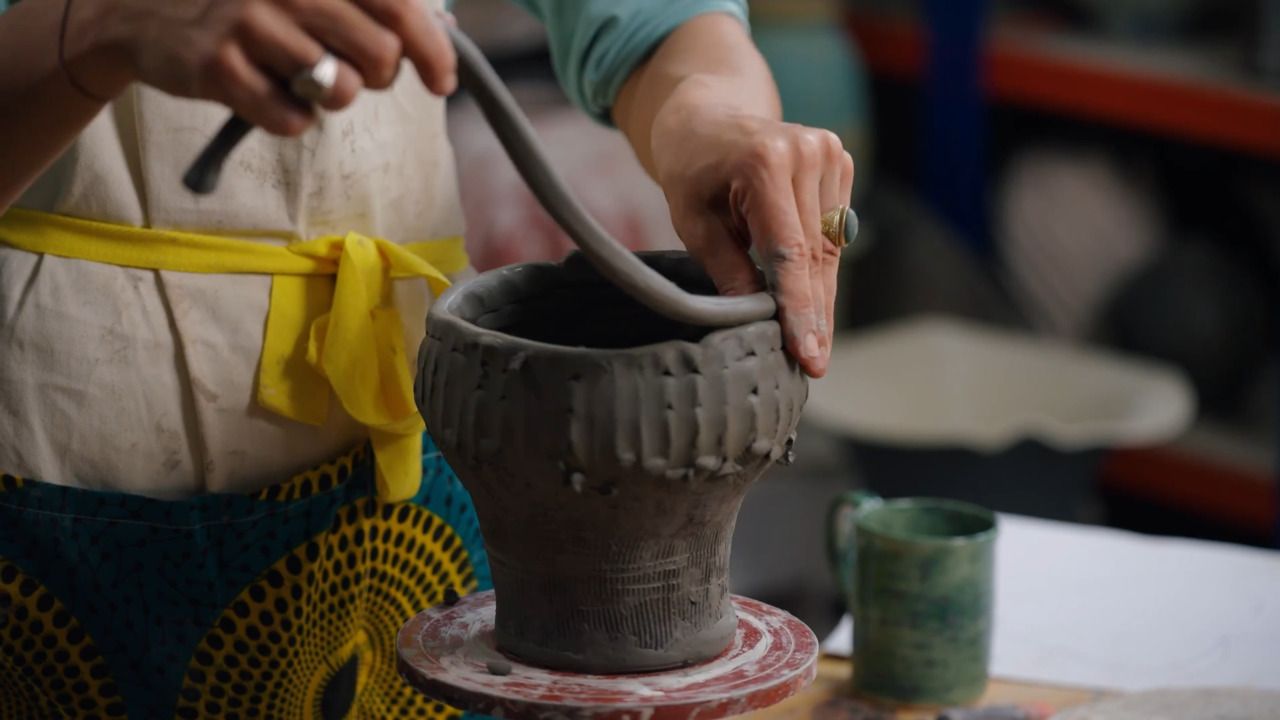
This is where our pot really starts to take shape - we're not just coiling now, we're sculpting a form, considering proportions and how the piece moves through space. It's about tuning in to both your clay and your creative intention.
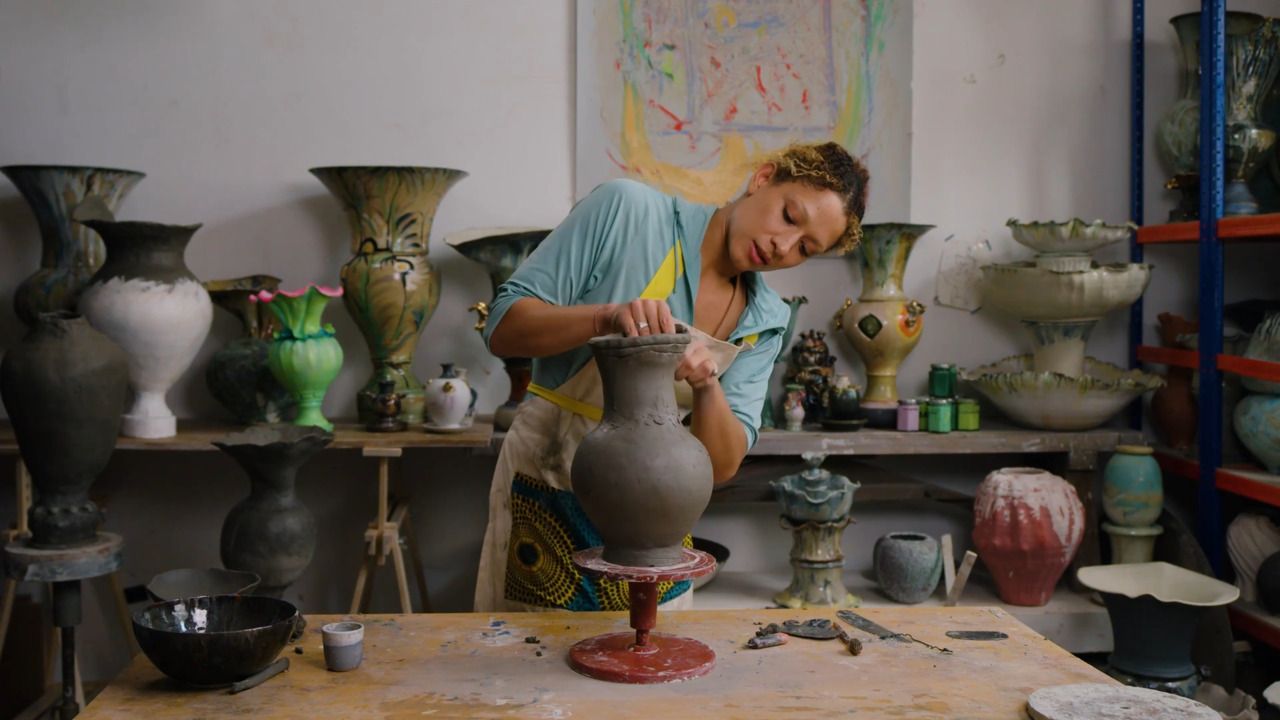
At this stage, I'm reaching the widest point of my vase - the belly. It's a good time to think about the overall profile.
These ratios matter. A narrower base and wide belly can be beautiful, but they're also more likely to collapse - so I tend to pull in the form a little sooner to keep it stable.
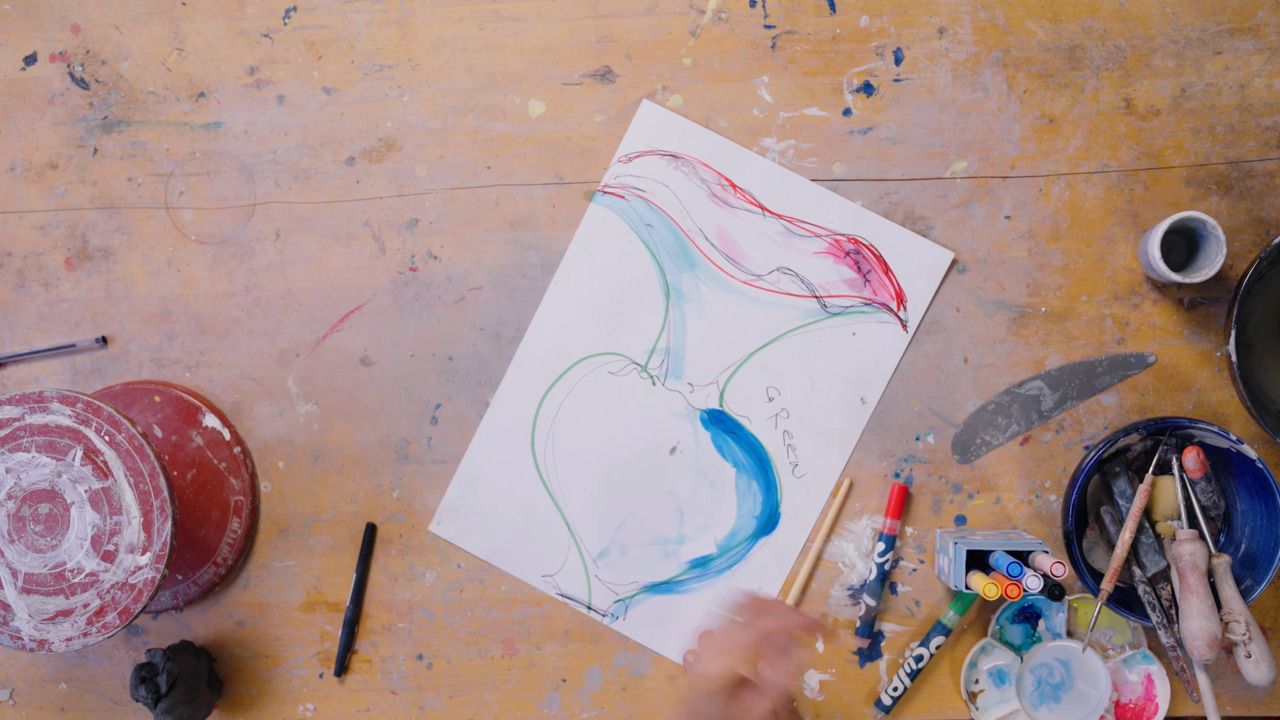
A little tip: you can sketch your shape first or even cut a cardboard stencil form to guide your profile as you build.
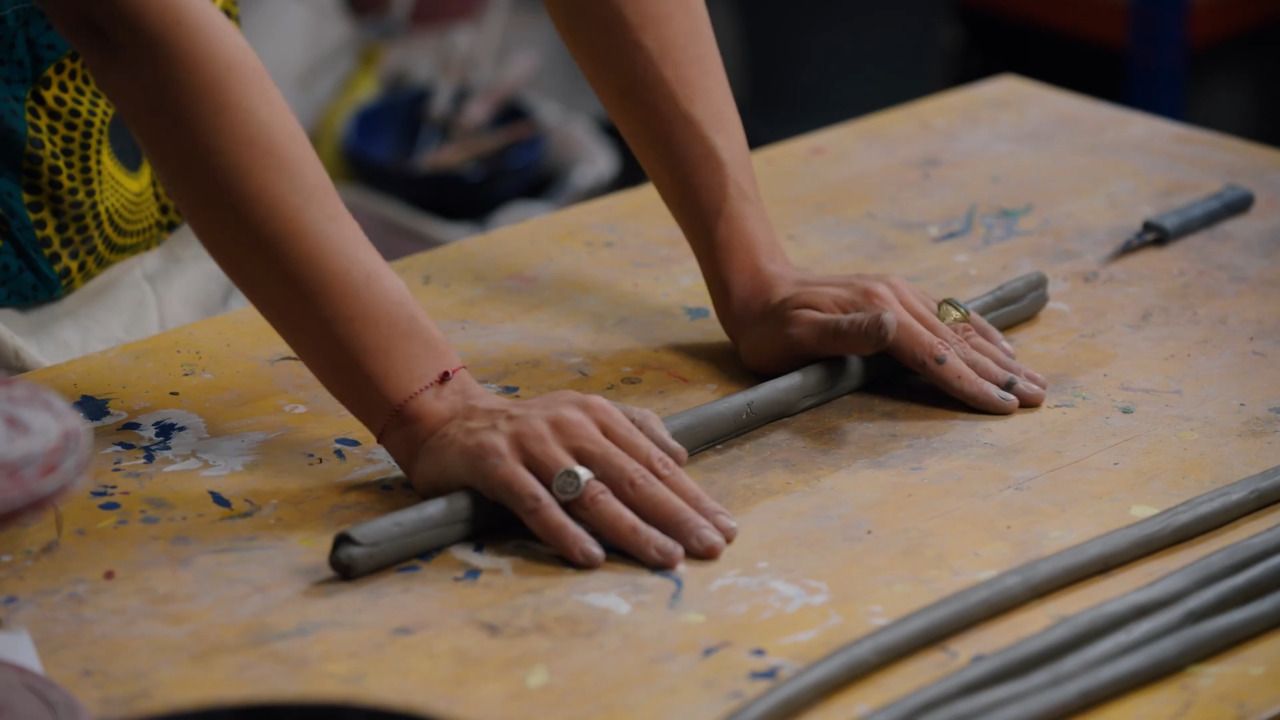
Coiling is such a universal technique - I've used it to make all sorts: toilets, sculptures, cutlery! It's perfect for dynamic forms and allows for height, play, and layering other techniques over the top.
It's also one of the first hand-building methods most people learn. There's something intuitive and grounding about it.
I pause often to step back and look at the shape from a distance. A quick trip to the loo and fresh eyes can reveal if things are going off-course!
Keep checking:
Every time you return to your pot, you see it differently - use that to guide your decisions.
If you're short on time, try making flatter, wider coils. They build height faster and help you cover more ground.
I used a few here to speed things up. They're also great for adding structure and variety to the build.
As I built, I kept sculpting the coils to shape the belly and waist of the vase. Once I'd formed the general silhouette:
After combing, I switch to a smooth kidney - mine's a favourite soft one from Mud Tools - to polish the surface.
You can also stretch or refine the form from the inside using your knuckles or fingers. Be gentle - you're thinning the clay as you do this.
Push from within, but always listen to the resistance.
If you've taken a break, check your pot's moisture levels. The older coils will have firmed up. To blend fresh ones:
Let the piece rest and dry once you're happy with the shape. I usually leave it for 30 minutes to an hour before adding more height.
If you leave it longer, cover it with a plastic bag to keep the surface pliable - especially important if your studio's warm or dry.
Timing is everything with clay - not too soft, not too dry.
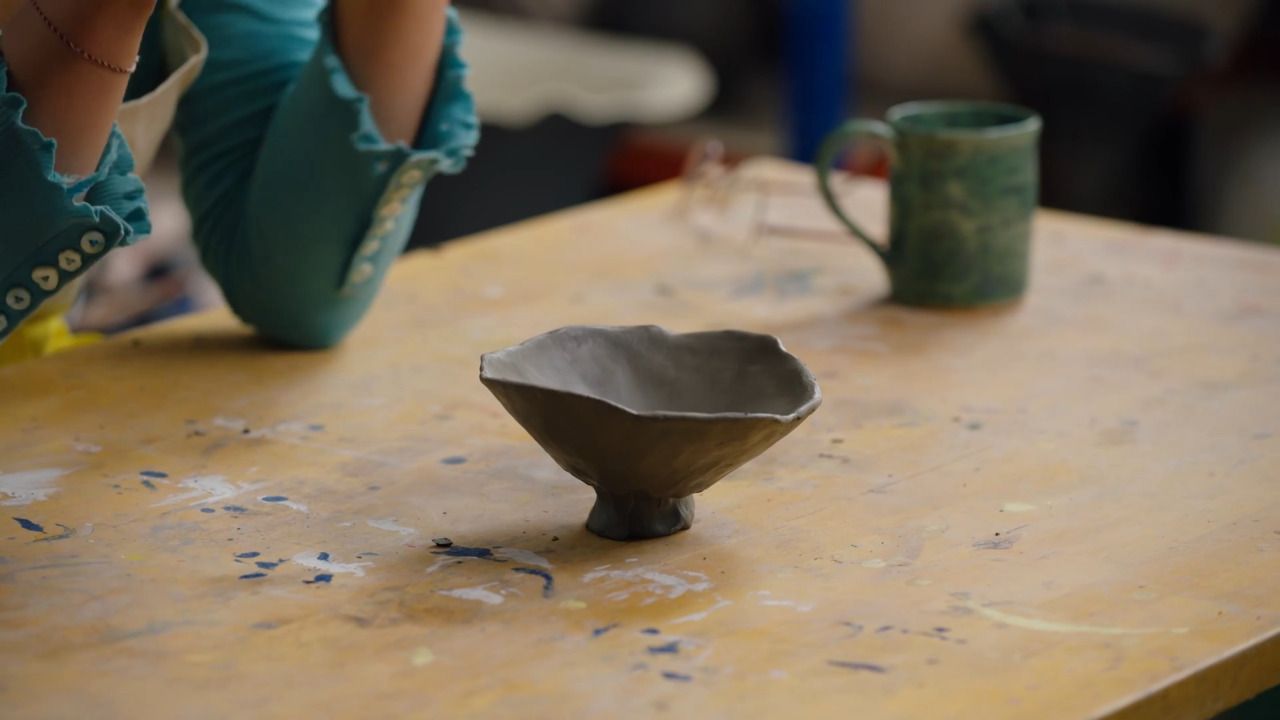
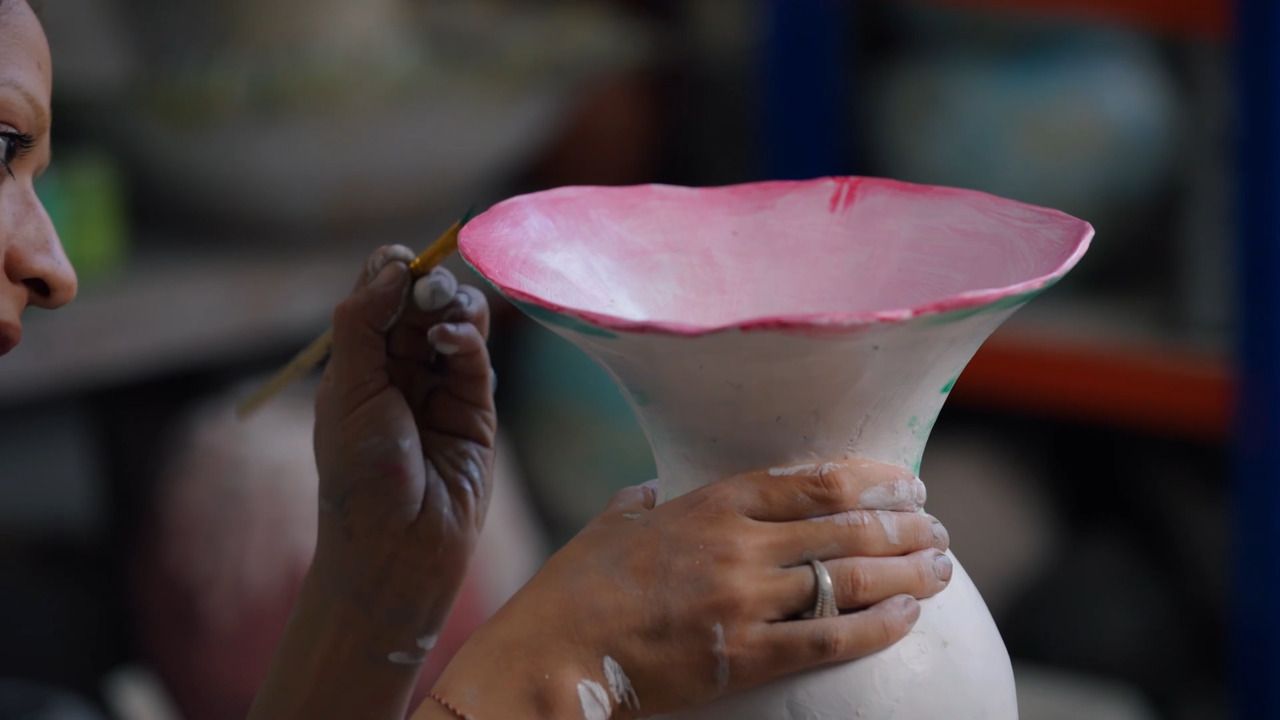
If perfect symmetry is your goal, wheel-throwing might be your best bet. Coiling is more intuitive, slower, and personal. For me, the slight irregularities are what make it beautiful.
I want the human hand to show. That's the poetry in pottery.
Let the form guide you. Let your hands respond. Next time, we'll build the neck and refine the rim - the final flourish before drying and firing.
To keep your unused clay from drying out and becoming too hard to work with, make sure to store it properly. You can either seal the bag with a clip or metal clasp, or—as I often do—twist the top of the bag, tuck it underneath, and store the bag upside down to keep air from getting in.
Get the full workbook, video lessons, and more with a Create Academy subscription.
Subscribe to access the full workbookAlready a member? Sign in to watch
479 reviews
Read moreCreate Academy has been such a great resource. I'm in the middle of renovating a bungalow with a very large garden and the courses have offered a wealth of inform...
Harvey
Jun 10, 2026
Absolutely love Create Academy! The instructors are extremely informative, and it is beautifully filmed. Create Academy is great value for money and plan on renew...
SG
May 31, 2026
Butter's creativity is stunning! Her ability to incorporate brilliance in small gardens is magical!
Carla
May 30, 2026
The best adventure. I like all the courses, but my favorite are both Rita Konig interior design courses and Anna Jones. Excellent!
Karolina Kluczewska
May 20, 2026
Create Academy has been such a great resource. I'm in the middle of renovating a bungalow with a very large garden and the courses have offered a wealth of information to dive into and explore new ideas. I'm...
Harvey
Jun 10, 2026
Absolutely love Create Academy! The instructors are extremely informative, and it is beautifully filmed. Create Academy is great value for money and plan on renewing my subscription yearly because there are ...
SG
May 31, 2026
Butter's creativity is stunning! Her ability to incorporate brilliance in small gardens is magical!
Carla
May 30, 2026

Your Instructor
Contemporary ceramicist
Freya is a ceramicist based in East London. She studied fine art at Chelsea College of Arts while also learning the craft of clay under the guidance of her father, Chris Bramble, a ceramic artist and teacher with over 30 years of experience with whom she shares studio space at Kingsgate Workshops in London. Freya creates tableware as well as larger sculptural vases. Her work incorporates contemporary designs, strongly inspired by the ethos of beauty and nature.

Access to all courses


