
Interior and exterior confidence
Create Academy has been such a great resource. I'm in the middle of renovating a bungalow with a very large garden and the courses have offered a wealth of inform...
Harvey
Jun 10, 2026
Spotlight on Hand Built Pottery
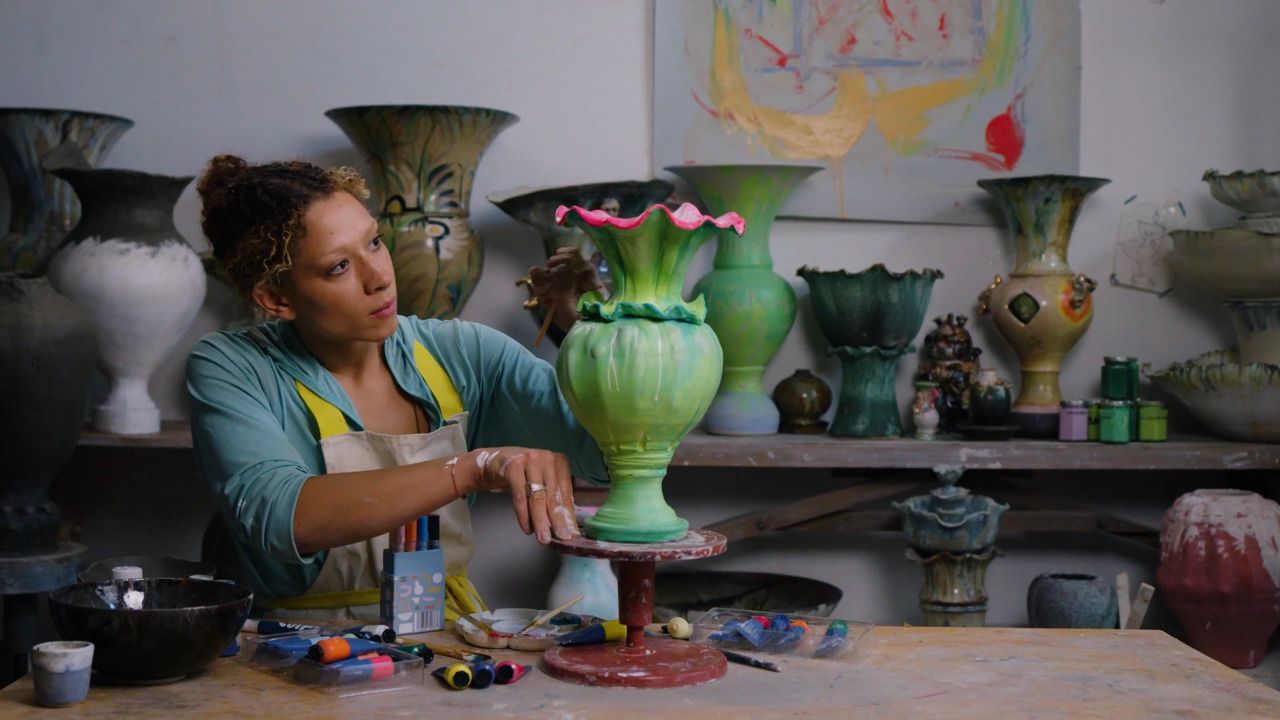
with FREYA BRAMBLE-CARTER — Contemporary ceramicist
Lesson 4 of 9
Subscribe to watch
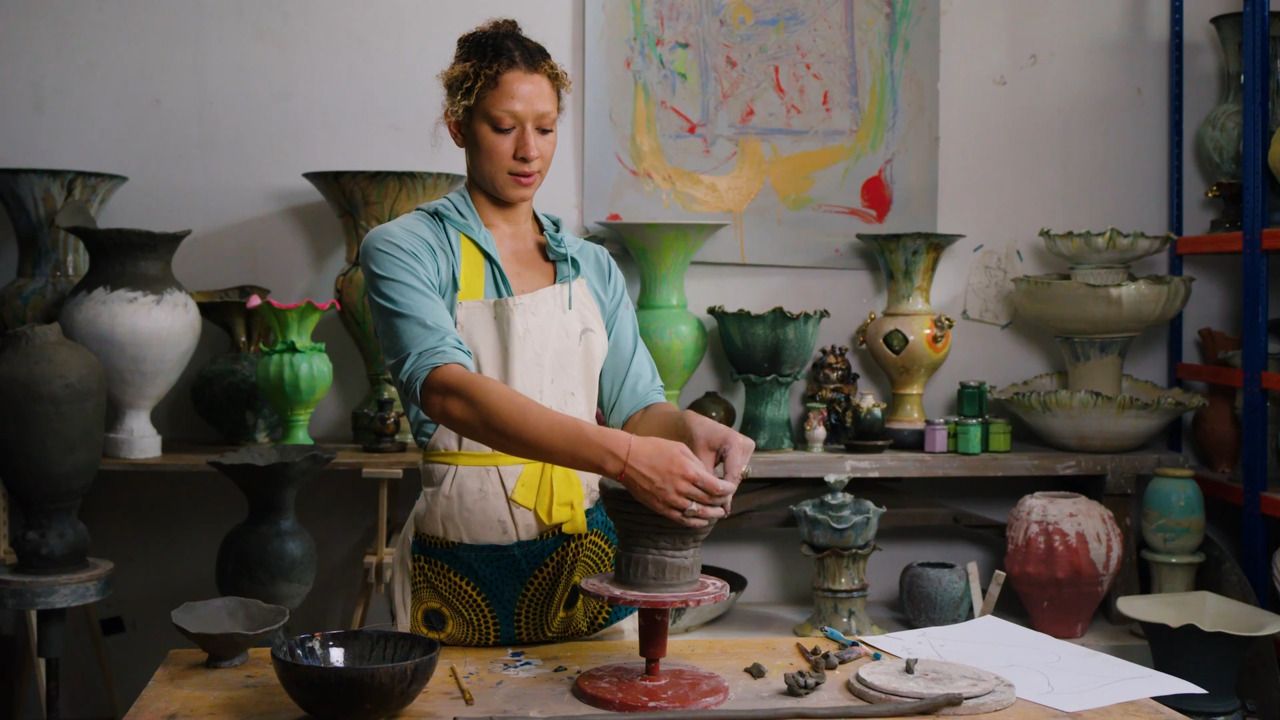
In this practical session, Freya teaches how to roll a slab base and craft the first coils - essential steps for building a strong and stable vase. She shares tips on handling different types of clay, achieving the right thickness, and preparing the work surface. With her guidance, learners begin the tactile, grounding process of forming a vessel from the ground up.
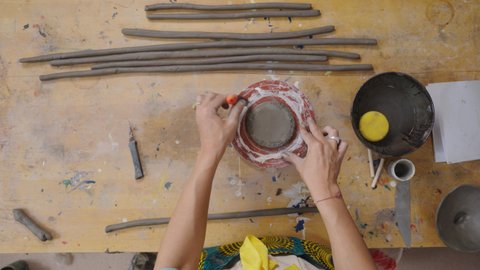
Right, let's get our hands into the clay and start building the base of our vase, and then move on to rolling and stacking coils. This is where things get really tactile and fun.
To begin, we're going to roll out a flat slab of clay for the bottom of the vase.
It doesn't have to be perfect. The imperfections are part of your imprint.
Place your base on a surface that's easy to move (like wood or thick card) so you can turn it easily as you build.
The type of clay you're using matters, especially if you're firing it. This is what you should know:
Always tell the person firing your piece what kind of clay it is - otherwise, it might melt or explode. Not ideal.
The clay I'm using has little fibres in it, which helps make it strong, even when bone dry. It can be fired to either earthenware (1180°C) or stoneware temperatures (between 1200°C and 1300°C), and I tend to fire my work to stoneware for that lovely, vitrified finish.
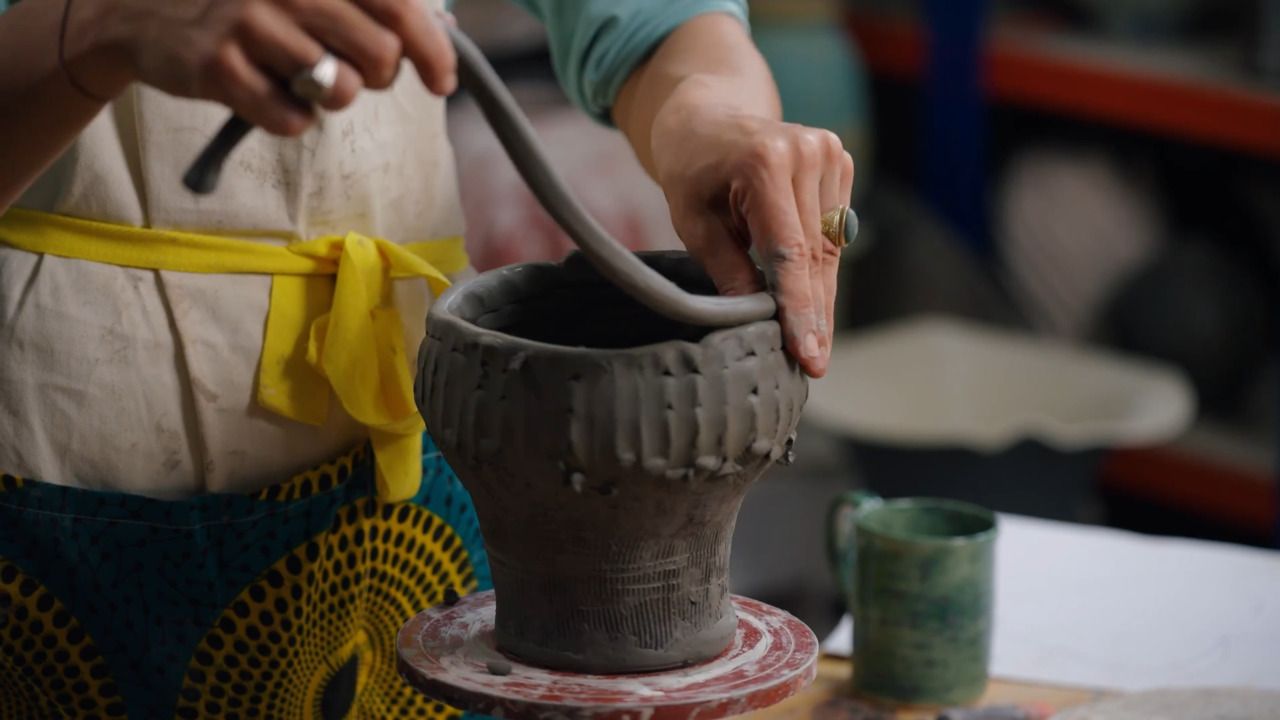
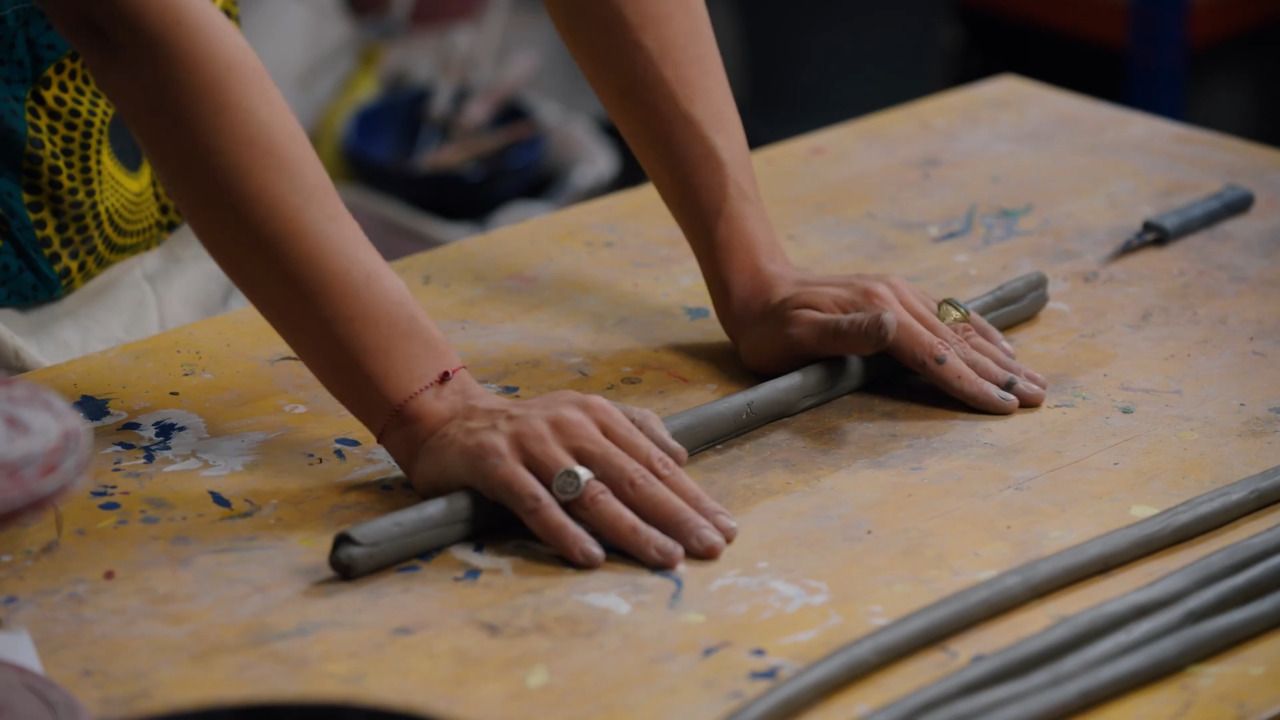
Now we move on to rolling coils - these are the building blocks of your vase walls.
You're aiming for coils about the thickness of your finger. Too thin, and your walls may collapse. Too uneven, and you'll have weak spots.
The trick is to be gentle. If you're too rough and it goes thin, start again. No drama.
Make 4-5 coils to begin with. They'll dry quickly, so keep an eye on the texture. You can use slightly stiffer coils at the bottom of your build to give extra stability.
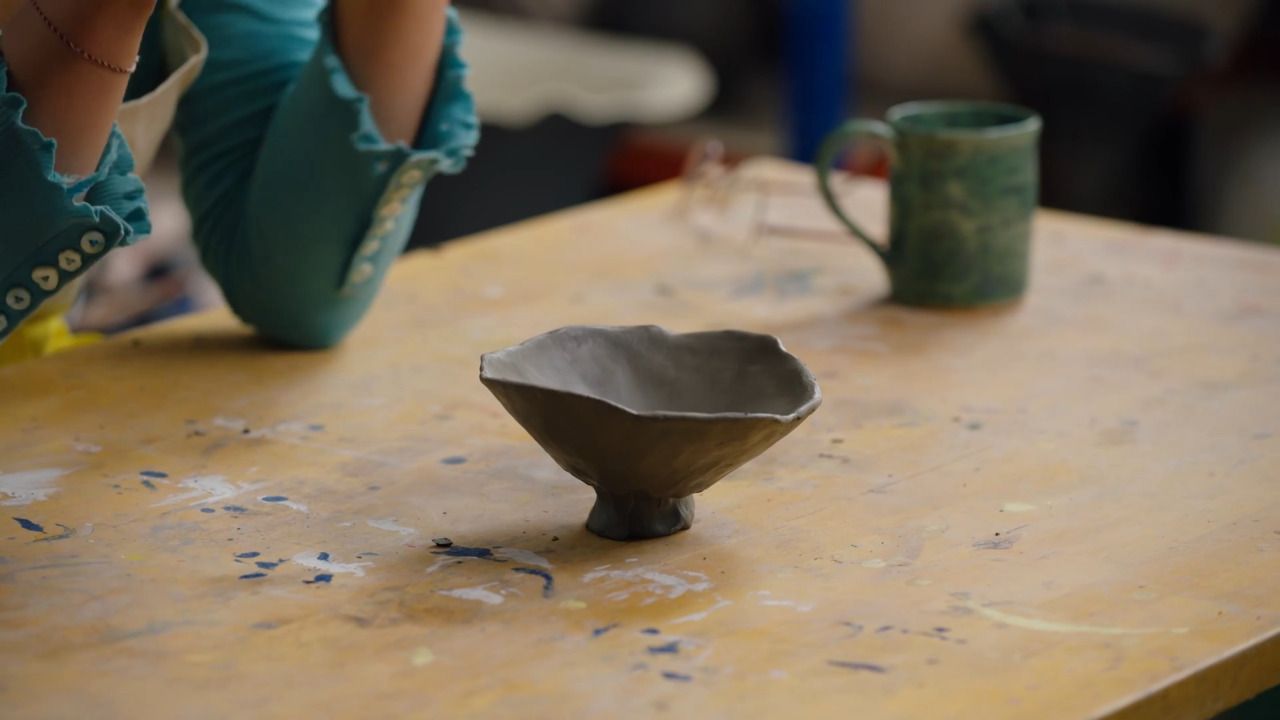
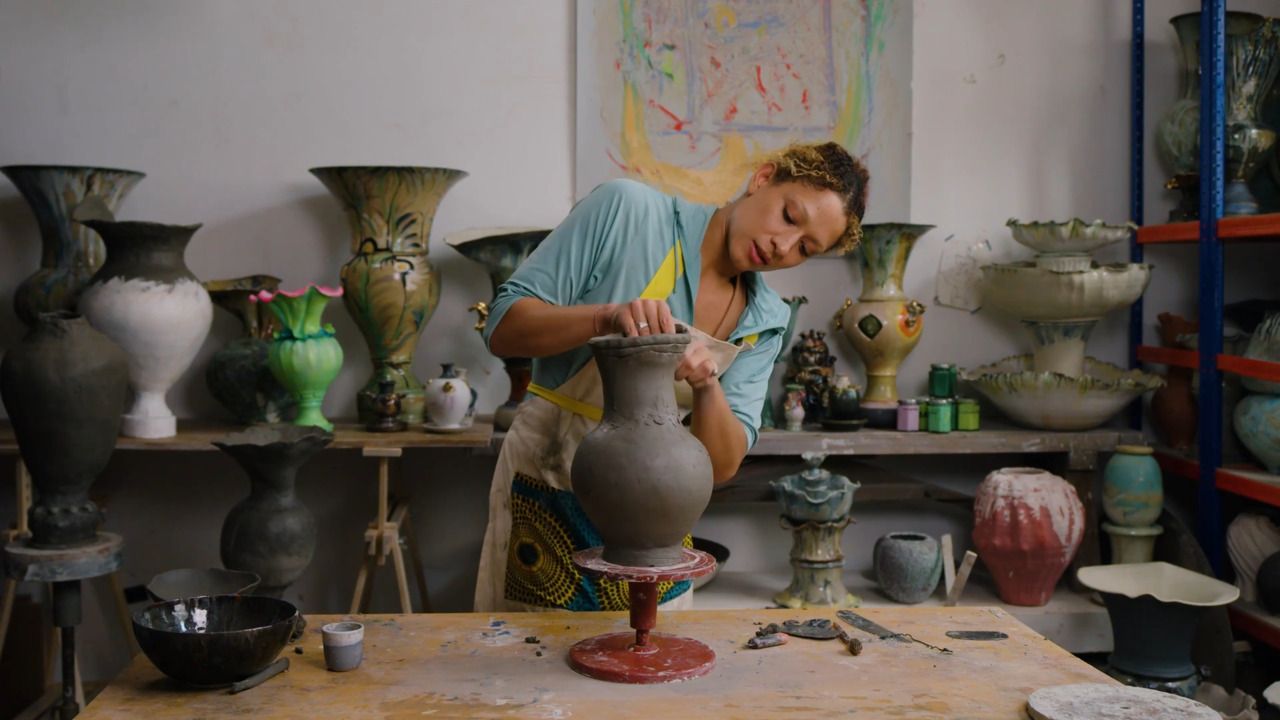
Working with clay is deeply meditative. It absorbs you, mirrors you. It's a dance, a conversation between you and this ancient material. This clay, even processed, still holds the memory of stone, formed over millions of years. You feel that when you work with it. You're holding a bit of the earth's story in your hands.
It's before your time, before mine. That's the real gift of it.
In the next lesson, we'll start building upwards with coils - joining them to the base and shaping the form. Bring your attention and curiosity. Let's go slow and steady.
Get the full workbook, video lessons, and more with a Create Academy subscription.
Subscribe to access the full workbookAlready a member? Sign in to watch
479 reviews
Read moreCreate Academy has been such a great resource. I'm in the middle of renovating a bungalow with a very large garden and the courses have offered a wealth of inform...
Harvey
Jun 10, 2026
Absolutely love Create Academy! The instructors are extremely informative, and it is beautifully filmed. Create Academy is great value for money and plan on renew...
SG
May 31, 2026
Butter's creativity is stunning! Her ability to incorporate brilliance in small gardens is magical!
Carla
May 30, 2026
The best adventure. I like all the courses, but my favorite are both Rita Konig interior design courses and Anna Jones. Excellent!
Karolina Kluczewska
May 20, 2026
Create Academy has been such a great resource. I'm in the middle of renovating a bungalow with a very large garden and the courses have offered a wealth of information to dive into and explore new ideas. I'm...
Harvey
Jun 10, 2026
Absolutely love Create Academy! The instructors are extremely informative, and it is beautifully filmed. Create Academy is great value for money and plan on renewing my subscription yearly because there are ...
SG
May 31, 2026
Butter's creativity is stunning! Her ability to incorporate brilliance in small gardens is magical!
Carla
May 30, 2026

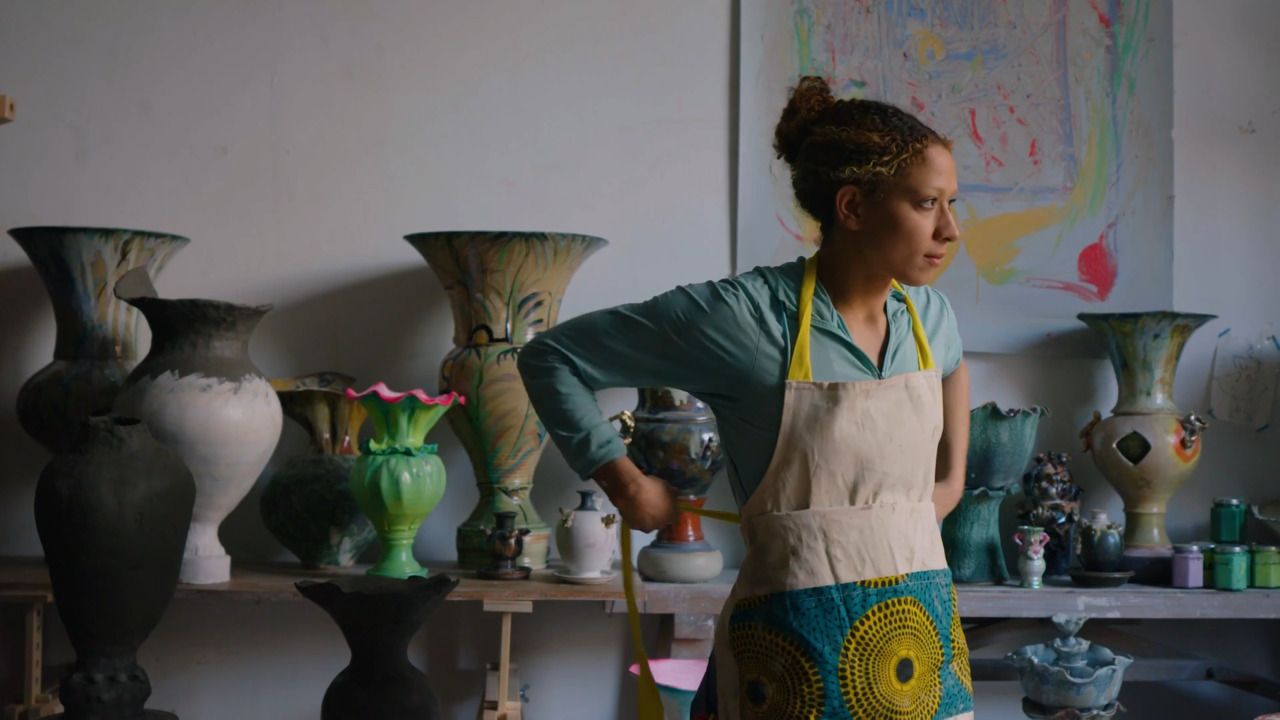
Your Instructor
Contemporary ceramicist
Freya is a ceramicist based in East London. She studied fine art at Chelsea College of Arts while also learning the craft of clay under the guidance of her father, Chris Bramble, a ceramic artist and teacher with over 30 years of experience with whom she shares studio space at Kingsgate Workshops in London. Freya creates tableware as well as larger sculptural vases. Her work incorporates contemporary designs, strongly inspired by the ethos of beauty and nature.

Access to all courses


