
Interior and exterior confidence
Create Academy has been such a great resource. I'm in the middle of renovating a bungalow with a very large garden and the courses have offered a wealth of inform...
Harvey
Jun 10, 2026
Spotlight on Hand Built Pottery
with FREYA BRAMBLE-CARTER — Contemporary ceramicist
Lesson 8 of 9
Subscribe to watch
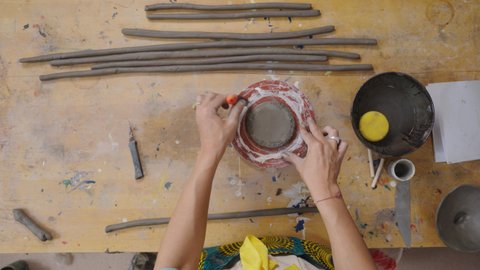
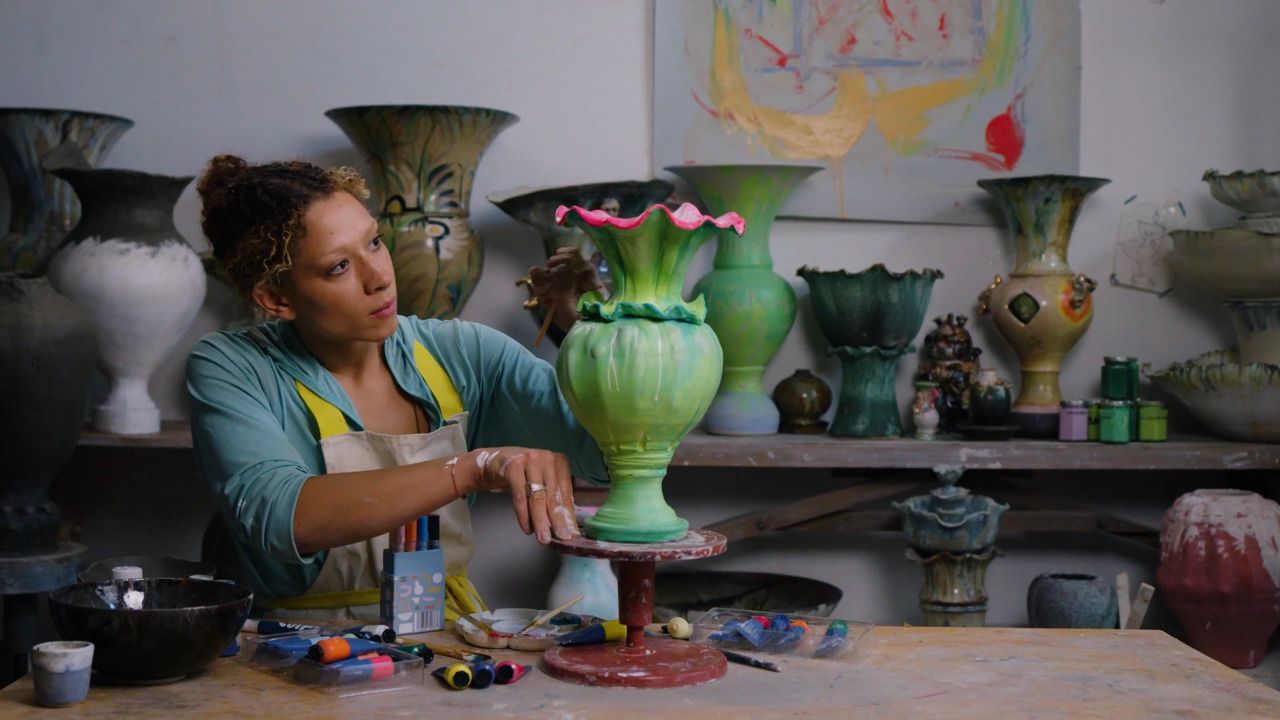
Now for colour and character. Freya demonstrates how to prep, paint, and varnish your vase using acrylics, turning it into a piece of art that reflects your style and imagination.
Now we get to paint! This part's all about play, creativity and personality. You're turning your clay vessel into a piece of art that reflects you - your imagination, your colours, your energy. It's where it all comes alive.
You will need:
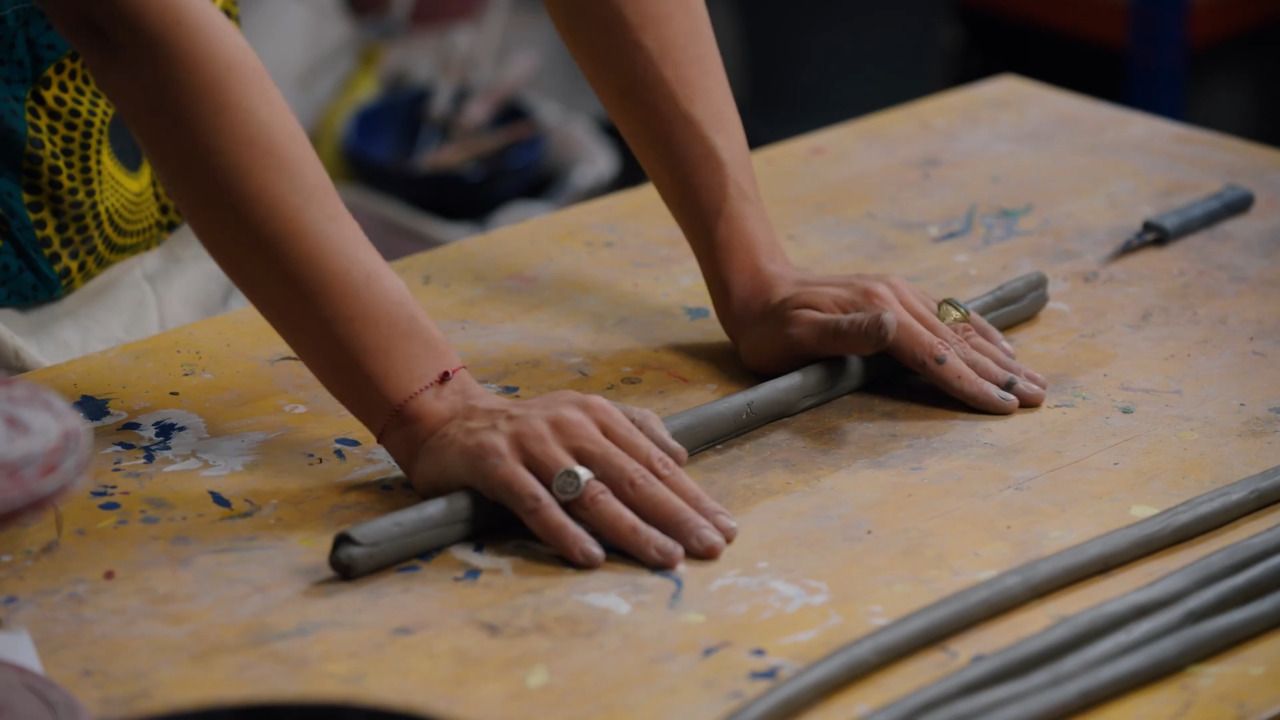
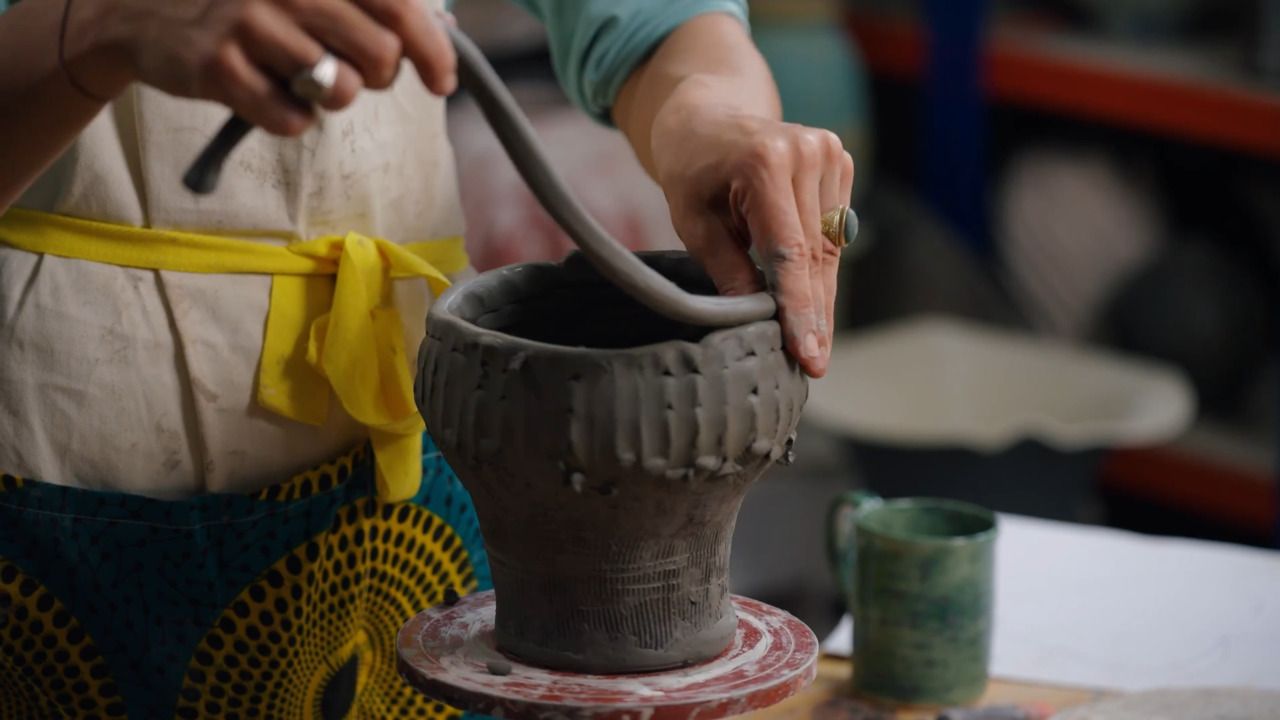
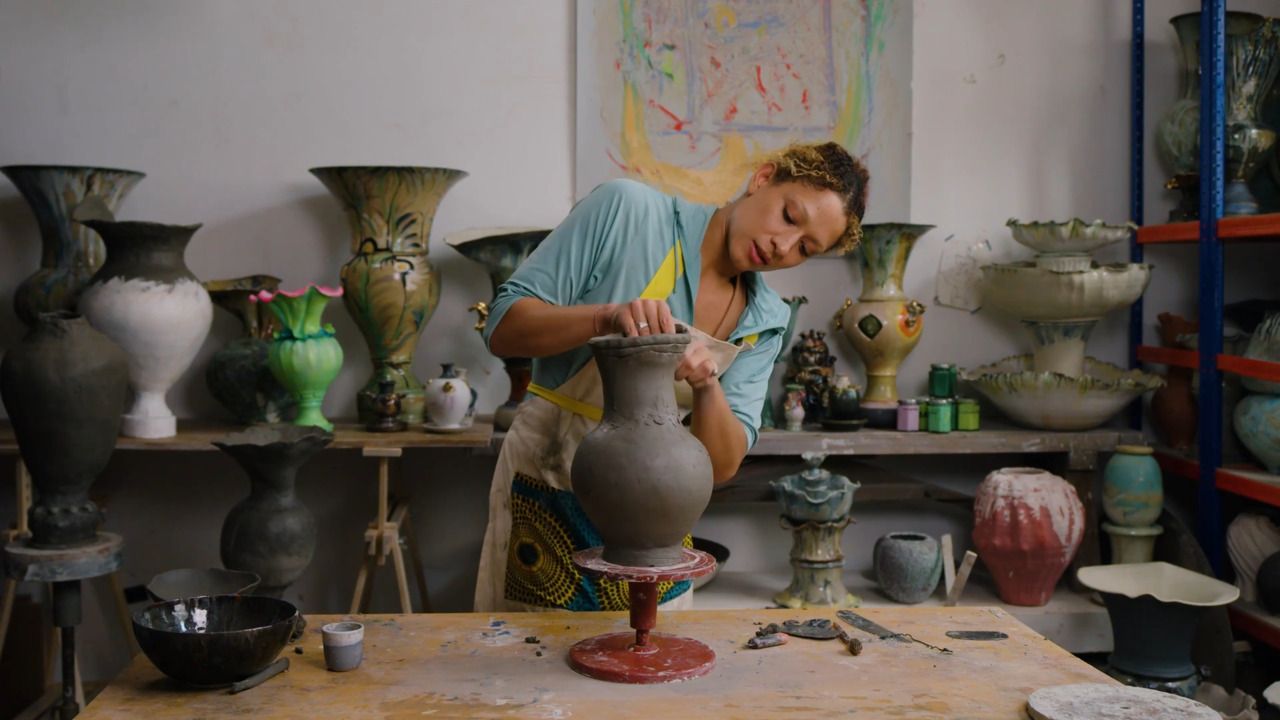
At this point, your vase should be leather hard - firm but not bone dry. It should feel like hard cheese - you can press your nail in, but it holds its shape. This is the ideal stage for:
If you want a super smooth, polished finish, take your time here. Use a damp sponge, metal scraper, or even a spoon to burnish and soften the surface.
We're using acrylic paint for this. You don't need a kiln or glaze - this method works for those making at home with air-dry or non-fired clay.
Here's how I paint
You can get creative here - there are loads of brilliant paint pens and tools out there too.
Tips for waterproofing:
Acrylic dries fast, so it's great for blending if you work quickly - use a bit of water to help smooth transitions or make a wash.
The paint becomes your glaze, your design, and your protection all at once.
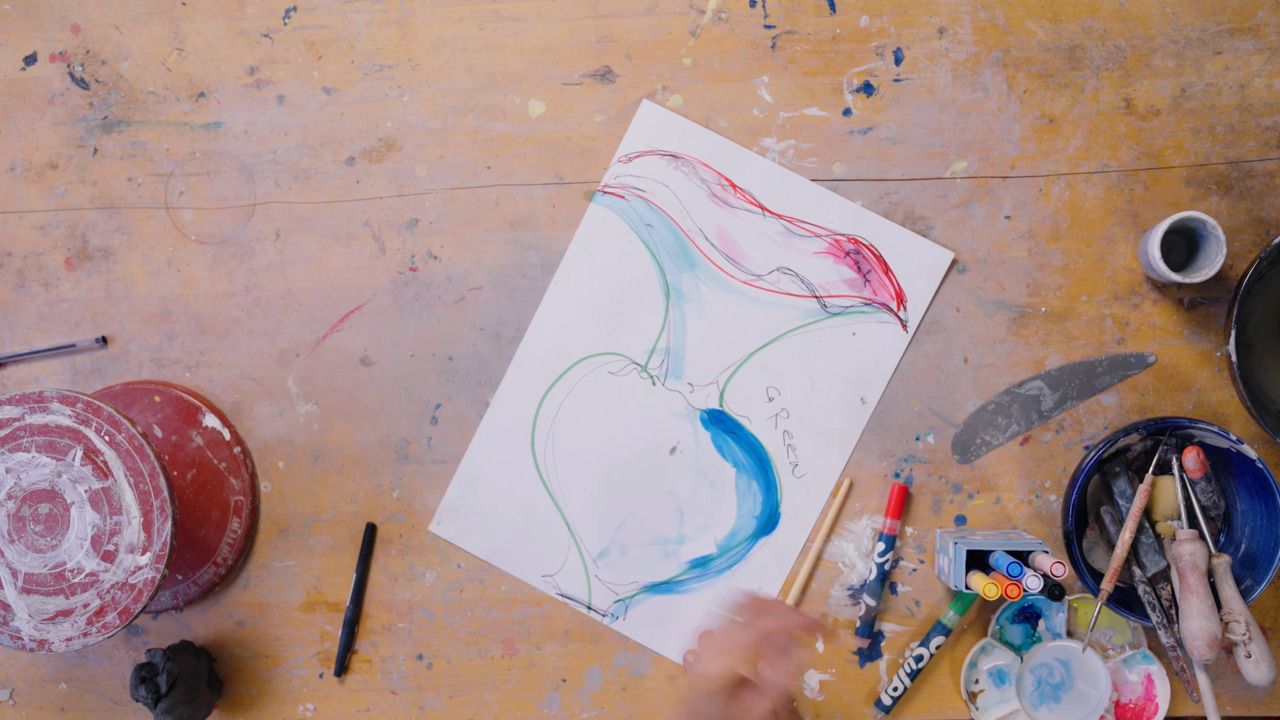
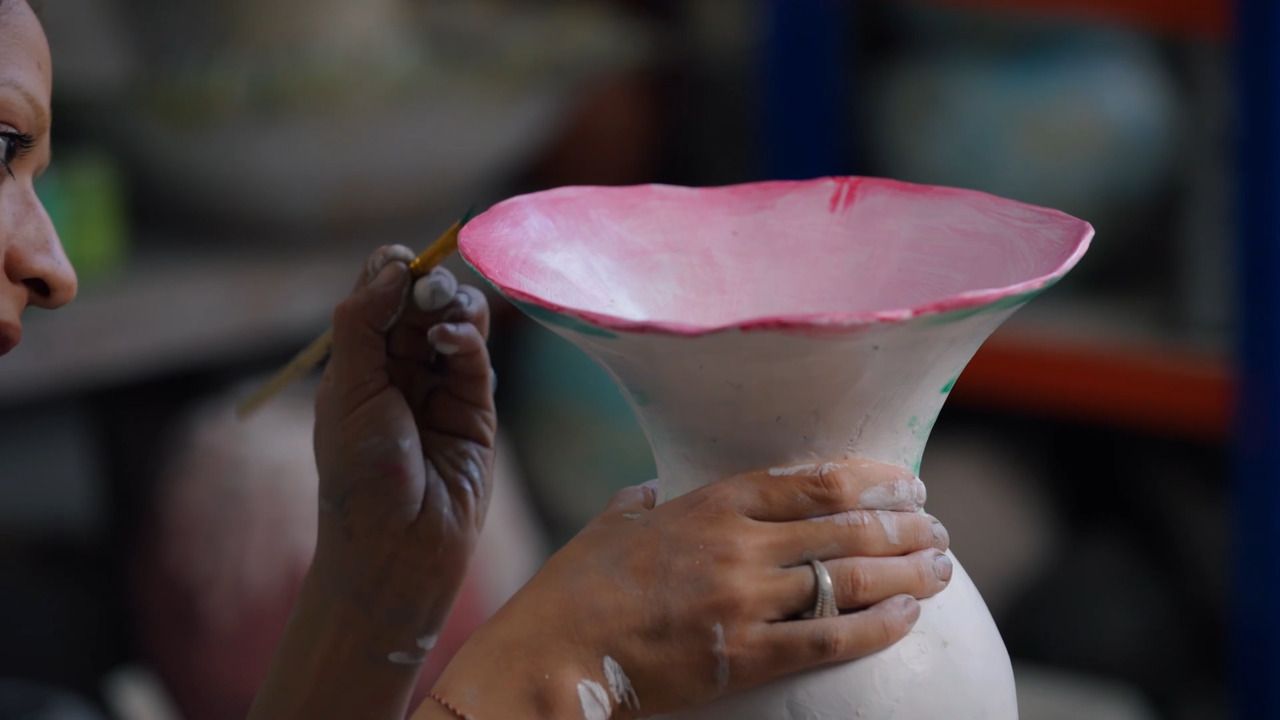
When I paint, I let the form lead the flow of the colour. For example:
You can be bold or subtle - it's your call. For this vase, I'm blending red into pink inside, and then fading through greens and blues on the outside - soft, organic, nature-inspired.
Follow the shape. Let the paint dance with the form.
This stage is intuitive and forgiving:
I'll finish my vase with some highlighting and maybe draw on leaf-like veins or floral lines with my favourite paint pens. You can go as minimal or as decorative as you like.
Let it all dry fully before moving or filling it. And then, you've got your finished, hand-built, hand-painted, completely personal vase.
Get the full workbook, video lessons, and more with a Create Academy subscription.
Subscribe to access the full workbookAlready a member? Sign in to watch
479 reviews
Read moreCreate Academy has been such a great resource. I'm in the middle of renovating a bungalow with a very large garden and the courses have offered a wealth of inform...
Harvey
Jun 10, 2026
Absolutely love Create Academy! The instructors are extremely informative, and it is beautifully filmed. Create Academy is great value for money and plan on renew...
SG
May 31, 2026
Butter's creativity is stunning! Her ability to incorporate brilliance in small gardens is magical!
Carla
May 30, 2026
The best adventure. I like all the courses, but my favorite are both Rita Konig interior design courses and Anna Jones. Excellent!
Karolina Kluczewska
May 20, 2026
Create Academy has been such a great resource. I'm in the middle of renovating a bungalow with a very large garden and the courses have offered a wealth of information to dive into and explore new ideas. I'm...
Harvey
Jun 10, 2026
Absolutely love Create Academy! The instructors are extremely informative, and it is beautifully filmed. Create Academy is great value for money and plan on renewing my subscription yearly because there are ...
SG
May 31, 2026
Butter's creativity is stunning! Her ability to incorporate brilliance in small gardens is magical!
Carla
May 30, 2026

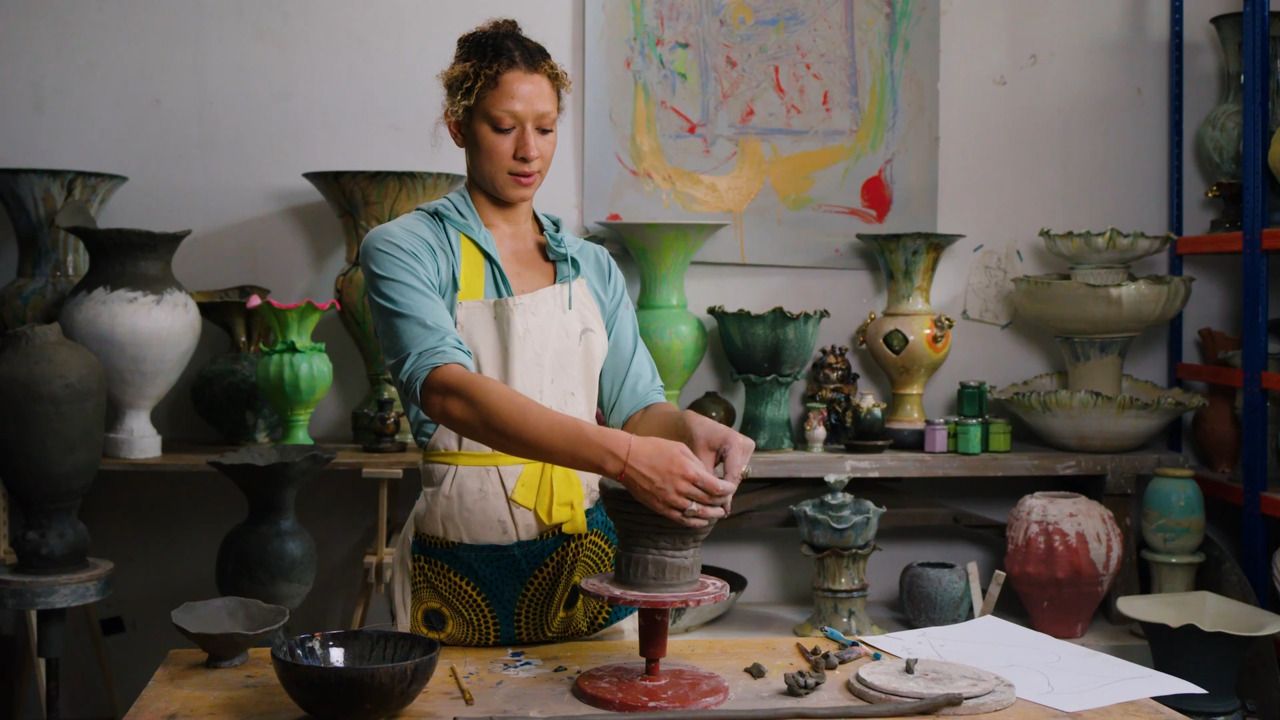
Your Instructor
Contemporary ceramicist
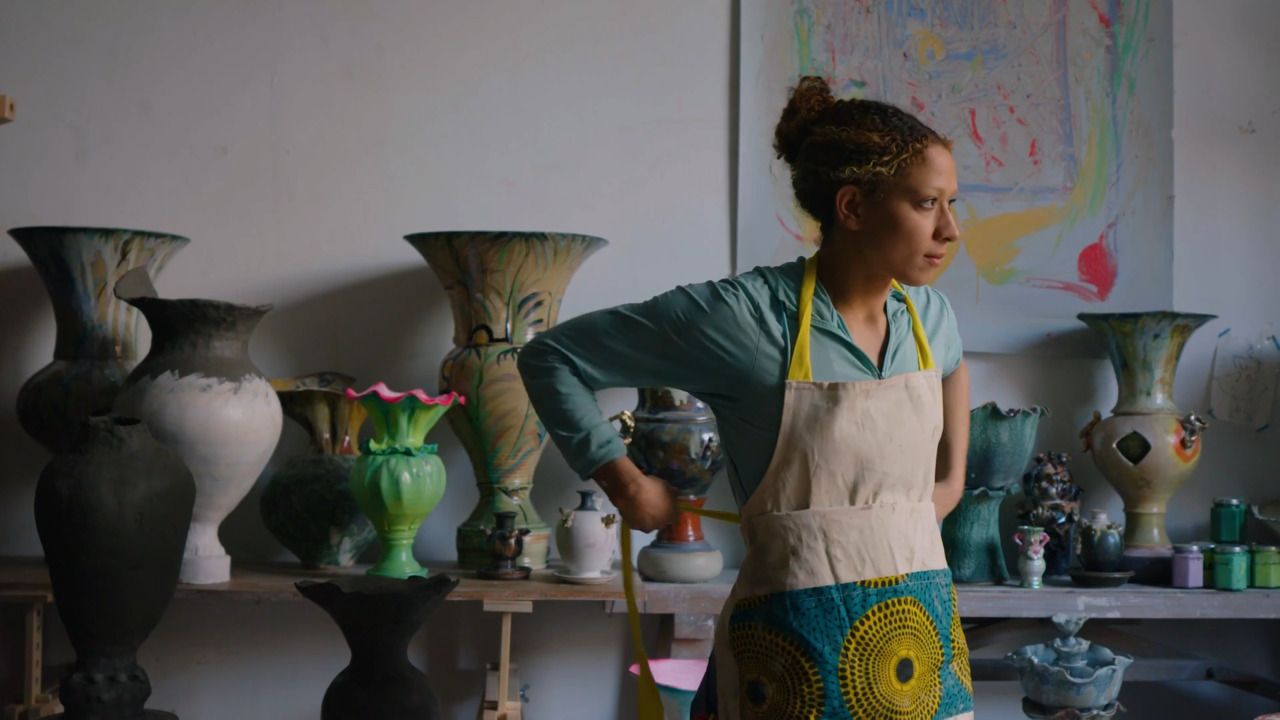
Freya is a ceramicist based in East London. She studied fine art at Chelsea College of Arts while also learning the craft of clay under the guidance of her father, Chris Bramble, a ceramic artist and teacher with over 30 years of experience with whom she shares studio space at Kingsgate Workshops in London. Freya creates tableware as well as larger sculptural vases. Her work incorporates contemporary designs, strongly inspired by the ethos of beauty and nature.

Access to all courses


