
Interior and exterior confidence
Create Academy has been such a great resource. I'm in the middle of renovating a bungalow with a very large garden and the courses have offered a wealth of inform...
Harvey
Jun 10, 2026
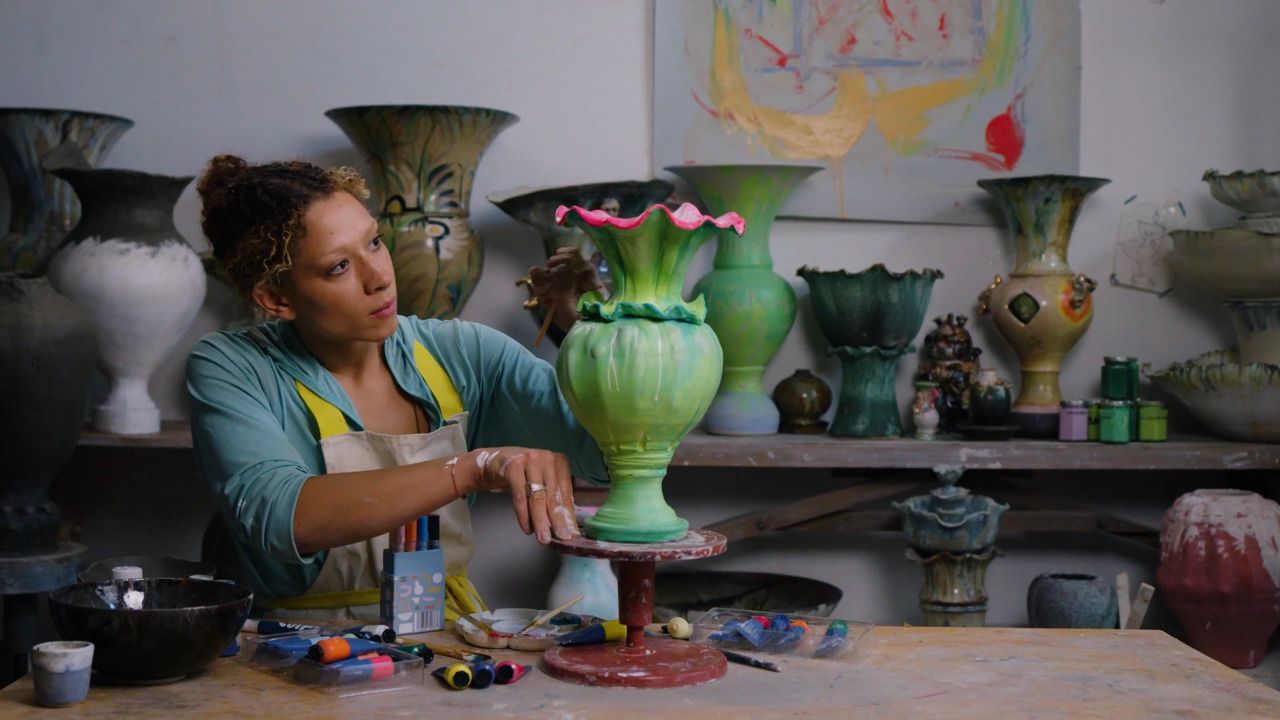
Spotlight on Hand Built Pottery
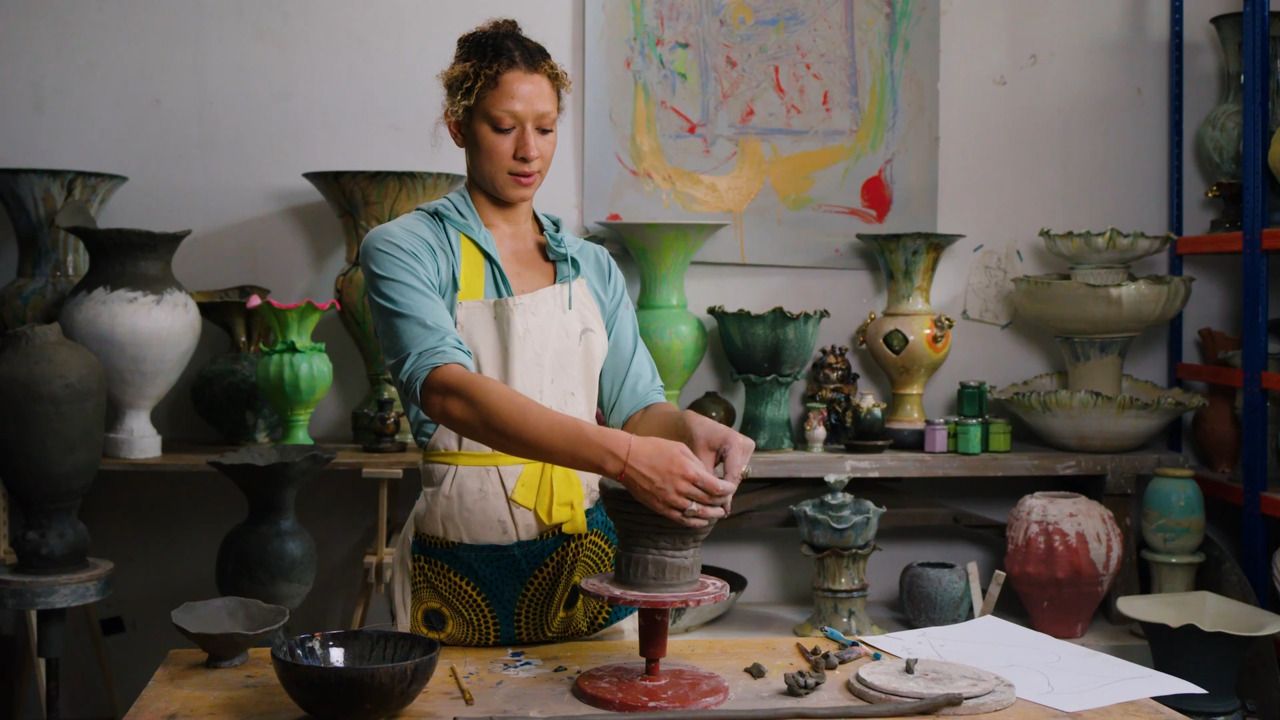
with FREYA BRAMBLE-CARTER — Contemporary ceramicist
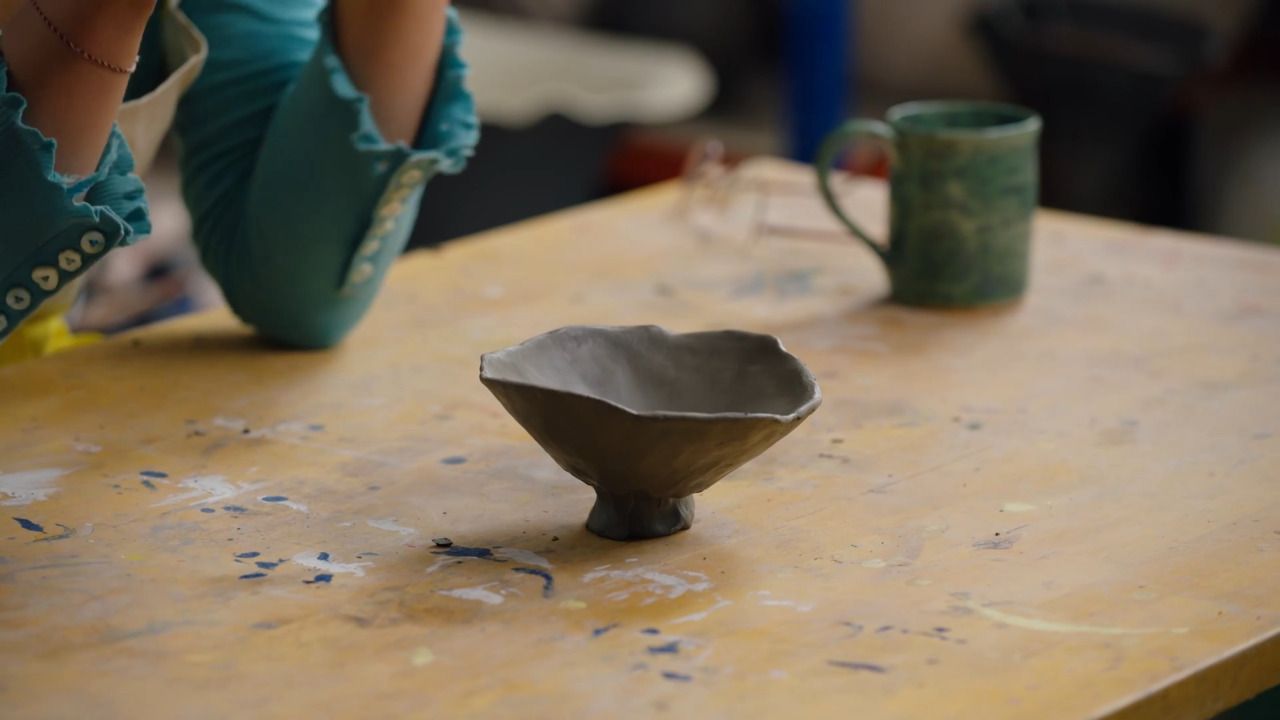
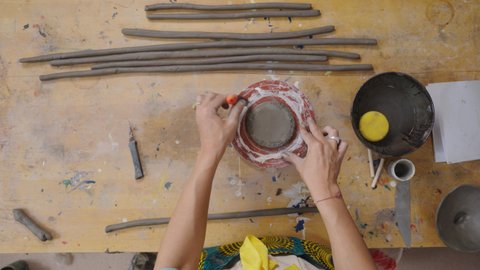
Freya guides learners through making their first piece - a simple pinch bowl - using only their hands and a ball of clay. This lesson builds confidence with the material, encouraging a relaxed, sensory approach to shaping. It’s a warm-up exercise that introduces foundational clay techniques and the mindful joy of working with your hands.
In this lesson, we're getting stuck into clay with one of the most basic and instinctive techniques - making a pinch bowl. This is a great warm-up exercise and an essential skill to build your confidence and hand strength. No tools needed - just your hands and a ball of clay.
Other suppliers
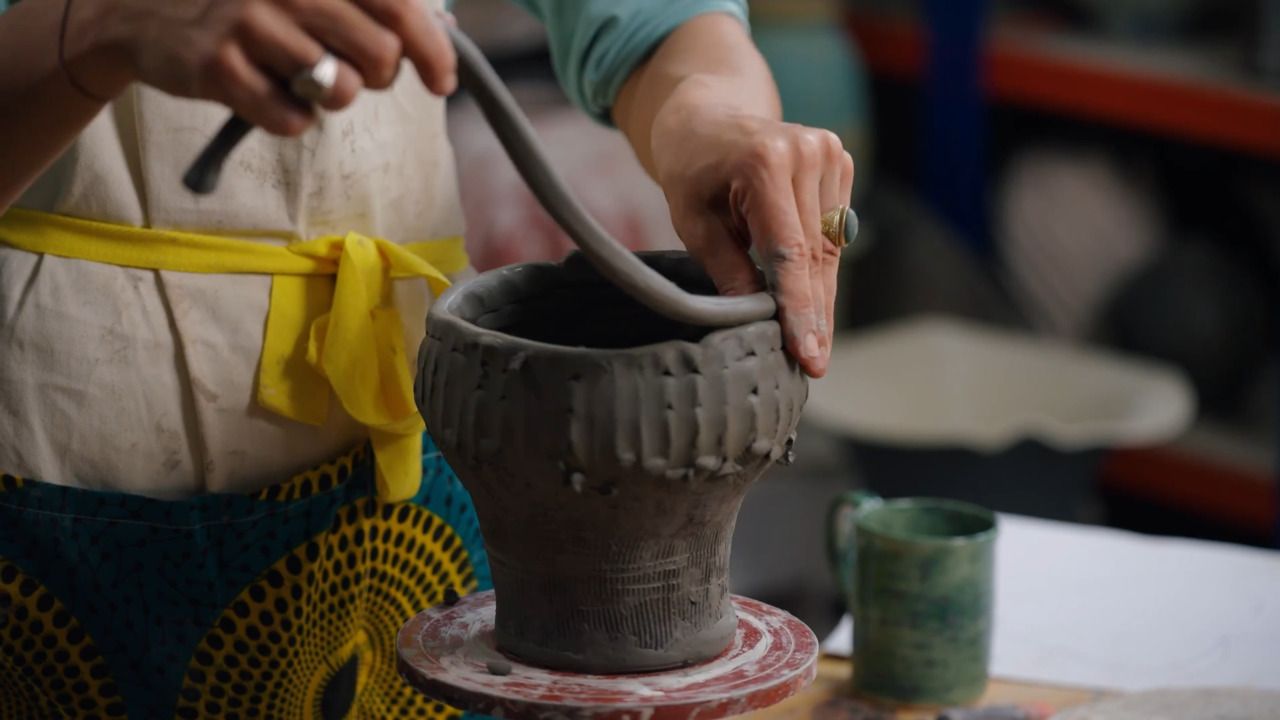
Clay has a beautiful way of absorbing tension. Just squeezing it can feel like letting go of stress - it's like a mini therapy session for your hands.
Your fingers are your number one tools. There's no right or wrong - just learning how your hands move and how the clay responds.
Don't overwork it - if the clay starts feeling floppy, let it rest and dry slightly before continuing.
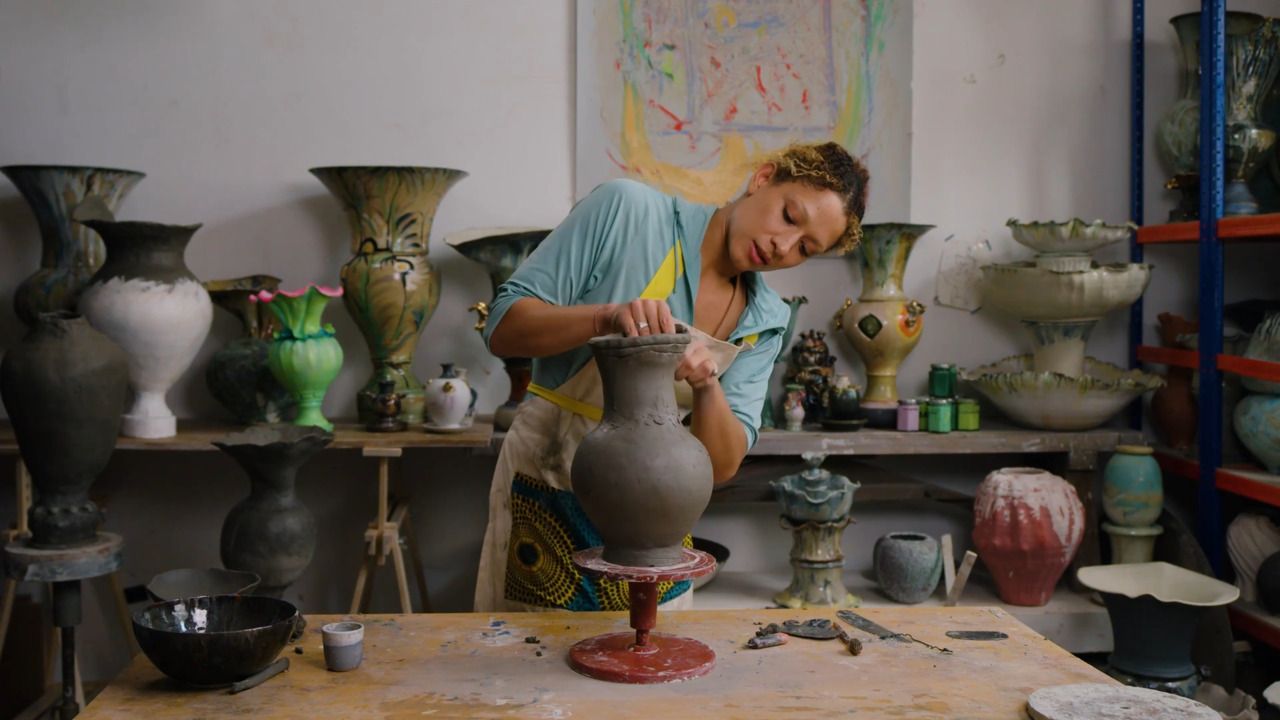
This is all part of learning to understand clay and yourself. It's about building the connection between your fingers, your ideas and the material. That takes time, patience - and play.
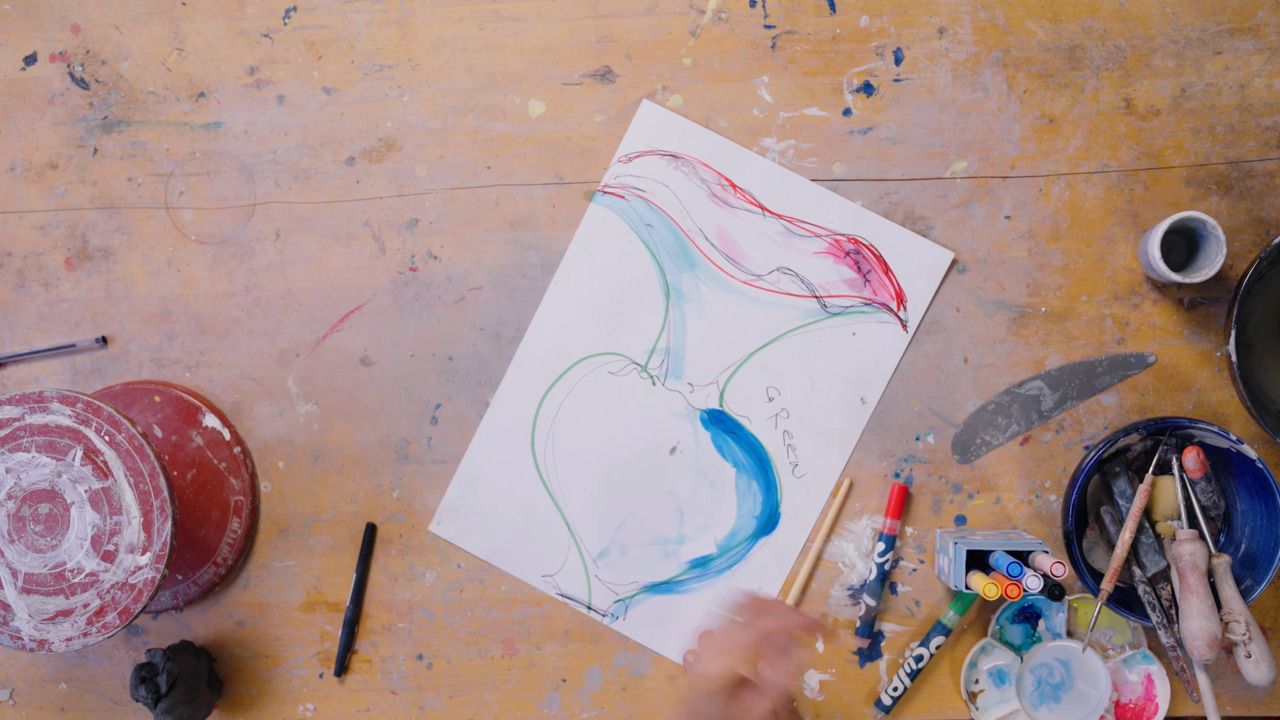
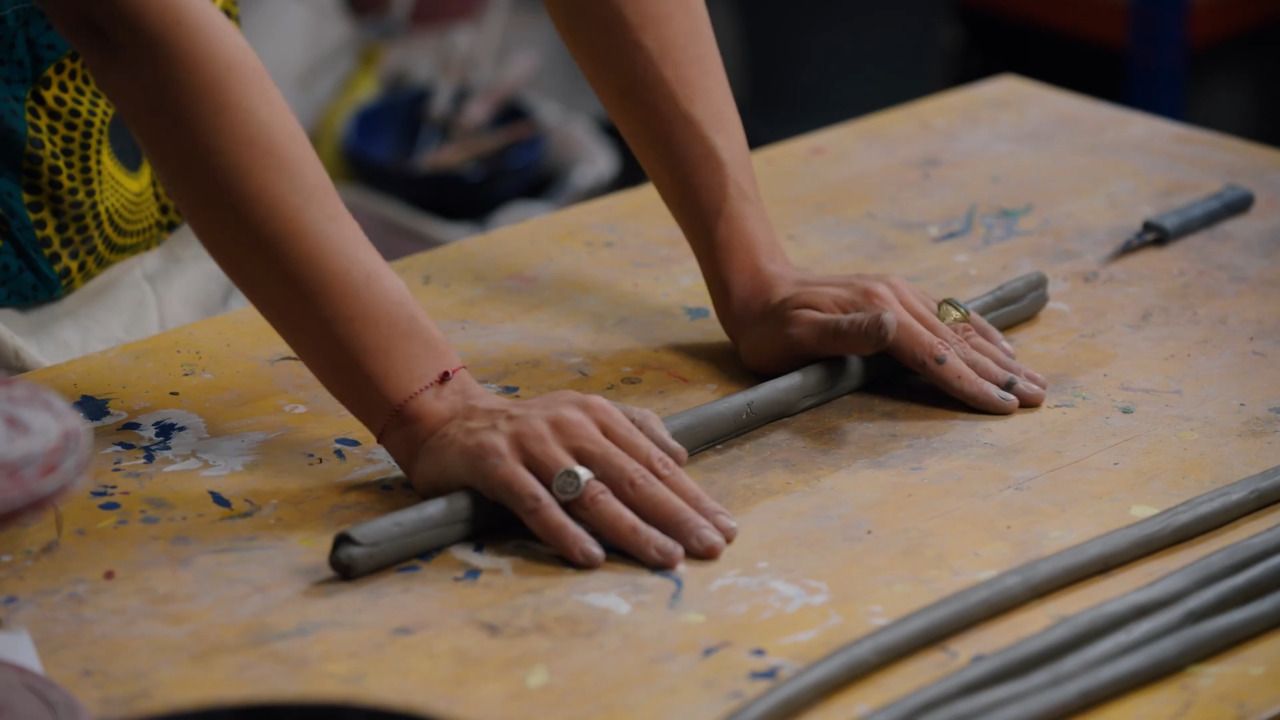
Have fun with your pinch bowl! Even if it's a bit lumpy or uneven, it's your first proper conversation with the clay. Next time, we'll get into the magic of coil building and begin sculpting the base of your vase.
Get the full workbook, video lessons, and more with a Create Academy subscription.
Subscribe to access the full workbookAlready a member? Sign in to watch
479 reviews
Read moreCreate Academy has been such a great resource. I'm in the middle of renovating a bungalow with a very large garden and the courses have offered a wealth of inform...
Harvey
Jun 10, 2026
Absolutely love Create Academy! The instructors are extremely informative, and it is beautifully filmed. Create Academy is great value for money and plan on renew...
SG
May 31, 2026
Butter's creativity is stunning! Her ability to incorporate brilliance in small gardens is magical!
Carla
May 30, 2026
The best adventure. I like all the courses, but my favorite are both Rita Konig interior design courses and Anna Jones. Excellent!
Karolina Kluczewska
May 20, 2026
Create Academy has been such a great resource. I'm in the middle of renovating a bungalow with a very large garden and the courses have offered a wealth of information to dive into and explore new ideas. I'm...
Harvey
Jun 10, 2026
Absolutely love Create Academy! The instructors are extremely informative, and it is beautifully filmed. Create Academy is great value for money and plan on renewing my subscription yearly because there are ...
SG
May 31, 2026
Butter's creativity is stunning! Her ability to incorporate brilliance in small gardens is magical!
Carla
May 30, 2026

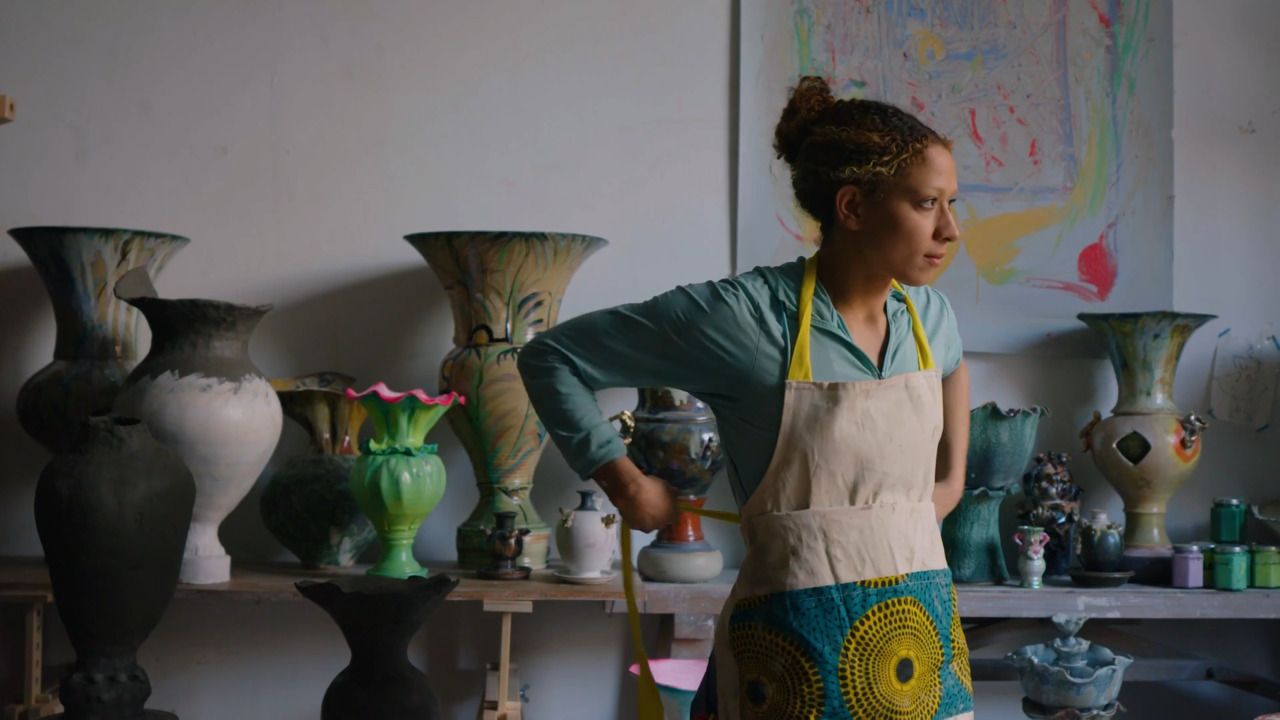
Your Instructor
Contemporary ceramicist
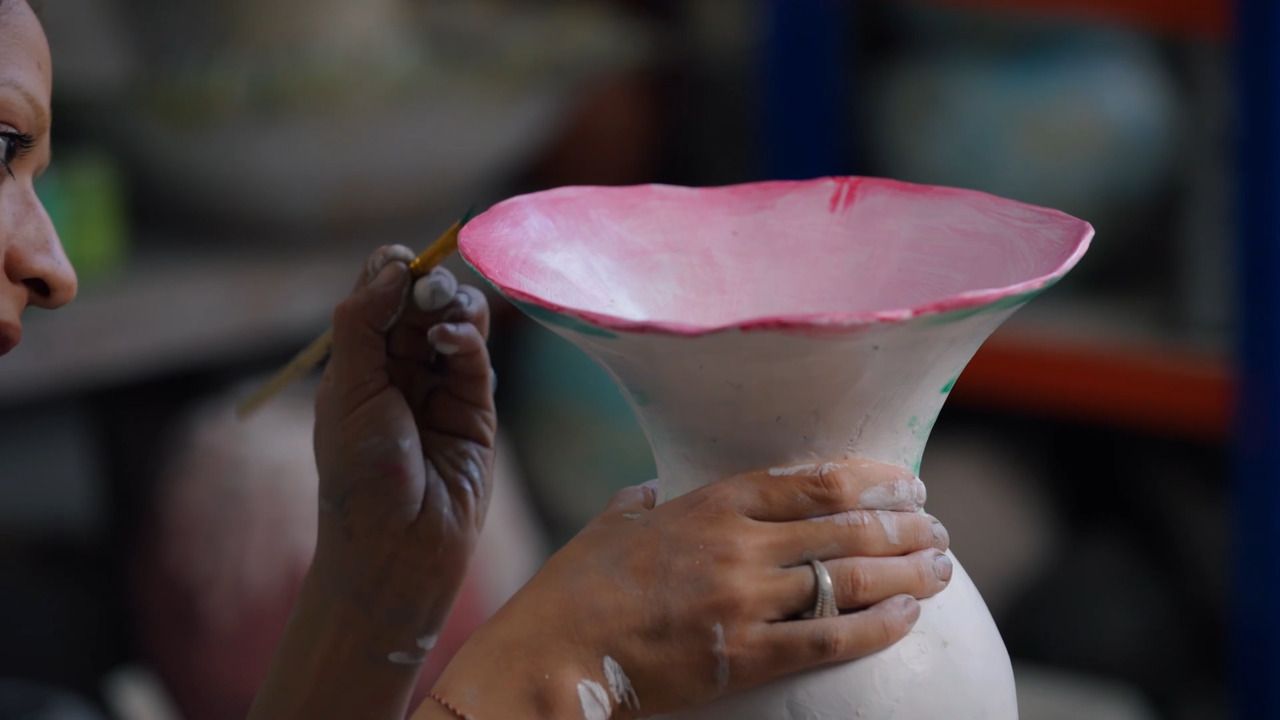
Freya is a ceramicist based in East London. She studied fine art at Chelsea College of Arts while also learning the craft of clay under the guidance of her father, Chris Bramble, a ceramic artist and teacher with over 30 years of experience with whom she shares studio space at Kingsgate Workshops in London. Freya creates tableware as well as larger sculptural vases. Her work incorporates contemporary designs, strongly inspired by the ethos of beauty and nature.

Access to all courses


