
Interior and exterior confidence
Create Academy has been such a great resource. I'm in the middle of renovating a bungalow with a very large garden and the courses have offered a wealth of inform...
Harvey
Jun 10, 2026
Spotlight on Hand Built Pottery
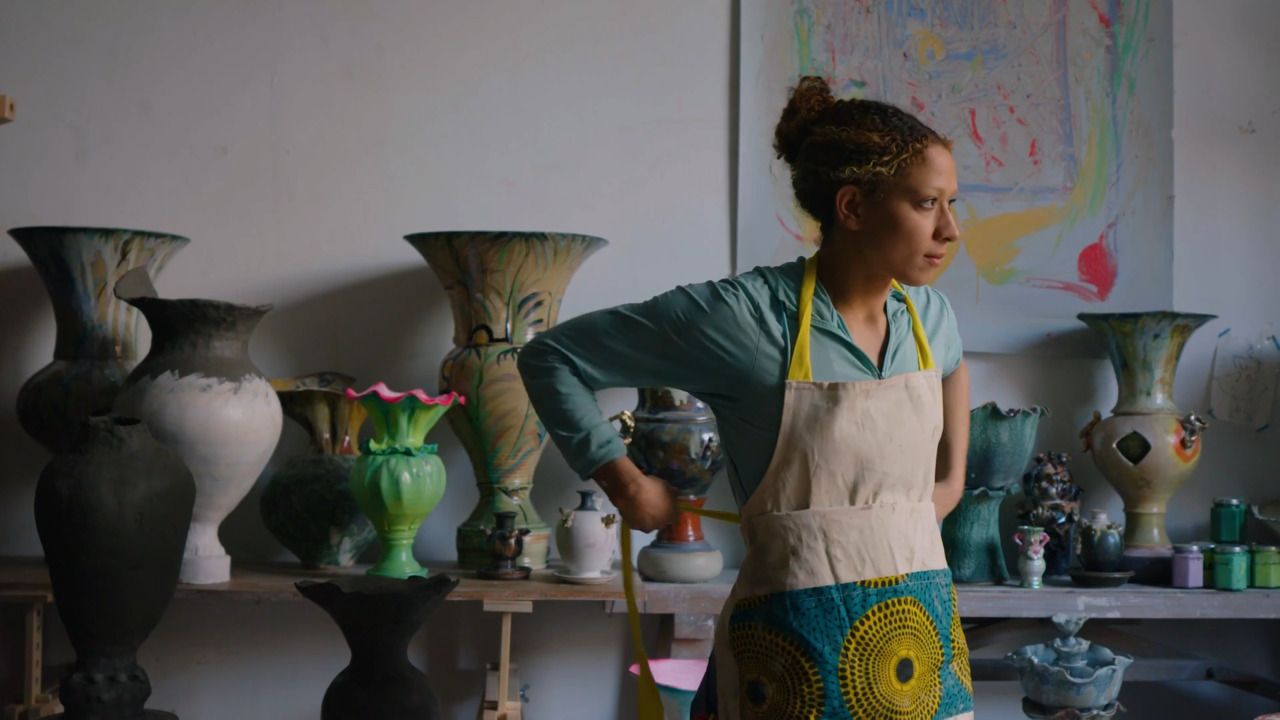
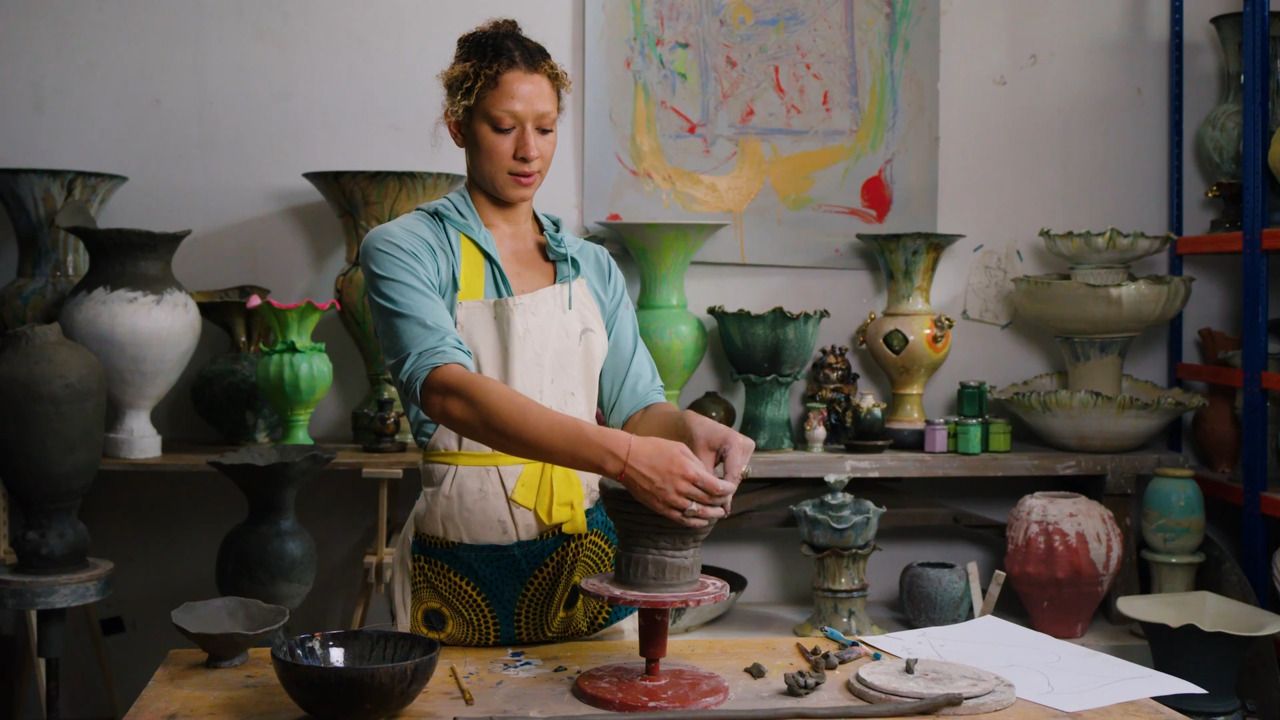
with FREYA BRAMBLE-CARTER — Contemporary ceramicist
Lesson 3 of 9
Subscribe to watch
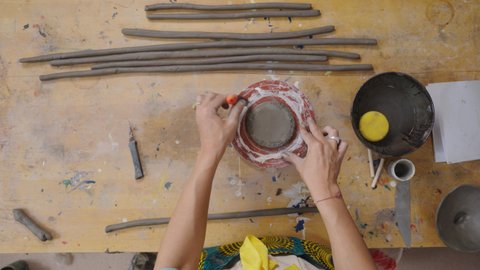
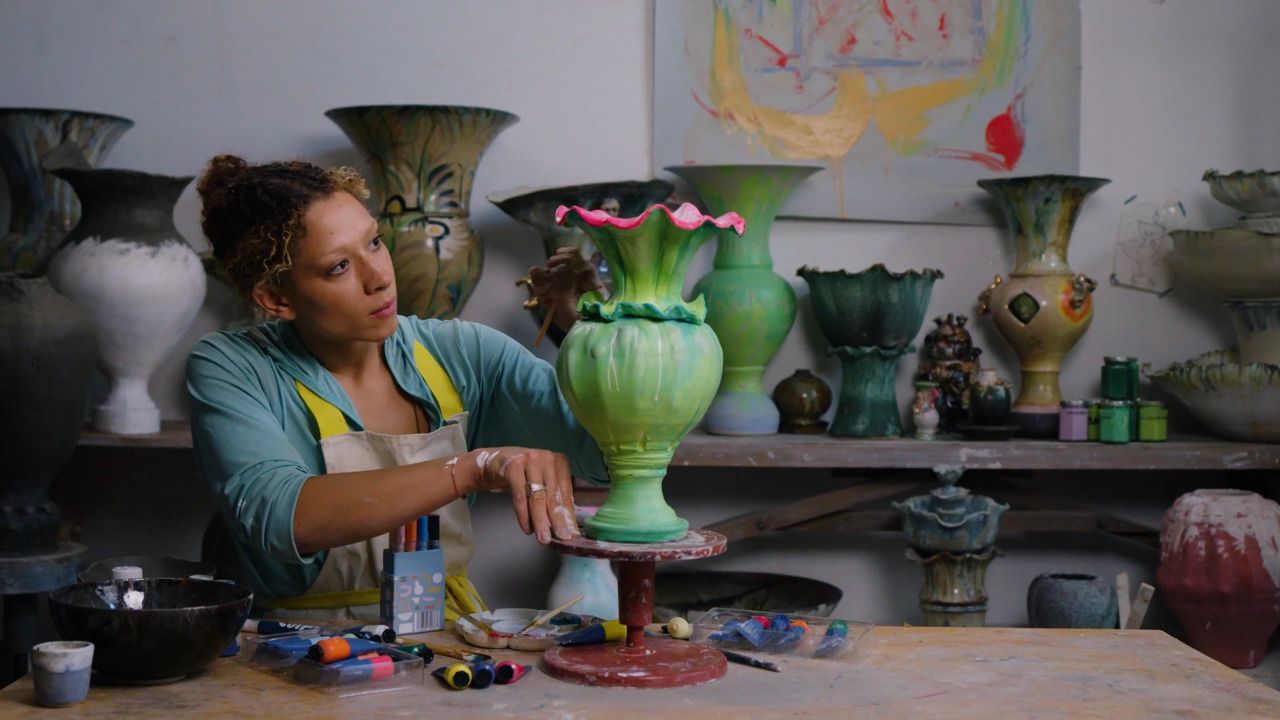
Before construction begins, Freya helps learners explore the creative process of designing a vase that reflects their personality and vision. From sketching shapes to imagining textures and colours, this lesson inspires intentional making while celebrating the organic evolution of design. Optional templates provide structure for those who want it, while others are encouraged to let intuition lead.
Before we dive into building, let's take a moment to visualise your vase. It's a great way to give your making process some intention, though, don't worry if the design evolves as you go. That's part of the magic.
Start by asking yourself:
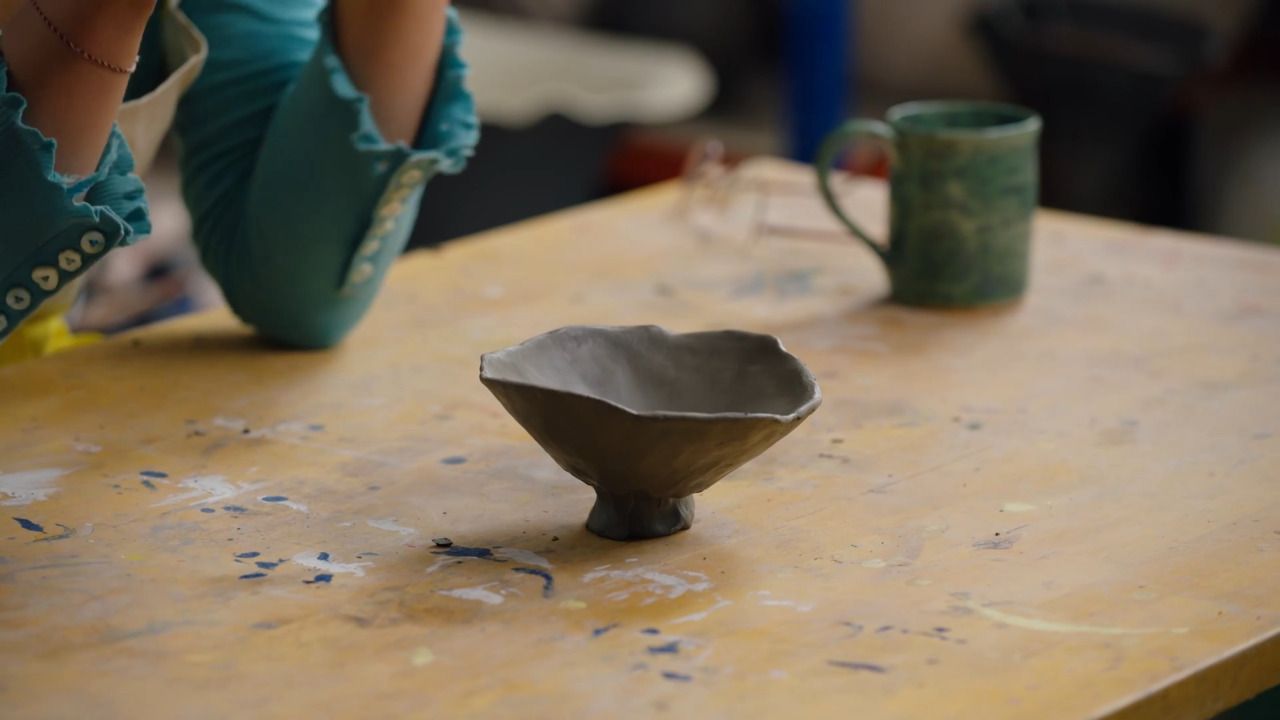
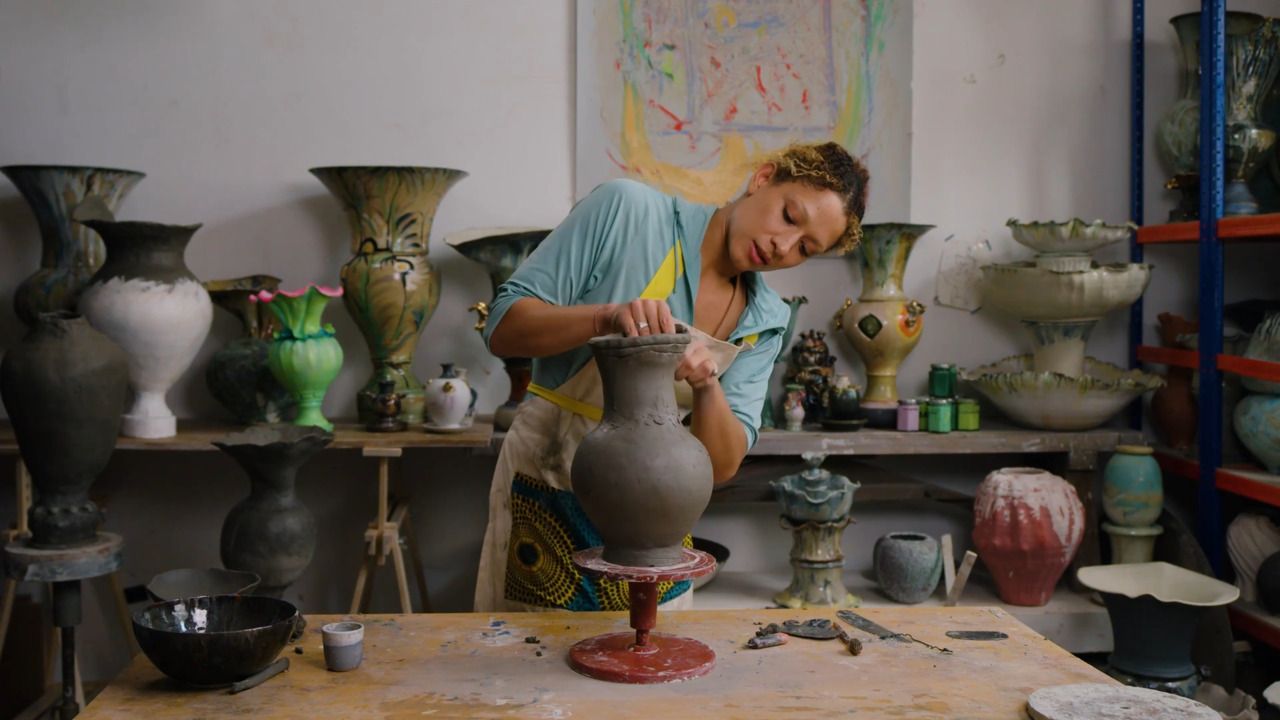
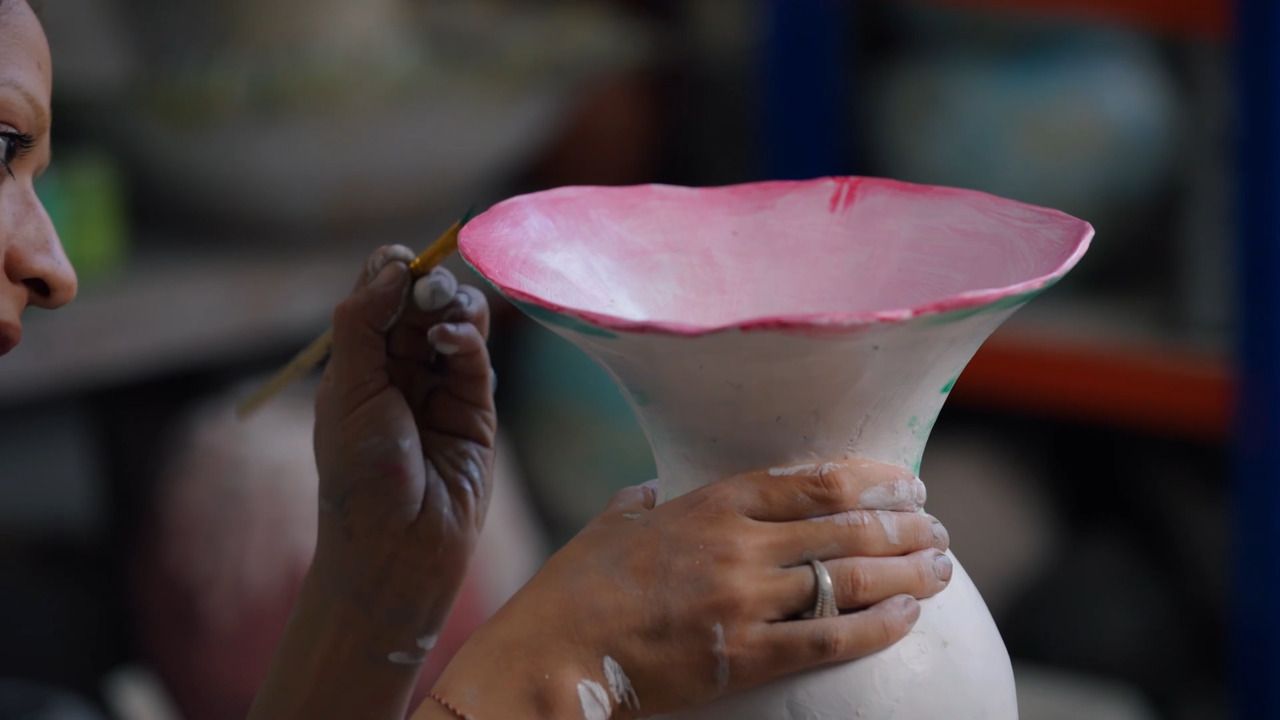
For this lesson, I'm inspired by sunlight and flowers. I want my vase to open wide at the top like petals greeting the sun. It'll taper down into a rounded, curvy body and have a narrower, sturdy foot - because we all know I've made a few wobbly bottoms in my time!
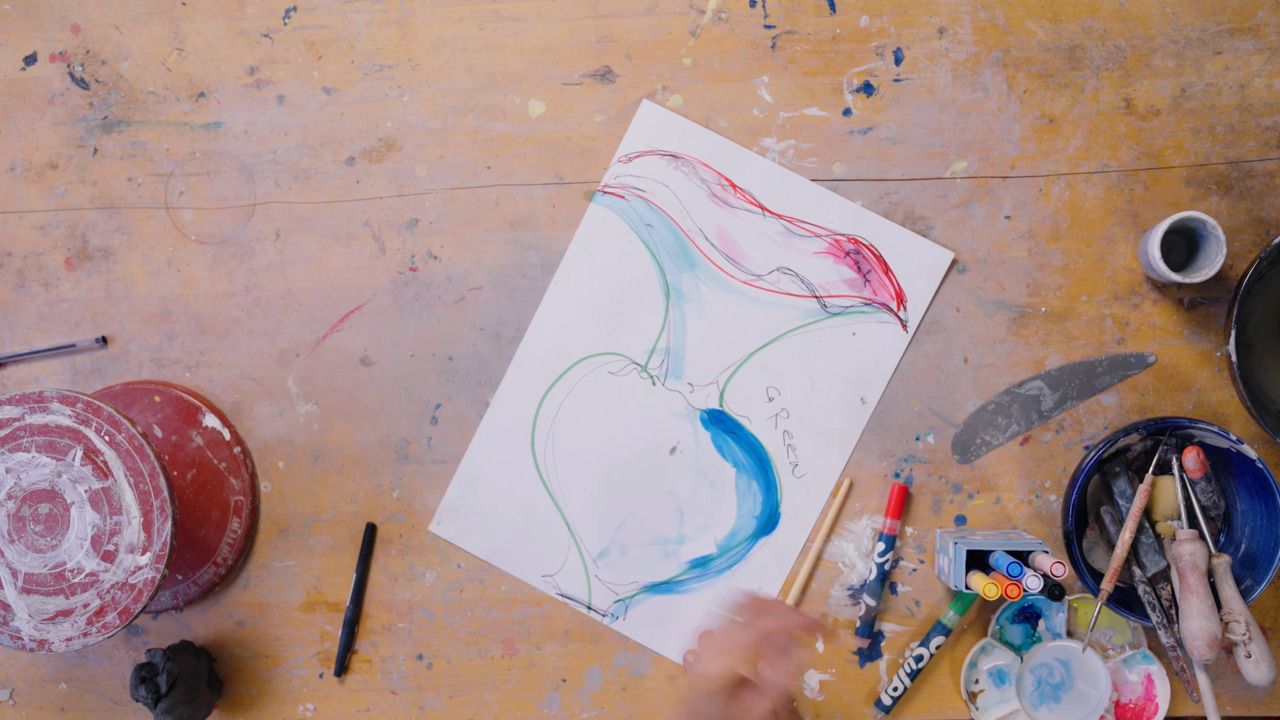
Colour-wise, I'm thinking of soft pinks and greens, maybe with white to lighten and shift the tones across the body, creating something that feels radiant and alive.
I always think of the vase as a self-portrait - what energy do you want to hold and express through this form?
Take a moment to do a quick sketch or colour wash:
If you want a bit of structure while you build:
If your shape is more abstract or freeform, skip the stencil and just follow your instincts.
Use the template if you need it - but if you're feeling bold, let your hands lead. There's no wrong way.
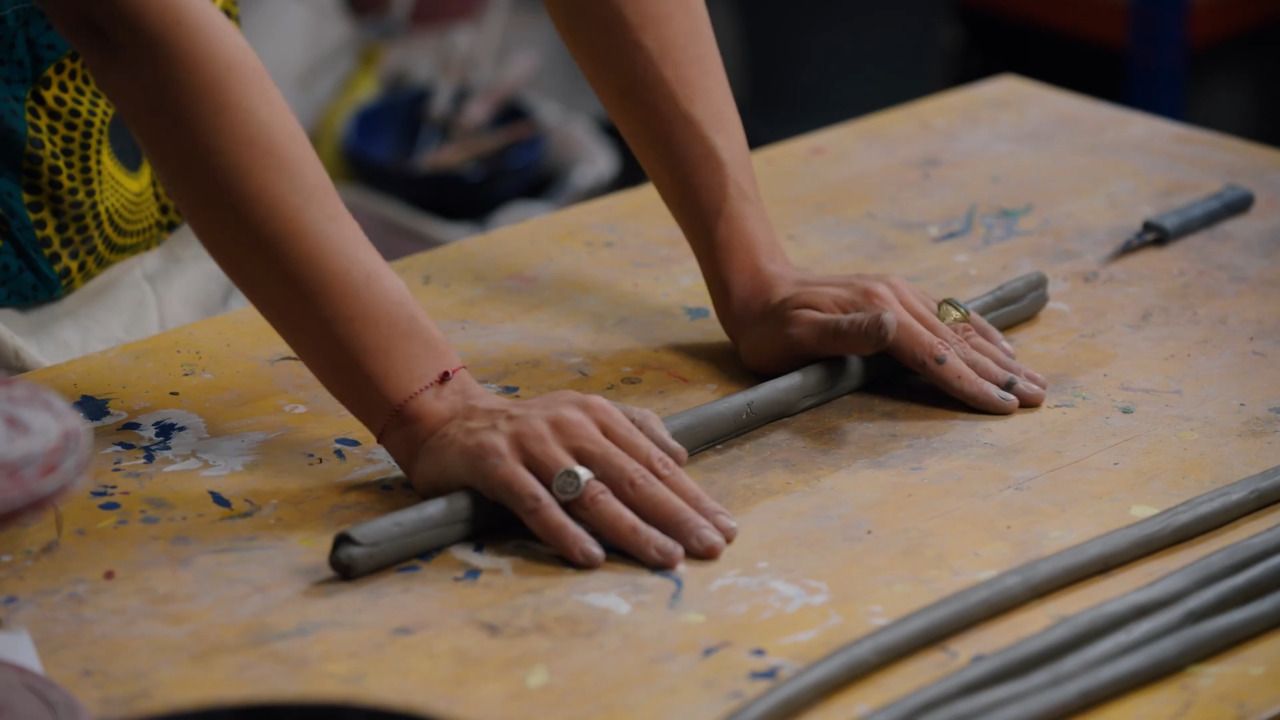
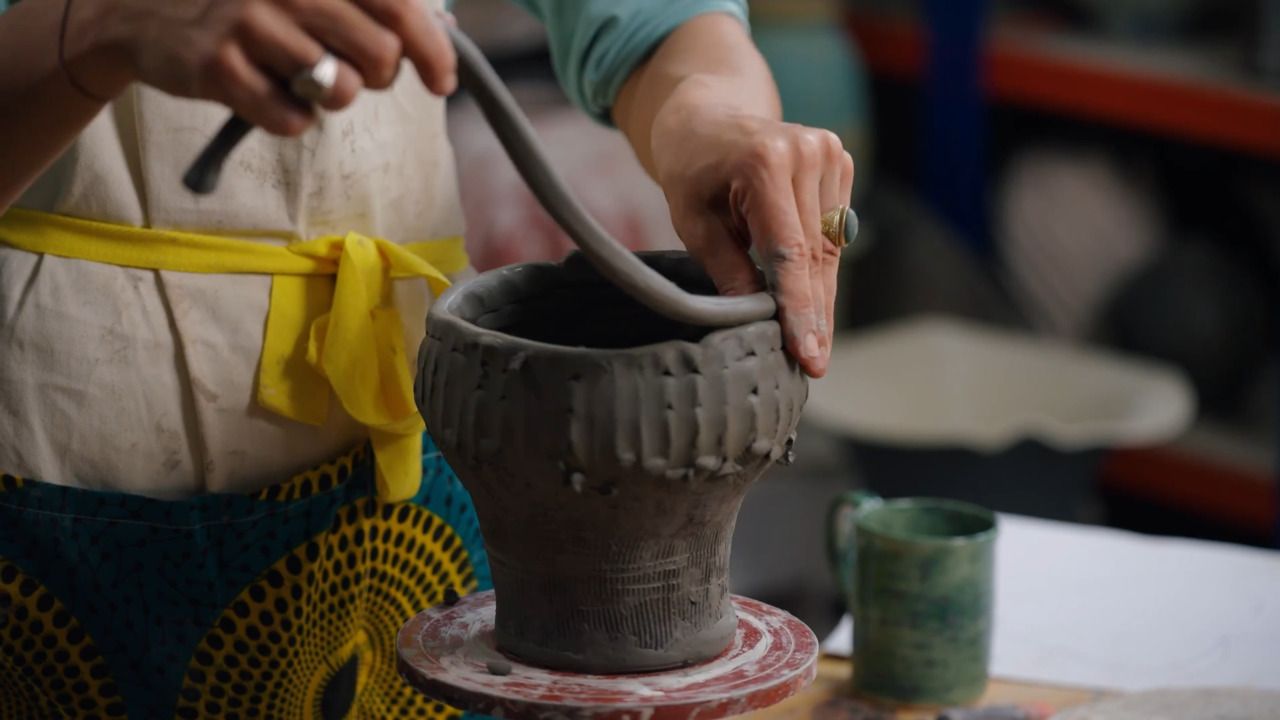
Now that you've got a sense of what you're making, we'll begin the actual build in the next lesson, starting from the base and working up with coils. See you there!
Get the full workbook, video lessons, and more with a Create Academy subscription.
Subscribe to access the full workbookAlready a member? Sign in to watch
479 reviews
Read moreCreate Academy has been such a great resource. I'm in the middle of renovating a bungalow with a very large garden and the courses have offered a wealth of inform...
Harvey
Jun 10, 2026
Absolutely love Create Academy! The instructors are extremely informative, and it is beautifully filmed. Create Academy is great value for money and plan on renew...
SG
May 31, 2026
Butter's creativity is stunning! Her ability to incorporate brilliance in small gardens is magical!
Carla
May 30, 2026
The best adventure. I like all the courses, but my favorite are both Rita Konig interior design courses and Anna Jones. Excellent!
Karolina Kluczewska
May 20, 2026
Create Academy has been such a great resource. I'm in the middle of renovating a bungalow with a very large garden and the courses have offered a wealth of information to dive into and explore new ideas. I'm...
Harvey
Jun 10, 2026
Absolutely love Create Academy! The instructors are extremely informative, and it is beautifully filmed. Create Academy is great value for money and plan on renewing my subscription yearly because there are ...
SG
May 31, 2026
Butter's creativity is stunning! Her ability to incorporate brilliance in small gardens is magical!
Carla
May 30, 2026

Your Instructor
Contemporary ceramicist
Freya is a ceramicist based in East London. She studied fine art at Chelsea College of Arts while also learning the craft of clay under the guidance of her father, Chris Bramble, a ceramic artist and teacher with over 30 years of experience with whom she shares studio space at Kingsgate Workshops in London. Freya creates tableware as well as larger sculptural vases. Her work incorporates contemporary designs, strongly inspired by the ethos of beauty and nature.

Access to all courses


