


Very good tutorial from a professional garden...
I have subscribed to access all the courses so have watched one on interior design and this one with Butter Wakefield who specialises in small garden design. She ...
Louise Brown
Apr 10, 2026
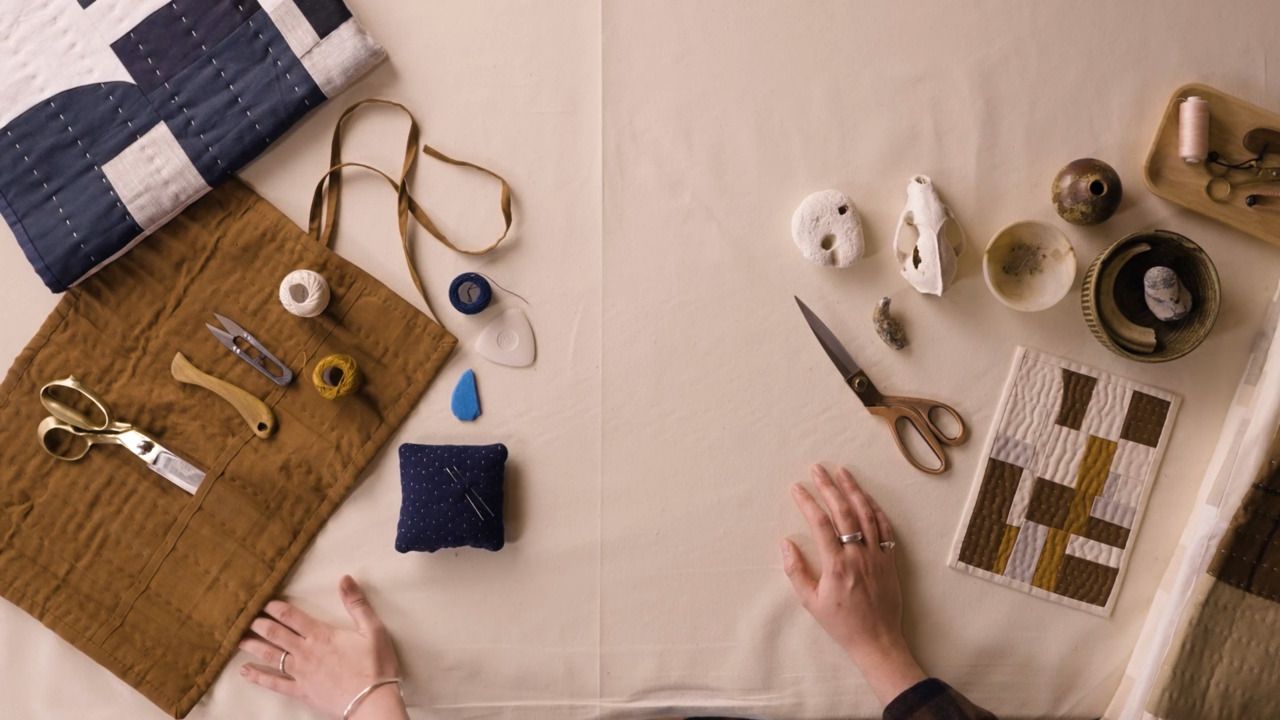
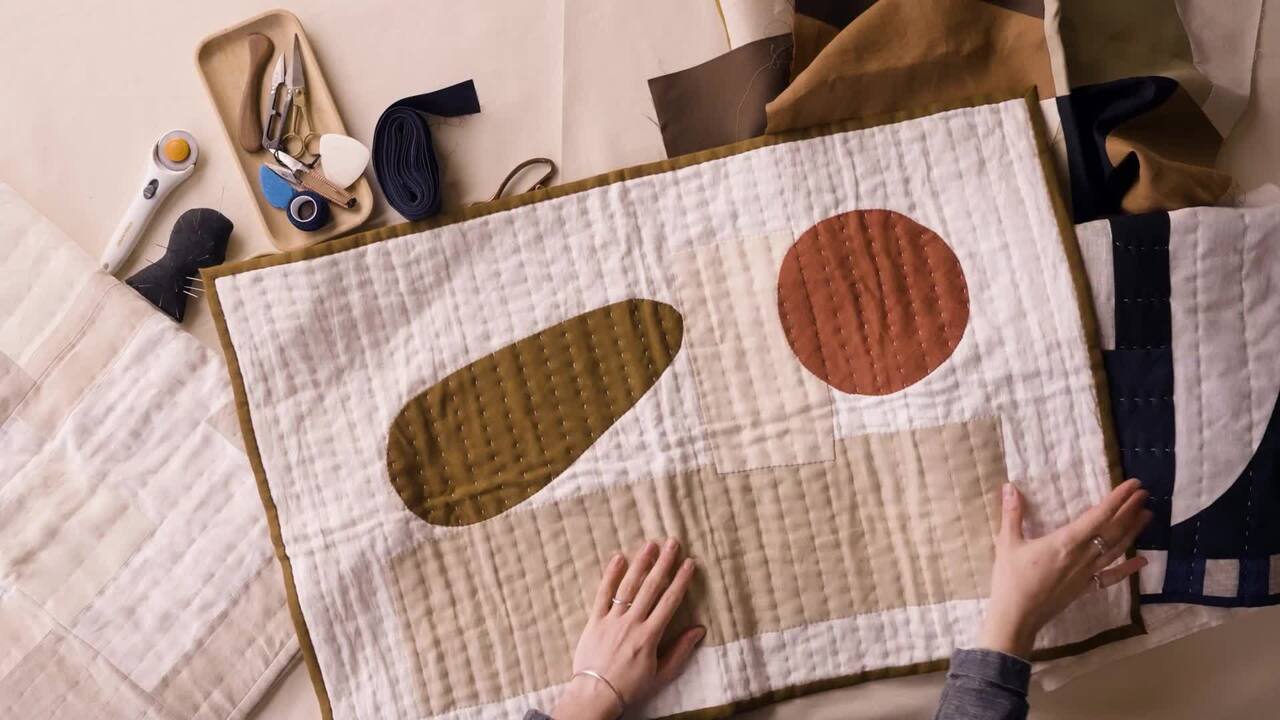
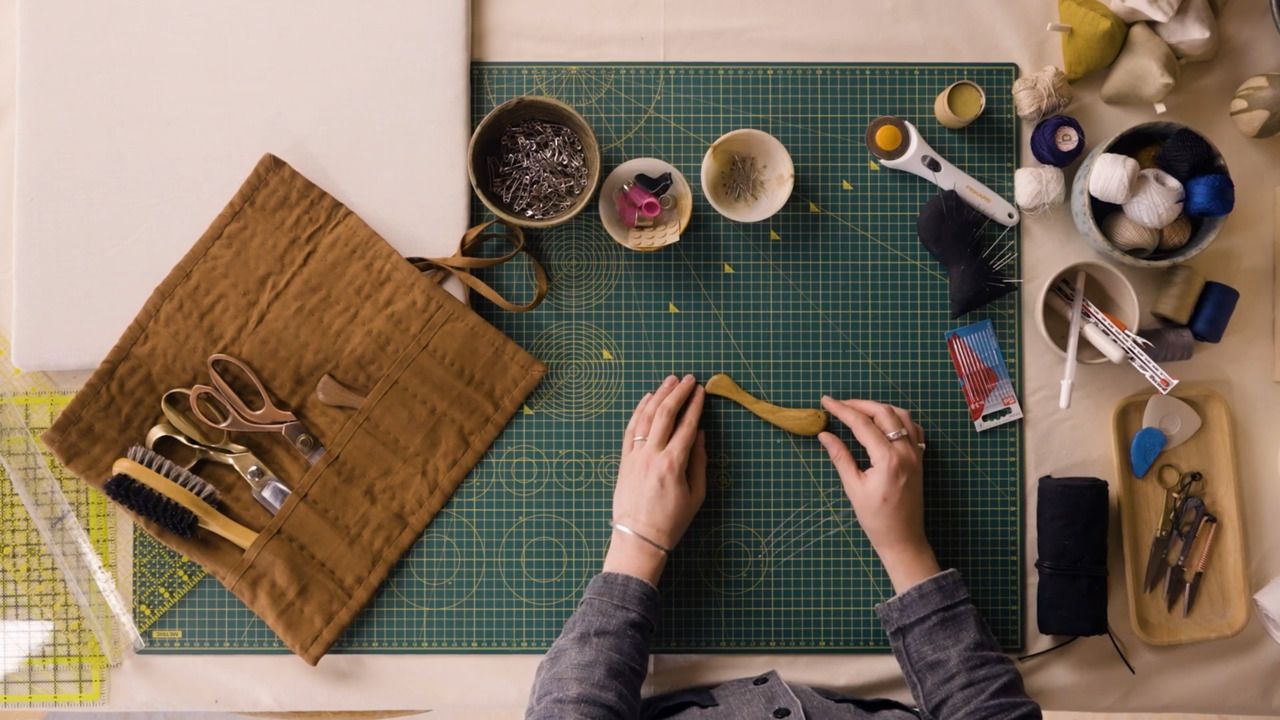
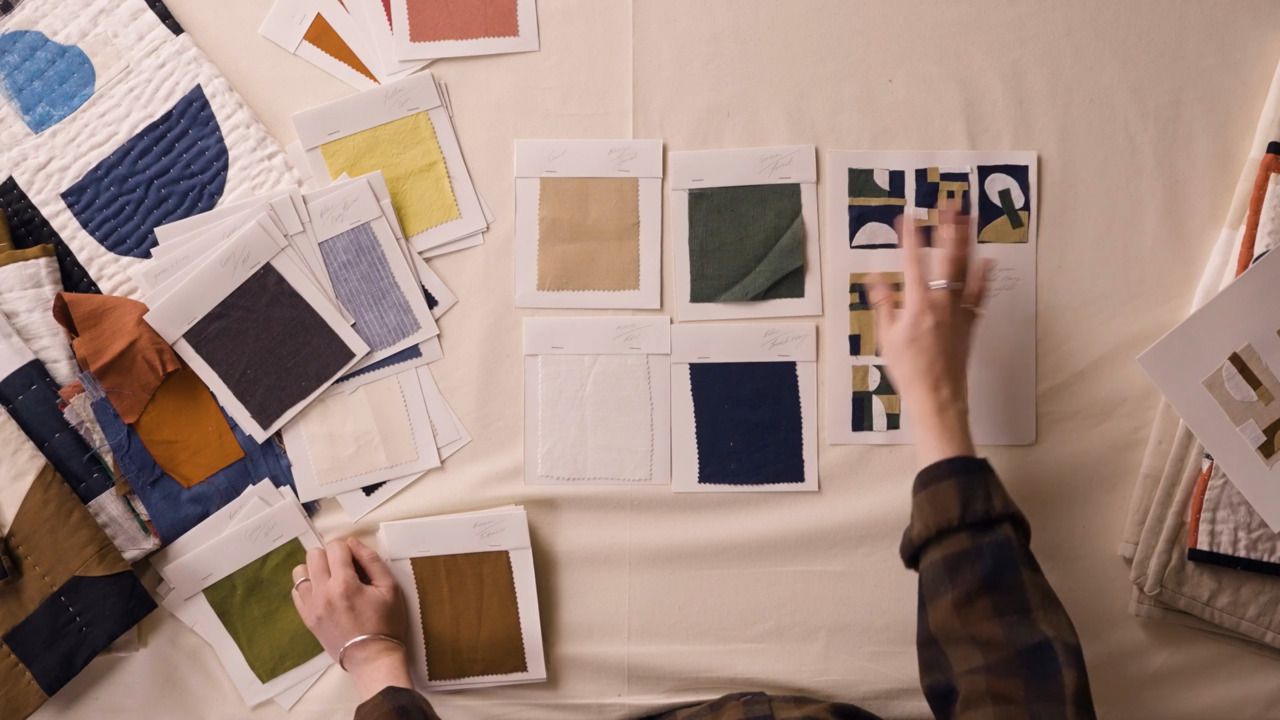
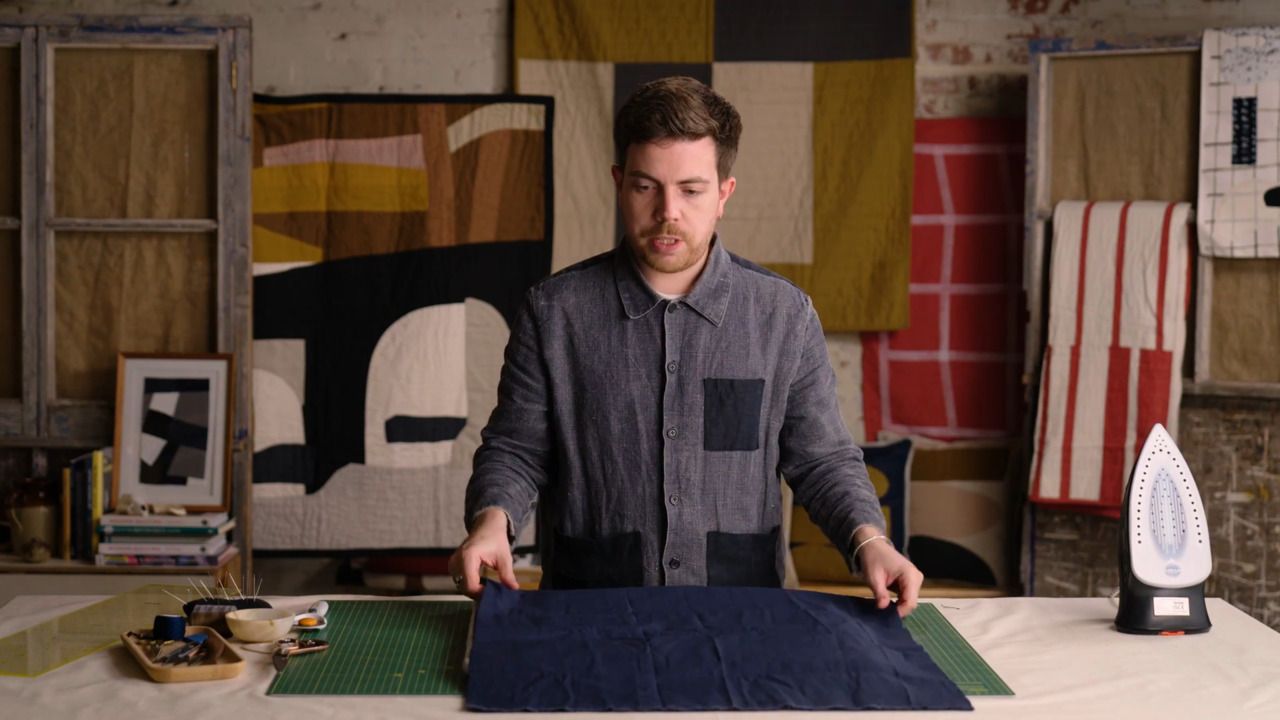
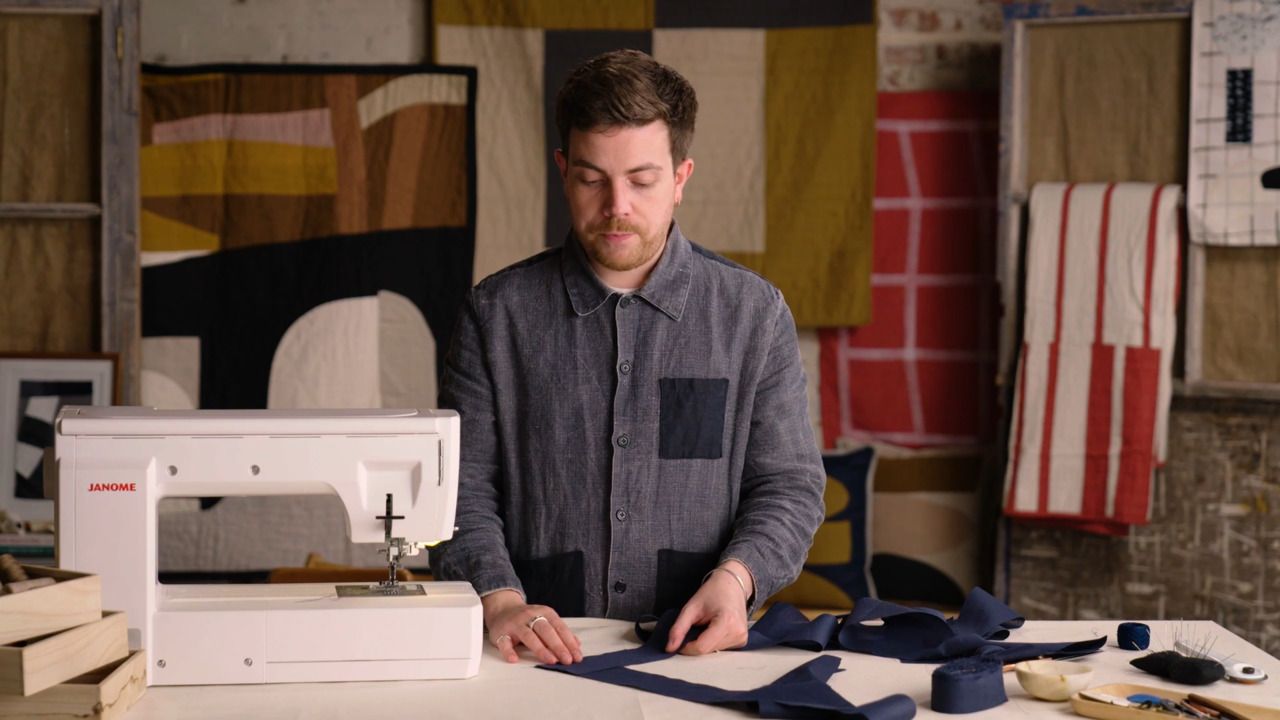
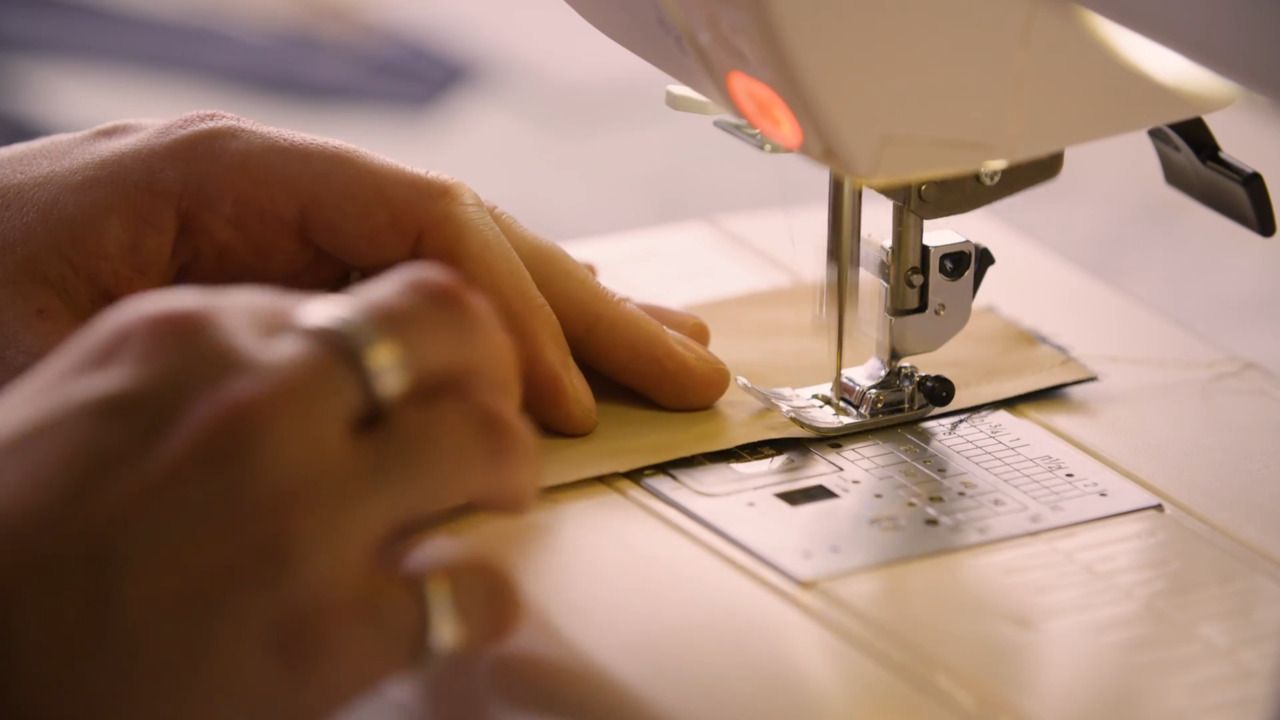
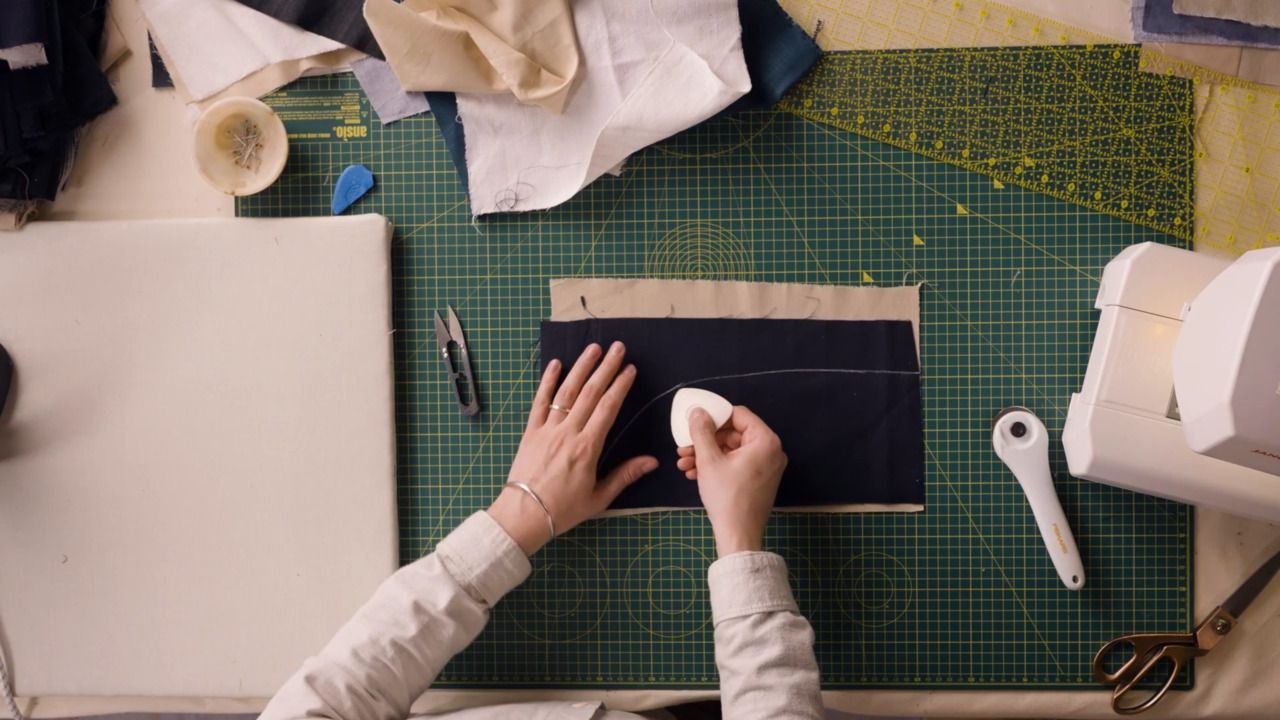
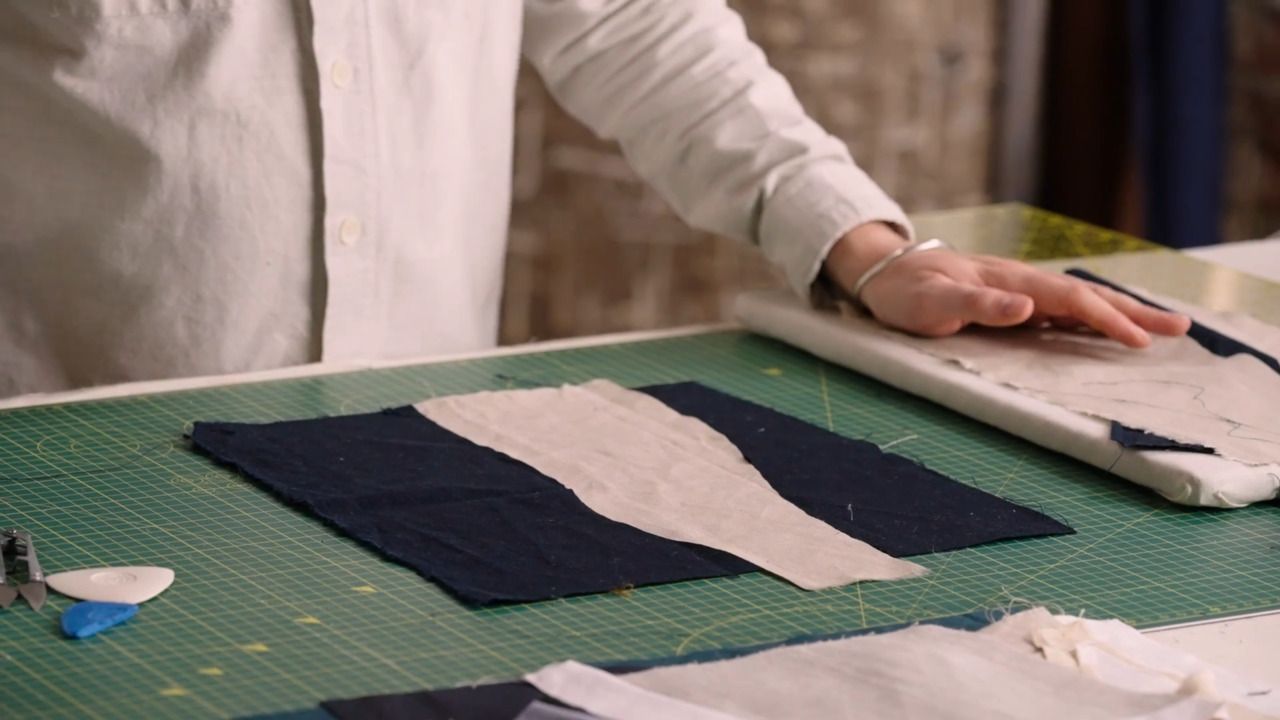
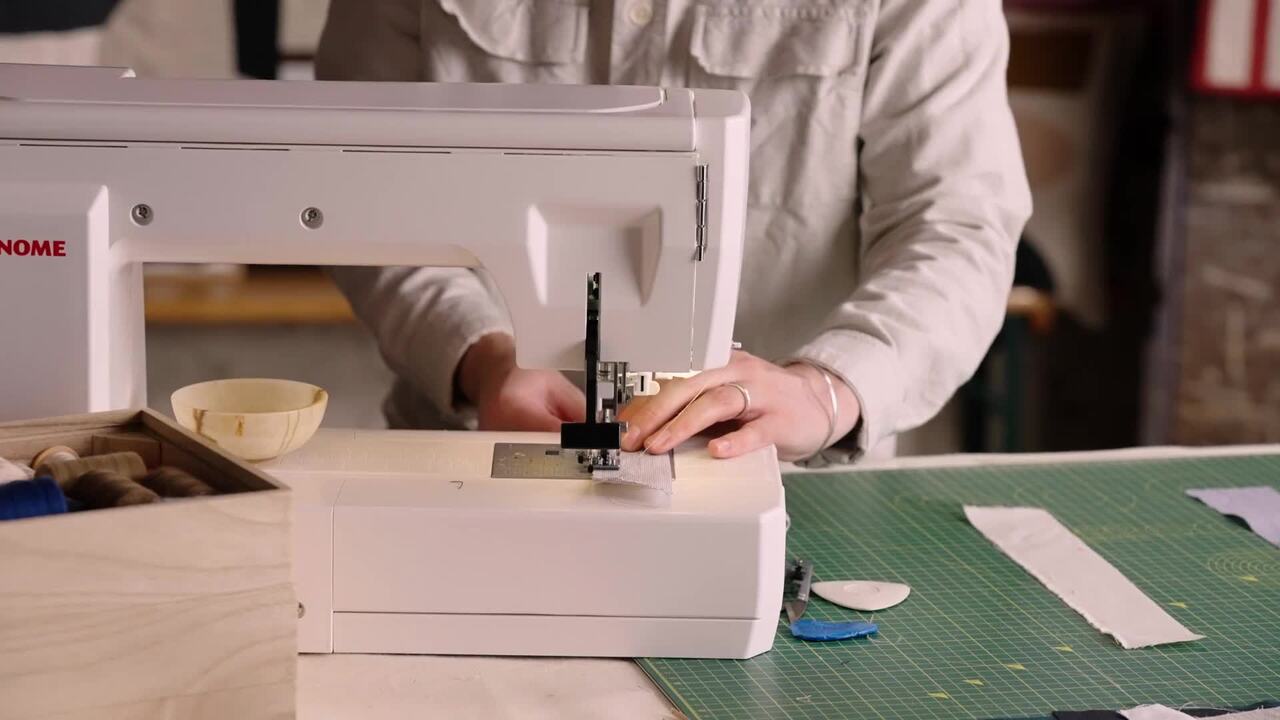
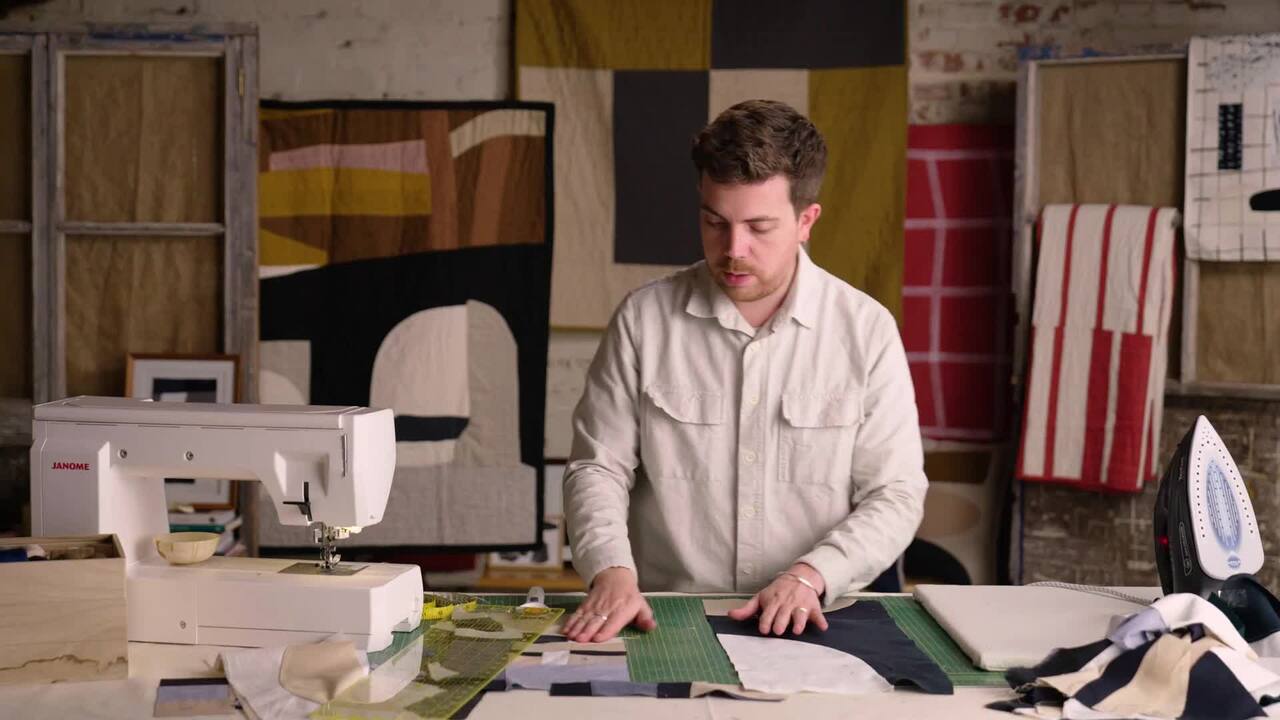
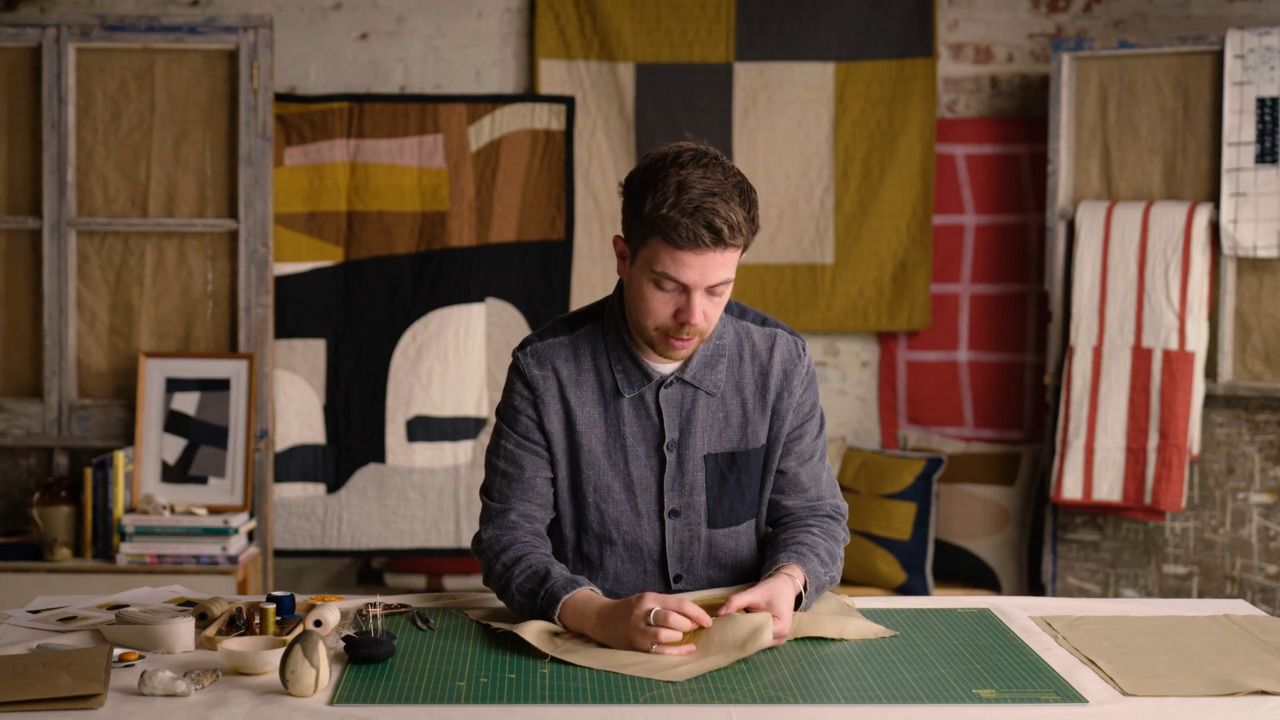
A Complete Guide to Contemporary Quilting
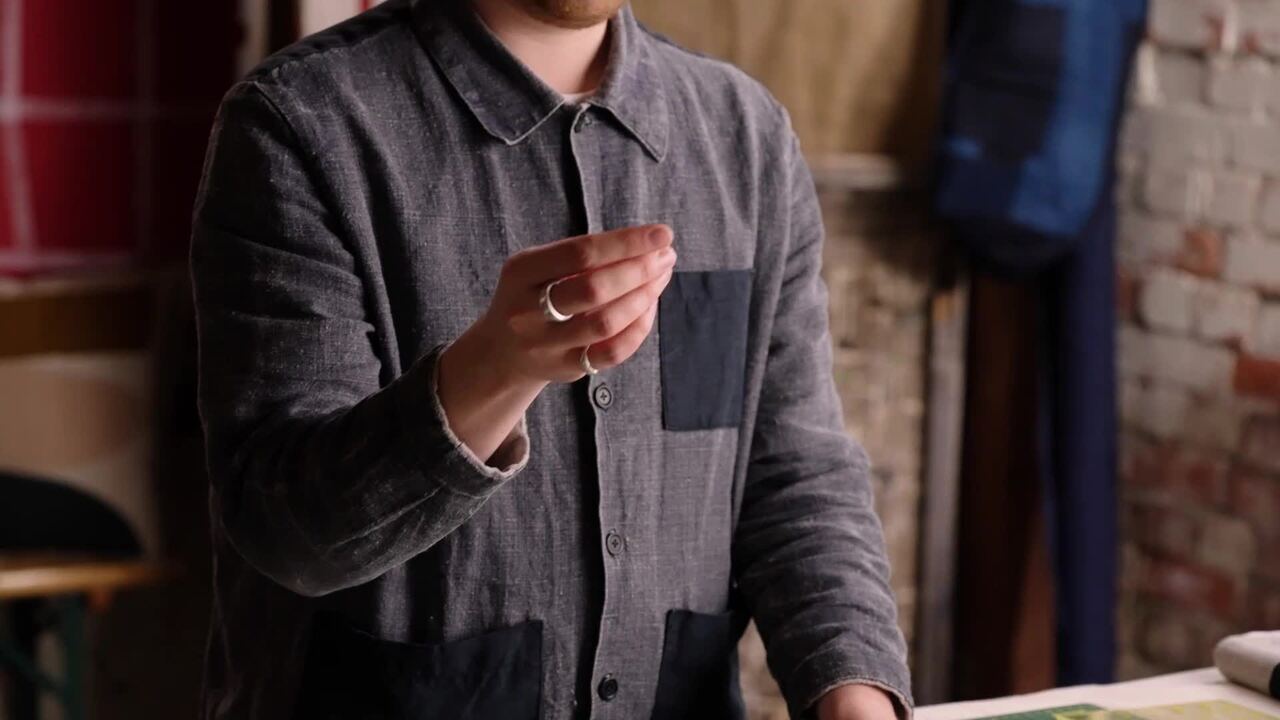
with JULIUS ARTHUR — British textile artist specialising in handmade quilts and unique textile objects for the home.
Lesson 18 of 27

Buy or subscribe to watch
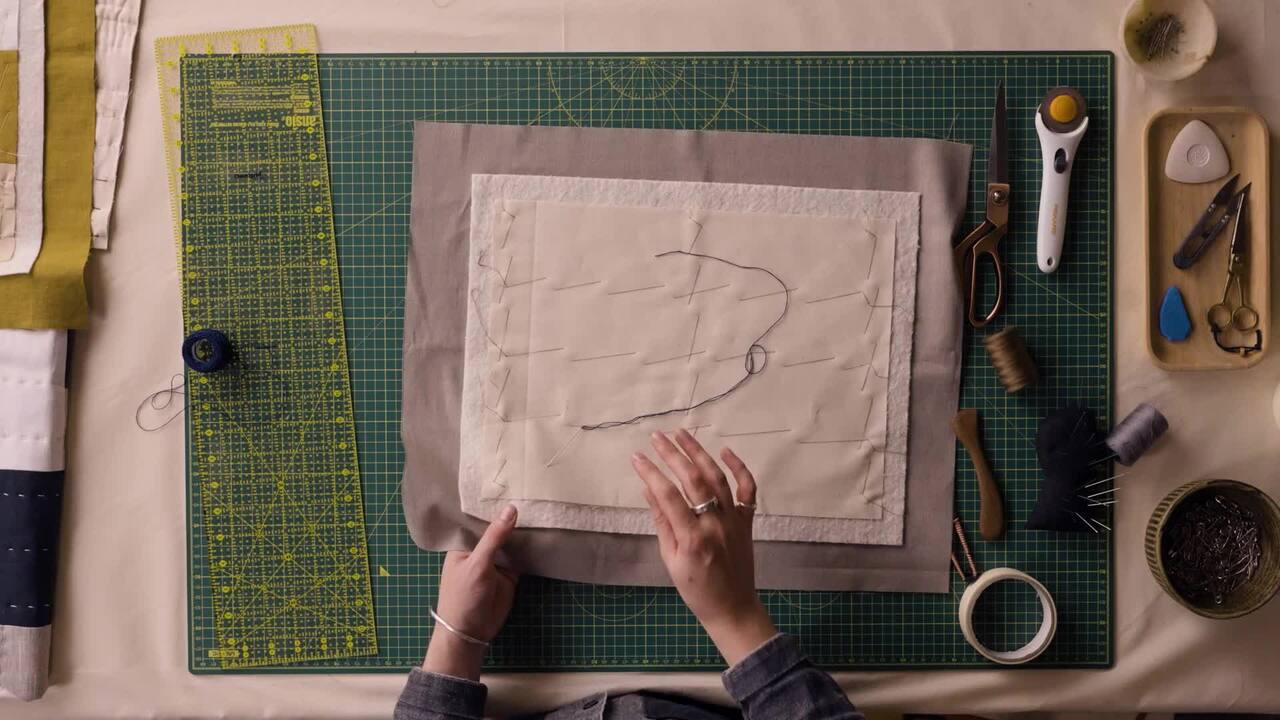
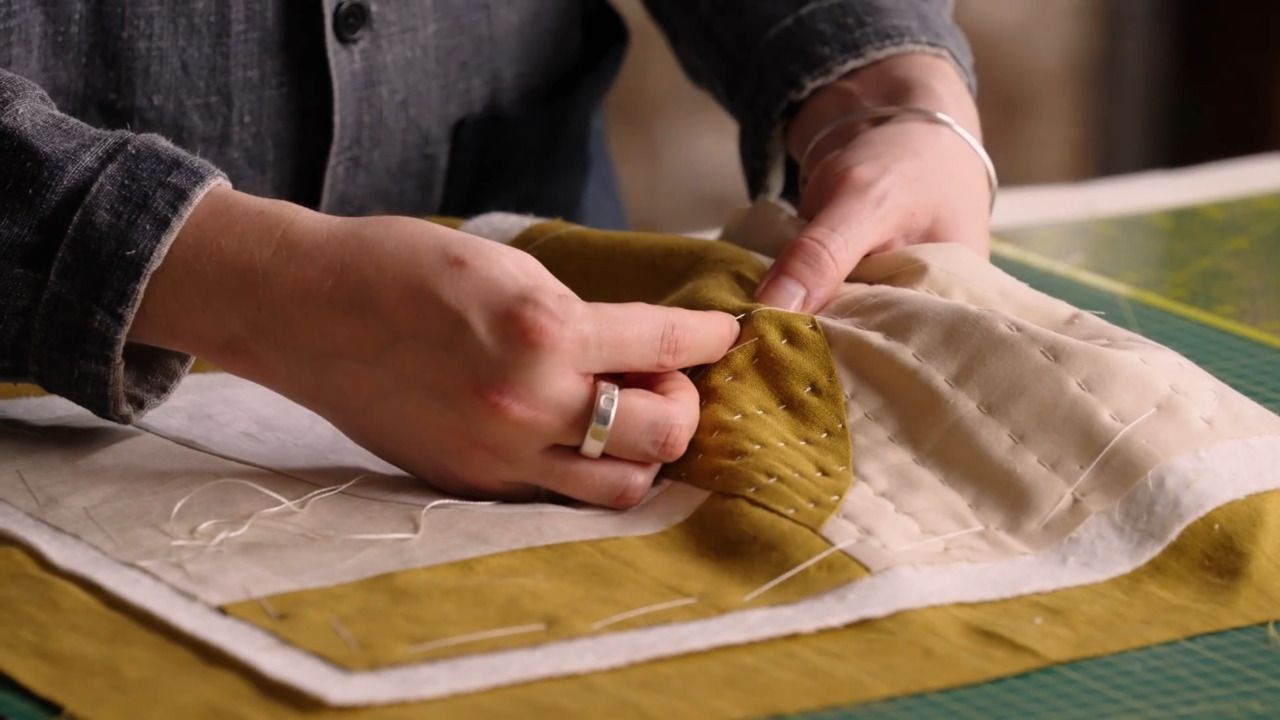
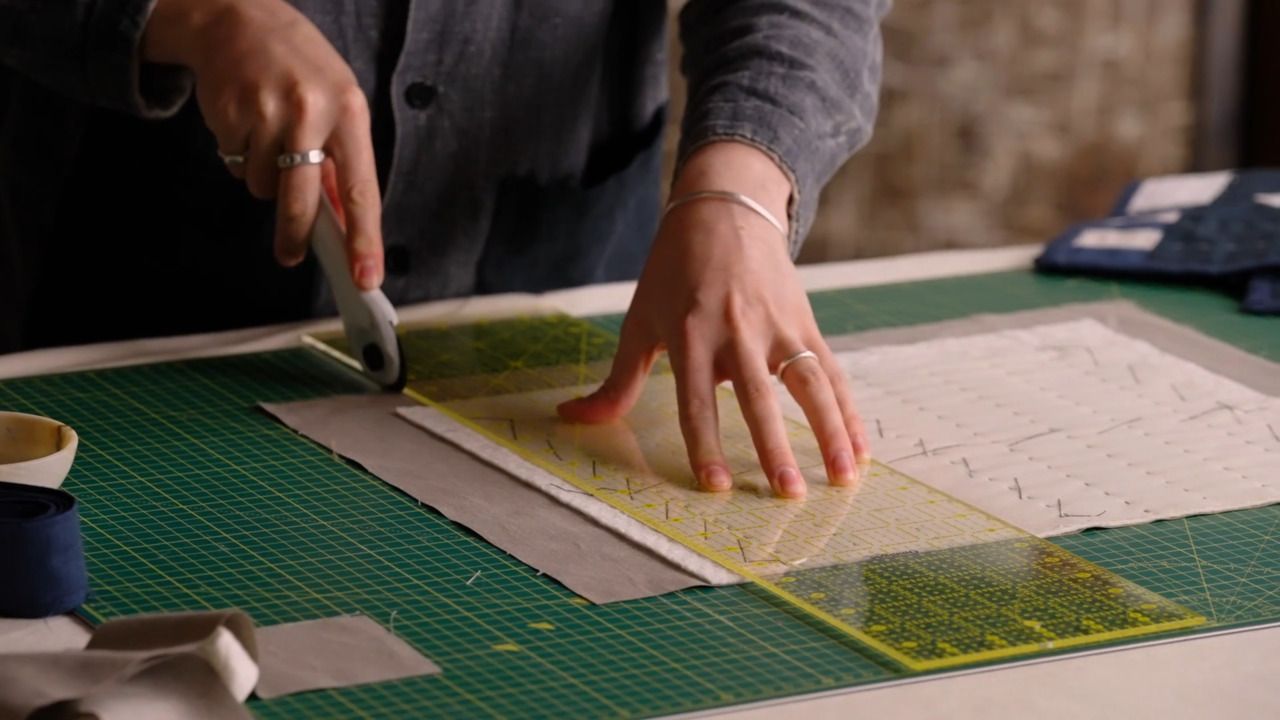
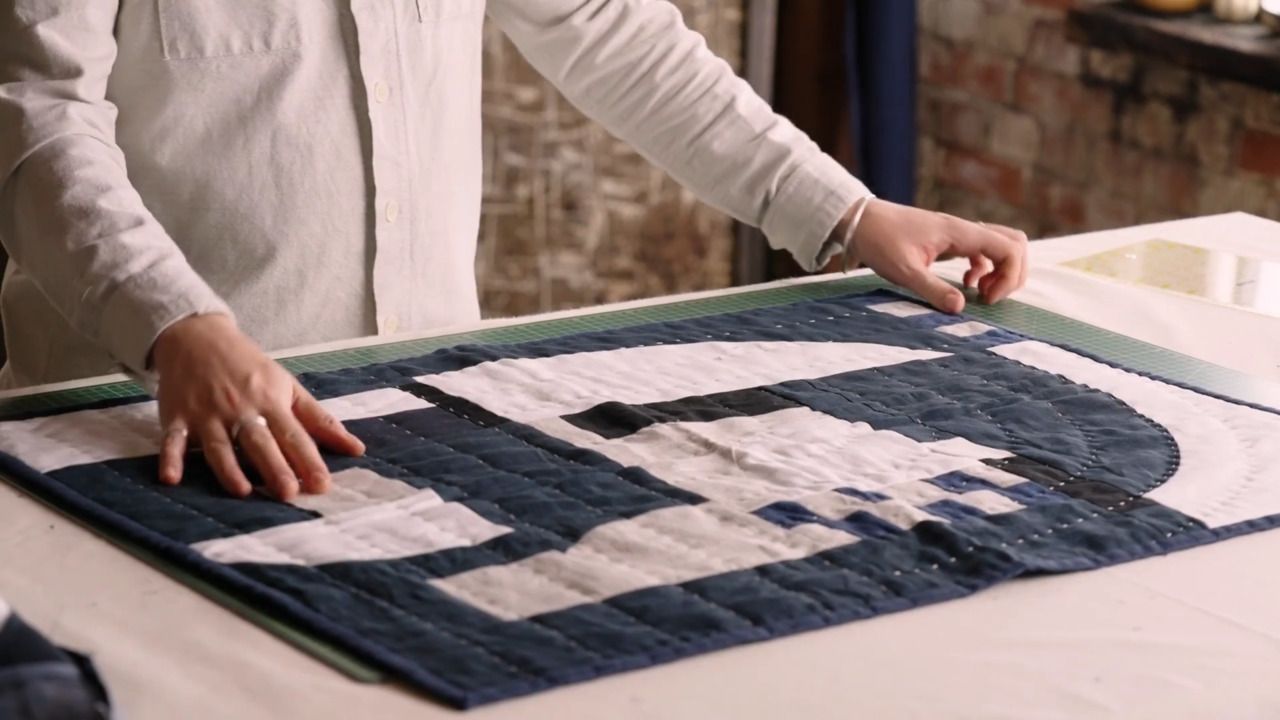
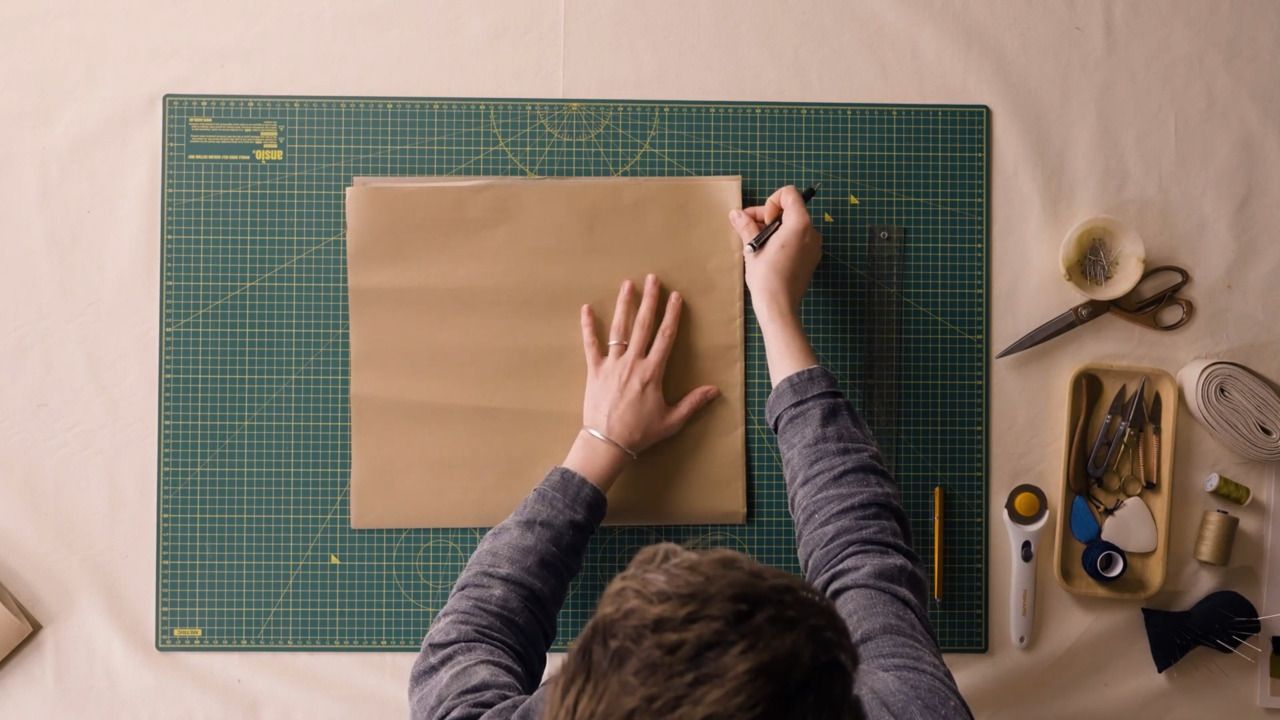
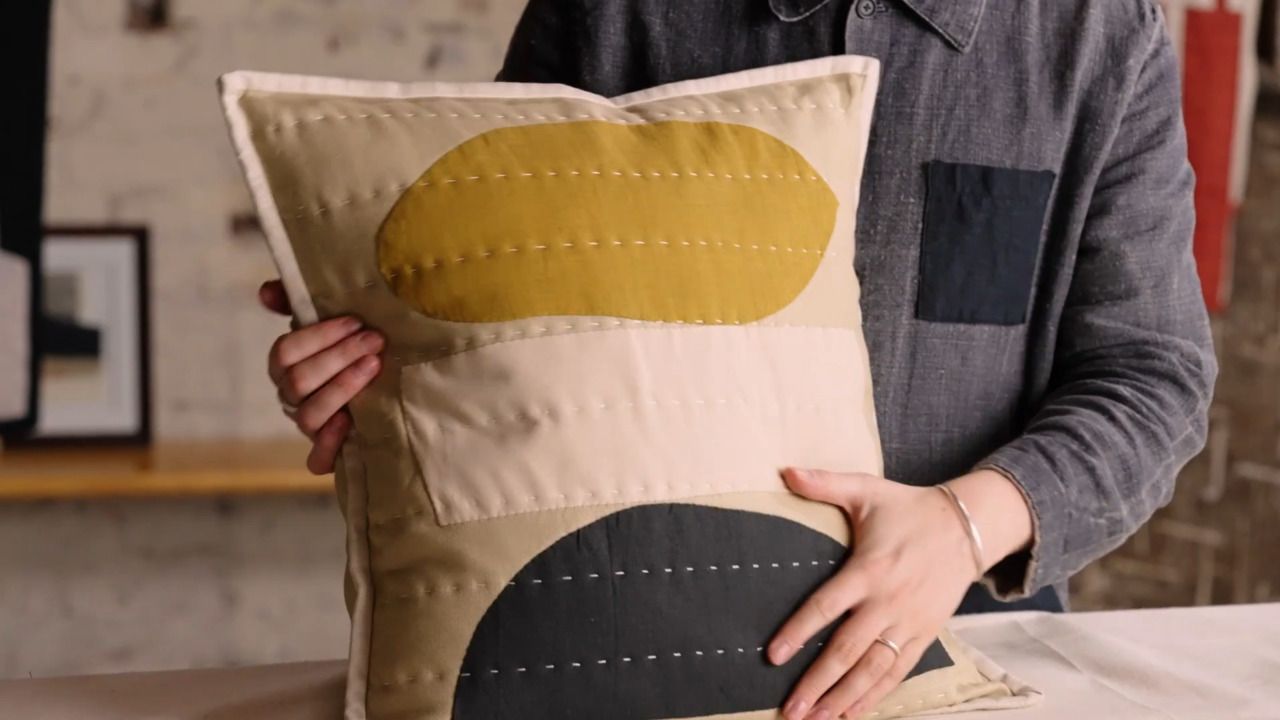
With Julius’s help discover how to create a half-moon block and piece your quilt together.
Get the full workbook, video lessons, and more with a Create Academy subscription.
Subscribe to access the full workbookAlready a member? Sign in to watch
437 reviews
Read moreI have subscribed to access all the courses so have watched one on interior design and this one with Butter Wakefield who specialises in small garden design. She ...
Louise Brown
Apr 10, 2026
I love CreateAcademy. I came in for the gardening and floristry courses, but am also watching an interior design one at present. And the photography course is an ...
Wellesley
Apr 1, 2026
What a great investment, I have learned such a lot from the first three courses. My evenings have gone from not being able to find anything that captured my imagi...
sojojo
Mar 30, 2026
I loved this course with Amanda Lindroth! Her approach to decorating is so relaxed and she makes it feel attainable. She explains the reasons behind her decisions...
Elizabeth
Mar 27, 2026
I have subscribed to access all the courses so have watched one on interior design and this one with Butter Wakefield who specialises in small garden design. She has a lovely personality and comes across as ...
Louise Brown
Apr 10, 2026
I love CreateAcademy. I came in for the gardening and floristry courses, but am also watching an interior design one at present. And the photography course is an absolute must, best I've ever done.
Wellesley
Apr 1, 2026
What a great investment, I have learned such a lot from the first three courses. My evenings have gone from not being able to find anything that captured my imagination on TV to learning and expanding my kno...
sojojo
Mar 30, 2026
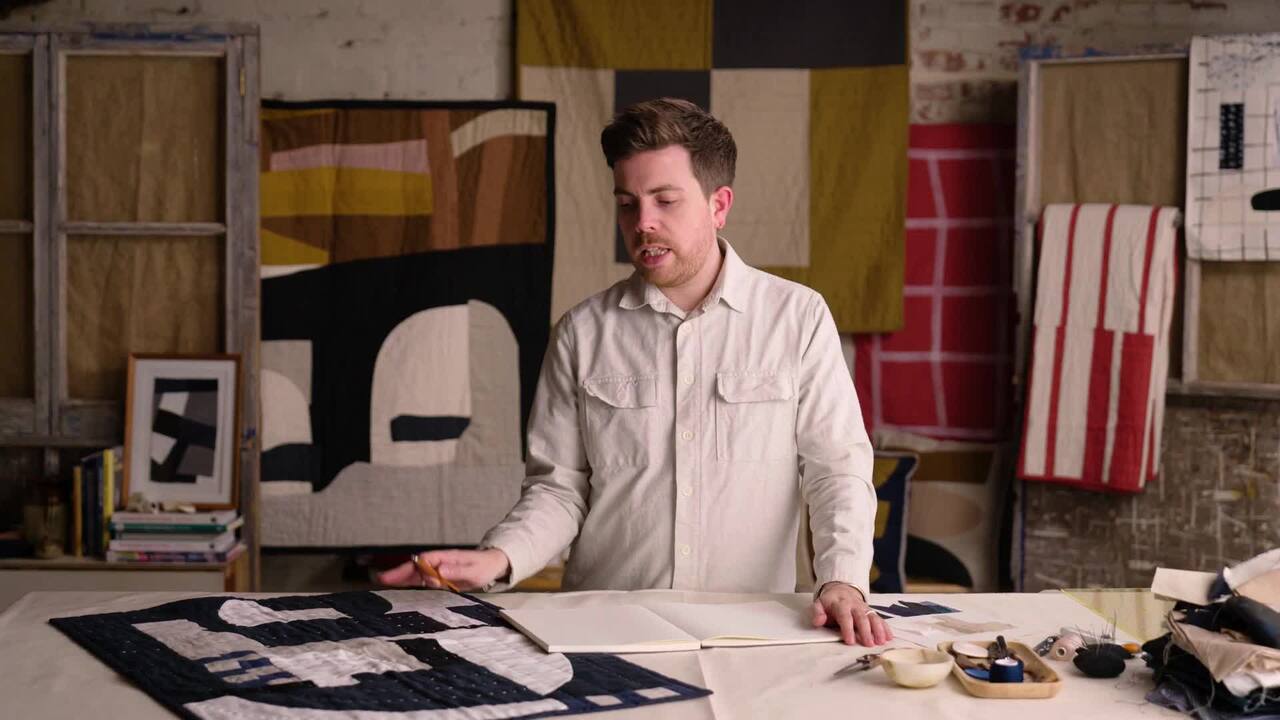
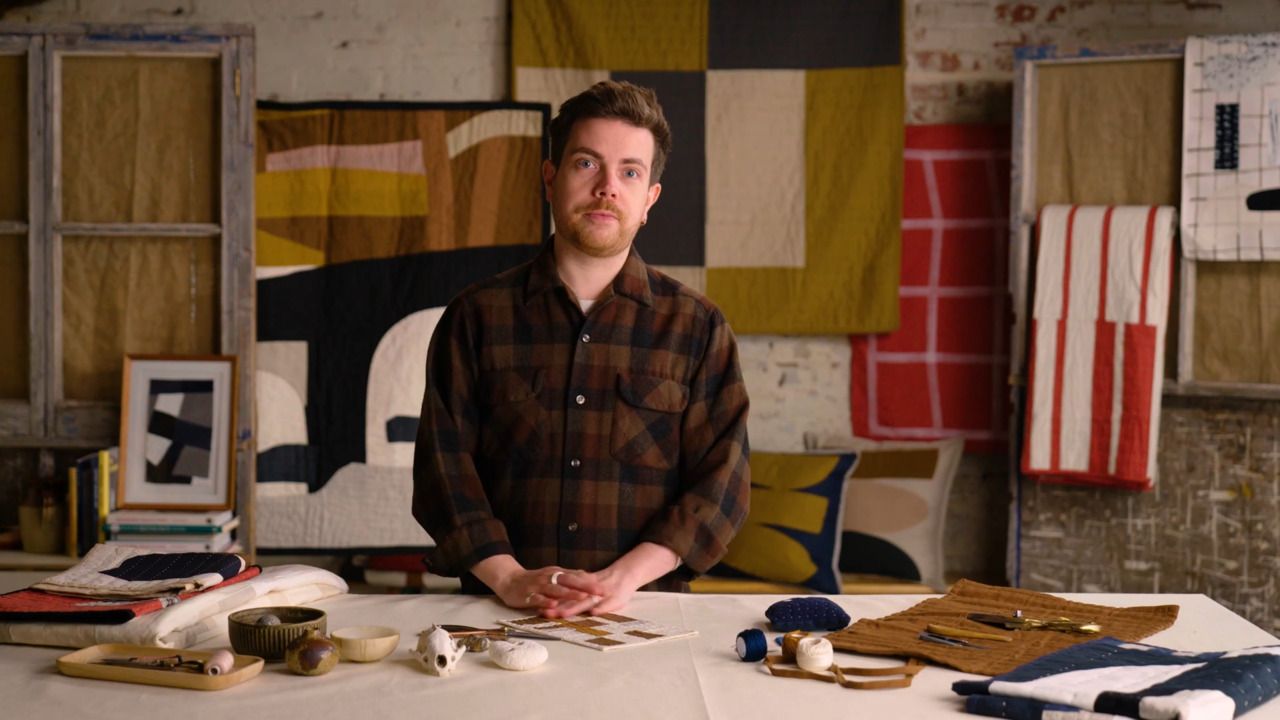
Your Instructor
British textile artist specialising in handmade quilts and unique textile objects for the home.
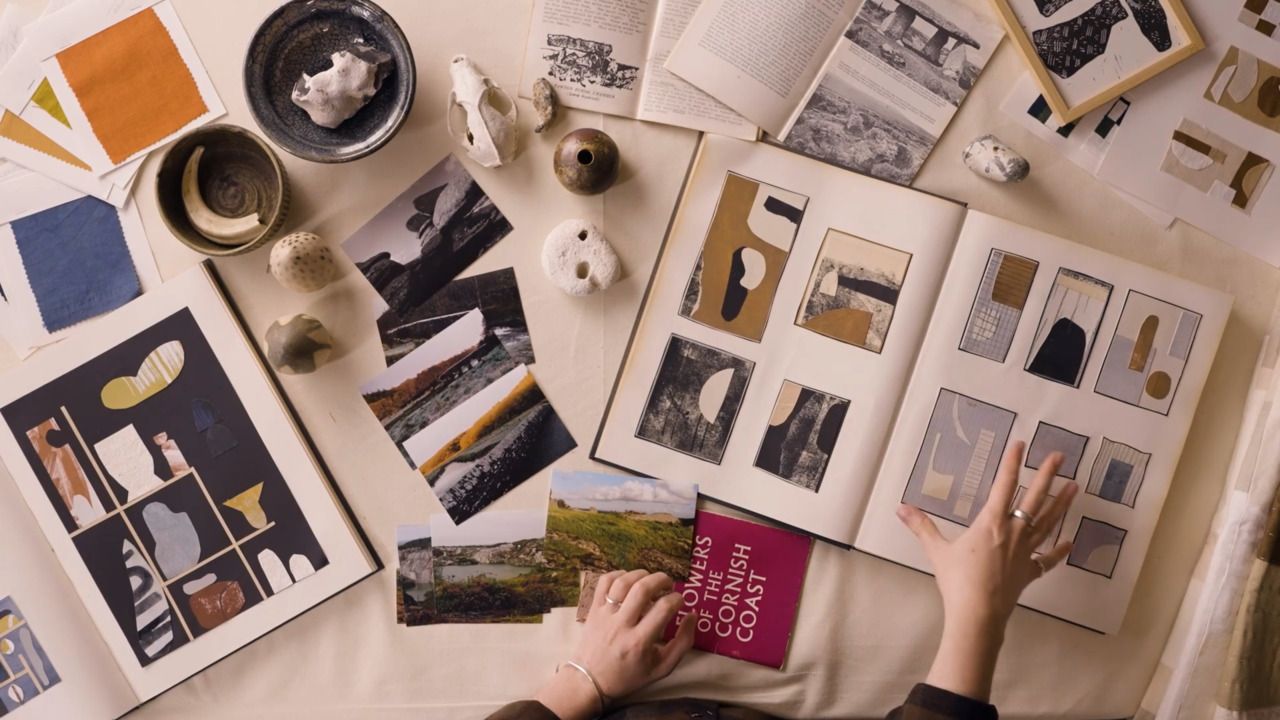
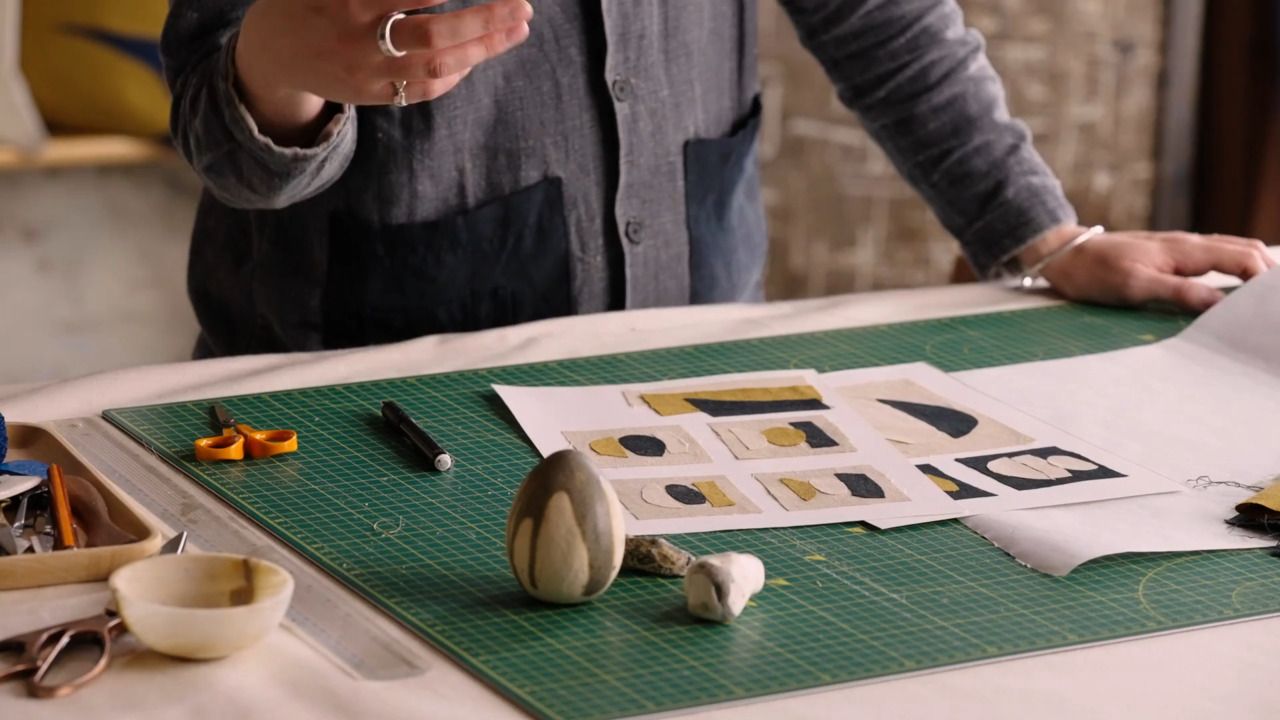
Julius Arthur is a textiles designer specialising in quilts and unique objects for the home. His design practice, House of Quinn, creates small-batch homeware using traditional and age-old craft techniques and practices to cultivate contemporary design narratives onto familiar objects. His work is grounded in uncomplicated - often repurposed - materials and inspired by an abstract view of the places and things around us. Growing up in Cornwall, memories of childhood and a sense of home and belonging intersect in Julius' work. Quilts have become a staple motif in Julius' work - a way of combining materials, connecting through stitch and exploring shape, form and line - and the subject of his book Modern Quilting.

Access to all courses


