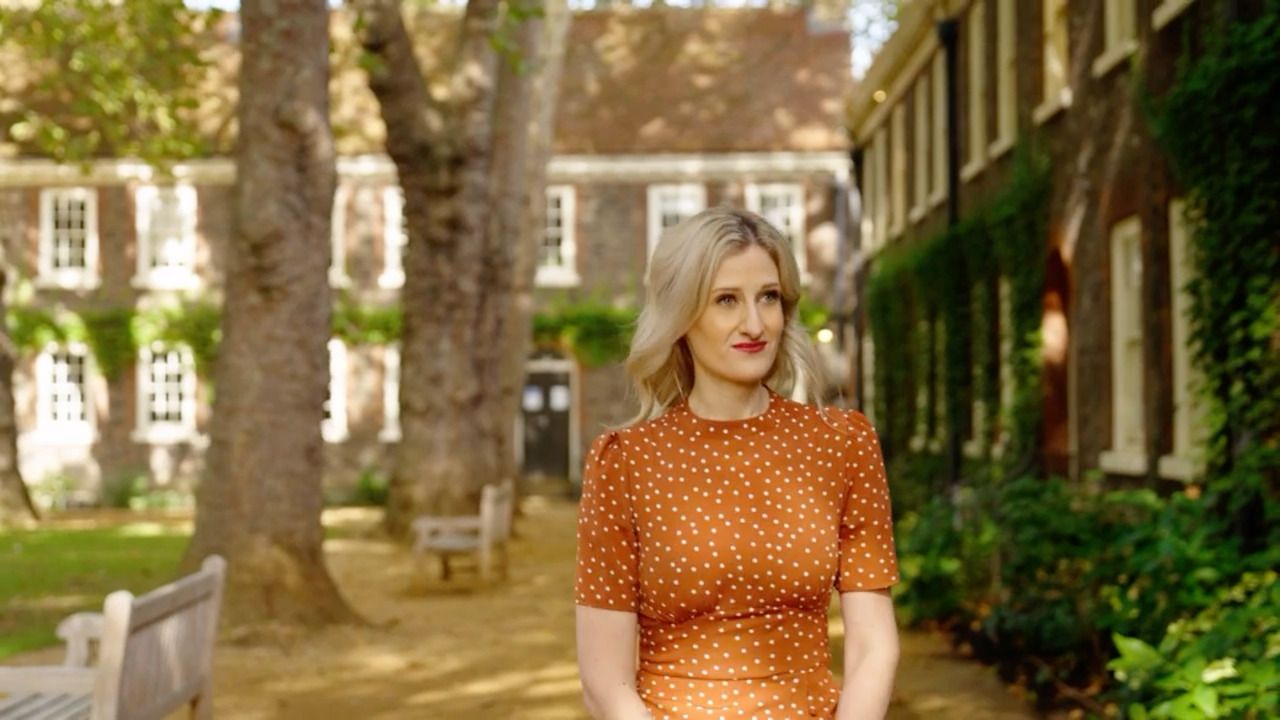
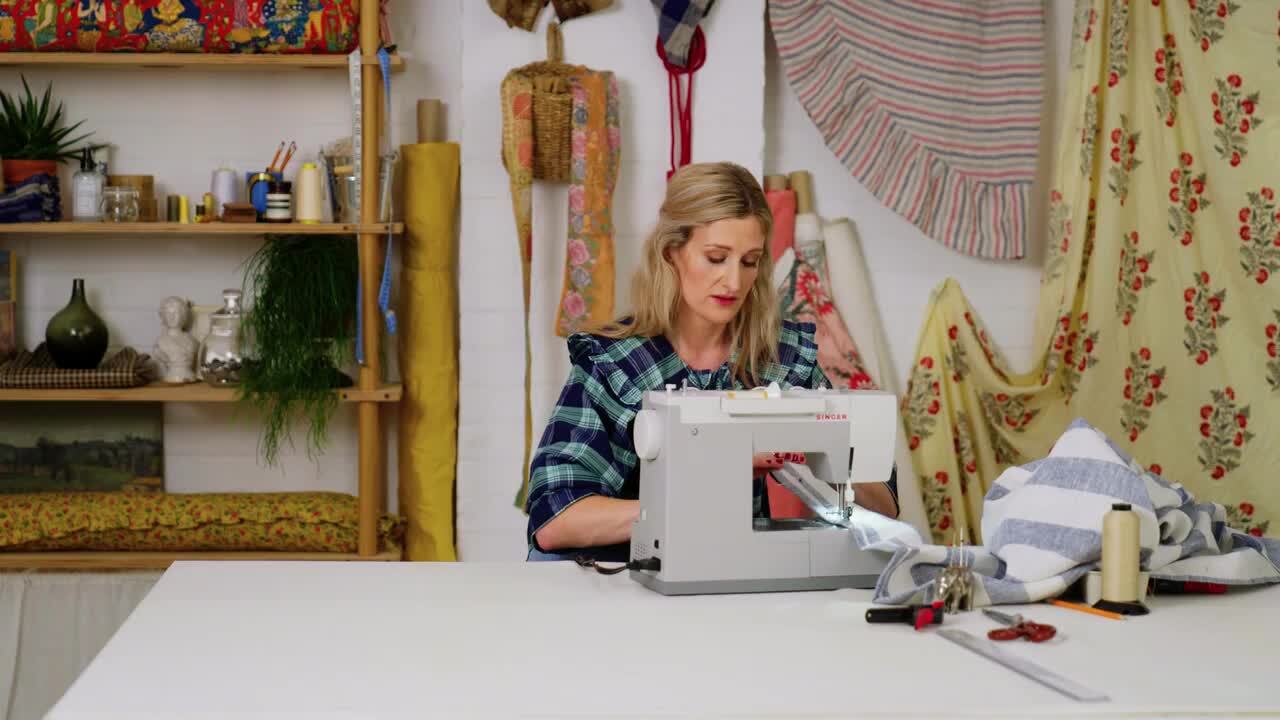
How to Make Beautiful Curtains

Constructing your curtains - Part 3

with GEMMA MOULTON — Fine textiles and design studio specialising in handmade household linens and soft furnishings.

Lesson 20 of 22

Rated 4.7/5 on Trustpilot
|

Learn from the world's best creative minds on Create Academy

Constructing your curtains - Part 3 - Video thumbnail

Subscribe to watch

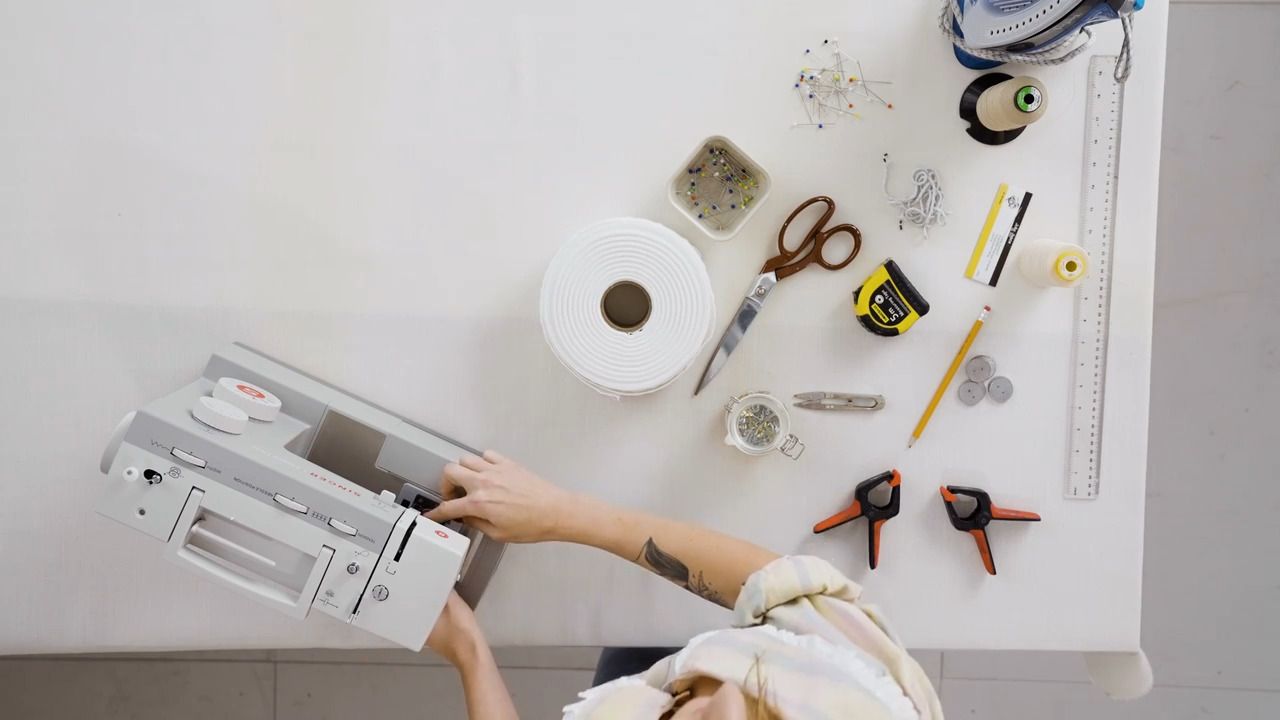
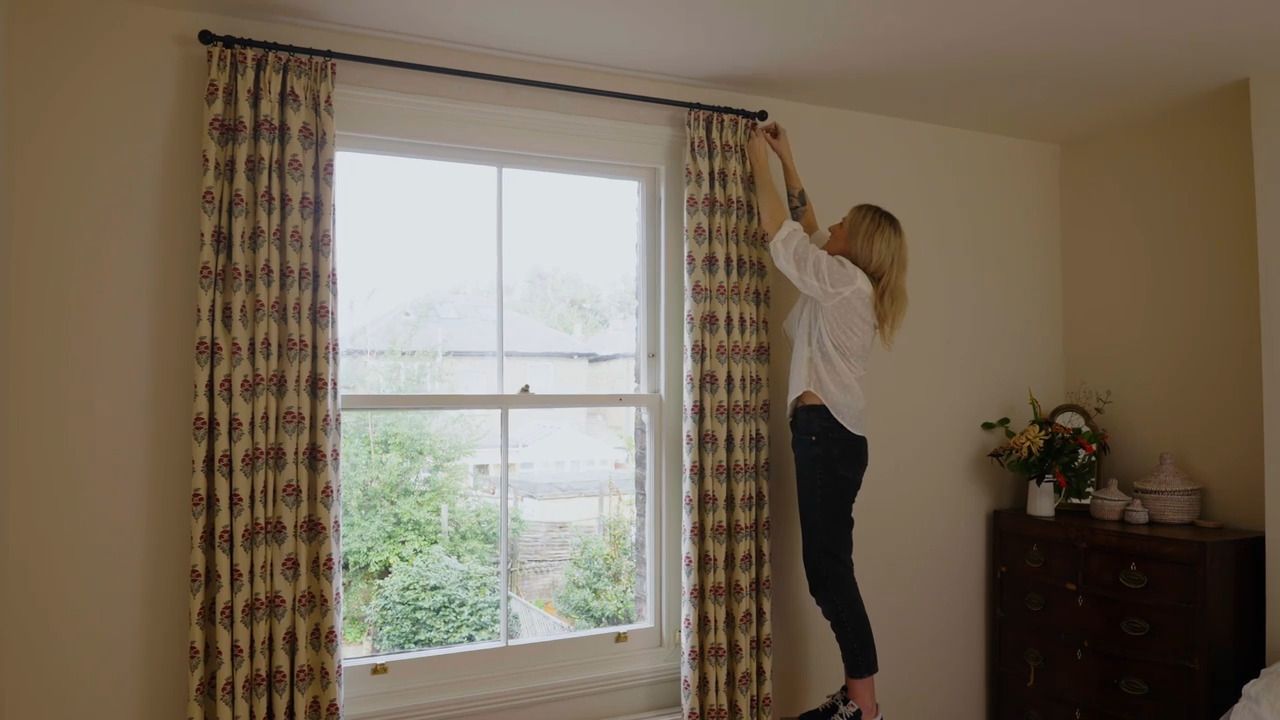
Continue to construct your lined curtain with a pencil pleat heading.

From the Lesson Workbook

Project 4 - Lined Curtain with Pencil Pleat Heading - Part 3

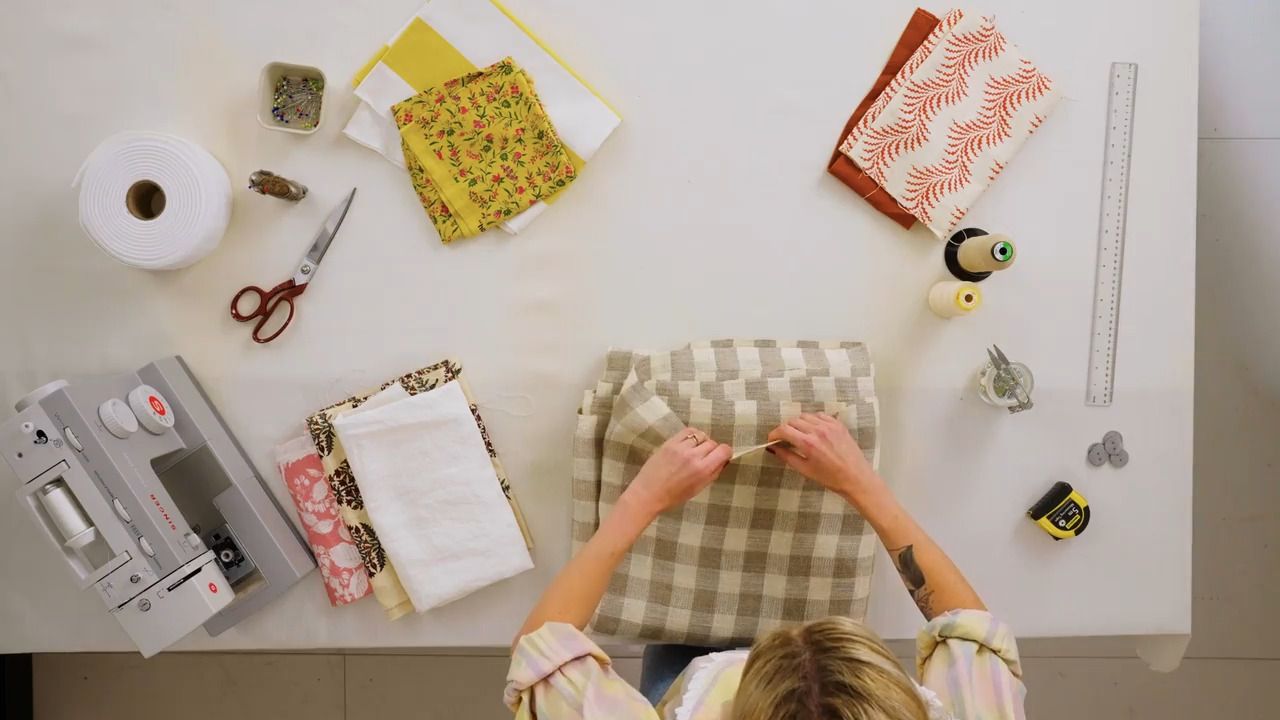
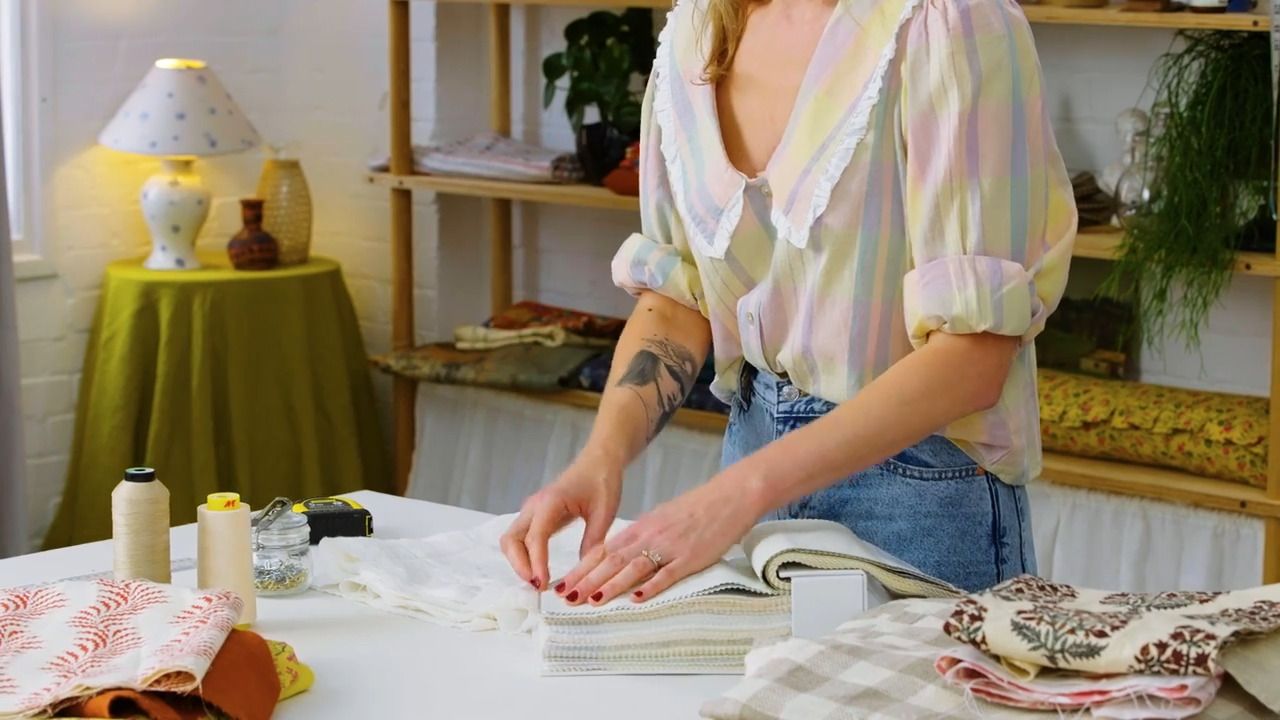
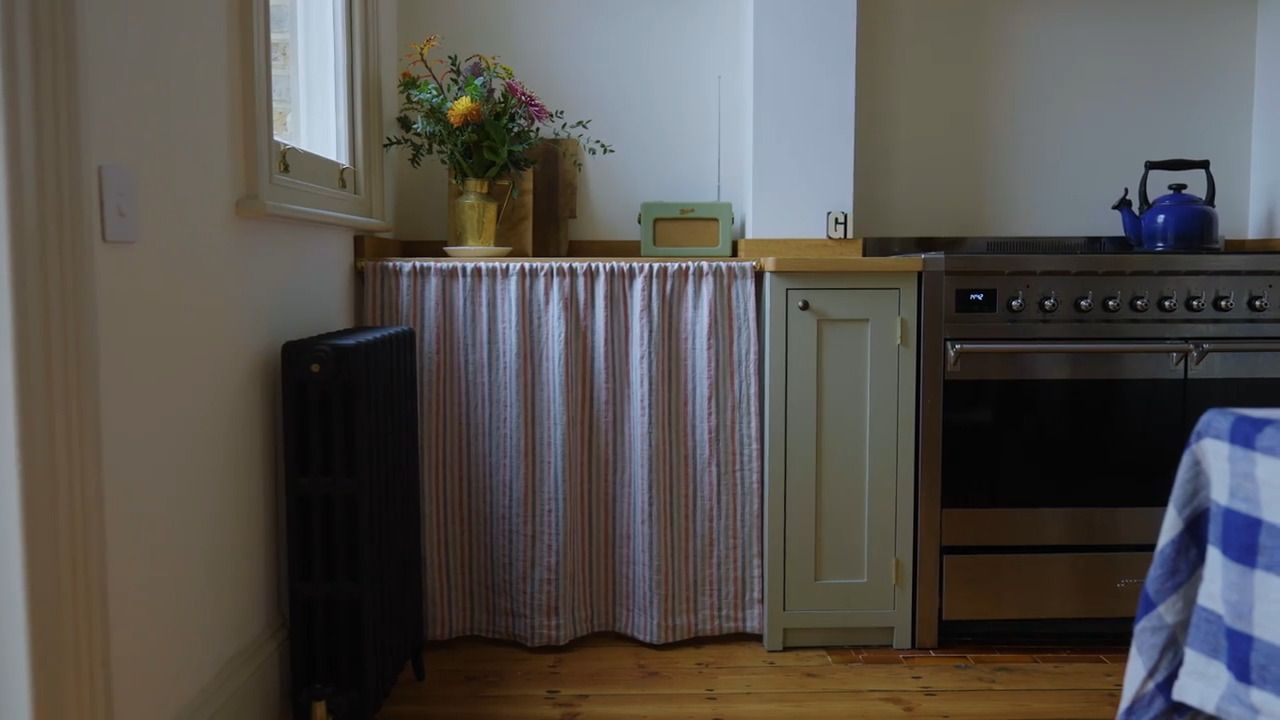
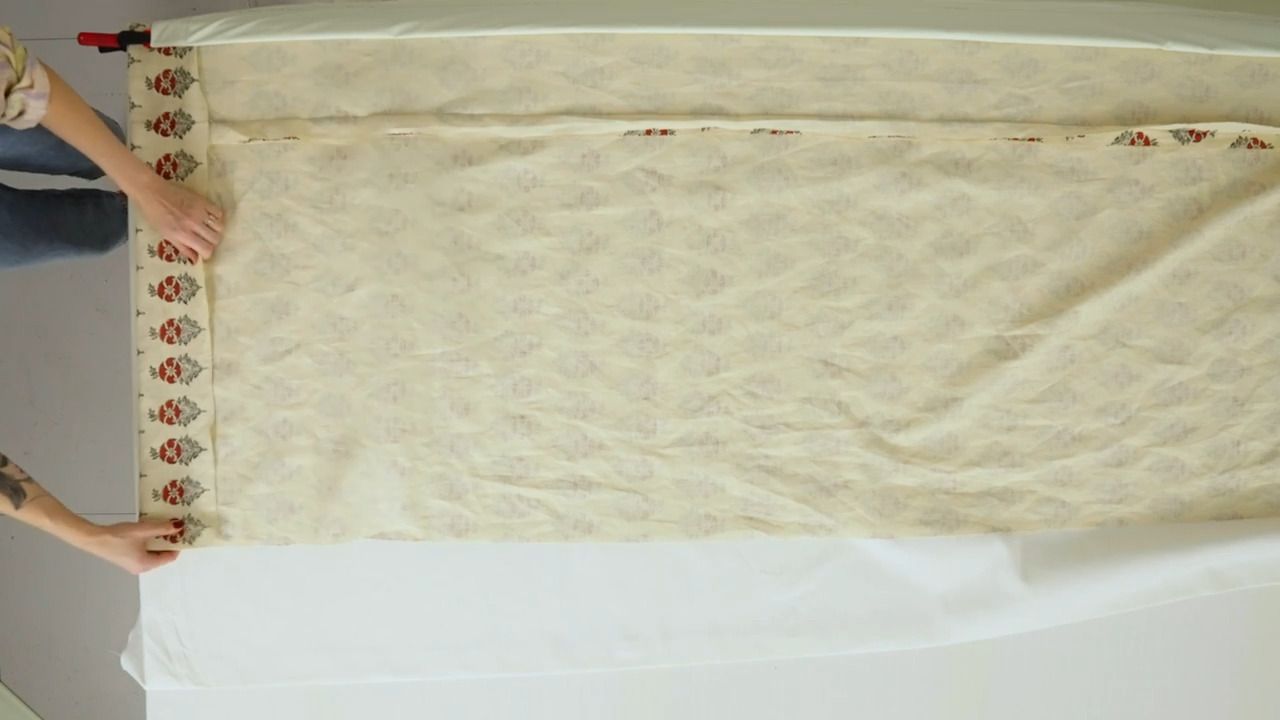
With the lining pieces now joined, it's time to add the bottom hem. You will also construct your face fabric by preparing your hems, and finally begin to attach the lining to form your curtain.

Step Nine

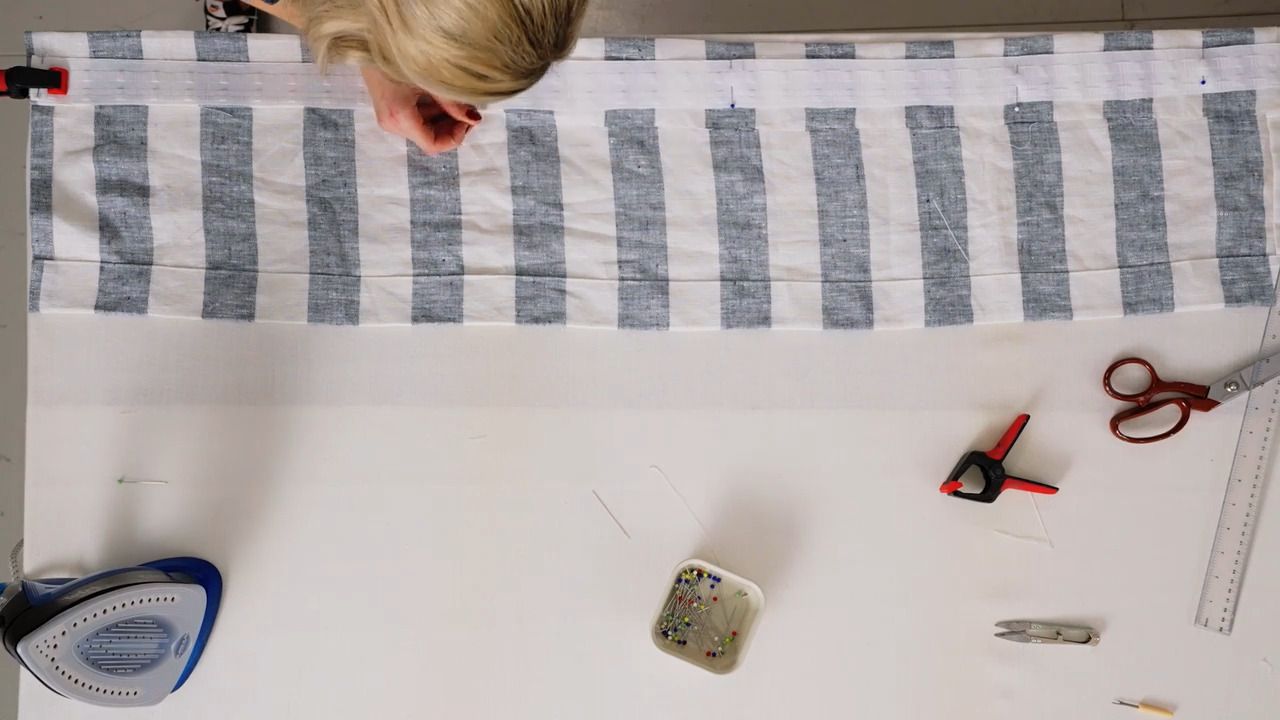
The last part of preparing your lining is to create in the bottom hem.

  • Use exactly the same method you used to do the other bottom hems in this course. For a curtain of this length, I am opting for a 6cm bottom hem.
  • As ever, ensure your lining is face down, flat and straight on the table before you start.
  • Fold the bottom of the lining over 12cm and press - you may need to work in sections if your fabric is wider than your table.
  • Unfold, and fold 6cm so that the bottom of your lining sits neatly inside the pressed line you've just created, then press.
  • Double fold this along the 12cm pressed line, then press.
  • Add some pins to secure the hem.
  • Straight stitch as close to the edge of the hem as possible.

Step Ten

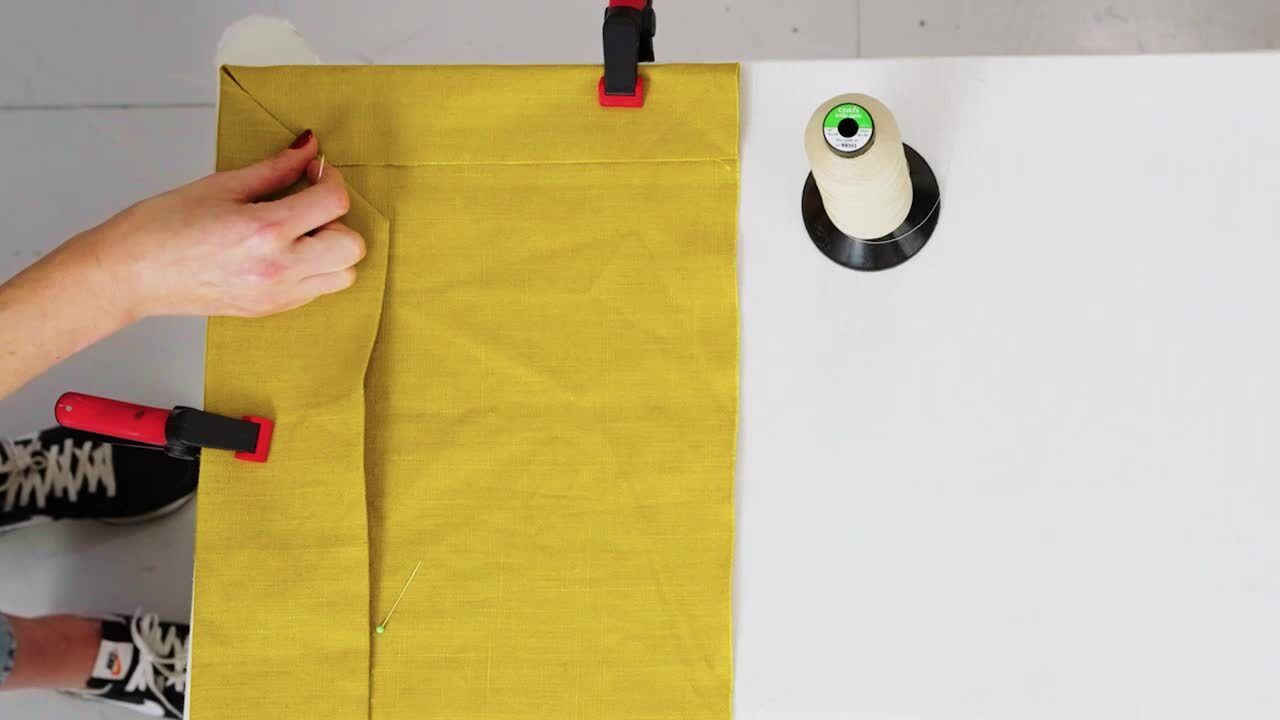
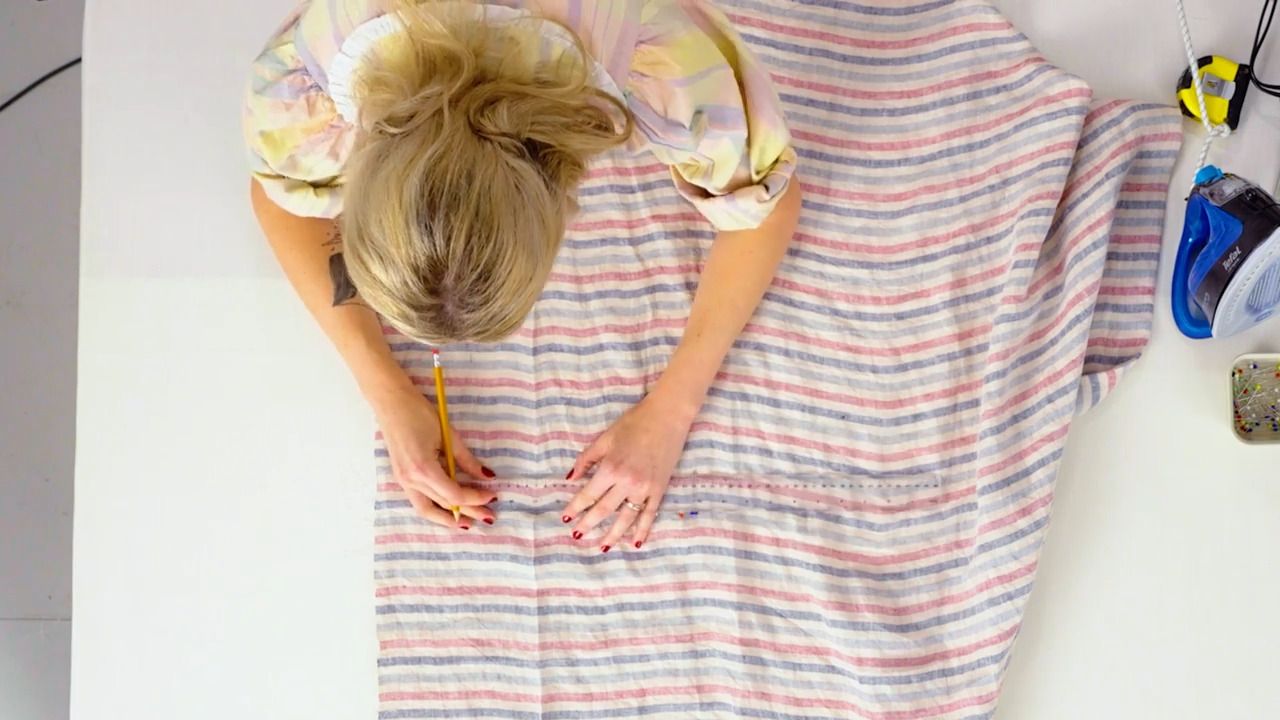
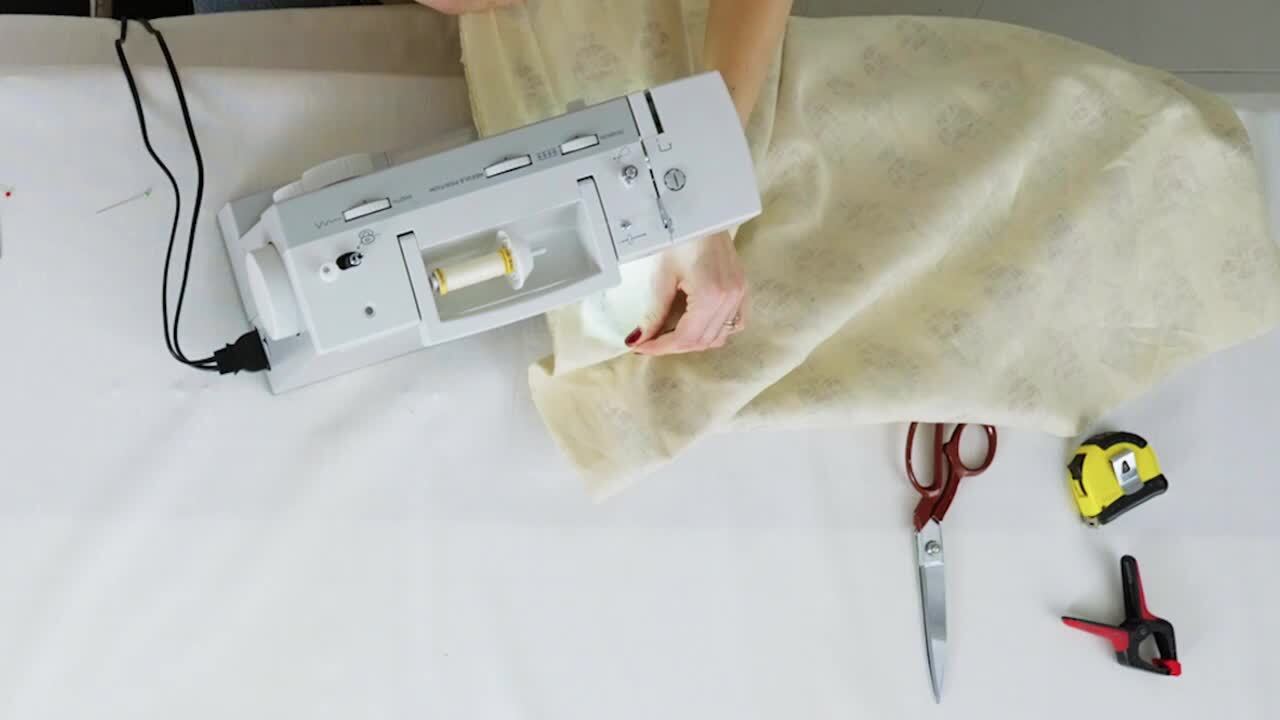
With the lining prepared, you're ready to start constructing your curtain. First, prepare both the side and bottom hems of your face fabric.

  • If you have a large excess where your widths have been joined together, trim it down so it lies nice and flat.
  • Using the crosses you made as reference, lay the curtain flat and straight on the table with the bottom of the fabric lining up to the bottom edge of the table. Start on the side with your widest width. It might be worth giving your fabric a quick iron at this point.
  • I opt for a 6cm side hem. To begin, measure and fold over 6cm, and bring the folded edge to sit along the edge of the table.
  • Press along the folded edge.
  • Now, prepare the bottom hem by folding up the bottom edge 13cm, then press

Step Eleven

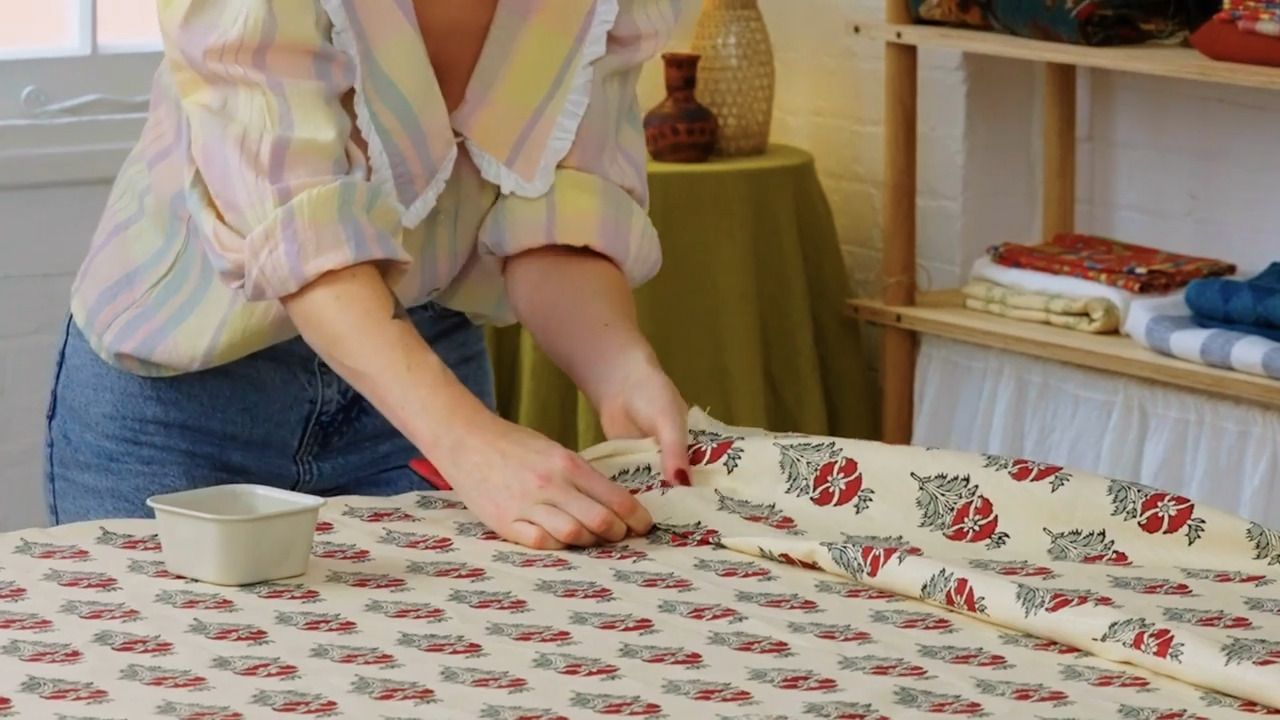
Create a mitred corner in your face fabric and insert your lead penny weight.

  • Firstly, insert a lead penny weight using a strong thread, only picking up singular threads from the face fabric as you go. Repeat a number of times to get it really secure.
  • Taking your pre-pressed bottom hem, fold the corner into the centre of the fabric. Ensure the pressed folds line up on either side, and pin to keep in place.
  • Next, take your bottom hem and fold it along the pressed line. Take out your pin, and re-secure it.
  • Do the same with your side hem.
  • Use a slip stitch to join the folds together to form your mitred corner.
  • It's worth clamping the completed mitred corner into the corner of your table to ensure your curtain stays straight as you're working on it.

Step Twelve

Use a herringbone stitch to secure the side hems of your face fabric.

  • Insert the needle about 1cm away from the edge and catch a singular thread of your fabric, then and pull your needle through.
  • Next, insert the needle along and 1cm down from the edge, catching another thread and pulling your needle through.
  • Work all the way up, stopping around 10-15cm from the top. Use a pin to secure the top instead.
  • These stitches are much bigger than the ones I demonstrated previously, and don't need to be especially neat.

Step Thirteen

Use a slip stitch to hold the bottom hem of your face fabric in place.

  • You have already pressed the bottom hem to 13cm. Now, fold and tuck roughly 2cm from the raw edge under to create an 11cm bottom hem with a neat folded edge, then press.
  • Begin with a long length of your extra-strong thread, with a single knot in the end with the tail trimmed off. Thread your needle.
  • Use your needle to poke the thread through the very top of the fold.
  • Pick up one tiny thread of your face fabric with your needle and pull the needle through.
  • Insert the needle again into the very top of the fold and bring it out about 1cm along the fold, then pull it tight.
  • Now, work along inserting the needle, picking up a tiny thread of the face fabric and bringing it out approximately 1cm along the fold and pulling each stitch tight.

Step Fourteen

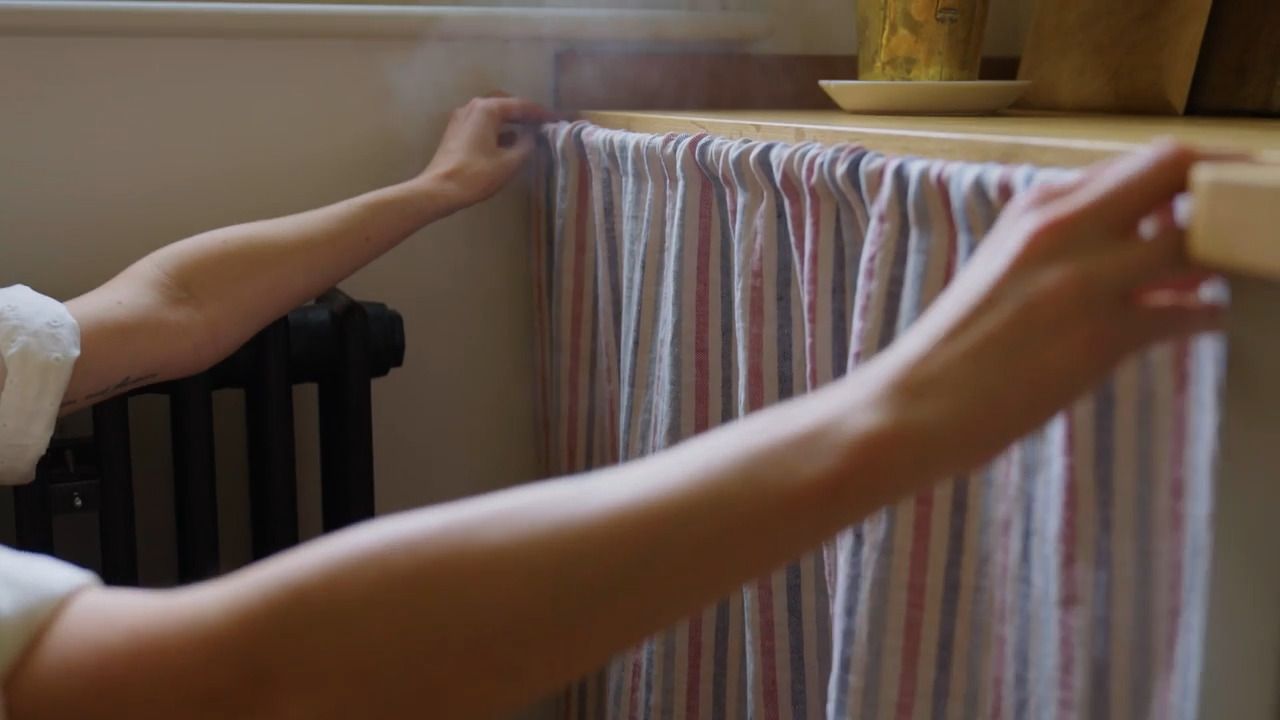
Begin to attach the lining to your face fabric.

  • You will work on the left side of your curtain first.
  • Lay the face fabric face down, with the lining on top face up. Ensure the seams of your lining and face fabric match, and that the position of your widths matches too.
  • The raw edge of the side of your lining needs to match up exactly with the edge of the side seam of your face fabric. It's worth, as always, lining this all up to the right angle of your table.
  • Give it a quick press so you can be sure everything is absolutely straight.
  • Now, keeping the face fabric in place, move the bottom of the lining up roughly 1.5 inches from the bottom of your face fabric all the way along, then press.
  • For the sides, fold the raw edge of your lining under - I think it looks nice if this matches the fold of your mitred corner. Work all the way up, then press.
  • Slip stitch to secure the side of your lining to the side of your face fabric.

Get the full workbook, video lessons, and more with a Create Academy subscription.

Subscribe to access the full workbook
Access all courses SALE 20% OFF
$24 /month $30

Access 57+ courses, billed annually

Subscribe Now
Buy this course SALE 20% OFF
$136 one-time $170

Lifetime access to this course

Buy Course

Already a member? Sign in to watch

Rated 4.7/5 on Trustpilot

437 reviews

Read more

Very good tutorial from a professional garden...

I have subscribed to access all the courses so have watched one on interior design and this one with Butter Wakefield who specialises in small garden design. She ...

Louise Brown

Apr 10, 2026

Time spent well

I love CreateAcademy. I came in for the gardening and floristry courses, but am also watching an interior design one at present. And the photography course is an ...

Wellesley

Apr 1, 2026

What a great investment

What a great investment, I have learned such a lot from the first three courses. My evenings have gone from not being able to find anything that captured my imagi...

sojojo

Mar 30, 2026

I loved this course with Amanda\u2026

I loved this course with Amanda Lindroth! Her approach to decorating is so relaxed and she makes it feel attainable. She explains the reasons behind her decisions...

Elizabeth

Mar 27, 2026

Gemma Moulton

Your Instructor

Gemma Moulton

Fine textiles and design studio specialising in handmade household linens and soft furnishings.

Gemma Moulton fostered her love of sewing in childhood and has over 15 years of experience working in fashion and fabric design. She studied upholstery and soft furnishings at London Met, before completing an apprenticeship in curtain making and working for some of London’s most prestigious curtain makers. In 2020 she set up East London Cloth, inspired by her love of traditional practices and timeless design, where she creates handcrafted, unpretentious and authentic household linens and soft furnishings designed to withstand the test of time and be passed down to future generations.

Access to all courses

Get access to unlimited learning with a Create Academy subscription