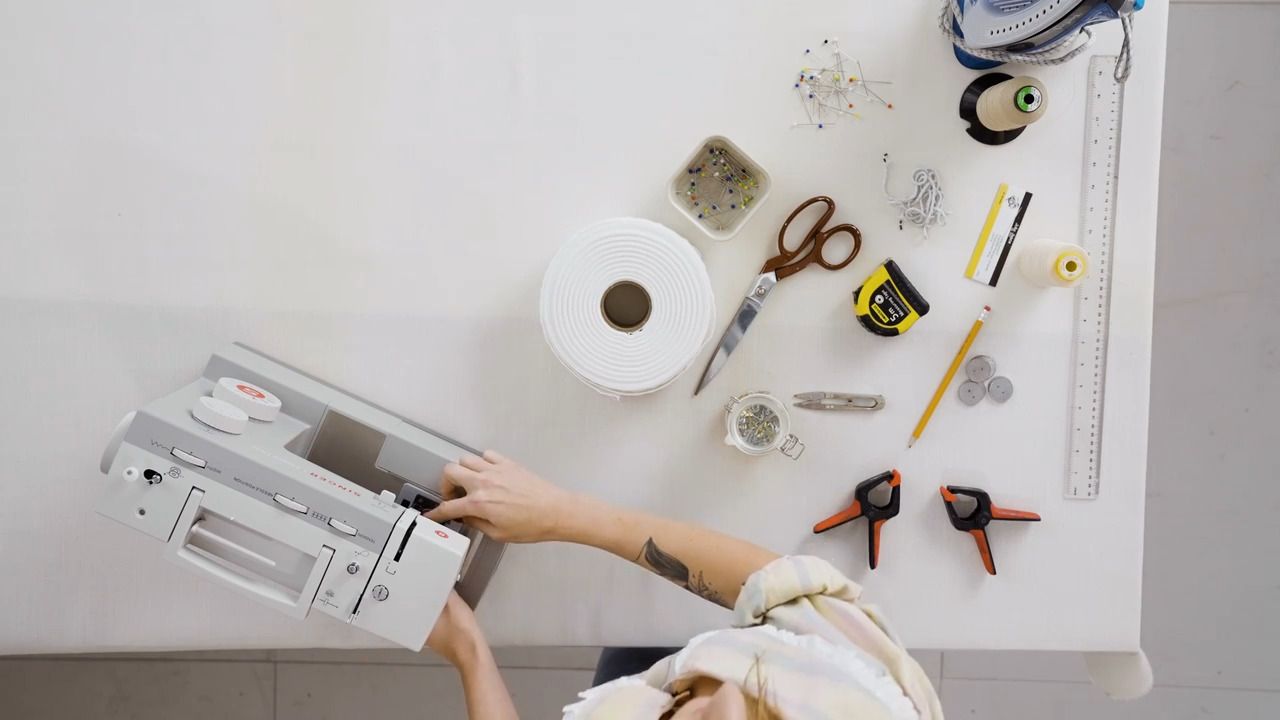
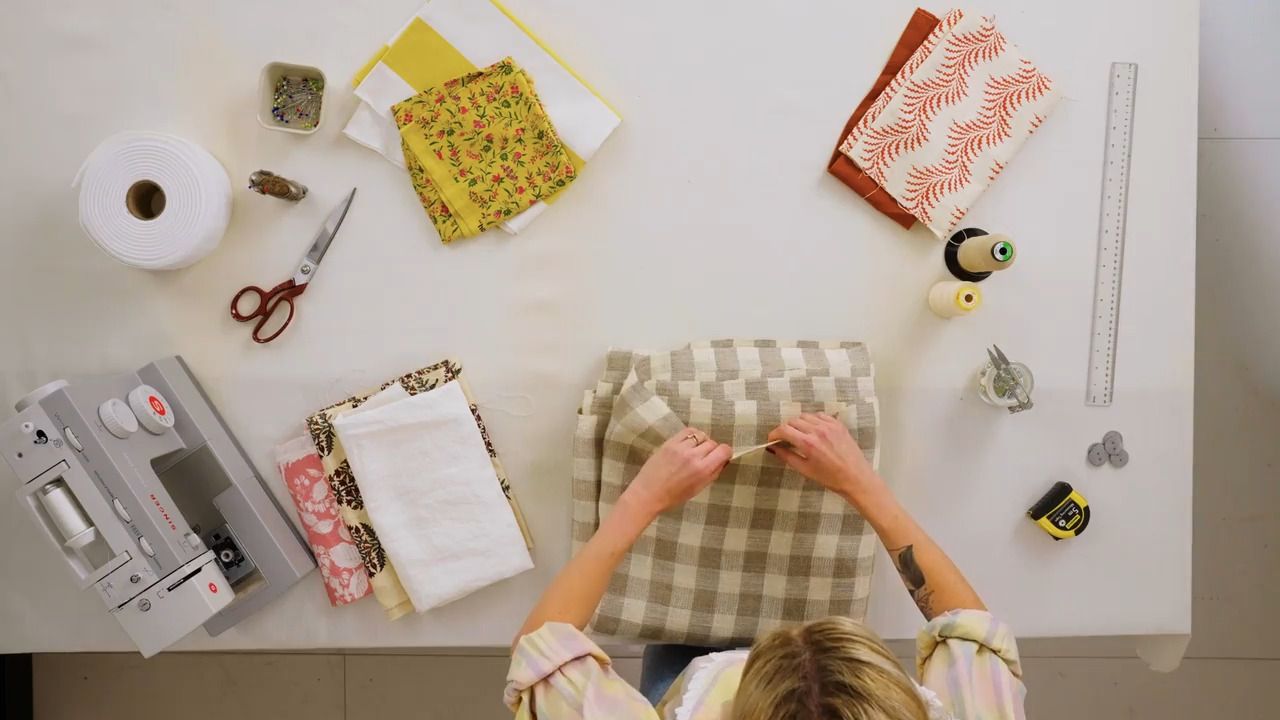
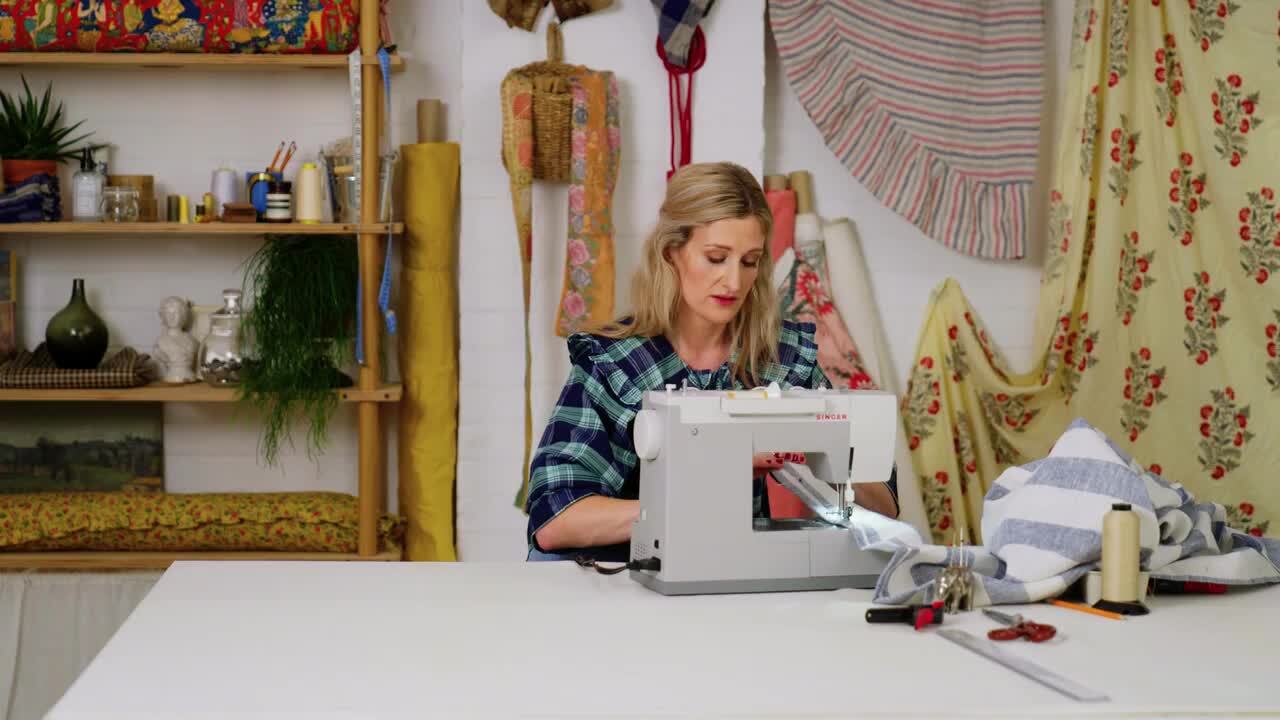
How to Make Beautiful Curtains

Simple unlined valance

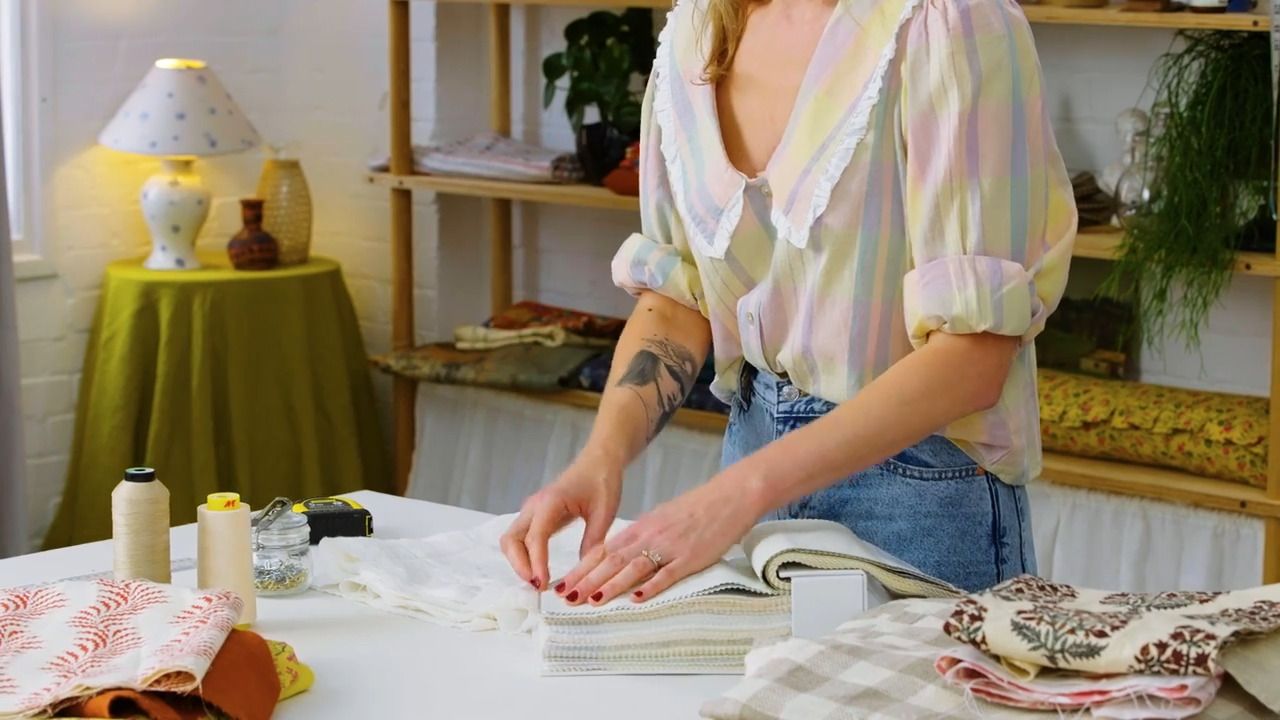
with GEMMA MOULTON — Fine textiles and design studio specialising in handmade household linens and soft furnishings.

Lesson 16 of 22

Rated 4.6/5 on Trustpilot
|

Learn from the world's best creative minds on Create Academy

Simple unlined valance  - Video thumbnail

Subscribe to watch

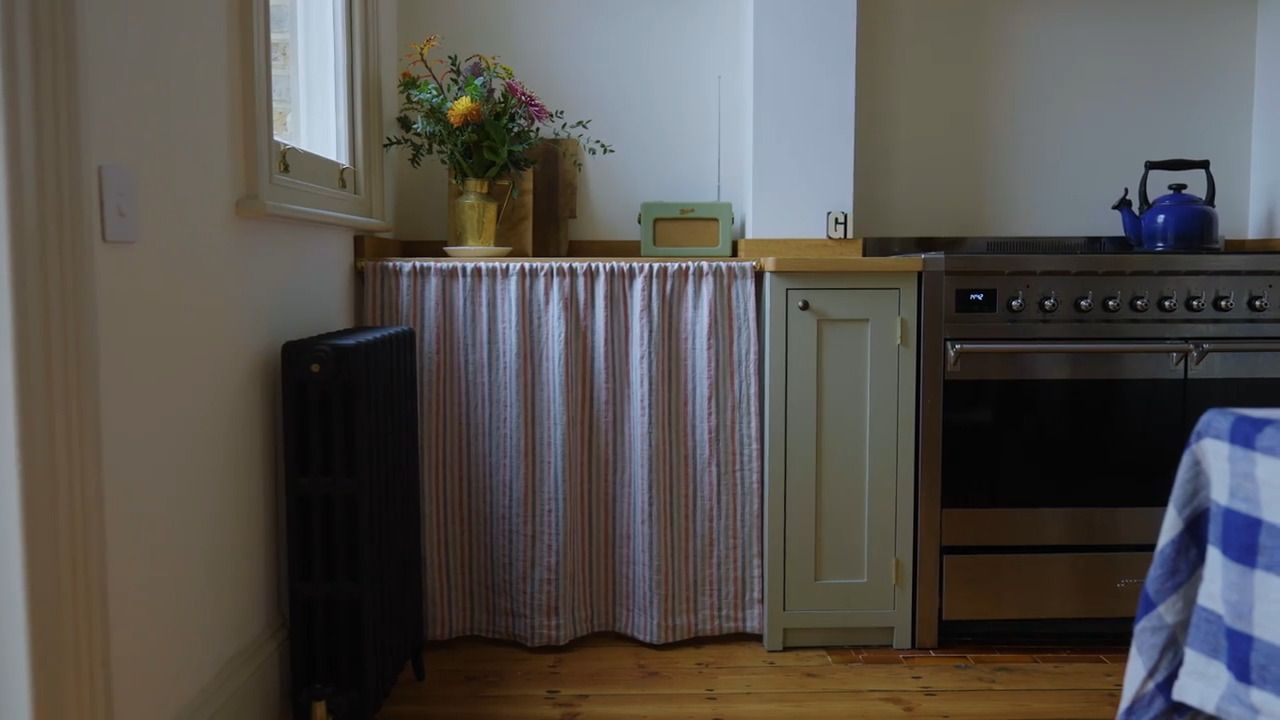
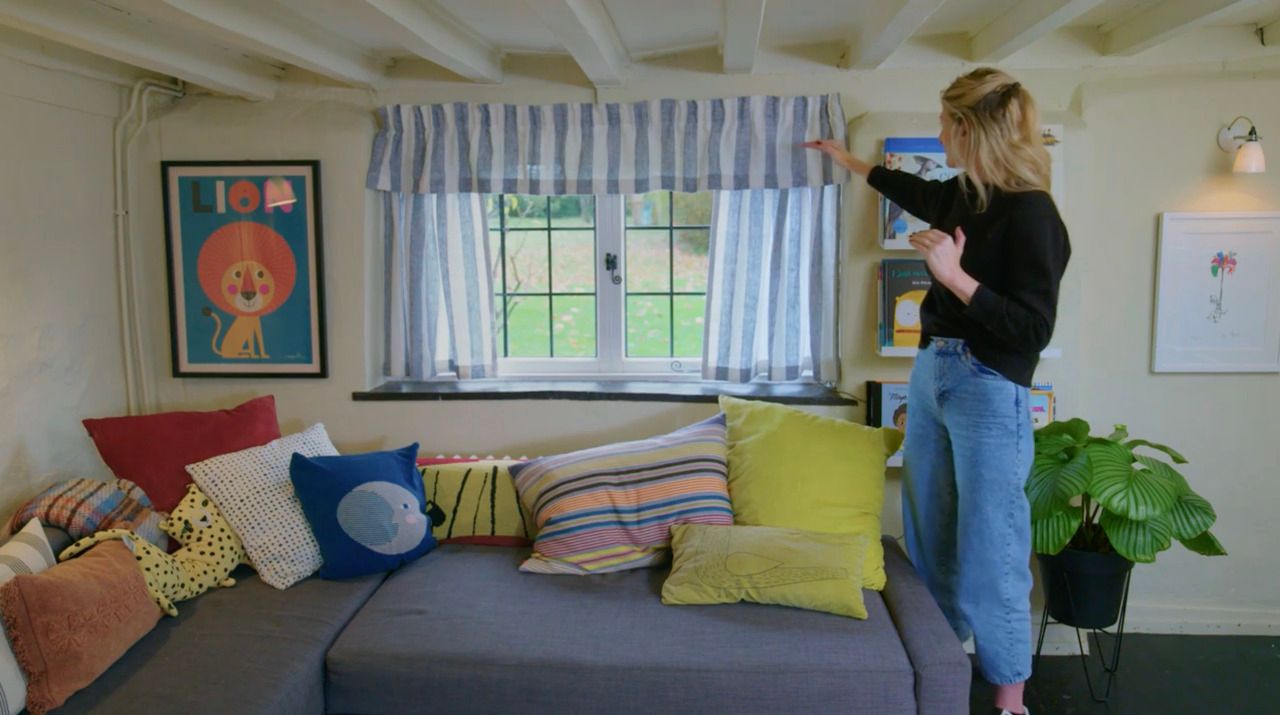
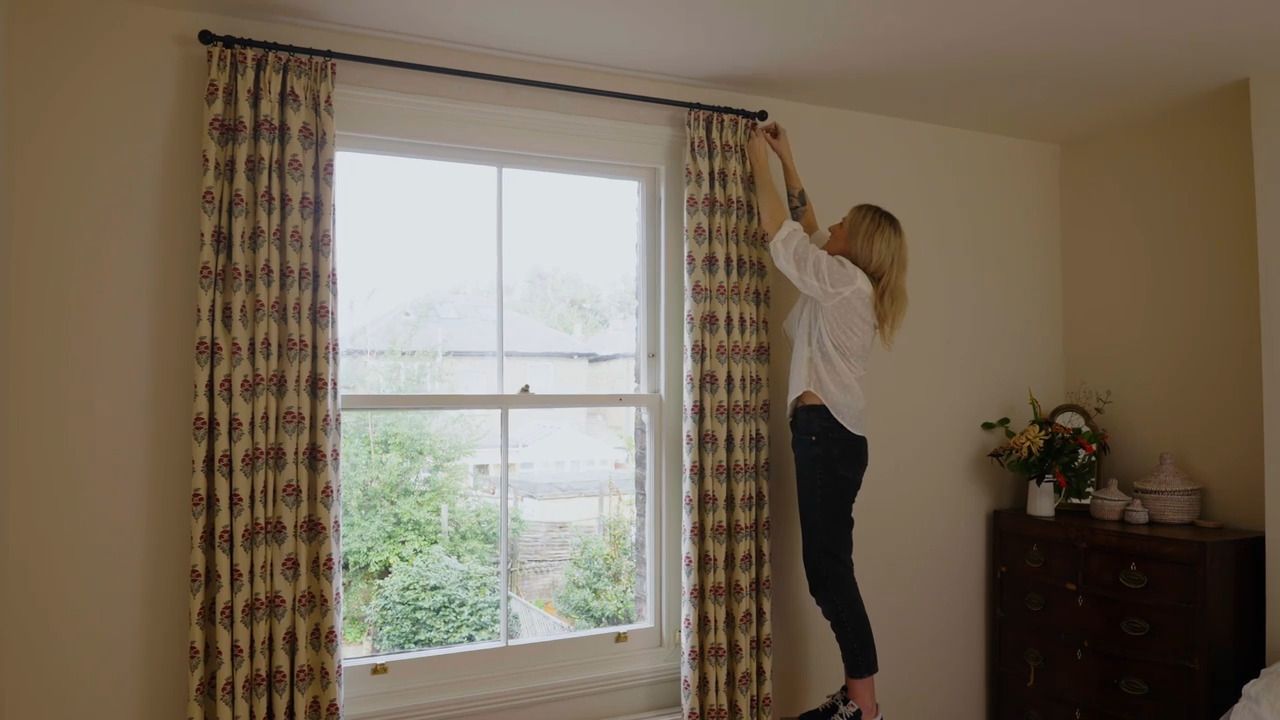
A wonderful project if you’re looking to give an old curtain a new lease of life, you will learn how to repurpose the fabric and turn it into a pretty valance.

From the Lesson Workbook

Project 3 - Simple Unlined Valance for a Window

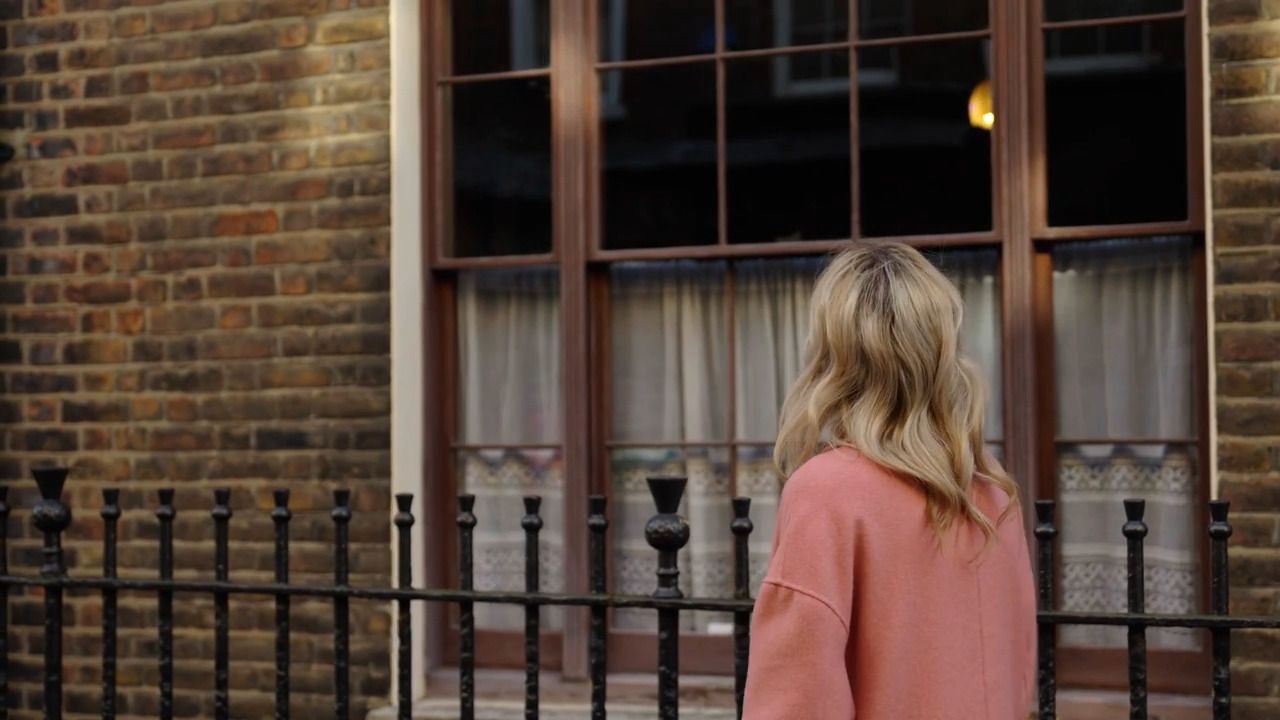
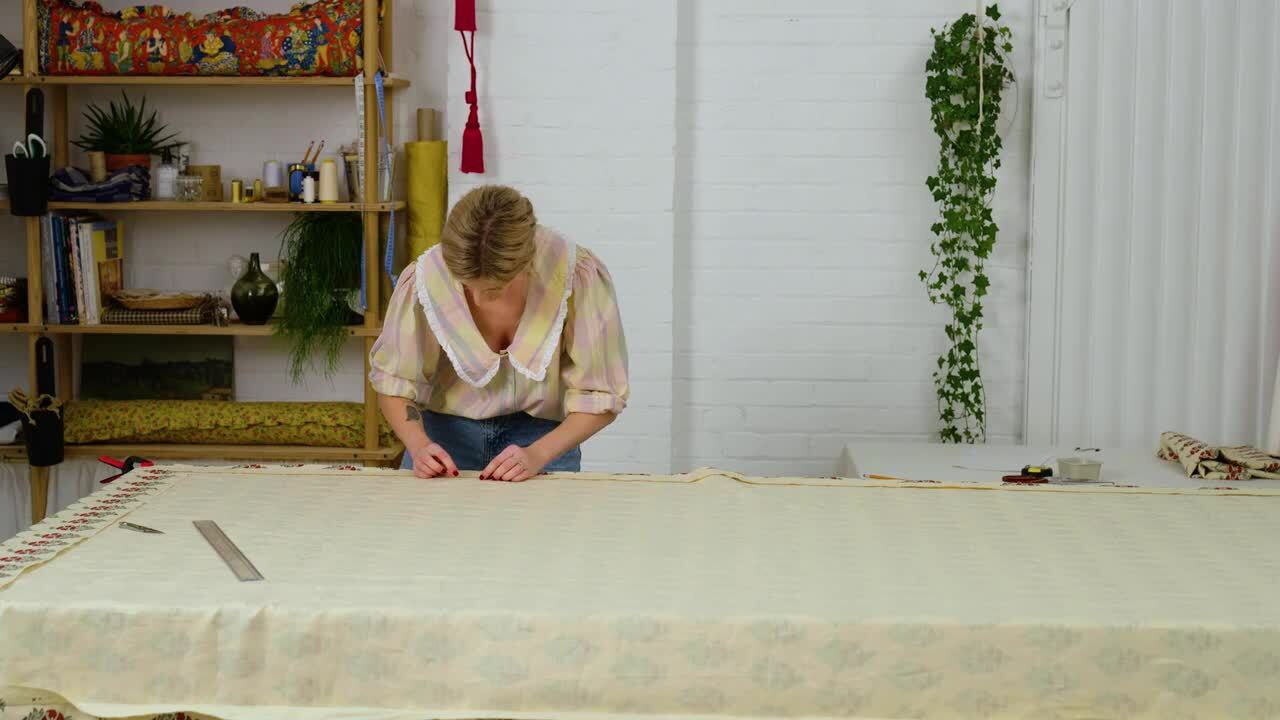
If you have an old curtain, or have found one in a charity shop, turning it into a window valance is a great way to repurpose the fabric and give it a new lease of life.

You Will Need:

  • An old curtain
  • Measuring tape
  • Iron
  • Pencil
  • Threaded sewing machine
  • Fresh pencil pleat tape if you can't repurpose the existing tape
  • Ruler
  • Clamps (desirable)
  • Pins
  • Fabric scissors
  • Seam unpicker

Step One

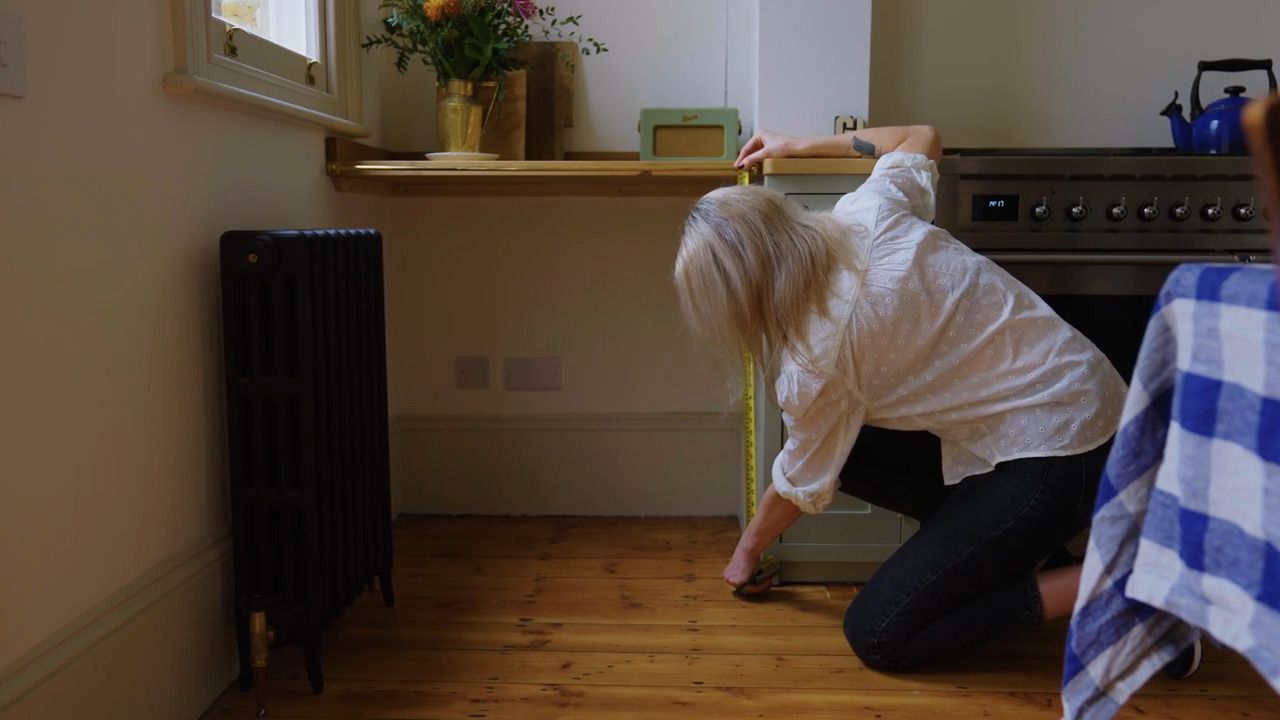
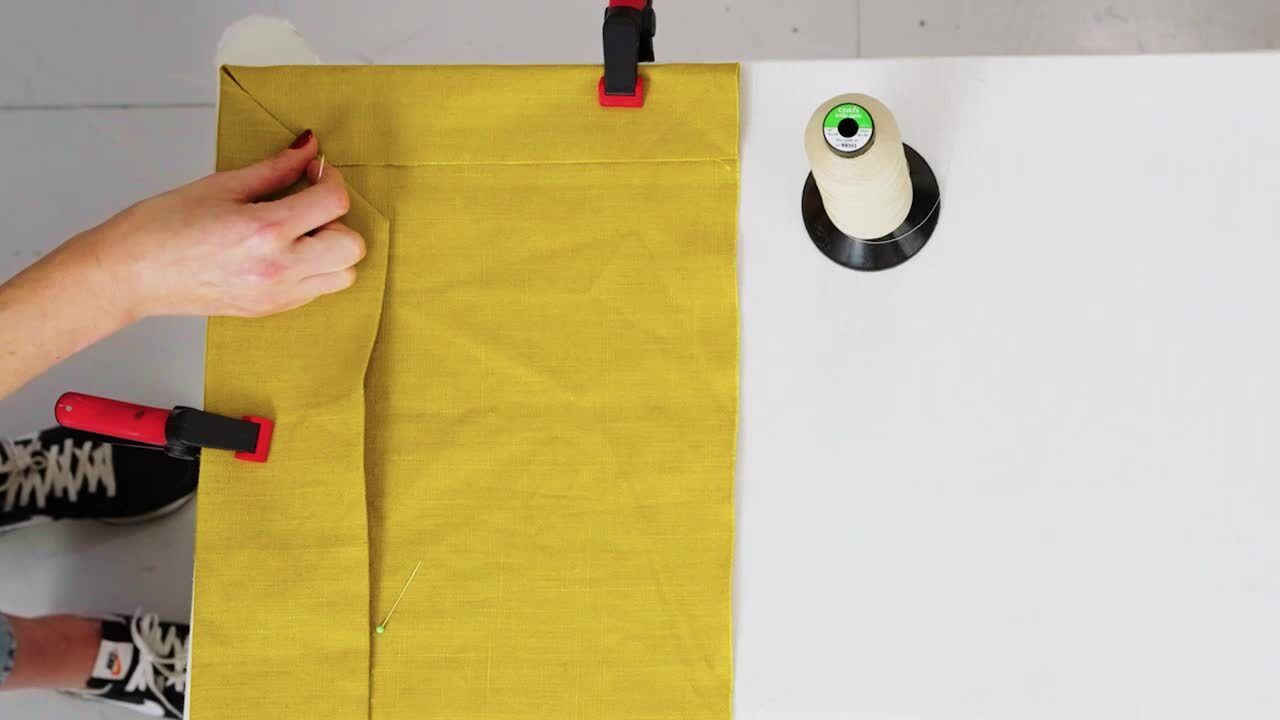
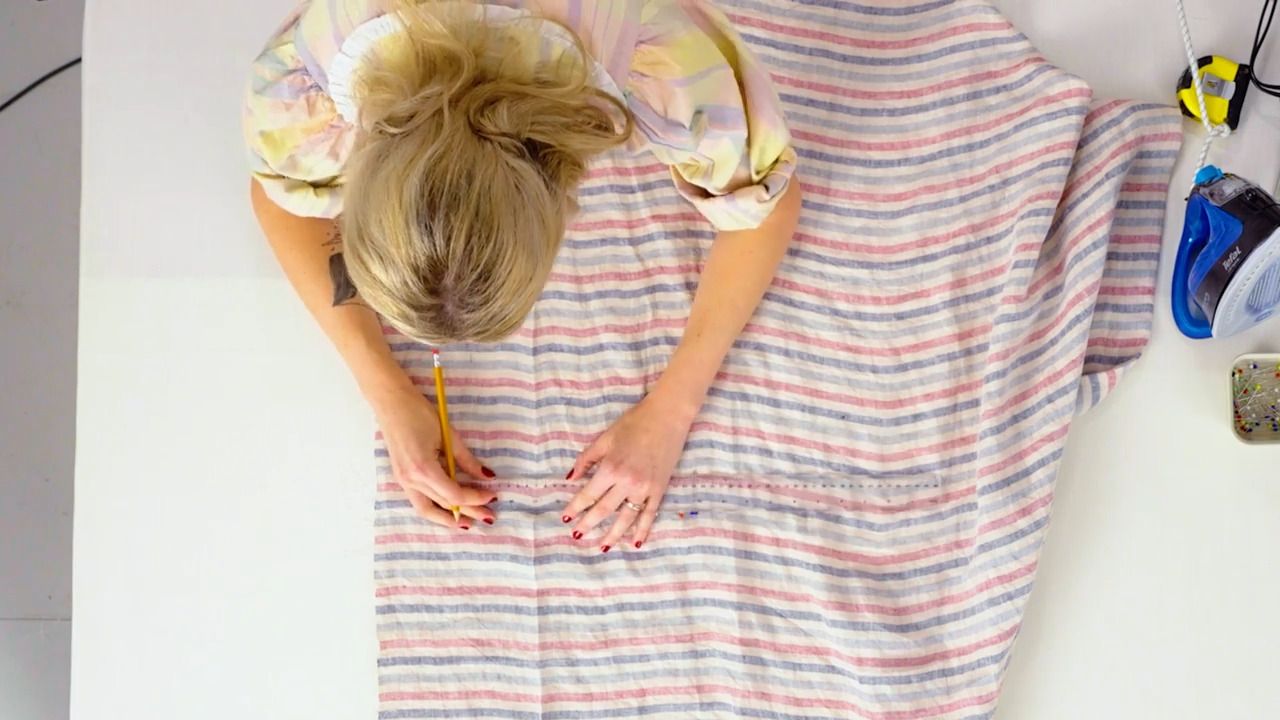
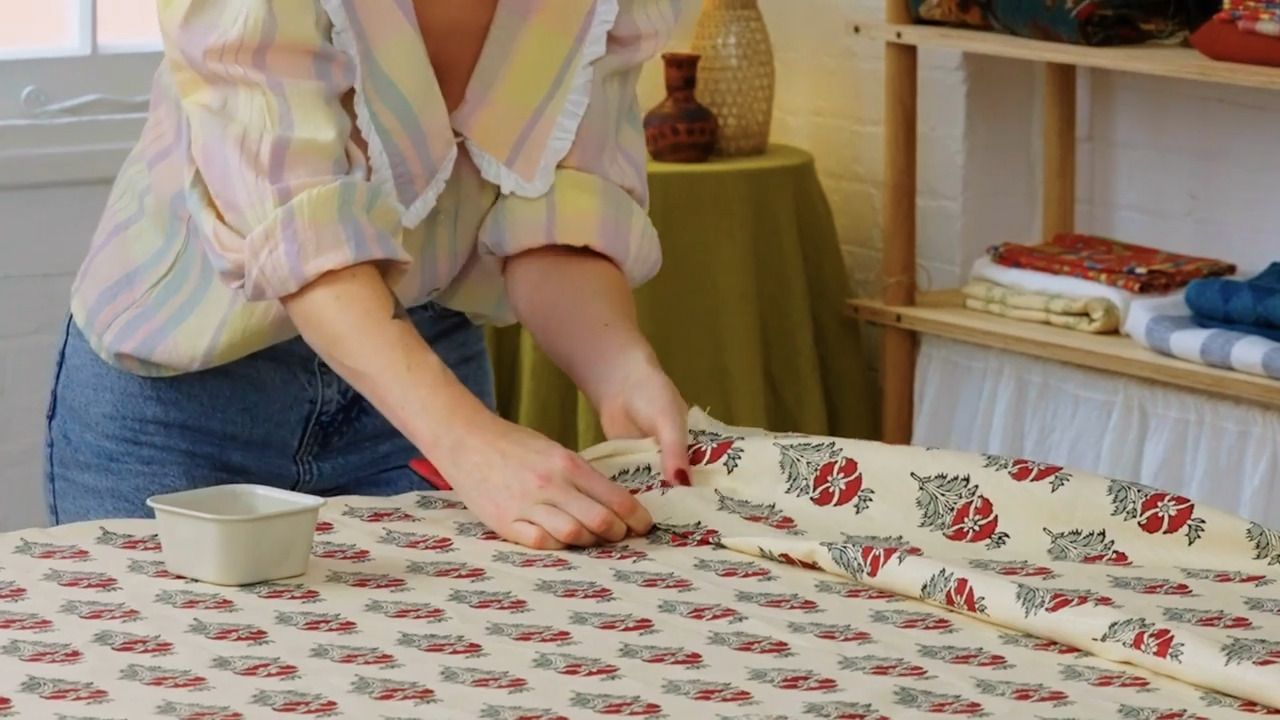
Prepare the old curtain and cut it to its new size.

  • If the curtain is lined, use a seam unpicker to remove the lining.
  • Release the pencil pleat by snipping the strings of the tape and flattening out the fabric.
  • A valance will typically be around 30cm long - however this can be longer for a really tall window. As with previous projects, add an extra 10cm to allow for the new heading. You'll be using the bottom of the curtain to create your new valance, so measure 40cm up from the bottom of the curtain and mark with a pin.
  • If you're working with a cotton fabric, mark this measurement at various points along the width of the curtain and cut a straight line.
  • If your fabric is linen, you can use the 'pulling a thread' method to achieve a straight cut. To do this, snip the edge of your fabric at the 40cm mark. Find a loose thread within this snip and pull it as far as you can without snapping it. This will show you a straight line to cut along.
  • For the width, I would typically suggest multiplying the width of your window by 1.5 for a little fullness. This can be increased if you prefer a really full look.

Step Two

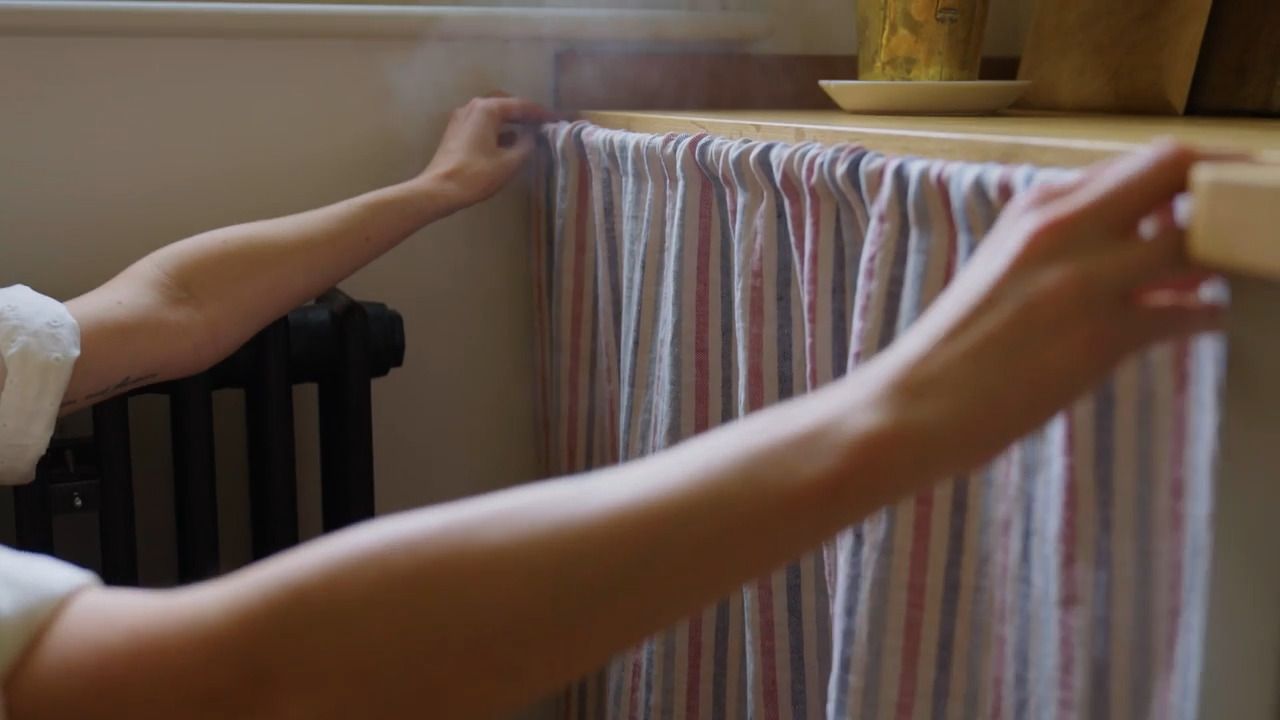
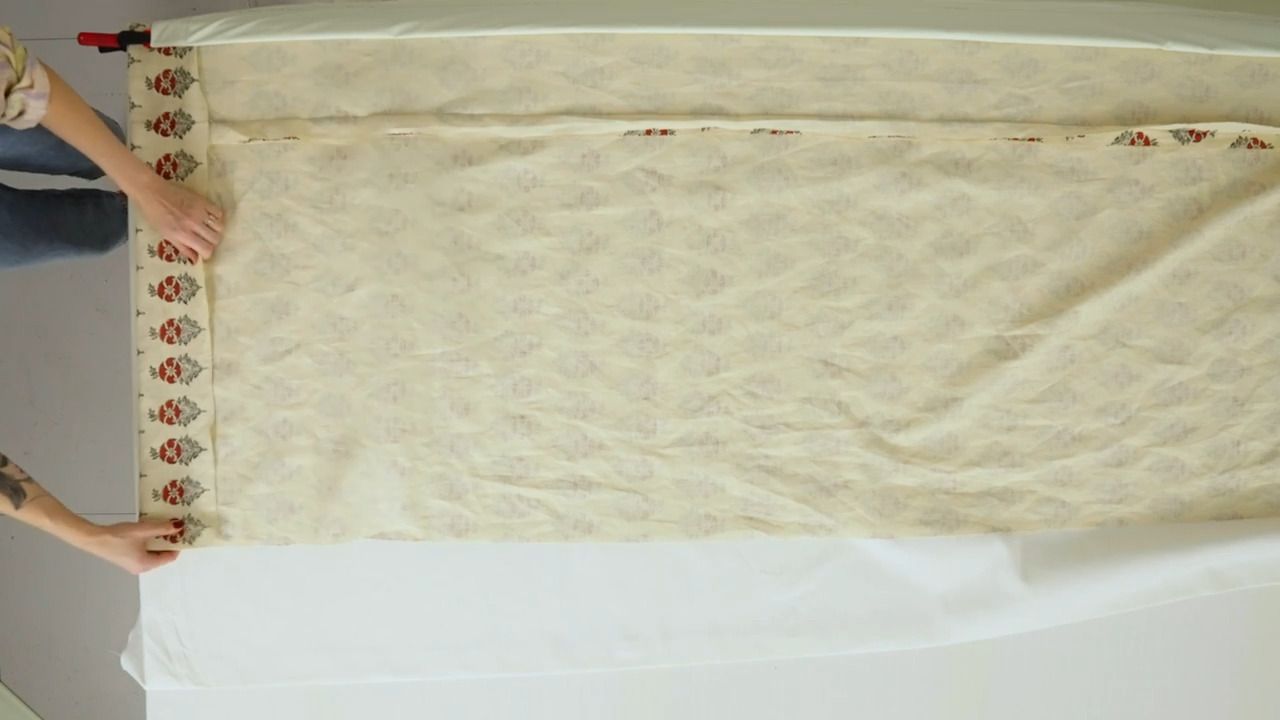
If you can repurpose the existing pencil pleat tape, remove it from the top of the curtain.

  • Use a seam unpicker to cut through the existing stitching to release the tape from the fabric. If you don't have a seam unpicker, small scissors will work.
  • Once you initially break the seam, you'll find you can rip it easily. If you come up against any resistance, back to using the seam unpicker.
  • Discard this piece of fabric after the tape has been fully removed.

Step Three

Pin the measured drop.

  • Lay the valance face up with the bottom hem lined up against the edge of the table. Ensure everything is flat and straight.
  • Measure the measured drop of your valance from the bottom, which is 30cm, and use horizontal pins or a pencil to mark.
  • Work methodically along the entire width of your curtain, continually checking your bottom hem hasn't moved as this may lead to an uneven final length.
  • The line created by your pins will be the top of your valance.
  • Flip your fabric so the front side is facing down, and fold your fabric along this line so that the pins sit neatly on the very top of the fold - use the edge of your table to make sure this is straight and at a right angle to your side hems. Once you're happy, press.
  • Remove the pins and unfold. You will be left with a pressed line that represents your final valance length.

Step Four

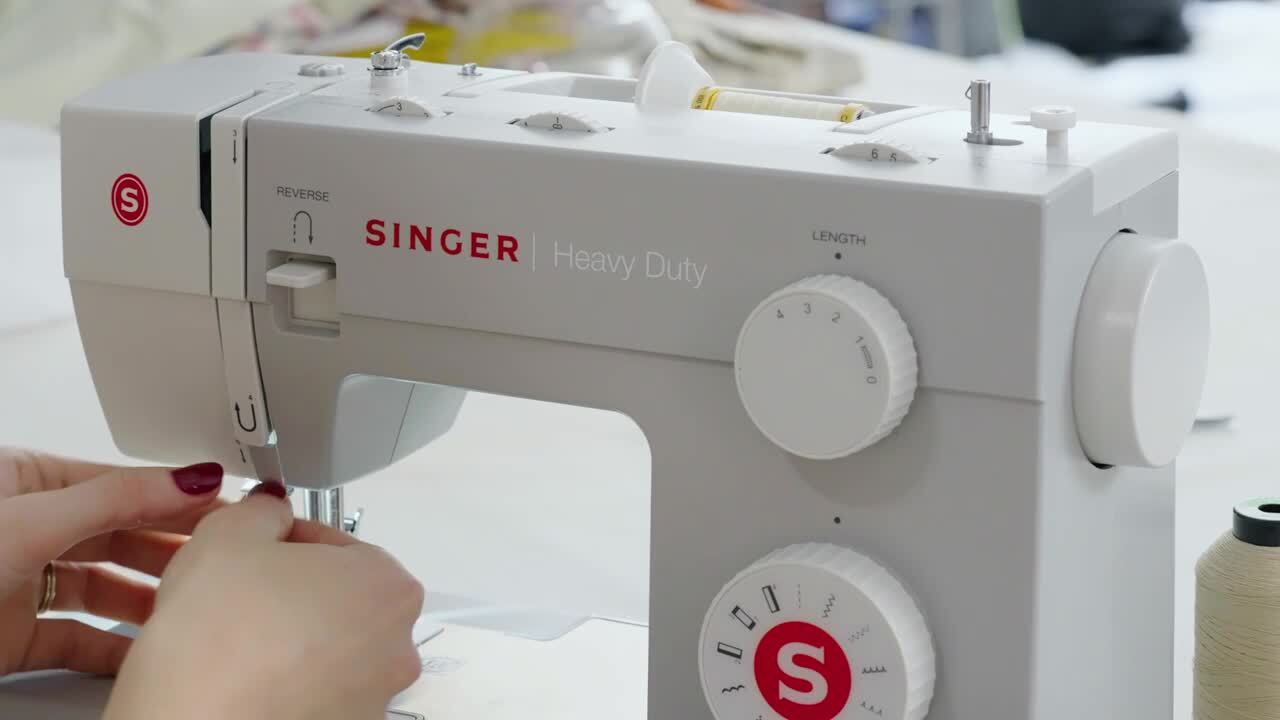
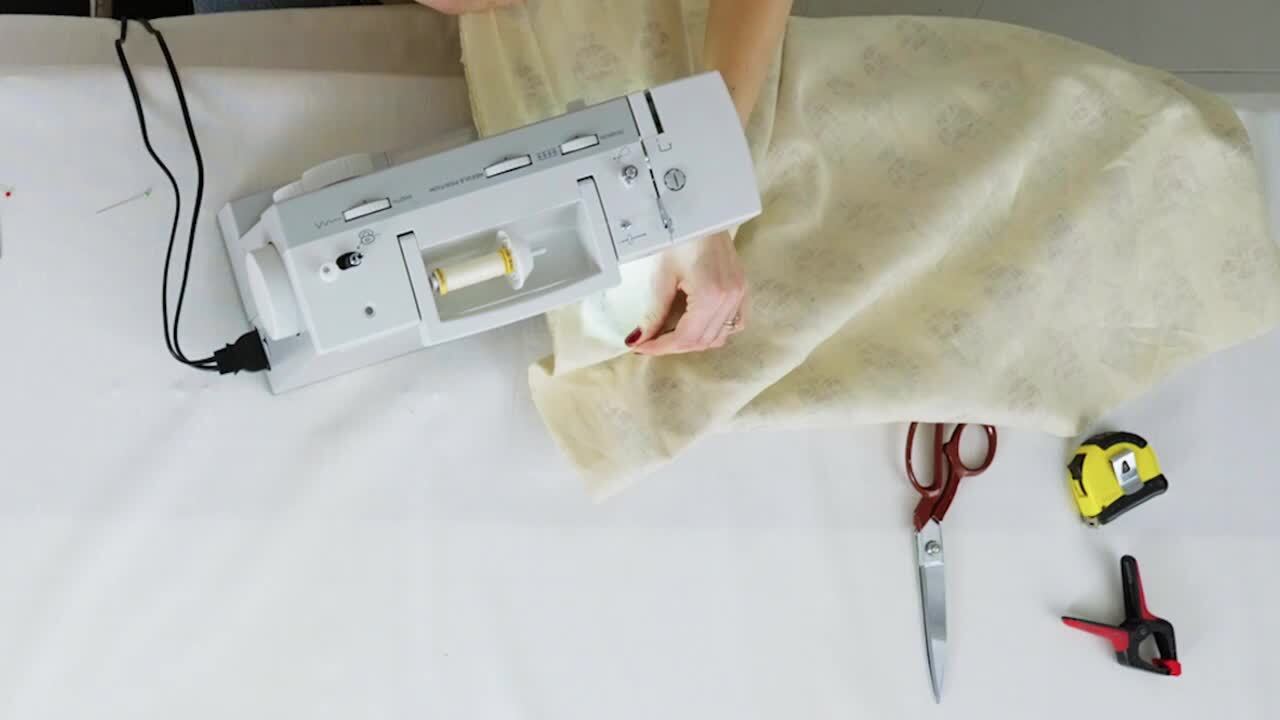
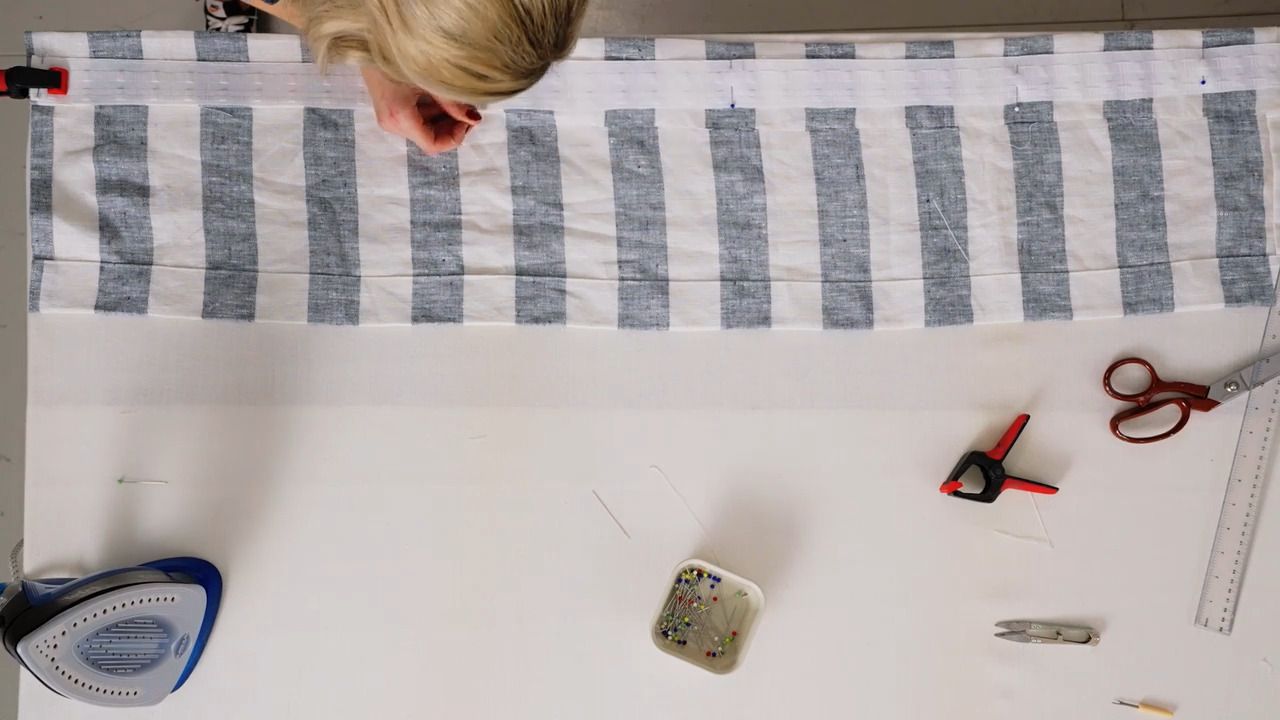
Attach the pencil pleat tape. We'll be using a slightly different method this time.

  • First, cut off the bottom rung of pulls along the entire width of the pencil pleat tape, and discard.
  • Instead of placing the tape at the very top of the curtain, place it roughly 2cm down from the top all the way along and pin to secure in place.
  • Next, fold and tuck the excess at the bottom beneath your pencil pleat tape, leaving a slither still visible, then pin all the way along.
  • At the end of your curtain, count 4 extra loops, worth of pencil pleat tape so you have a sizeable excess, then trim.
  • Release the strings up to the end of your curtain, check the tension is the same for each string, then tie them together in one knot
  • You can then trim the excess of tape, then tuck it under and pin.
  • Straight stitch along the edge of the top, sides and bottom of the pencil pleat tape, ensuring you keep all the strings free.

Get the full workbook, video lessons, and more with a Create Academy subscription.

Subscribe to access the full workbook
Access all courses SALE 20% OFF
$24 /month $30

Access 57+ courses, billed annually

Subscribe Now
Buy this course SALE 20% OFF
$136 one-time $170

Lifetime access to this course

Buy Course

Already a member? Sign in to watch

Rated 4.6/5 on Trustpilot

479 reviews

Read more

Interior and exterior confidence

Create Academy has been such a great resource. I'm in the middle of renovating a bungalow with a very large garden and the courses have offered a wealth of inform...

Harvey

Jun 10, 2026

Absolutely love Create Academy

Absolutely love Create Academy! The instructors are extremely informative, and it is beautifully filmed. Create Academy is great value for money and plan on renew...

SG

May 31, 2026

Magic in small spaces

Butter's creativity is stunning! Her ability to incorporate brilliance in small gardens is magical!

Carla

May 30, 2026

The best adventure

The best adventure. I like all the courses, but my favorite are both Rita Konig interior design courses and Anna Jones. Excellent!

Karolina Kluczewska

May 20, 2026

Gemma Moulton

Your Instructor

Gemma Moulton

Fine textiles and design studio specialising in handmade household linens and soft furnishings.

Gemma Moulton fostered her love of sewing in childhood and has over 15 years of experience working in fashion and fabric design. She studied upholstery and soft furnishings at London Met, before completing an apprenticeship in curtain making and working for some of London’s most prestigious curtain makers. In 2020 she set up East London Cloth, inspired by her love of traditional practices and timeless design, where she creates handcrafted, unpretentious and authentic household linens and soft furnishings designed to withstand the test of time and be passed down to future generations.

Access to all courses

Get access to unlimited learning with a Create Academy subscription