Calculating how much fabric you’ll need
with CHLOE JONASON
Lesson 8 of 21

Already a member? Sign in
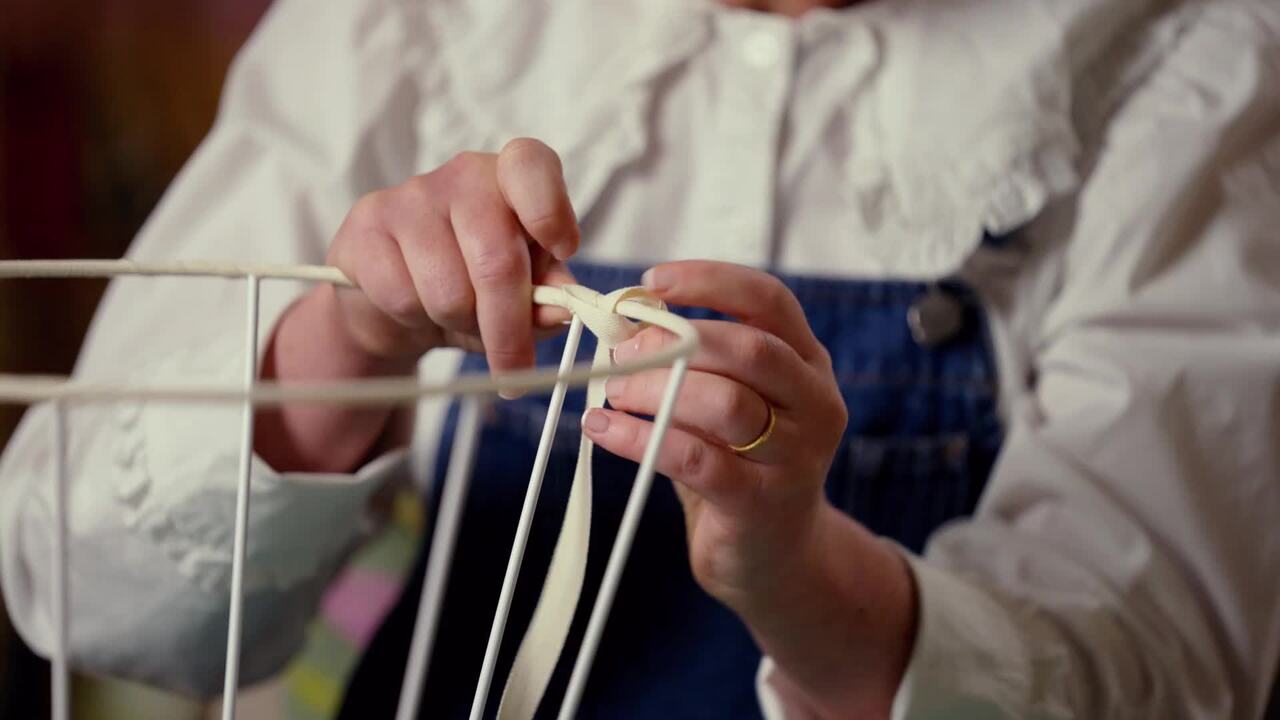
A vital key to the success of lampshade making is accurately working out how much fabric to use. Chloe shares her winning formulas with you to achieve perfect results each time.
From the Lesson Workbook
Calculating How Much Fabric You'll Need
A vital key to the success of lampshade making is accurately working out how much fabric to use. I'm sharing with you some simple formulas that will make this easy, and can be scaled up or down for a variety of projects.
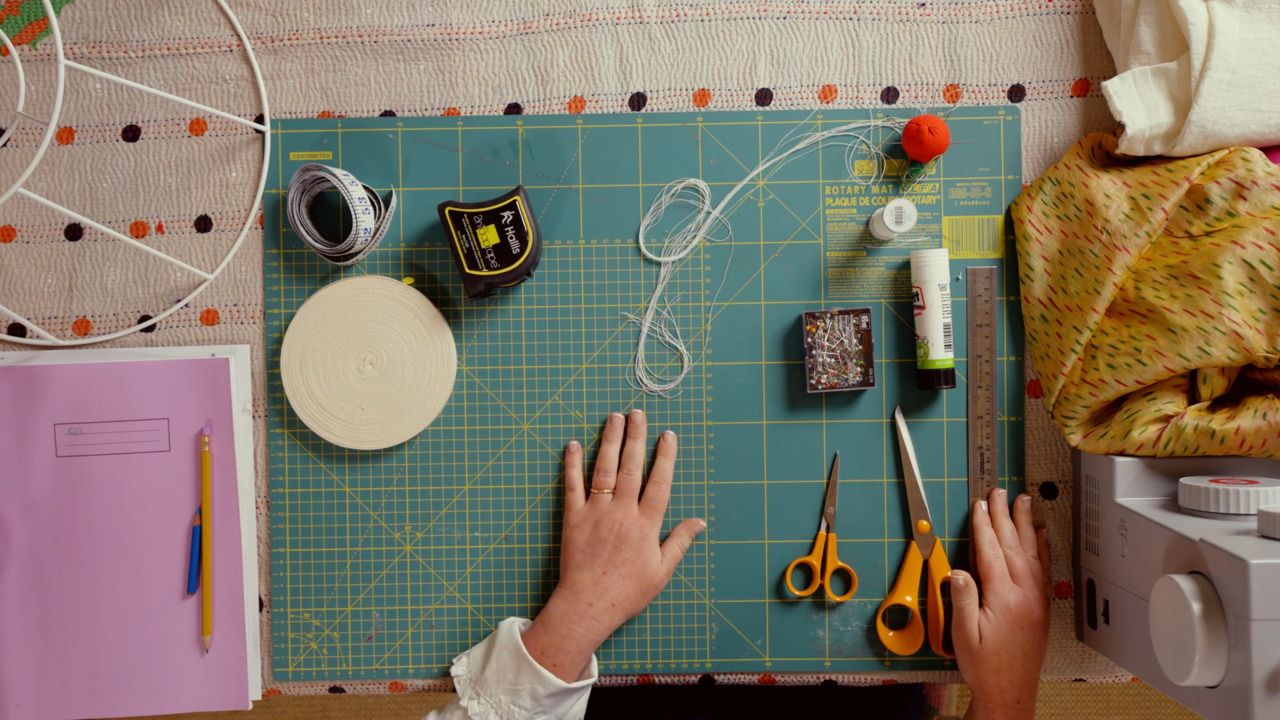
What You Will Need
- Lampshade frame
- Dressmaker's tape measure
- Notebook
- Pen
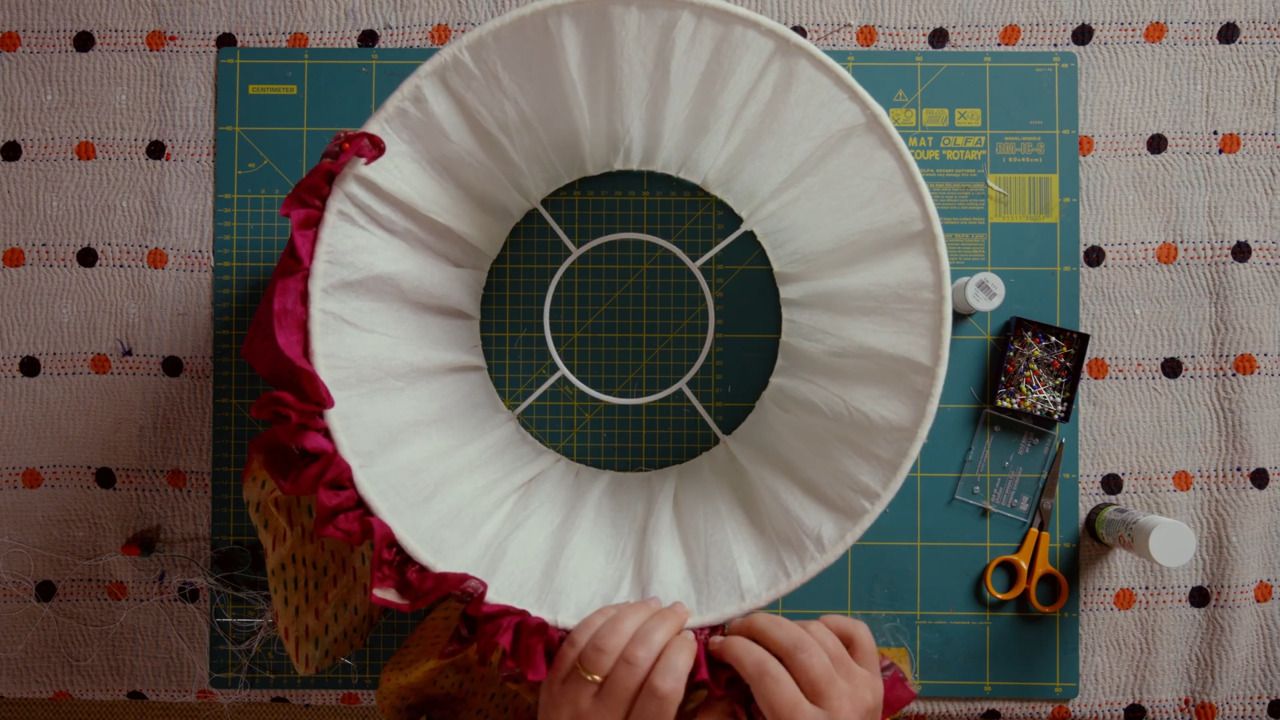
Calculating the Quantity of Fabric for the Lining
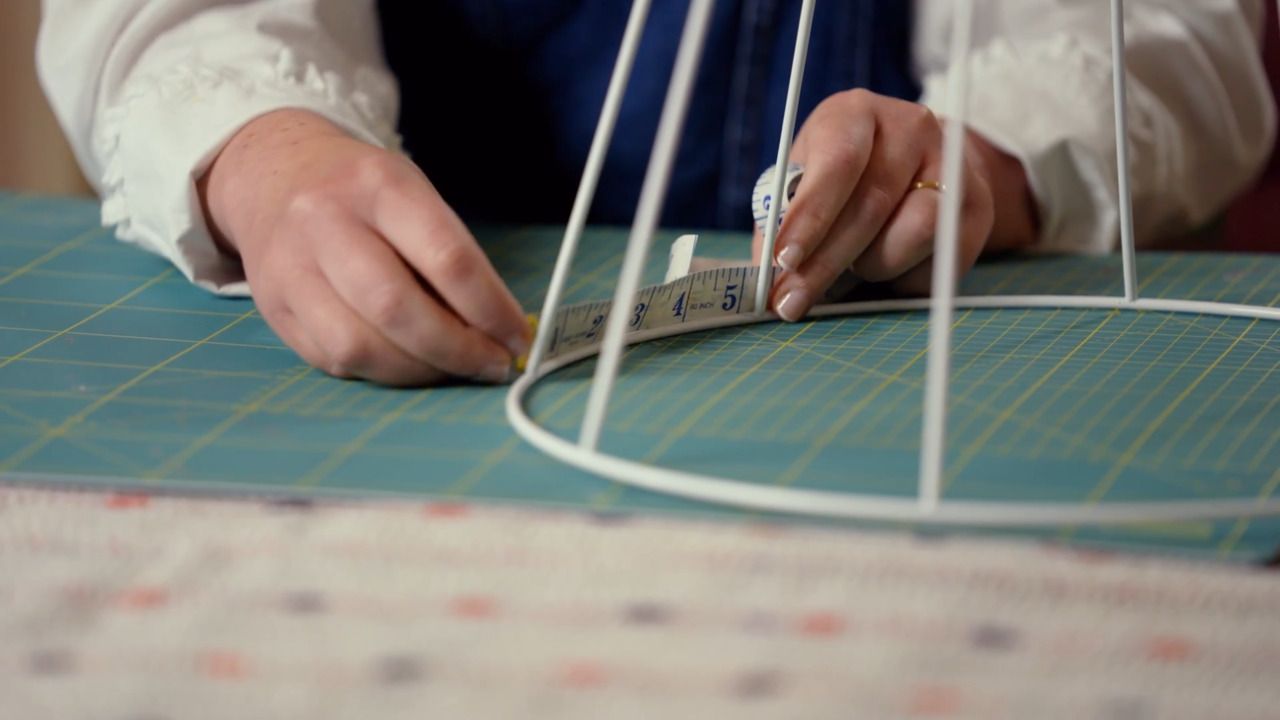
Step 1
Use a dressmaker's tape measure to measure the distance between the spokes. For my 14 inch frame, this is 14 cm. Note this measurement down in your notebook.
Step 2
Count how many spaces between the spokes and note down. For my frame, there are 8.
Step 3
Now multiply the distance measurement by the number of spaces between the spokes.
Step 4
Add 5 cm seam allowance to this calculation.
Step 5
You now have the width of fabric required for your lining.
Recap of Formula
Distance between spokes x amount of spaces between spokes + 5 cm seam allowance = width of fabric required for the lining
Example
(14cm x 8) + 5cm = 117cm
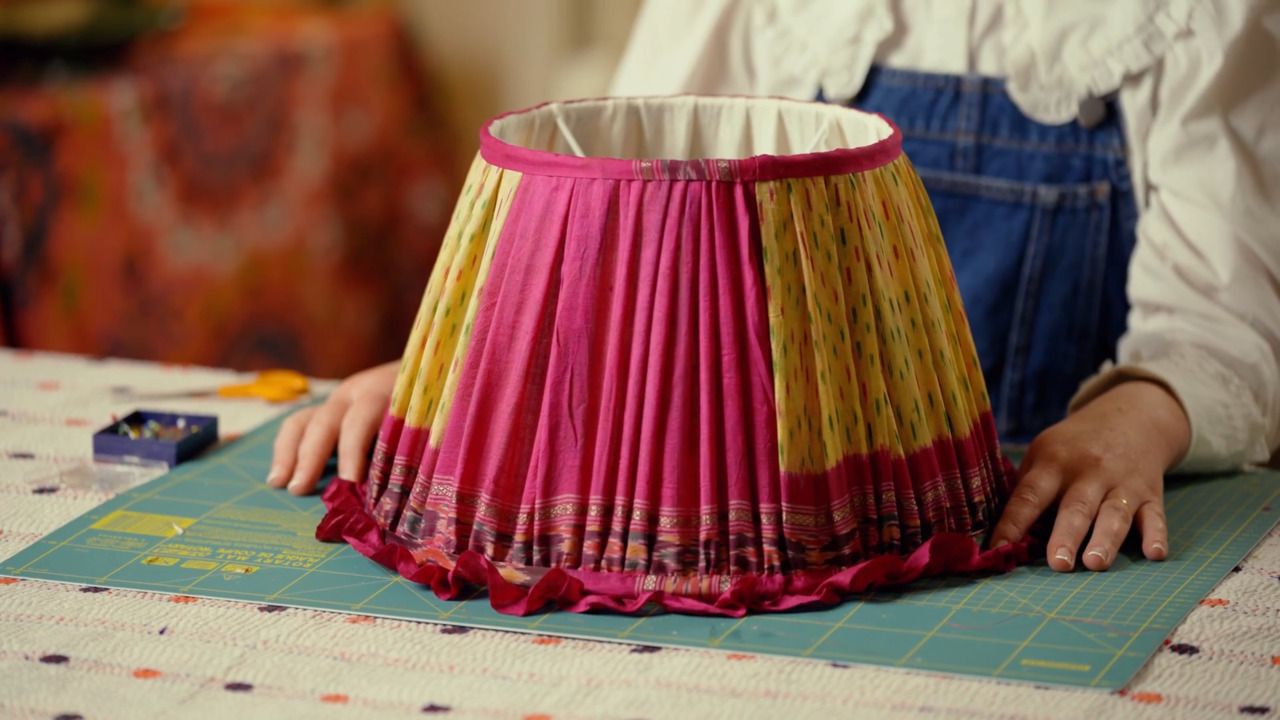
Calculating the Quantity of Outer Fabric
Step 1
Refer to the measurements you took for your lining fabric.
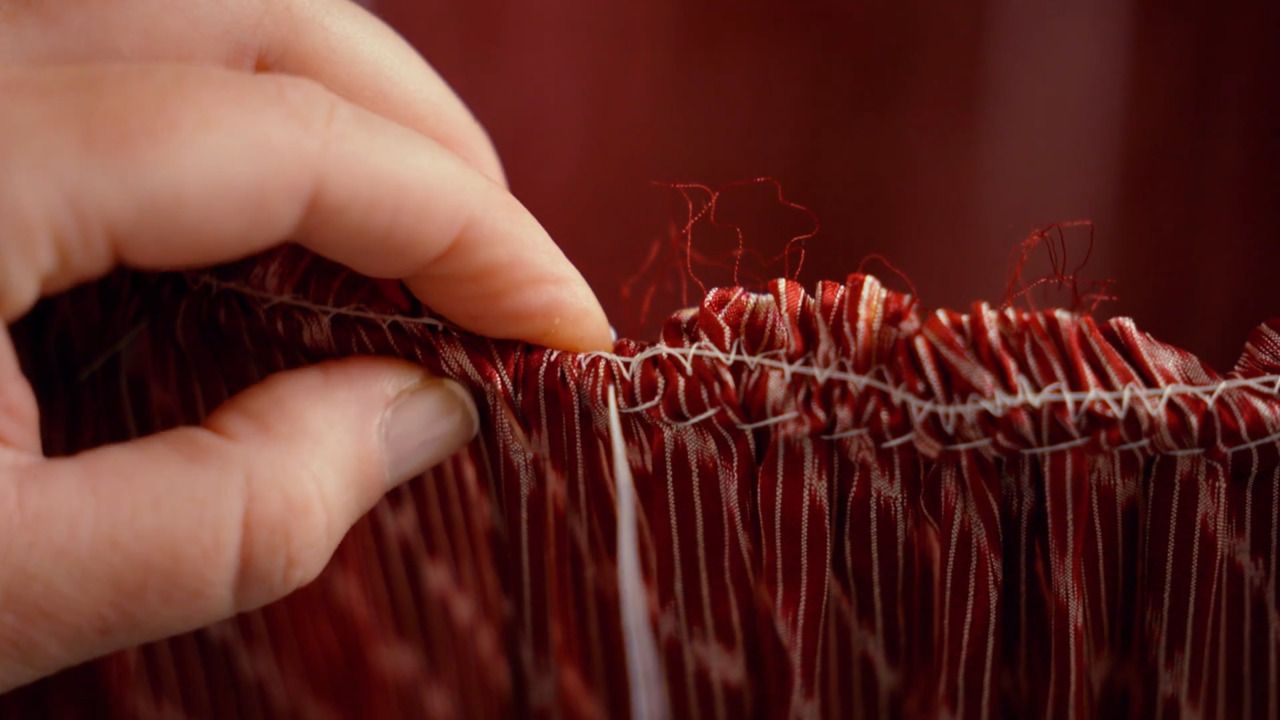
Step 2
To achieve a good, luxurious gather, you need to multiply the spoke measurement by 2. This gives me a measurement of 28cm.
Step 3
Next, multiply this measurement by the number of spaces between the spokes.
Step 4
Add 5 cm seam allowance to your calculation.
Step 5
This is the width needed for your outer fabric.
Recap of Formula
Distance between spokes x 2 to achieve fullness x amount of spaces between spokes + 5 cm seam allowance = width of fabric required for the lining
Example
(14cm x 2 x 8) + 5cm = 229cm
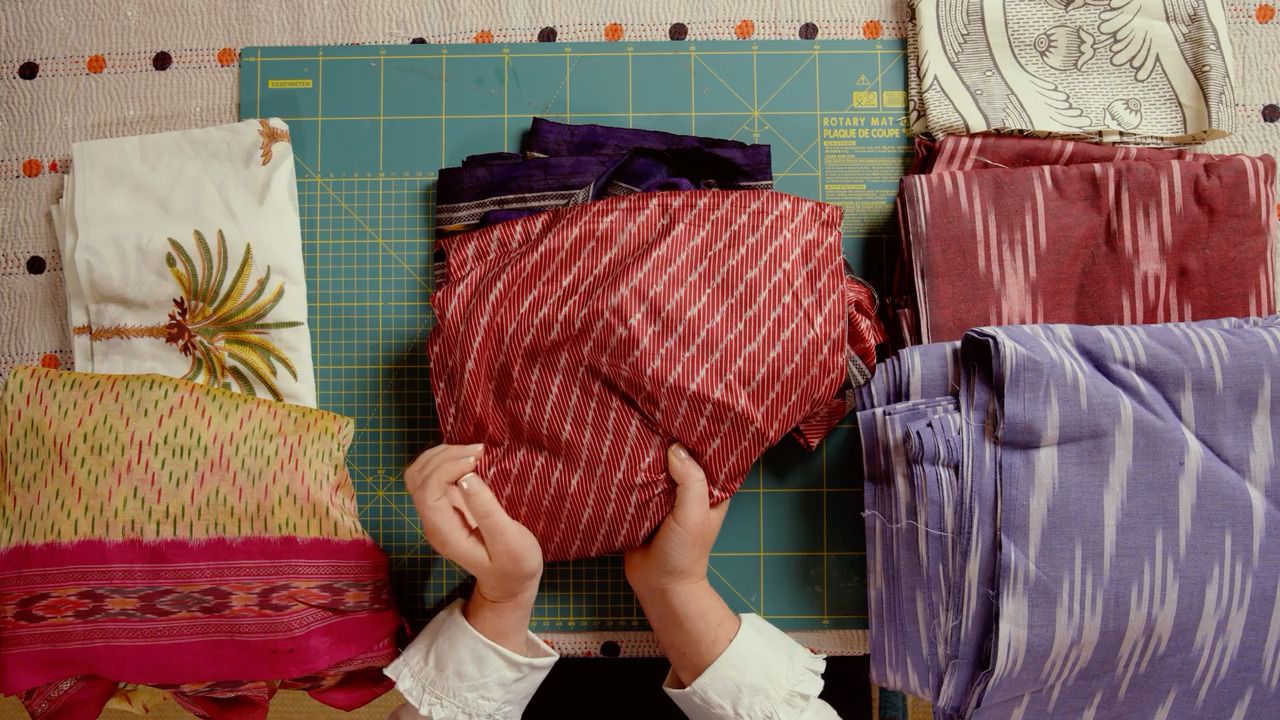
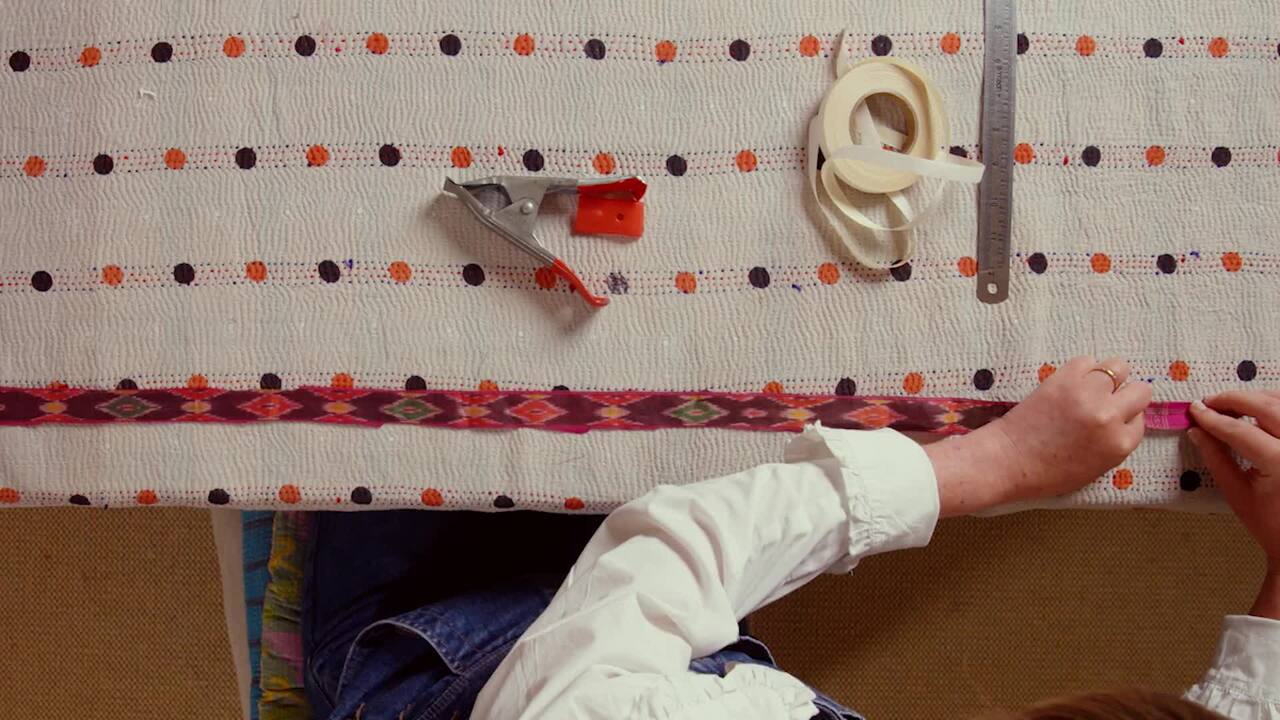
Working with Patterned Fabric
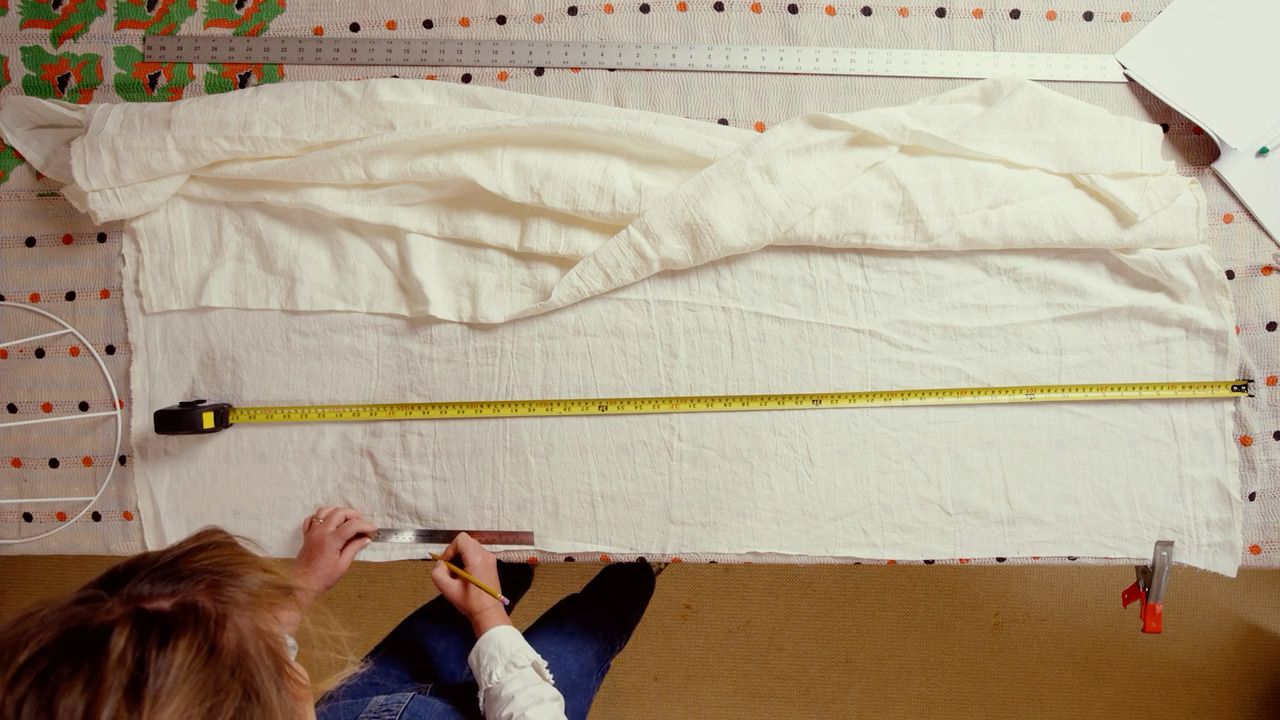
When working with patterned fabric that isn't wide enough to meet the required 229cm width, the fabric needs to be joined in panels. The key is careful preparation and accurate pattern matching before sewing.
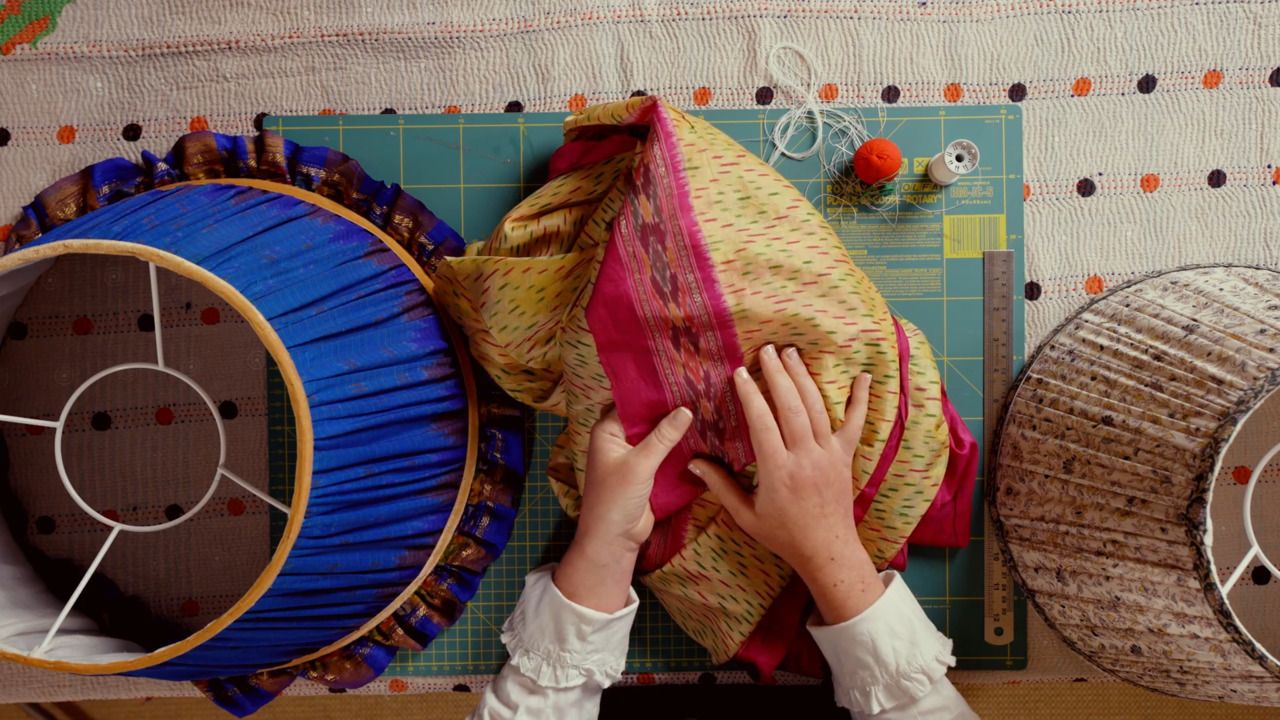
Step 1
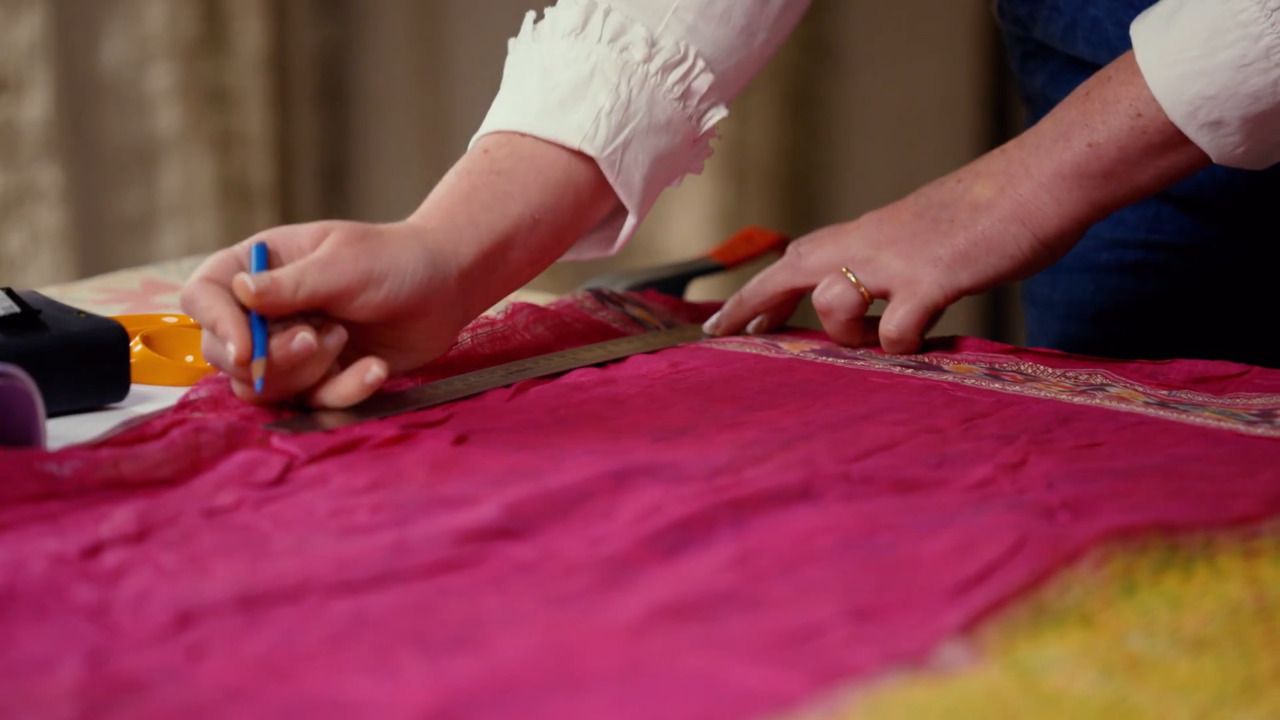
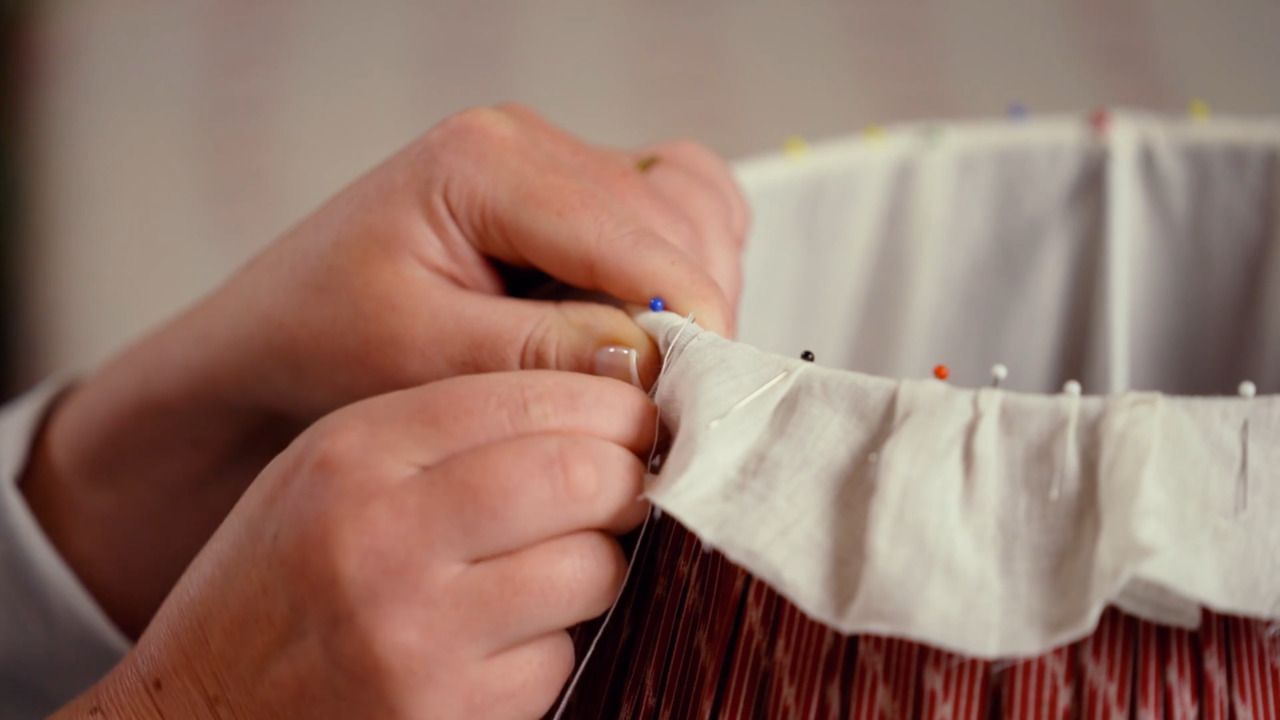
Before joining any pieces, I always recommend laying the fabric out flat and identifying the main pattern repeat (for example, a flower, stripe, or motif that repeats across the fabric). The fabric pieces should then be positioned side by side so that these motifs line up as closely as possible. Pinning or clipping along the join line helps keep everything in place before stitching.
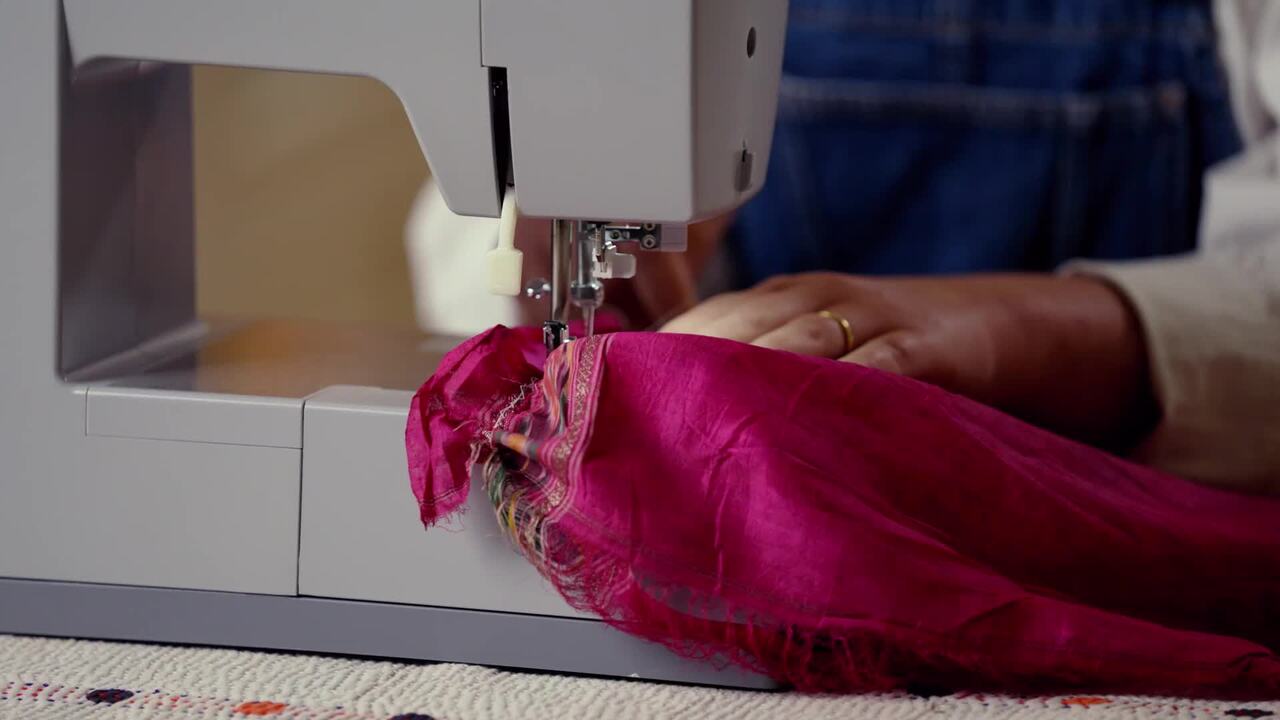
For Machine Stitching
Step 2
Once the pattern is aligned, place the two fabric pieces right sides together and pin along the edge.
Step 3
Sew using a straight stitch with a seam allowance of around 1–1.5cm.
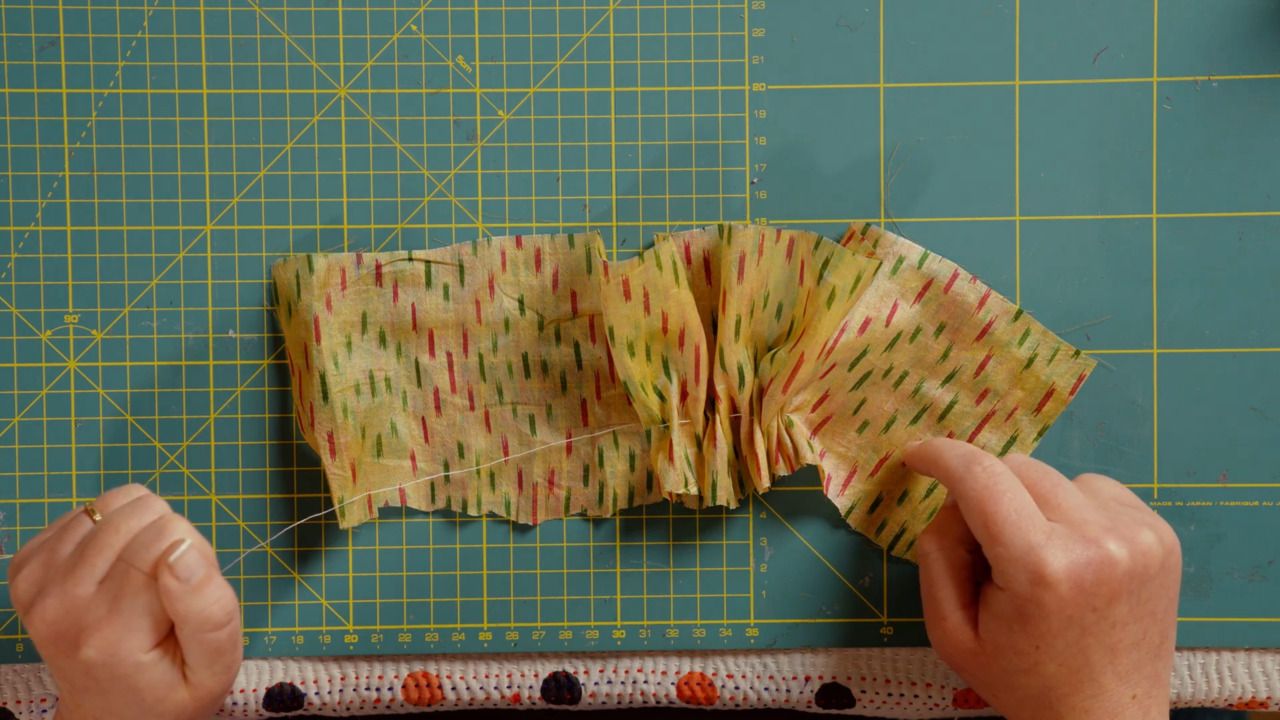
Step 4
After sewing, press the seam open with an iron. Pressing is very important, as it helps the seam sit flat and makes the join less visible. When pattern matching is done carefully, the seam blends into the design and becomes hard to notice.
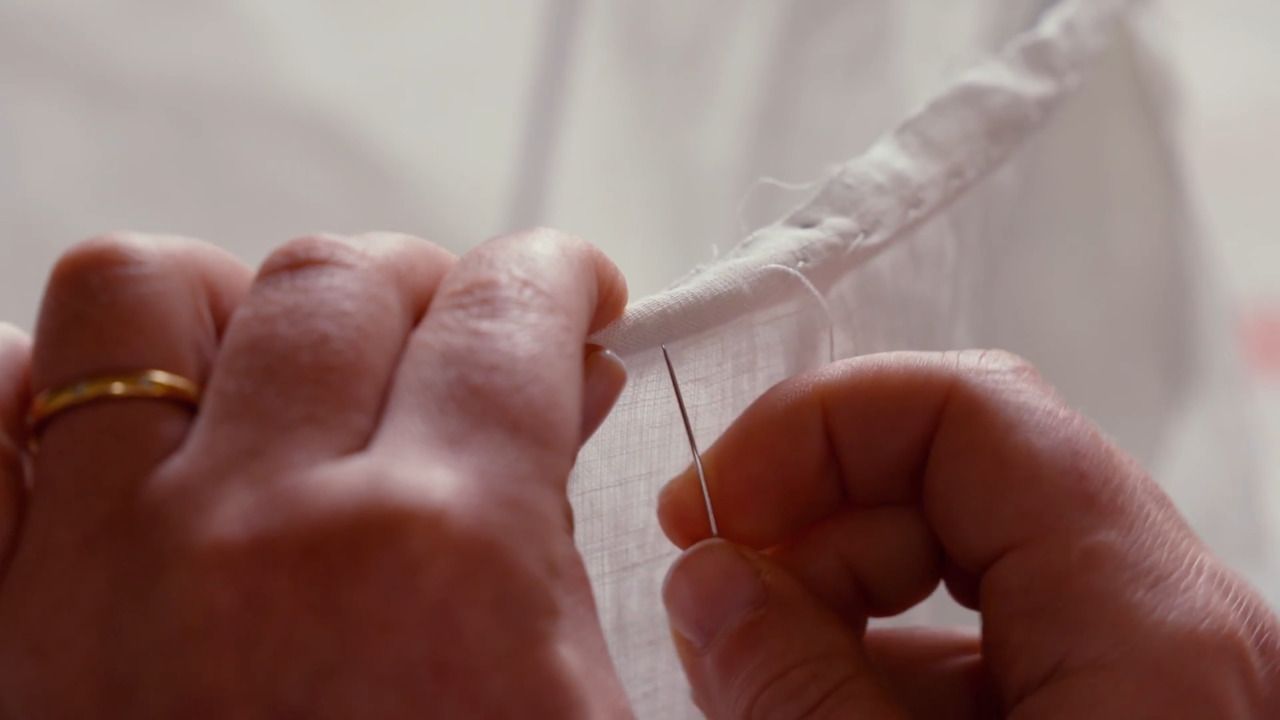
For Hand Stitching
If a sewing machine isn't available, the fabric can be joined neatly by hand using a small, neat backstitch.
Step 2
Pin the fabric pieces together with right sides facing.
Step 3
Thread a hand needle with strong thread that matches the fabric colour. Sew small, even backstitches along the seam line, keeping stitches close together for strength.
Step 4
Once finished, gently press the seam open. This creates a strong and tidy join that works well for most projects.
For Invisible Pattern Matching
To achieve the best pattern match, it helps to cut the second panel by laying it directly over the first panel and matching the pattern before cutting. This ensures the motifs are aligned before sewing even begins. Taking time at this stage makes a big difference to the final result.
Joining Multiple Panels
If several panels are needed to reach the required width, repeat the same process for each join. It's best to work from the centre outwards, keeping the main pattern balanced and symmetrical where possible. Once all panels are joined, the full width fabric can be treated as one piece and marked and cut according to the spokes template.
In Summary
- Match the pattern before cutting and sewing
- Pin carefully to prevent shifting
- Use straight stitch (machine) or small backstitch (hand)
- Press seams open for a neat finish
- Take time at the preparation stage for best results
Get the full workbook, video lessons, and more with a Create Academy subscription.
Subscribe to access the full workbook
Your Instructor
Chloe Jonason
Designer and soft furnishing expert specialising in vintage textiles and hand-crafted homewares.
Chloe is a designer and textile artist, specialising in upholstery, soft-furnishings, vintage textiles and unique objects for the home. Chloe's fascination with the art of hand sewing was ignited at University when studying History of Art, after which she embarked on a career rooted in furniture and soft furnishing making. In 2015, she founded her eponymous design business - based out of her studio in the South Lincolnshire countryside - where she crafts bespoke homewares and handmade lampshades using colourful vintage fabrics and carefully curated textiles sourced from across the globe.


Access to all courses