

Interior and exterior confidence
Create Academy has been such a great resource. I'm in the middle of renovating a bungalow with a very large garden and the courses have offered a wealth of inform...
Harvey
Jun 10, 2026
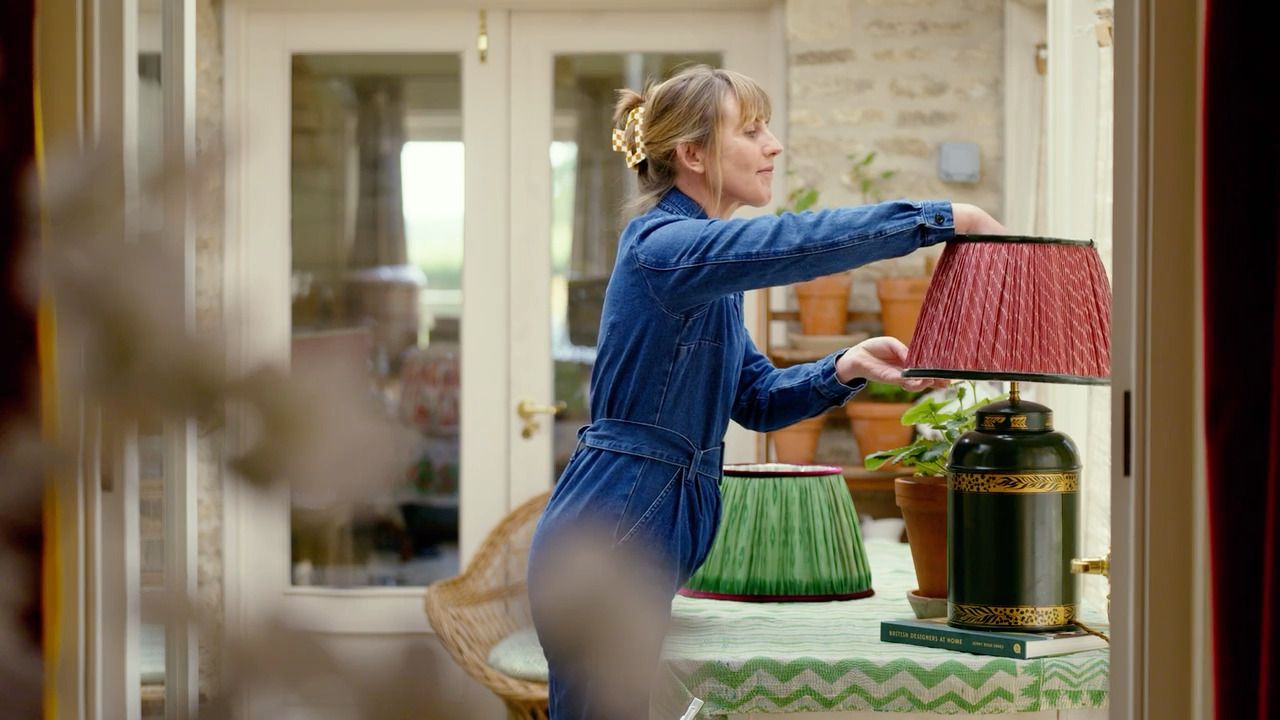
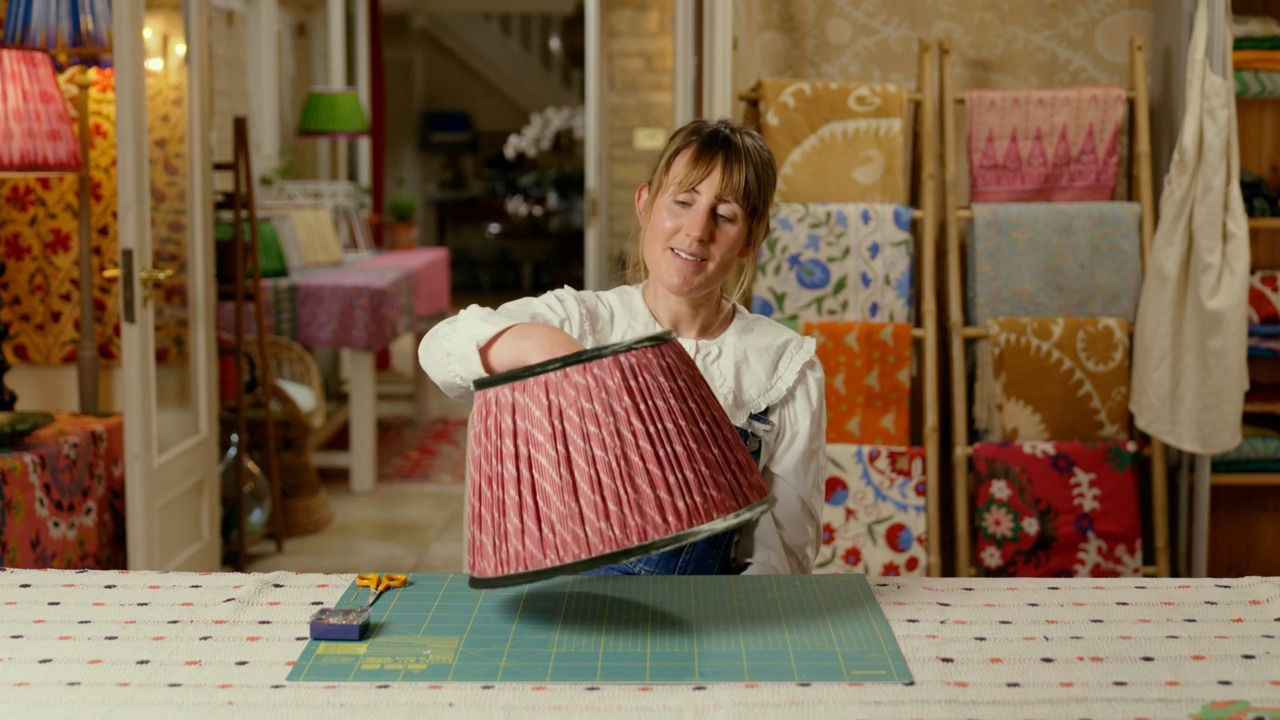
Handsewn Lampshade Masterclass
with CHLOE JONASON — Designer and soft furnishing expert specialising in vintage textiles and hand-crafted homewares.
Lesson 14 of 21
Subscribe to watch
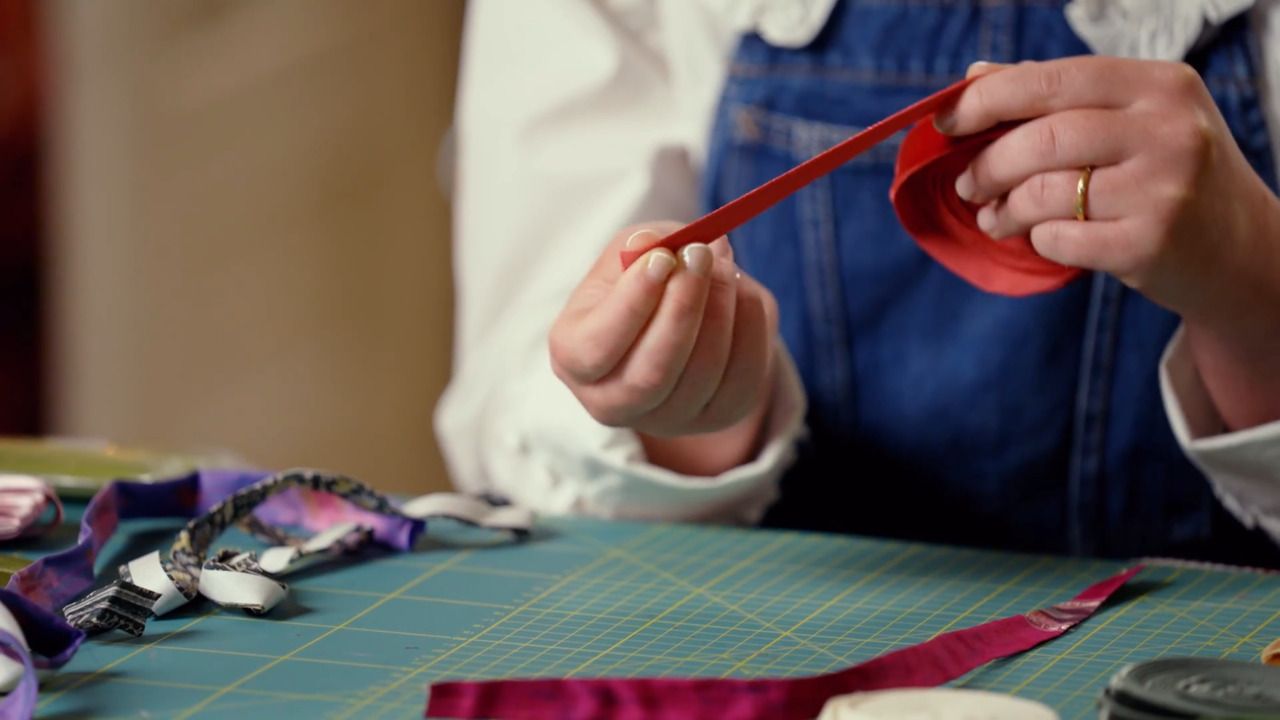
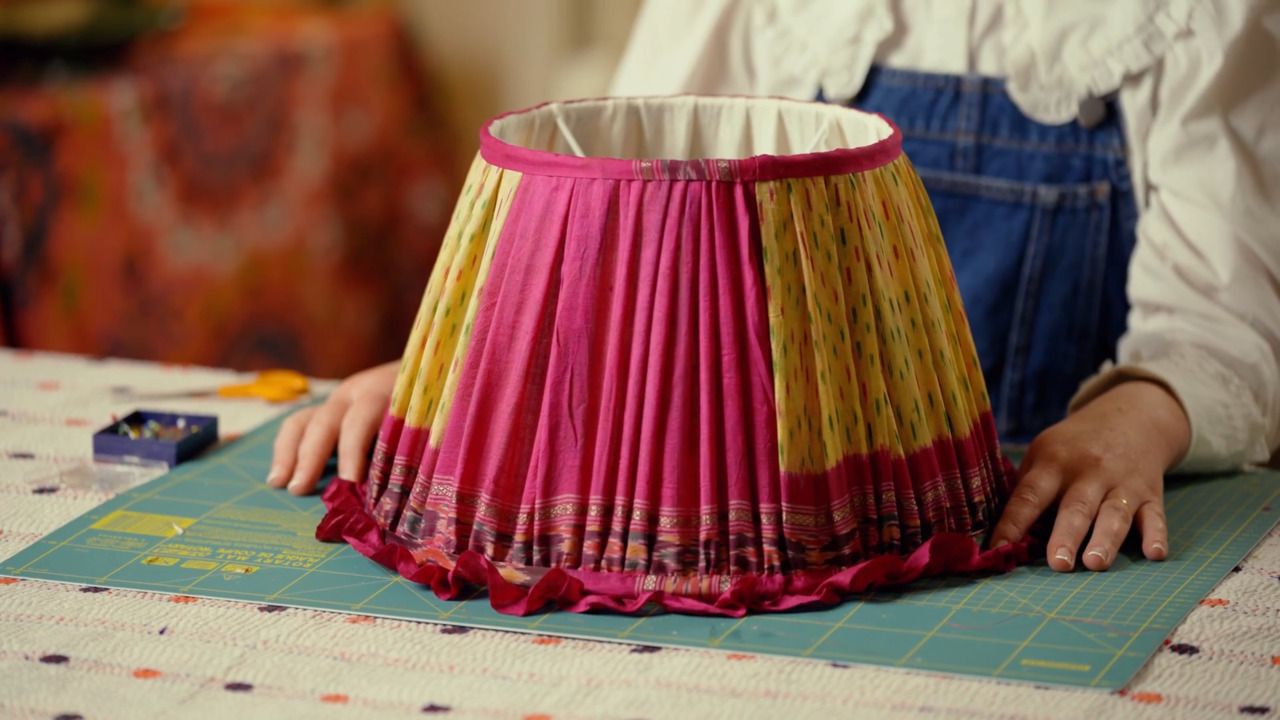
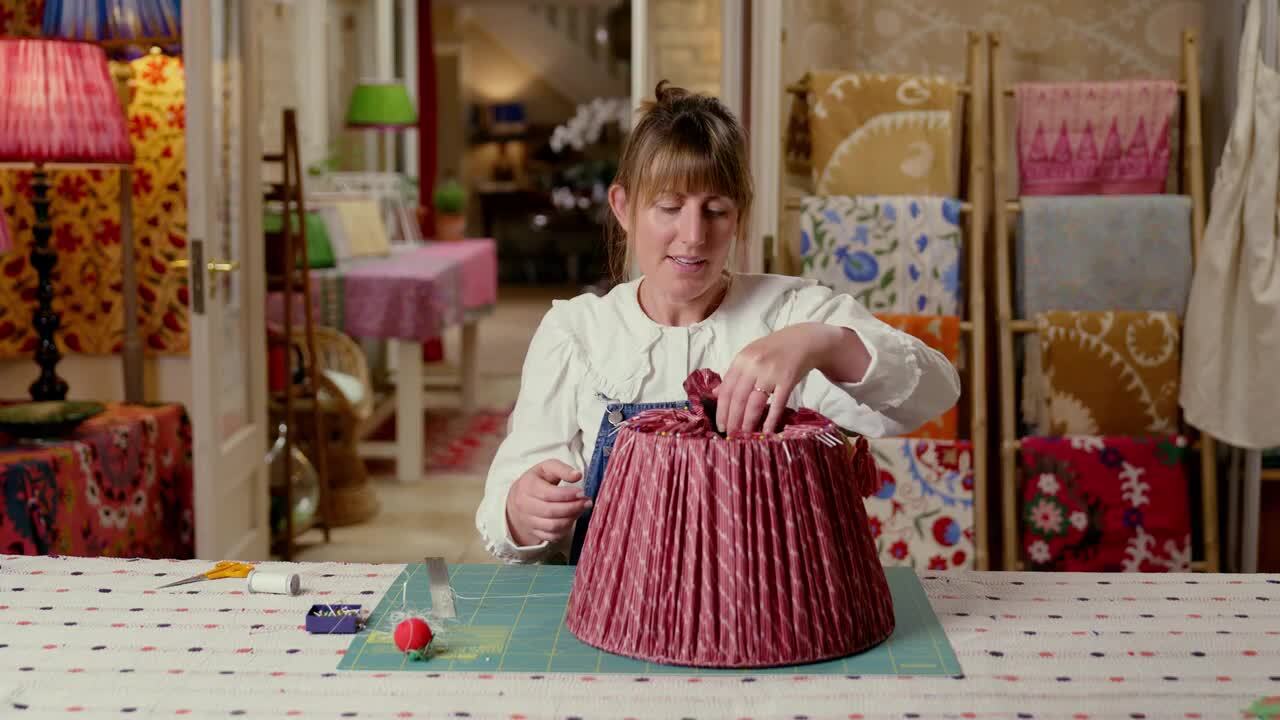
At this point in the course, you will focus on the first project and during the next few lessons Chloe will be showing you how to create a gathered lampshade with a velvet trim.
We have come to the point in the course where our two projects differ. In the next few lessons, I'll be showing you how to create the first project - a gathered lampshade with a velvet trim.
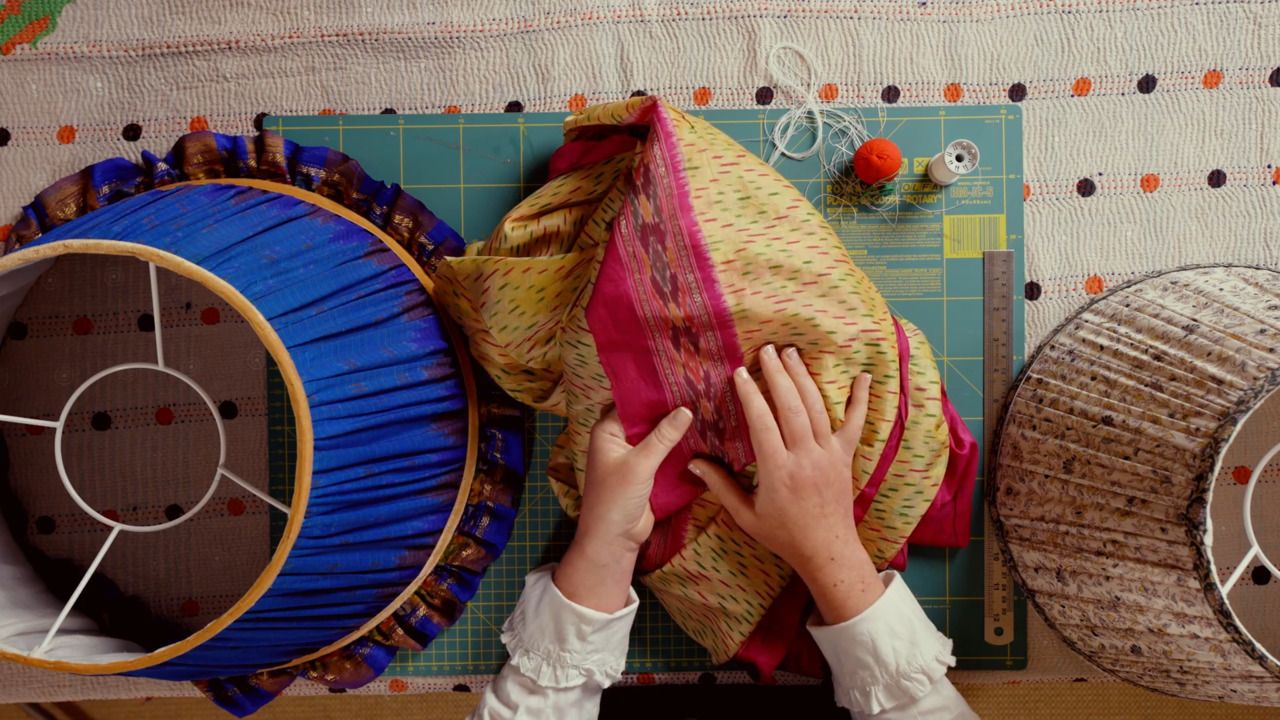
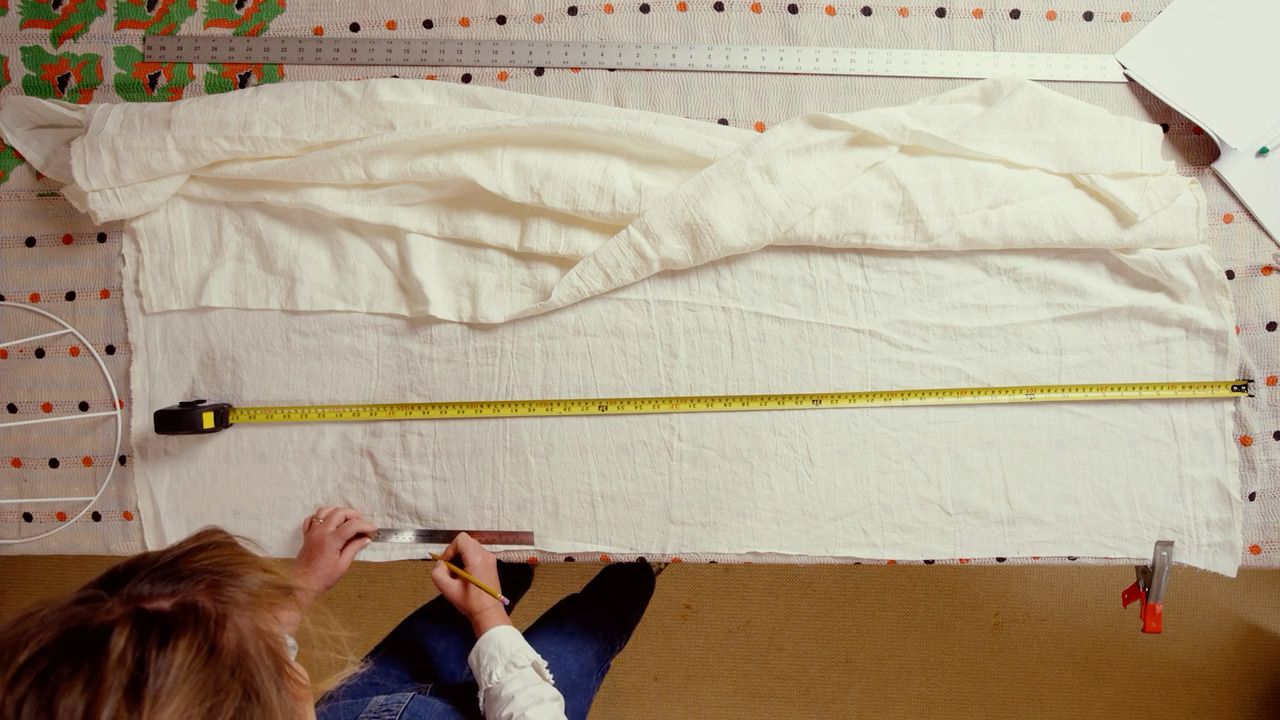
Step 1
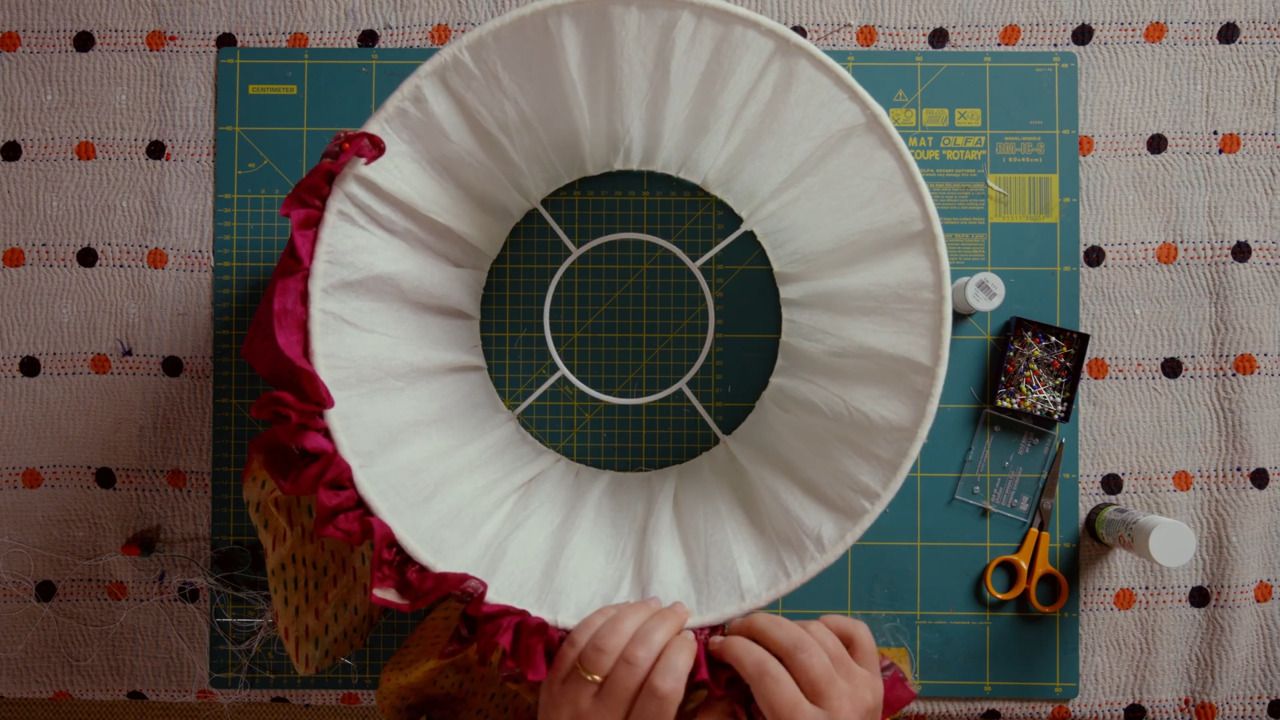
Take your gathered outer fabric panel, and remind yourself where the markings are for each of the spokes. Place your bound lampshade frame upside down so the bottom ring is facing upwards.
Step 2
Starting with the left side of the fabric panel, hold it up to the frame so that the right side of the fabric is facing you and the bottom edge lines up with the bottom ring of the frame.
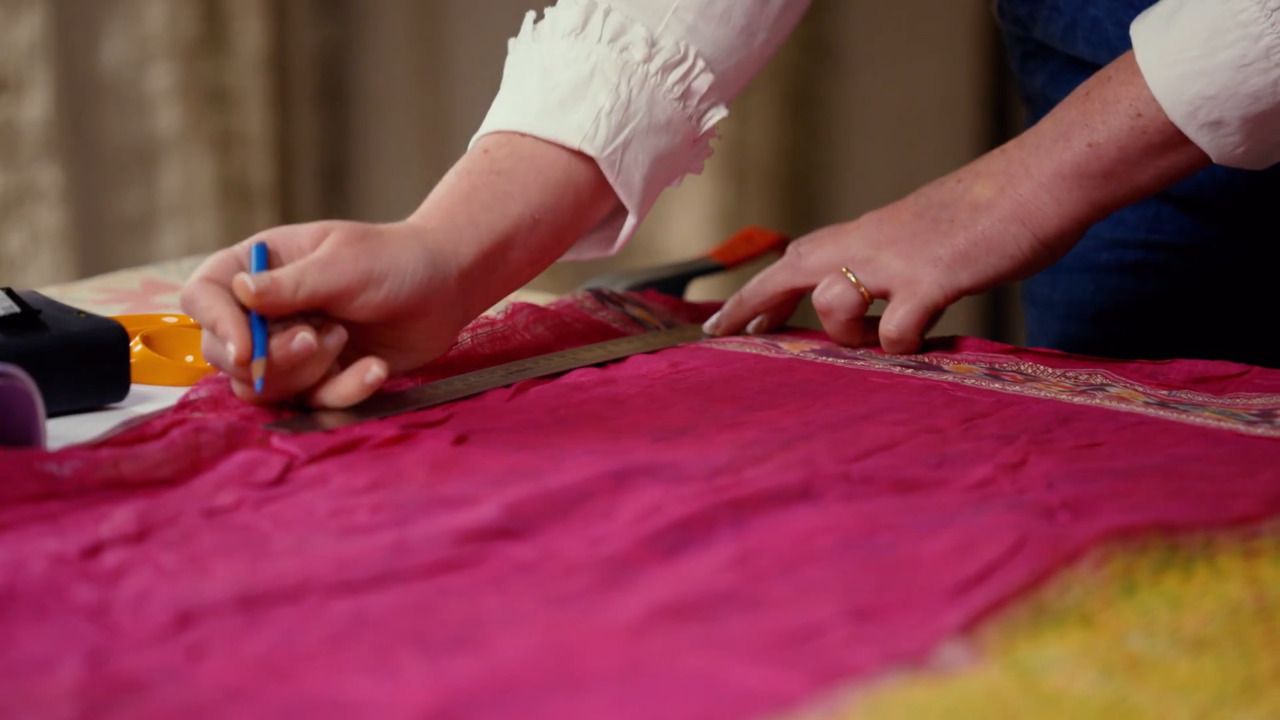
Step 3
Fold 2cm inwards towards the frame all the way down the left edge of the fabric to accommodate your seam allowance. Pin in place onto your frame at the first spoke, with the bottom edge overlapping the bottom ring. Make sure your pins are facing down, to avoid spiking yourself as you work.
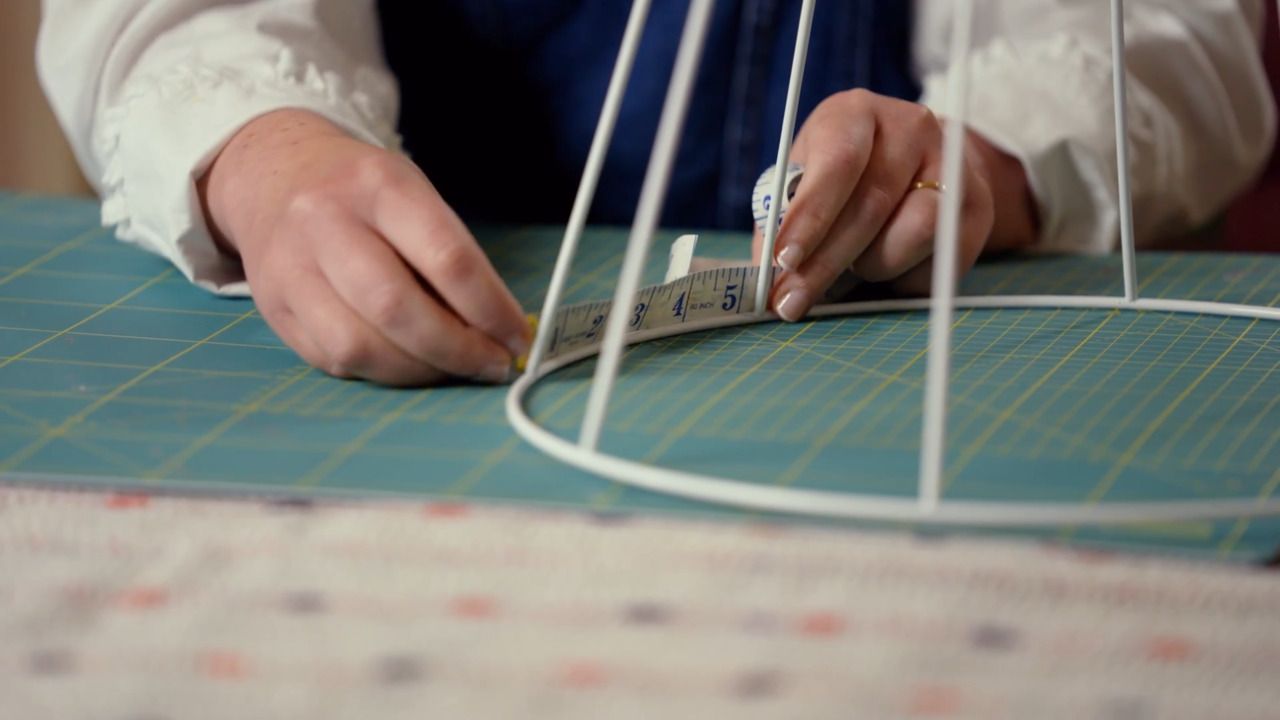
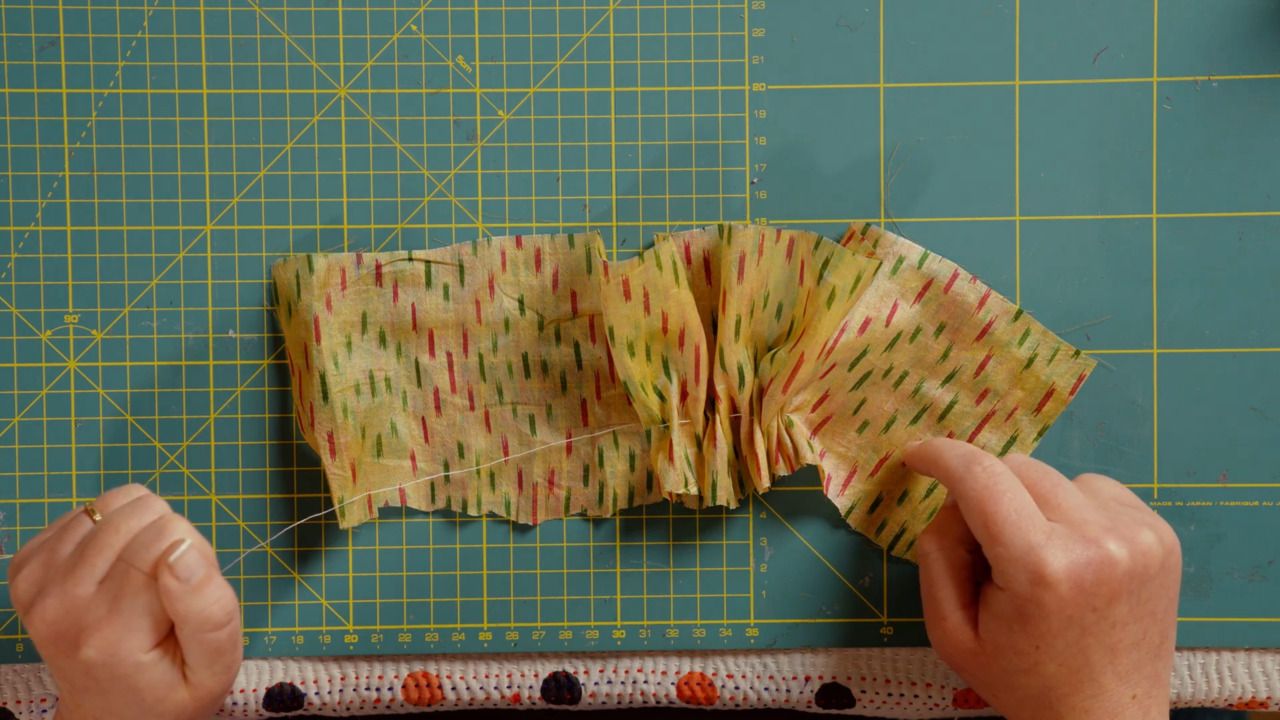
Step 4
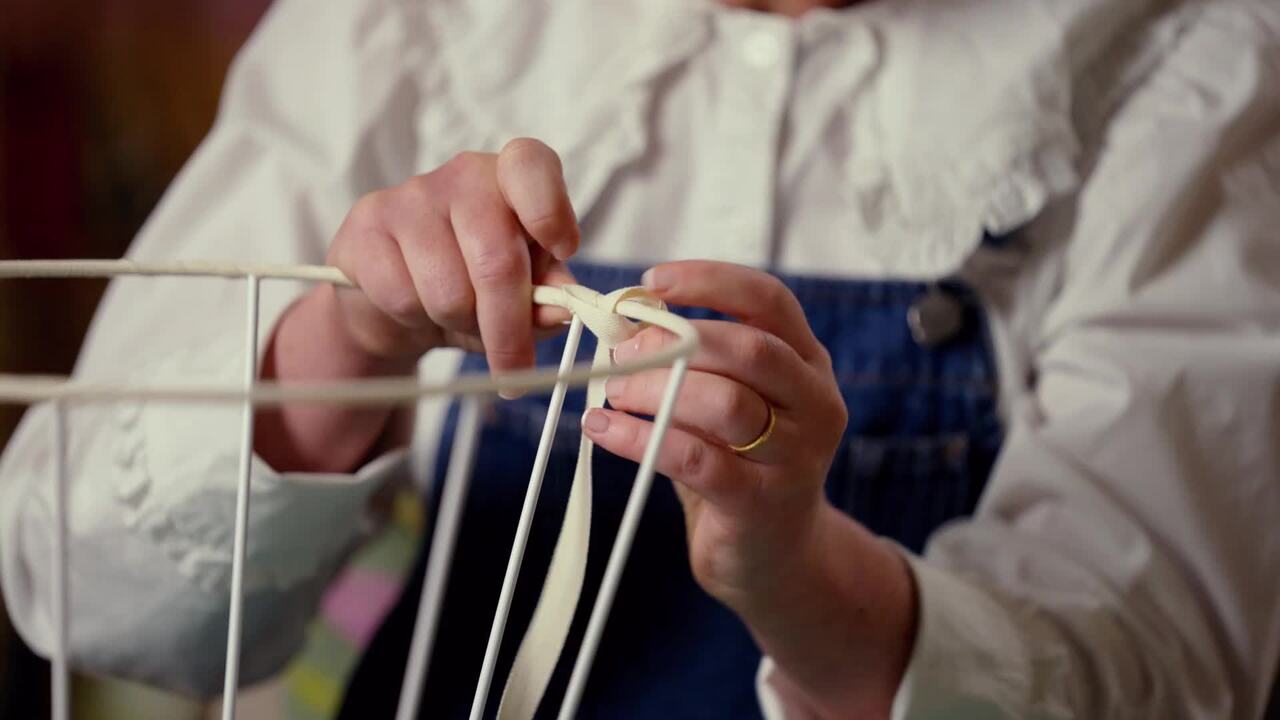
Locate your first marking, and line this up with the next spoke along the frame. Gently ease out the gather to an even fullness, then pin the outer fabric to the binding at the point that your marking lines up with the spoke.
Step 5
Continue this process of lining up each of your markings on the outer fabric to the corresponding spokes on the frame and pinning in place. Keep adjusting the gather of your fabric so that it looks equal in each of the sections.
Step 6
Once you reach the end of the fabric, fold the 2cm seam allowance inwards and pin in place so that it overlaps the starting edge of the fabric.
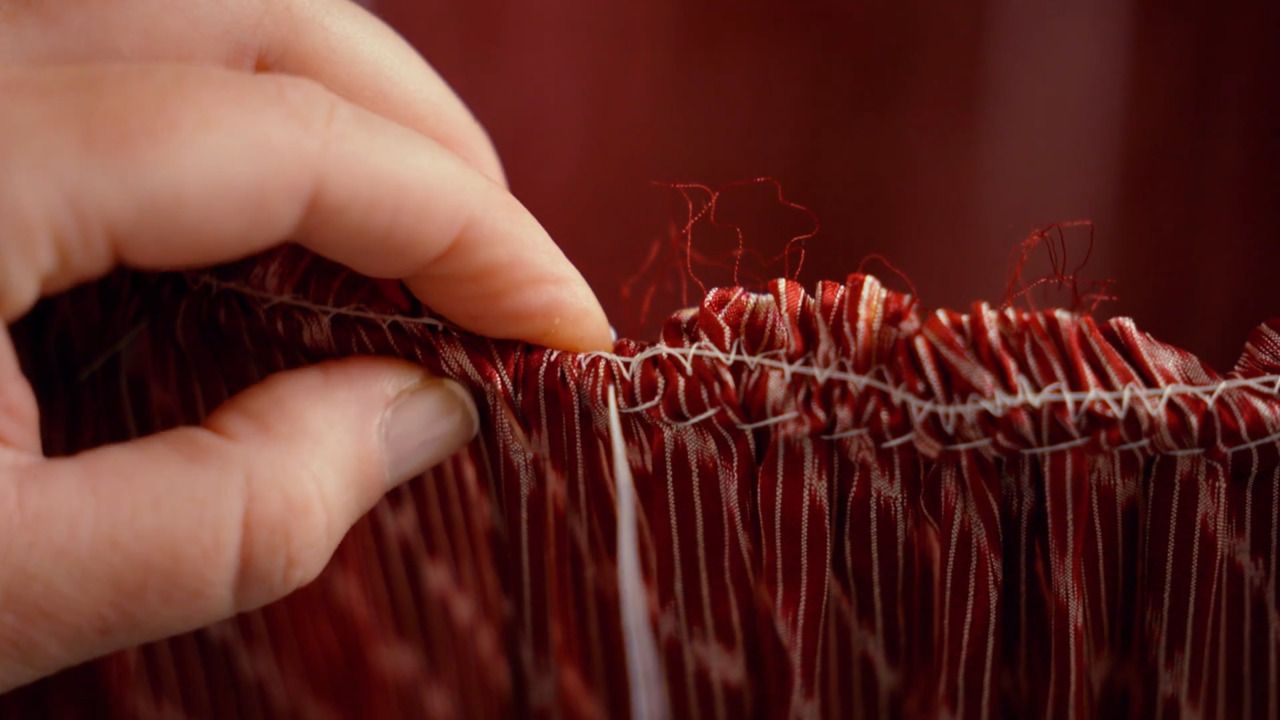
Step 7
Check that the outer fabric is gathered evenly around the entire frame. Once you're happy, trim the thread that you have been using to control the gathering.
Step 8
Moving around the frame, position the fabric so that the zig zag seam sits neatly just inside the bottom ring. Pin in place as you go.
Step 9
When this is complete, flip the lampshade frame over so the top ring is now facing upwards.
Step 10
Take both sides of the outer fabric panel, and replicate the way in which they are pinned together on the bottom ring onto the top ring, folding the seam allowance and overlapping the two pieces.
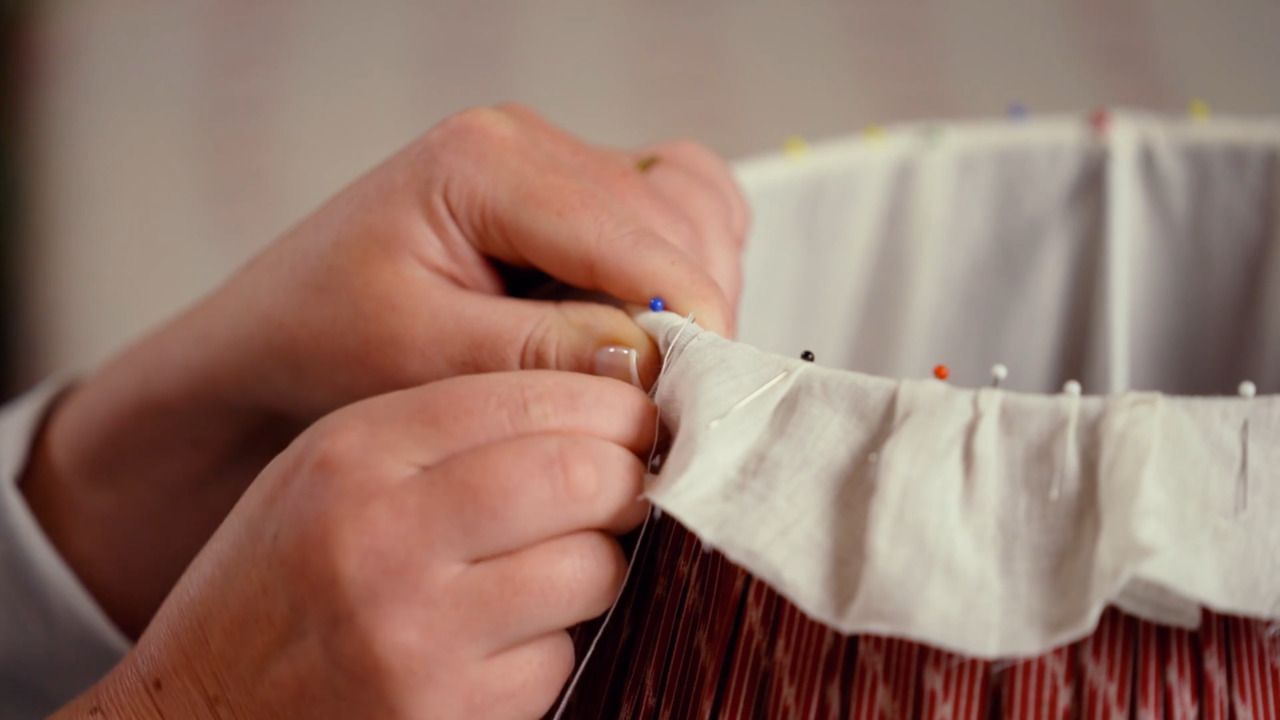
Step 11
As you did with the bottom ring, locate the first marking and line it up with the corresponding spoke, pulling the fabric up so the excess is over the top ring. Then fold a small pleat in the fabric and pin in place.
Step 12
Repeat this process for each marker, folding a pleat into the fabric and pinning this to corresponding spoke.
Step 13
Once each marker is pinned and aligned with the positioning of the markers on the bottom ring, you can work your way in sections gathering the fabric by hand and pinning in place. This can be done by eye, and doesn't need to be perfect. At this stage you are just roughly positioning in preparation for sewing the bottom ring.
Step 14
Turn your lampshade so the bottom ring is facing upwards. Find the point where the two fabrics meet - this is where you will begin sewing.
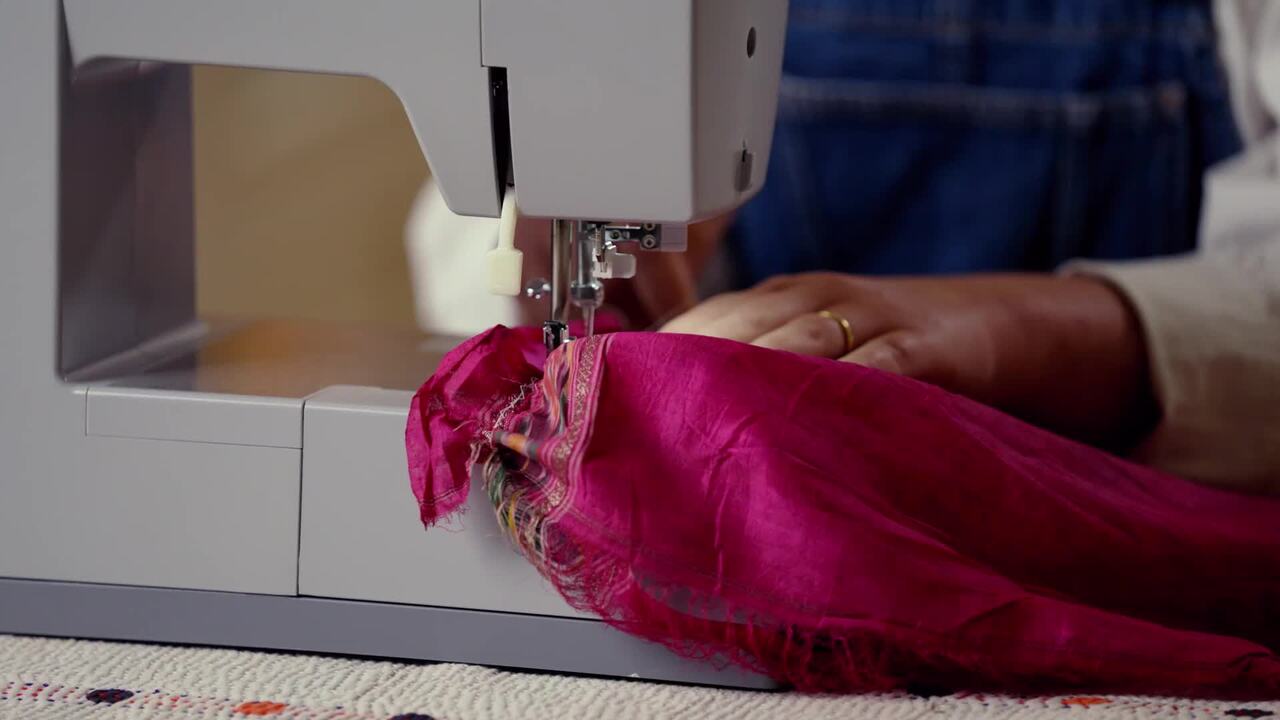
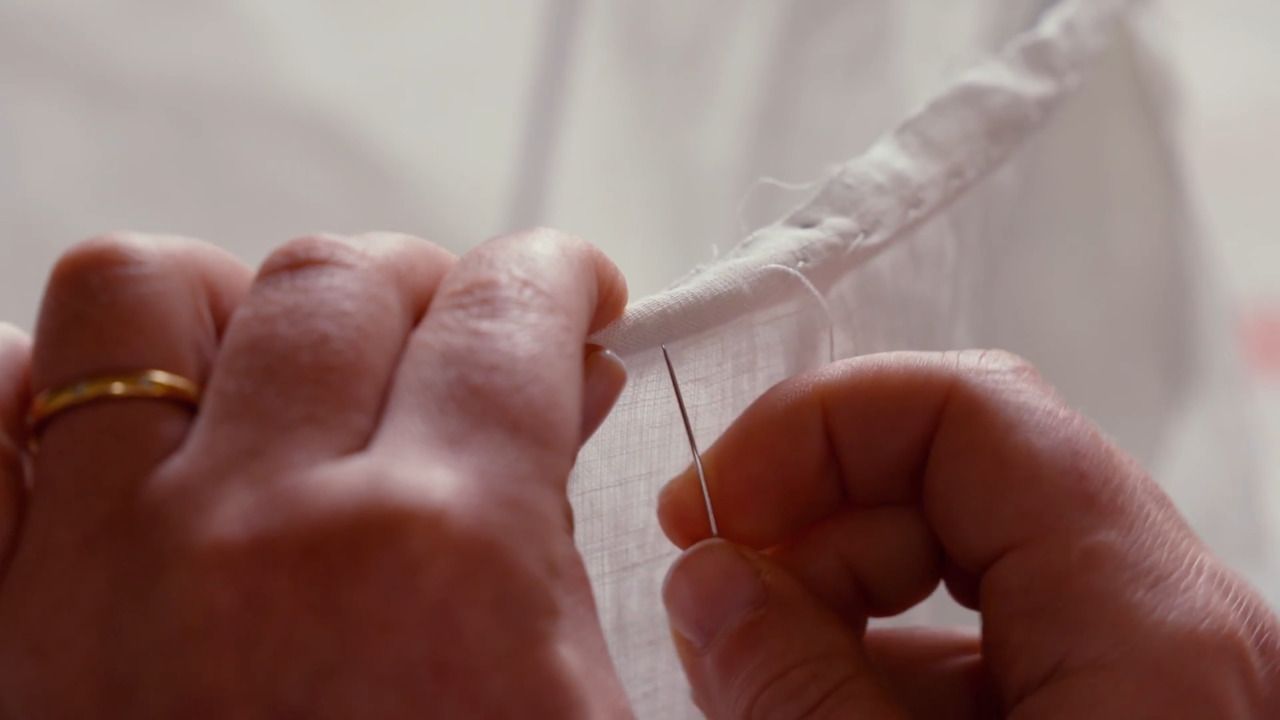
Step 15
Take a threaded needle, and do a few up and down stitches catching both layers of fabric and the binding to secure the two pieces together, as well as to the frame.
Step 16
Work your way around the lampshade stitching the fabric to the binding on the frame using the lampshade stitch, taking the pins out as you go. Try to aim your stitch where there is a pleat, and make sure you are scooping the binding into the stitch to securely attach. At this stage, you are just tacking the material in place, so don't worry about being too neat.
Step 17
Once you have tacked all the way around, turn the lampshade over so the top ring is facing up and you're ready to repeat the process. This time, be sure to pull the fabric tight every time you do a stitch so it is evenly taut all the way around.
Step 18
Turn the lampshade back over so the bottom ring is facing up. Take your small scissors, and trim the excess fabric as close to the frame as you can. This will mean you are likely cutting away the zig zag stitch, but take care not to cut too closely to the stitch that attaches the fabric to the frame as this needs to remain intact.
Step 19
Once trimmed, give your work a once over checking for any stray threads or sections that might need trimming down further.
Step 20
Take your glue stick, and gently run it all around the bottom ring of the frame. This helps to prevent the edge of the fabric from fraying. You're also aiming to delicately brush and encourage the fabric away from the white band so that it's not visible when you come to attach the lining.
Step 21
Once the glue is dry, flip your lampshade over so the top ring is facing upwards and repeat the process of trimming the excess fabric and glueing the edge.
Get the full workbook, video lessons, and more with a Create Academy subscription.
Subscribe to access the full workbookAlready a member? Sign in to watch
479 reviews
Read moreCreate Academy has been such a great resource. I'm in the middle of renovating a bungalow with a very large garden and the courses have offered a wealth of inform...
Harvey
Jun 10, 2026
Absolutely love Create Academy! The instructors are extremely informative, and it is beautifully filmed. Create Academy is great value for money and plan on renew...
SG
May 31, 2026
Butter's creativity is stunning! Her ability to incorporate brilliance in small gardens is magical!
Carla
May 30, 2026
The best adventure. I like all the courses, but my favorite are both Rita Konig interior design courses and Anna Jones. Excellent!
Karolina Kluczewska
May 20, 2026
Create Academy has been such a great resource. I'm in the middle of renovating a bungalow with a very large garden and the courses have offered a wealth of information to dive into and explore new ideas. I'm...
Harvey
Jun 10, 2026
Absolutely love Create Academy! The instructors are extremely informative, and it is beautifully filmed. Create Academy is great value for money and plan on renewing my subscription yearly because there are ...
SG
May 31, 2026
Butter's creativity is stunning! Her ability to incorporate brilliance in small gardens is magical!
Carla
May 30, 2026

Your Instructor
Designer and soft furnishing expert specialising in vintage textiles and hand-crafted homewares.
Chloe is a designer and textile artist, specialising in upholstery, soft-furnishings, vintage textiles and unique objects for the home. Chloe's fascination with the art of hand sewing was ignited at University when studying History of Art, after which she embarked on a career rooted in furniture and soft furnishing making. In 2015, she founded her eponymous design business - based out of her studio in the South Lincolnshire countryside - where she crafts bespoke homewares and handmade lampshades using colourful vintage fabrics and carefully curated textiles sourced from across the globe.

Access to all courses


