

Very good tutorial from a professional garden...
I have subscribed to access all the courses so have watched one on interior design and this one with Butter Wakefield who specialises in small garden design. She ...
Louise Brown
Apr 10, 2026
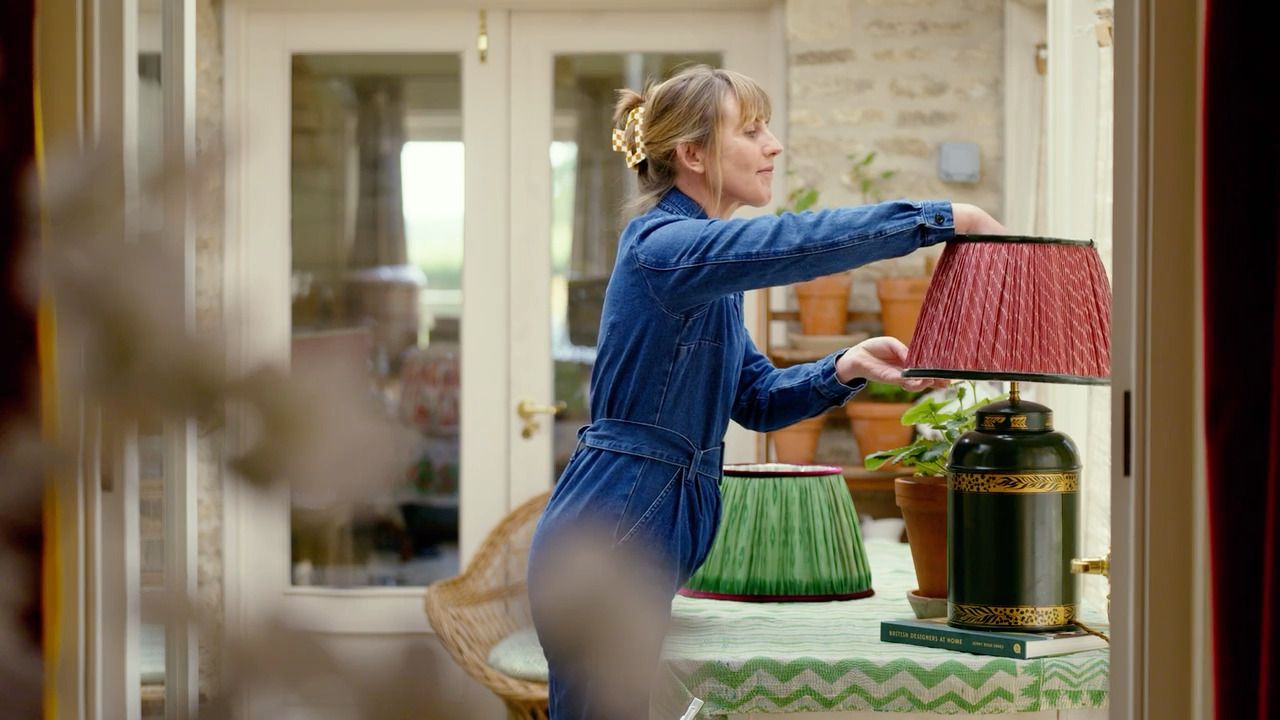
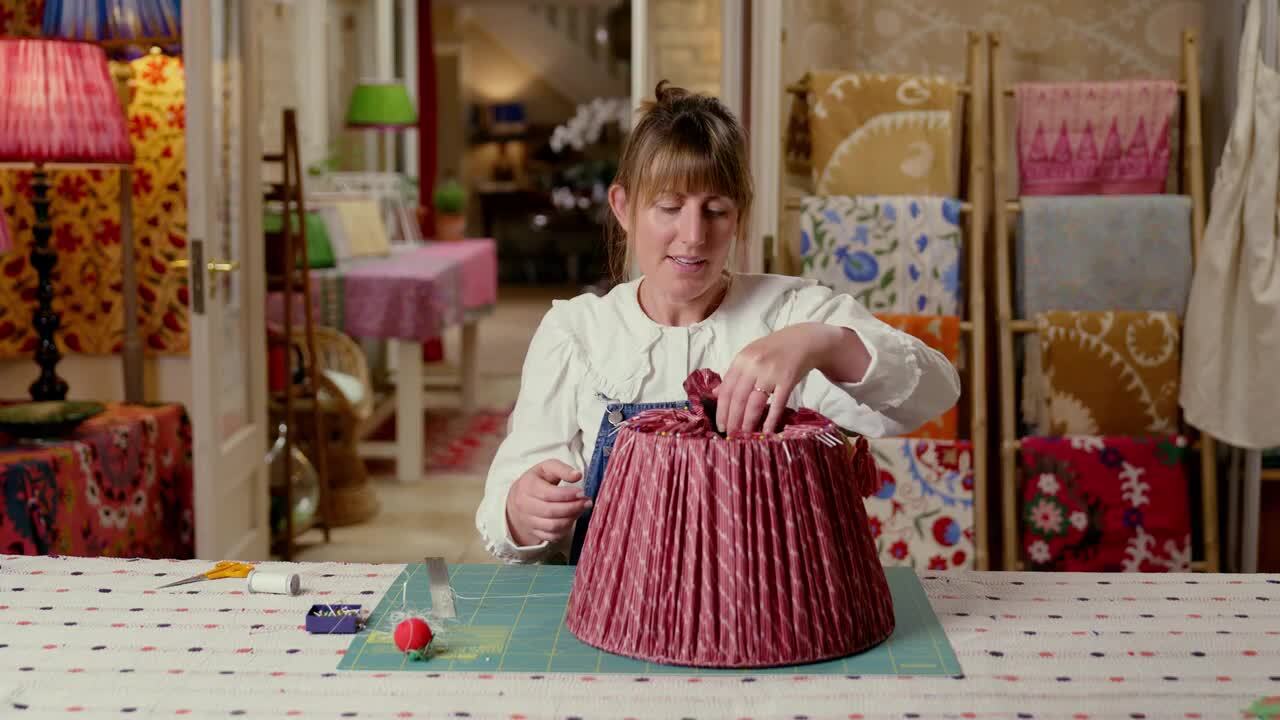
Handsewn Lampshade Masterclass
with CHLOE JONASON — Designer and soft furnishing expert specialising in vintage textiles and hand-crafted homewares.
Lesson 10 of 21
Subscribe to watch
The process for getting your outer fabric ready is largely the same, but with one difference to bear in mind.
The process for getting your outer fabric ready is largely the same, but with one difference to bear in mind. You should also follow these steps for both projects - just look out for adjustments on the location of the bottom edge.
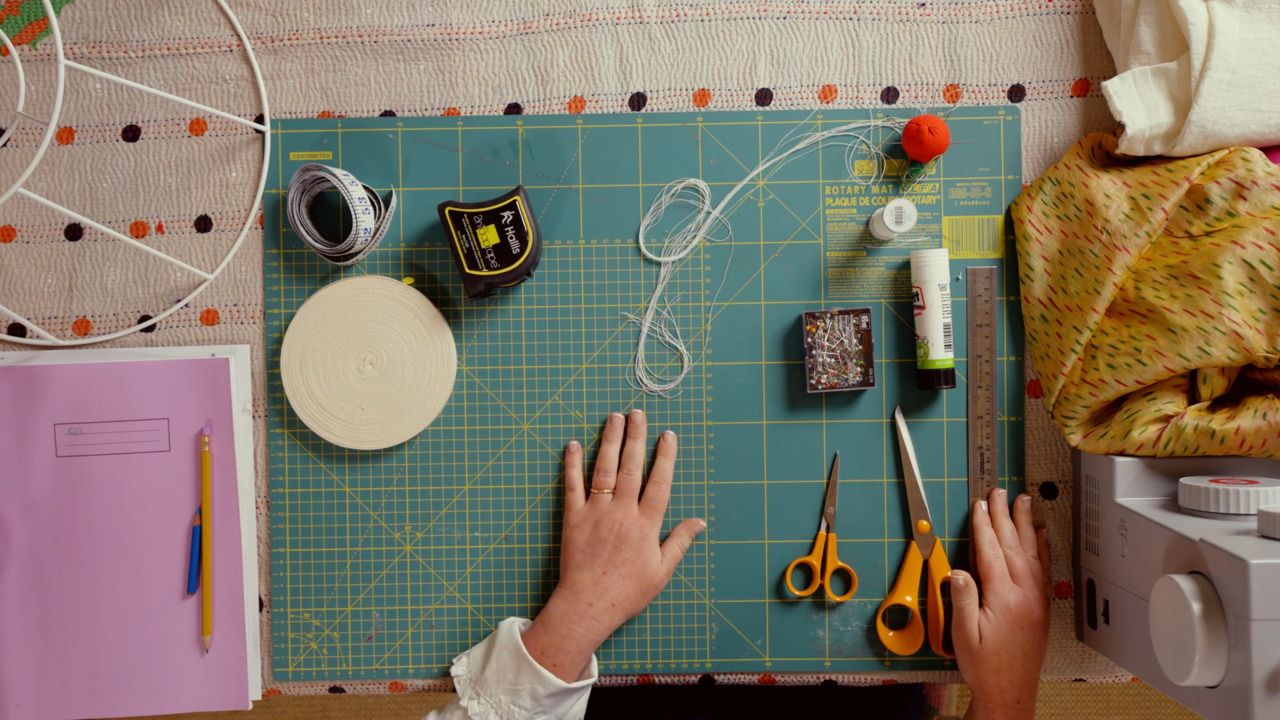
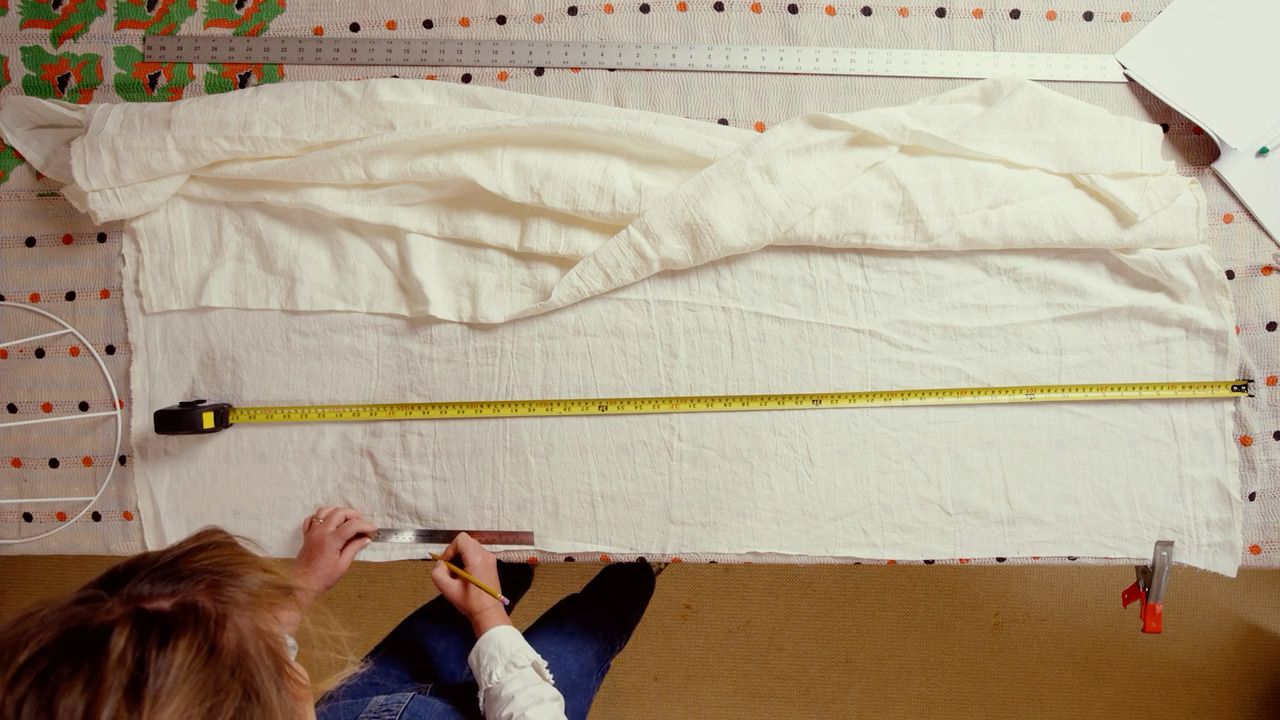
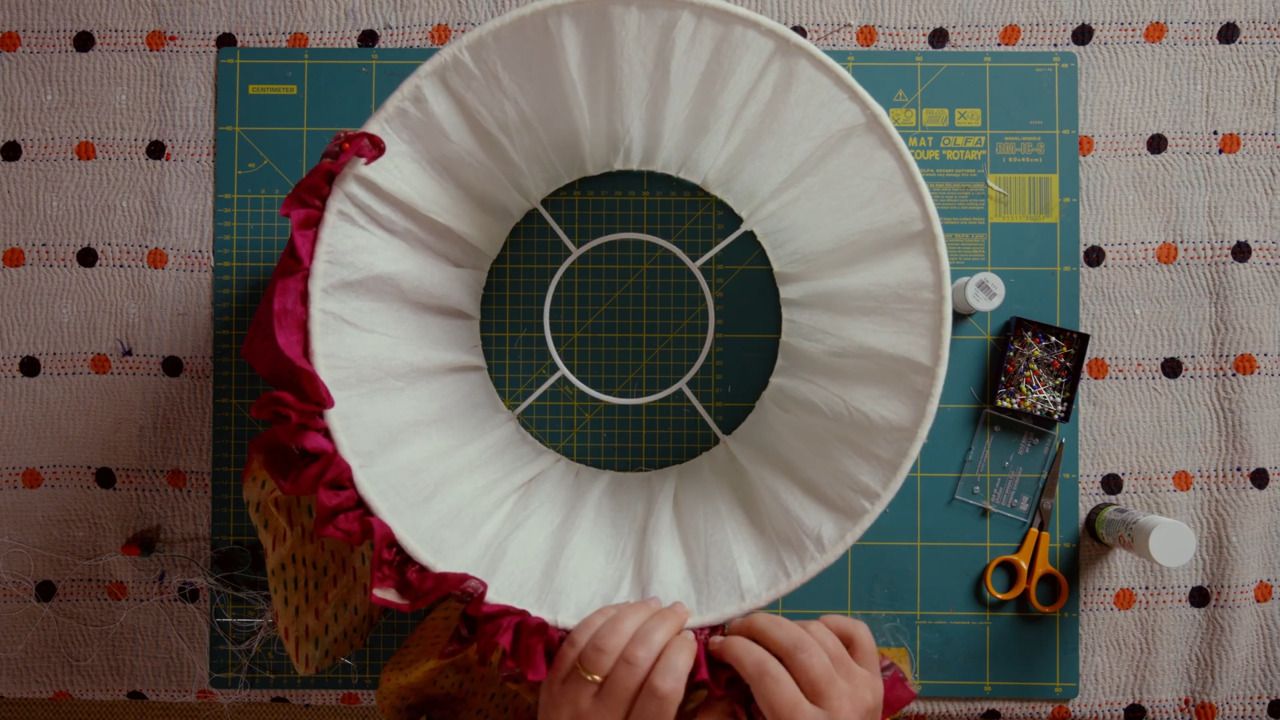
Step 1
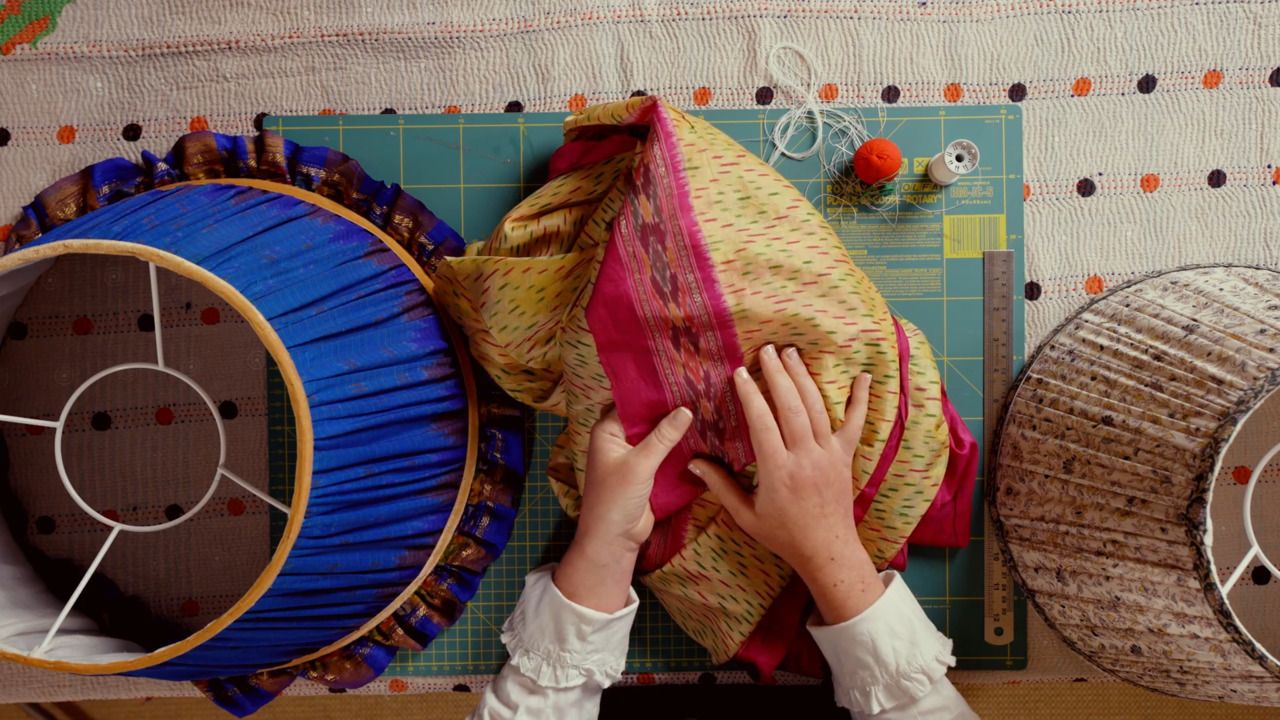
Lay your fabric onto a flat surface, clamping into place and ironing or steaming out any creases.
Step 2
Familiarise yourself with your measurements. Remember, for your outer fabric in both projects, you are working to a 2 x fullness.
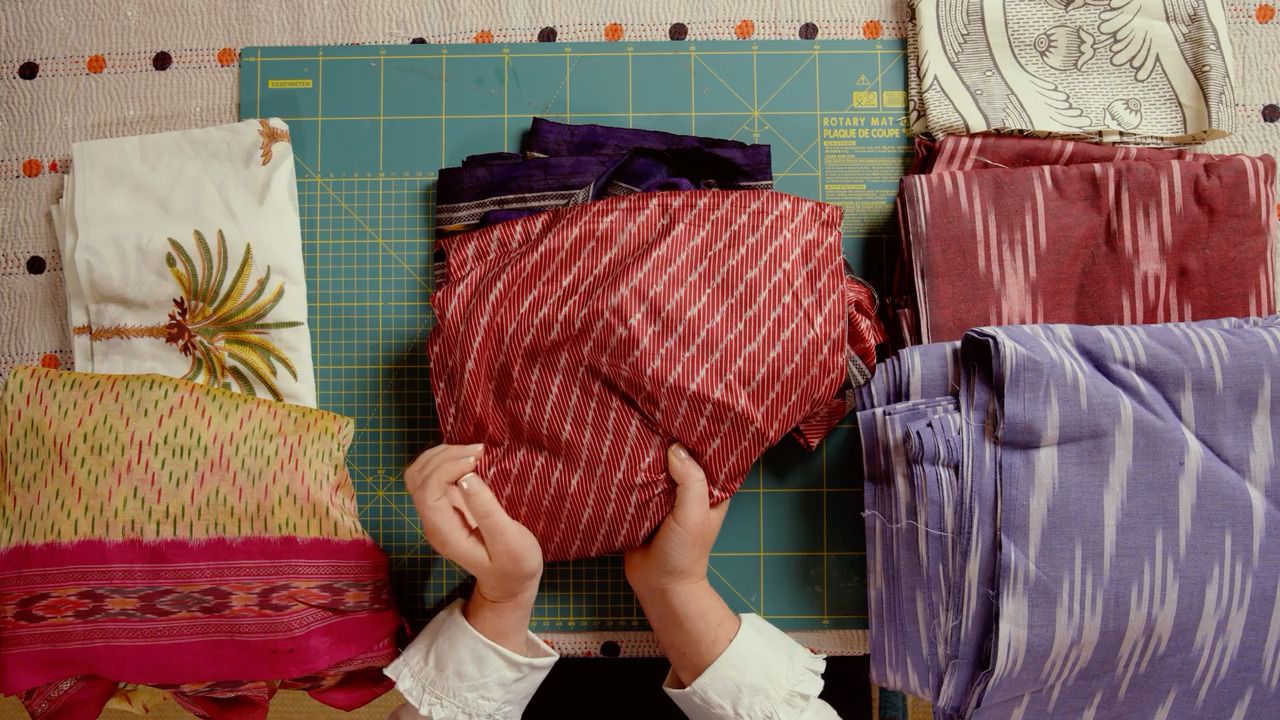
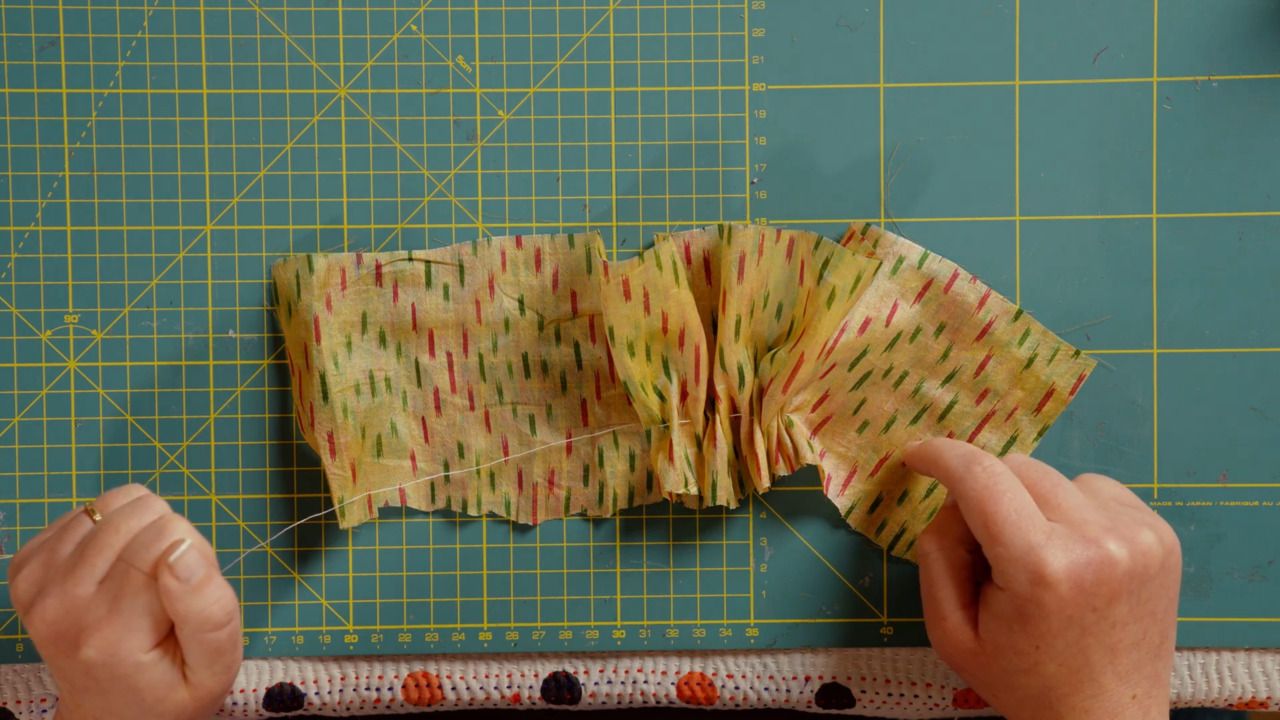
Step 3
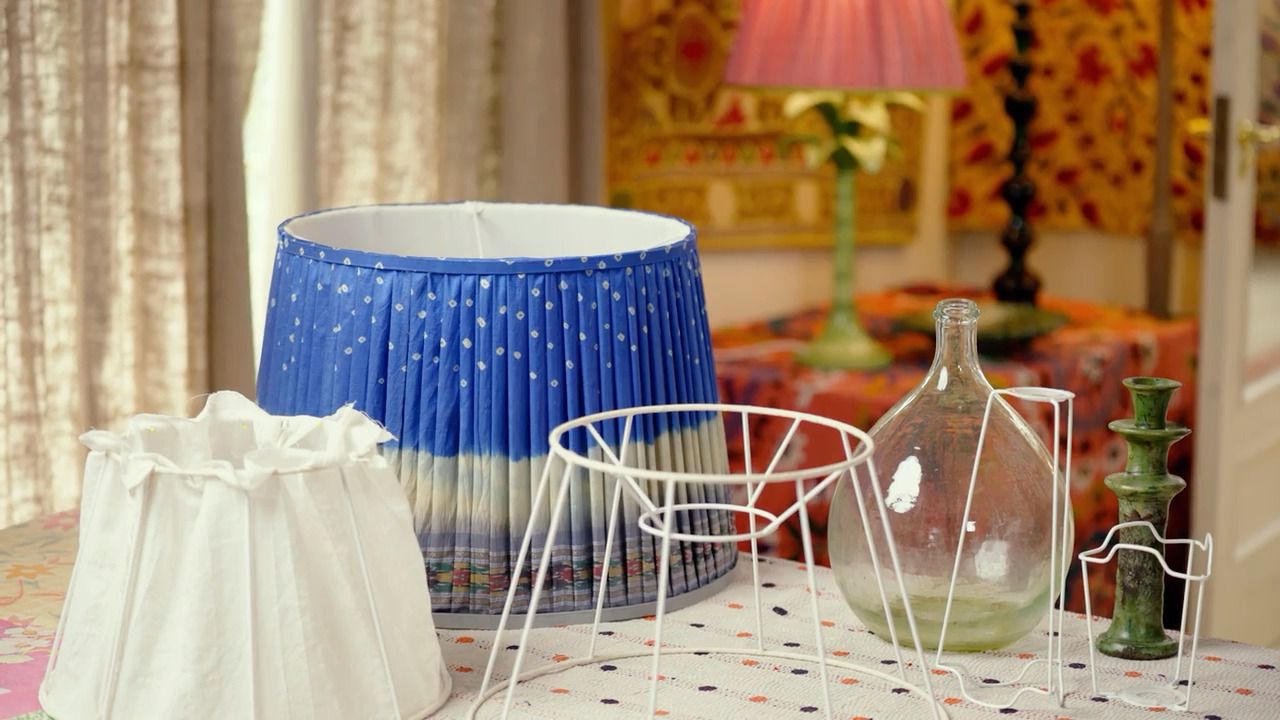
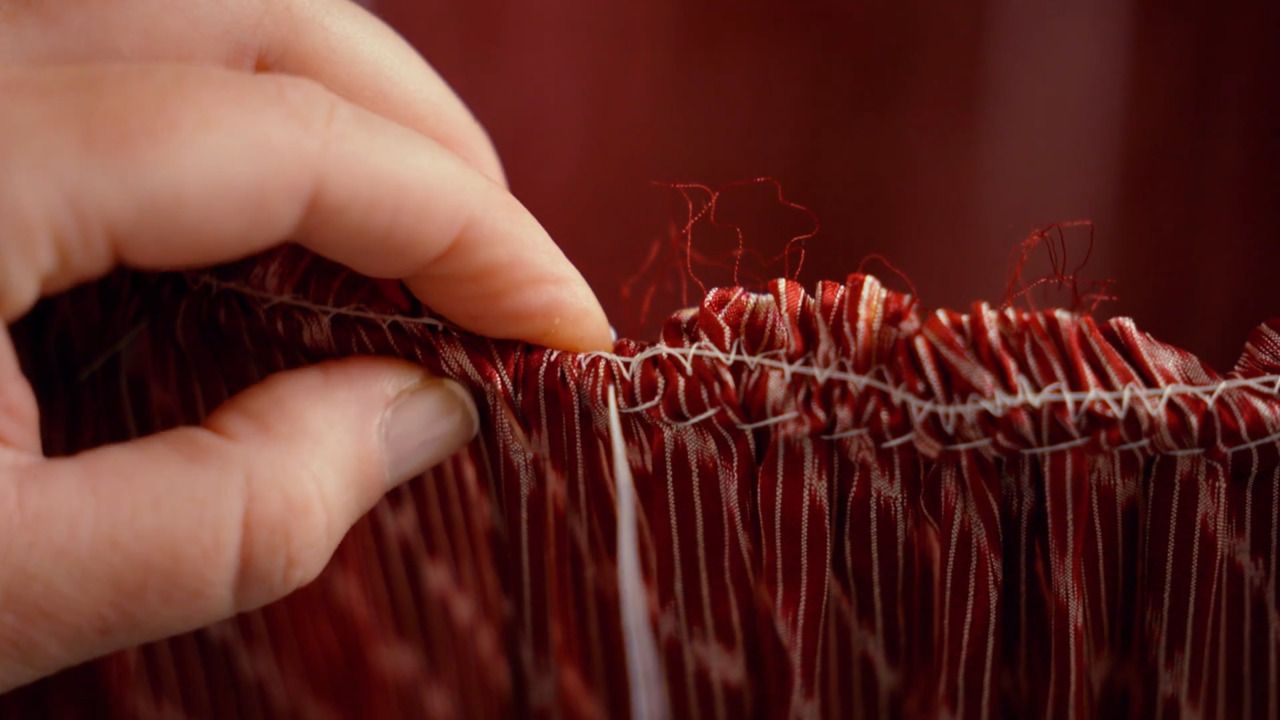
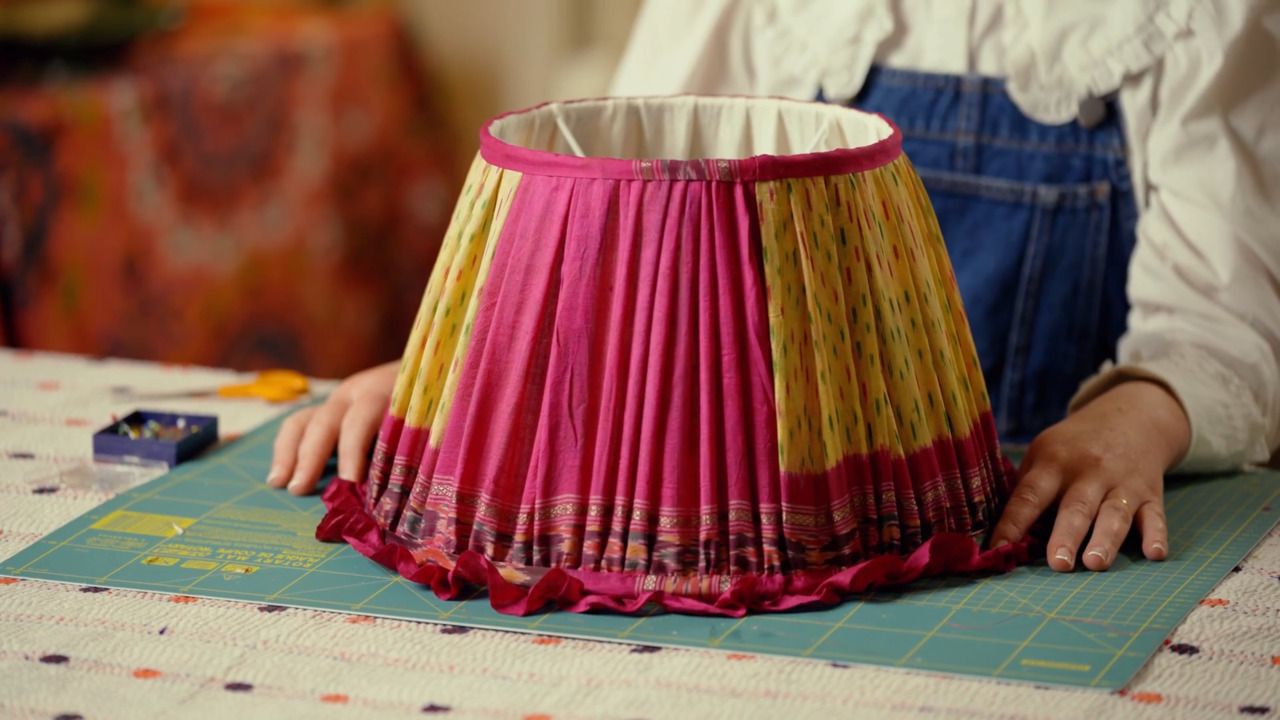
Establish where you want your bottom edge to be. If you are working with a patterned fabric, you may want to line this up with a border or incorporate an even number of repeats. If you are cutting for Project 2, make sure you have an inch of excess beyond your bottom edge to create the frilly base.
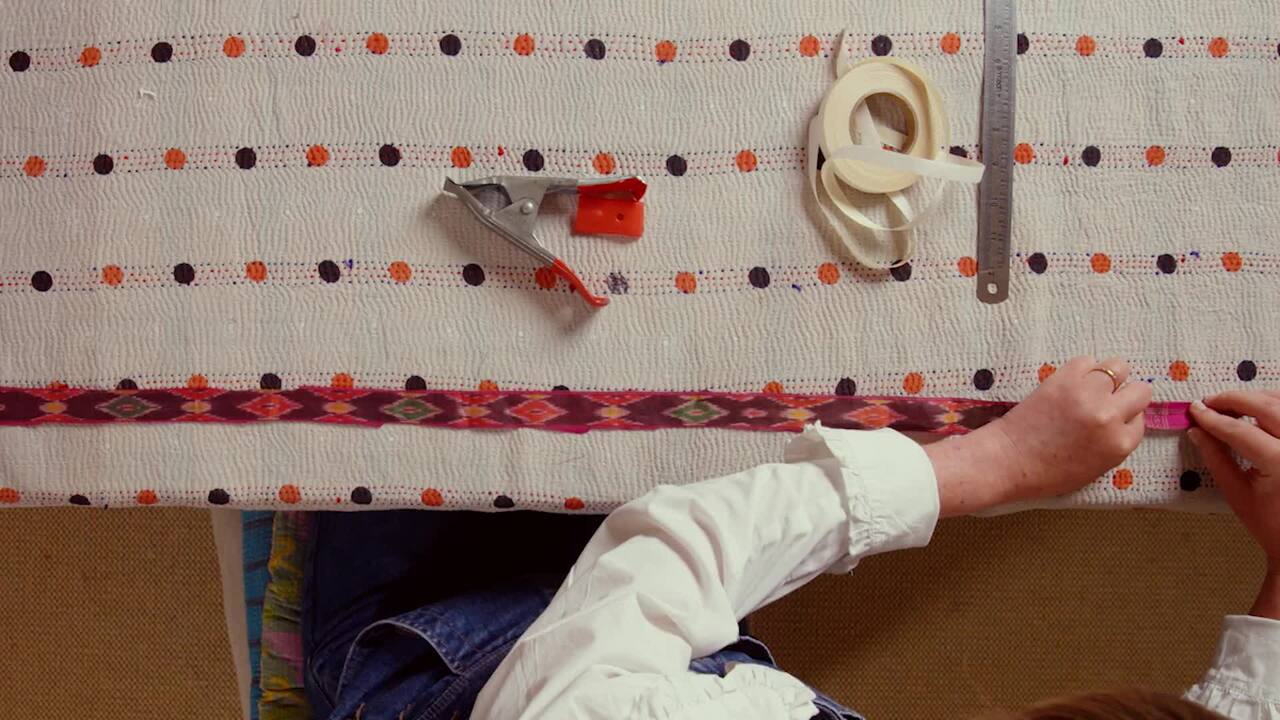
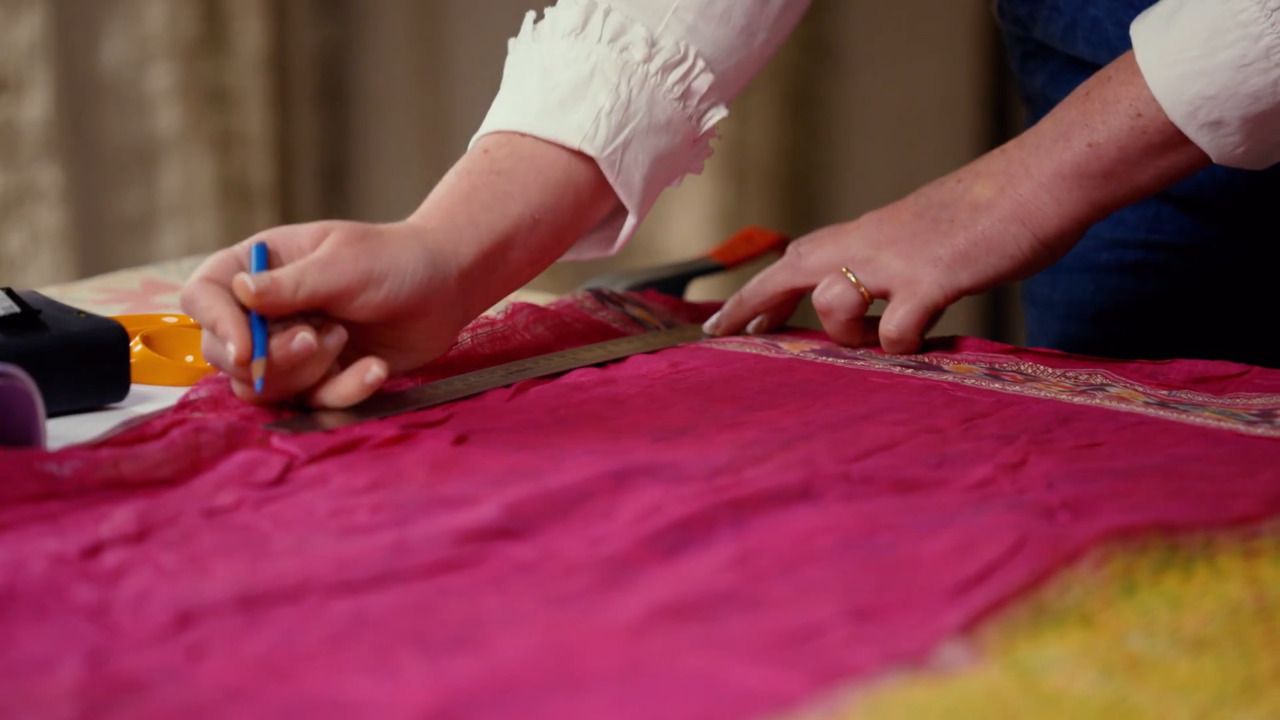
Step 4
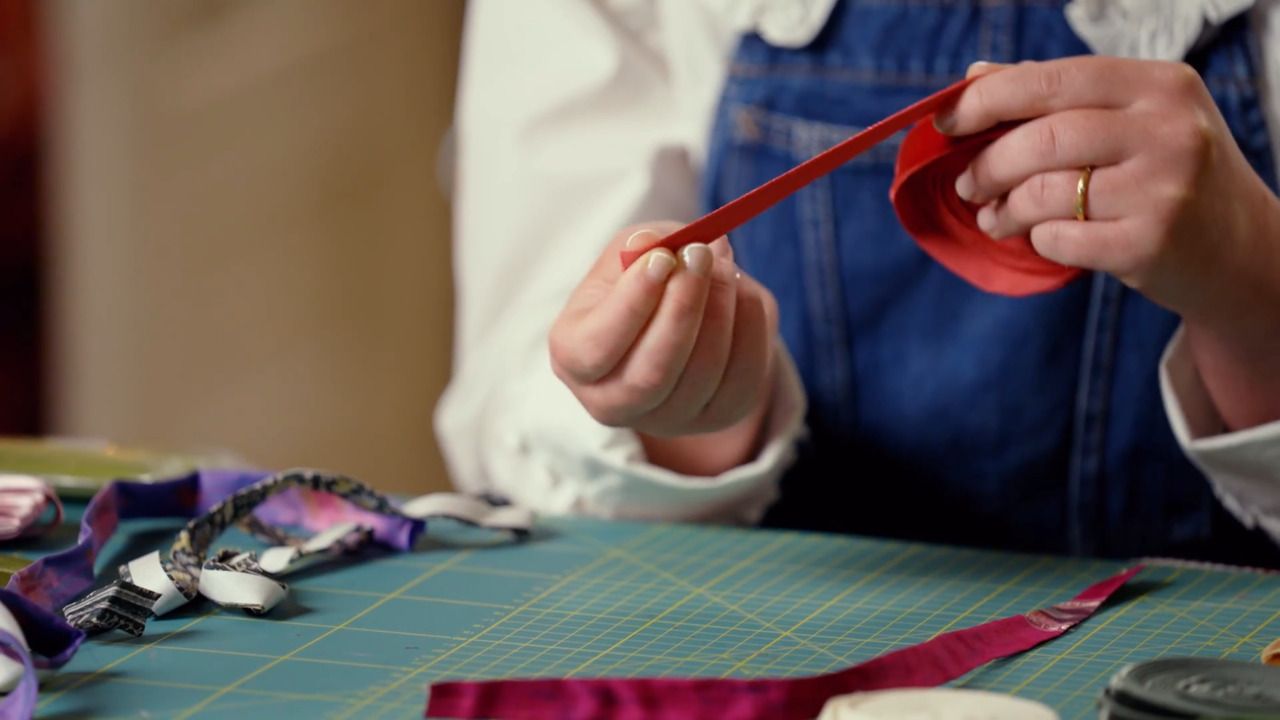
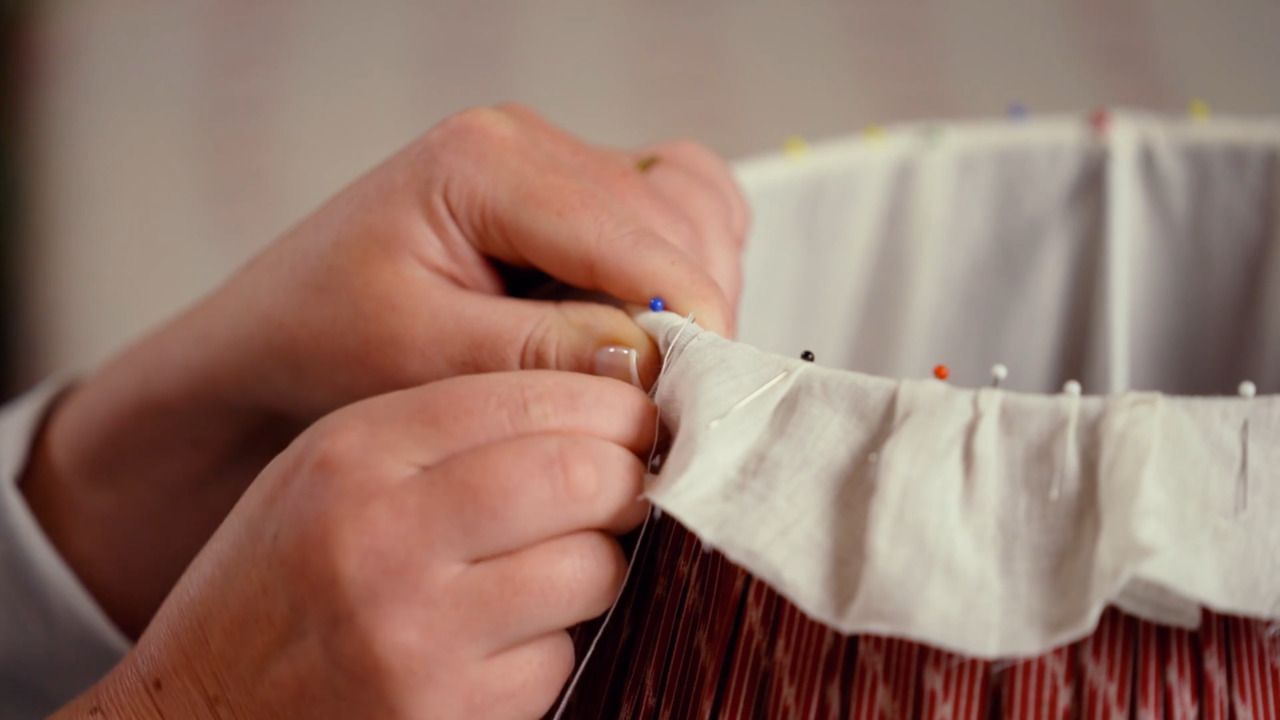
Start at the right hand side of your fabric to measure and mark your first spoke on the bottom edge of the fabric, adding 2 cm for seam allowance. It's definitely worth doing your markings with a dressmaker's pencil in a contrasting colour to your fabric so it's clear and visible.
Step 5
Move along the bottom edge of the fabric marking the distance between each spoke; you don't need to add seam allowance for these. Make sure the marks are as prominent as possible - they will eventually be covered with a trim, so don't worry about them being visible on the final piece.
Step 6
Once you reach the measurement for the last spoke, add 2 cm seam allowance to this.
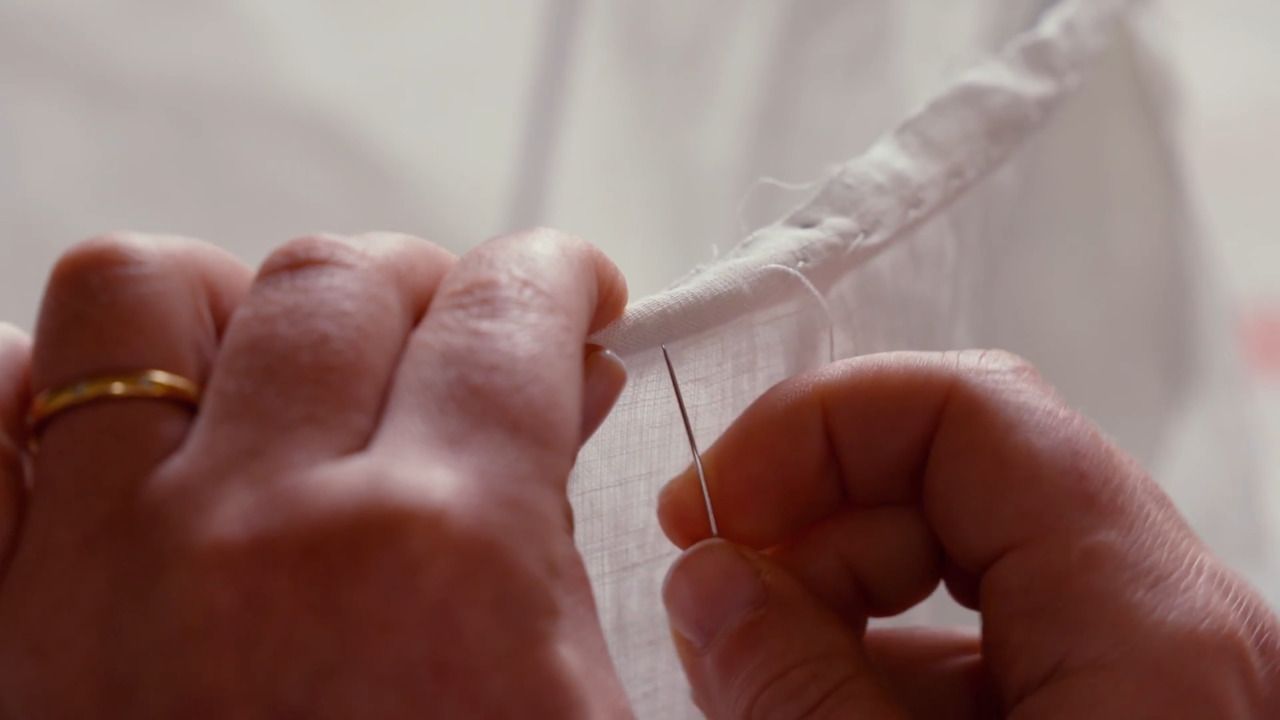
Step 7
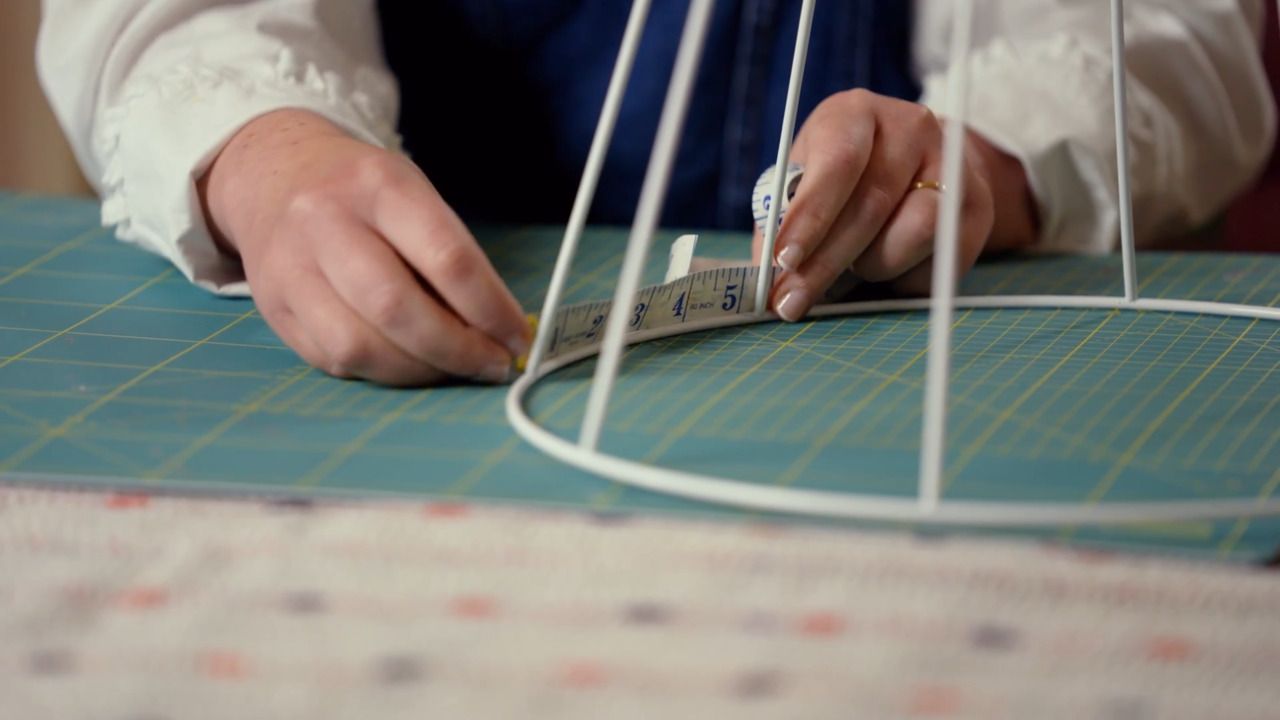
Next, mark the measurement you have for the height of your lampshade onto the fabric by using a ruler to draw a straight line up from the bottom edge at either end.
Step 8
From the top point of your height measurement, work along the width of your fabric again to repeat the same marks for the spokes along what will be the top edge of the fabric.
Step 9
Using a ruler, draw a straight line that joins up each of these spoke measurements to create the top edge of your fabric.
Step 10
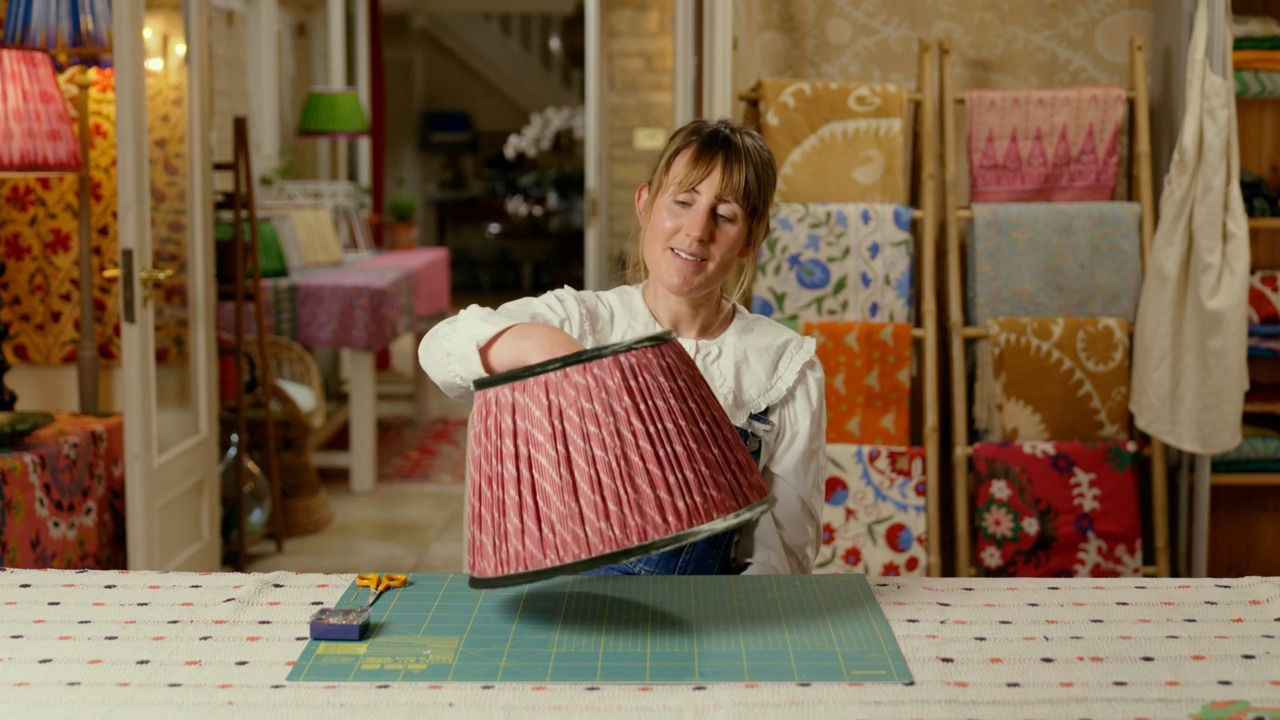
Take a large pair of scissors and cut your fabric out, cutting carefully along the top line and then down the side.
Step 11
Neatly fold your measured and cut piece of outer fabric, and place with your lining fabric ready for the next stage.
Get the full workbook, video lessons, and more with a Create Academy subscription.
Subscribe to access the full workbookAlready a member? Sign in to watch
437 reviews
Read moreI have subscribed to access all the courses so have watched one on interior design and this one with Butter Wakefield who specialises in small garden design. She ...
Louise Brown
Apr 10, 2026
I love CreateAcademy. I came in for the gardening and floristry courses, but am also watching an interior design one at present. And the photography course is an ...
Wellesley
Apr 1, 2026
What a great investment, I have learned such a lot from the first three courses. My evenings have gone from not being able to find anything that captured my imagi...
sojojo
Mar 30, 2026
I loved this course with Amanda Lindroth! Her approach to decorating is so relaxed and she makes it feel attainable. She explains the reasons behind her decisions...
Elizabeth
Mar 27, 2026
I have subscribed to access all the courses so have watched one on interior design and this one with Butter Wakefield who specialises in small garden design. She has a lovely personality and comes across as ...
Louise Brown
Apr 10, 2026
I love CreateAcademy. I came in for the gardening and floristry courses, but am also watching an interior design one at present. And the photography course is an absolute must, best I've ever done.
Wellesley
Apr 1, 2026
What a great investment, I have learned such a lot from the first three courses. My evenings have gone from not being able to find anything that captured my imagination on TV to learning and expanding my kno...
sojojo
Mar 30, 2026

Your Instructor
Designer and soft furnishing expert specialising in vintage textiles and hand-crafted homewares.
Chloe is a designer and textile artist, specialising in upholstery, soft-furnishings, vintage textiles and unique objects for the home. Chloe's fascination with the art of hand sewing was ignited at University when studying History of Art, after which she embarked on a career rooted in furniture and soft furnishing making. In 2015, she founded her eponymous design business - based out of her studio in the South Lincolnshire countryside - where she crafts bespoke homewares and handmade lampshades using colourful vintage fabrics and carefully curated textiles sourced from across the globe.

Access to all courses


