

Interior and exterior confidence
Create Academy has been such a great resource. I'm in the middle of renovating a bungalow with a very large garden and the courses have offered a wealth of inform...
Harvey
Jun 10, 2026
Handsewn Lampshade Masterclass
with CHLOE JONASON — Designer and soft furnishing expert specialising in vintage textiles and hand-crafted homewares.
Lesson 16 of 21
Subscribe to watch
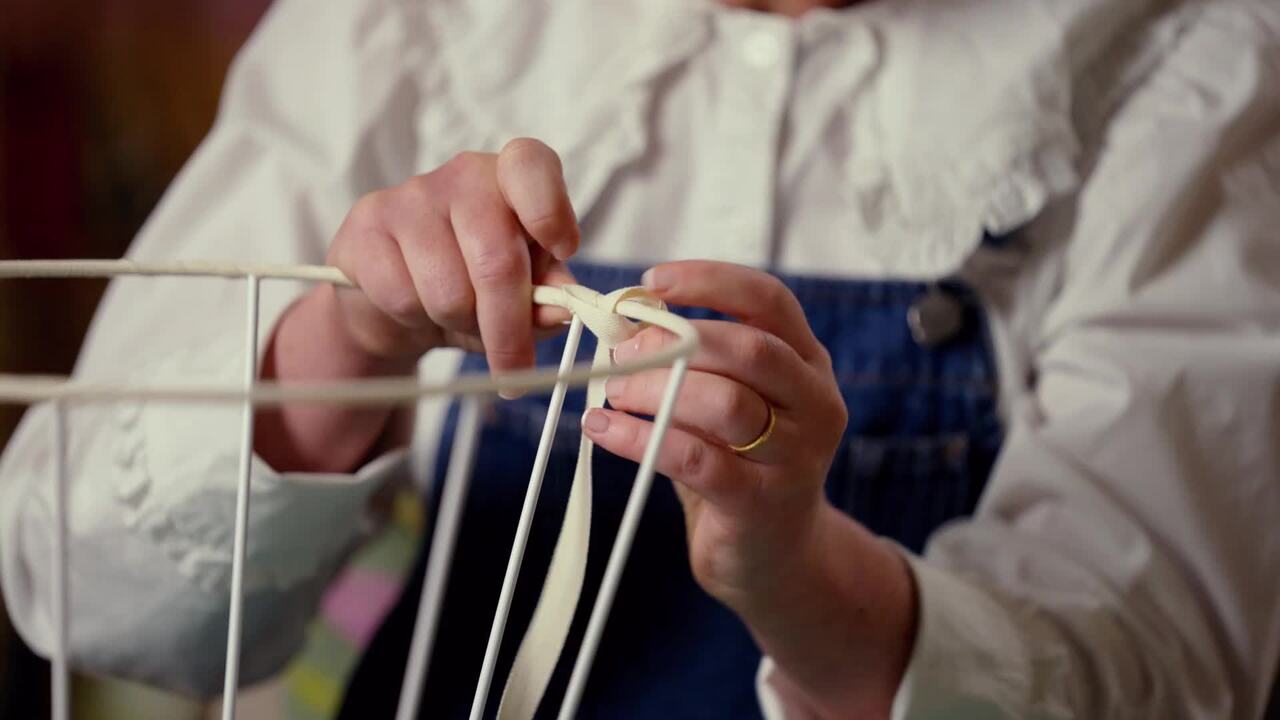
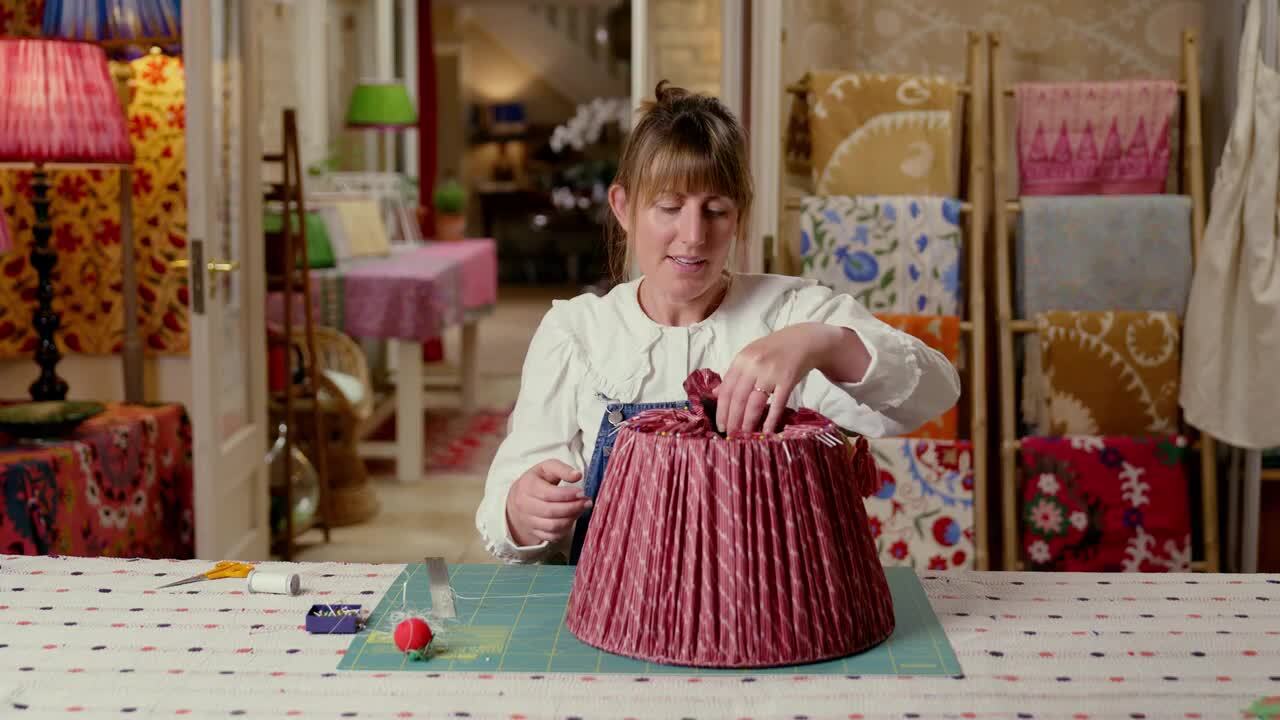
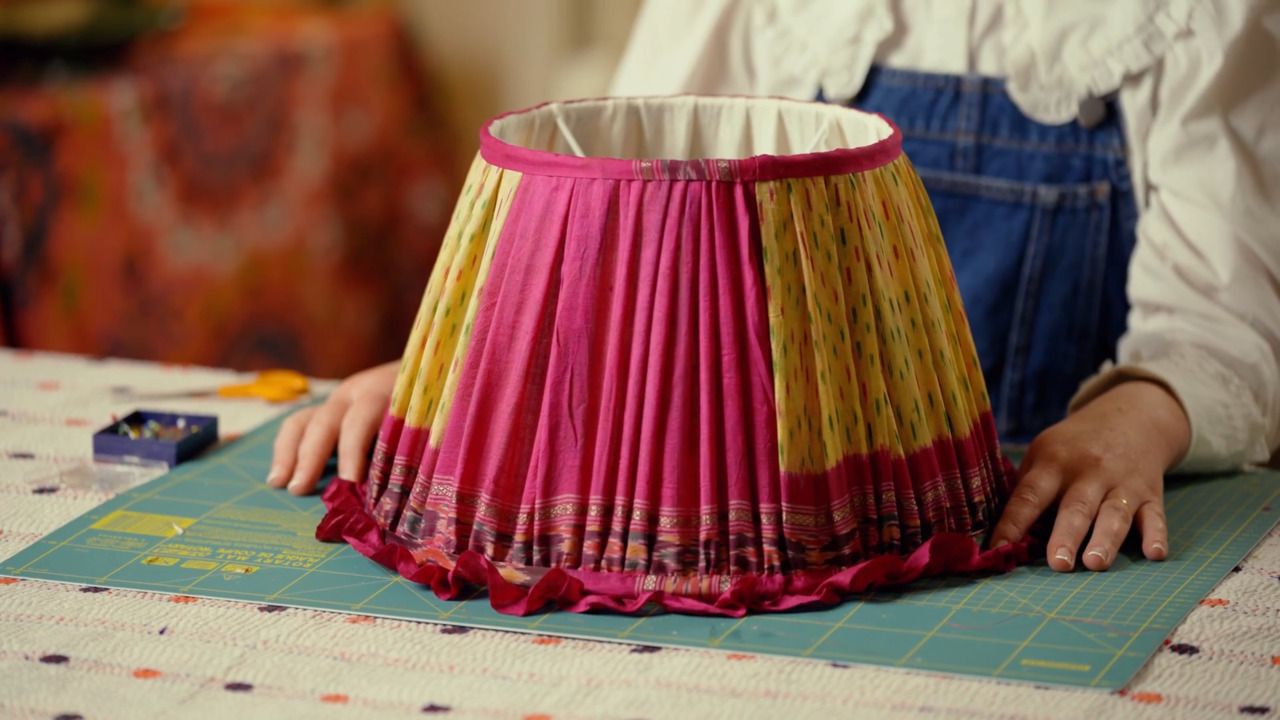
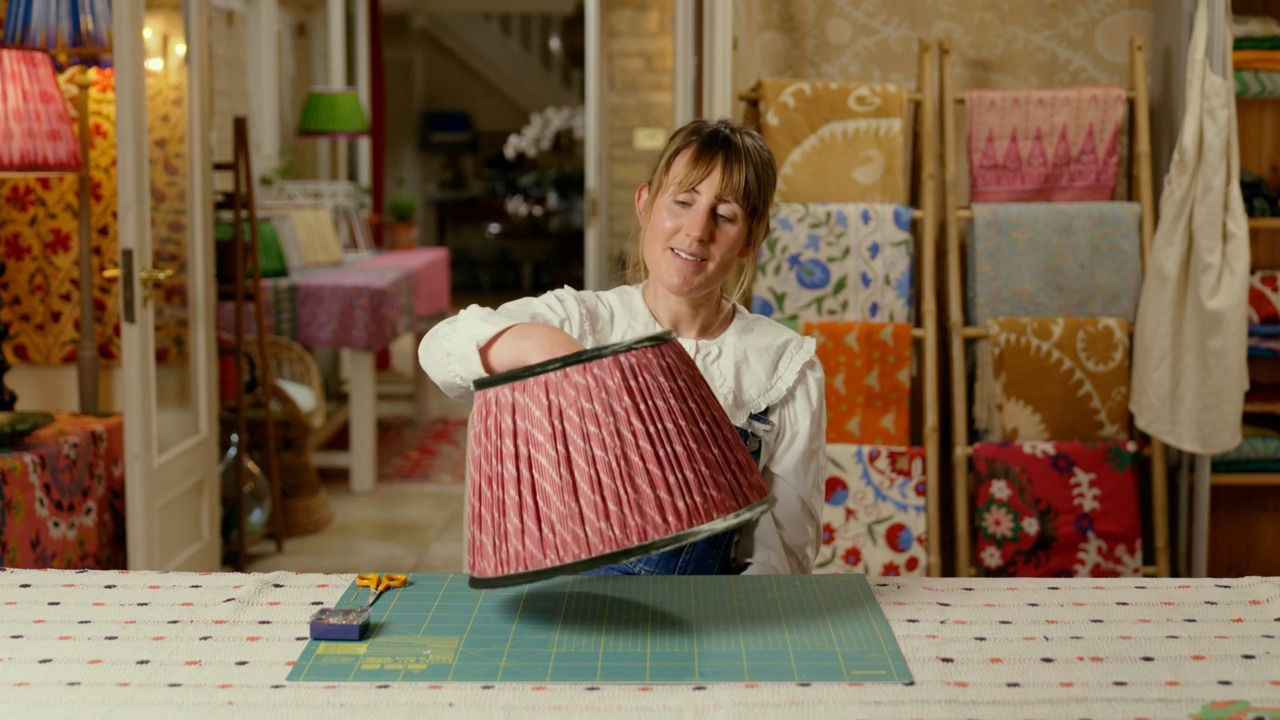
By this stage you will have almost completed your first lampshade, and you’ll be starting to see the results of your hard work! The final step is to add the finishing touch; a velvet trim.
Your lampshade is almost complete, and you'll be starting to see the results of your hard work! The final step is to add the finishing touch; a velvet trim.
Step 1
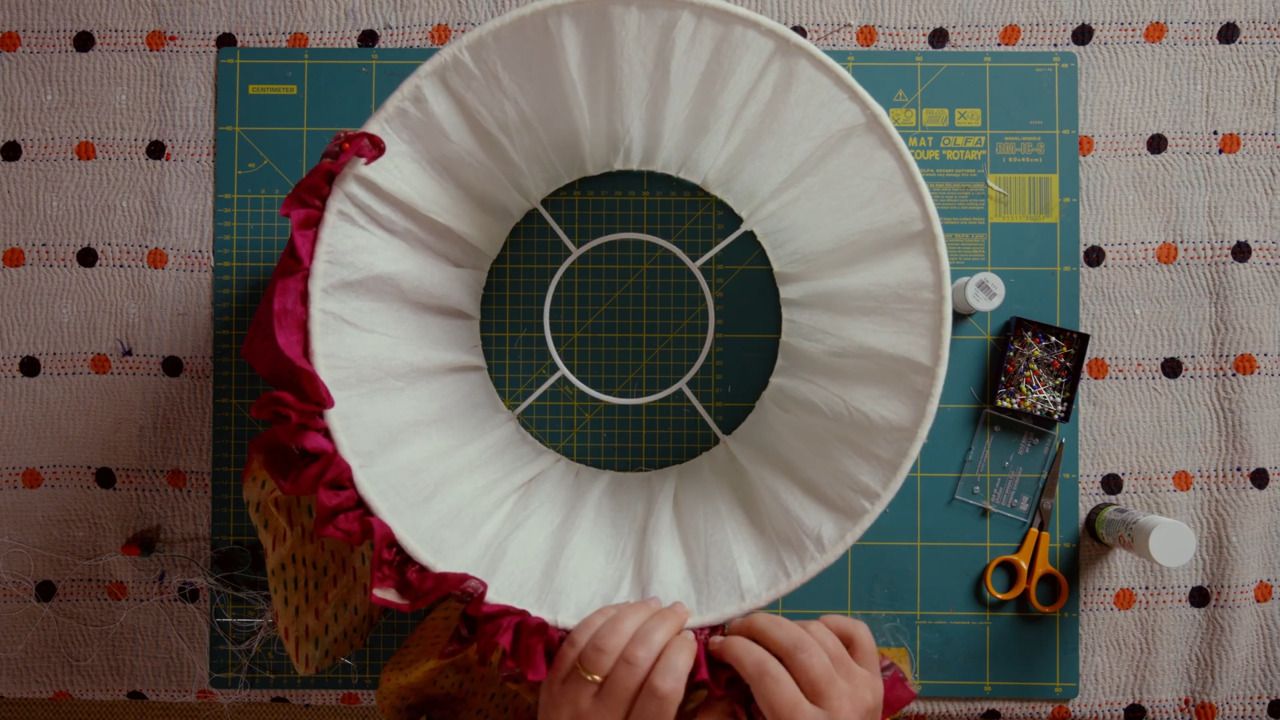
Position your lampshade so the bottom ring is facing up, and locate the same starting point you have used throughout; the seam line.
Step 2
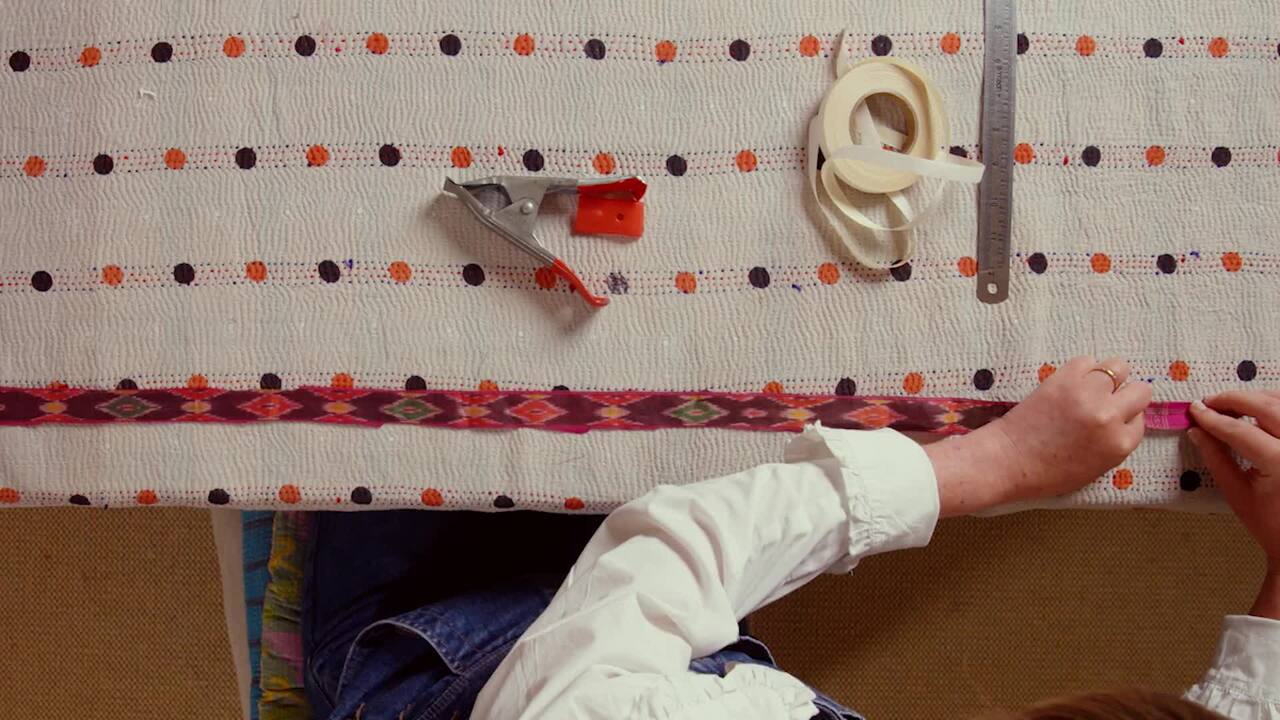
Take the end of your trim, and position it on your lampshade so that the top edge sits flush with the edge of the bottom ring and the end overlaps the seam line by a couple of centimetres to give you a seam allowance. Pin in place.
Step 3
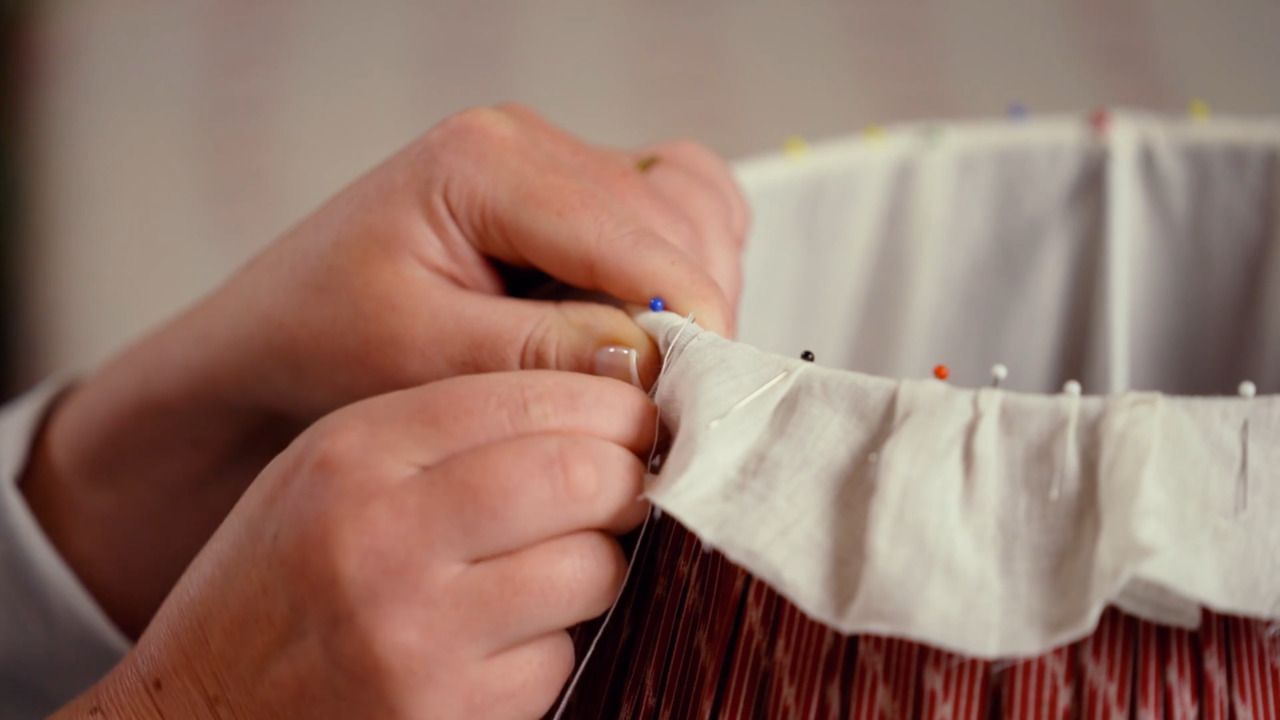
Pull the trim to sit straight along the edge of the bottom ring and continue to pin in place.
Step 4
In order to achieve a really neat finish, I like to attach the trim in sections. So, once you've pinned roughly 20 cm of trim in place, take a threaded needle and go back to the seam line to begin sewing the top edge of the trim to the lampshade using a slip stitch. You don't need to catch the binding in your stitch; you are only aiming to catch the lining fabric.
Step 5
Continue to pin then sew in small sections, until you have worked your way around the entire bottom ring. Once you reach the starting point again, overlap the starting edge of the trim, then cut the excess velvet trim with a 2 cm seam allowance.
Step 6
Fold and tuck this end of the trim back on itself to conceal any raw edges of the fabric, then pin in place onto the lampshade and secure with stitches.
Step 7
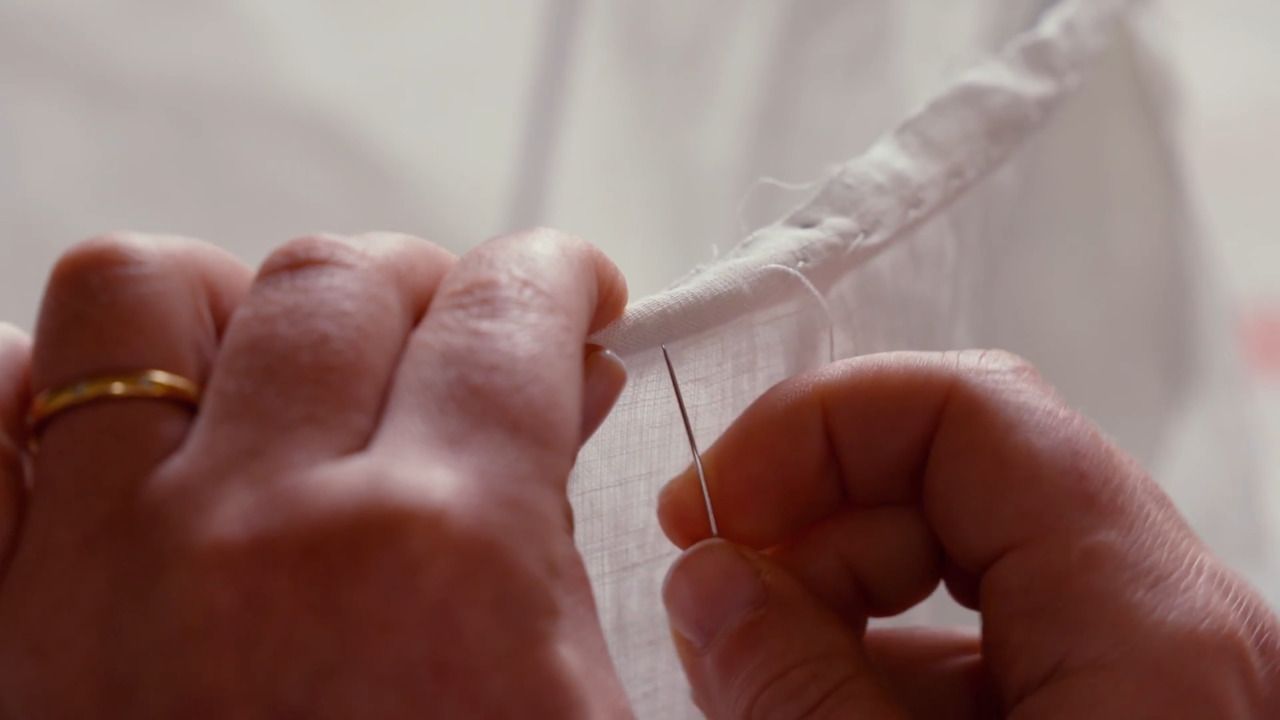
This step is optional, and one that you may not find necessary. Flip your lampshade over, and hold it in one hand. Use your other hand to now sew the other edge of the trim to your outer fabric using the same slip stitch. Make sure you are only catching the outer fabric, and not going through to the lining fabric. You'll find this is also an opportunity to tighten your outer fabric into the stitch if you find there are any loose areas.
Step 8
Turn your lampshade so that the top ring is facing up, and locate the seam line as your starting point.
Step 9
Repeat the same process you have just completed on the bottom ring, to attach the velvet trim to the top ring. It can be a little more fiddly, so take your time. Ensure there are no stitches visible on the top of the ring; if there are, you can pull the fabric to position them under the velvet trim.
Your lampshade is now complete!
Get the full workbook, video lessons, and more with a Create Academy subscription.
Subscribe to access the full workbookAlready a member? Sign in to watch
491 reviews
Read moreCreate Academy has been such a great resource. I'm in the middle of renovating a bungalow with a very large garden and the courses have offered a wealth of inform...
Harvey
Jun 10, 2026
Absolutely love Create Academy! The instructors are extremely informative, and it is beautifully filmed. Create Academy is great value for money and plan on renew...
SG
May 31, 2026
Butter's creativity is stunning! Her ability to incorporate brilliance in small gardens is magical!
Carla
May 30, 2026
The best adventure. I like all the courses, but my favorite are both Rita Konig interior design courses and Anna Jones. Excellent!
Karolina Kluczewska
May 20, 2026
Create Academy has been such a great resource. I'm in the middle of renovating a bungalow with a very large garden and the courses have offered a wealth of information to dive into and explore new ideas. I'm...
Harvey
Jun 10, 2026
Absolutely love Create Academy! The instructors are extremely informative, and it is beautifully filmed. Create Academy is great value for money and plan on renewing my subscription yearly because there are ...
SG
May 31, 2026
Butter's creativity is stunning! Her ability to incorporate brilliance in small gardens is magical!
Carla
May 30, 2026

Your Instructor
Designer and soft furnishing expert specialising in vintage textiles and hand-crafted homewares.
Chloe is a designer and textile artist, specialising in upholstery, soft-furnishings, vintage textiles and unique objects for the home. Chloe's fascination with the art of hand sewing was ignited at University when studying History of Art, after which she embarked on a career rooted in furniture and soft furnishing making. In 2015, she founded her eponymous design business - based out of her studio in the South Lincolnshire countryside - where she crafts bespoke homewares and handmade lampshades using colourful vintage fabrics and carefully curated textiles sourced from across the globe.
Access to all courses


