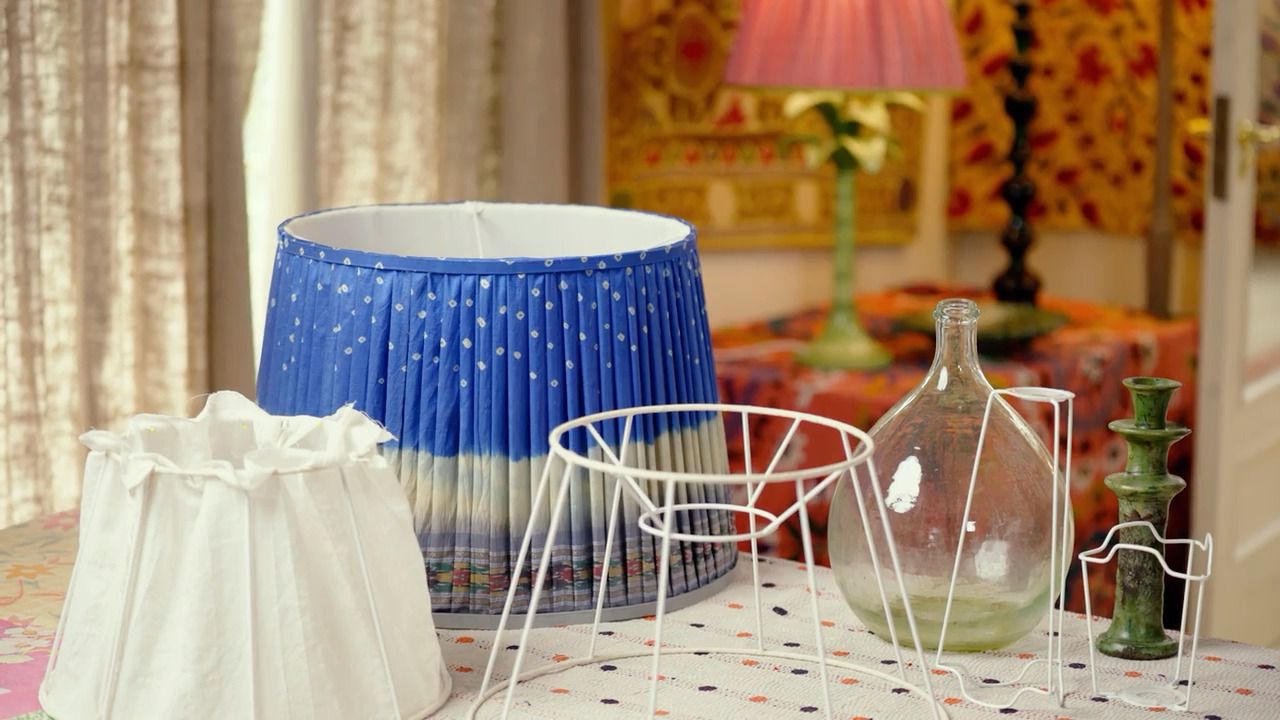
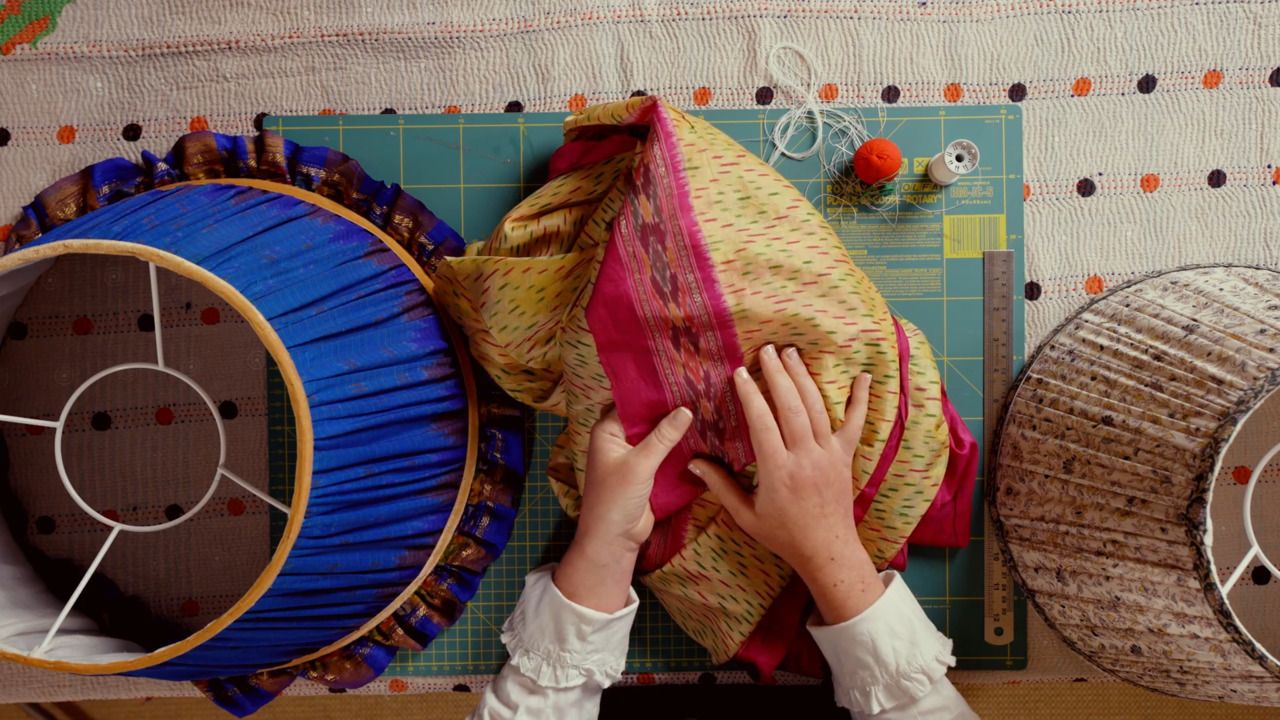
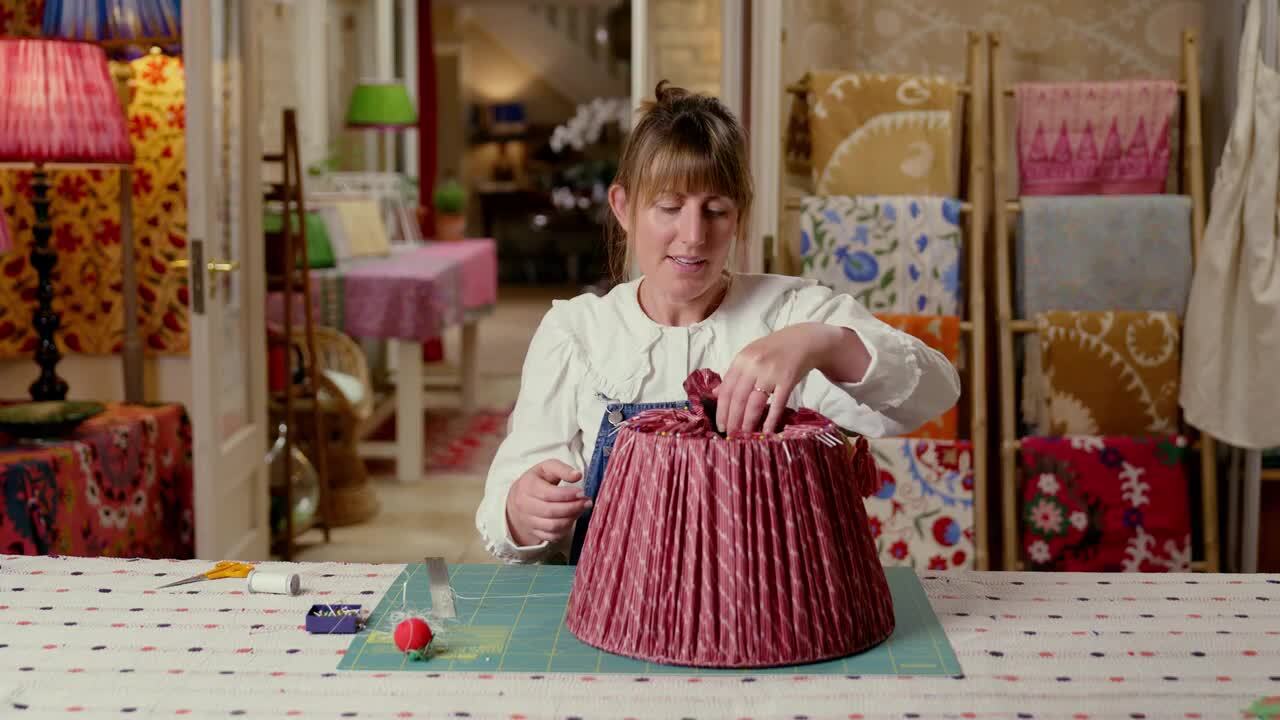
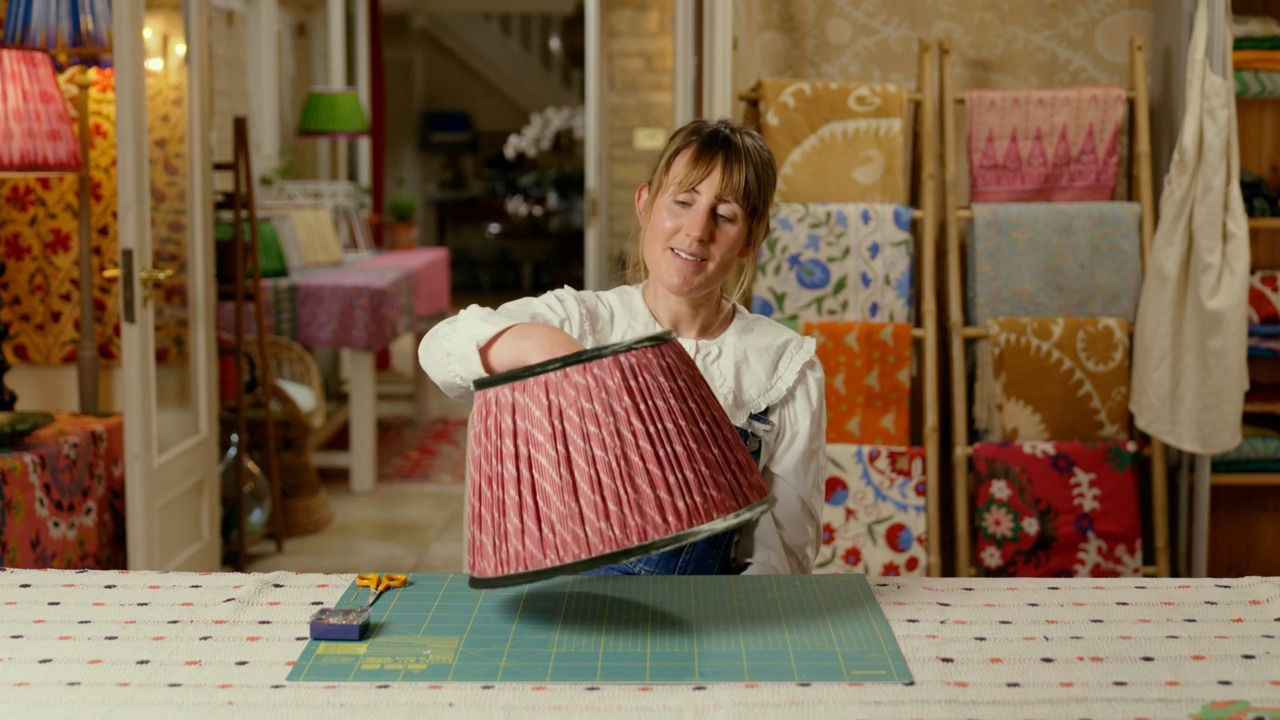
A gathered lampshade with a frilly bottom - Creating your own trim
with CHLOE JONASON
Lesson 19 of 21
This lesson is free to watch

Already a member? Sign in
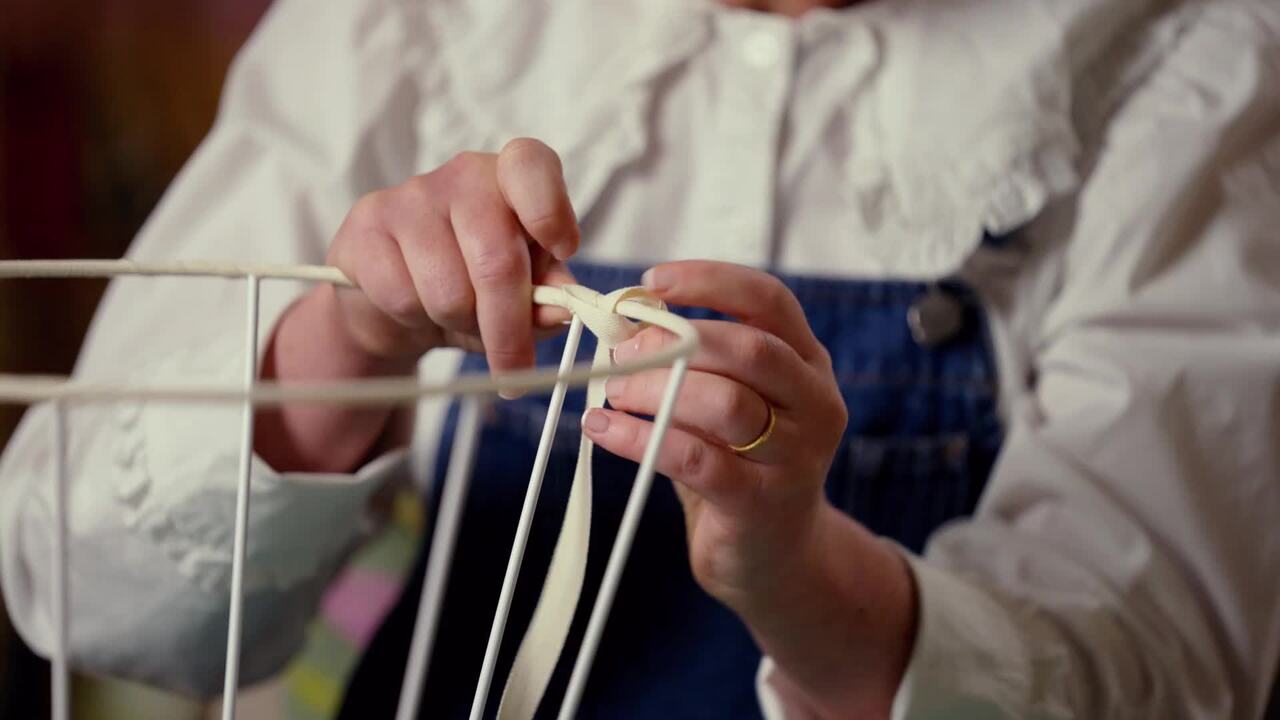
Chloe shares another technique she uses frequently in her own studio; making a bespoke trim from a fabric of your choice. It’s a really easy way to give your lampshade even more of a special handmade touch.
From the Lesson Workbook
Creating Your Own Trim
Another technique I'd love to share with you is making a bespoke trim from a fabric of your choice. It's a really easy way to give your lampshade even more of a special handmade touch.
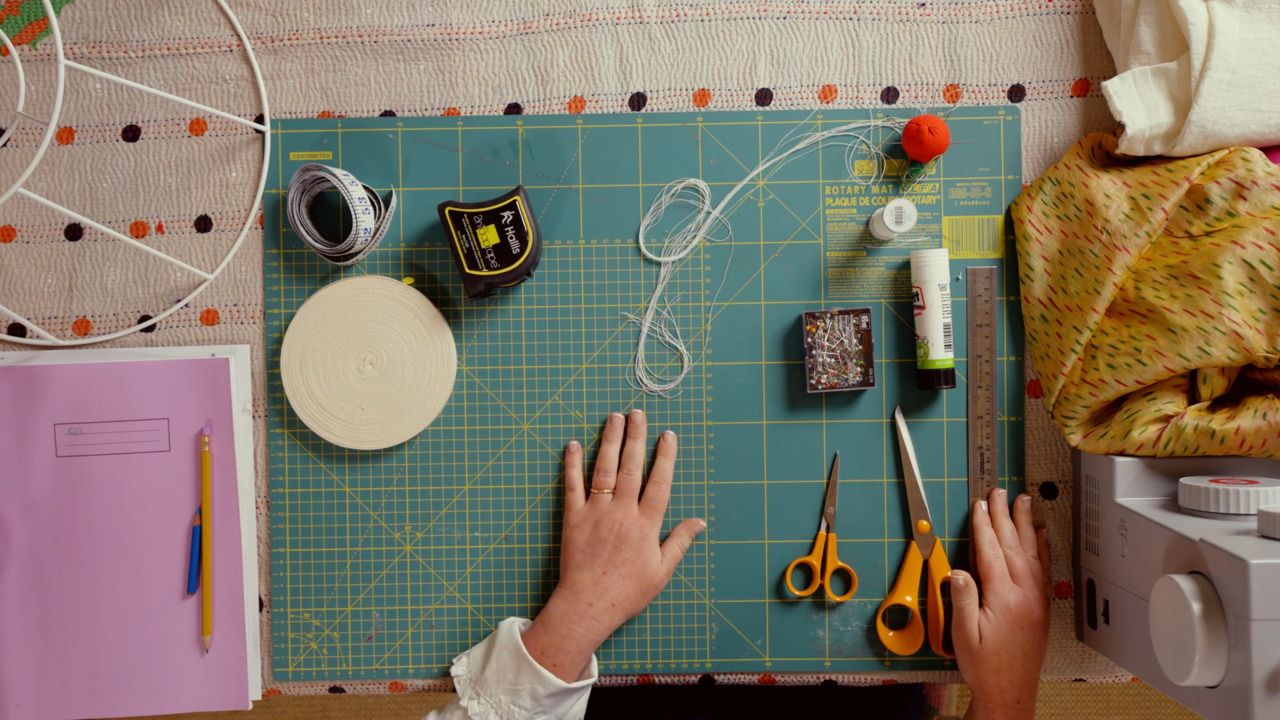
What You Will Need
- Fabric
- Heavy duty clip
- Measuring tape or ruler
- Scissors
- Bias binding fusible tape
- Iron
Creating Your Own Trim
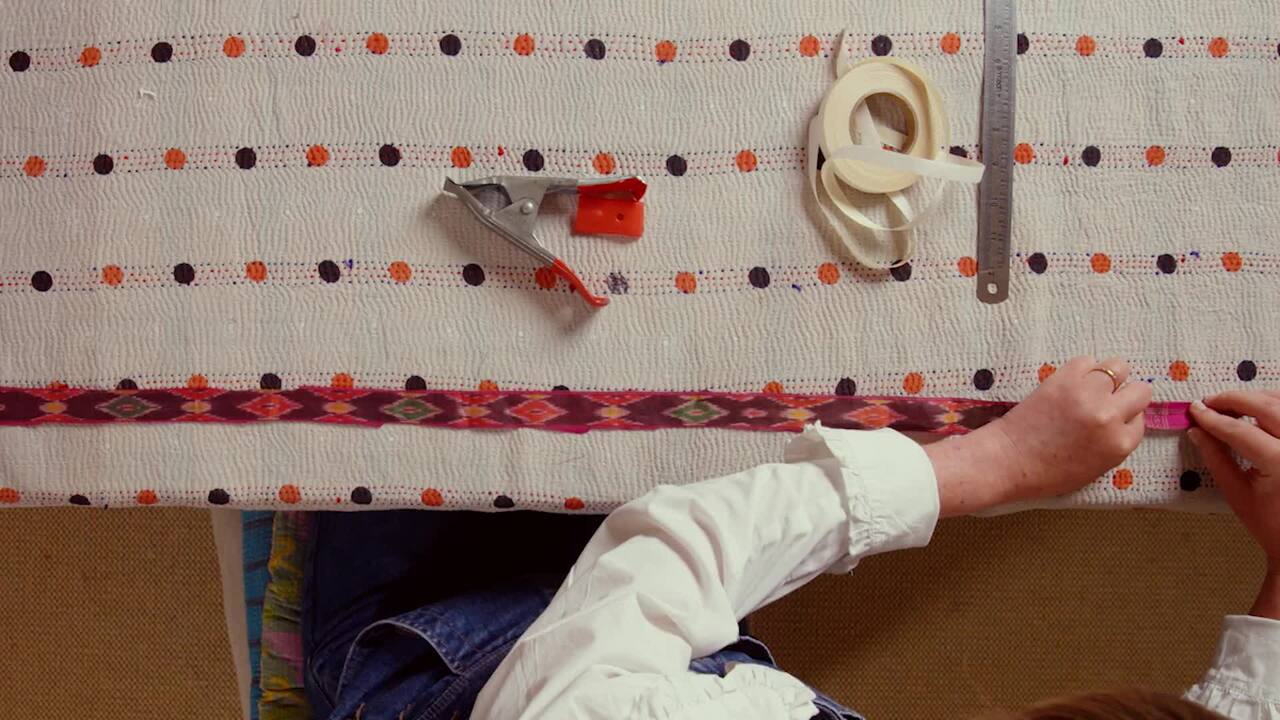
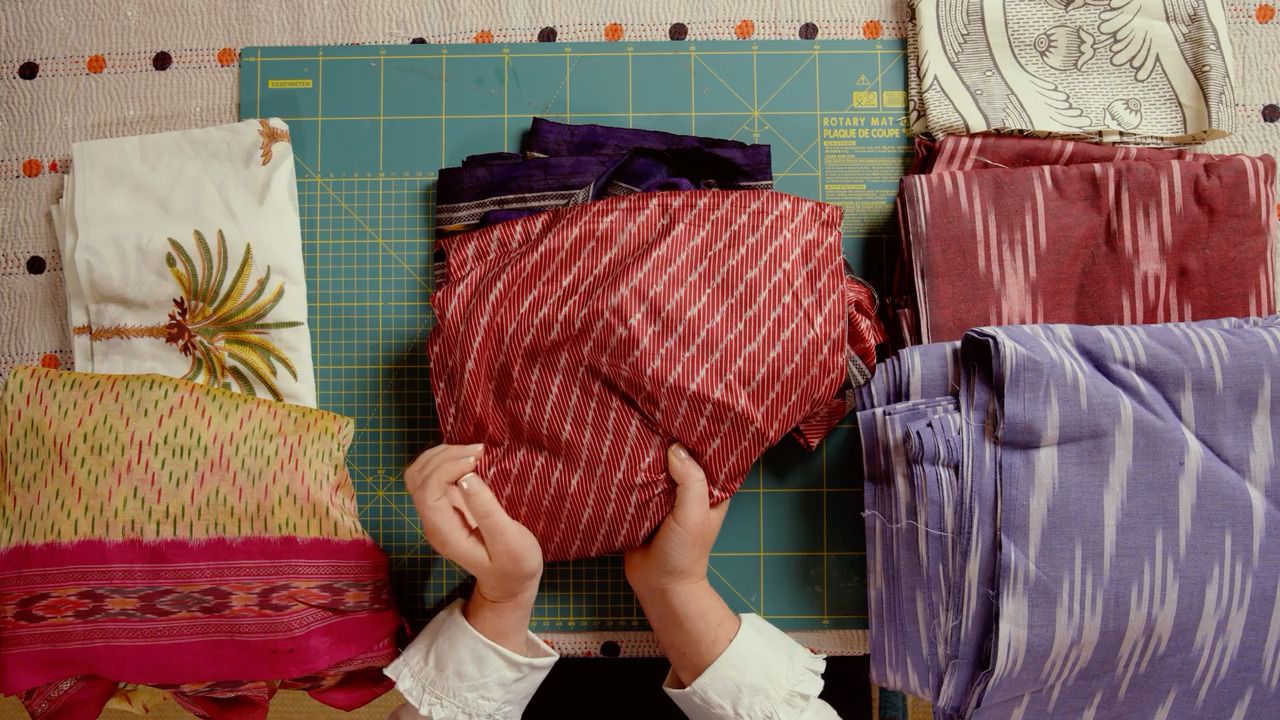
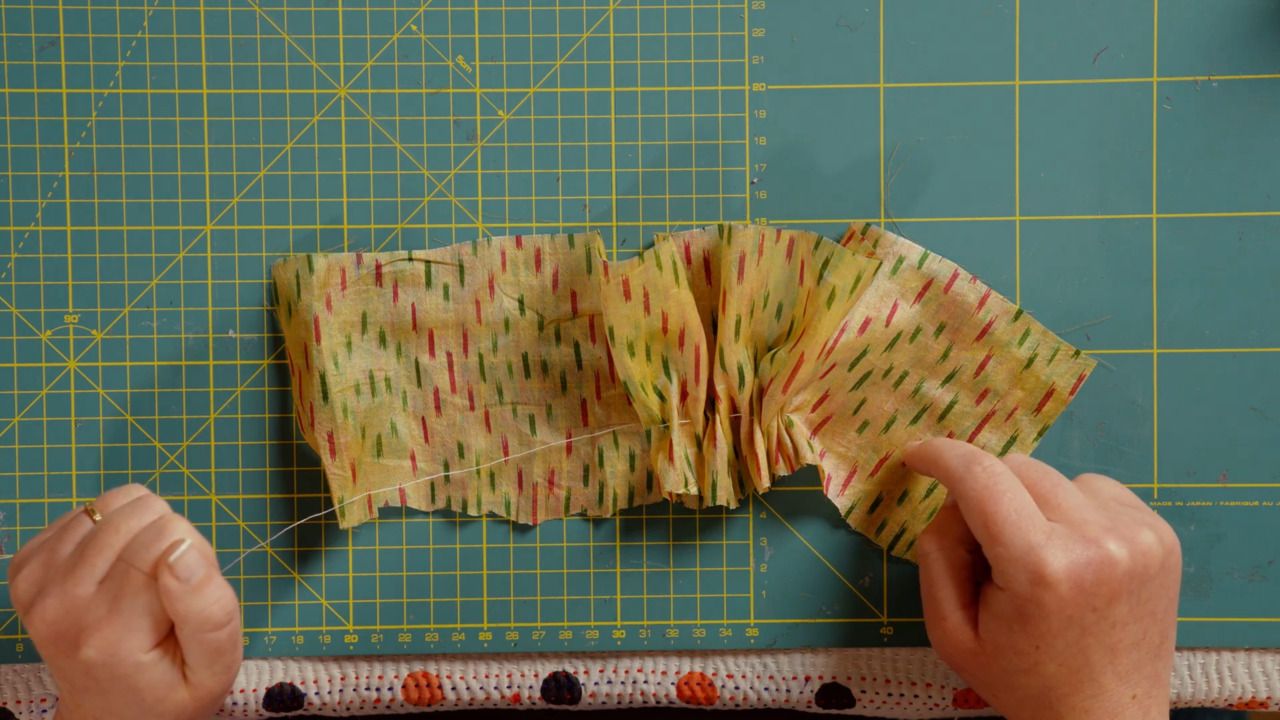
It's best if trim has a slight stretch to it, as this enables it to be positioned neatly around curved edges. When creating your own trim, you will need to cut the fabric 'on the bias', as this is the stretchiest part of the fabric. The bias is the diagonal line through a fabric, approximately at a 45 degree angle from the edge.
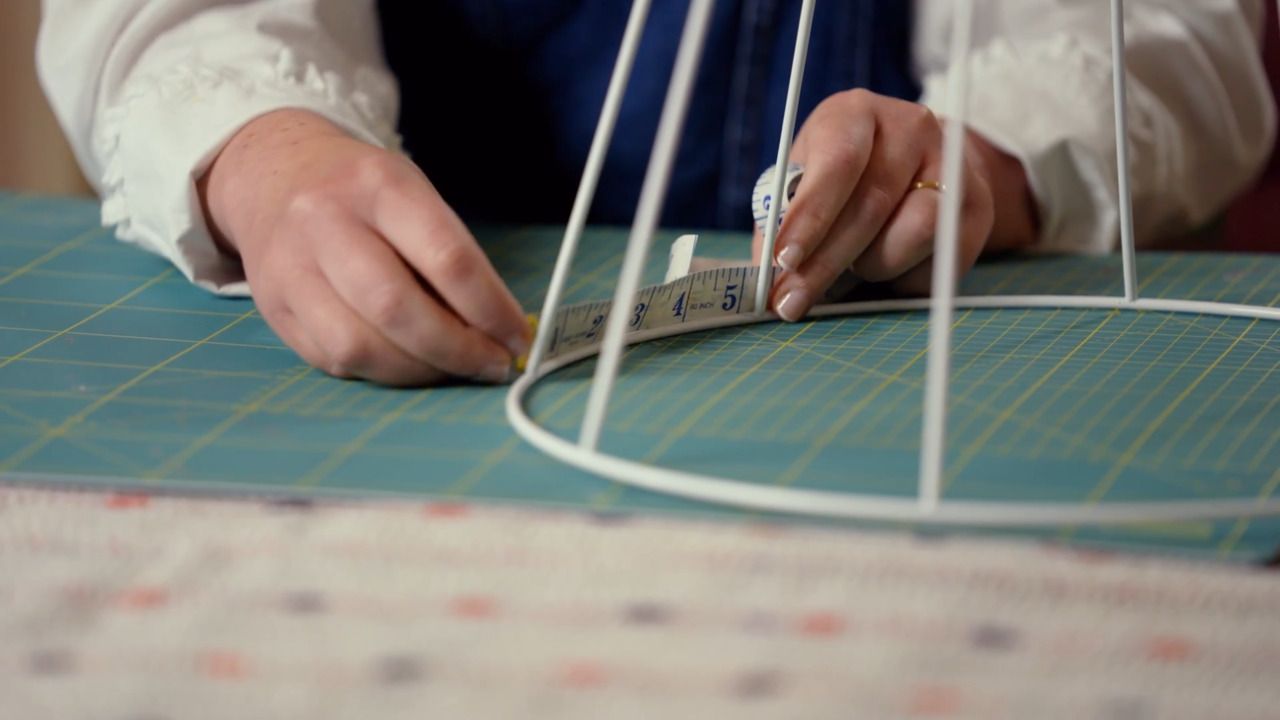
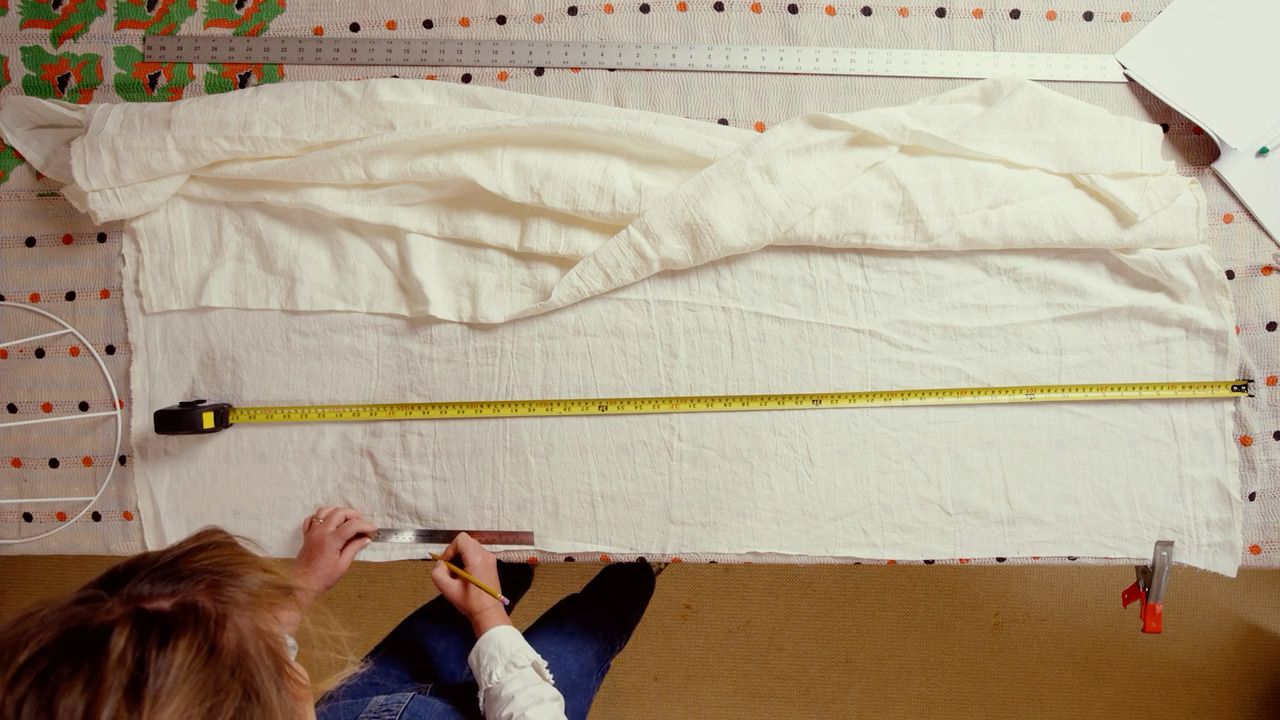
Step 1
Lay your fabric out flat and mark out the measurement of the circumference of the bottom ring of your lampshade plus 4 cm seam allowance.
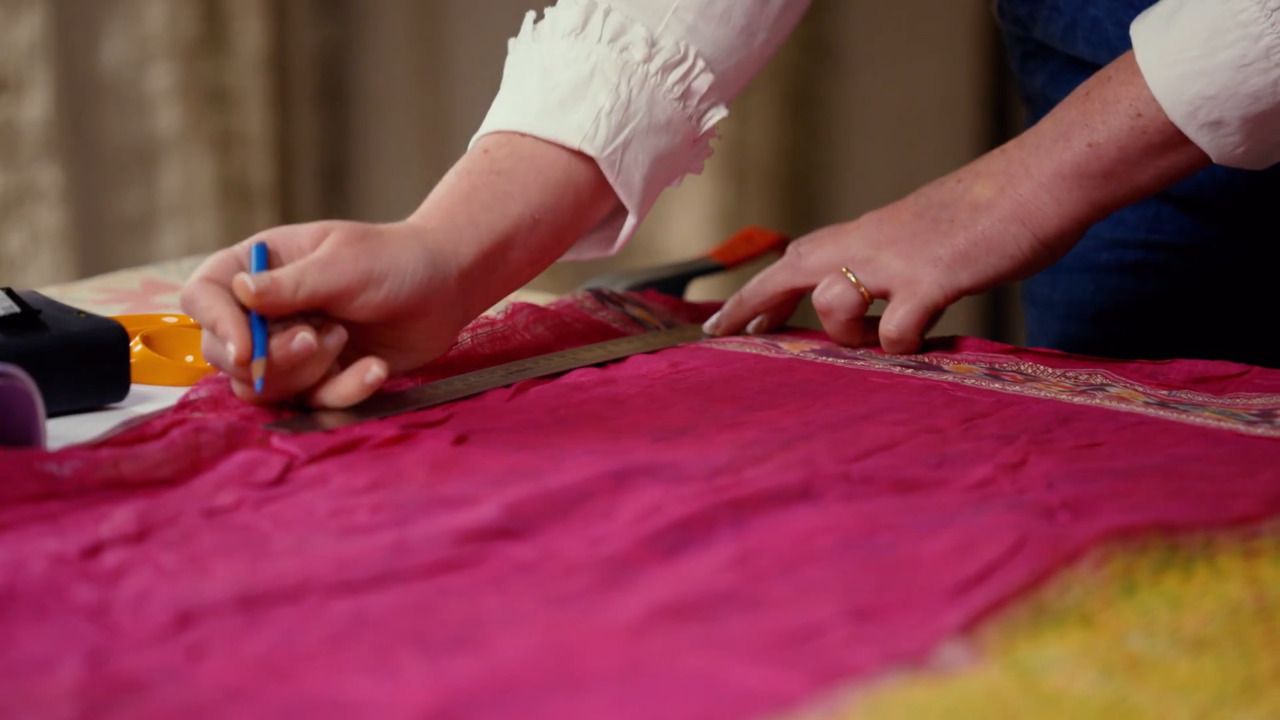
Step 2
Mark 3 cm all the way along to create the width of your trim.
Step 3
Use scissors to cut out this strip of fabric.
Step 4
Repeat for the top ring of your lampshade, using the circumference measurement of the top ring plus 4 cm seam allowance for the length, and 3 cm again for the width.
Step 5
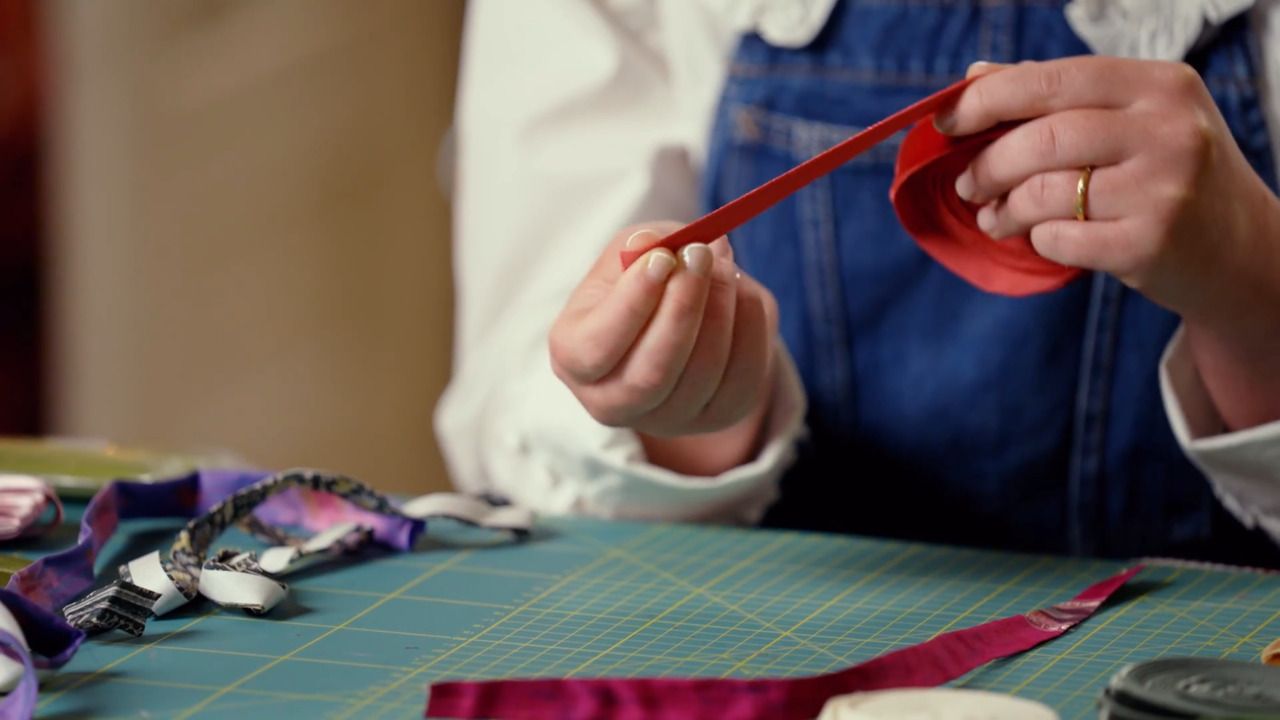
Lay your first length of fabric out flat and plug your iron in nearby so it is heating up and close to hand. Starting at one end, fold both sides of a small section of the fabric inwards to meet in the middle.
Step 6
Hold in place with one hand, and take your iron in the other and press the folds to secure them. Be extremely careful not to burn yourself, and keep your fingers out of the way when pressing.
Step 7
Clip this folded and pressed end of the fabric to your surface. Now work in sections to continue the same fold down the length of the fabric, pressing with the iron to secure as you go.
Step 8
When you have folded and ironed the entire length of the fabric, unclamp it from your surface. Take your bias binding fusible tape, and place it neatly on top of the fabric so that it sits within the edges. Use the iron to adhere the tape to the fabric.
Step 9
Once the tape is attached to the fabric, reclamp to the table. Pull the fabric taut, and carefully work along the length, positing the tape in place and ironing to adhere it as you go.
Step 10
As you reach the end, trim the tape to the same length as the fabric. You now have a trim that is ready to work with.
Step 11
Repeat this process for the second strip of fabric to create the trim for your top ring.
Get the full workbook, video lessons, and more with a Create Academy subscription.
Subscribe to access the full workbook
Your Instructor
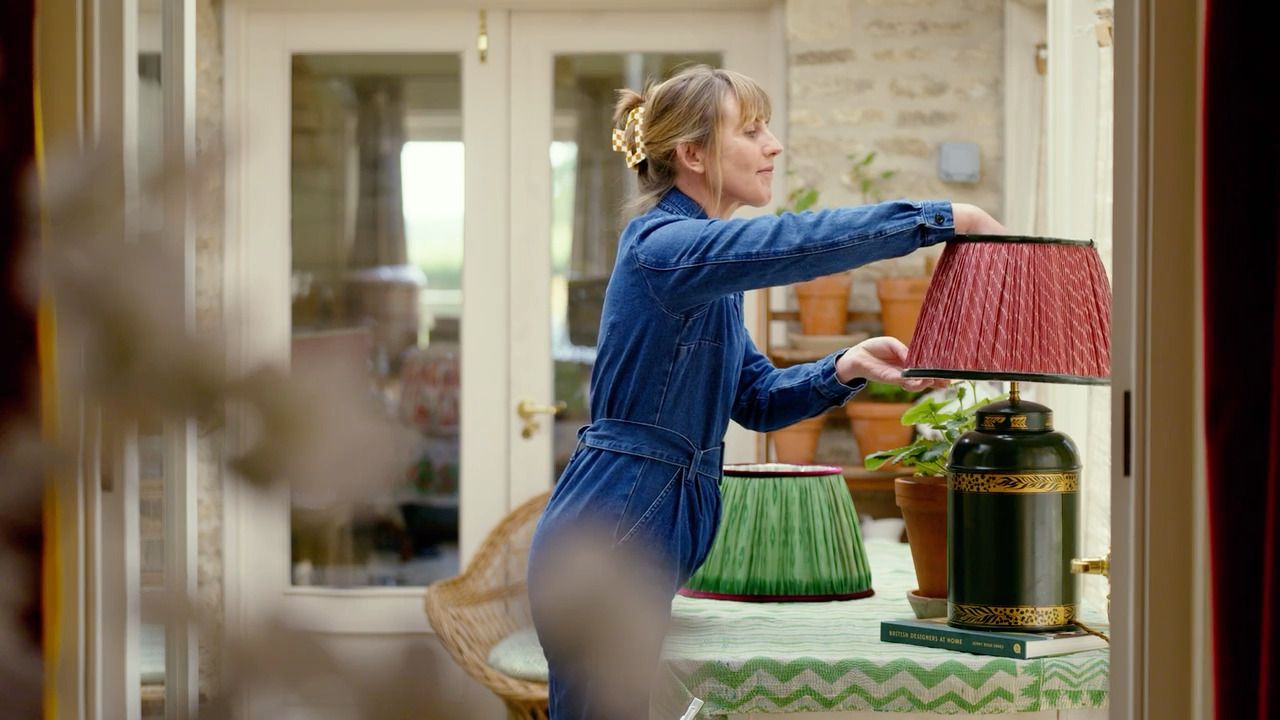
Chloe Jonason
Designer and soft furnishing expert specialising in vintage textiles and hand-crafted homewares.
Chloe is a designer and textile artist, specialising in upholstery, soft-furnishings, vintage textiles and unique objects for the home. Chloe's fascination with the art of hand sewing was ignited at University when studying History of Art, after which she embarked on a career rooted in furniture and soft furnishing making. In 2015, she founded her eponymous design business - based out of her studio in the South Lincolnshire countryside - where she crafts bespoke homewares and handmade lampshades using colourful vintage fabrics and carefully curated textiles sourced from across the globe.


Access to all courses