


Interior and exterior confidence
Create Academy has been such a great resource. I'm in the middle of renovating a bungalow with a very large garden and the courses have offered a wealth of inform...
Harvey
Jun 10, 2026
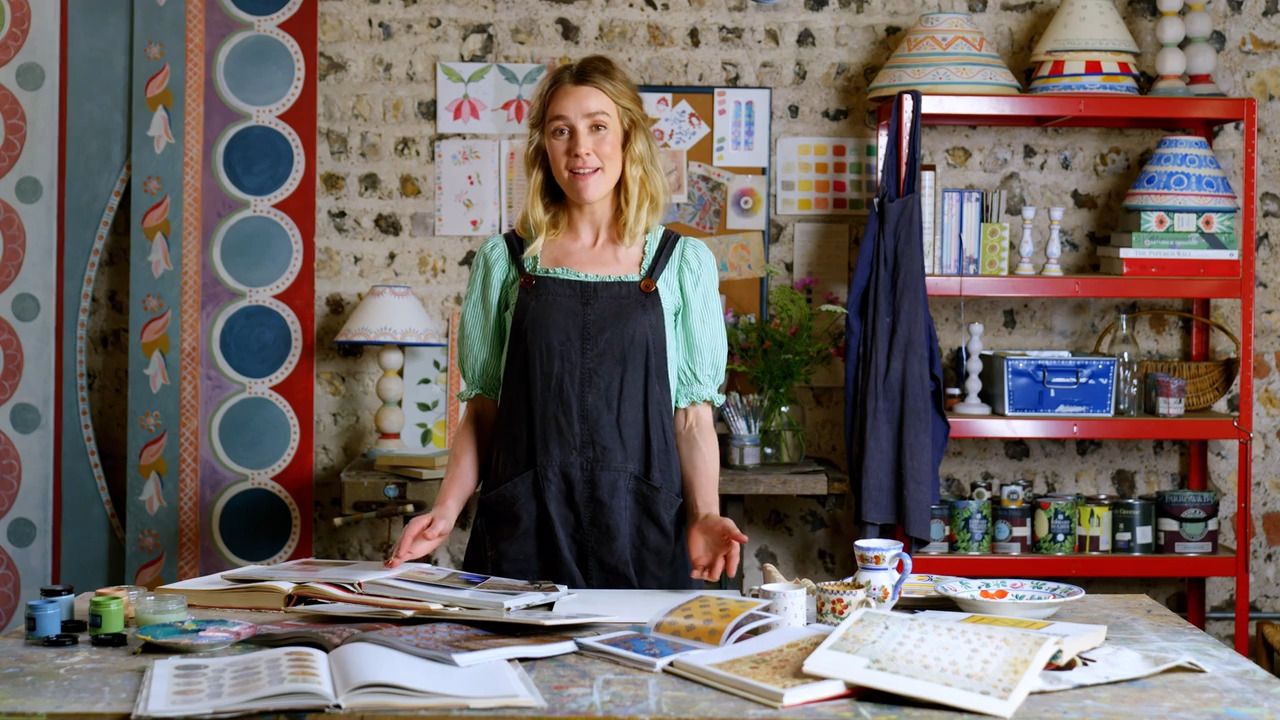
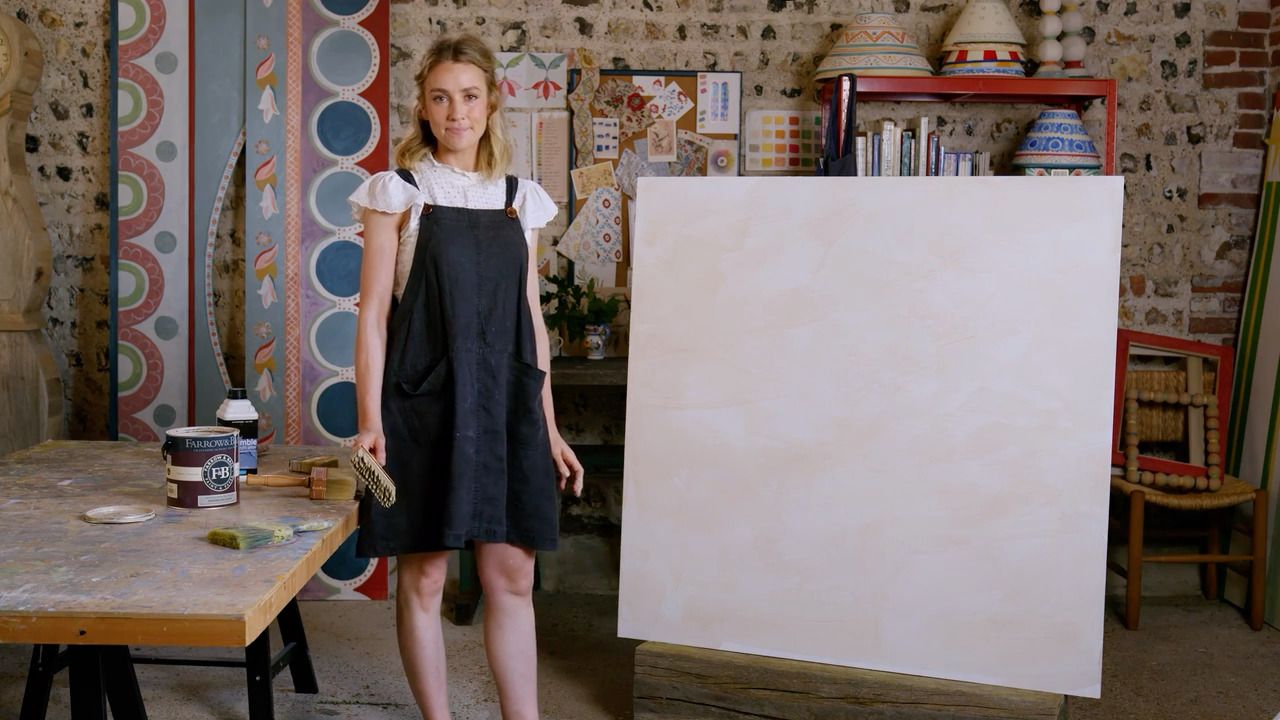
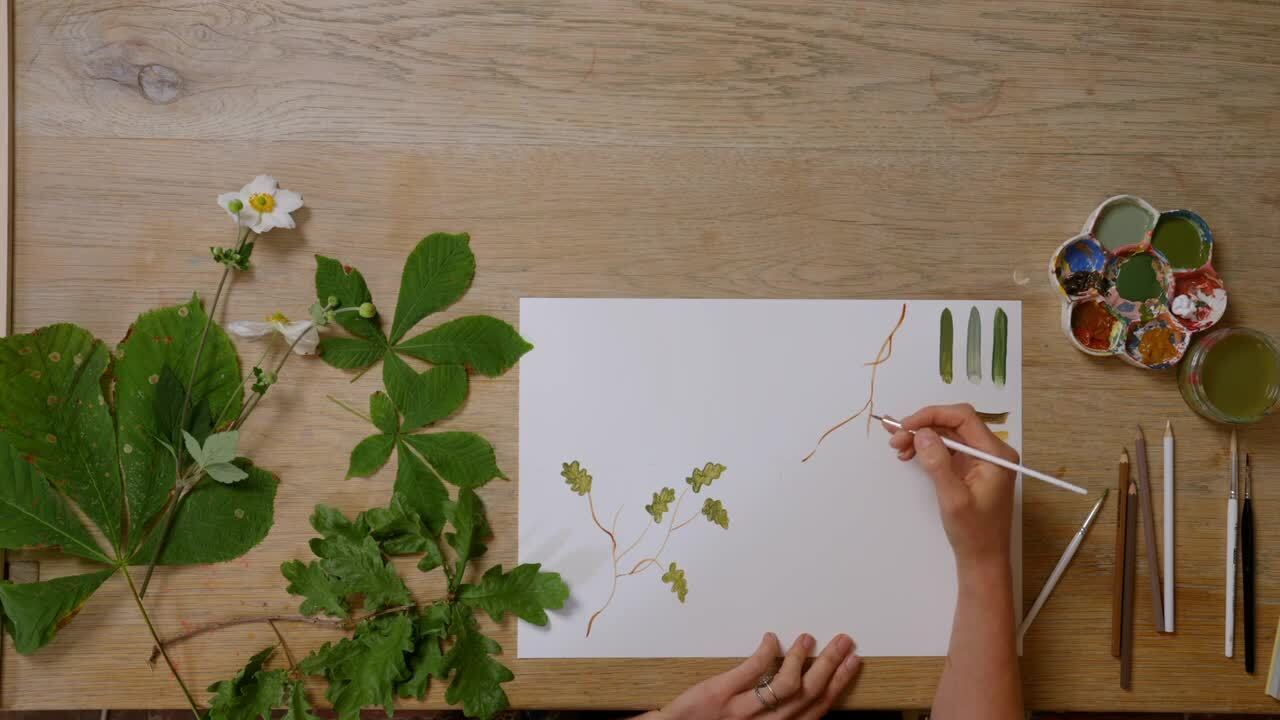
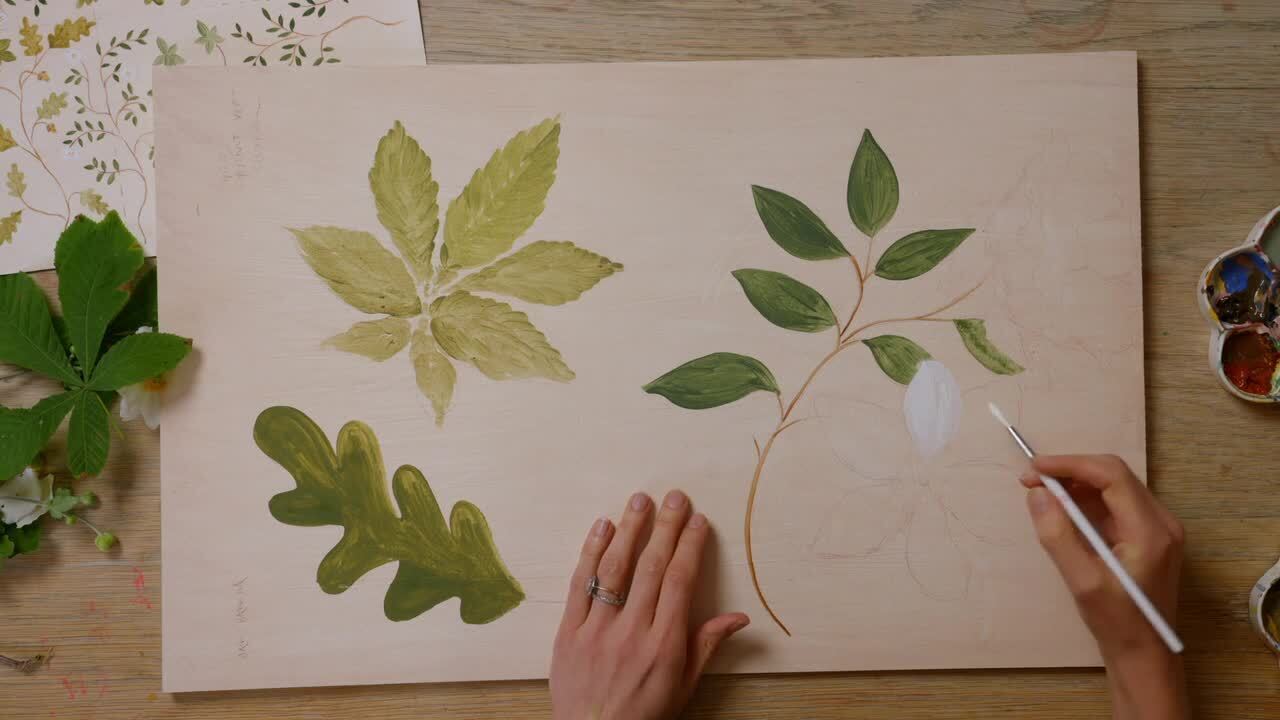
An Introduction to Decorative Painting
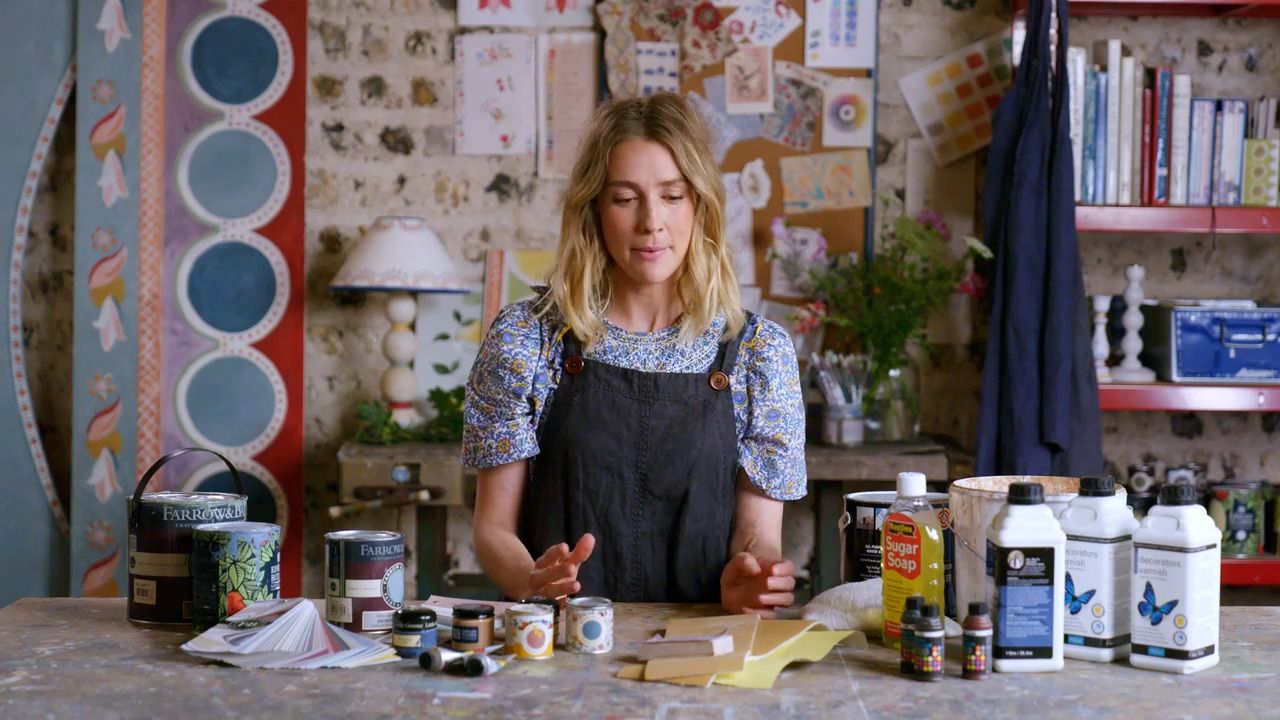
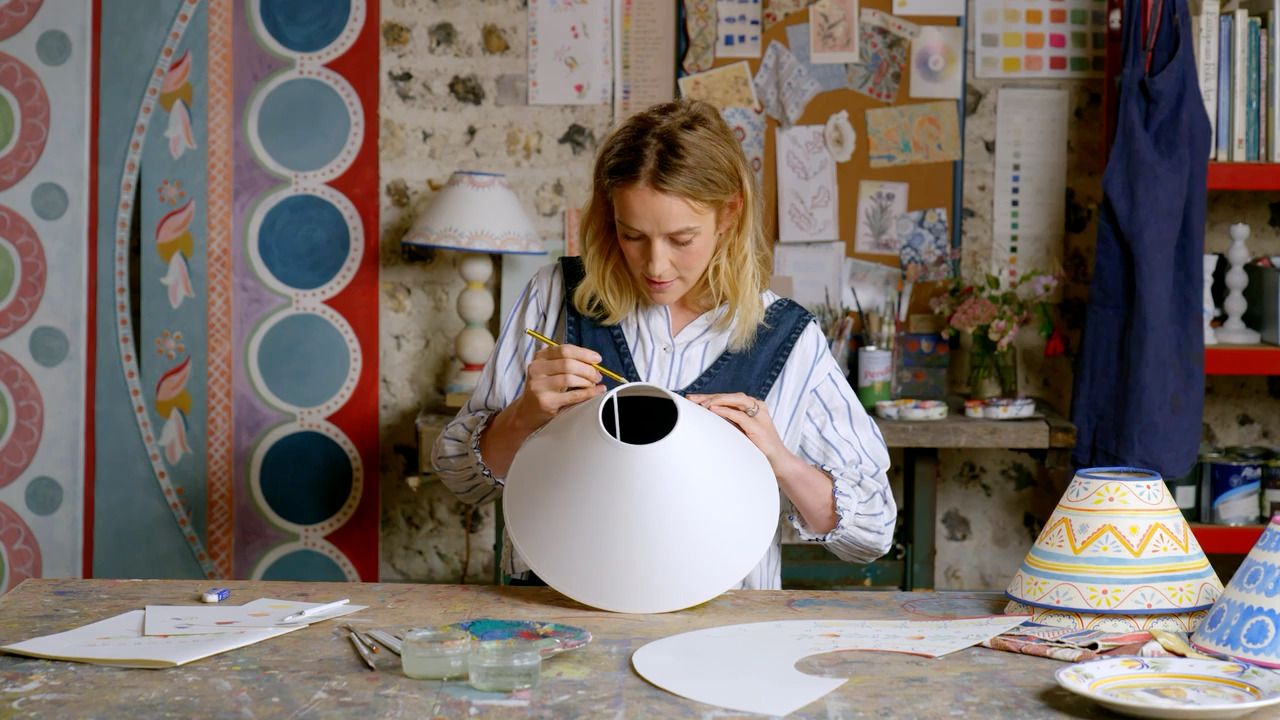
with TESS NEWALL — Acclaimed artist and set designer specialising in hand painted homewares and decorative painting.
Lesson 14 of 32
Subscribe to watch
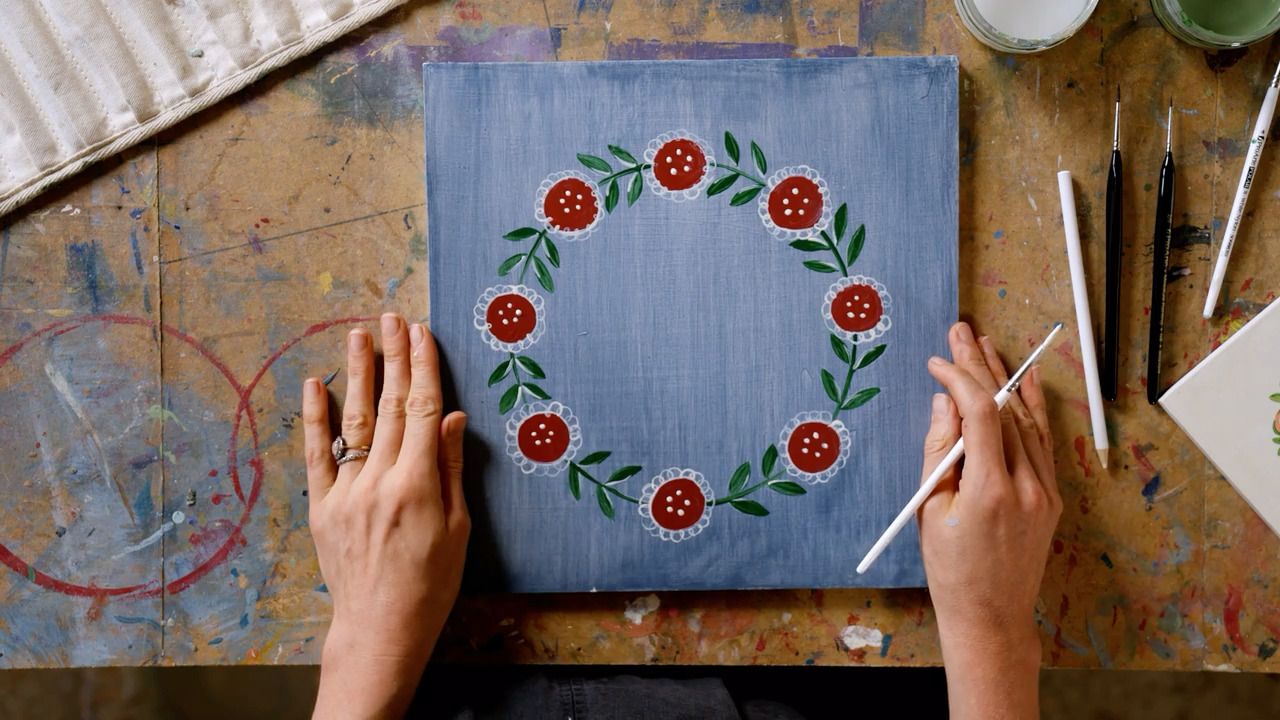
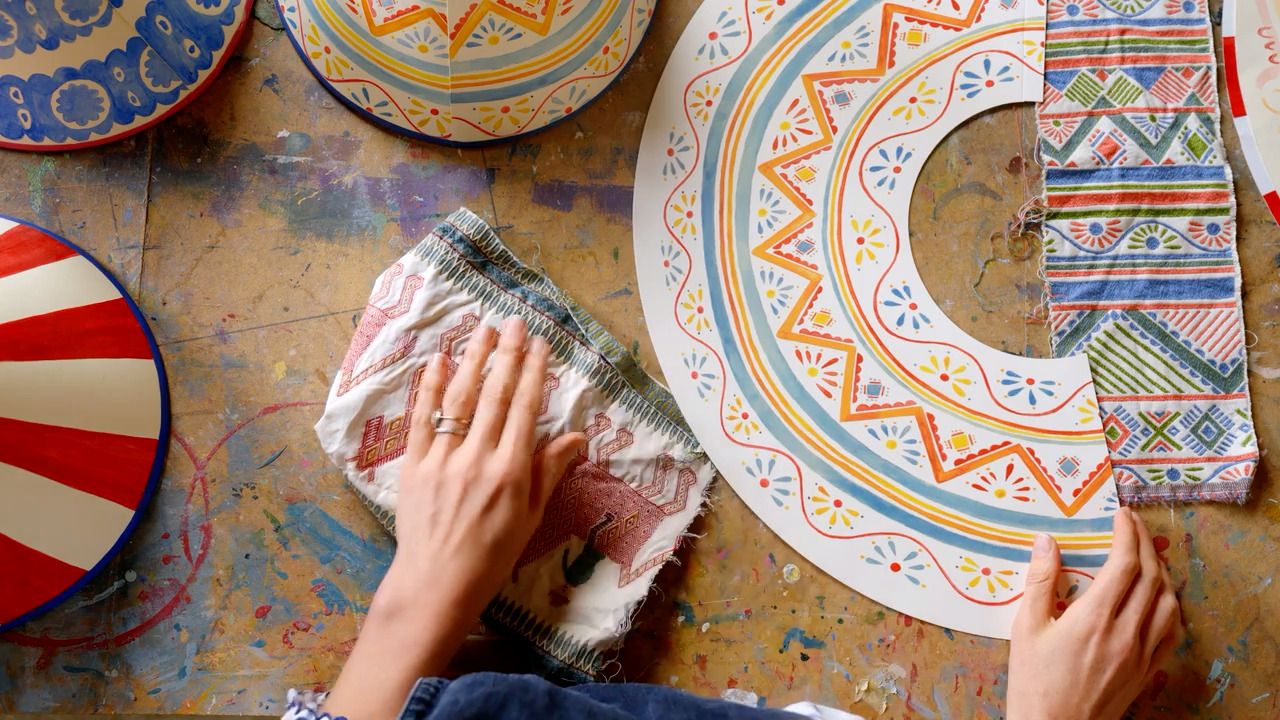
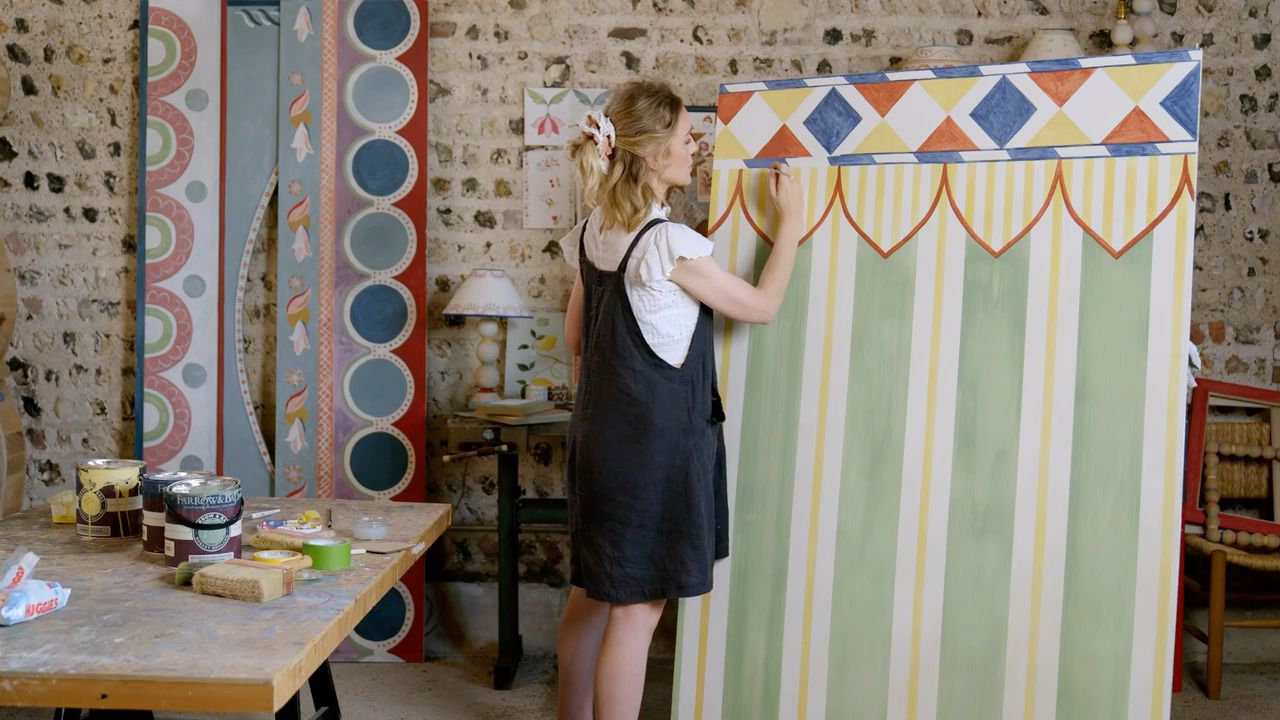
Another technique to add to your arsenal, Tess shows you how she works with tape and templates in her work through the case study of a circus-inspired mural. It's a particularly helpful method to use when creating more structured designs such as a geometric border.
Another method that I use in my decorative painting regularly is working with tape and templates. It's particularly helpful when creating more structured designs such as a geometric border.
Whenever you are working with a regimented pattern, always take accurate measurements of the space you are painting so you're able to determine the size of the pattern and exactly how many repeats you can have.
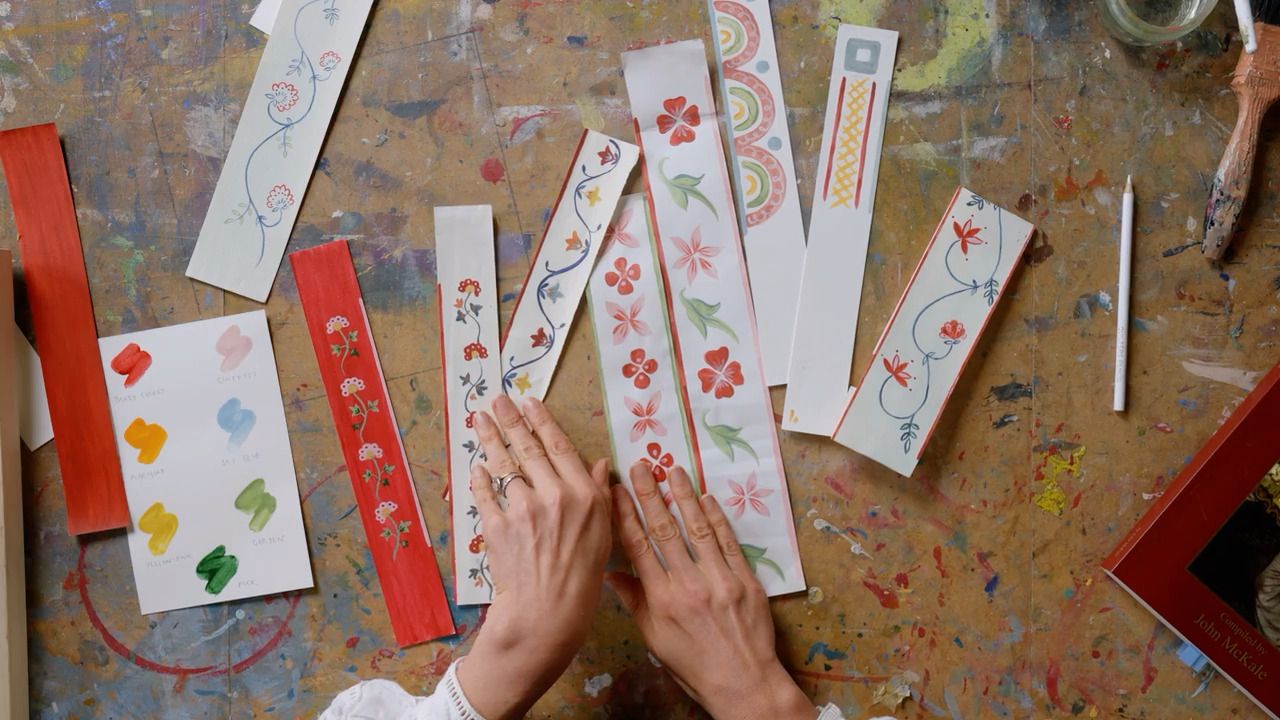
Once you have worked out the size of your repeating pattern, you can make templates to speed up the process of painting and avoid doing any more maths!
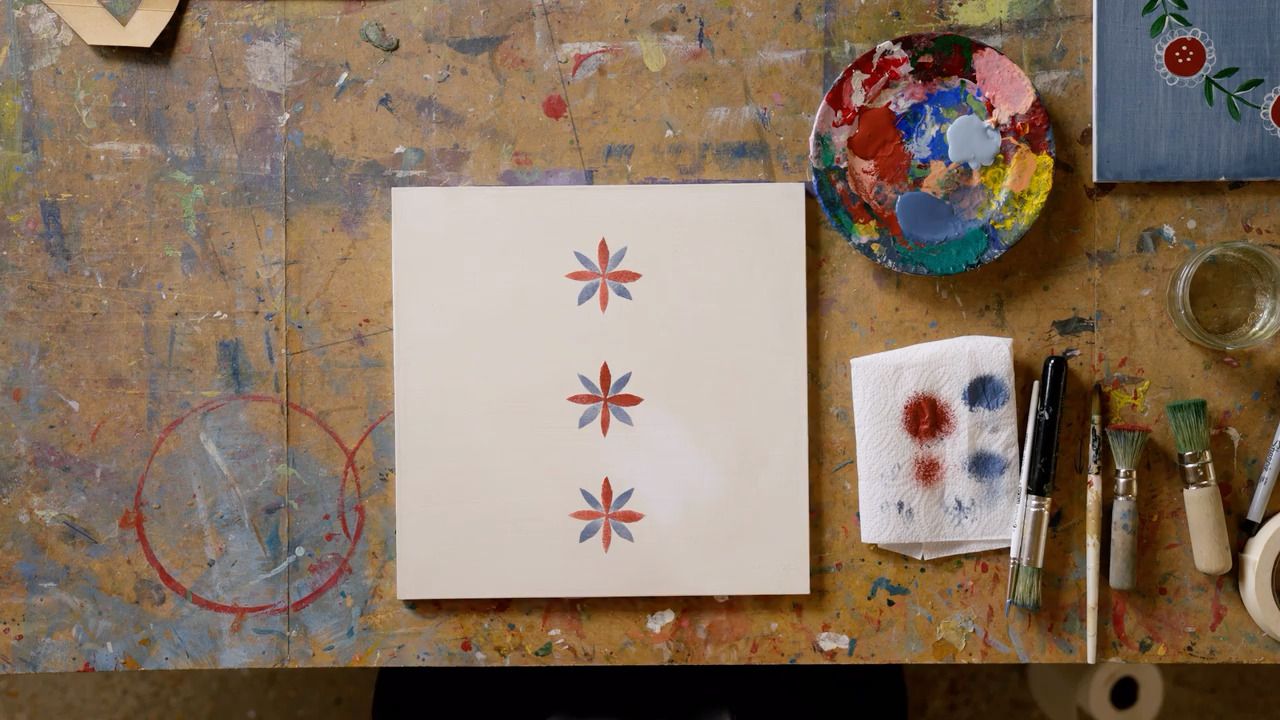
Templates can be made out of cardboard, stuck onto your surface with masking tape and then painted around to create different shapes and patterns.
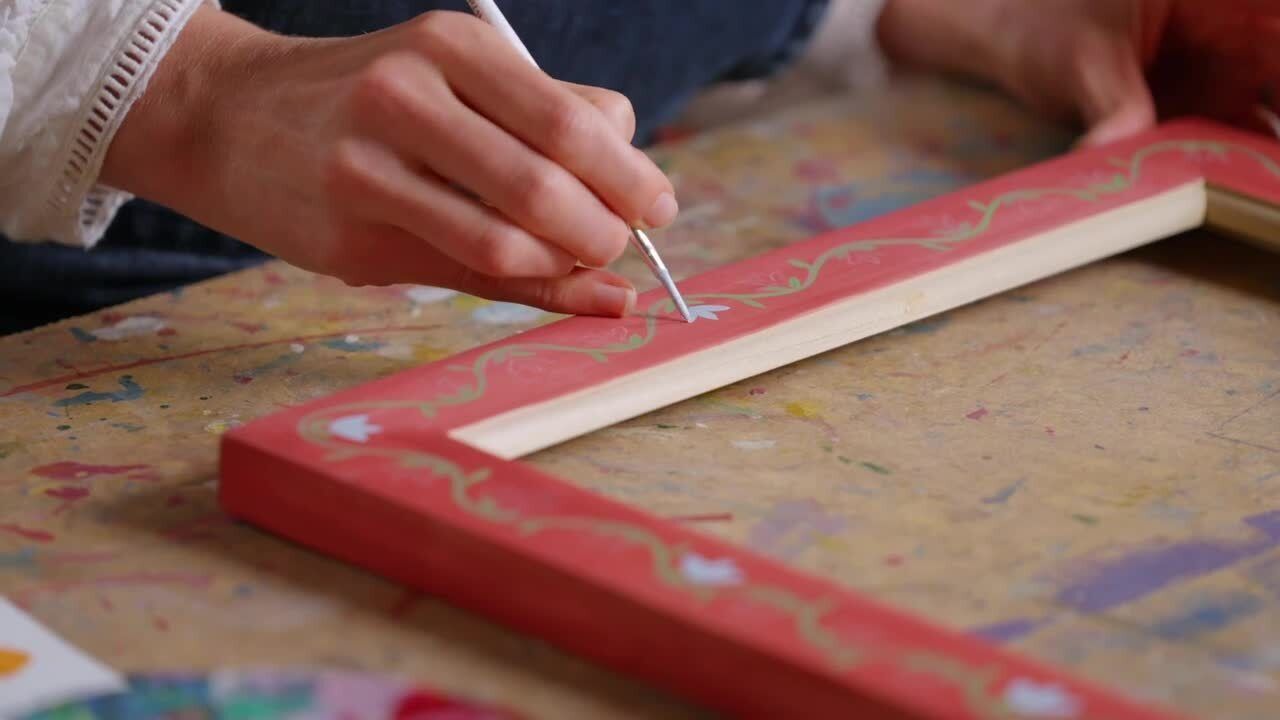
I would always recommend using Frogtape for this, as it's lower tack and is much better for your walls.
It's helpful to have a few different widths of Frogtape, as you can incorporate their widths into your design to make painting easier.
Whenever working with masking tape, you always want to peel it off quite quickly after you've applied the paint to avoid 'bridging'.
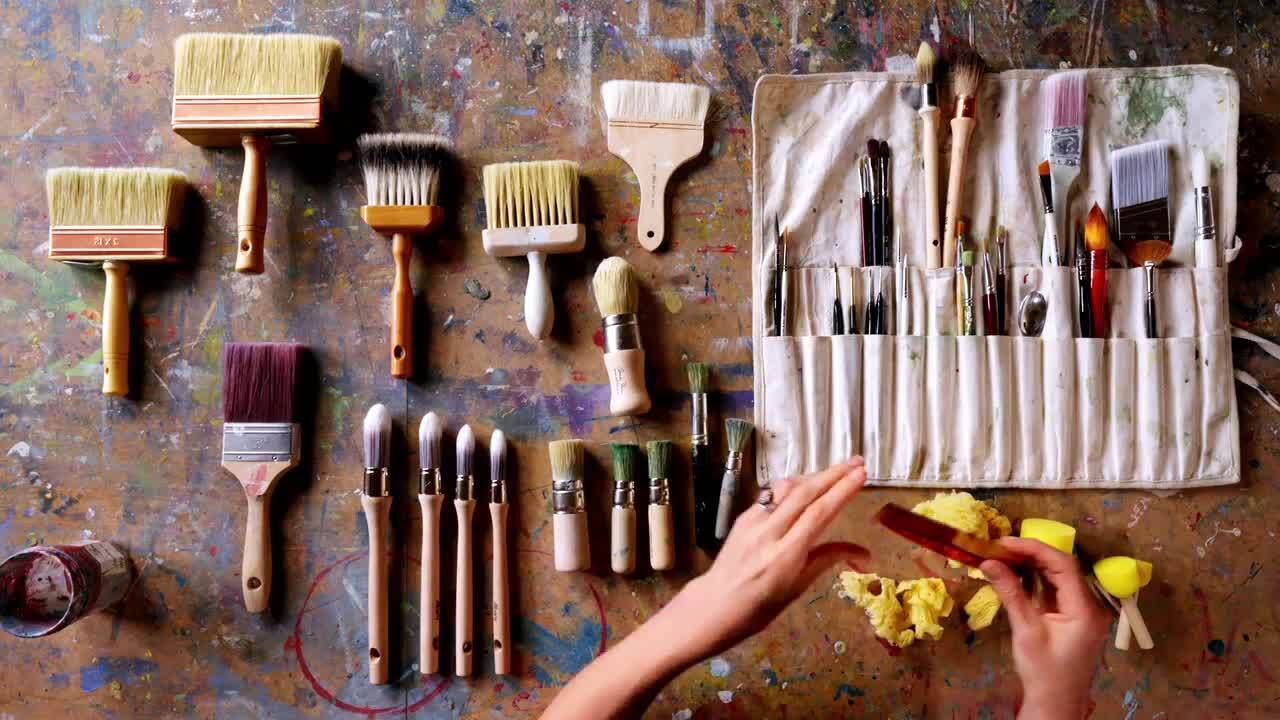
You will need:
Choose a brush that, when splayed, is the width you want your stripe to be. Stand directly in front of your surface and, holding your paintbrush with your arm outstretched and straight, start at the top and move your arm down in a fluid motion keeping it straight. The weight of your arm creates steady pressure on your surface to keep the line even.
Get the full workbook, video lessons, and more with a Create Academy subscription.
Subscribe to access the full workbookAlready a member? Sign in to watch
479 reviews
Read moreCreate Academy has been such a great resource. I'm in the middle of renovating a bungalow with a very large garden and the courses have offered a wealth of inform...
Harvey
Jun 10, 2026
Absolutely love Create Academy! The instructors are extremely informative, and it is beautifully filmed. Create Academy is great value for money and plan on renew...
SG
May 31, 2026
Butter's creativity is stunning! Her ability to incorporate brilliance in small gardens is magical!
Carla
May 30, 2026
The best adventure. I like all the courses, but my favorite are both Rita Konig interior design courses and Anna Jones. Excellent!
Karolina Kluczewska
May 20, 2026
Create Academy has been such a great resource. I'm in the middle of renovating a bungalow with a very large garden and the courses have offered a wealth of information to dive into and explore new ideas. I'm...
Harvey
Jun 10, 2026
Absolutely love Create Academy! The instructors are extremely informative, and it is beautifully filmed. Create Academy is great value for money and plan on renewing my subscription yearly because there are ...
SG
May 31, 2026
Butter's creativity is stunning! Her ability to incorporate brilliance in small gardens is magical!
Carla
May 30, 2026

Your Instructor
Acclaimed artist and set designer specialising in hand painted homewares and decorative painting.
Tess Newall is a decorative artist based in Sussex, specialising in hand-painted bespoke murals and furniture. Following a decade of experience as a set designer and painter in the film industry, Tess has mastered how to bring a creative vision to life. She often draws on historic patterns and aims to capture an artisanal feel, where textures and brushstrokes add to the atmosphere of a room or to the character of a furniture piece. Tess and her studio team work with interior designers and private clients on bespoke commissions for both commercial and residential projects, as well as collaborating on homewares collections with brands including Liberty and Matilda Goad.

Access to all courses


