


Interior and exterior confidence
Create Academy has been such a great resource. I'm in the middle of renovating a bungalow with a very large garden and the courses have offered a wealth of inform...
Harvey
Jun 10, 2026
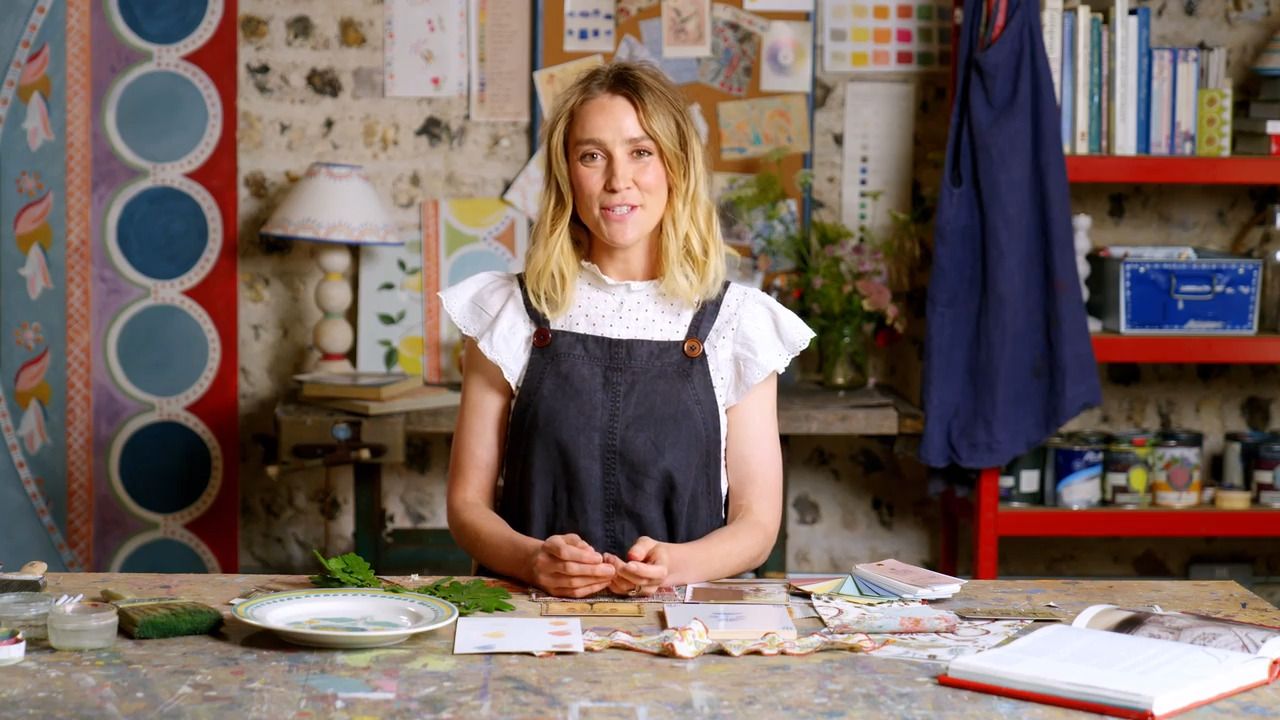
An Introduction to Decorative Painting
with TESS NEWALL — Acclaimed artist and set designer specialising in hand painted homewares and decorative painting.
Lesson 12 of 32
Subscribe to watch
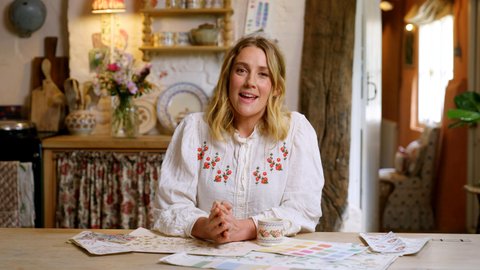
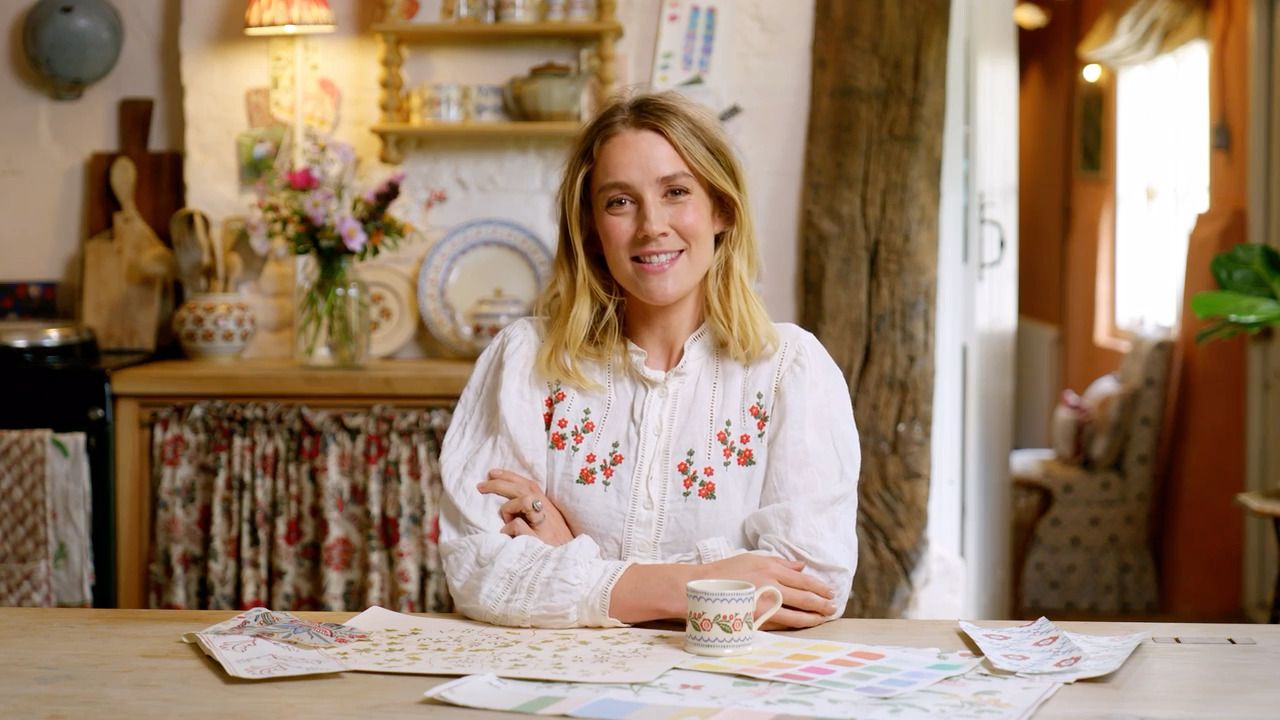
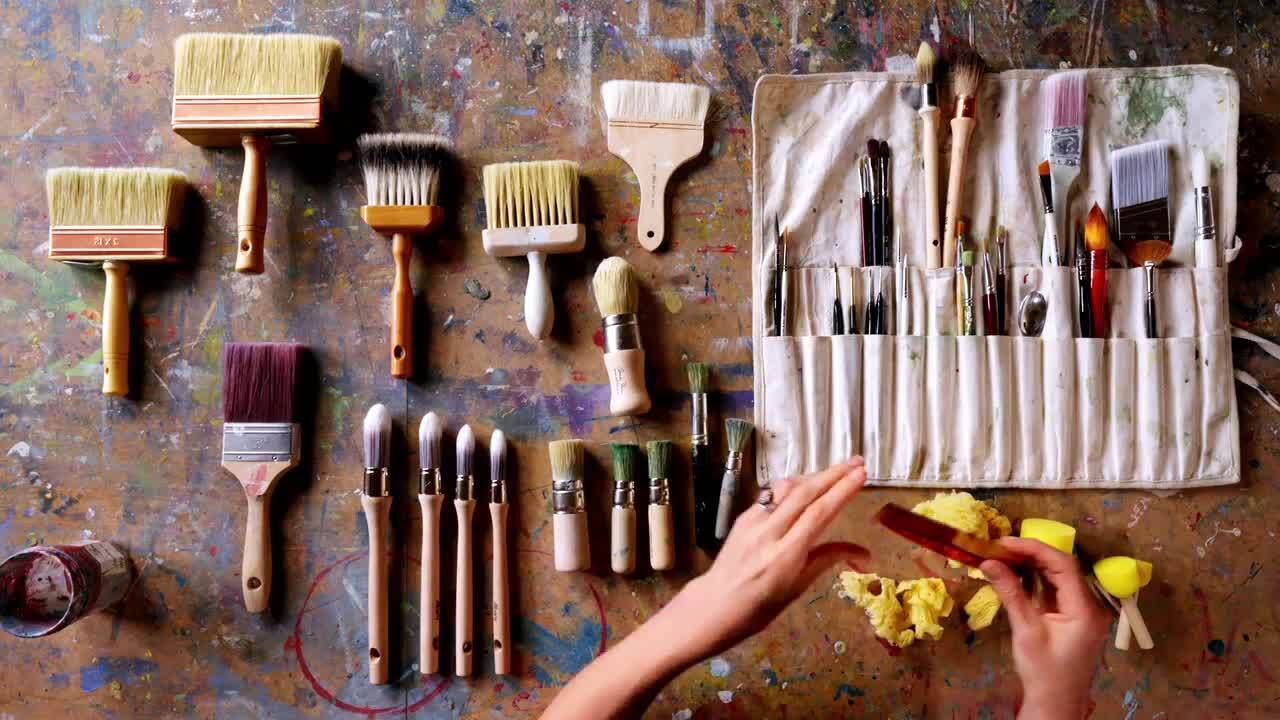
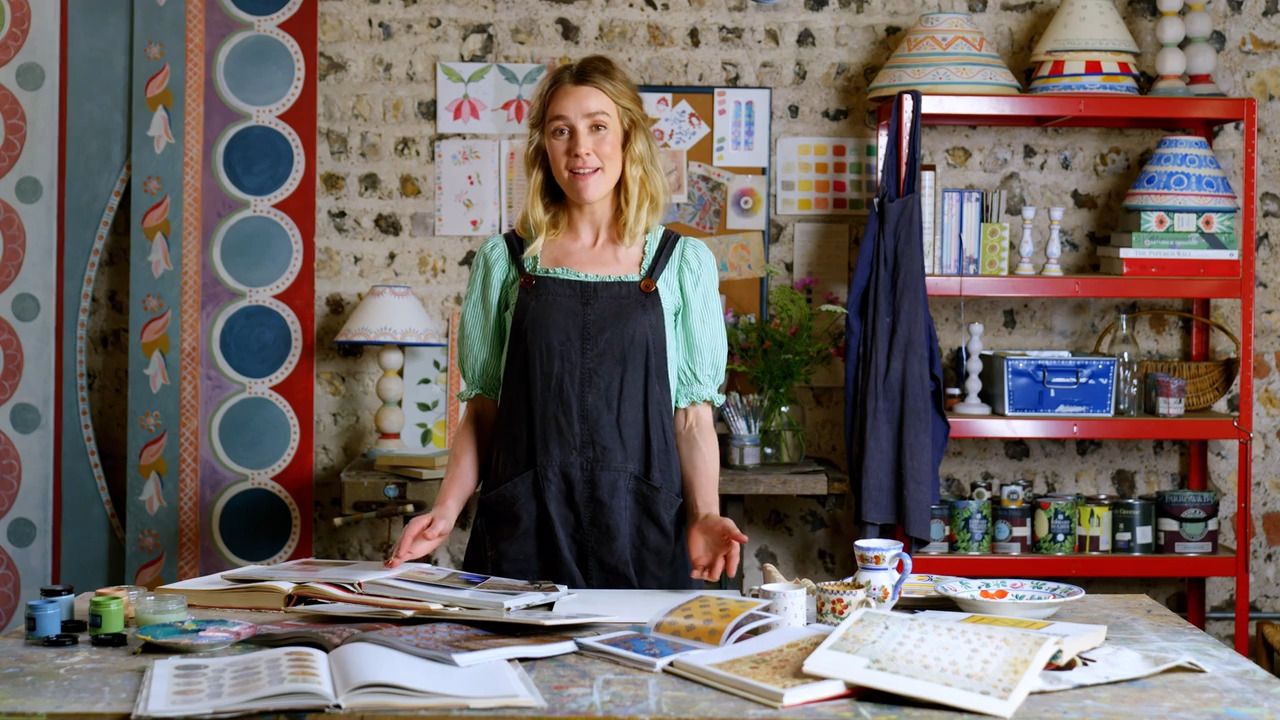
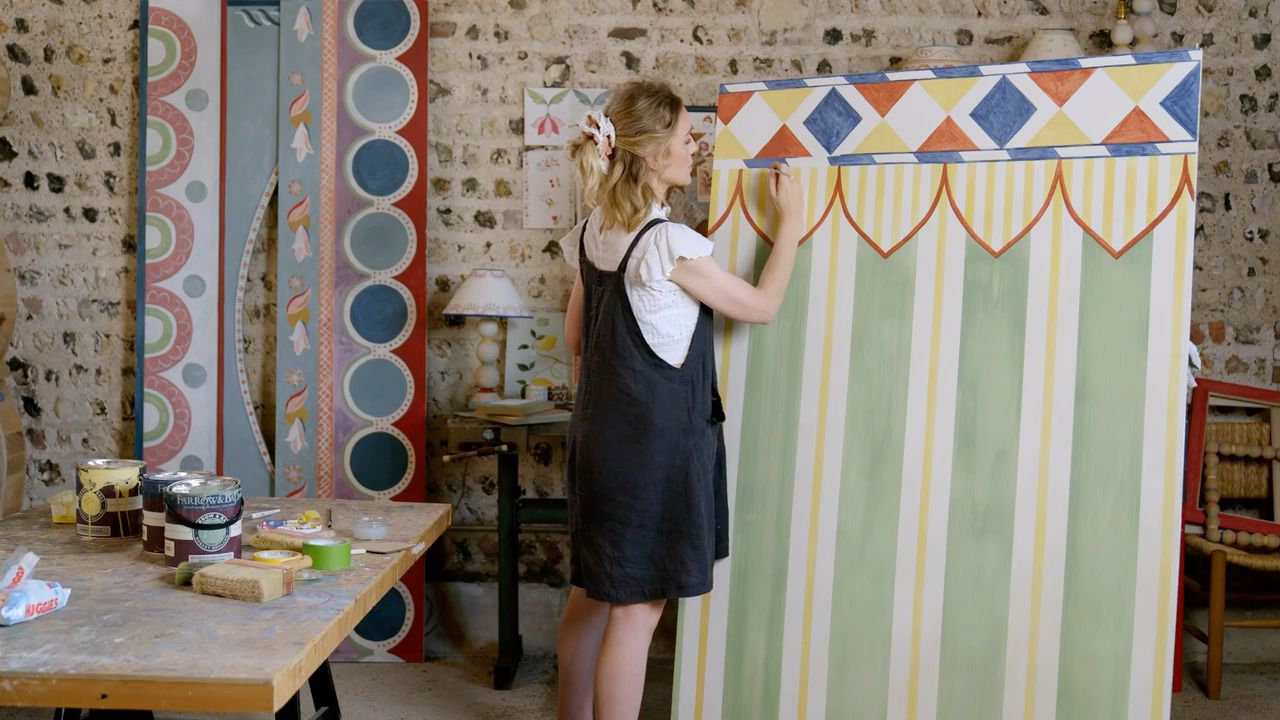
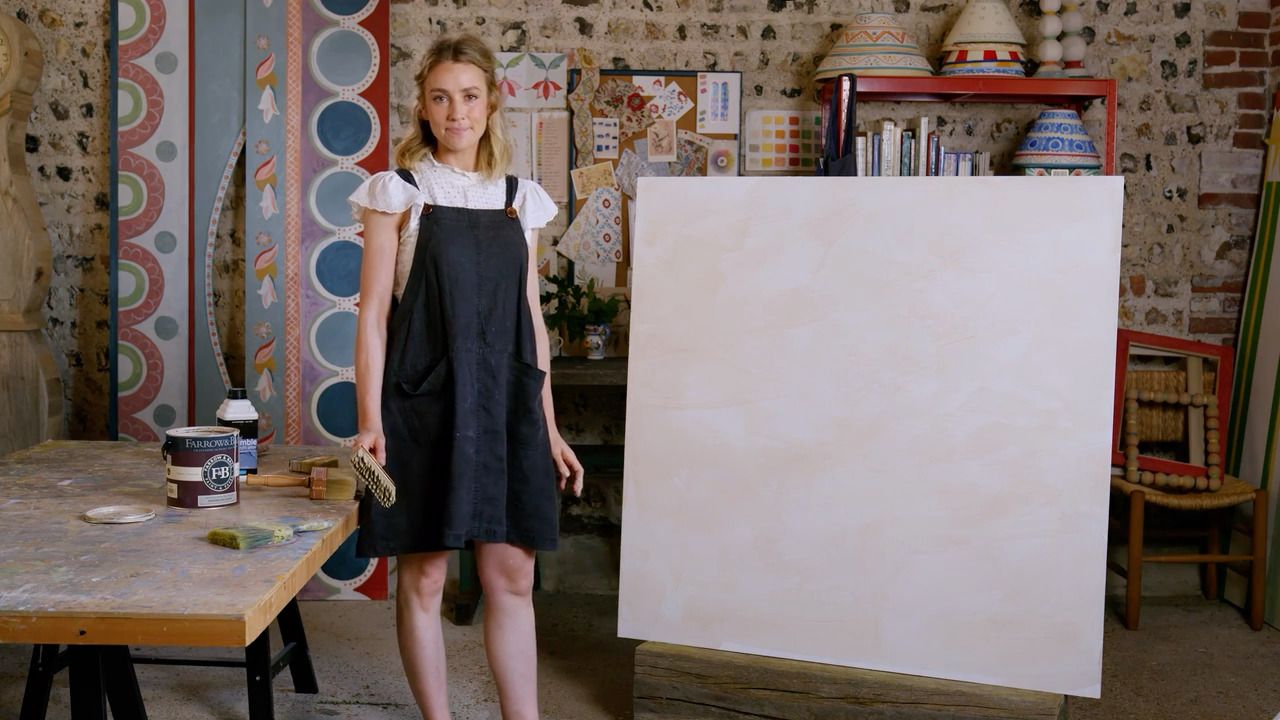
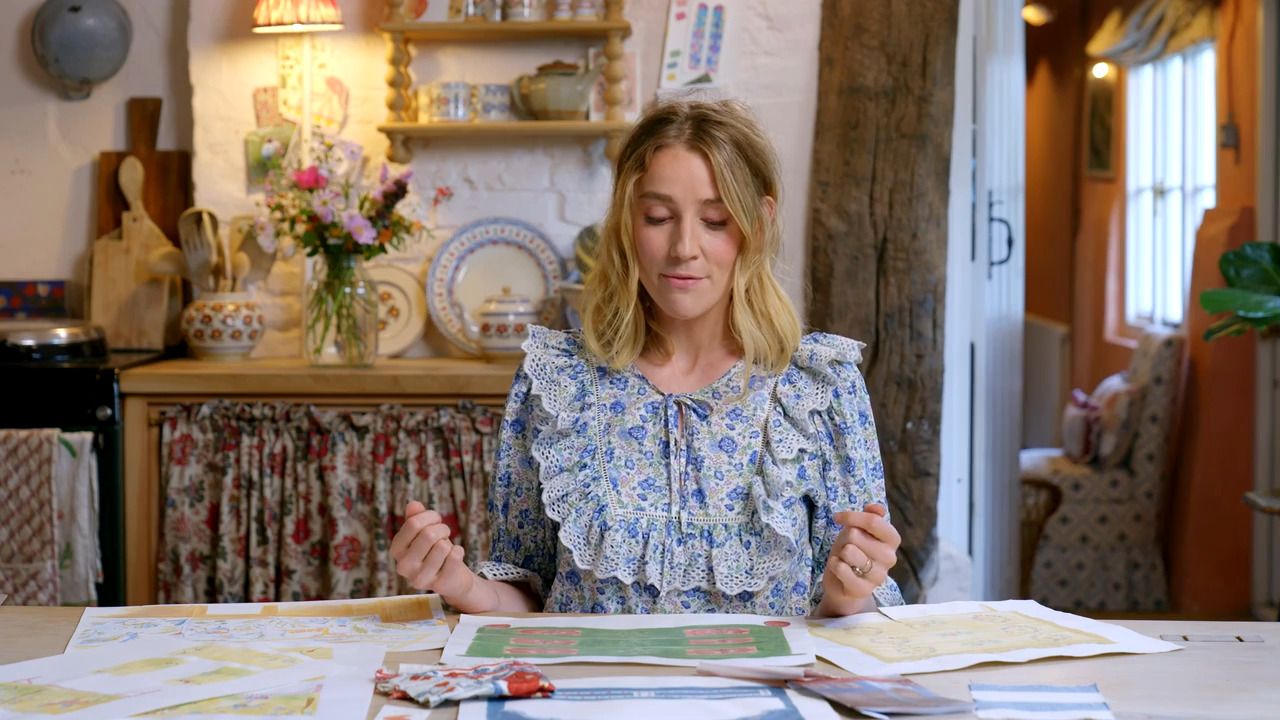
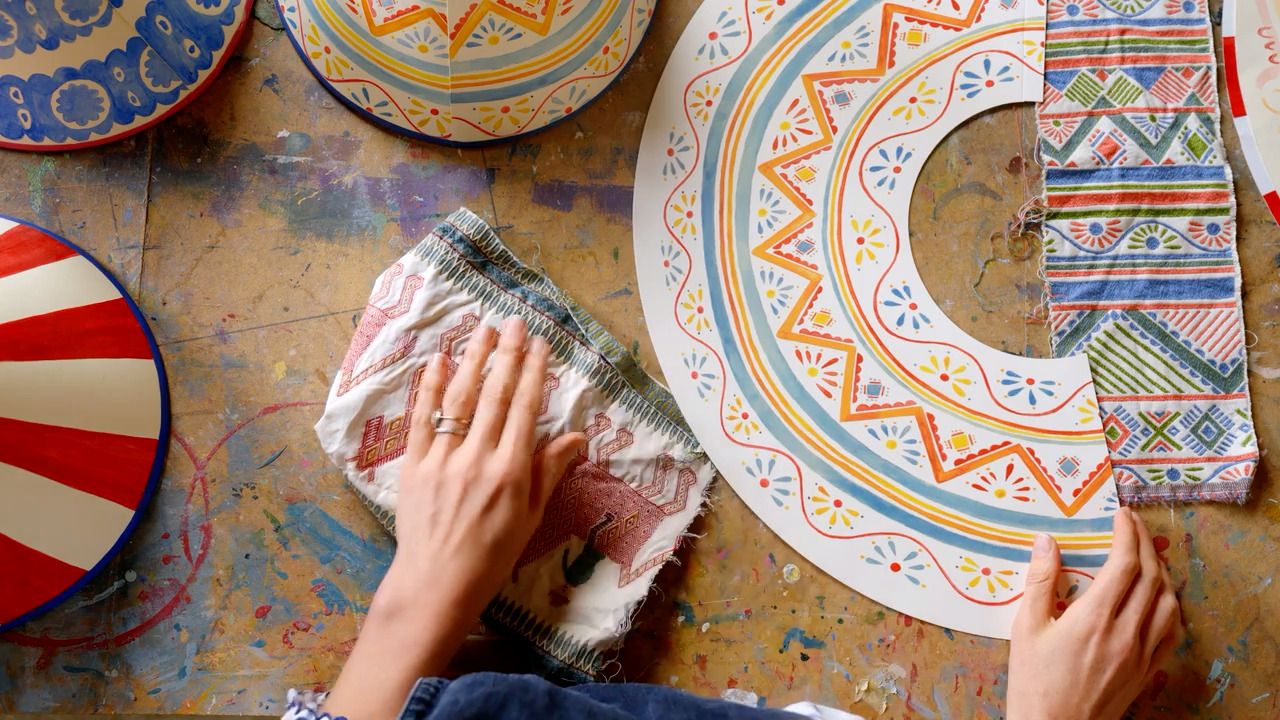
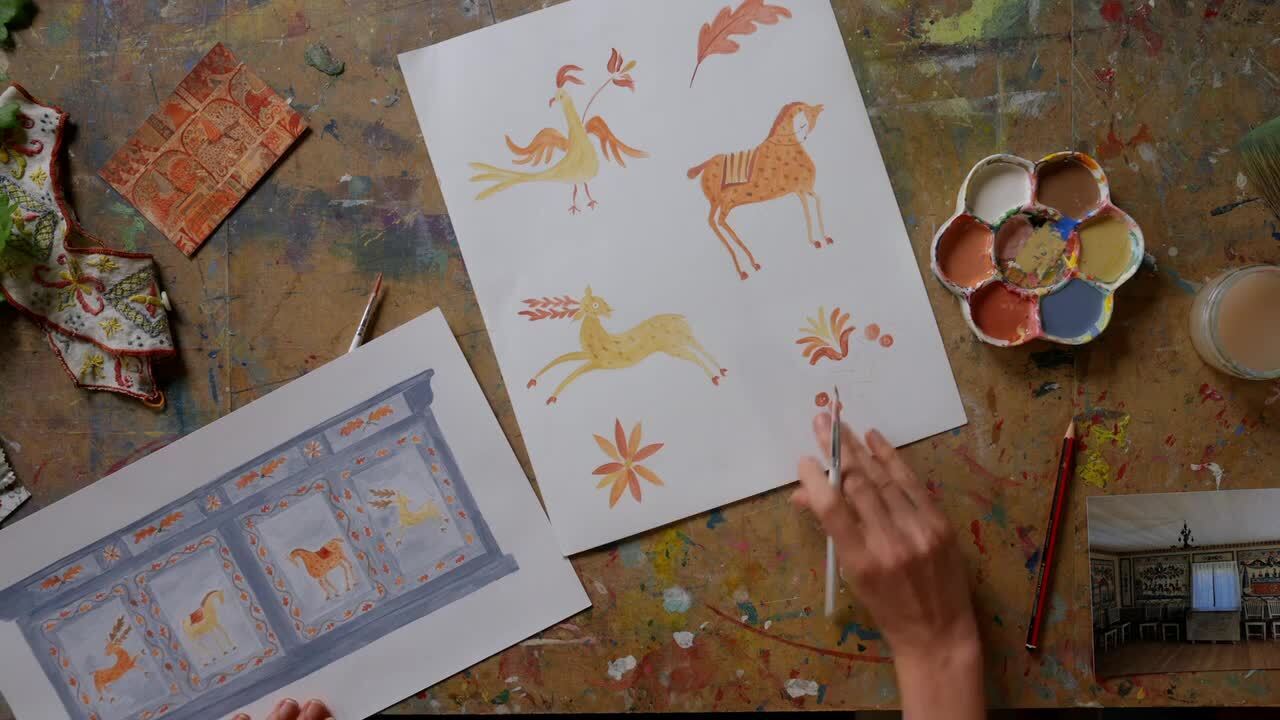
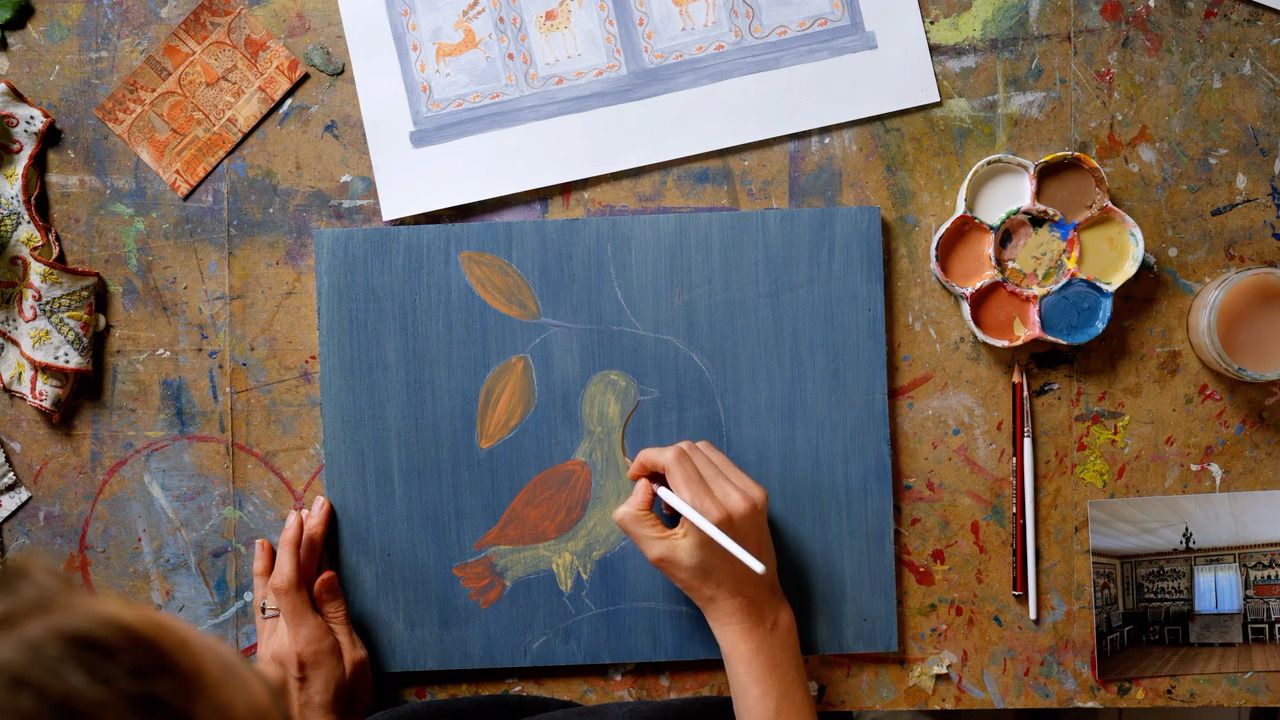
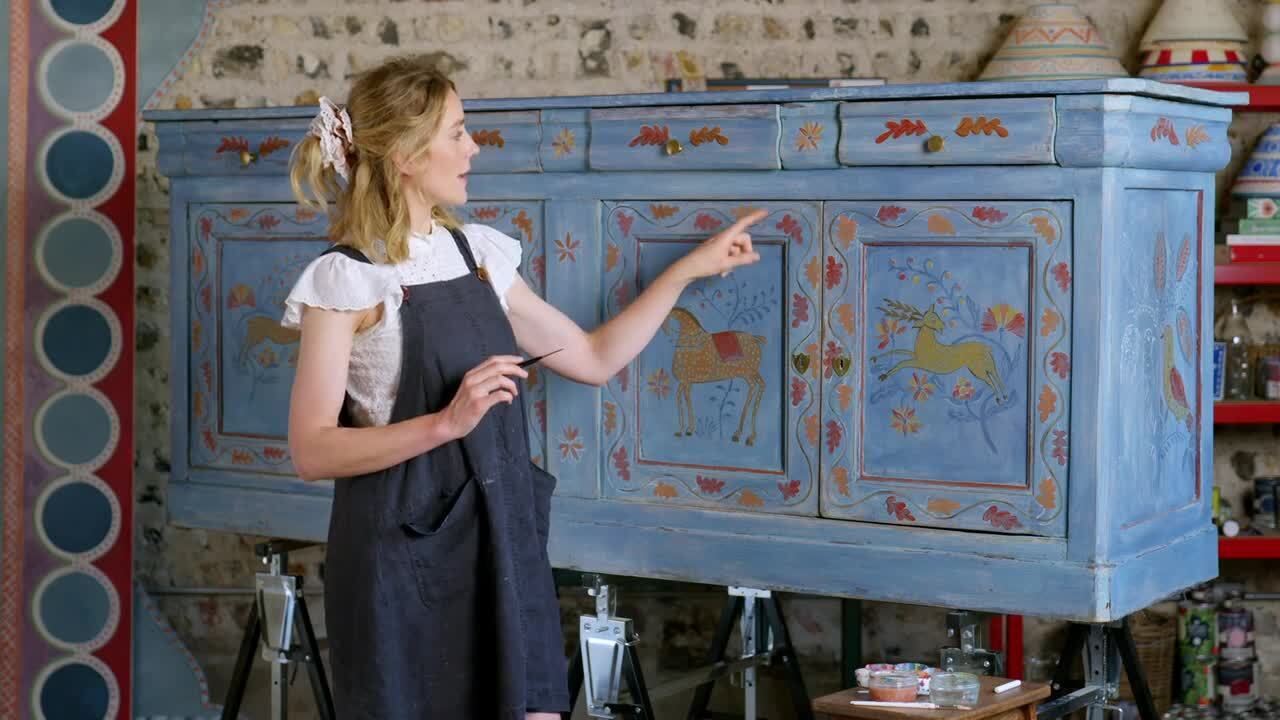
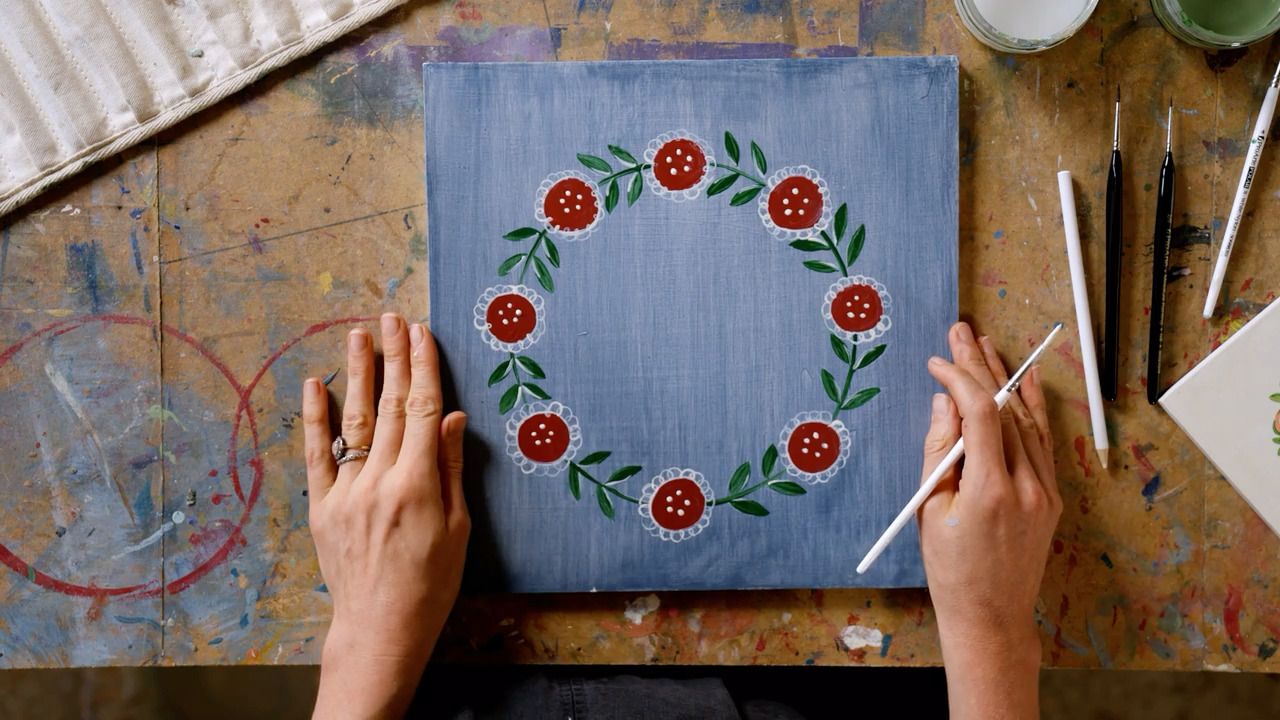
Now that you’ve learnt and practised some different motifs, follow along with Tess as she shows you how to combine them into a pattern and create an artwork of a painted flower garland.
Now that we've learnt and practised some different motifs, follow along with me as I combine them into a pattern - a painted flower garland.
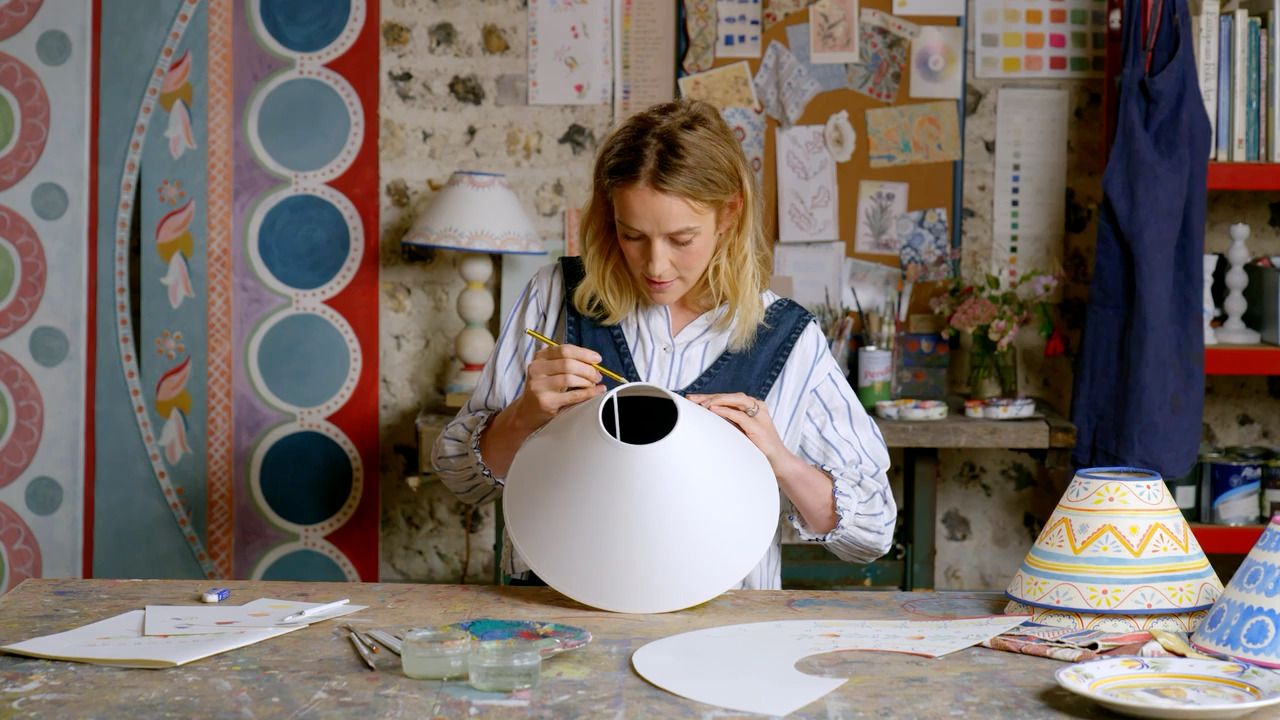
Use something circular as a template, and draw around it using chalk or a pencil onto your surface.
I prefer not to measure the placement of things exactly. Instead, I recommend dividing the space you're painting into halves and quarters as a guide to roughly space the different elements of the pattern evenly. In this instance, draw four circles to quarter your garland - these will become your first flowers.
Mark on the rest of your flowers by roughly finding the middle point of each quarter segment.
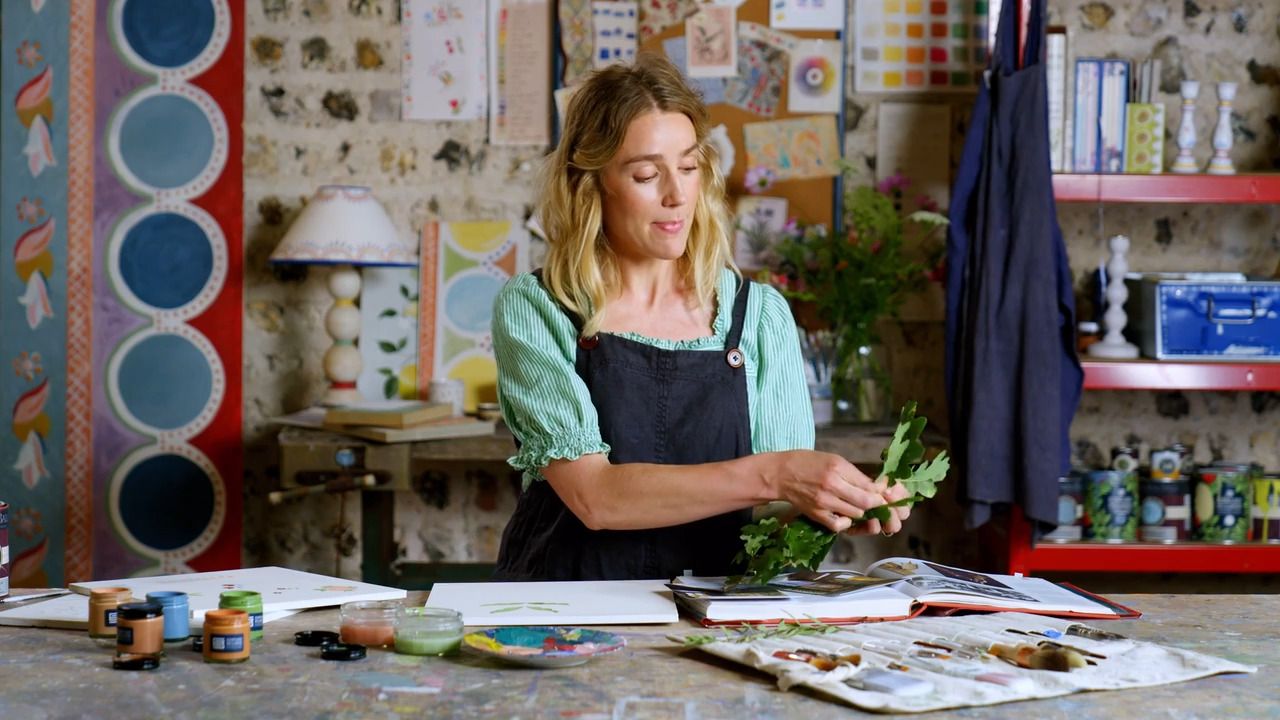
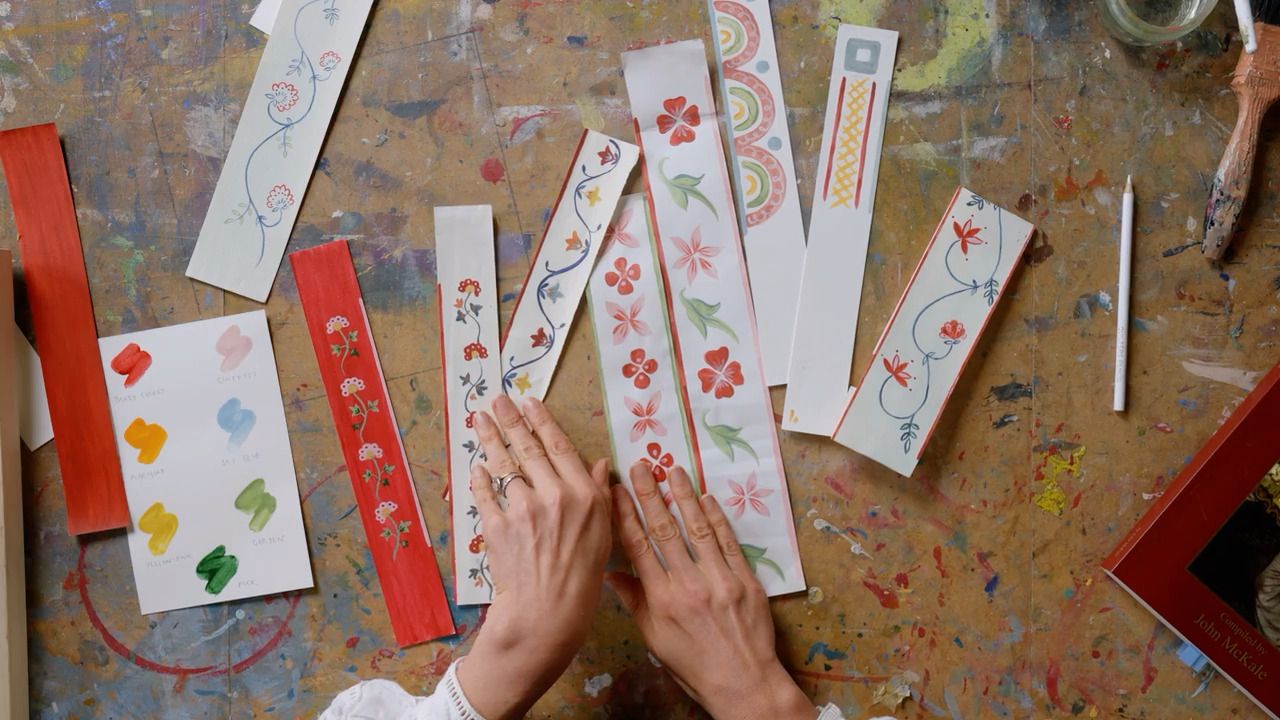
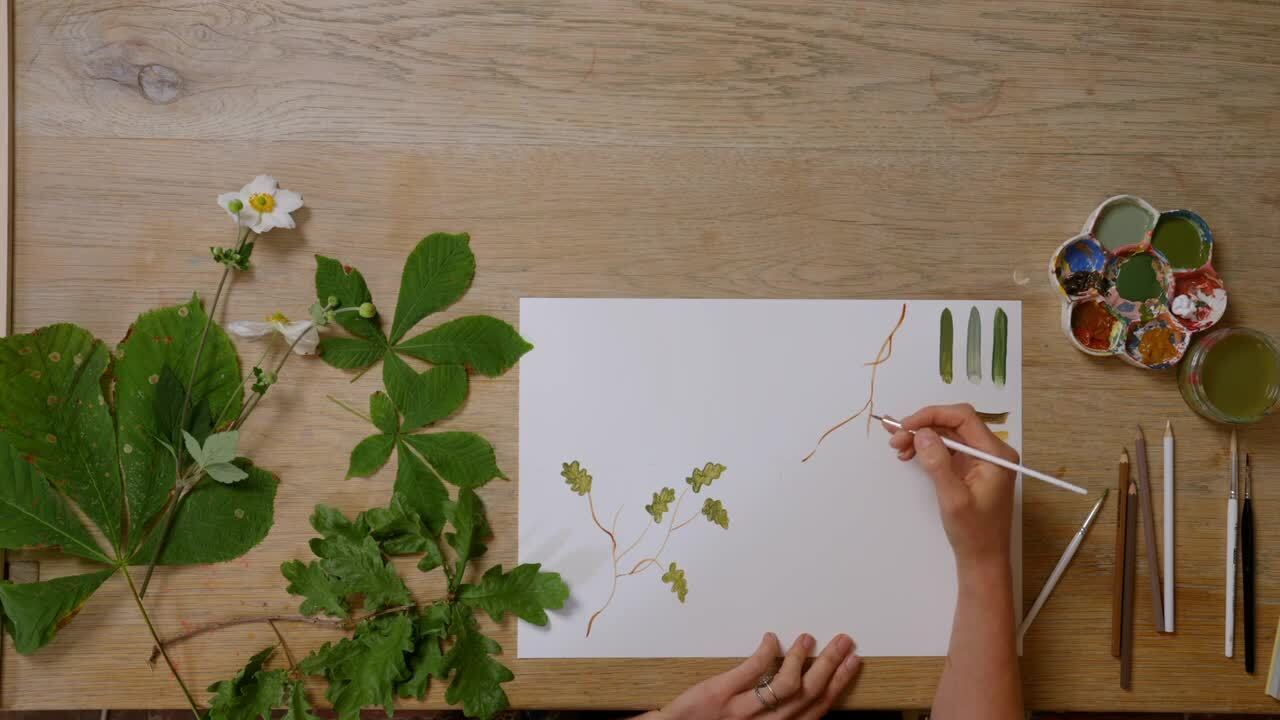
In between each flower, sketch on the leaves. You may find this to be unnecessary, and would prefer to paint the leaves freehand - the choice is yours!
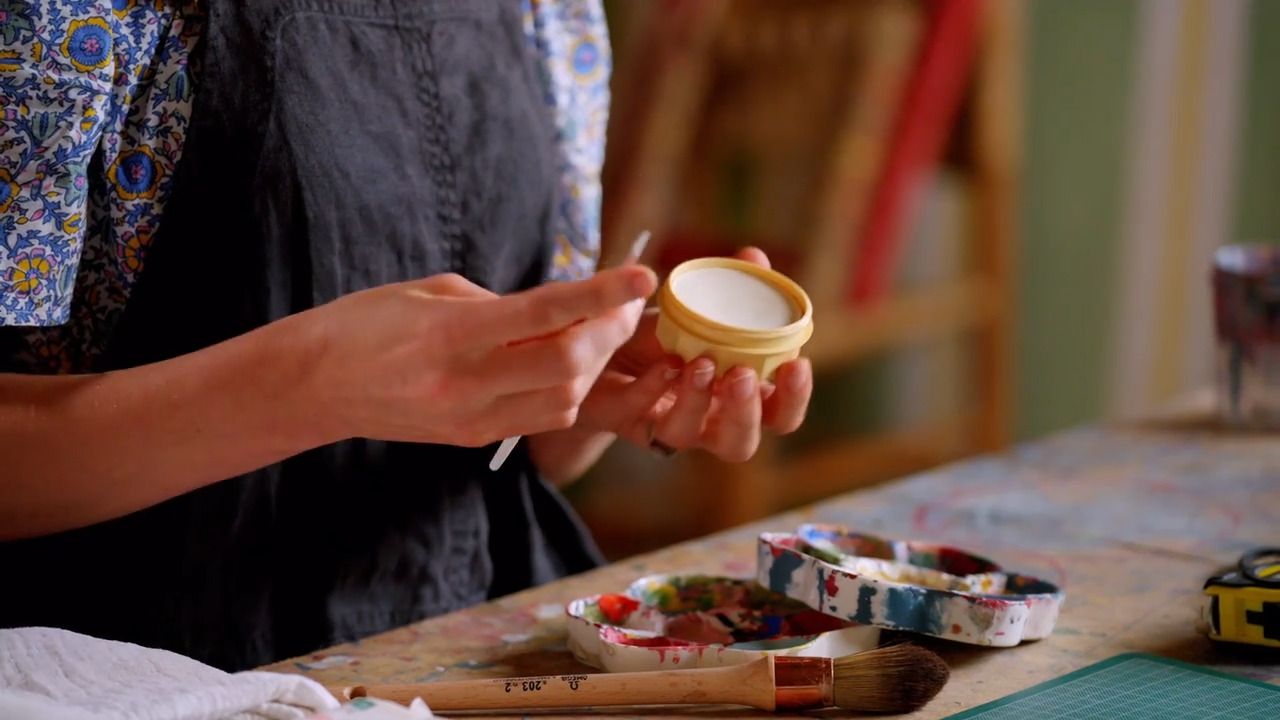
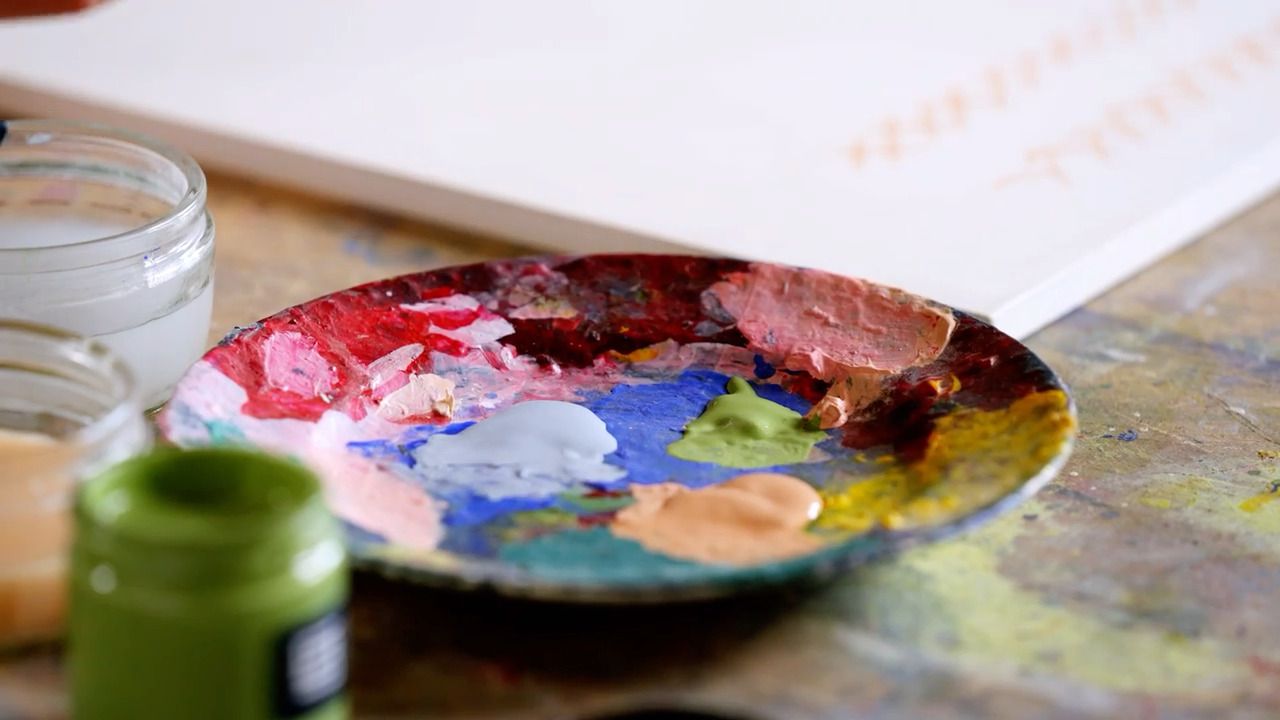
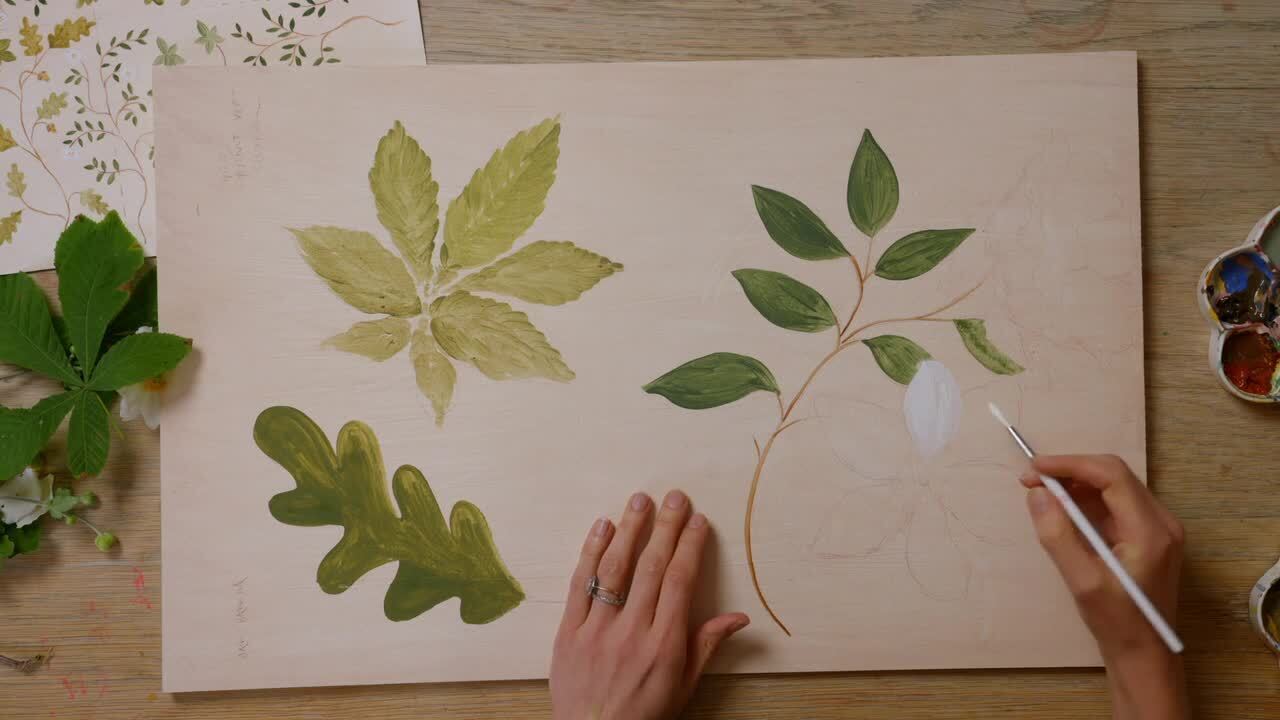
Load up your brush with paint, and begin to fill in the flower circles. Don't worry about the shape being completely round, I always find imperfections make a piece more charming.
Once the circles are complete, you can move on to painting the stalks. It helps to balance on your little finger to paint a smooth curved line. It should be a fluid motion, starting at the top and swooping down.
Next up is painting the leaves. You can use whichever technique you like - I have used the curved line technique.
Once the leaves are complete, wait for the whole piece to be dry to the touch.
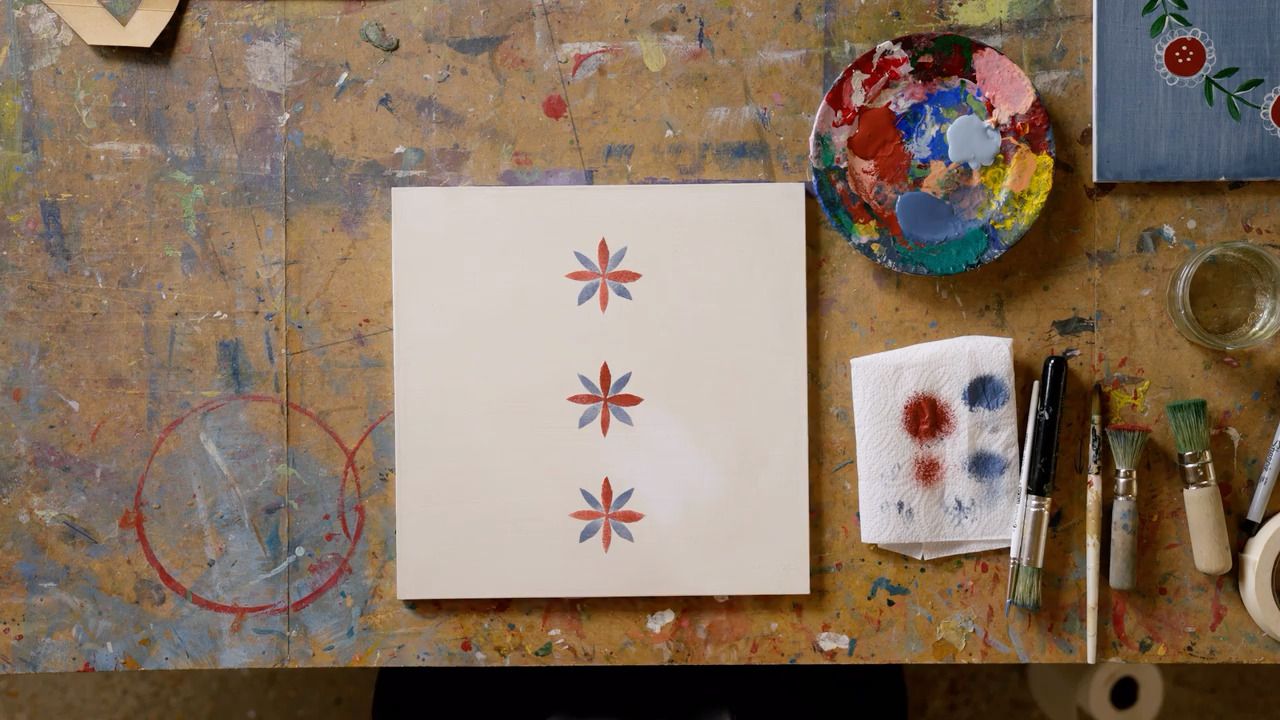
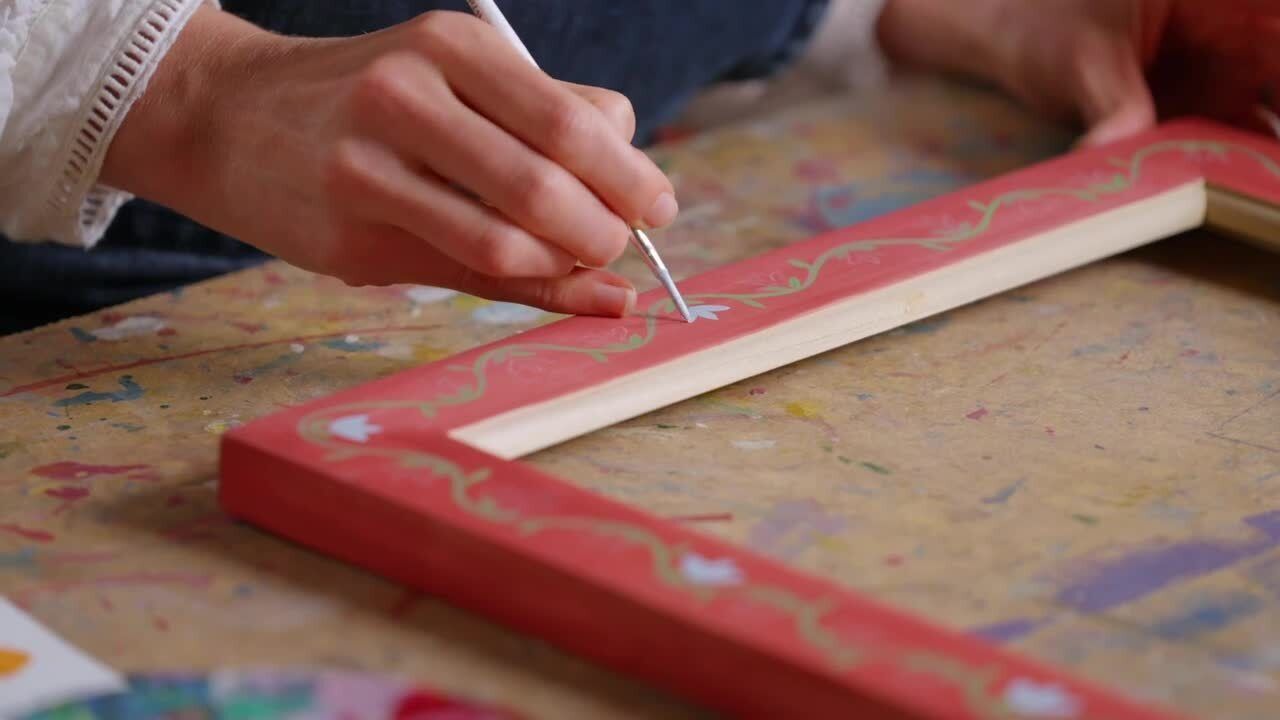
Now it's time to add the details - you can follow along with me, or get creative with your own ideas. I'm using white to create highlights; I always like to go for a warm off-white for a more antiqued effect. You can outline the flowers, and add a feathered highlight line to each leaf. To create the petals around my flower, I have used the looped scallop technique and added dots within the centre to represent pollen.
When you're finished and your piece is completely dry, use a damp cloth to wipe away any chalk lines that remain.
Get the full workbook, video lessons, and more with a Create Academy subscription.
Subscribe to access the full workbookAlready a member? Sign in to watch
479 reviews
Read moreCreate Academy has been such a great resource. I'm in the middle of renovating a bungalow with a very large garden and the courses have offered a wealth of inform...
Harvey
Jun 10, 2026
Absolutely love Create Academy! The instructors are extremely informative, and it is beautifully filmed. Create Academy is great value for money and plan on renew...
SG
May 31, 2026
Butter's creativity is stunning! Her ability to incorporate brilliance in small gardens is magical!
Carla
May 30, 2026
The best adventure. I like all the courses, but my favorite are both Rita Konig interior design courses and Anna Jones. Excellent!
Karolina Kluczewska
May 20, 2026
Create Academy has been such a great resource. I'm in the middle of renovating a bungalow with a very large garden and the courses have offered a wealth of information to dive into and explore new ideas. I'm...
Harvey
Jun 10, 2026
Absolutely love Create Academy! The instructors are extremely informative, and it is beautifully filmed. Create Academy is great value for money and plan on renewing my subscription yearly because there are ...
SG
May 31, 2026
Butter's creativity is stunning! Her ability to incorporate brilliance in small gardens is magical!
Carla
May 30, 2026

Your Instructor
Acclaimed artist and set designer specialising in hand painted homewares and decorative painting.
Tess Newall is a decorative artist based in Sussex, specialising in hand-painted bespoke murals and furniture. Following a decade of experience as a set designer and painter in the film industry, Tess has mastered how to bring a creative vision to life. She often draws on historic patterns and aims to capture an artisanal feel, where textures and brushstrokes add to the atmosphere of a room or to the character of a furniture piece. Tess and her studio team work with interior designers and private clients on bespoke commissions for both commercial and residential projects, as well as collaborating on homewares collections with brands including Liberty and Matilda Goad.

Access to all courses


.jpg)