






Interior and exterior confidence
Create Academy has been such a great resource. I'm in the middle of renovating a bungalow with a very large garden and the courses have offered a wealth of inform...
Harvey
Jun 10, 2026
An Introduction to Decorative Painting
with TESS NEWALL — Hand-painted details bring warmth, soul, and story into a space. They make a home feel alive.
Lesson 13 of 32
Subscribe to watch
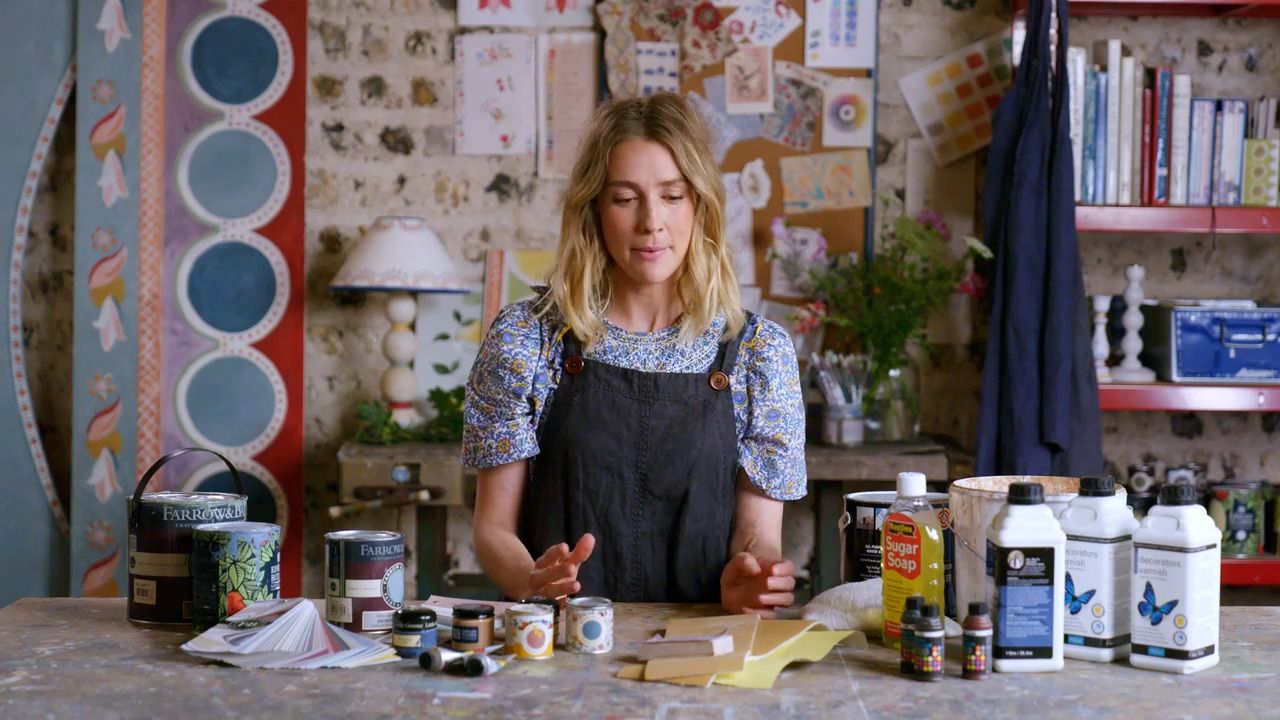
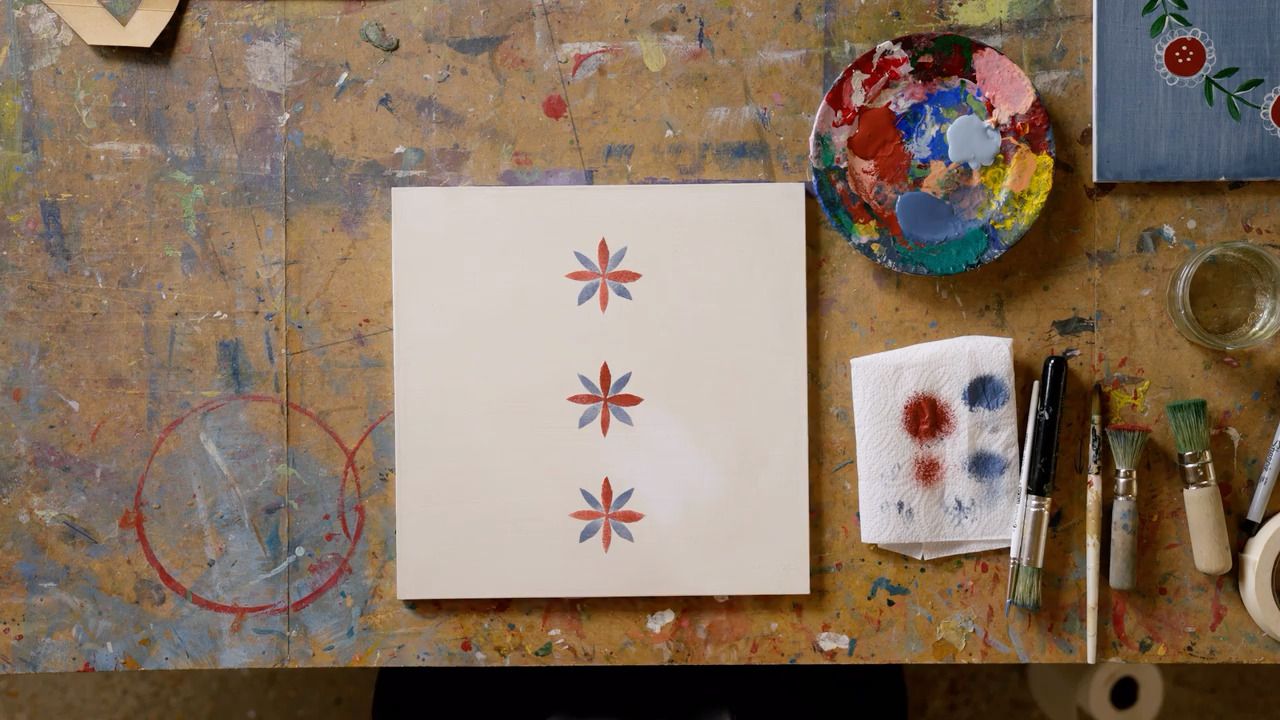
This lesson is all about stencilling, which is a great way to create a neat, repeat pattern on both a small and large scale. It can be a really time-saving method of decorating and combines with hand painting to beautiful effect.
This lesson is all about stencilling, which is a great way to create a neat, repeat pattern on both a small and large scale. It can be a time-saving method of decorating and combines with hand painting to beautiful effect.
Particularly prevalent in early 19th-century American and Swedish houses, stencilling was favoured as a method of decorating as it was much more affordable than wallpaper. It's also a technique that enables the everyday person, and not just artists, to create beautiful designs on their walls and furniture.
Any thick card or heavyweight paper will work, you can reuse materials from around your home - an old cereal box is perfectly adequate!
A sheet of acetate is good to use, or even better Mylar sheets.
I will be showing you how to make a simple flower stencil, which can be used in many different ways across multiple projects.
Step 1
Lay your cutting mat down on the table, and take your sheet of acetate or card - I am using acetate - along with a ruler and permanent marker.
Step 2
Measure the total length of your flower and draw a vertical line onto the acetate with a permanent marker, mine is 6 cm long. Mark the midpoint, in my case, 3 cm. Now draw a horizontal line through the mid-point that also measures 6 cm.
Step 3
Hand-draw a petal around each of the four lines to form a flower shape.
Step 4
Now you can cut out the design using a scalpel. Always take special care whenever using a sharp blade - you should hold the sheet of acetate firmly in place with one hand, with the scalpel in the other, applying pressure with your index finger for an accurate cut.
Step 5
Once you have finished, your stencil is ready to use. If you have cut it from a larger sheet of acetate, you may want to cut this down to a more manageable size.
Step 1
Secure your stencil to the surface using masking tape or Frogtape.
Step 2
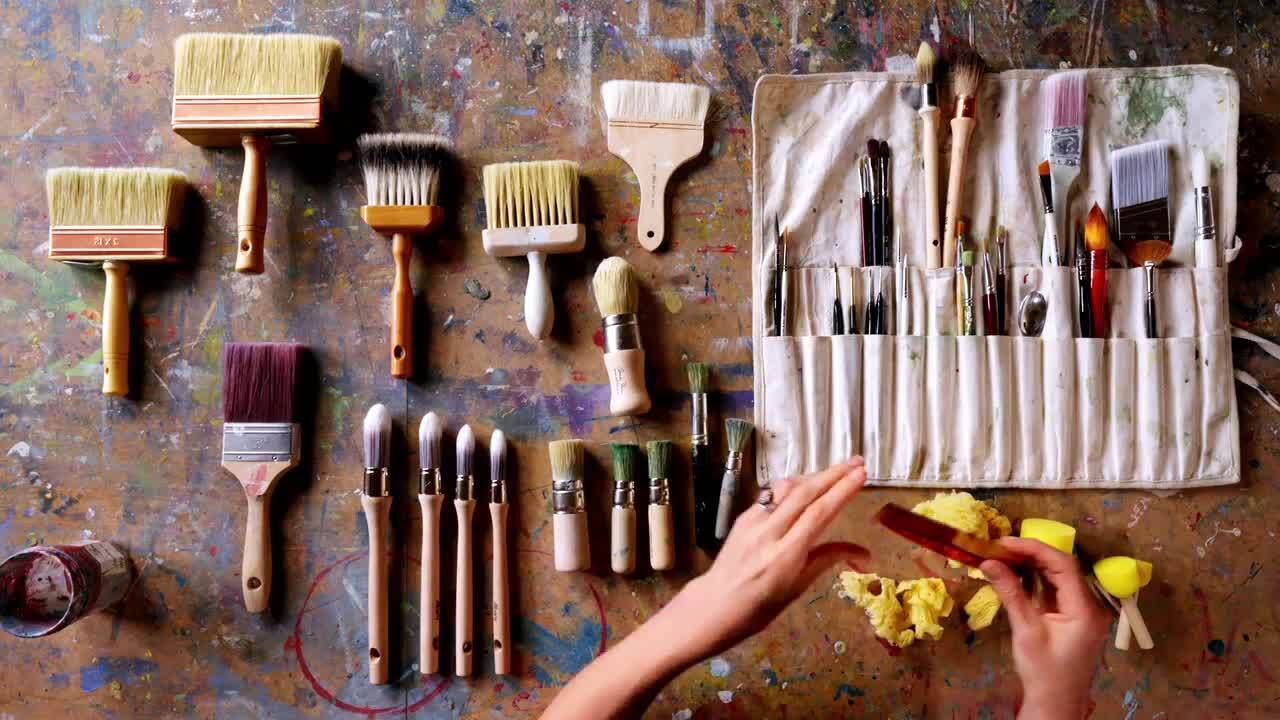
The key to stencilling is having very little paint on your brush, and not using water while you're painting as this can cause the paint to run underneath your stencil. Load your stencil brush or stipple brush with a conservative amount of paint using a dabbing motion. Have some kitchen roll or cloth to hand and use it to dab away any excess paint until barely any is coming off.
Step 3
Next, use your brush in an upright position and dab the paint onto your surface through the stencil quickly and continuously until the shape is adequately filled with paint. Pay particular attention to the corners and edges to ensure you have crisp lines once the stencil is removed.
Step 4
When you're happy with the coverage, remove the stencil promptly by peeling back the tape and lifting it away - doing this quickly means you can wipe any paint that has bled underneath the stencil before it dries.
This technique can be used in so many different ways. You can:
'American Wall Stenciling', by Ann Eckert Brown
American Museum in Bath
Hälsingland, Sweden
Get the full workbook, video lessons, and more with a Create Academy subscription.
Subscribe to access the full workbookAlready a member? Sign in to watch
491 reviews
Read moreCreate Academy has been such a great resource. I'm in the middle of renovating a bungalow with a very large garden and the courses have offered a wealth of inform...
Harvey
Jun 10, 2026
Absolutely love Create Academy! The instructors are extremely informative, and it is beautifully filmed. Create Academy is great value for money and plan on renew...
SG
May 31, 2026
Butter's creativity is stunning! Her ability to incorporate brilliance in small gardens is magical!
Carla
May 30, 2026
The best adventure. I like all the courses, but my favorite are both Rita Konig interior design courses and Anna Jones. Excellent!
Karolina Kluczewska
May 20, 2026
Create Academy has been such a great resource. I'm in the middle of renovating a bungalow with a very large garden and the courses have offered a wealth of information to dive into and explore new ideas. I'm...
Harvey
Jun 10, 2026
Absolutely love Create Academy! The instructors are extremely informative, and it is beautifully filmed. Create Academy is great value for money and plan on renewing my subscription yearly because there are ...
SG
May 31, 2026
Butter's creativity is stunning! Her ability to incorporate brilliance in small gardens is magical!
Carla
May 30, 2026

Your Instructor
Hand-painted details bring warmth, soul, and story into a space. They make a home feel alive.
Tess Newall is a decorative artist based in Sussex, specialising in hand-painted bespoke murals and furniture. Following a decade of experience as a set designer and painter in the film industry, Tess has mastered how to bring a creative vision to life. She often draws on historic patterns and aims to capture an artisanal feel, where textures and brushstrokes add to the atmosphere of a room or to the character of a furniture piece. Tess and her studio team work with interior designers and private clients on bespoke commissions for both commercial and residential projects, as well as collaborating on homewares collections with brands including Liberty and Matilda Goad.
Access to all courses


