


Very good tutorial from a professional garden...
I have subscribed to access all the courses so have watched one on interior design and this one with Butter Wakefield who specialises in small garden design. She ...
Louise Brown
Apr 10, 2026
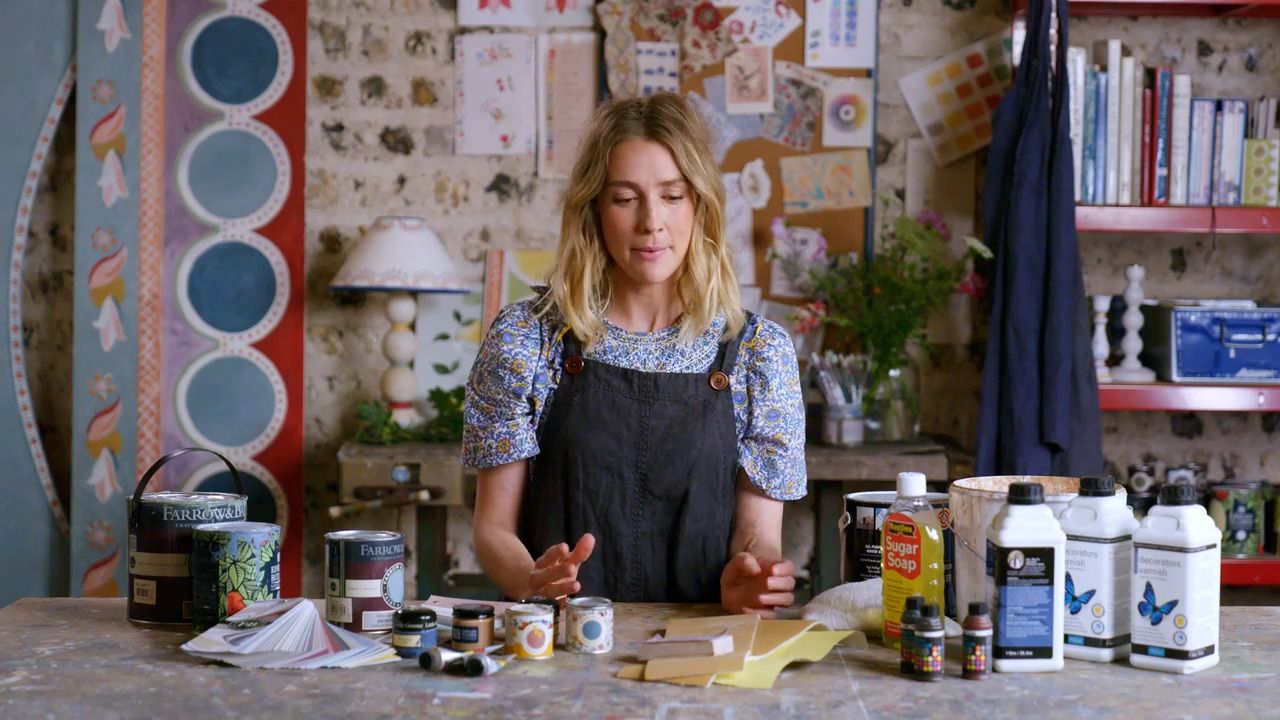
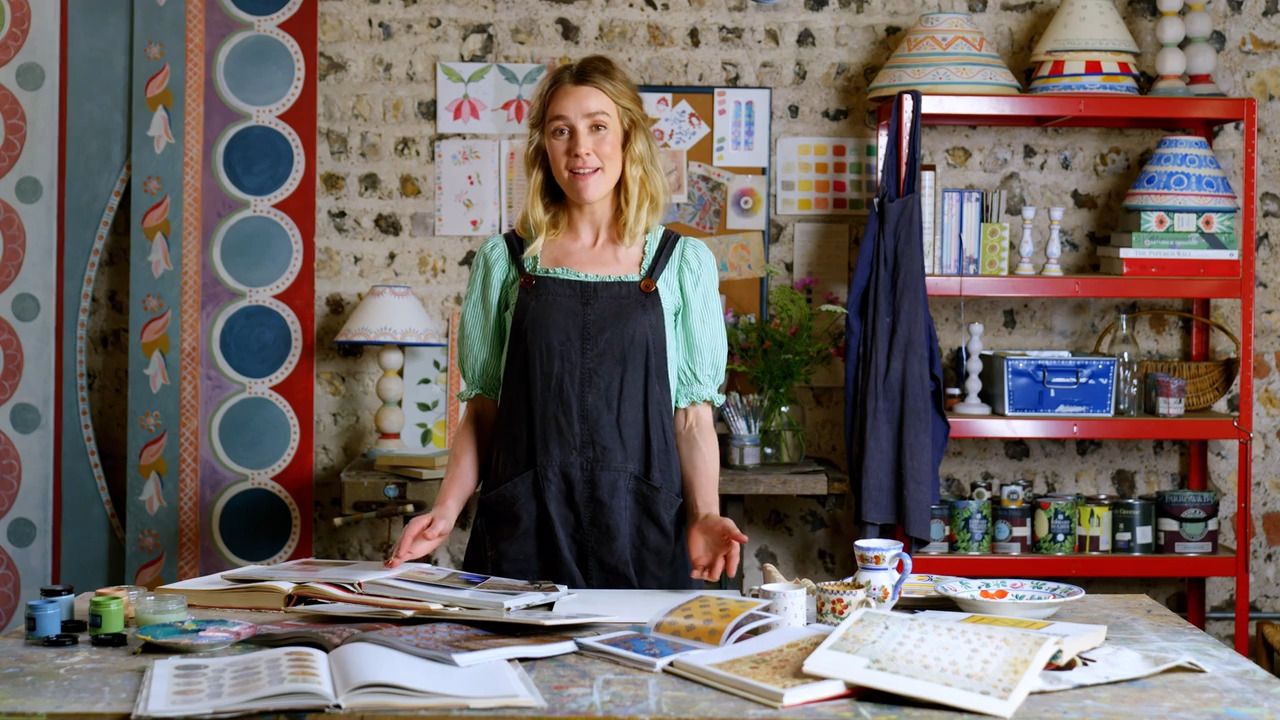
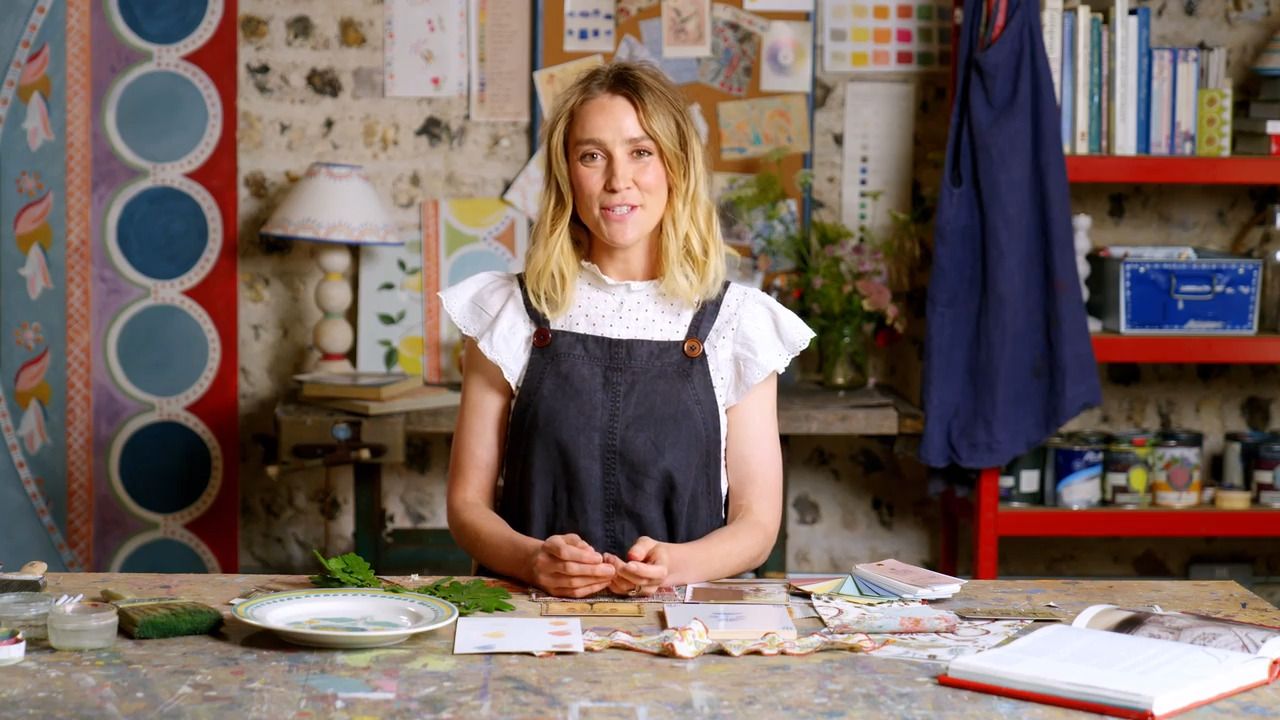
An Introduction to Decorative Painting
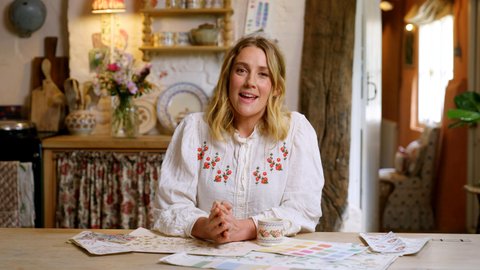
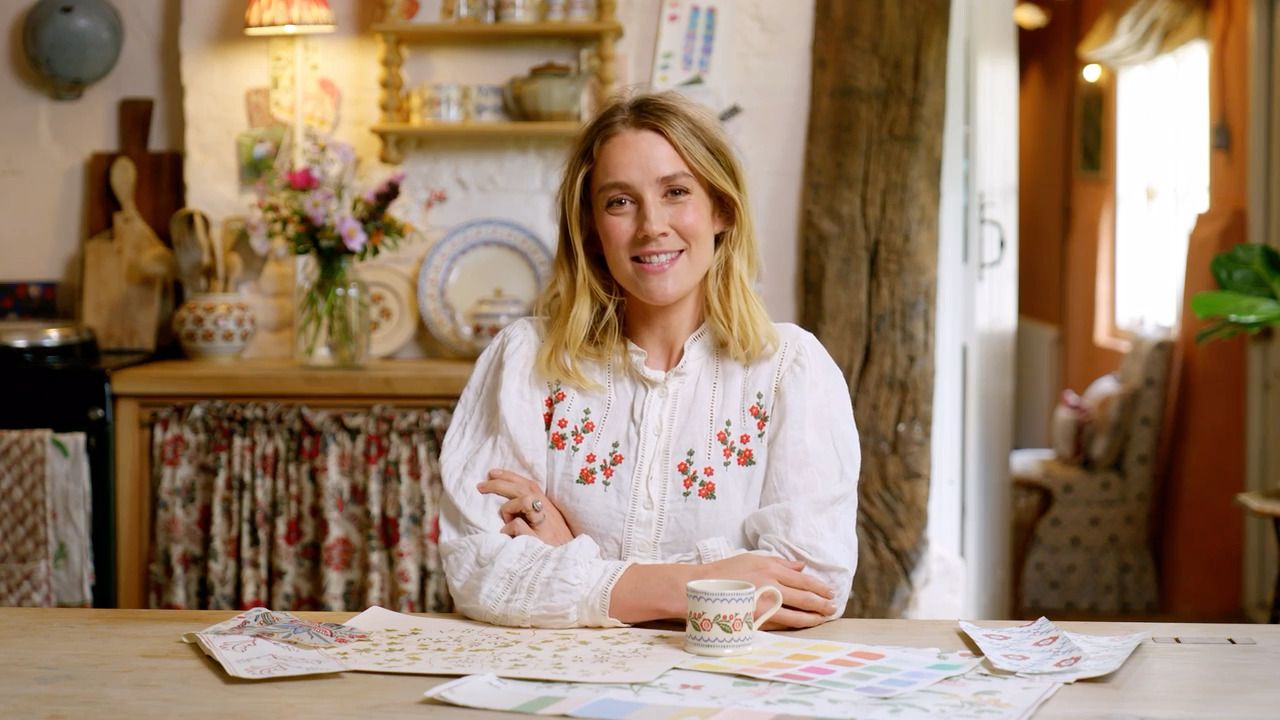
with TESS NEWALL — Acclaimed artist and set designer specialising in hand painted homewares and decorative painting.

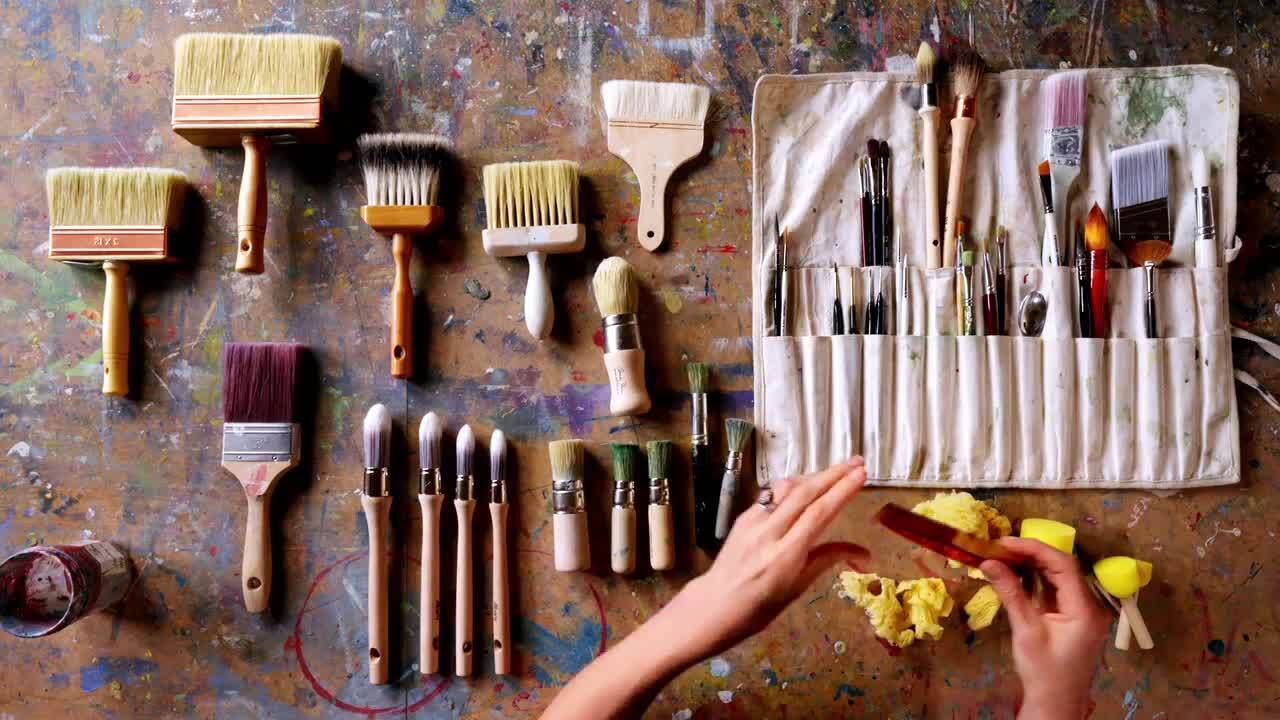
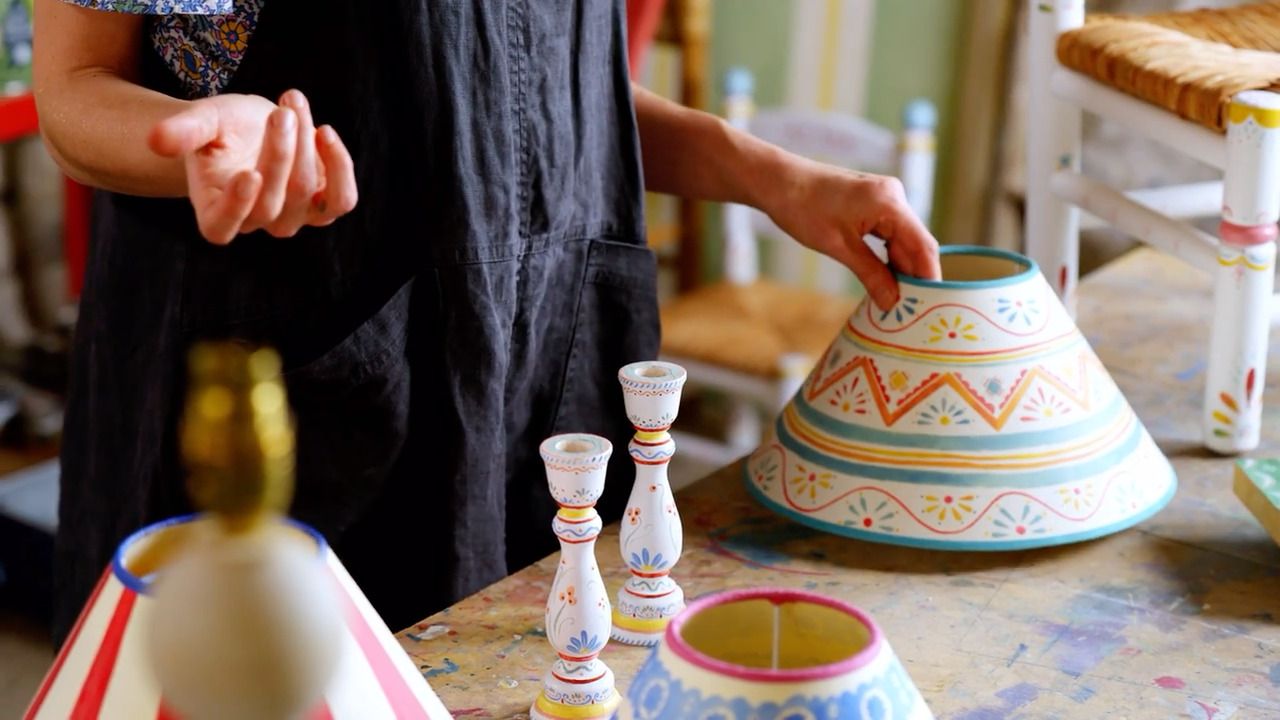
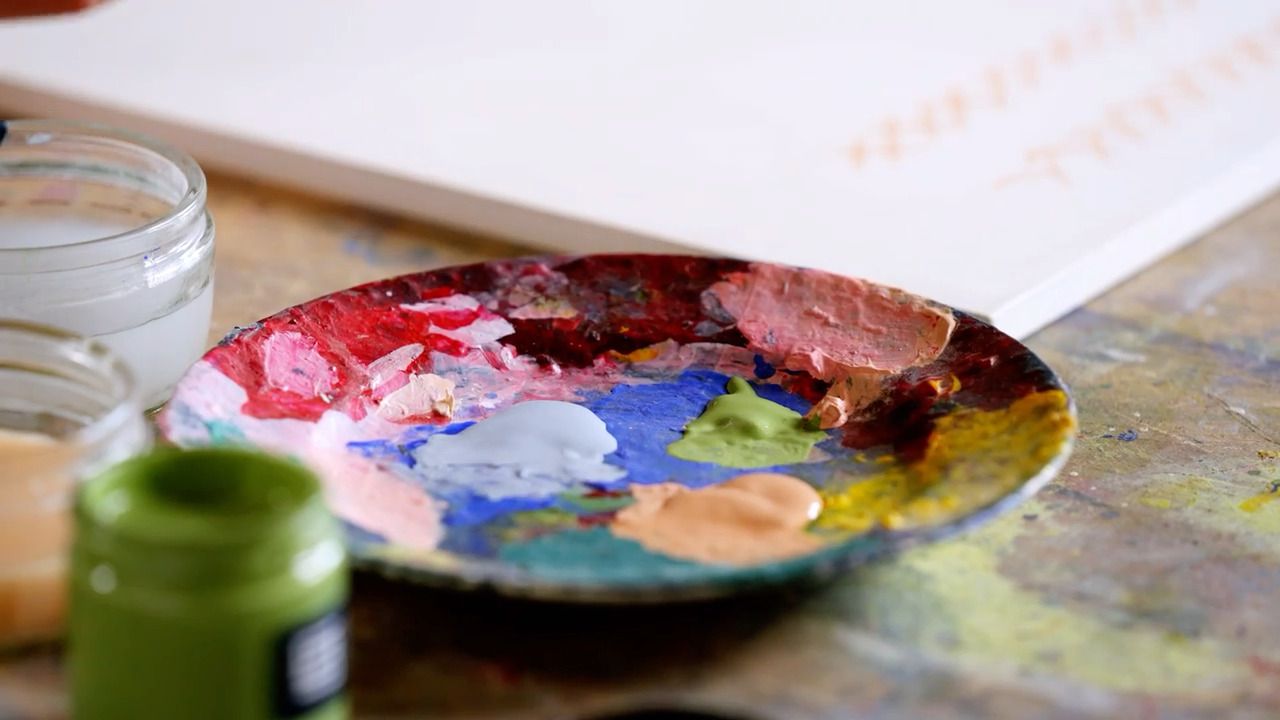
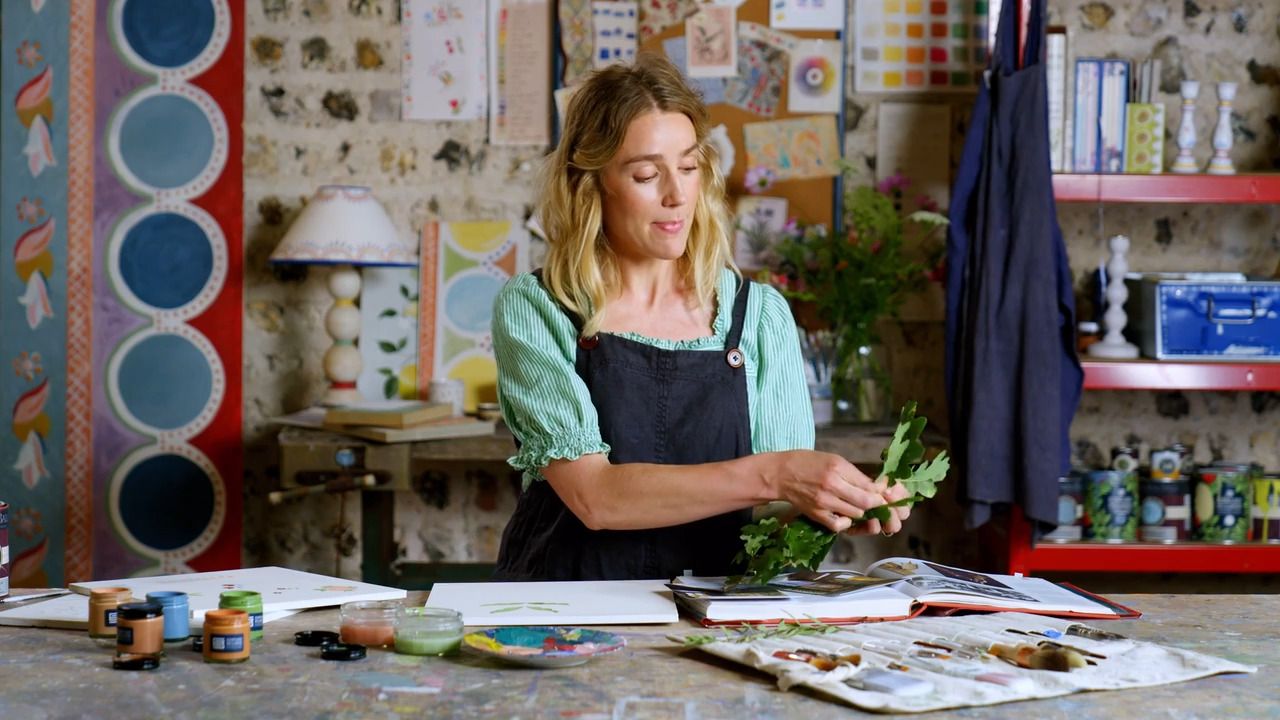
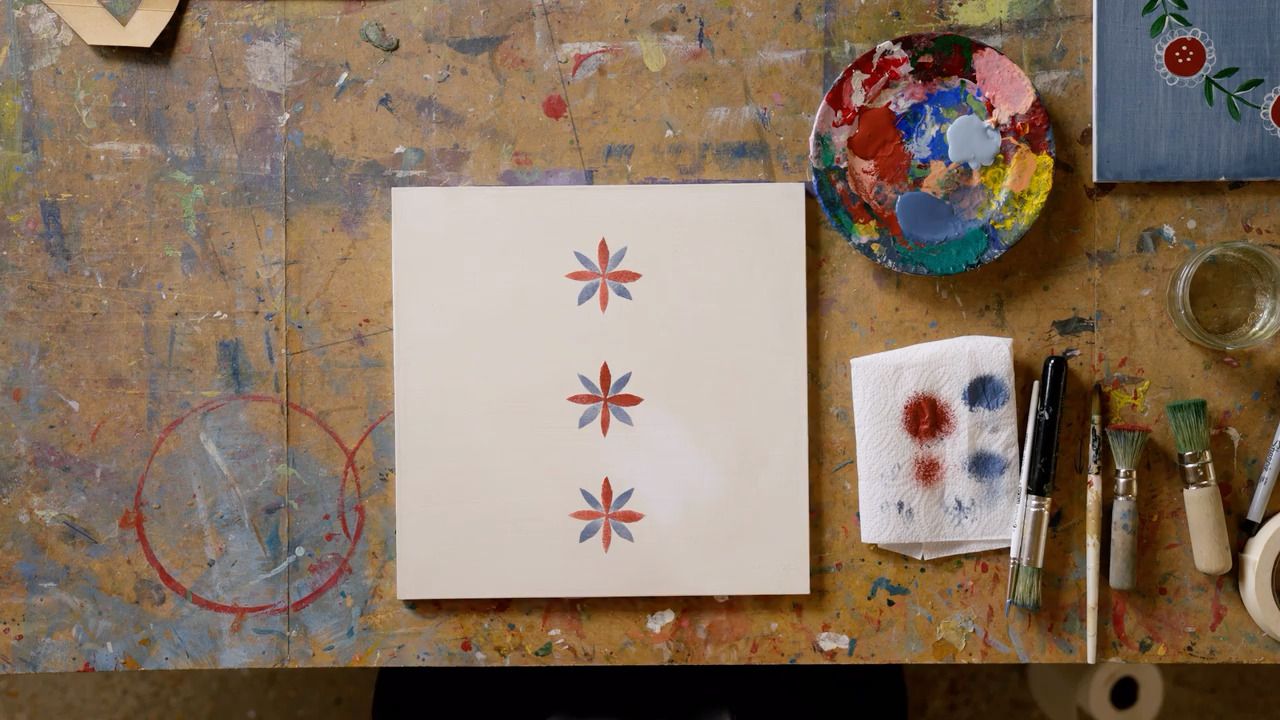
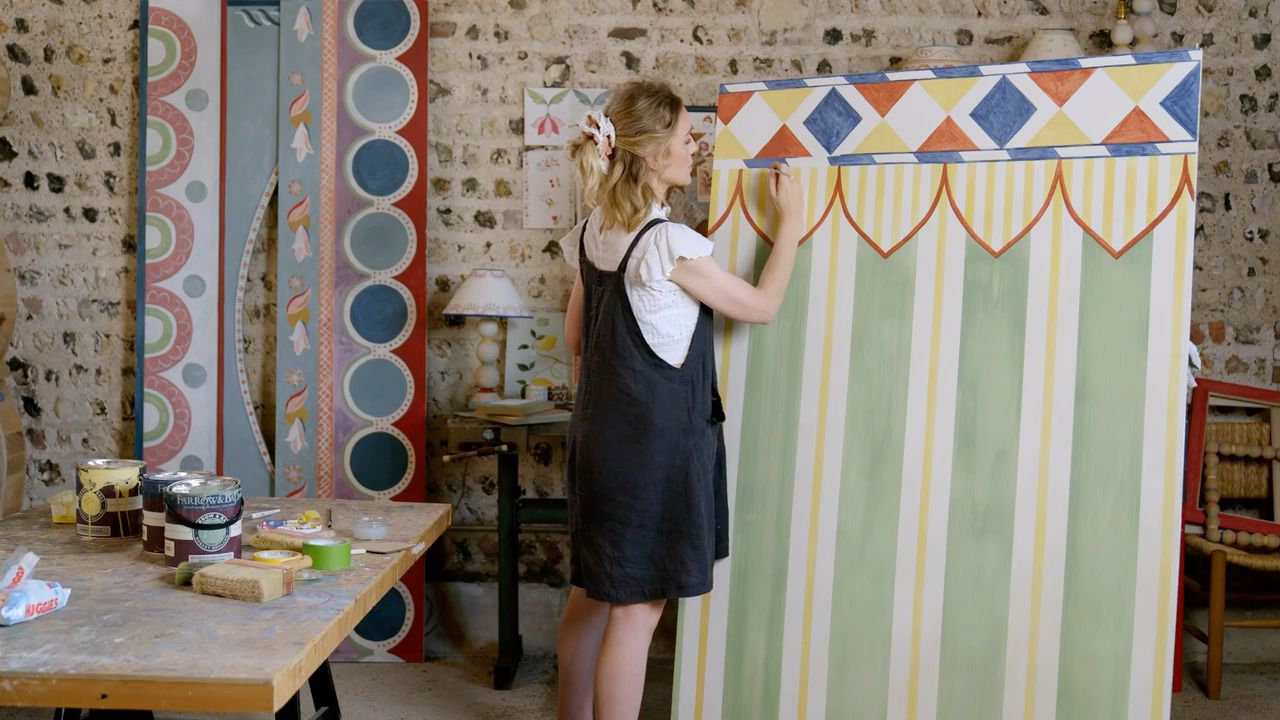
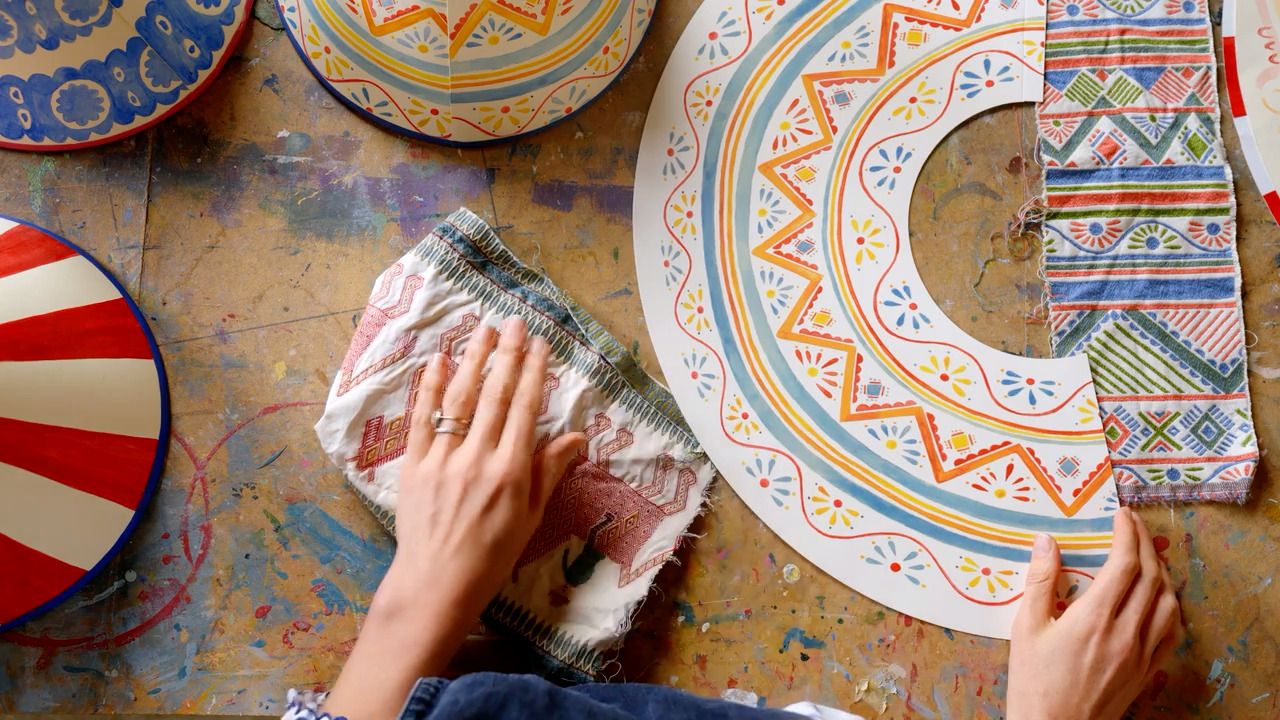
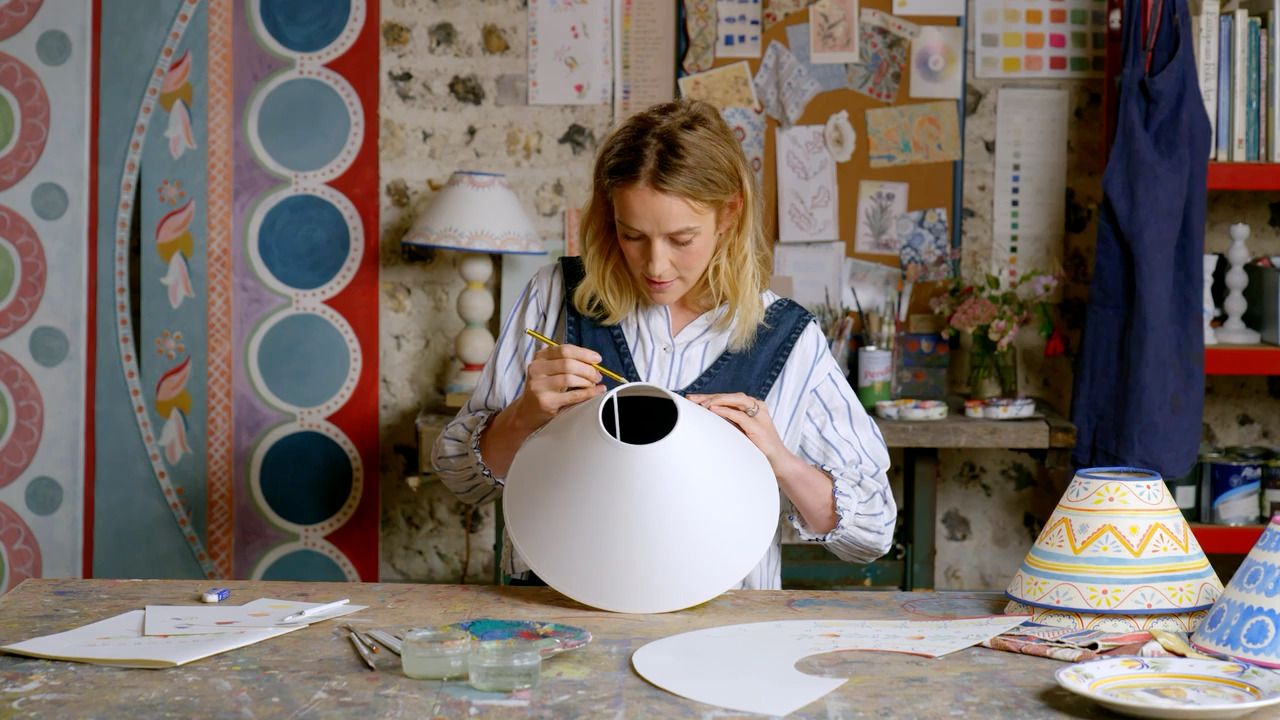
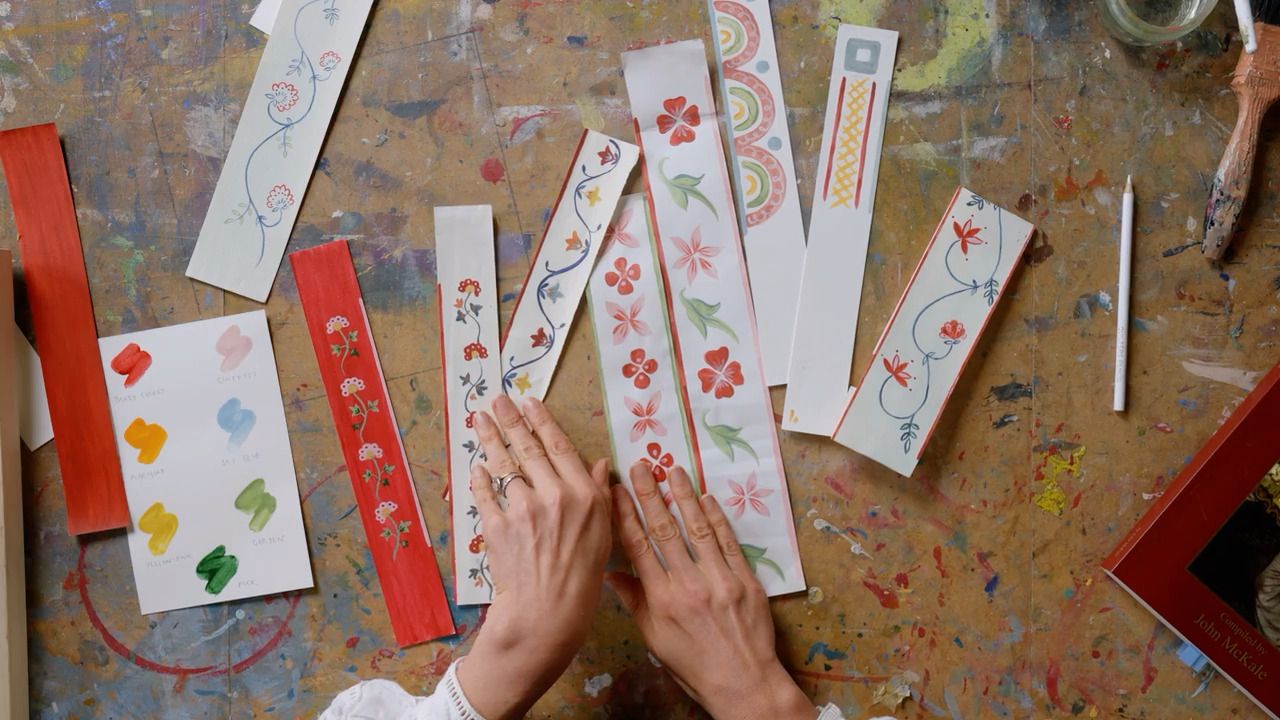
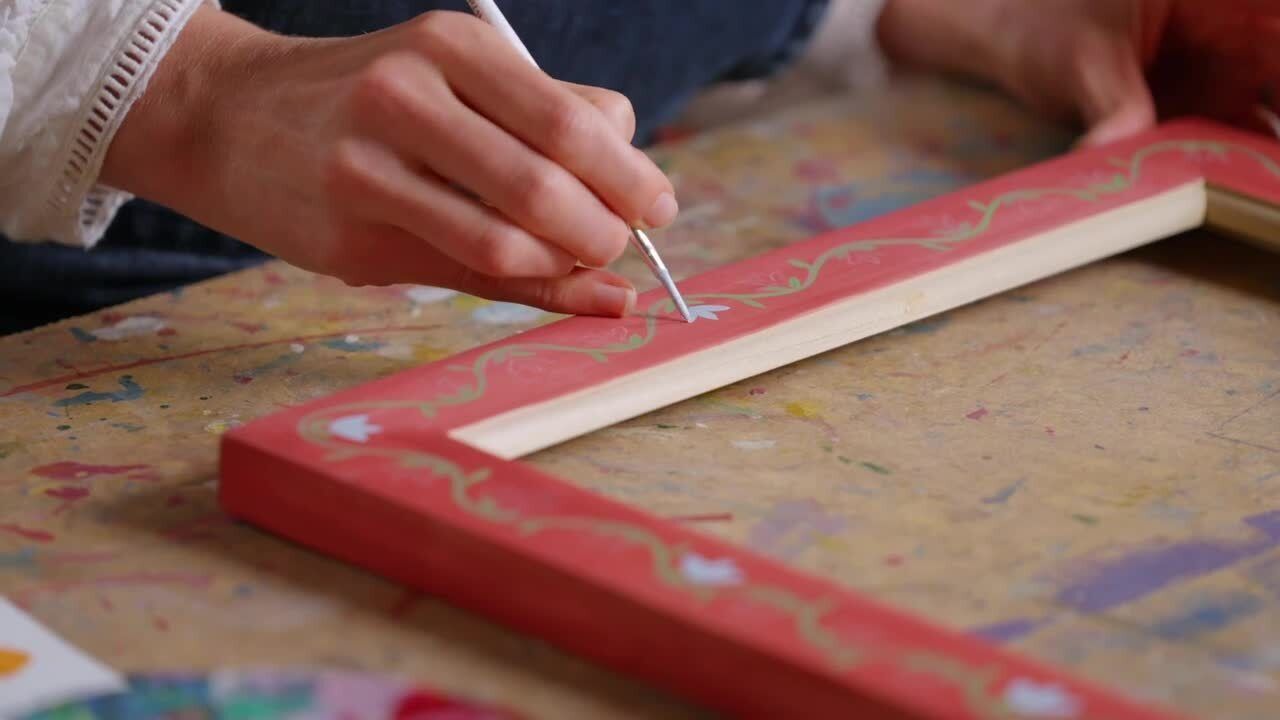
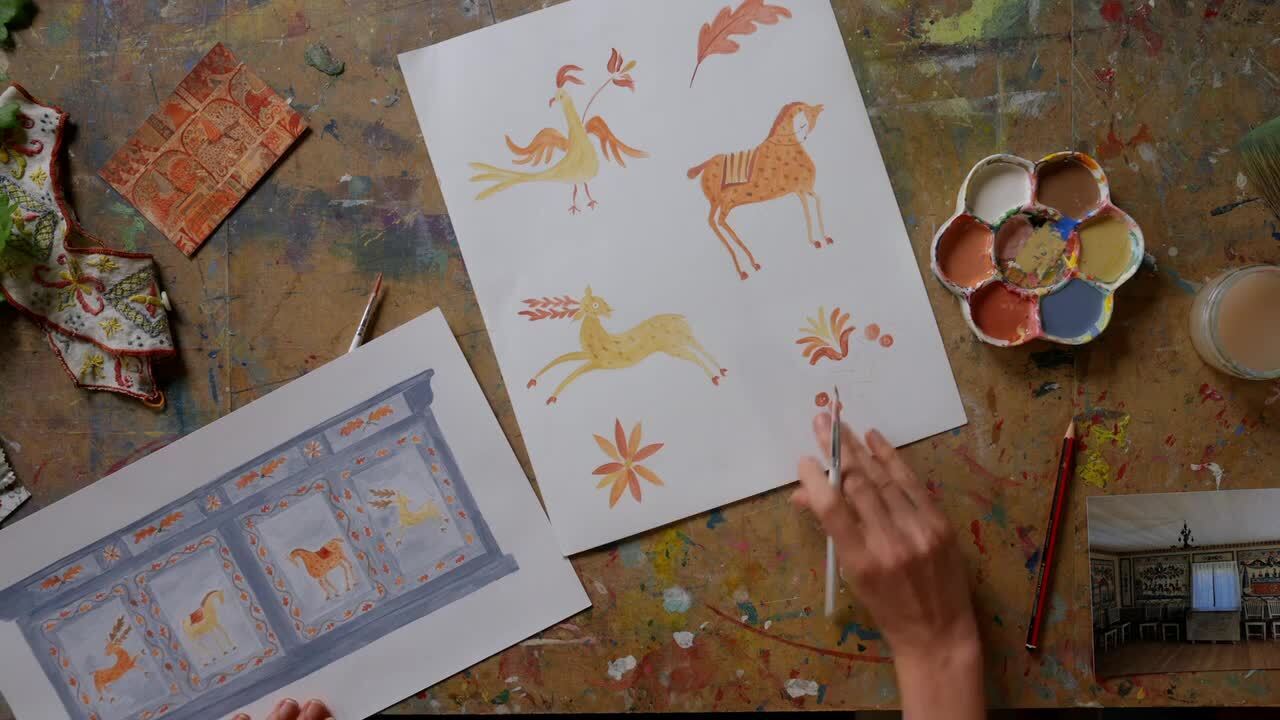
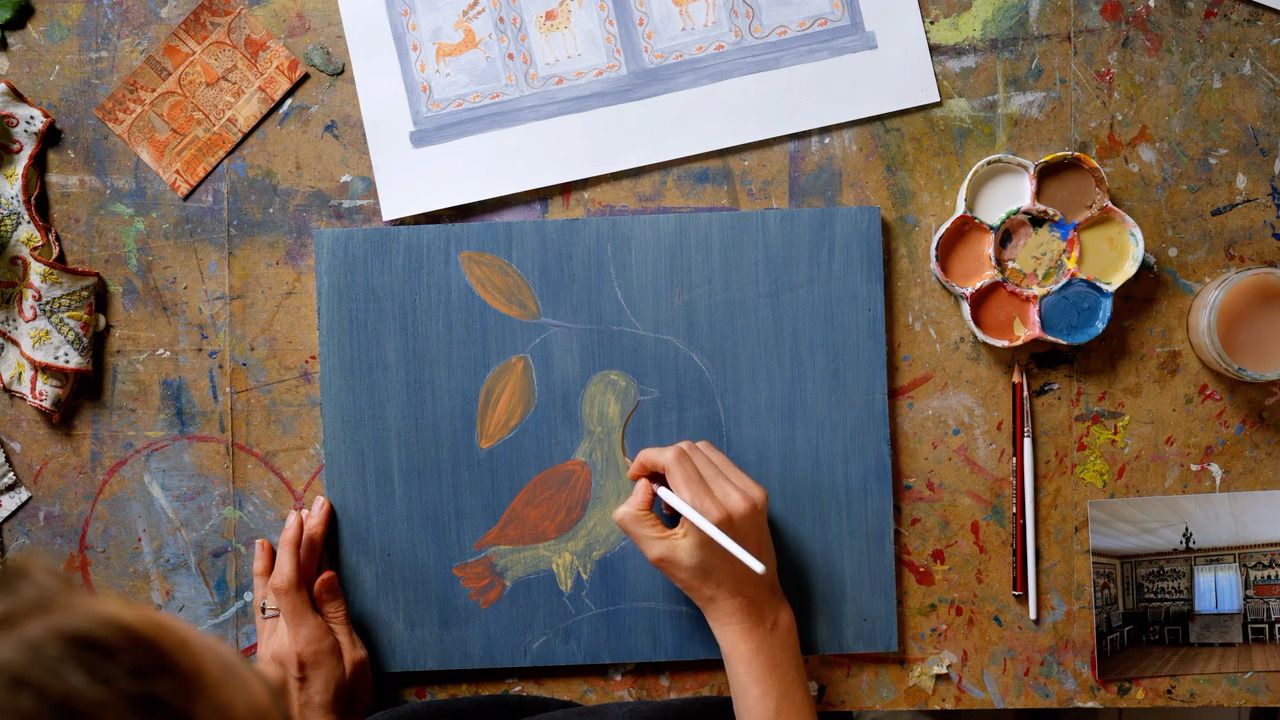
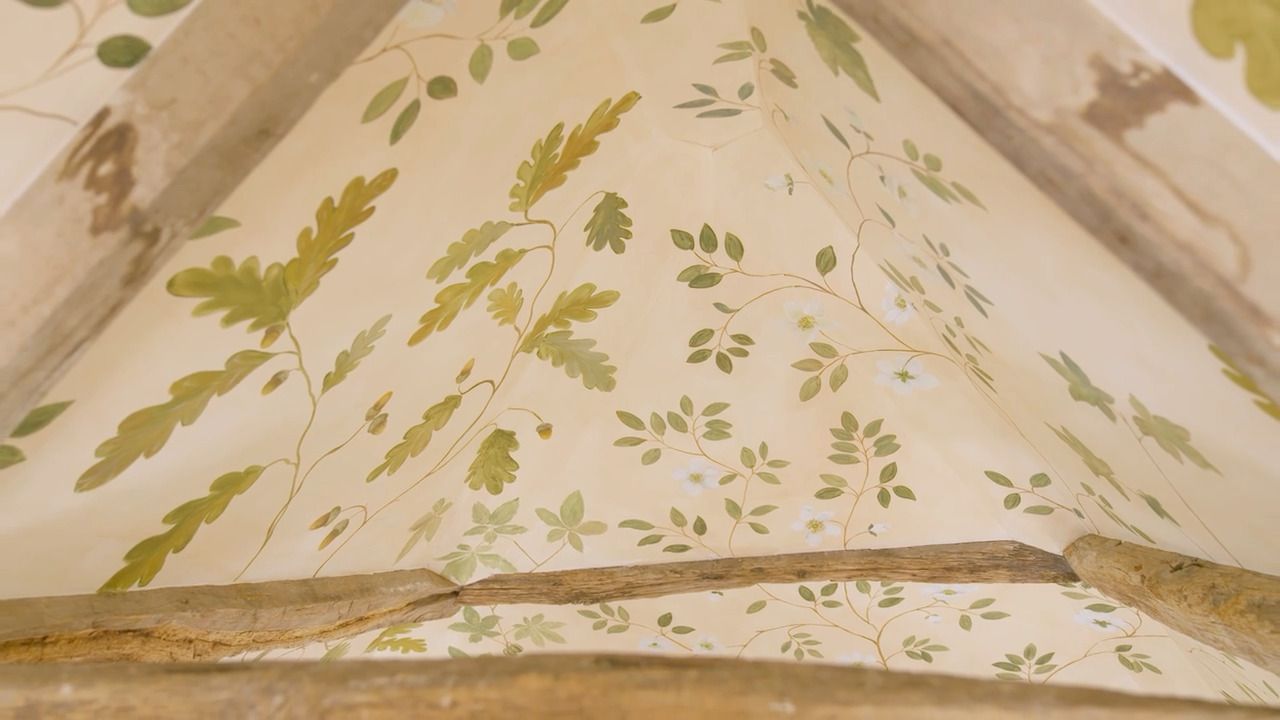
In this lesson, Tess shows you how to paint some of the staple motifs that she uses a lot in her work. These can be combined with the foundational techniques you've already learnt to create more intricate and interesting patterns.
In this lesson, I'll be showing you how I paint a few simple motifs that I use a lot in my work. These can be combined with the foundational techniques you've already learnt to create more intricate and interesting patterns.
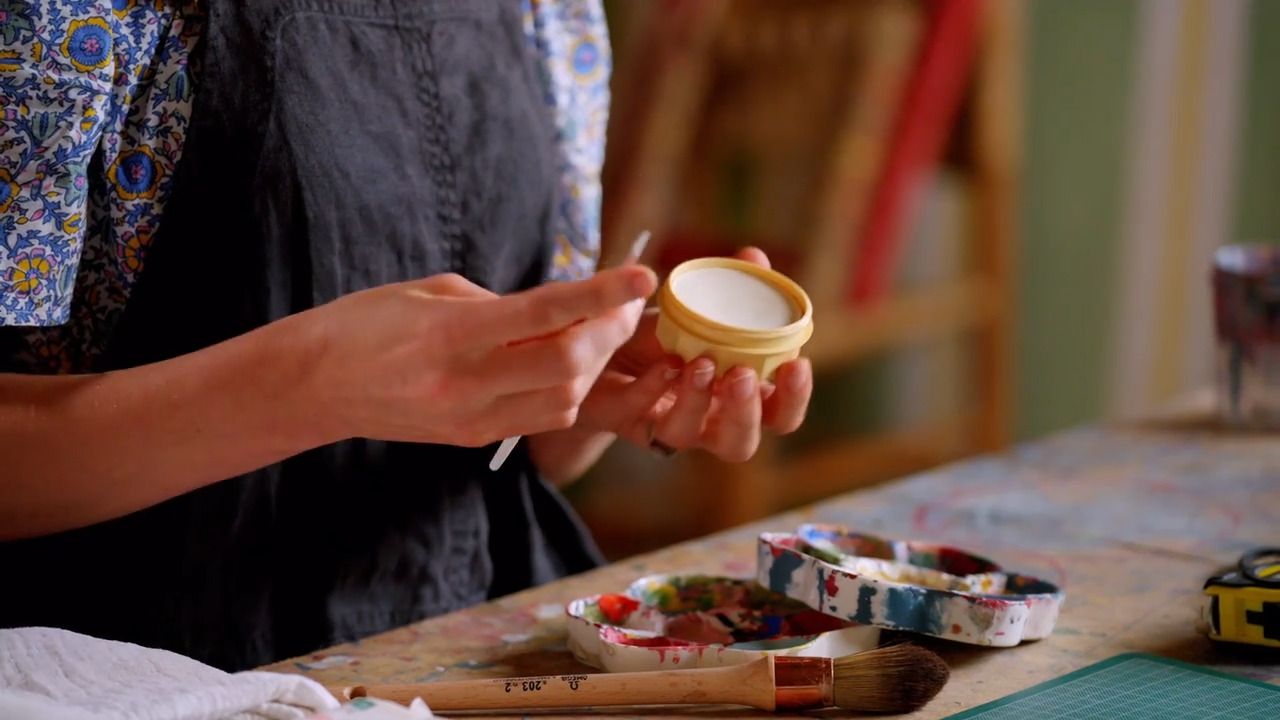
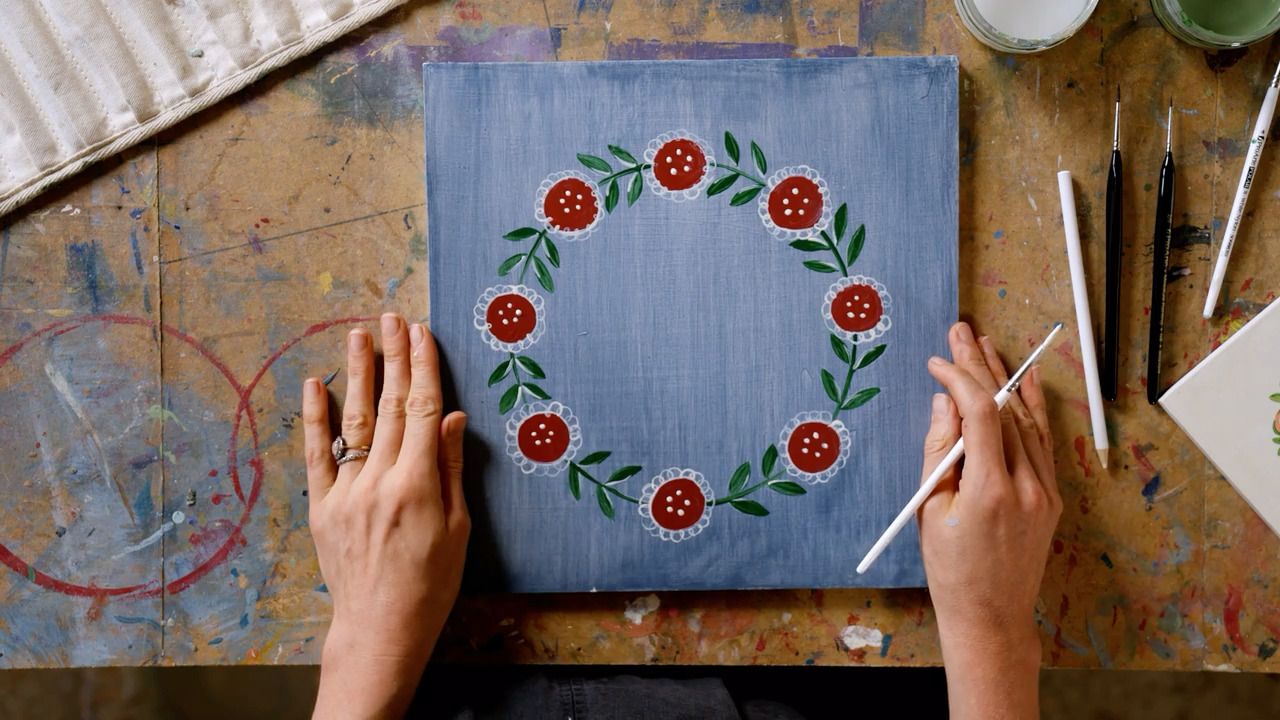
Load up the full length of your brush. Apply the paintbrush tip first to your surface to create the top of the teardrop, and then press the rest of the brush down to form the base. The motion with your hand is to point and then push down. I like to paint these in groupings of three.
The principle is the same, but when pressing down you want to slightly bend your hand to create the curve. Looks particularly lovely as the petals of a flower.
Using the same teardrop technique, you create one teardrop on the surface and then complete the shape by repeating the teardrop in the opposite direction.
Create the outline of the shape by first painting one curved line, using the tip of the brush to ensure a pointed end. Then paint a second curved line that starts from the tip of the first and meets again at the base of the first. Carefully fill the empty space if required.
The structure is essentially three teardrops, but with a little more of your freehand movement to fill in the shape. Start by creating the central petal. Then paint the left petal and curve the base of it round to sit underneath the central petal. To form the right petal, curve the base round to also meet under the central petal and fill in any blank space.
Using the dot technique you learnt in an earlier lesson, stamp 5 or 6 dots in a circle to form a small flower shape. You can then leave the centre empty, or add another dot in a contrasting colour.
Paint a four-petaled flower freehand, filling it in while leaving a small circle in the centre unpainted. Use the double-sided curve movement in technique No. 4 to create a grouping of three leaves between each petal. We will revisit this motif later to add the highlight detail.
Get the full workbook, video lessons, and more with a Create Academy subscription.
Subscribe to access the full workbookAlready a member? Sign in to watch
437 reviews
Read moreI have subscribed to access all the courses so have watched one on interior design and this one with Butter Wakefield who specialises in small garden design. She ...
Louise Brown
Apr 10, 2026
I love CreateAcademy. I came in for the gardening and floristry courses, but am also watching an interior design one at present. And the photography course is an ...
Wellesley
Apr 1, 2026
What a great investment, I have learned such a lot from the first three courses. My evenings have gone from not being able to find anything that captured my imagi...
sojojo
Mar 30, 2026
I loved this course with Amanda Lindroth! Her approach to decorating is so relaxed and she makes it feel attainable. She explains the reasons behind her decisions...
Elizabeth
Mar 27, 2026
I have subscribed to access all the courses so have watched one on interior design and this one with Butter Wakefield who specialises in small garden design. She has a lovely personality and comes across as ...
Louise Brown
Apr 10, 2026
I love CreateAcademy. I came in for the gardening and floristry courses, but am also watching an interior design one at present. And the photography course is an absolute must, best I've ever done.
Wellesley
Apr 1, 2026
What a great investment, I have learned such a lot from the first three courses. My evenings have gone from not being able to find anything that captured my imagination on TV to learning and expanding my kno...
sojojo
Mar 30, 2026

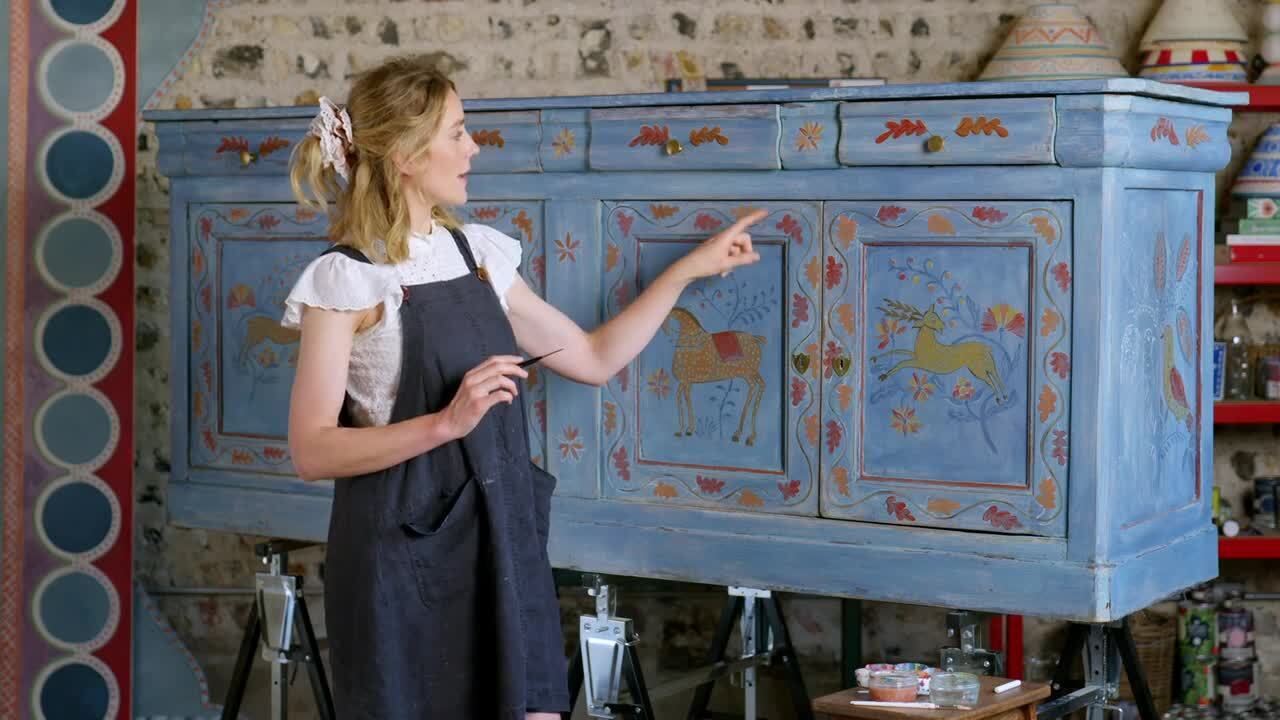
Your Instructor
Acclaimed artist and set designer specialising in hand painted homewares and decorative painting.
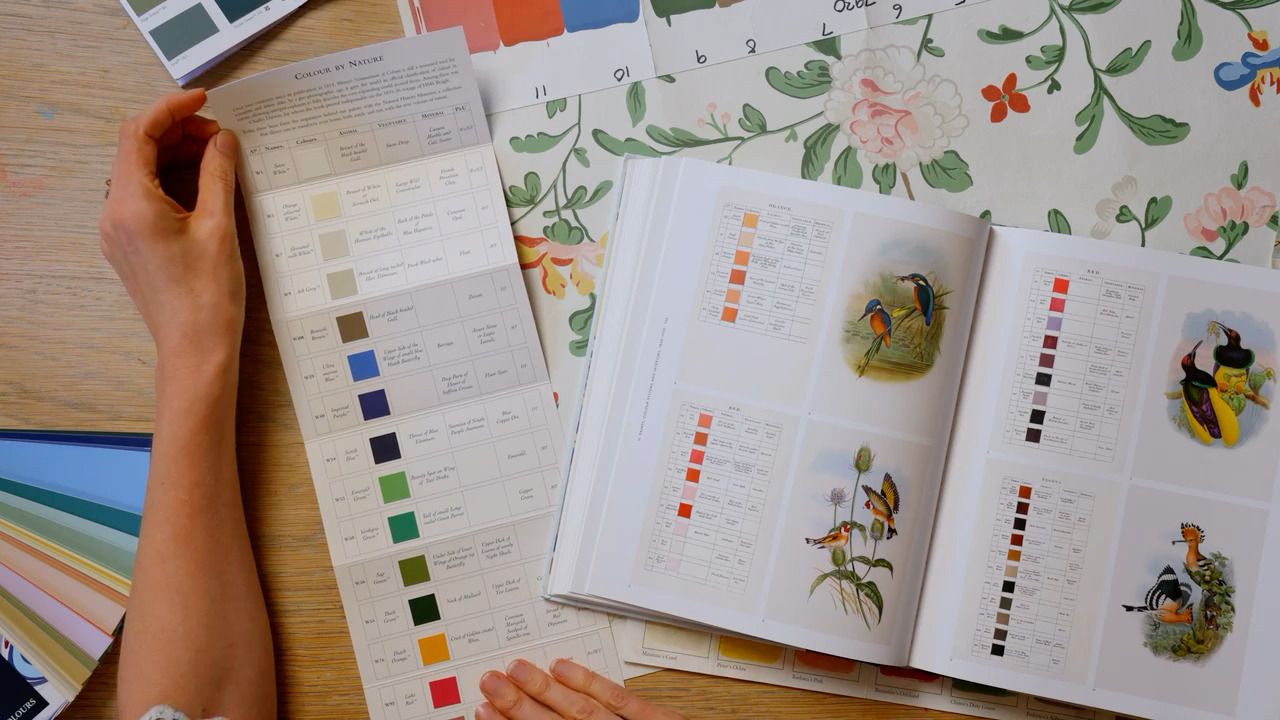
Tess Newall is a decorative artist based in Sussex, specialising in hand-painted bespoke murals and furniture. Following a decade of experience as a set designer and painter in the film industry, Tess has mastered how to bring a creative vision to life. She often draws on historic patterns and aims to capture an artisanal feel, where textures and brushstrokes add to the atmosphere of a room or to the character of a furniture piece. Tess and her studio team work with interior designers and private clients on bespoke commissions for both commercial and residential projects, as well as collaborating on homewares collections with brands including Liberty and Matilda Goad.

Access to all courses


