


Very good tutorial from a professional garden...
I have subscribed to access all the courses so have watched one on interior design and this one with Butter Wakefield who specialises in small garden design. She ...
Louise Brown
Apr 10, 2026
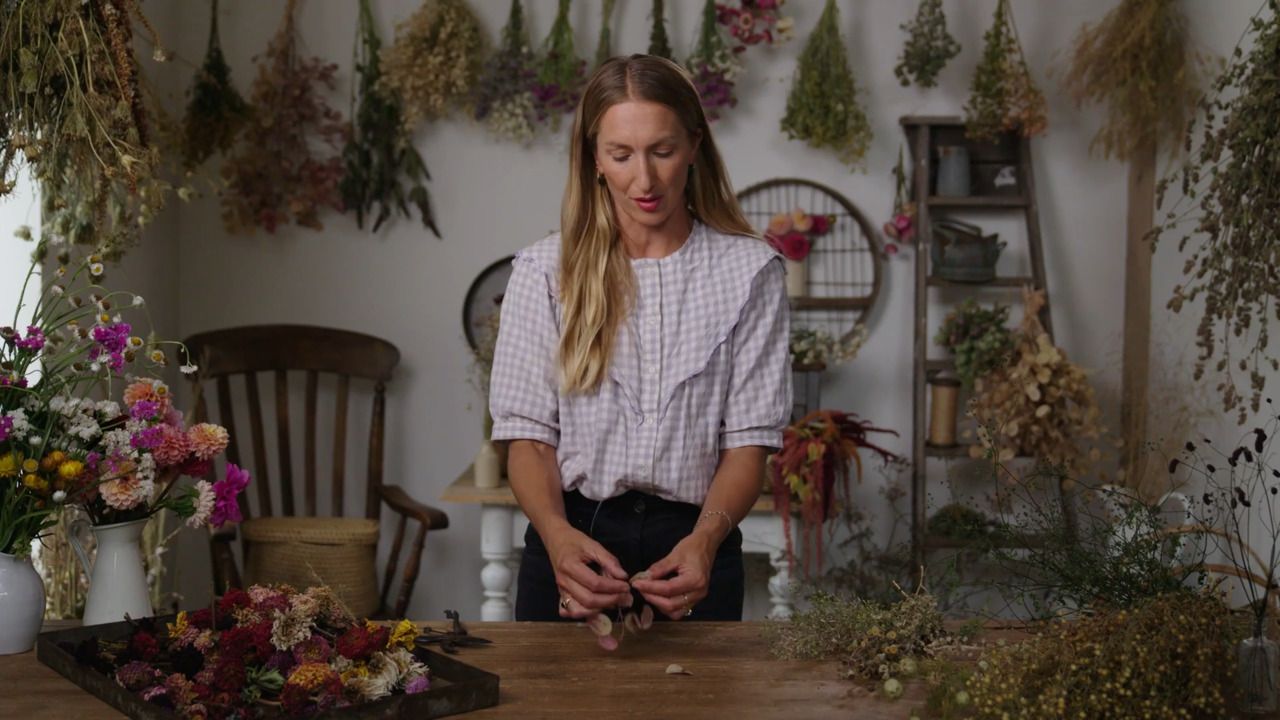
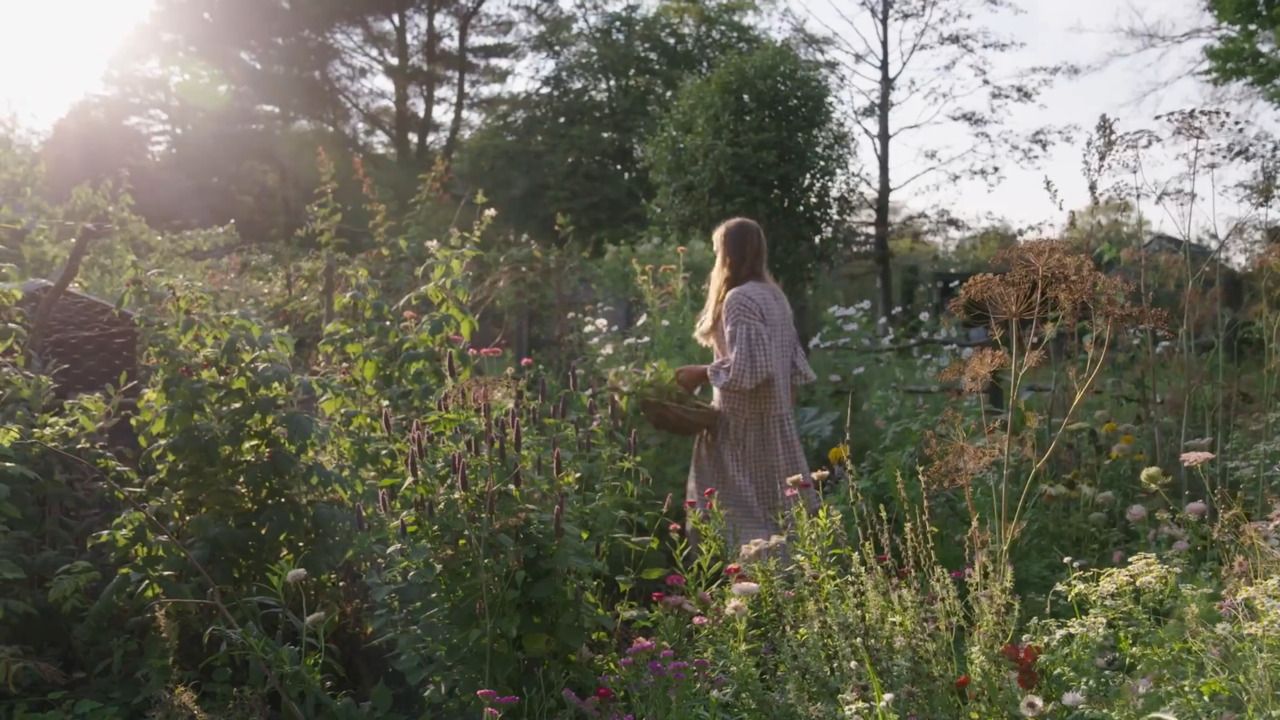
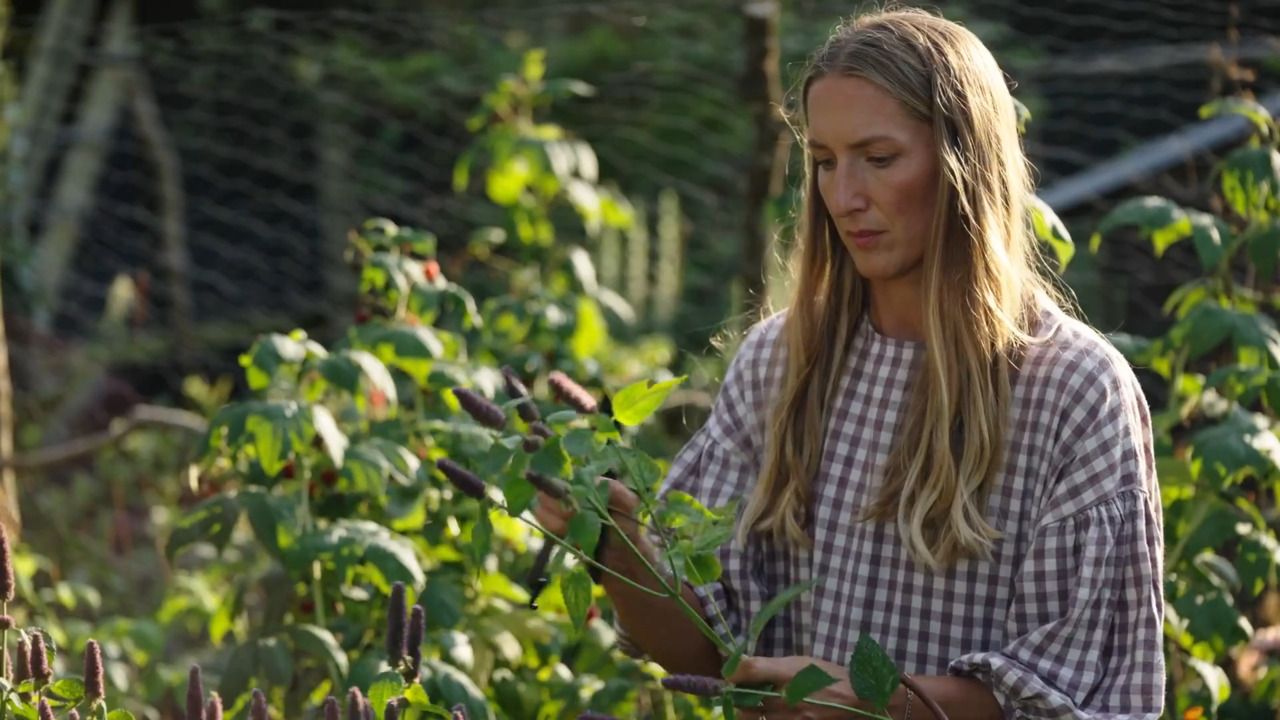
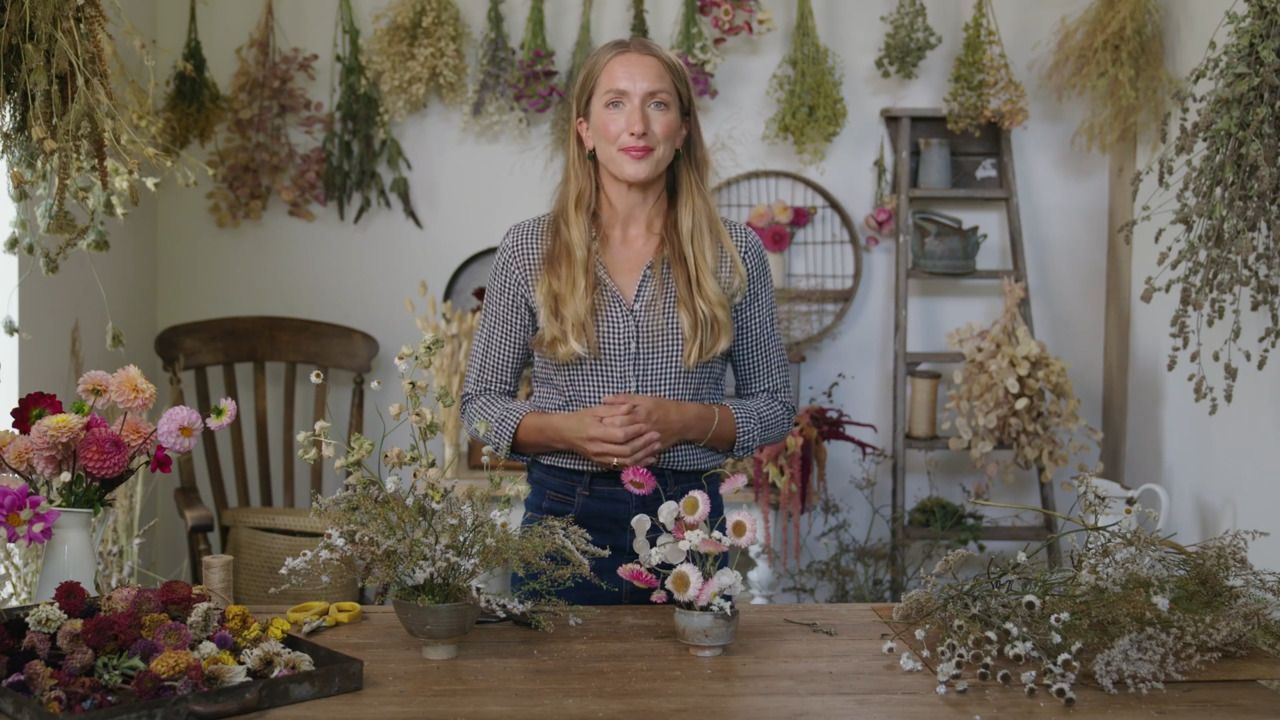
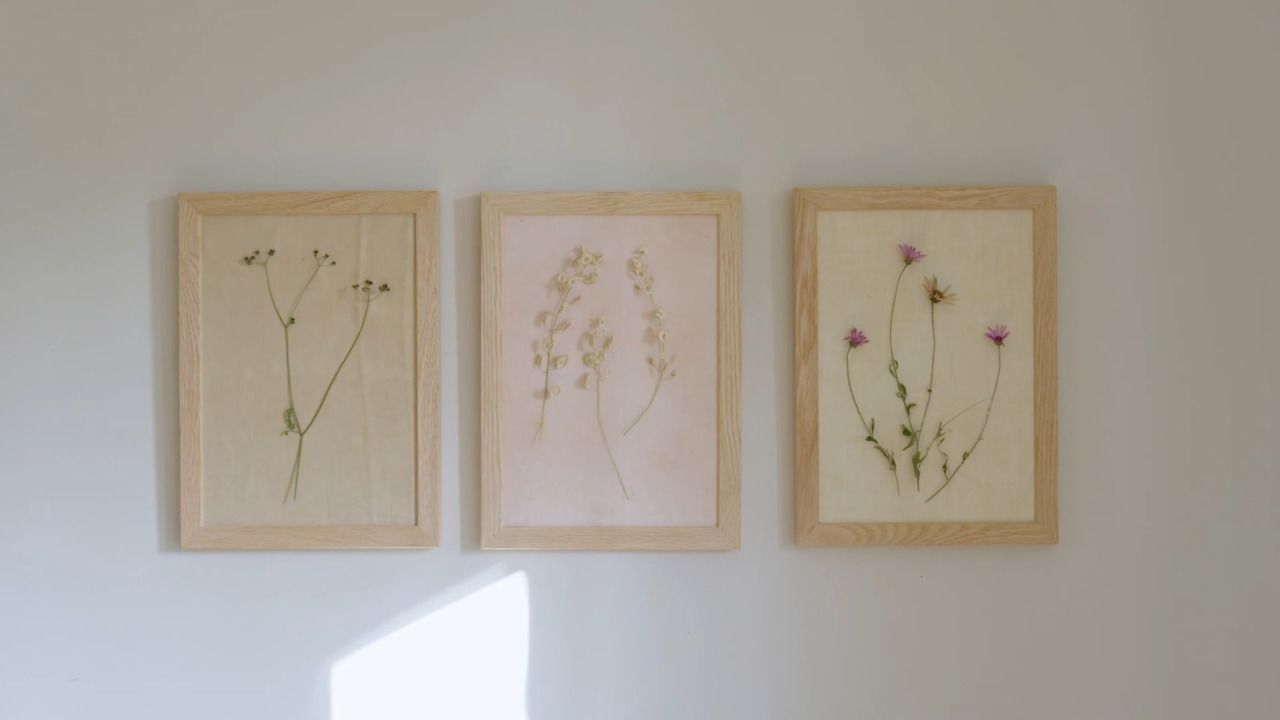
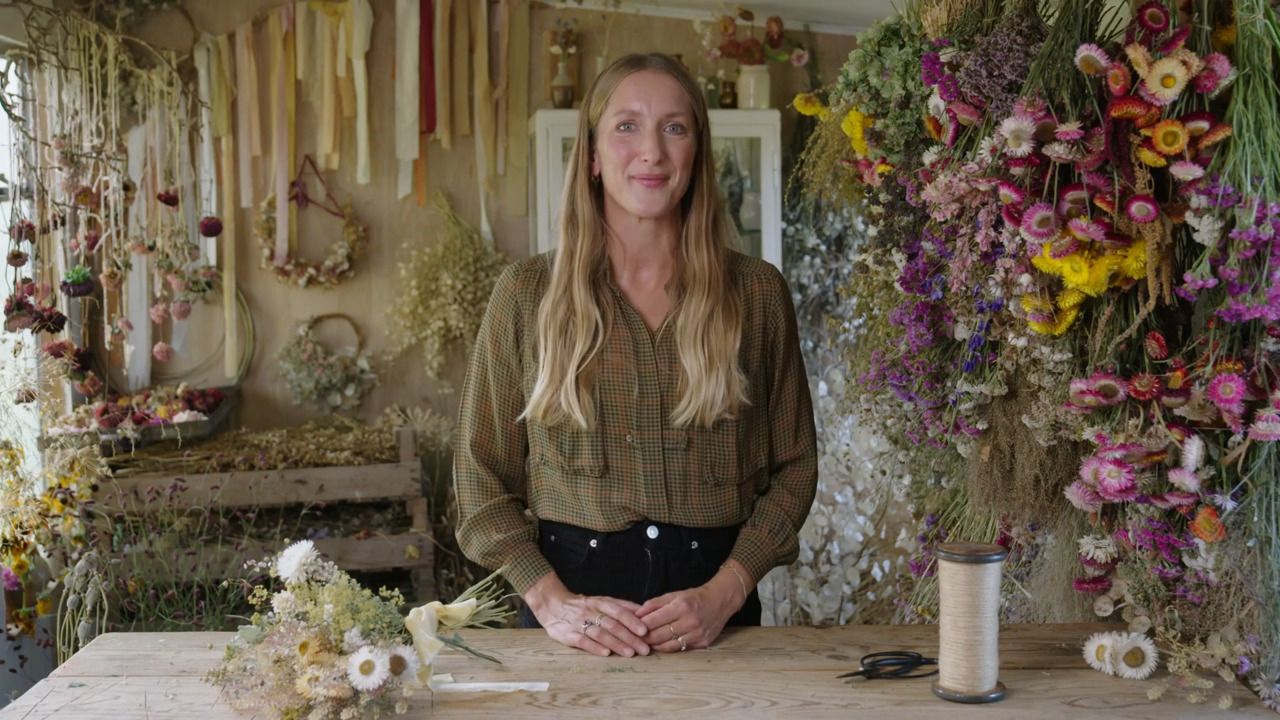
with BEX PARTRIDGE — UK's leading dried flower artist, grower, writer, floral stylist.
Lesson 21 of 29
Buy or subscribe to watch
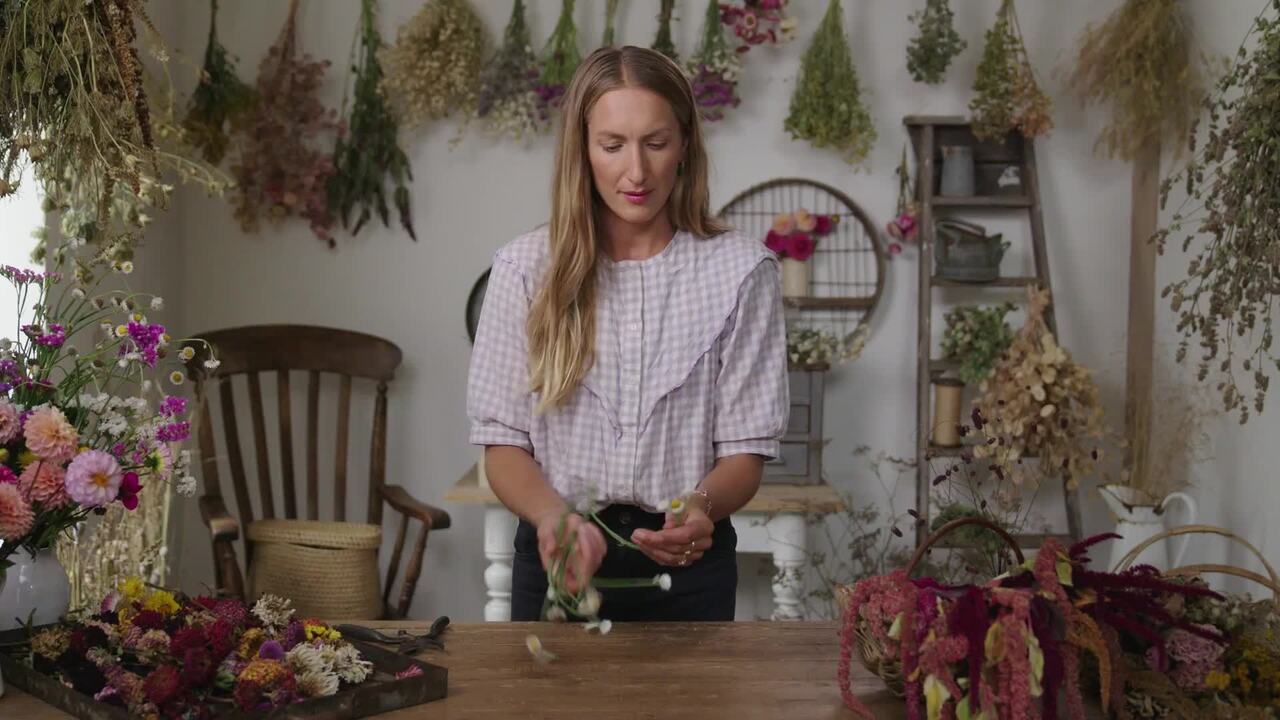
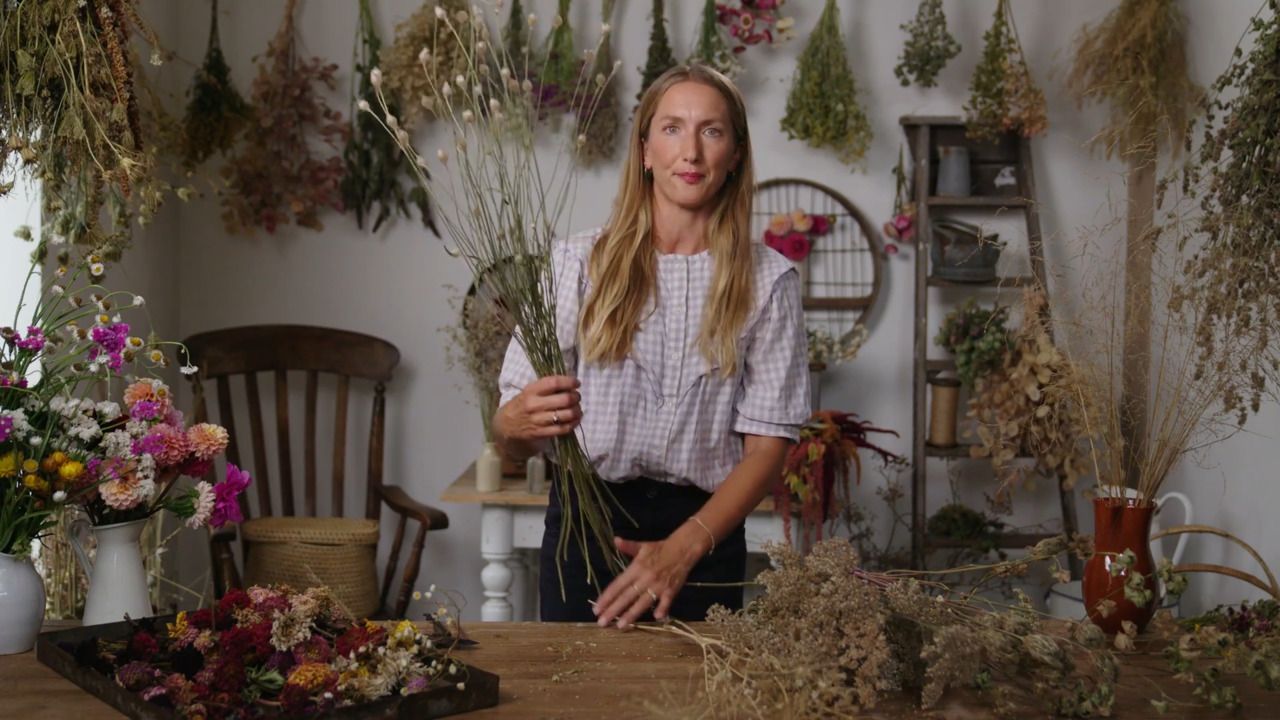
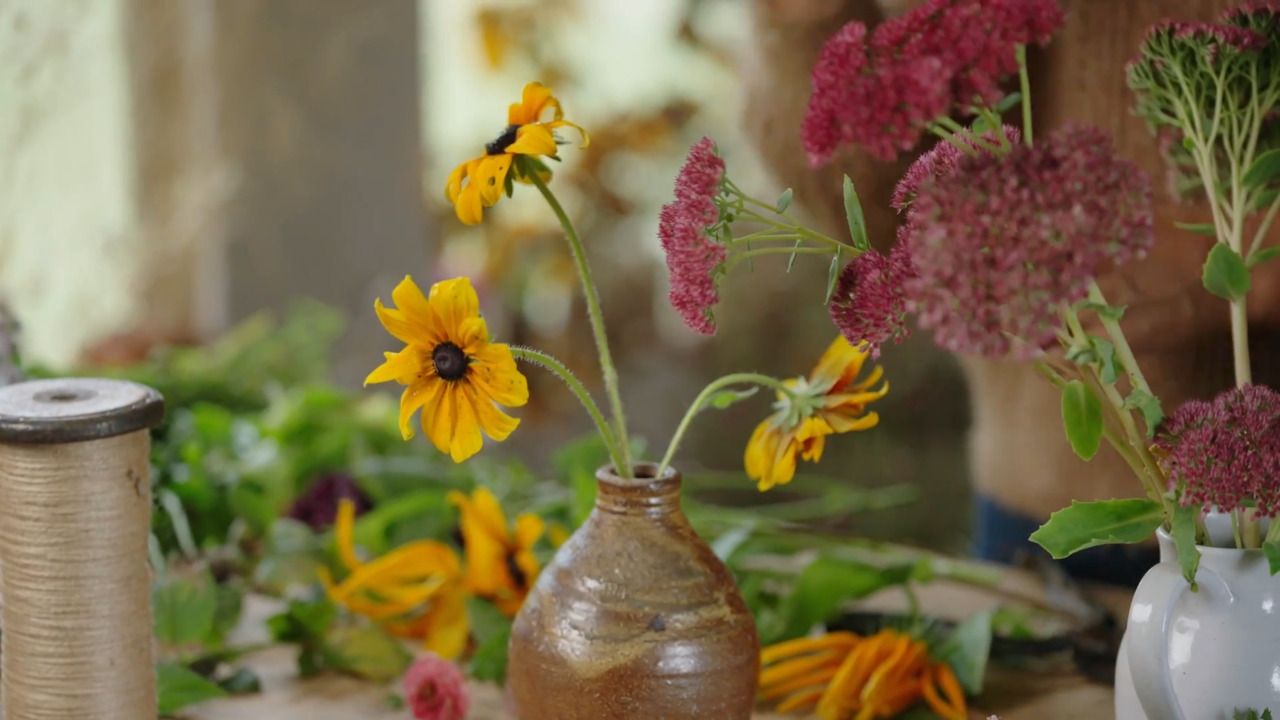
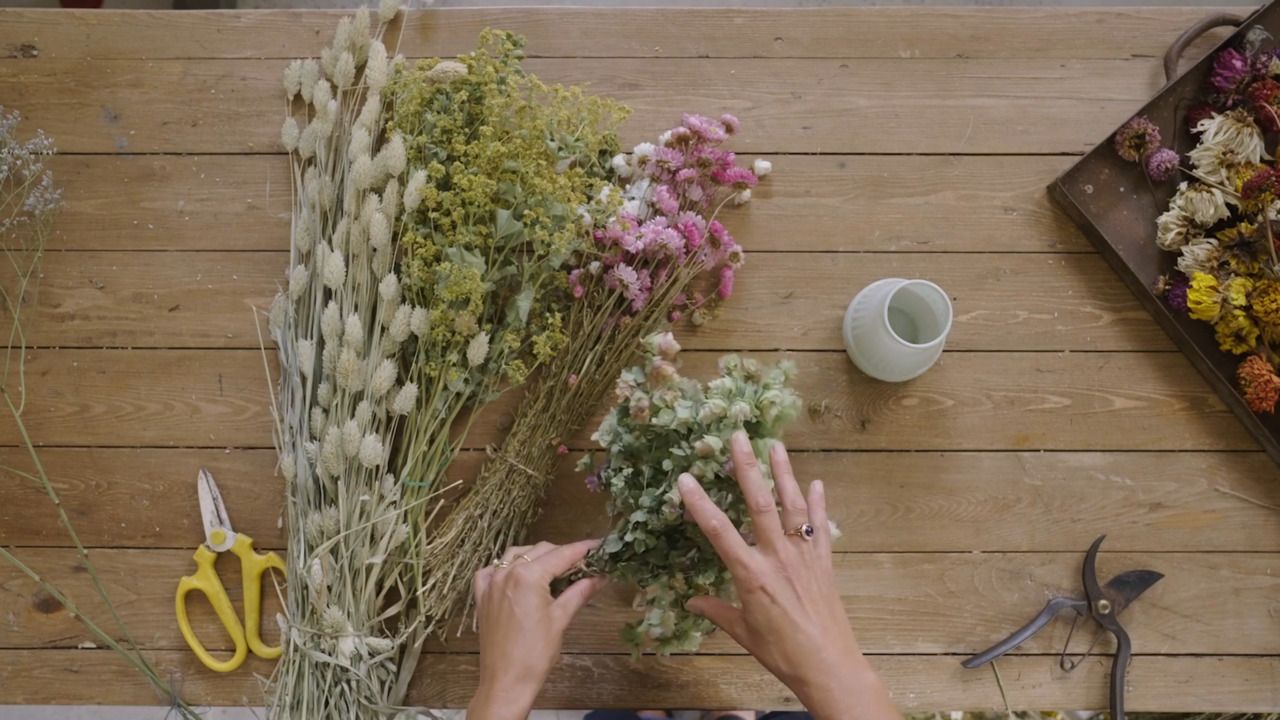
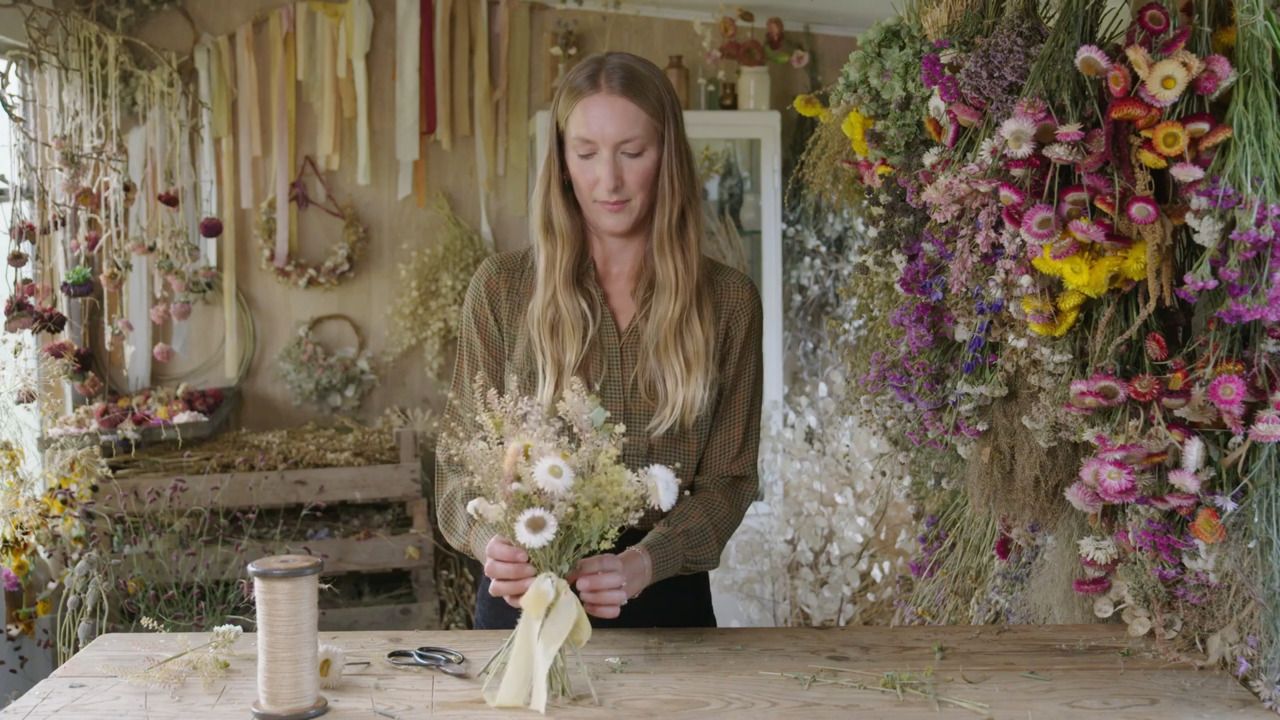
Perfect for weddings or as a gift for a friend, hand- tied bouquets are a great way to arrange dried flowers. In this video, you’ll learn how to put one together with volume, height and texture.
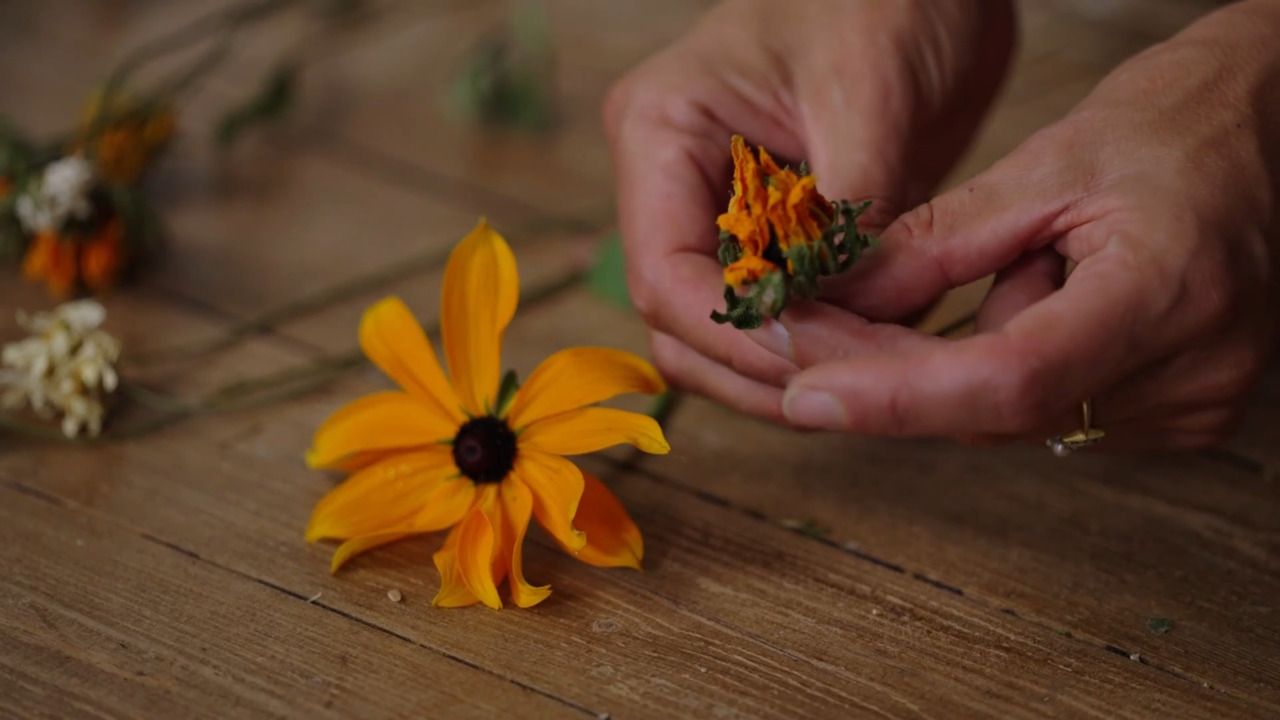
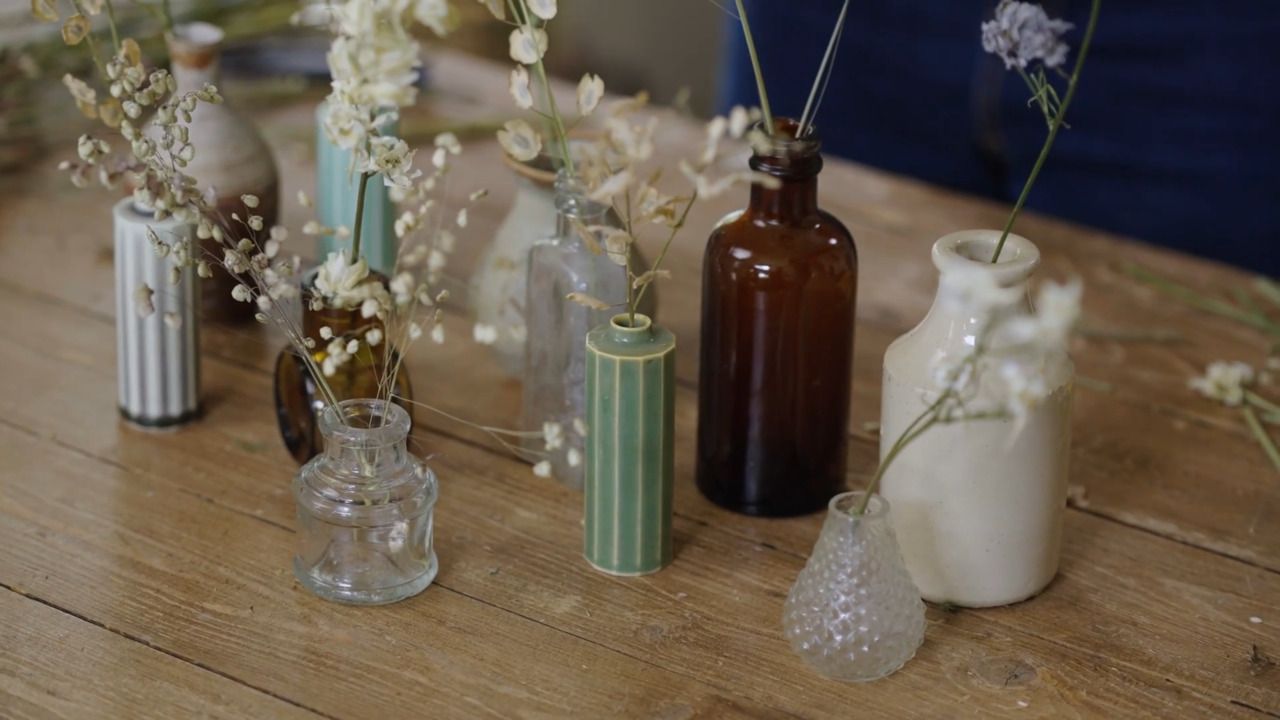
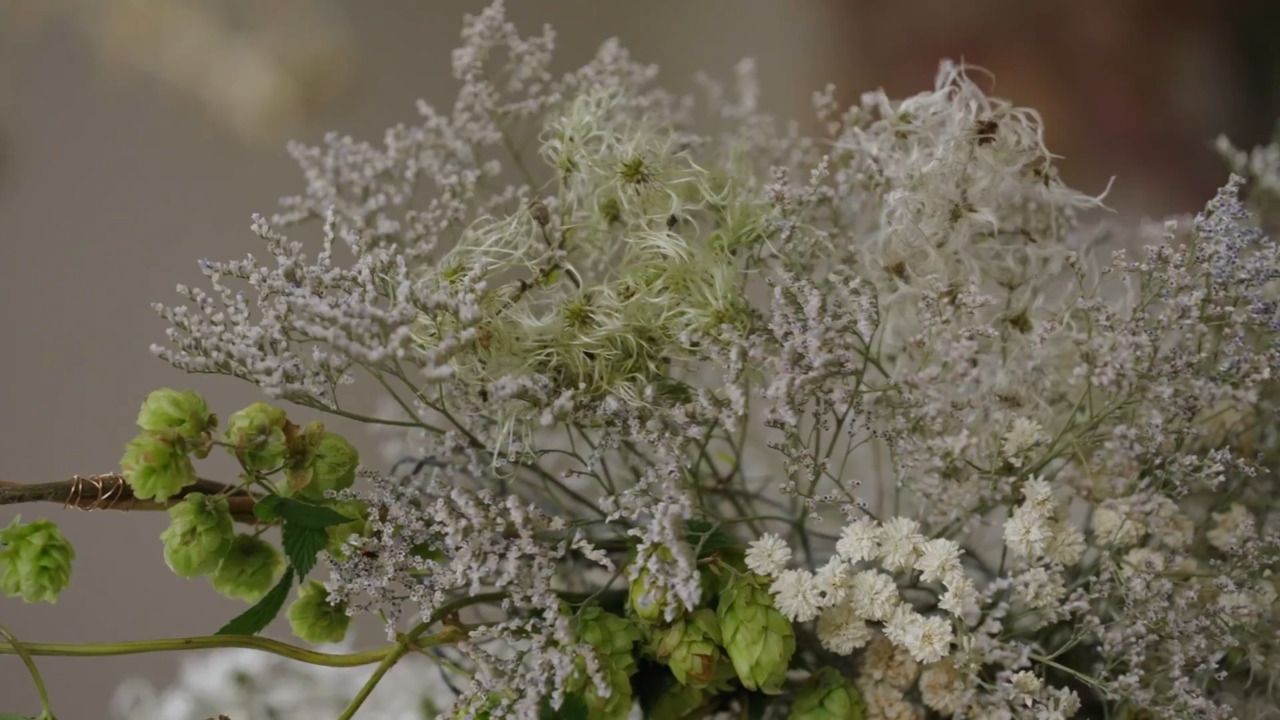
Making a dried flower bouquet is quite different to creating one with fresh flowers. With fresh blooms, you can use vibrant green fronds and leaves as a base for your arrangement, but with dried flowers you don't have this option. Instead, focusing on texture and movement is the best way to make your bouquet turn heads.
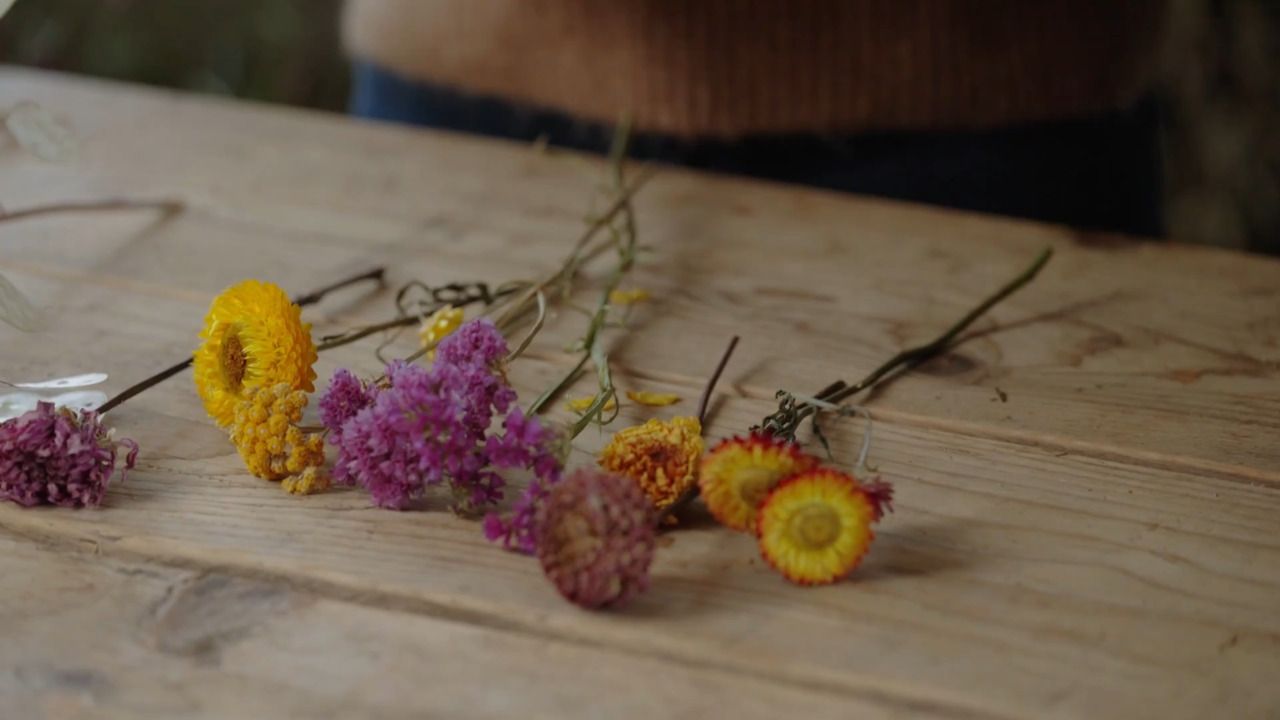
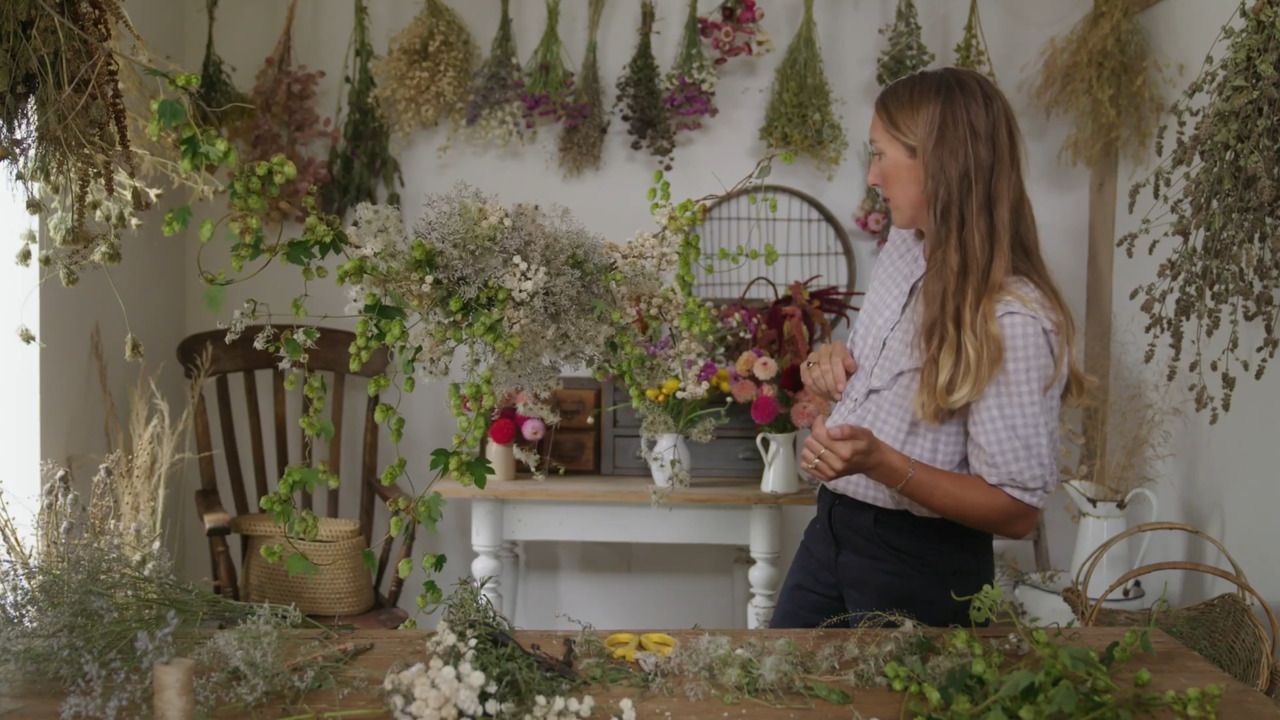
While you will want to focus on adding volume and body to your bouquet, as I've said before, less is more, so make sure not to add in too many different varieties.
For this display, I chose to work with:
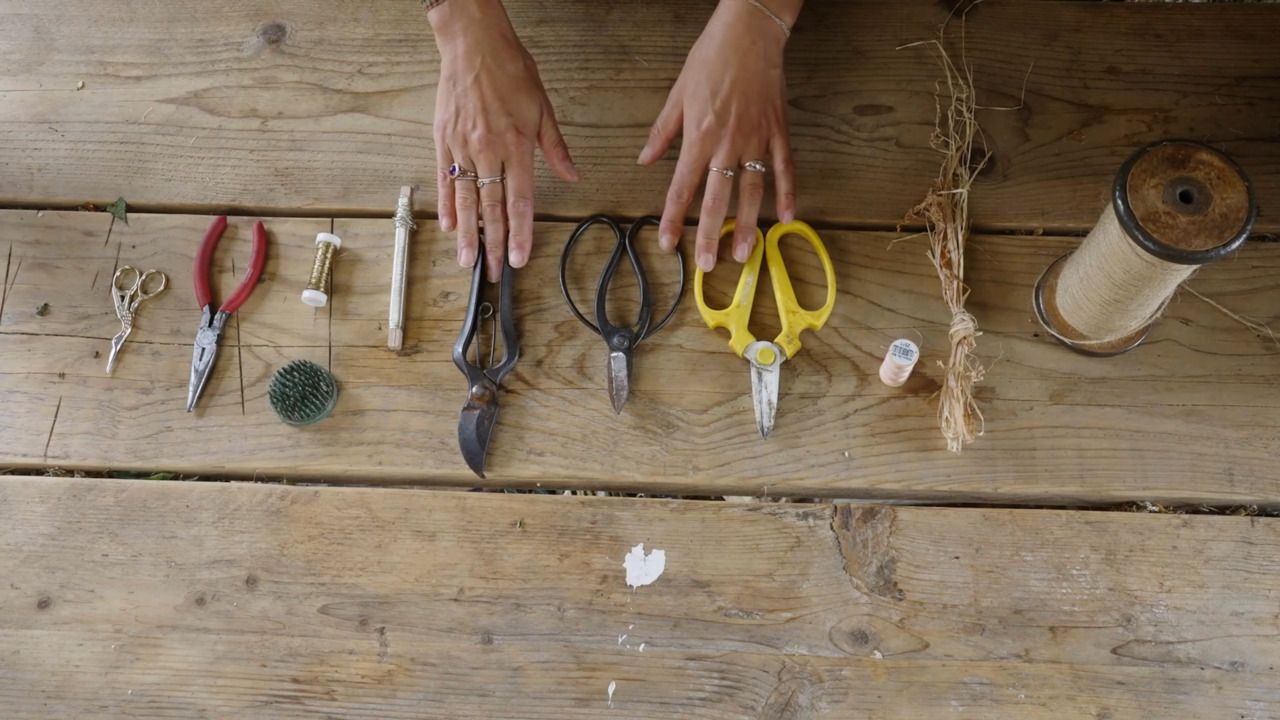
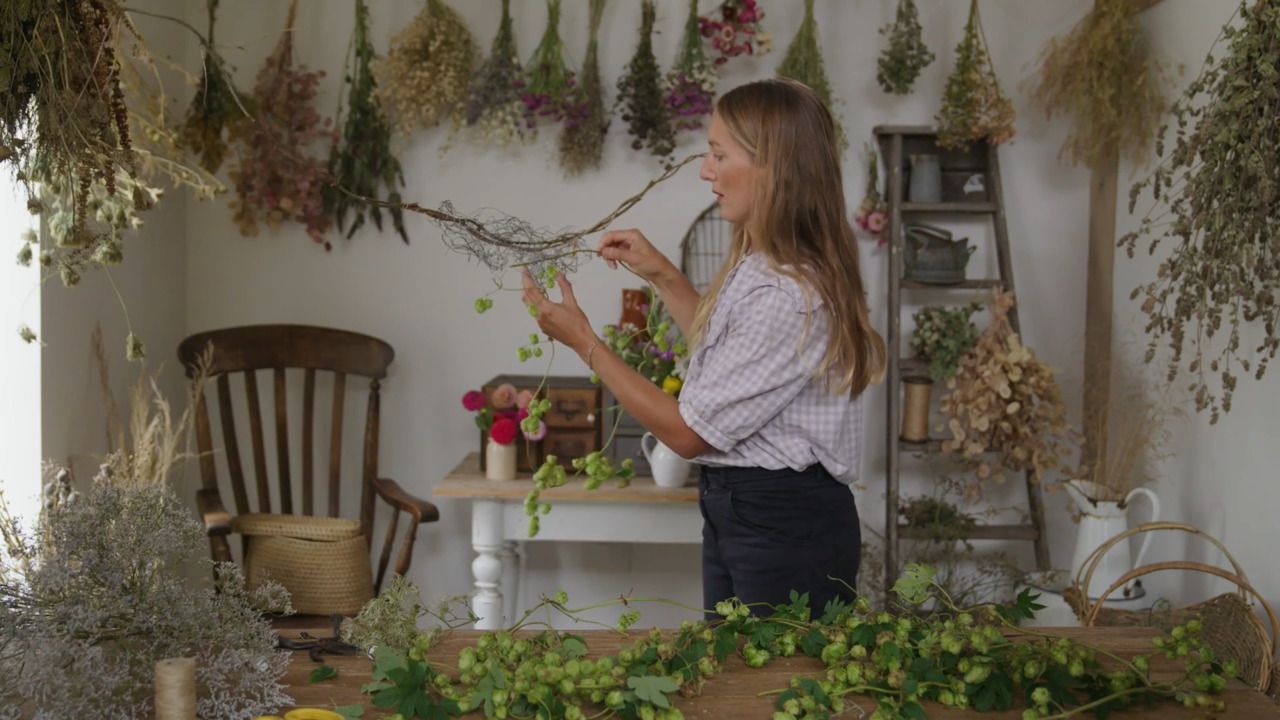
As you build your bouquet, you will be using one hand to hold it at all times, while you feed stems in with the other hand. This takes practice, so don't worry if it takes time to get to grips with this technique.
The beauty of this method is that you can take stems out if you don't think they are sitting right in your bouquet. In order to do this, your stems need to be clean so that you can move them in and out smoothly.
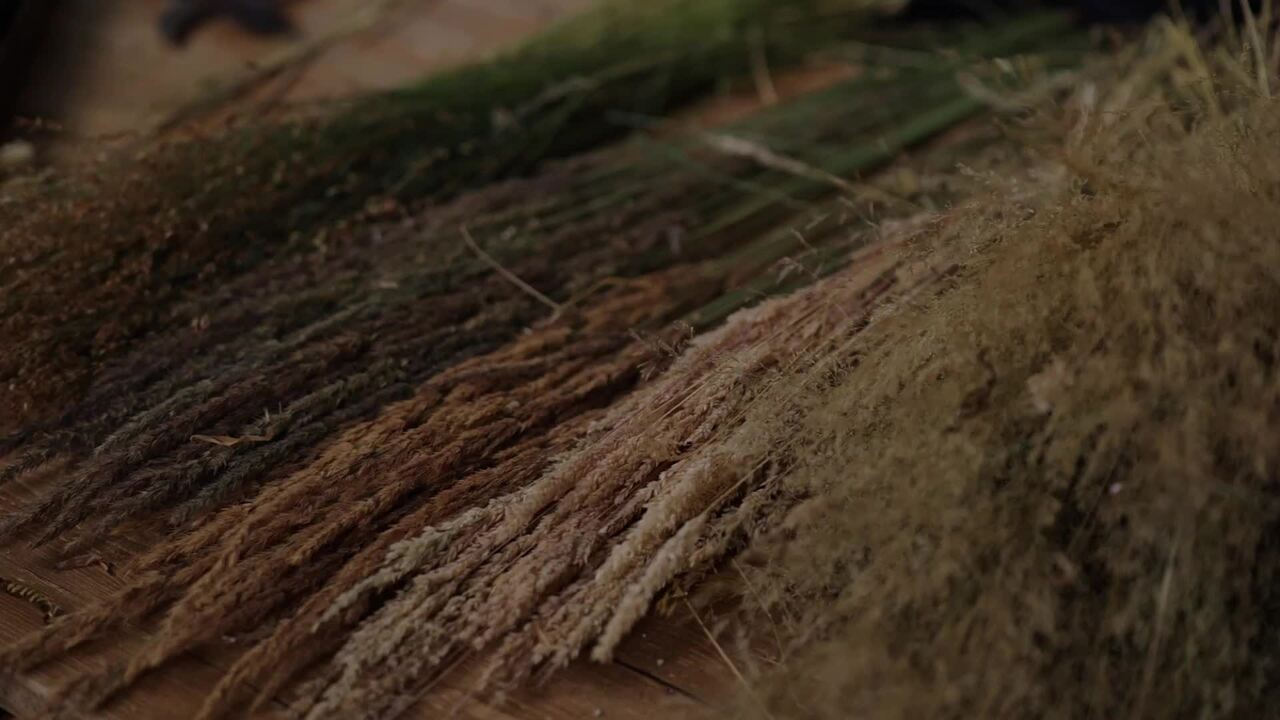
When you start to build your bouquet, you will need to work with your more textural stems to create the base shape.
Get the full workbook, video lessons, and more with a Create Academy subscription.
Subscribe to access the full workbookAlready a member? Sign in to watch
437 reviews
Read moreI have subscribed to access all the courses so have watched one on interior design and this one with Butter Wakefield who specialises in small garden design. She ...
Louise Brown
Apr 10, 2026
I love CreateAcademy. I came in for the gardening and floristry courses, but am also watching an interior design one at present. And the photography course is an ...
Wellesley
Apr 1, 2026
What a great investment, I have learned such a lot from the first three courses. My evenings have gone from not being able to find anything that captured my imagi...
sojojo
Mar 30, 2026
I loved this course with Amanda Lindroth! Her approach to decorating is so relaxed and she makes it feel attainable. She explains the reasons behind her decisions...
Elizabeth
Mar 27, 2026
I have subscribed to access all the courses so have watched one on interior design and this one with Butter Wakefield who specialises in small garden design. She has a lovely personality and comes across as ...
Louise Brown
Apr 10, 2026
I love CreateAcademy. I came in for the gardening and floristry courses, but am also watching an interior design one at present. And the photography course is an absolute must, best I've ever done.
Wellesley
Apr 1, 2026
What a great investment, I have learned such a lot from the first three courses. My evenings have gone from not being able to find anything that captured my imagination on TV to learning and expanding my kno...
sojojo
Mar 30, 2026

Your Instructor
UK's leading dried flower artist, grower, writer, floral stylist.
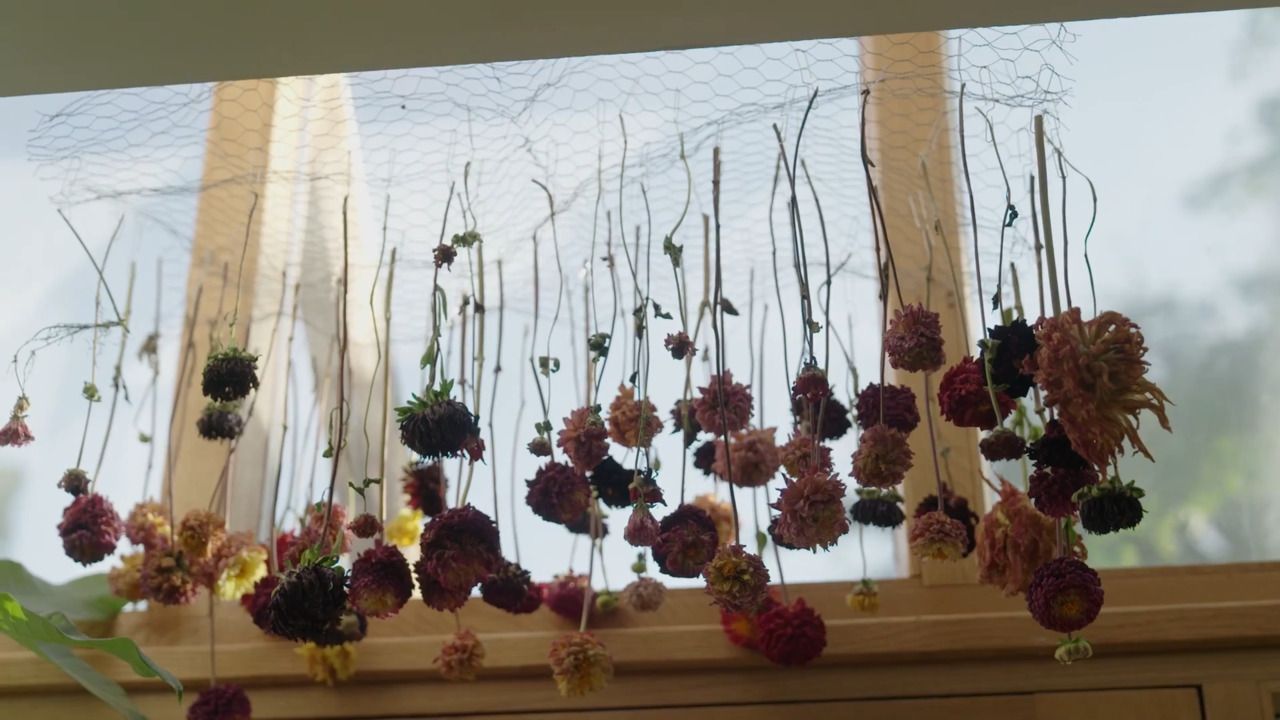
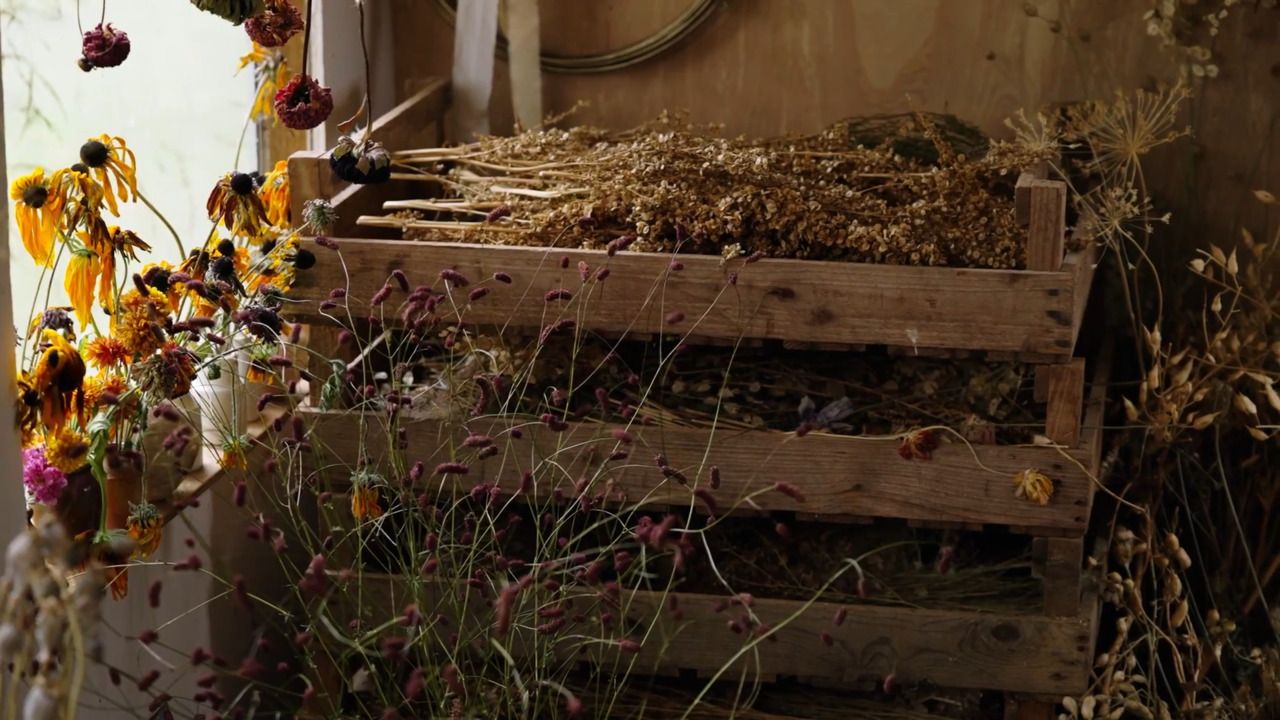
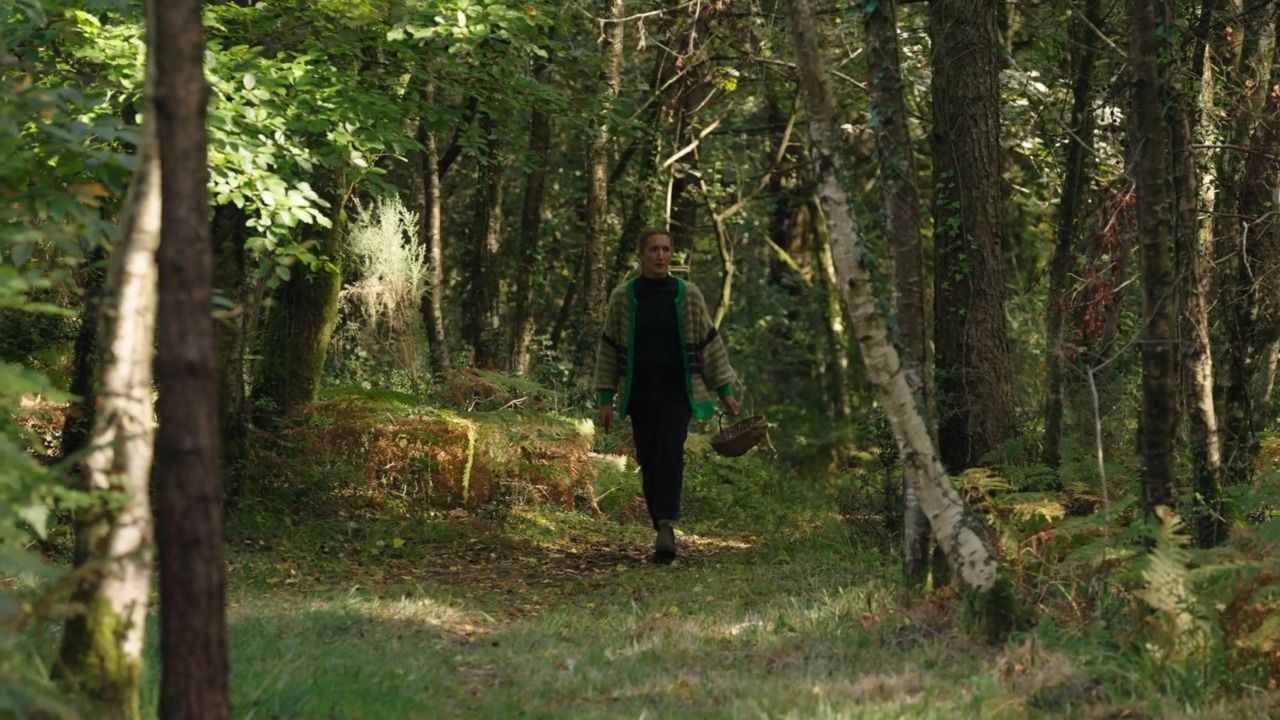
Bex Partridge is a leading dried flower artist, stylist and grower who specialises in creating sustainable everlasting designs, displays and installations. From her studio in Devon she works with dried flowers throughout their entire lifecycle; from seed to plant to harvest, and then on to drying and arranging. Her designs are wild, whimsical and nature-led, with a focus on seasonality and always free of any human intervention (no dying, bleaching or sprayed blooms), reflecting the natural world around us and offering the chance to bring nature into our spaces, however big or small.

Access to all courses


