


Interior and exterior confidence
Create Academy has been such a great resource. I'm in the middle of renovating a bungalow with a very large garden and the courses have offered a wealth of inform...
Harvey
Jun 10, 2026
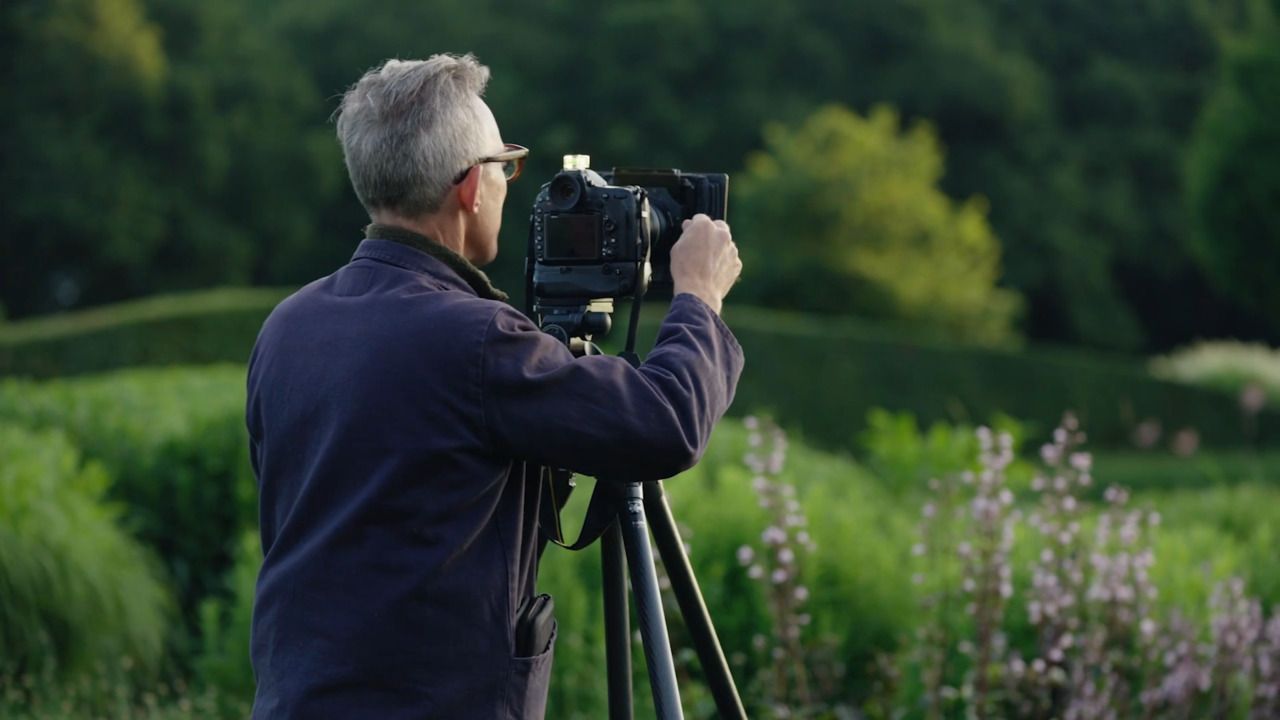
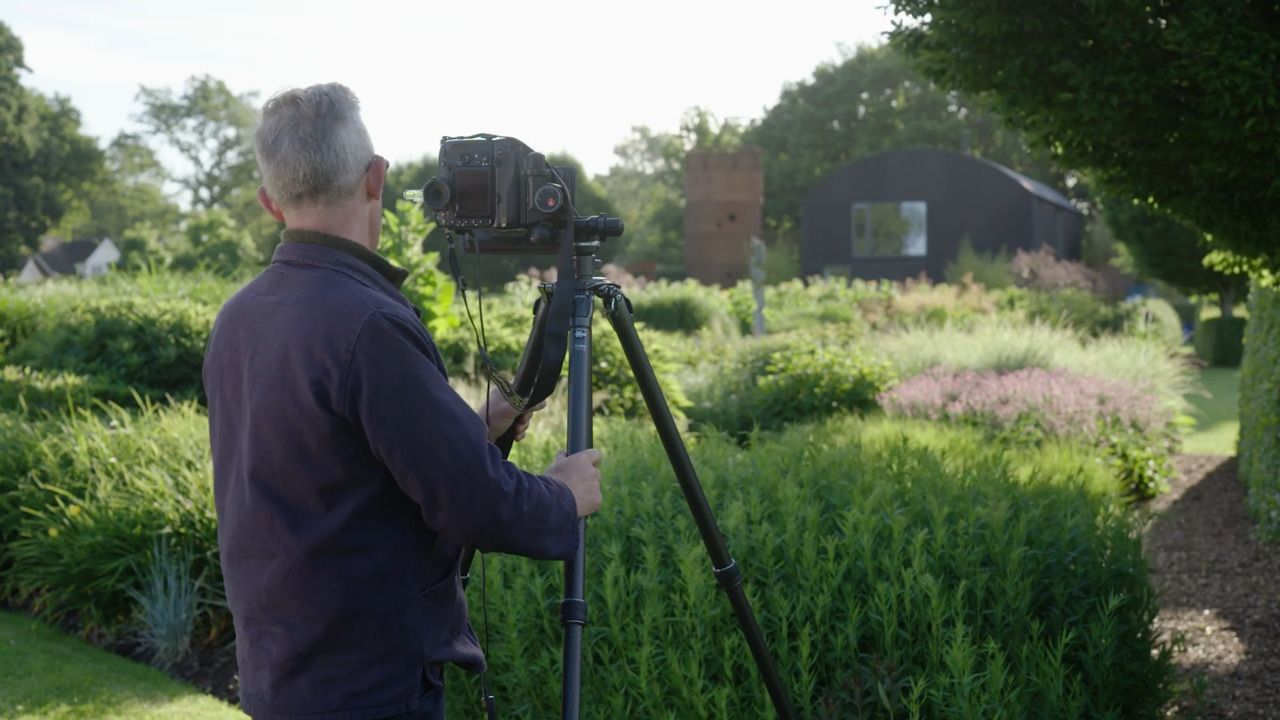
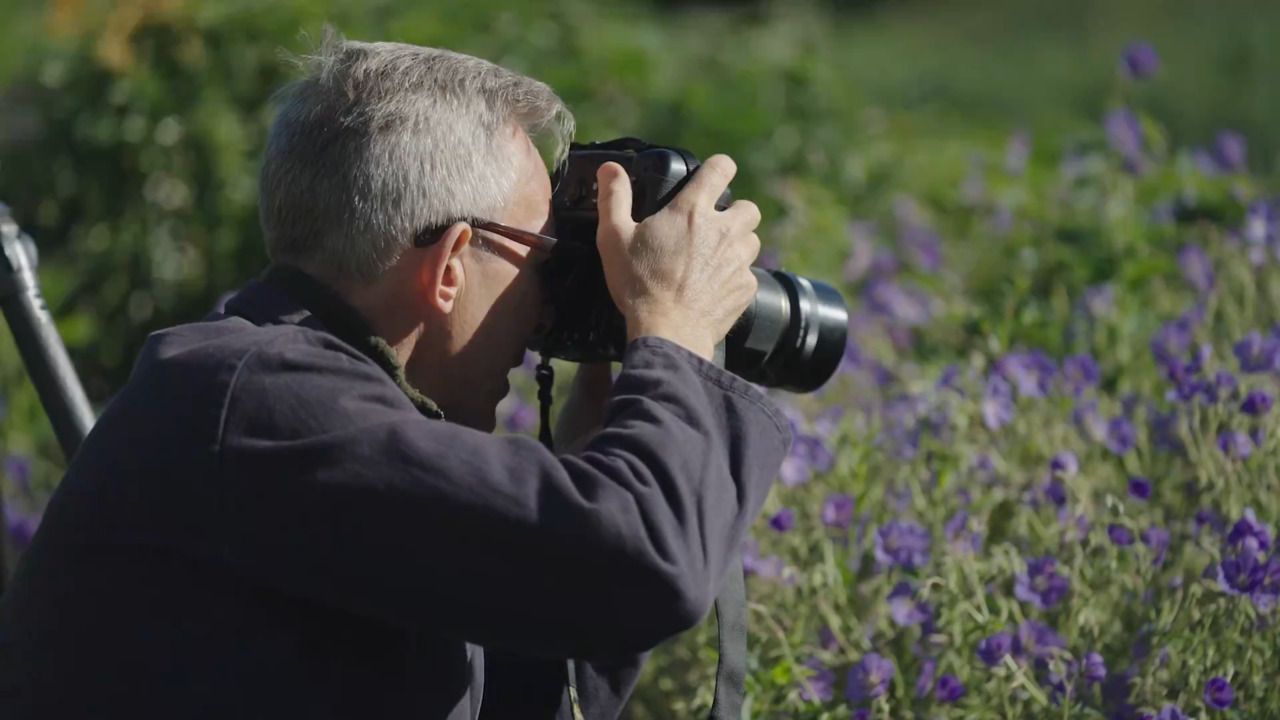
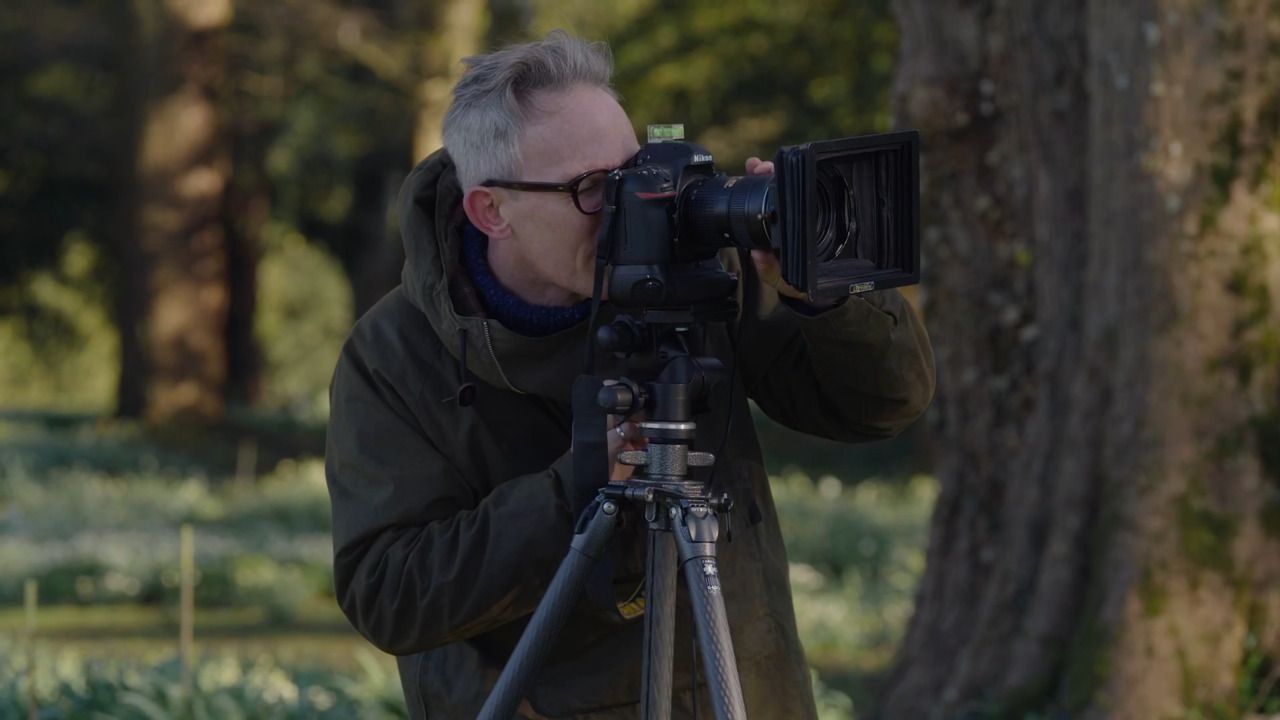
Garden & Landscape Photography Masterclass
with JASON INGRAM — UK's leading garden and landscape photographer. Garden Media Guild 'Photographer of the Year'.
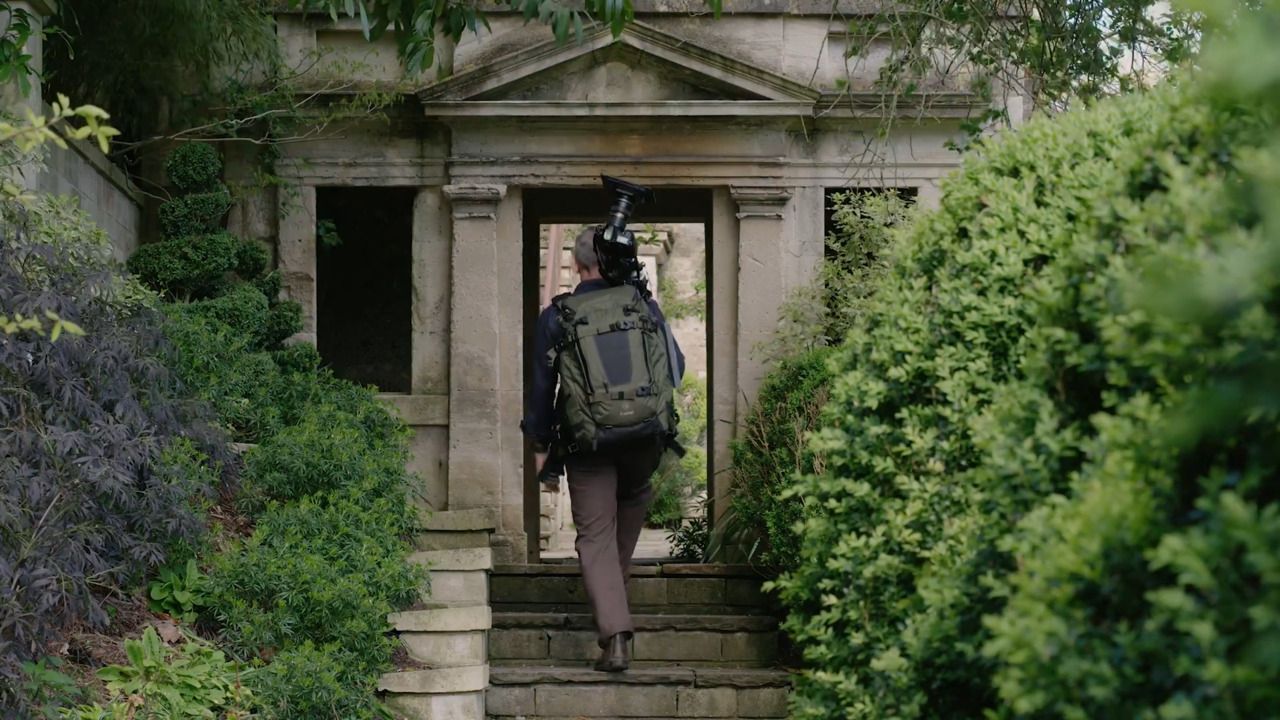
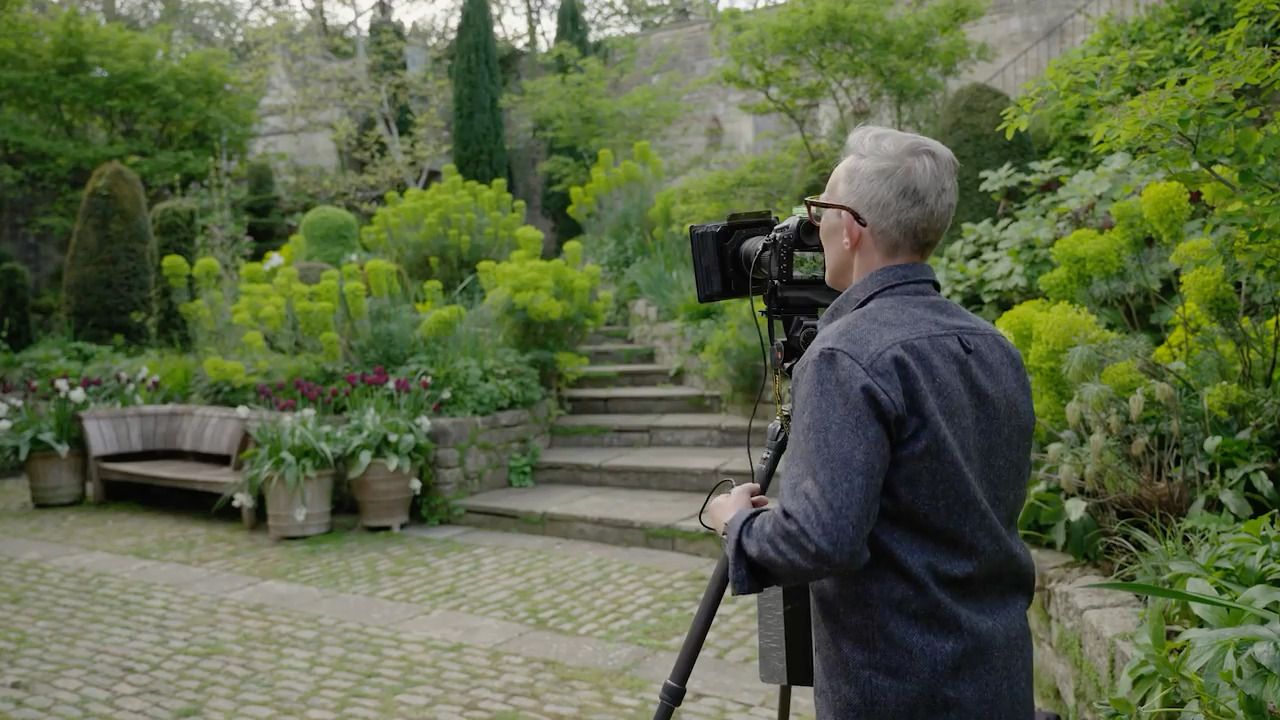
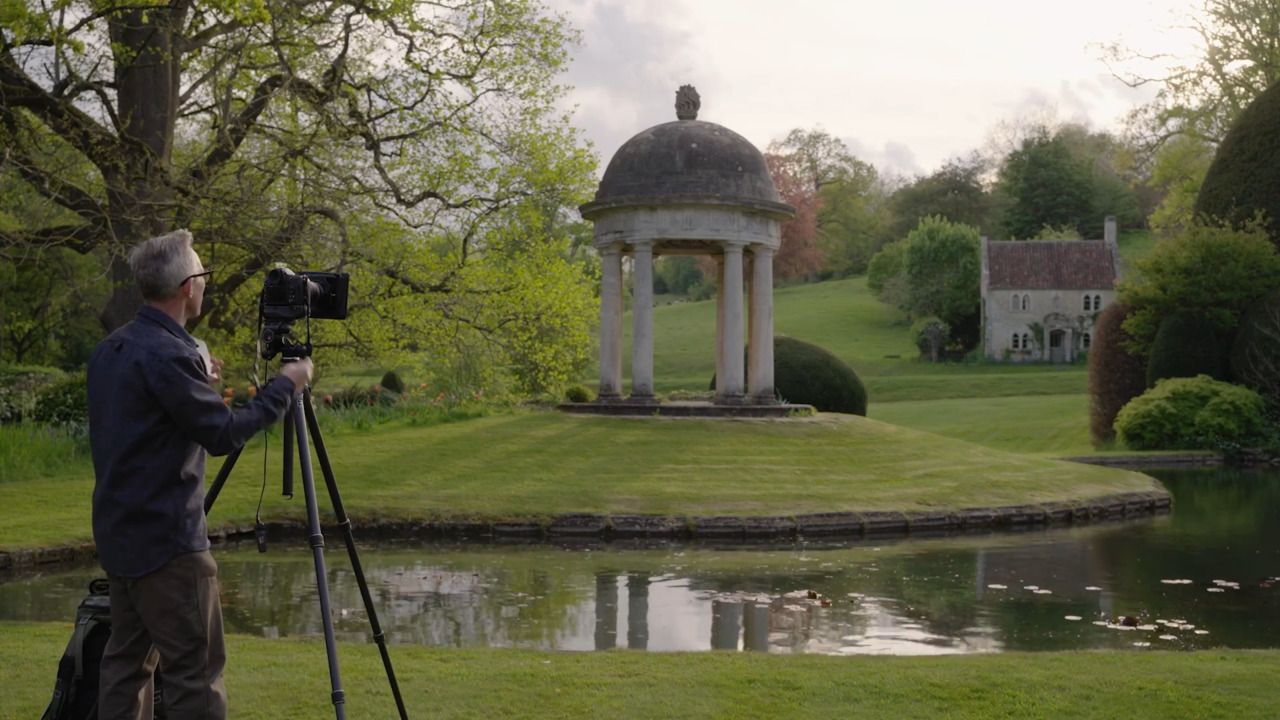
Lesson 23 of 27
Subscribe to watch
Jason discusses how he makes his first edits, and gives detailed instructions on how to process your images to make them the best they can be.
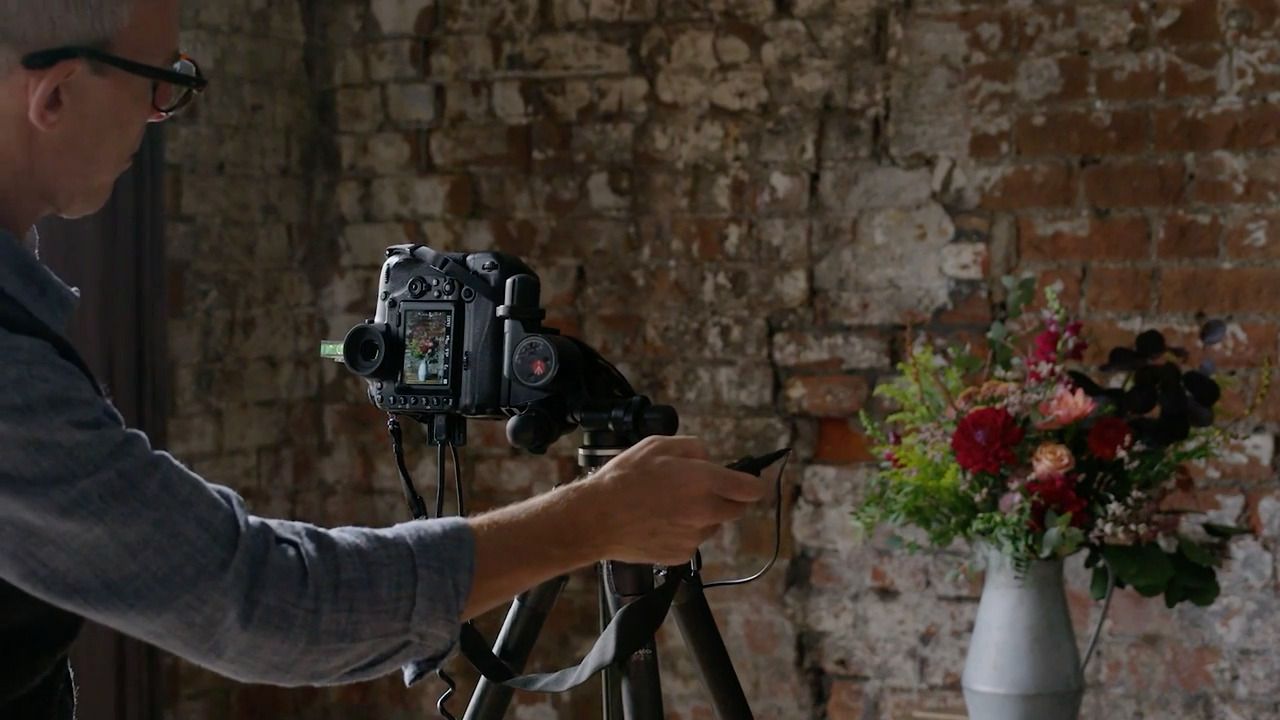
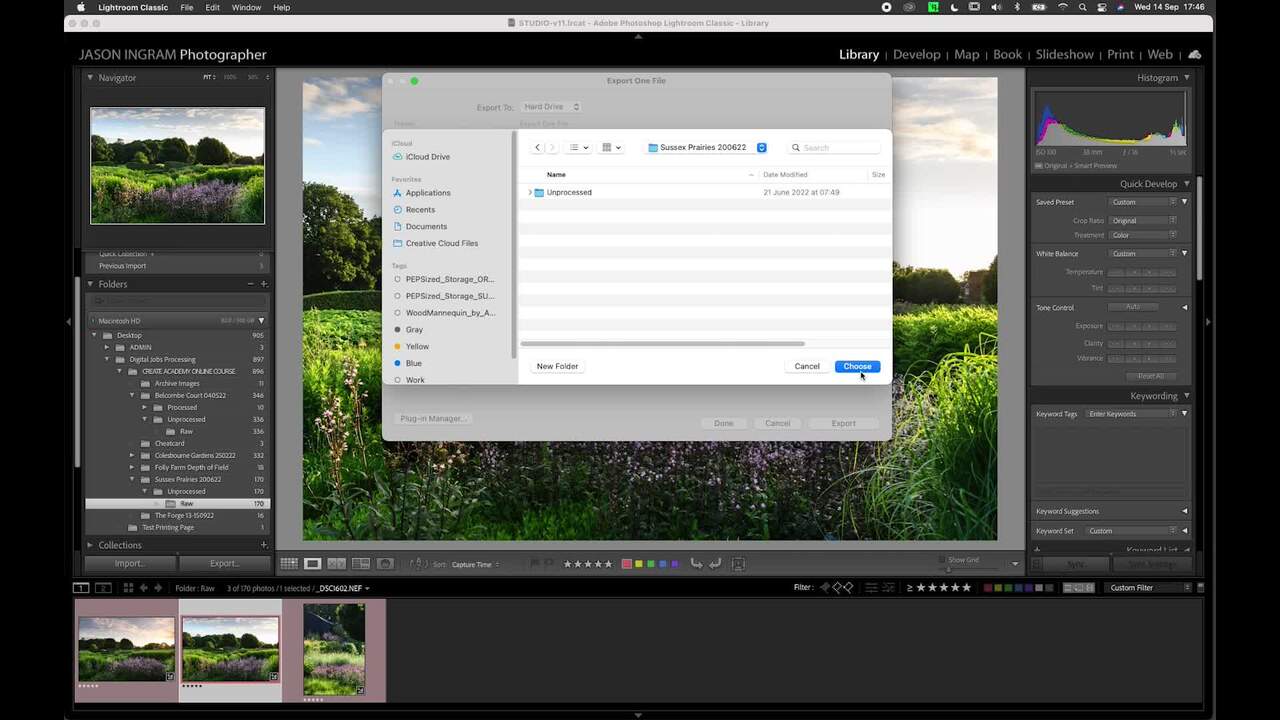
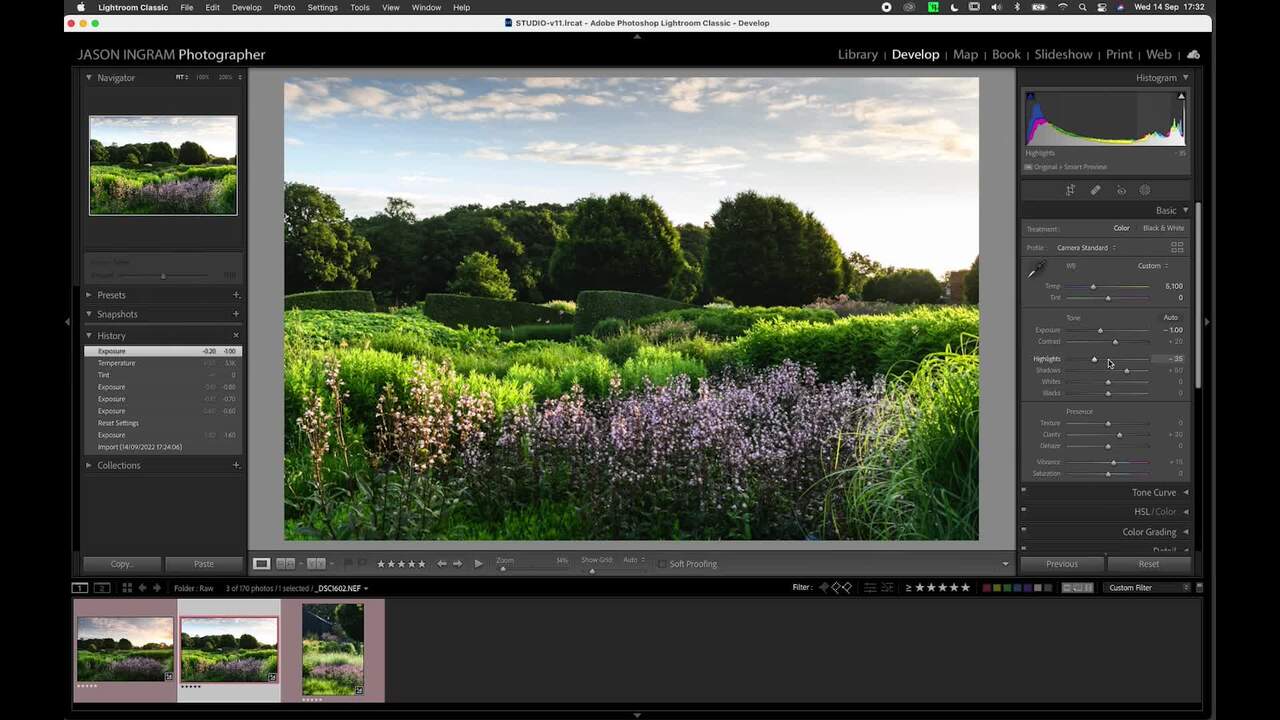
Once your images are uploaded onto your computer and imported into Lightroom, you can make your first edit and begin processing.
Go through and assess which of your images warrants processing. You can mark your favourites by giving them a 5-star rating at the bottom right of the screen.
Once you've made your first edit, you can move onto processing. To access the images you've flagged, hit the 5-star rating button and this will bring them all up. Select the first image you want to process.
Click on the 'Develop' mode at the top right-hand side.
There is a processing 'preset' that I apply to all of my images as a starting point to give them the look I like before I do anything else with them:
It's also well worth downloading the profiles for your particular camera and lens from the Adobe website into Lightroom.
Pressing 'L' on your keyboard at any time will allow you to view each image on its own without the distraction of the sidebars.
If you want to see the image in full-screen mode, just press 'F'.
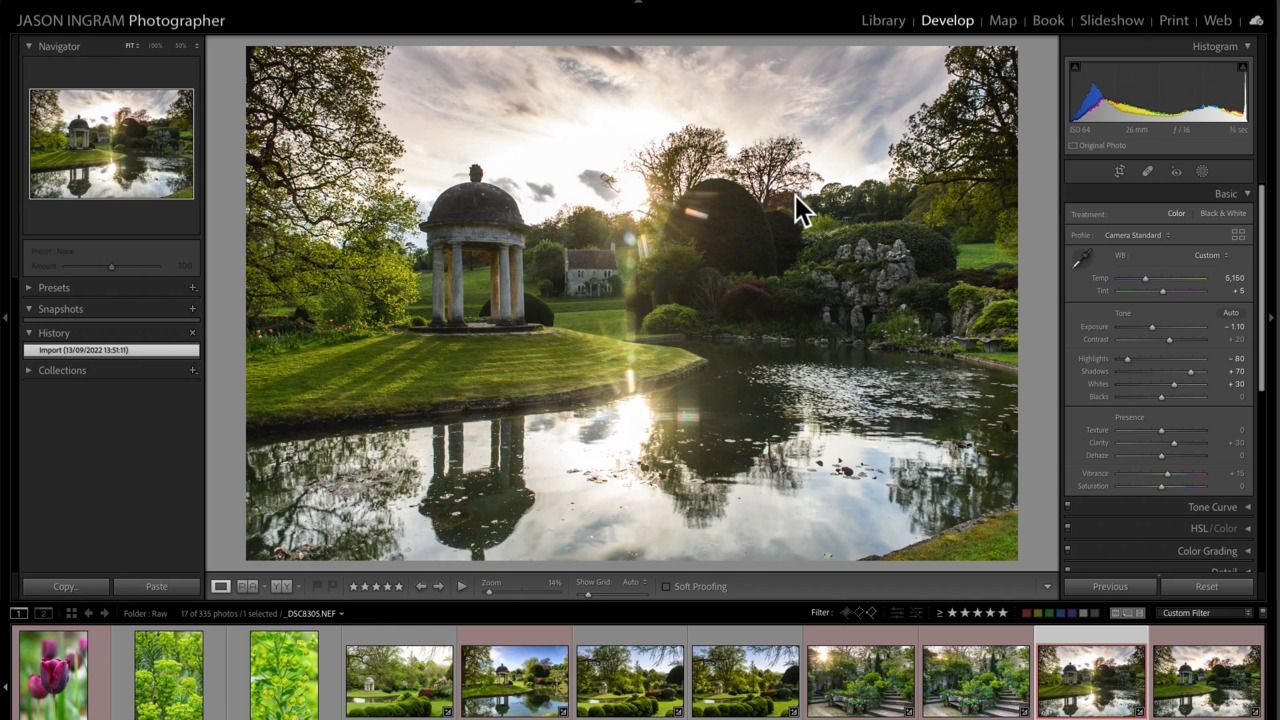
Read the histogram on the right-hand side of the screen to check your exposure levels. You can then adjust and experiment accordingly using the 'Exposure' toggle.
Once you're happy with the exposure, you can start to look at how the colours are reading.
You can also use your histogram to read which areas are lacking in highlights or shadows, and then adjust these too.
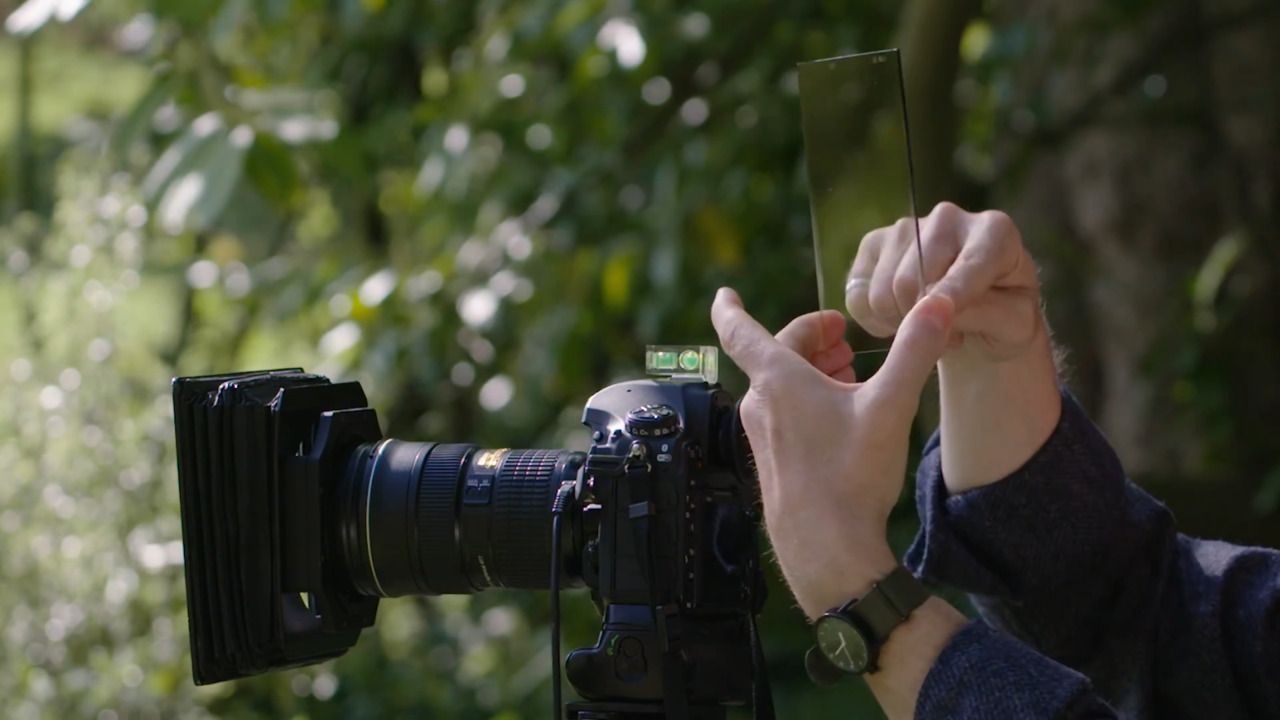
As I've used a neutral density filter, I'm quite happy with the exposure of the sky. However, there is also a function in Lightroom that can achieve a similar effect. Click on the circle beneath the histogram to bring up the 'Mask' menu, then select 'Linear gradient'. This can be pulled down over the sky, and the different levels adjusted on the left-hand side.
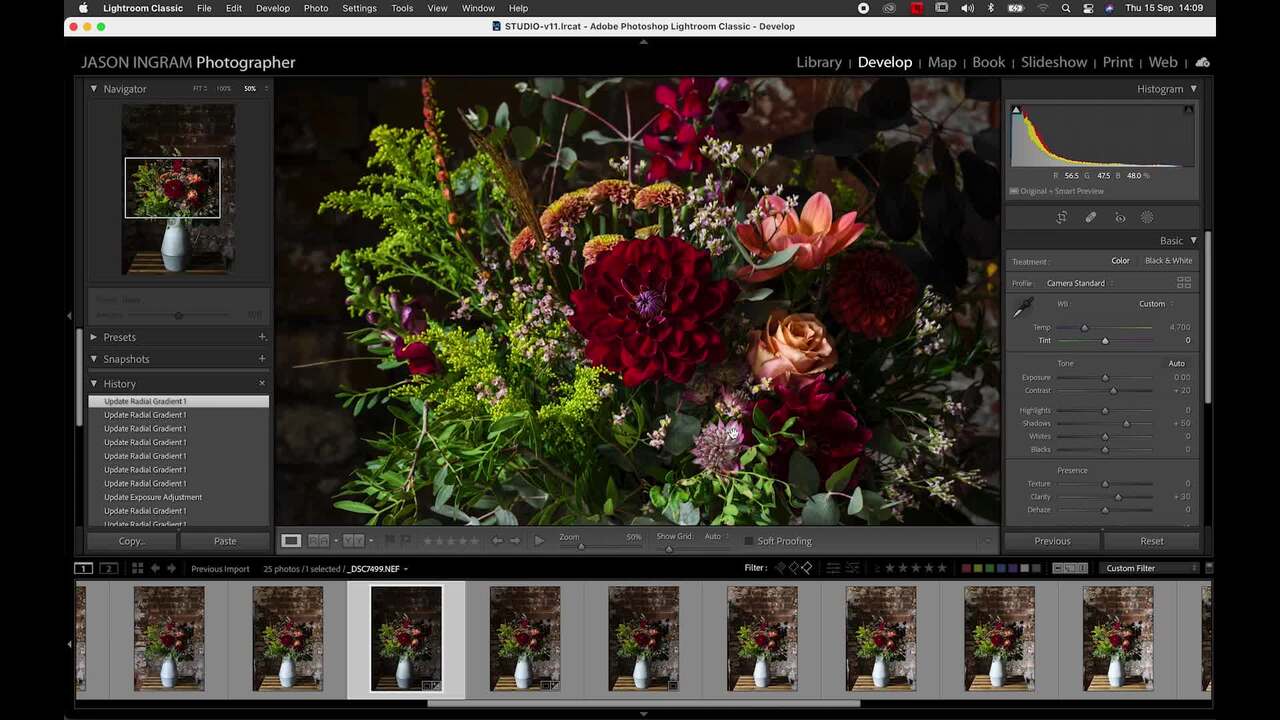
If there's an area that needs lifting, select 'Mask' and then 'Radial gradient'. Pull this across and modify the size to fit the area you want to work on. Use the 'Feather' toggle to make the mask softer or harder. You can then alter the exposure of the selected area.
Sometimes spots of dust can get onto your camera sensor and appear as grey dots on your image. To remove these, click the bandage button on the left-hand side to bring up the 'Healing' menu. Select the brush size, feathering and opacity you require, and click on the area of your image you want to rectify. A shortcut for this tool is 'Q' on your keyboard. This tool can also be used for removing other elements in your image, but its effectiveness does tend to vary.
Get the full workbook, video lessons, and more with a Create Academy subscription.
Subscribe to access the full workbookAlready a member? Sign in to watch
479 reviews
Read moreCreate Academy has been such a great resource. I'm in the middle of renovating a bungalow with a very large garden and the courses have offered a wealth of inform...
Harvey
Jun 10, 2026
Absolutely love Create Academy! The instructors are extremely informative, and it is beautifully filmed. Create Academy is great value for money and plan on renew...
SG
May 31, 2026
Butter's creativity is stunning! Her ability to incorporate brilliance in small gardens is magical!
Carla
May 30, 2026
The best adventure. I like all the courses, but my favorite are both Rita Konig interior design courses and Anna Jones. Excellent!
Karolina Kluczewska
May 20, 2026
Create Academy has been such a great resource. I'm in the middle of renovating a bungalow with a very large garden and the courses have offered a wealth of information to dive into and explore new ideas. I'm...
Harvey
Jun 10, 2026
Absolutely love Create Academy! The instructors are extremely informative, and it is beautifully filmed. Create Academy is great value for money and plan on renewing my subscription yearly because there are ...
SG
May 31, 2026
Butter's creativity is stunning! Her ability to incorporate brilliance in small gardens is magical!
Carla
May 30, 2026
Your Instructor
UK's leading garden and landscape photographer. Garden Media Guild 'Photographer of the Year'.
Jason Ingram is an award-winning garden photographer based in Bristol. He travels widely photographing gardens, plants and people for the UK’s leading magazines and provides photography for numerous best selling gardening books by top international garden designers. In 2022, 2021, 2020, 2019, 2014 and 2013 he was awarded ‘Garden Photographer of the Year’ by The Garden Media Guild and ‘Features Photographer of the Year’ in 2019 and 2016. For his personal work, Jason has been photographing the landscape and coastline of Britain for over 25 years, and in 2008 was awarded ‘Landscape Photographer of the Year’ for "Living the View" category. Jason lectures on his work and teaches in-person garden photography courses. His work is held in numerous private collections and he receives regular commissions from HM King Charles III to photograph his private estate at Highgrove, as well as Piet Oudolf’s garden at Hauser & Wirth gallery in Somerset.

Access to all courses


