











Interior and exterior confidence
Create Academy has been such a great resource. I'm in the middle of renovating a bungalow with a very large garden and the courses have offered a wealth of inform...
Harvey
Jun 10, 2026
How To Be Mad About Your House
with KATE WATSON-SMYTH — Design expert, journalist, best-selling author. Creator of UK's #1 interiors blog and podcast.
Lesson 10 of 29
Subscribe to watch
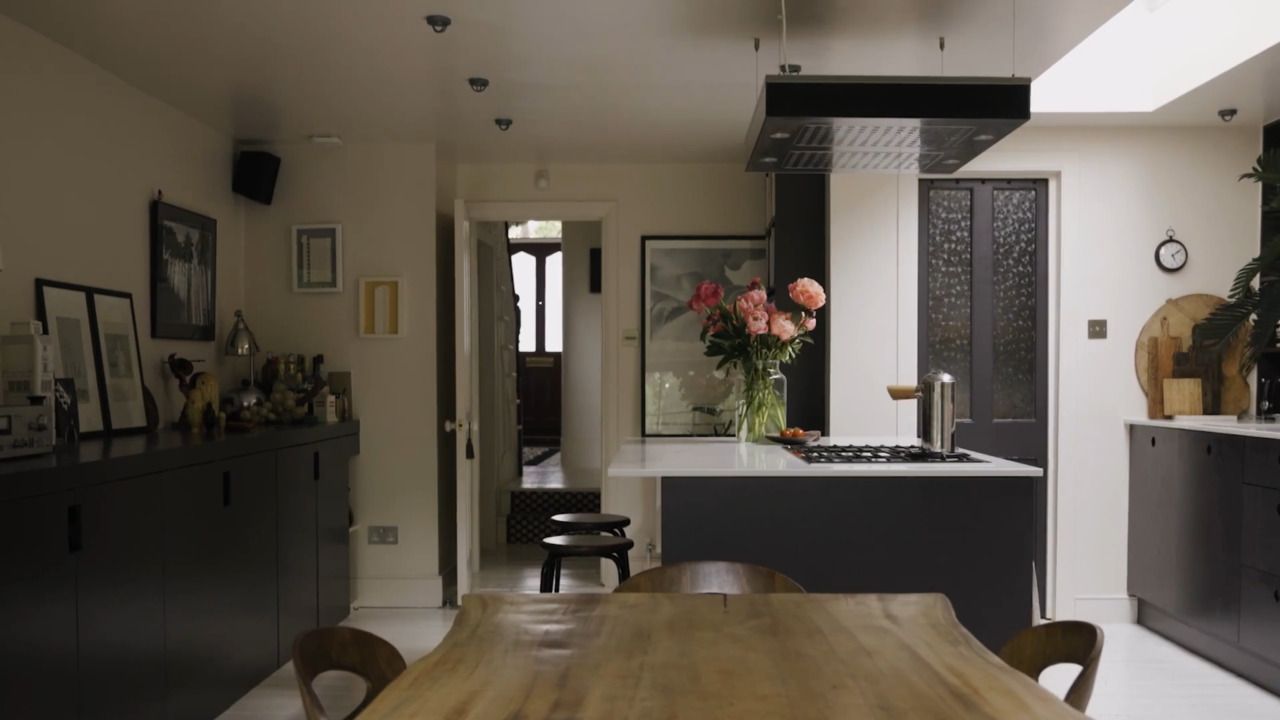
A good floor plan is a key to making your home make sense and flow effortlessly. Kate provides you with the tools to create your own floor plan and how to best plan your space. reating a floorplan You can get a deeper understanding of a space by drawing a floor plan. Kate demonstrates how to create a floorplan and empowers you to grab your pens, paper, and graph paper to start putting yours together.
Your television should be centered at eye level
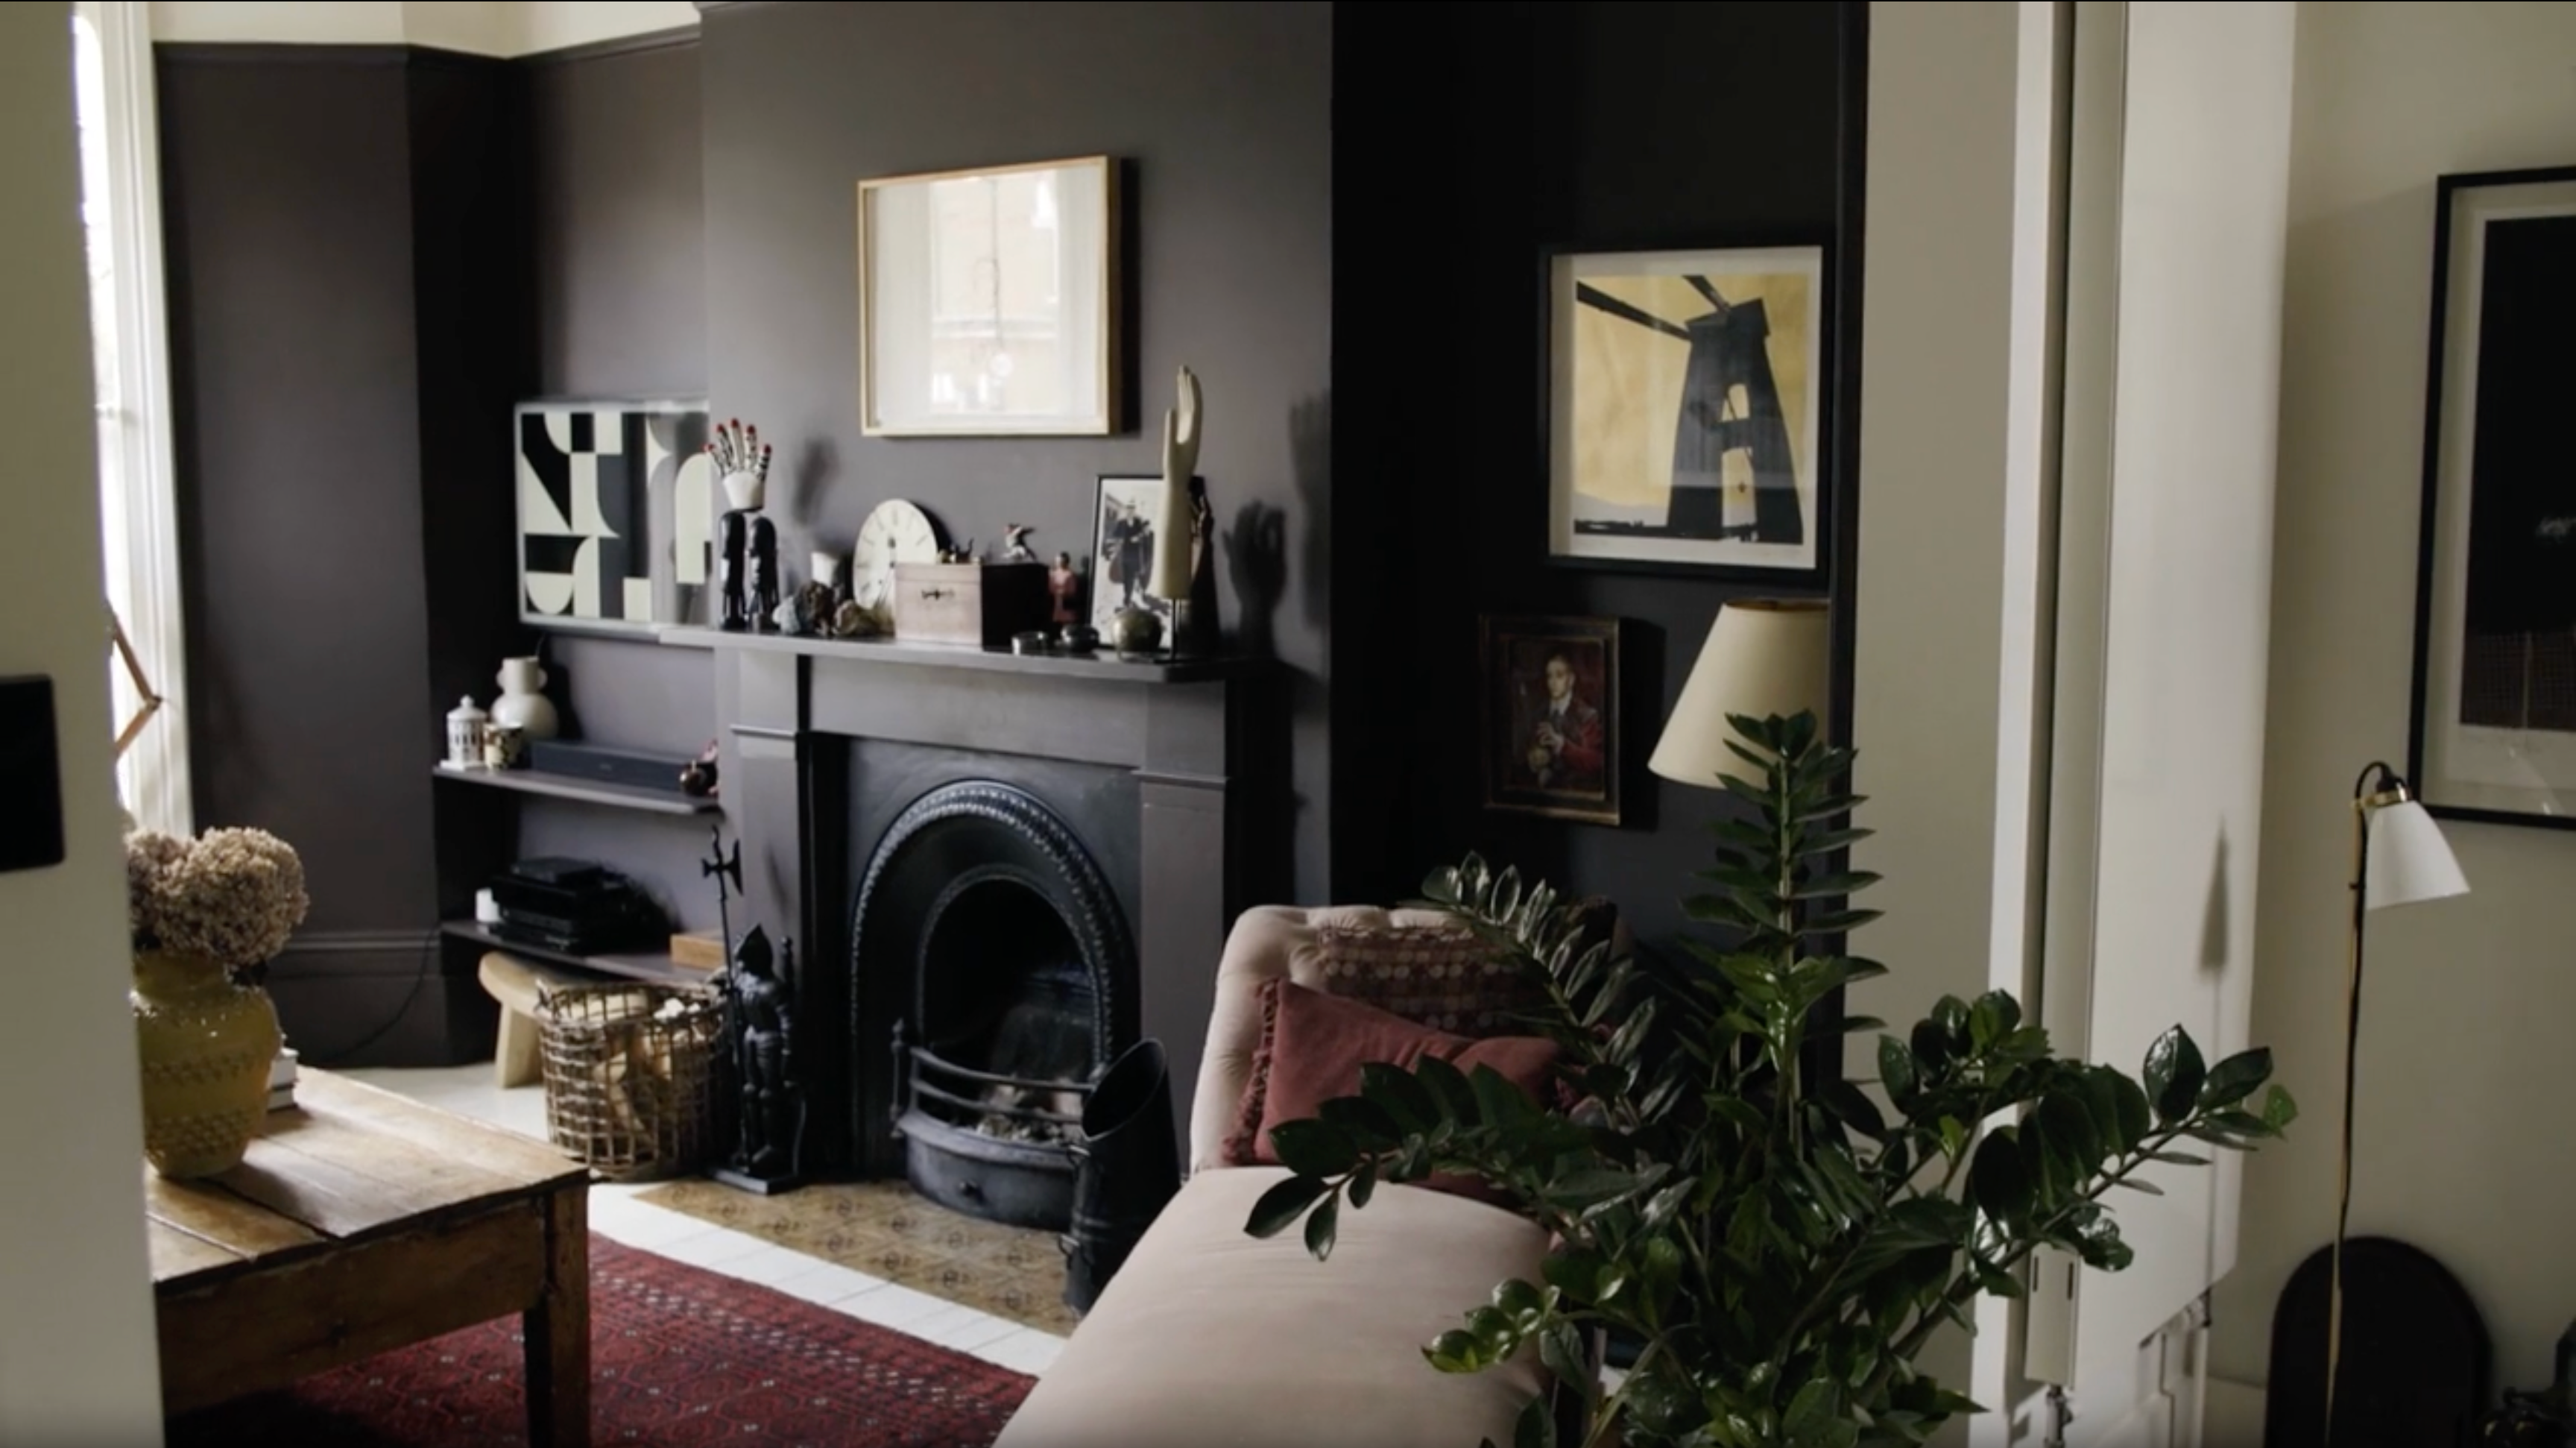
Creating a floor plan is key, especially in a sitting room as you can't do your lighting plan until you have created a floor plan, you don't know where the lighting will be. Start with a floor plan and use graph paper.
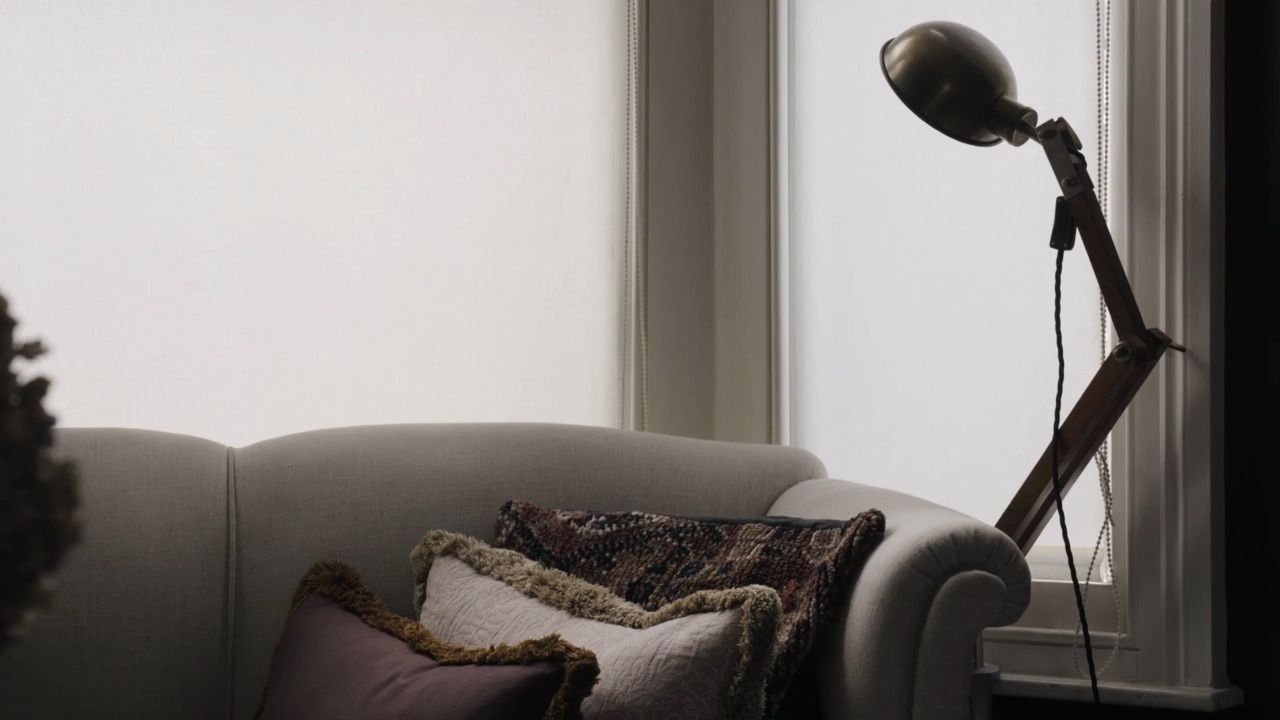
In the kitchen and bathroom, Kate mainly uses downlighters and spotlights. In other parts of the house, Kate uses lamps for ambient lighting.
Overhead lighting should be positioned about 30cm from the room's edge. Spotlights should be positioned over a door, window, or fireplace creating a soft light. Kate suggests adding a dimmer to a light switch as it creates a sense of atmosphere.
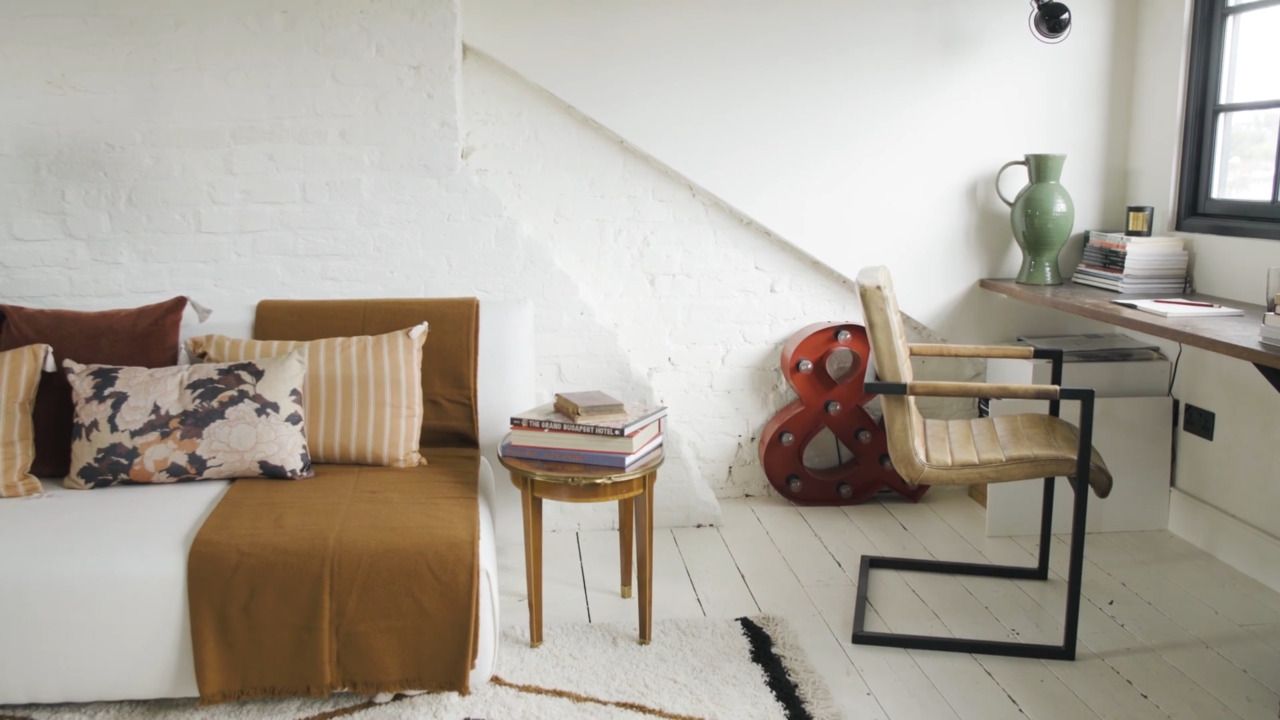
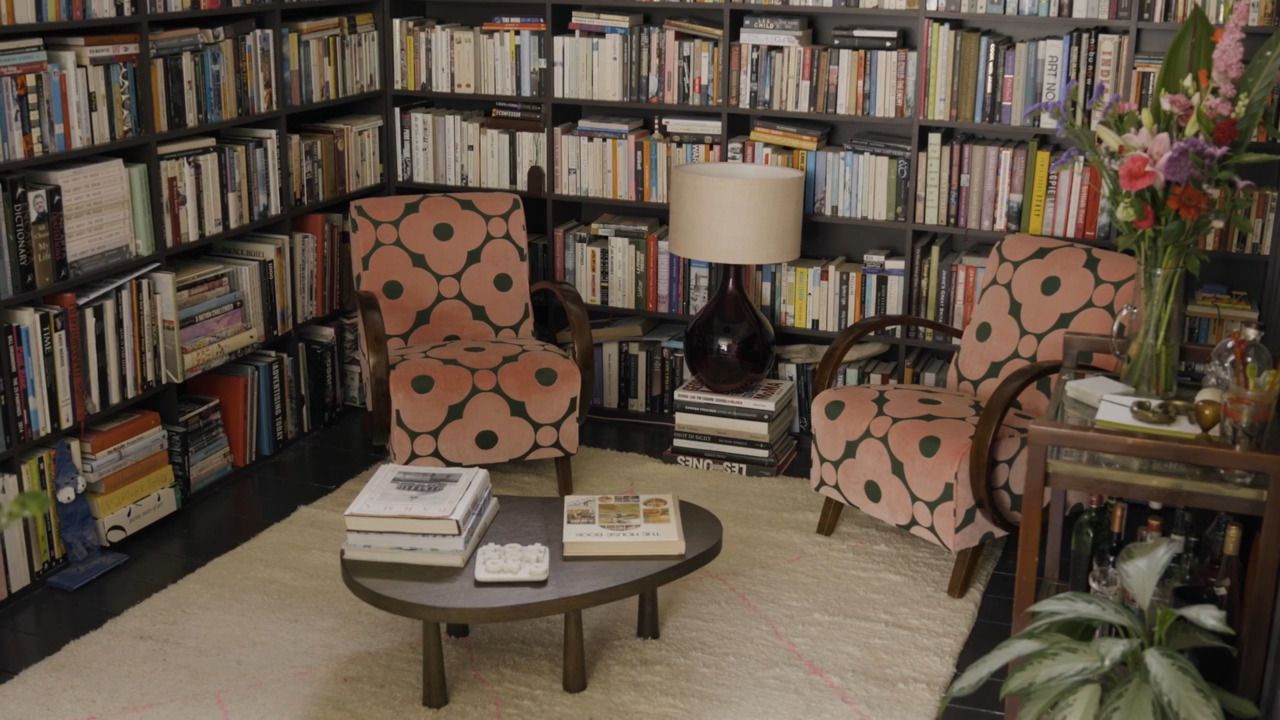
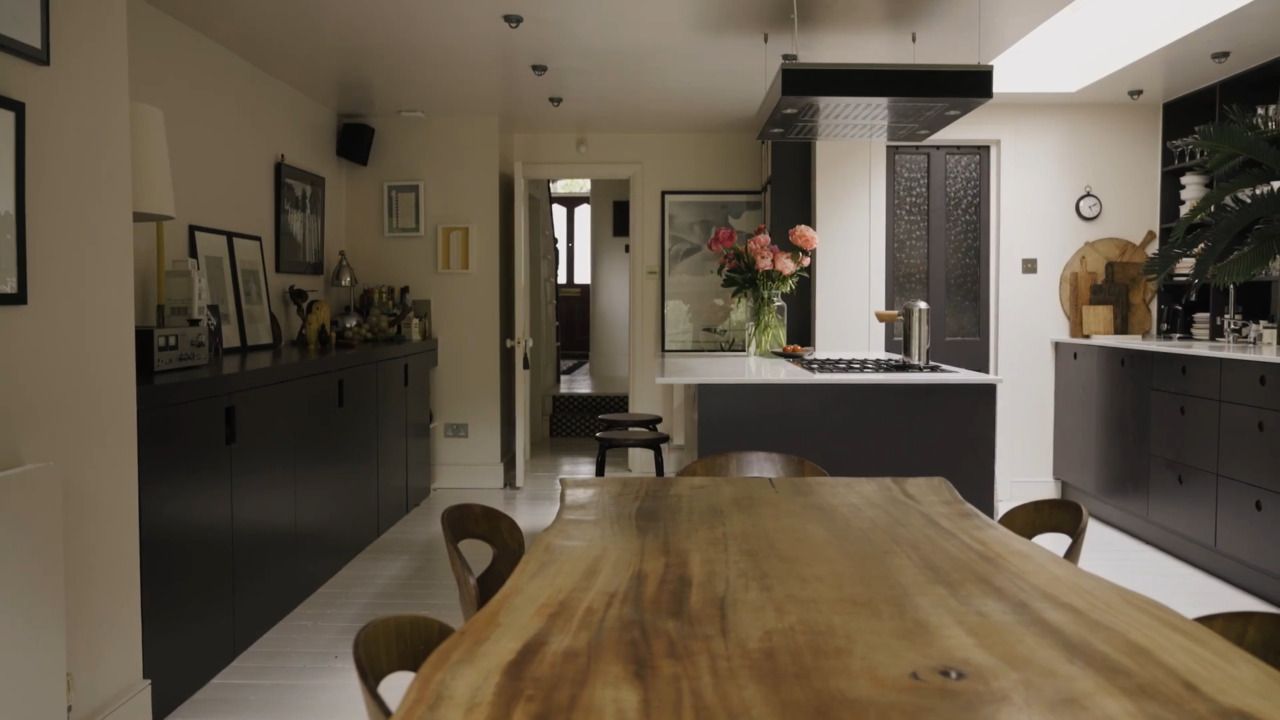
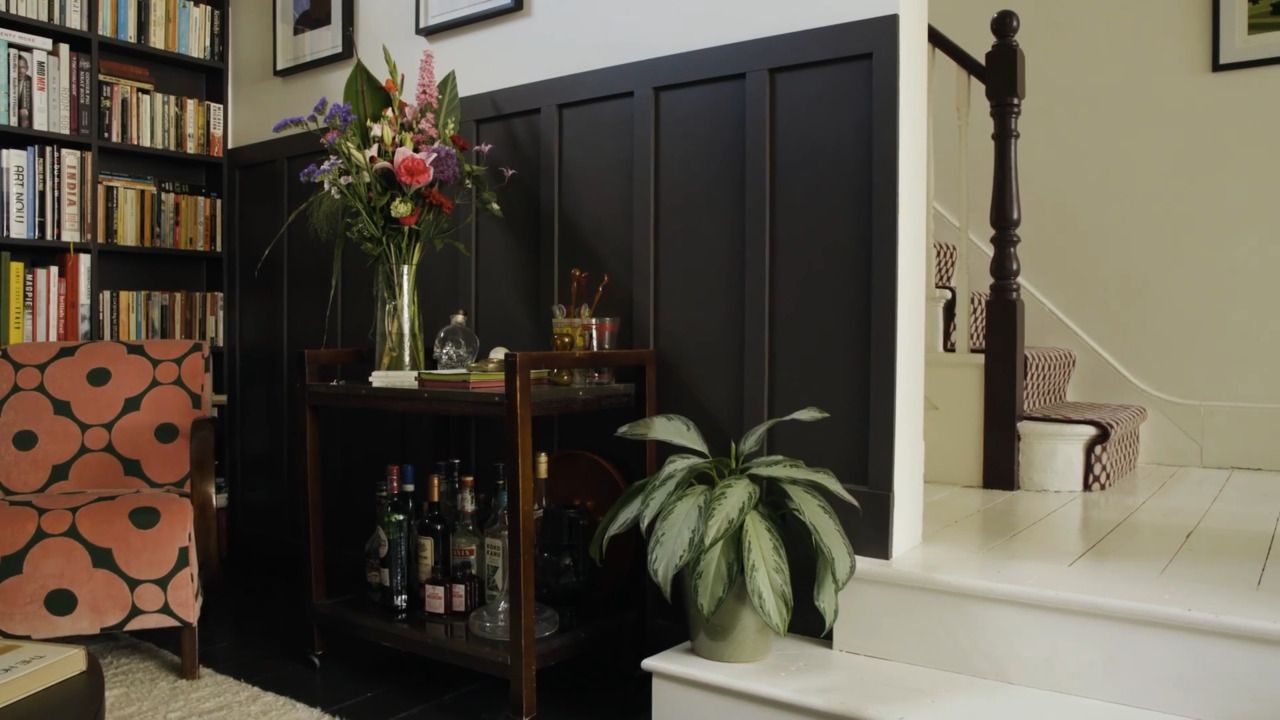
Furniture should be brought in from the edges to create a series of intimate spaces. An elegant little space can be created by placing two chairs and a table in a bay window.
Kate personally, is a fan of giving rooms a function. Broken plan living is a great hybrid.
Kate's broken plan living room is split level, which is a great way to create a different feel in a large open space. Kate's living room has two types of flooring, which is a great way of zoning the space and enabling for two functions to be accomplished in one space.
A dumping drawer is specifically designed for hiding mess like keys. Try and find space for your own dumping drawer.
In many schemes, the doors are overlooked. Kate has a secret door with skirting that runs across it. This folding bathroom door was made by halving the door and hinge it.
Kate is a big fan of sliding barn doors. They are great for small spaces and also look really striking. A sliding barn door can, of course, be installed by a professional, but equally is a great DIY weekend project.
For sliding barn doors to function properly, there must be plenty of wall space next to their opening for them to slide completely open. There should be about one inch of overhang on both sides of the door and about two inches at the top of the door.
Installing a barn door begins with the installation of the metal track. You should put the backer board under the track, leaving a 1-inch space between it and the wall.
After locating and marking the wall studs, drill pre-drilled holes in the backer board to attach the screws. Together with your partner, screw one end of the board to the studs using wood screws. There should be a slight gap between the surface of the wood and the screw heads. Screw the remaining wood screws into the board, ensuring it remains level. Using wood filler, cover screw heads and paint. Concrete walls don't require a backer board.
Usually, barn door hardware kits will contain masonry anchors and lag bolts. If you are not using a backer board and are installing the metal track directly onto a concrete wall, level the track where you want it to be. With the provided hex key, tighten the set screw or nut.
Before hanging the door, attach all the hardware, whether you are using the complete kit or purchasing the door separately. The barn door kit may include templates for locating the hardware on the door with pre-drilled holes.
Lift the door and place the wheels on the metal track. It is important to test the door to make sure it operates smoothly. You can attach anti-jump discs to the roller wheels so that your door is held in place if they ever jump off the tracks. Last but not least, test the door to ensure that it opens and closes smoothly.
A floor plan is one of the first things Kate does. You're able to get down to the nitty-gritty this way. Kate usually makes each square on her grid paper represent 20 cm. If you sit down at a desk or on a chair, you should comfortably allow one meter for you to stand up and walk away. Kate cuts out furniture onto small sheets of paper. Planning your lighting effectively begins with a detailed furniture plan. This strategy will allow you to efficiently design your lighting.
Mark the corner of a room so when you take the tracing paper off, you are still in the right place.
A drawing scaled at 1:10 means that an object is 10 times smaller than it would be at a 1:1 scale in real life. You might also say, 1 unit in the drawing equals 10 units in real life. The scale of the drawing should be established first, and a scale ruler should be used to establish the scale. This will enable you to read the measurements correctly.
Start by measuring the size of your room and drawing its outline on the printable grid. An imperial and metric version has been included.
Using our pre-formatted furniture (bedrooms, and living room furniture) will enable you to use the furniture you already have in your room.
Get the full workbook, video lessons, and more with a Create Academy subscription.
Subscribe to access the full workbookAlready a member? Sign in to watch
491 reviews
Read moreCreate Academy has been such a great resource. I'm in the middle of renovating a bungalow with a very large garden and the courses have offered a wealth of inform...
Harvey
Jun 10, 2026
Absolutely love Create Academy! The instructors are extremely informative, and it is beautifully filmed. Create Academy is great value for money and plan on renew...
SG
May 31, 2026
Butter's creativity is stunning! Her ability to incorporate brilliance in small gardens is magical!
Carla
May 30, 2026
The best adventure. I like all the courses, but my favorite are both Rita Konig interior design courses and Anna Jones. Excellent!
Karolina Kluczewska
May 20, 2026
Create Academy has been such a great resource. I'm in the middle of renovating a bungalow with a very large garden and the courses have offered a wealth of information to dive into and explore new ideas. I'm...
Harvey
Jun 10, 2026
Absolutely love Create Academy! The instructors are extremely informative, and it is beautifully filmed. Create Academy is great value for money and plan on renewing my subscription yearly because there are ...
SG
May 31, 2026
Butter's creativity is stunning! Her ability to incorporate brilliance in small gardens is magical!
Carla
May 30, 2026

Your Instructor
Design expert, journalist, best-selling author. Creator of UK's #1 interiors blog and podcast.
Kate Watson-Smyth is an award-winning design journalist and author of the best-selling Mad About The House book series. She has spent the last 20 years writing extensively on interiors and design for publications including the Financial Times, The Independent and The Sunday Telegraph. Her home has been featured in The Wall Street Journal, Elle Decoration and Livingetc, and her acclaimed website, MadAboutTheHouse.com, is officially voted the UK’s No1 interiors blog.

Access to all courses


