


Very good tutorial from a professional garden...
I have subscribed to access all the courses so have watched one on interior design and this one with Butter Wakefield who specialises in small garden design. She ...
Louise Brown
Apr 10, 2026
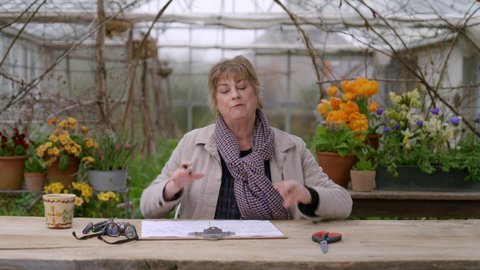
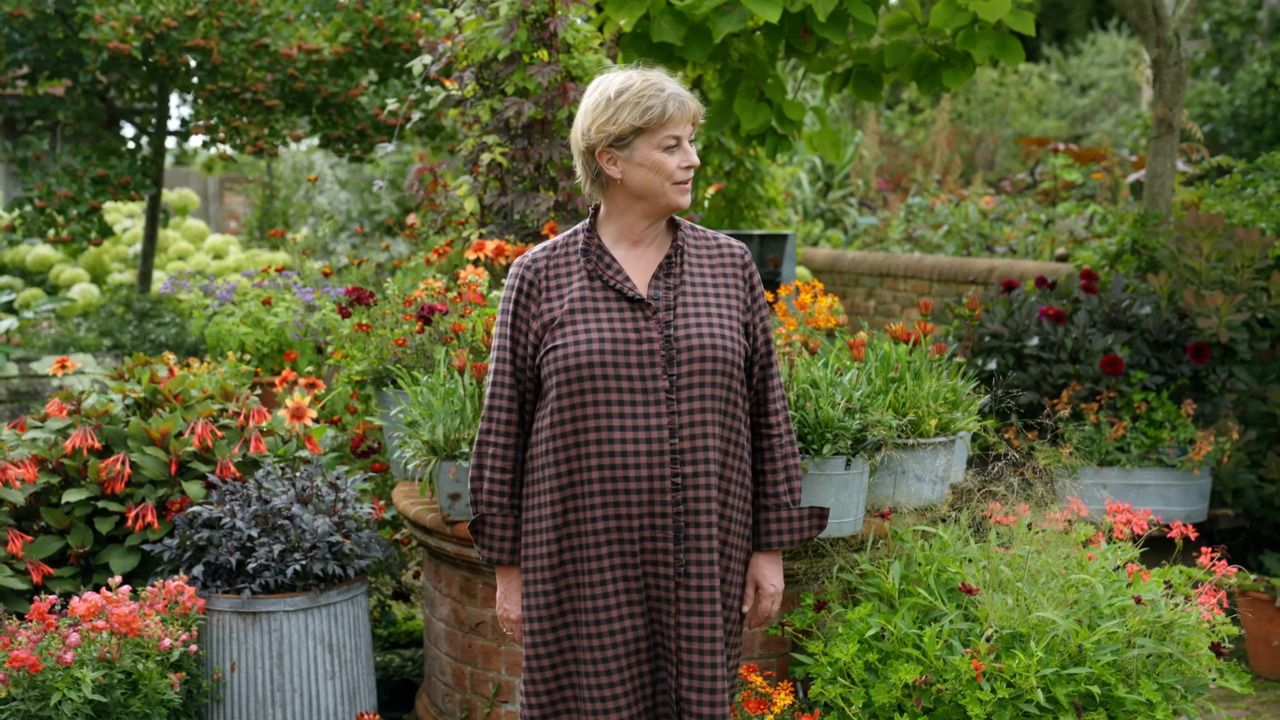
with SARAH RAVEN — Acclaimed English gardener, cook and writer. Host of the UK’s No.1 gardening podcast.
Lesson 13 of 25

Subscribe to watch
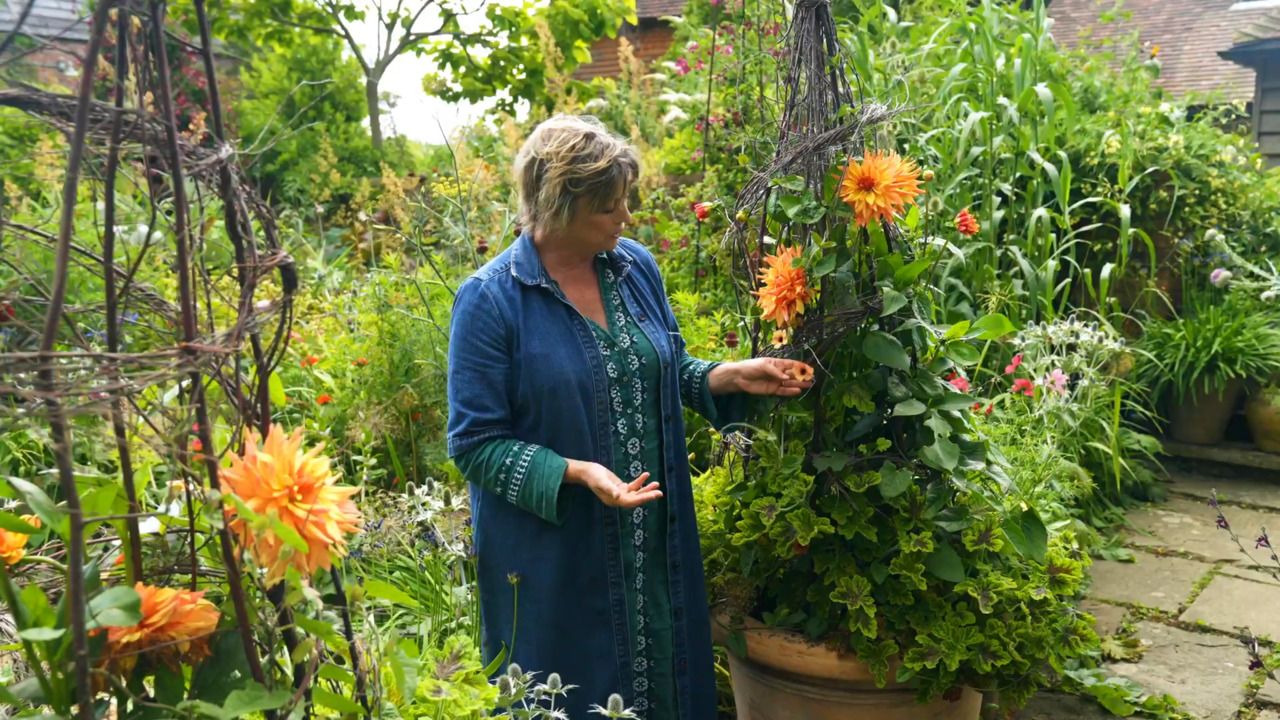
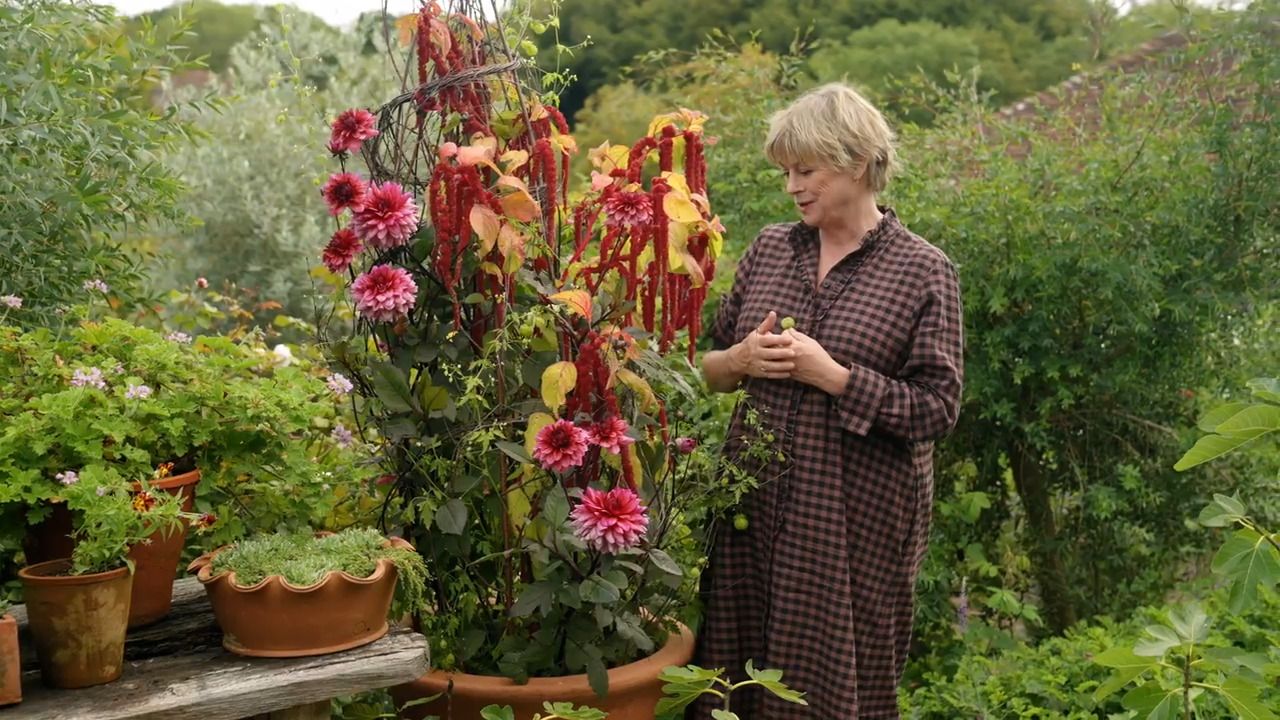
Sarah shows you how to build and support a summer whopper pot using a recipe featuring dahlias, thunbergia and pelargoniums.
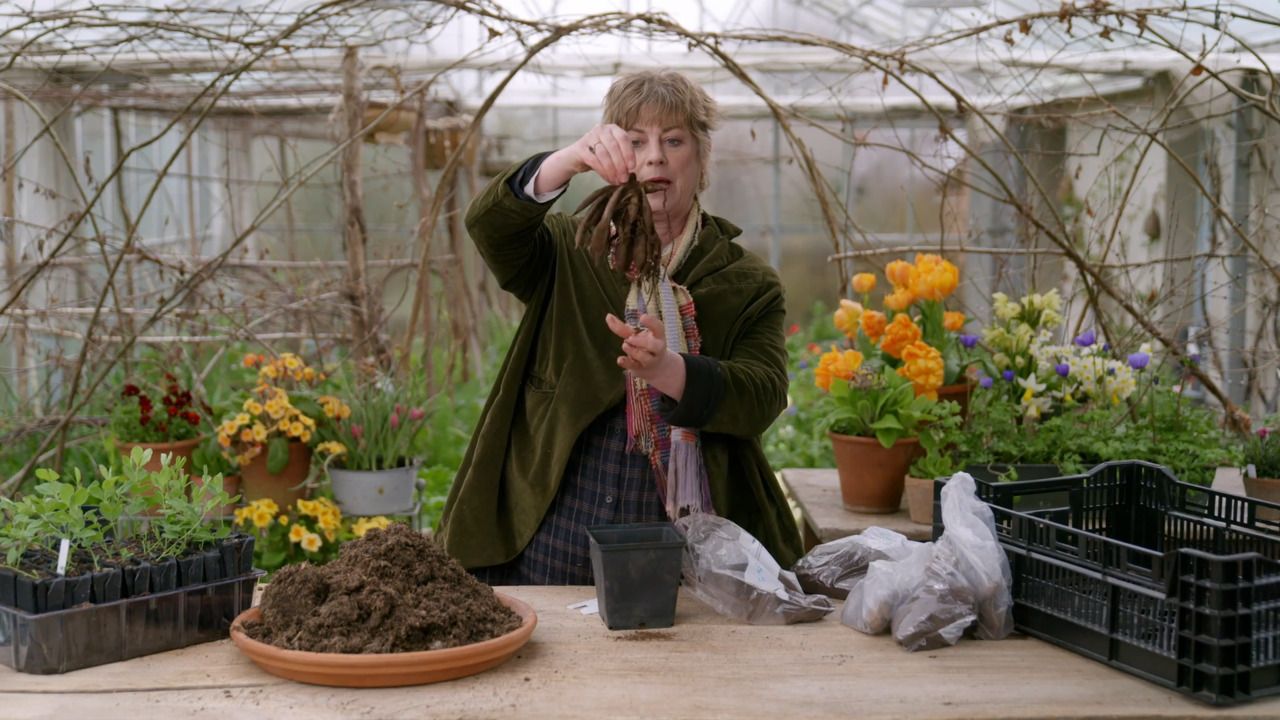
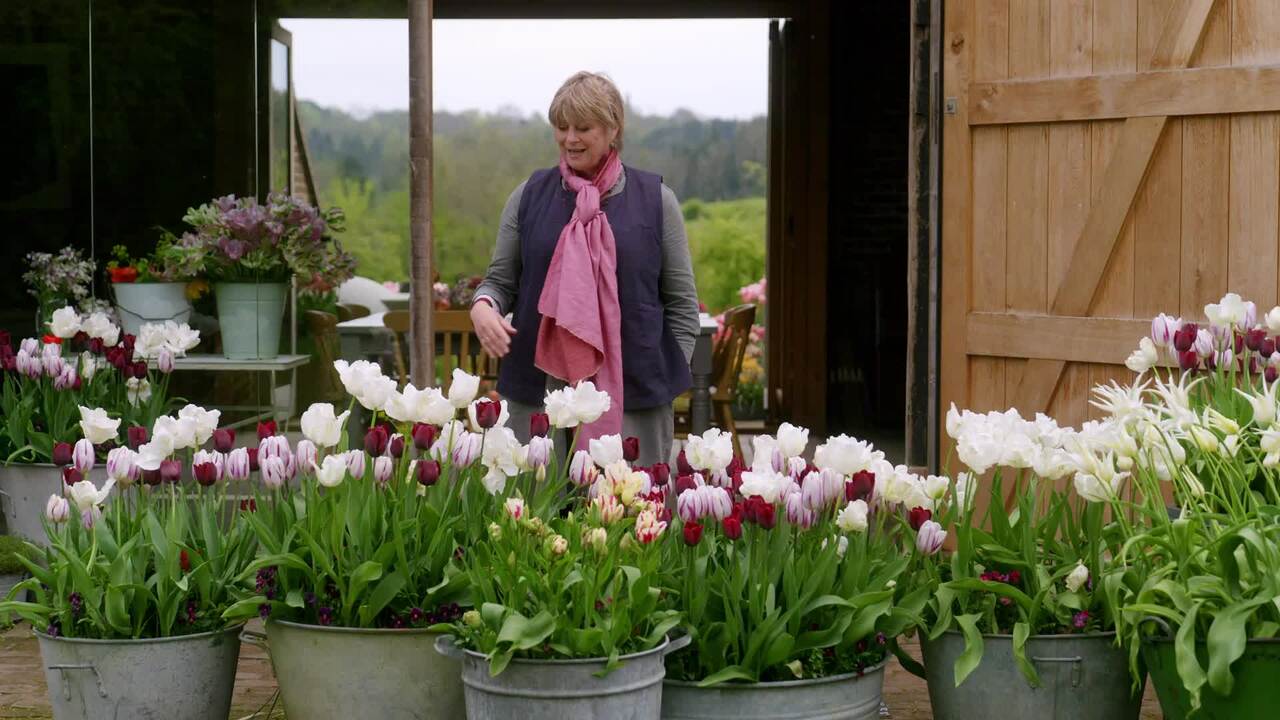
In this lesson, I'll be showing you how to prepare your summer whopper pots.
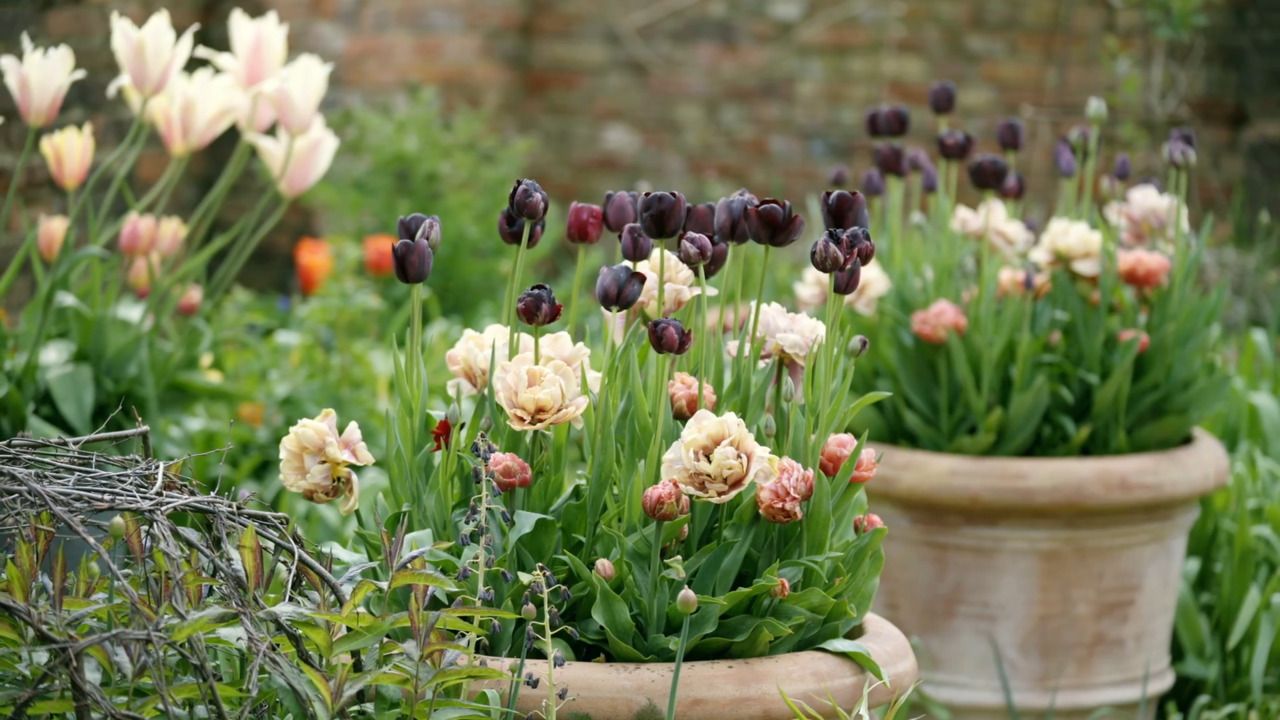
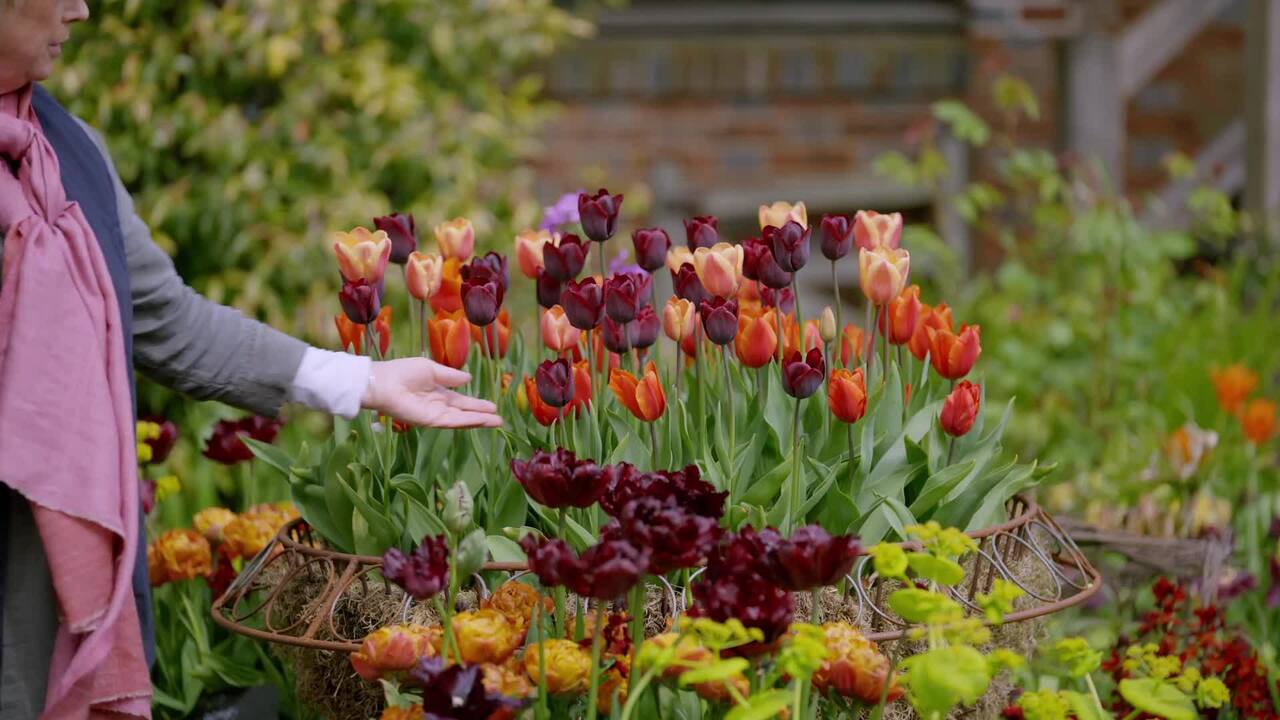
This changeover, from spring to summer takes place in mid-May and begins with removing all the tulip bulbs from the pots. The following steps can be repeated for a wide range of summer pot recipes.
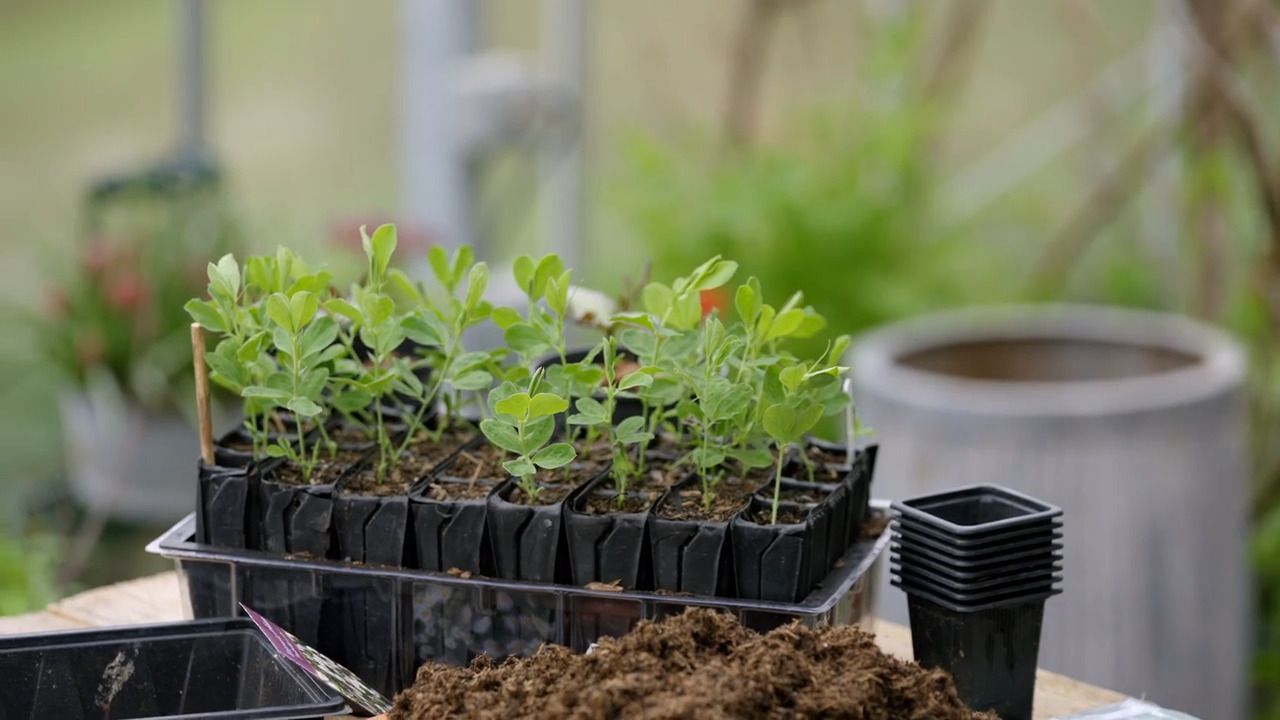
It's then time to bring out the tender plants, ready for planting. These plants will take us through to late autumn.
As there was tulip blight in the whopper pots, I washed them very carefully with jeyes fluid, inside and out, to eliminate all traces of the fungal spores.
Tulip blight, sometimes known as tulip fire, is a fungal disease that affects the leaves, stems and petals of tulips. Tulip blight can affect plants from late winter until summer.
The symptoms of tulip blight include:
There is no chemical control for tulip blight and the disease can only be controlled through careful cleaning if the tulips have been planted in pots. Tulips in the ground should be removed once blight is discovered and should not be planted in the same space for three to five years.
To begin, add crocks to the bottom of your whopper pot to aid drainage. I have used a mixture of broken plastic pots, polystyrene and packing paper which we have collected from deliveries.
These are put into the bottom of the pot to a depth of around 30 cm. By using these items, your pots will be lighter than if you had used terracotta crocks, and it will also save you money on compost as you won't be filling to the bottom of the pot.
Once your crocks are in, cover them with a layer of water-permeable fleece. This will ensure the compost doesn't fall through into the bottom layer.
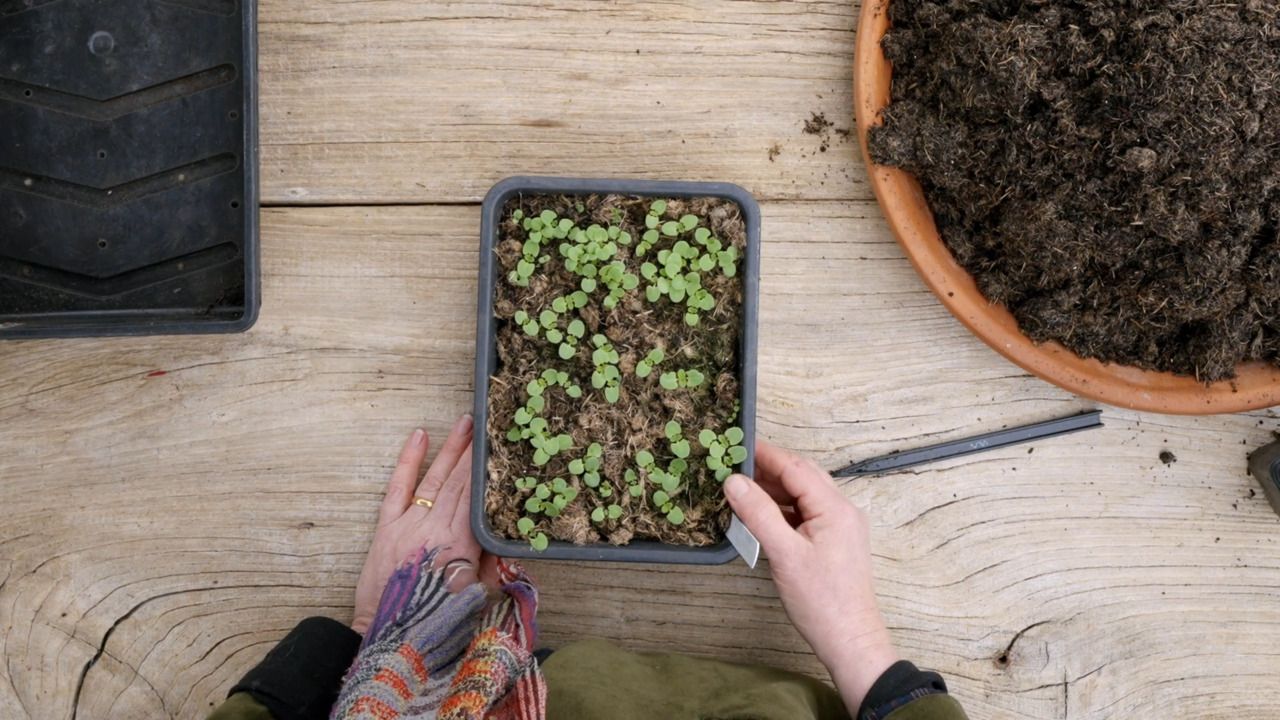
It's now time to add your compost. We make our own compost here using layers of the following:
You need to aim for a carbon and nitrogen balance in your compost heap that is built up in layers, as this will bring aeration into your heap and aid with decomposition.
Add the compost to your whopper pot until it is about two-thirds full.
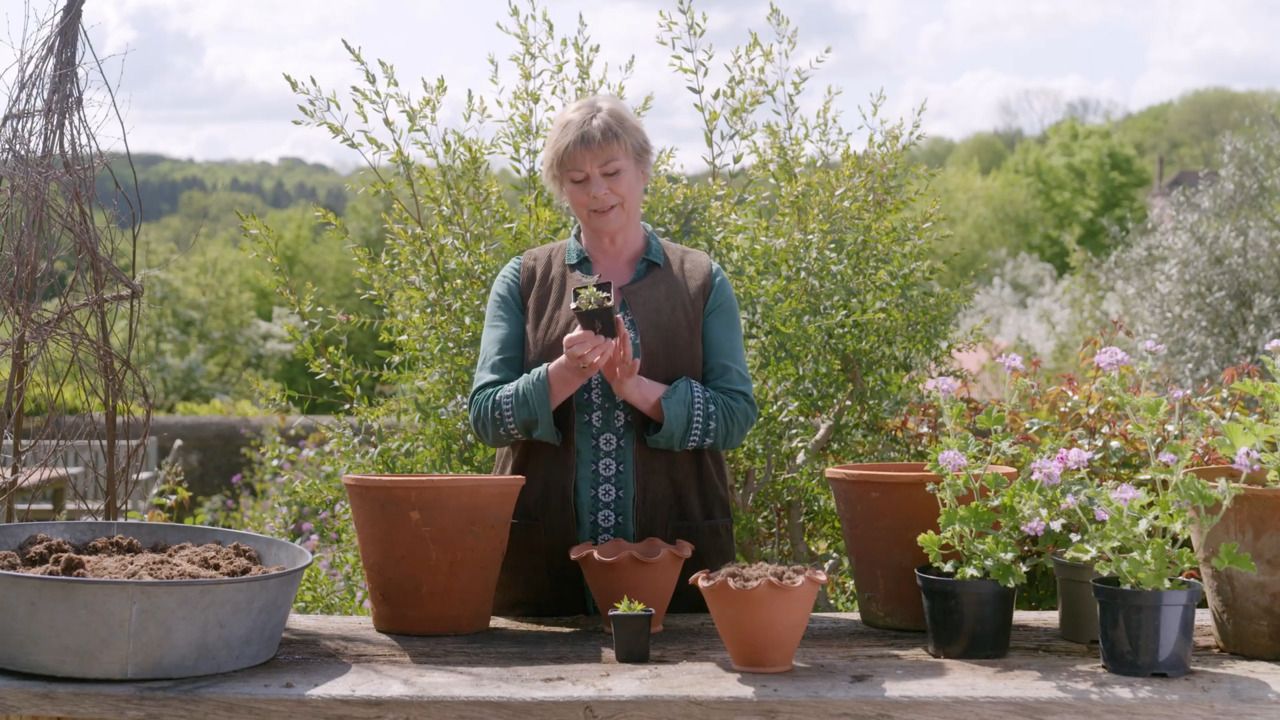
When I am ready to plant up my whopper pot, I leave all of the plants to soak in a wheelbarrow of water for around five minutes. This will give them moist root balls and help them to flourish once they are planted.
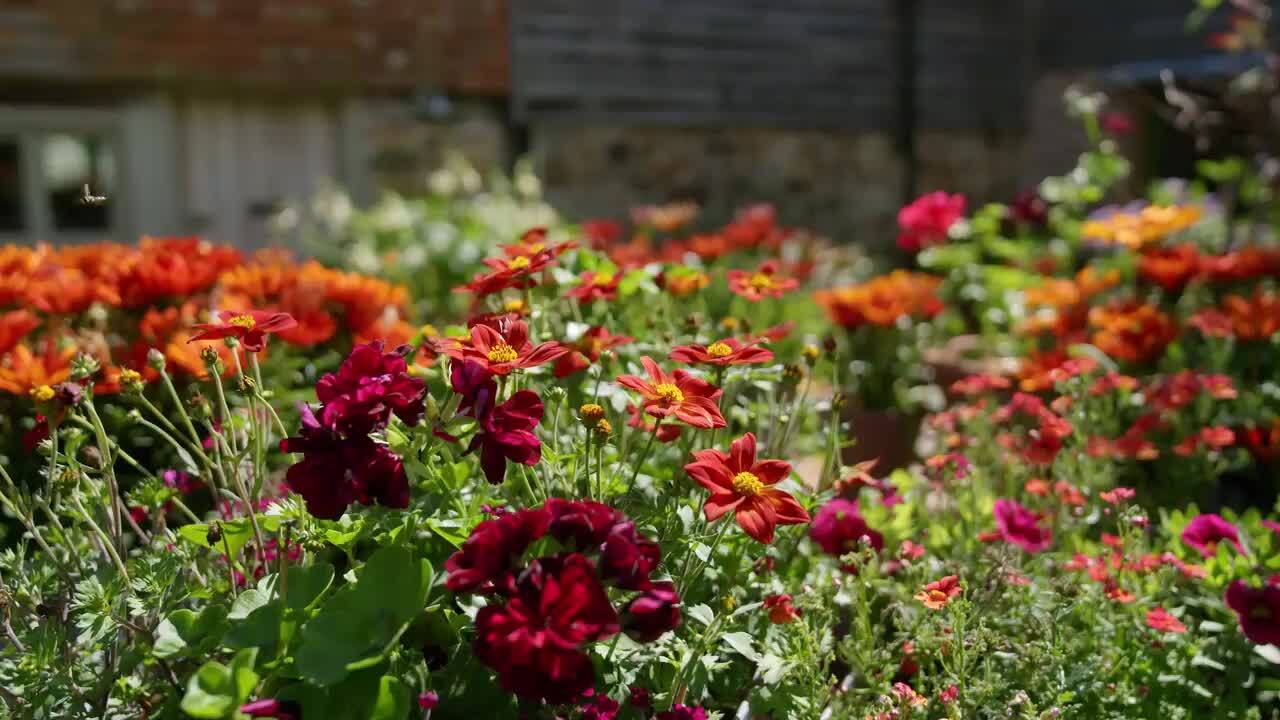
Thriller: Dahlia 'French Can-can'
Pillar: Thunbergia 'African Sunset'
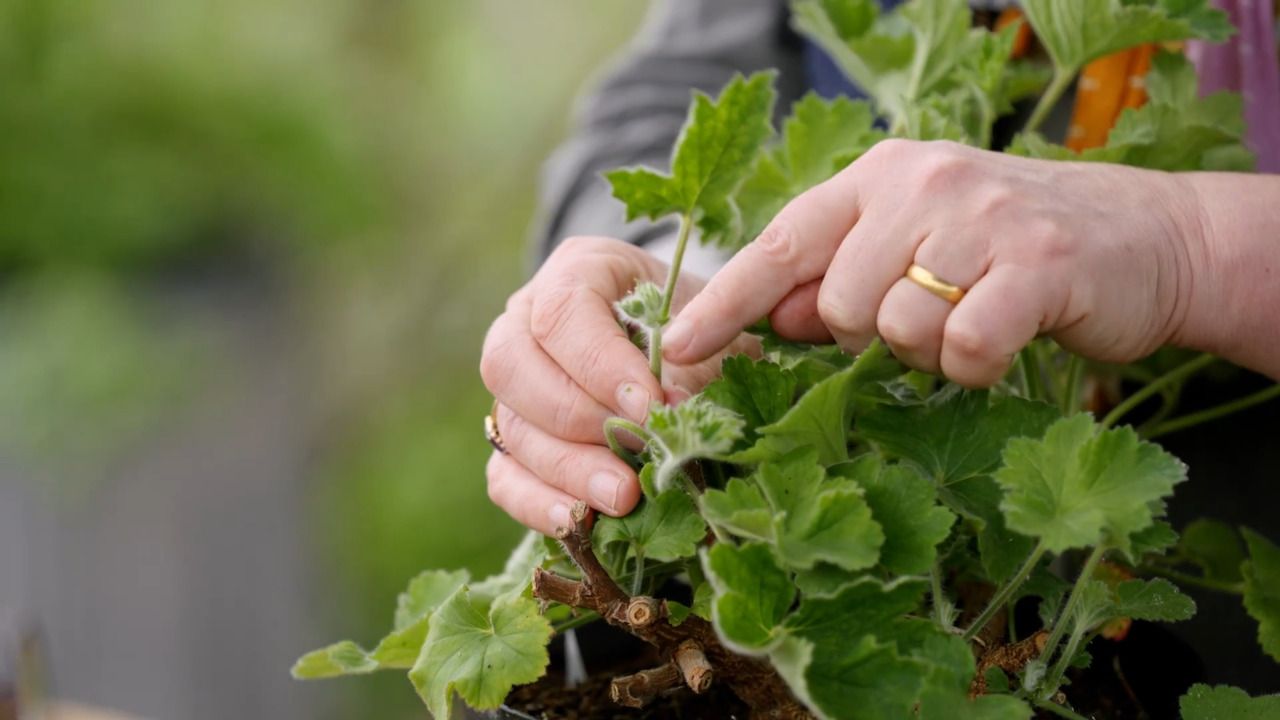
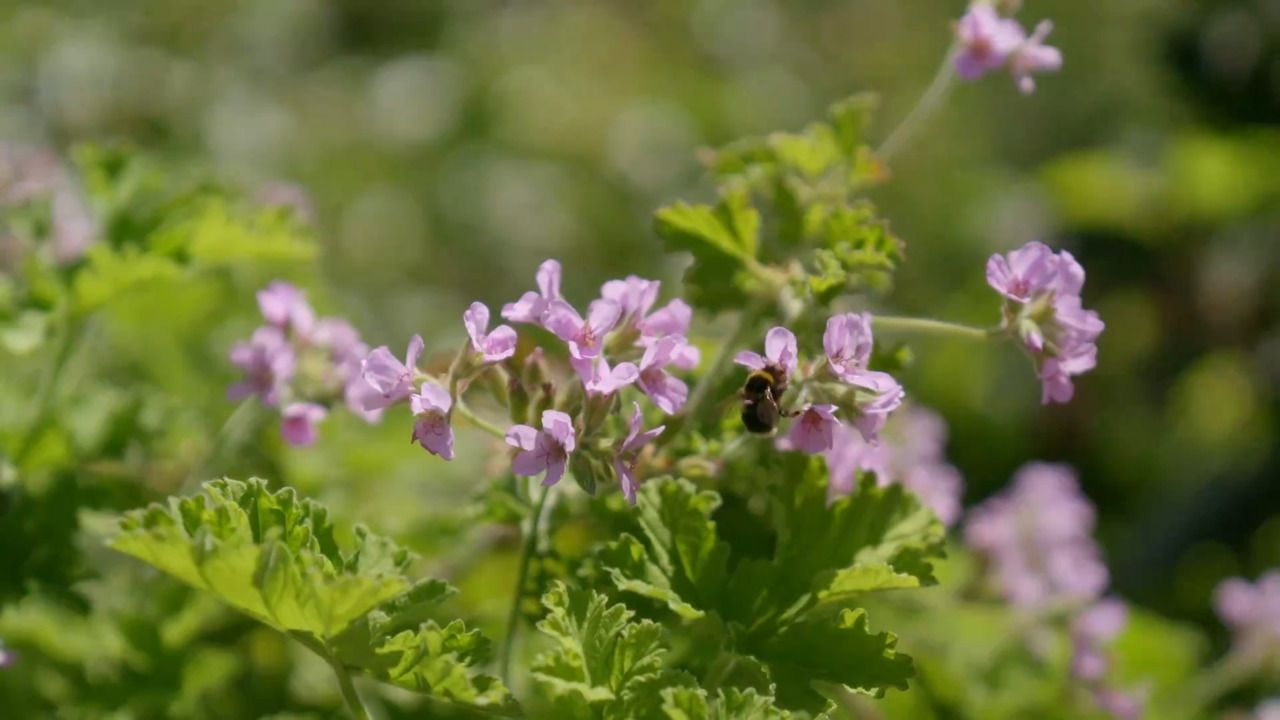
Spiller and filler: Pelargonium 'Chocolate Peppermint'
Once your pot is two-thirds full of homemade compost, fill the remainder of your pot with bagged, peat-free compost.
Our compost heap might not have been hot enough to kill off any weed seeds it might contain, so by using sterile bagged compost for the top layer, we are hopefully ensuring that any potential weed seeds below won't have the energy to reach the surface.
Our homemade compost is also a lot richer, so it's great to have this at the bottom for the roots to grow into.
Fill your pot to around 10 cm below the rim, it is now ready to plant into.
I use birch to create my teepee frames, which will be 1-2 metres in height. This adds architectural interest, giving the garden some structure while the plants develop below.
The pot I am using is around 75 cm in diameter, so I am going to be using six silver birch branches for the uprights. Silver birch is very pliable if you pick it before it starts to produce leaves. The best time to do this is between January and March.
Place your birch branches around the edges of your pot, pushing them down into the compost until they are secure.
Next, take a length of flexi-tie and tie the six branches together at as high a spot as you can reach.
Once all of your branches are secured together it's time to start weaving the twigs around the teepee frame. Start by grabbing one group of twigs and then following the frame round, adding more as you go and then twisting them together.
Gradually move up your structure so that you are creating a sort of helter-skelter shape. Repeat this a few times until all the twigs are secure, tucking in any loose bits as you go.
Now it's time to move on to the planting. Once your plants have soaked for at least five minutes, plant your dahlias in the middle of your whopper pot.
Create a hole in the middle of the compost and push the excess to one side of your pot. Water the hole and then remove the dahlia from its pot and pop it into the hole without burying it too deeply.
Plant your pelargoniums around the edge of the pot at a slight angle as you want them to spill over the edges of the pot.
Next, plant the thunbergia close to the base of the branches of your climbing frame.
Once all of your plants are in, water the whole pot to displace any air pockets that may be in the compost. If you feel that the compost level is too low at this point, add some more and firm and water it in.
Dahlias are quite thirsty and hungry plants. The compost I've used will have enough nutrients in it to last for around 4-5 weeks but after that, I will start to feed them with a liquid seaweed feed, which I will apply once a week at the end of a watering session.
I generally water our whopper pots three times a week on Mondays, Wednesdays and Fridays.
Get the full workbook, video lessons, and more with a Create Academy subscription.
Subscribe to access the full workbookAlready a member? Sign in to watch
437 reviews
Read moreI have subscribed to access all the courses so have watched one on interior design and this one with Butter Wakefield who specialises in small garden design. She ...
Louise Brown
Apr 10, 2026
I love CreateAcademy. I came in for the gardening and floristry courses, but am also watching an interior design one at present. And the photography course is an ...
Wellesley
Apr 1, 2026
What a great investment, I have learned such a lot from the first three courses. My evenings have gone from not being able to find anything that captured my imagi...
sojojo
Mar 30, 2026
I loved this course with Amanda Lindroth! Her approach to decorating is so relaxed and she makes it feel attainable. She explains the reasons behind her decisions...
Elizabeth
Mar 27, 2026
I have subscribed to access all the courses so have watched one on interior design and this one with Butter Wakefield who specialises in small garden design. She has a lovely personality and comes across as ...
Louise Brown
Apr 10, 2026
I love CreateAcademy. I came in for the gardening and floristry courses, but am also watching an interior design one at present. And the photography course is an absolute must, best I've ever done.
Wellesley
Apr 1, 2026
What a great investment, I have learned such a lot from the first three courses. My evenings have gone from not being able to find anything that captured my imagination on TV to learning and expanding my kno...
sojojo
Mar 30, 2026
Your Instructor
Acclaimed English gardener, cook and writer. Host of the UK’s No.1 gardening podcast.
Sarah Raven is a renowned English gardener, cook and award-winning author. She is an inspirational and passionate teacher - combining her decades of experience with her scientific approach to growing (she is medically trained) - and has been running cooking, flower arranging and gardening courses at Perch Hill, her 90-acre farm in East Sussex, and around the UK for over 30 years. She has written for a host of major publications - including House & Garden, The Saturday Telegraph, Country Living, Gardens Illustrated, Gardeners’ World Magazine and The English Garden - and presented on TV shows including Gardeners' World and BBC’s Great British Garden Revival. Her gardening and cookery books have won numerous awards including ‘Best Specialist Gardening Book’ for The Cutting Garden and ‘Cookery Book of the Year’ for Sarah Raven's Garden Cookbook. Sarah is married to the writer Adam Nicolson, Vita Sackville-West's grandson. She also has an online shop that is a brilliant destination for plants, bulbs, seeds, tools and all things garden.

Access to all courses


