













Interior and exterior confidence
Create Academy has been such a great resource. I'm in the middle of renovating a bungalow with a very large garden and the courses have offered a wealth of inform...
Harvey
Jun 10, 2026

Subscribe to watch
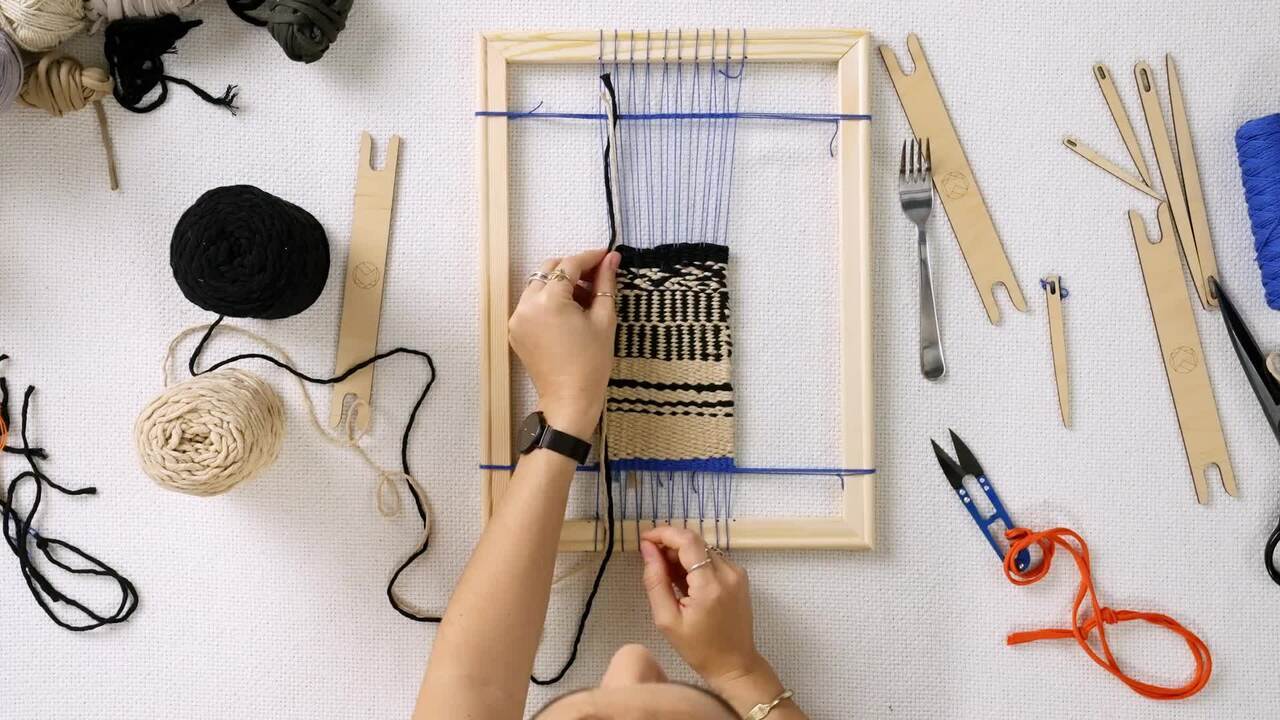
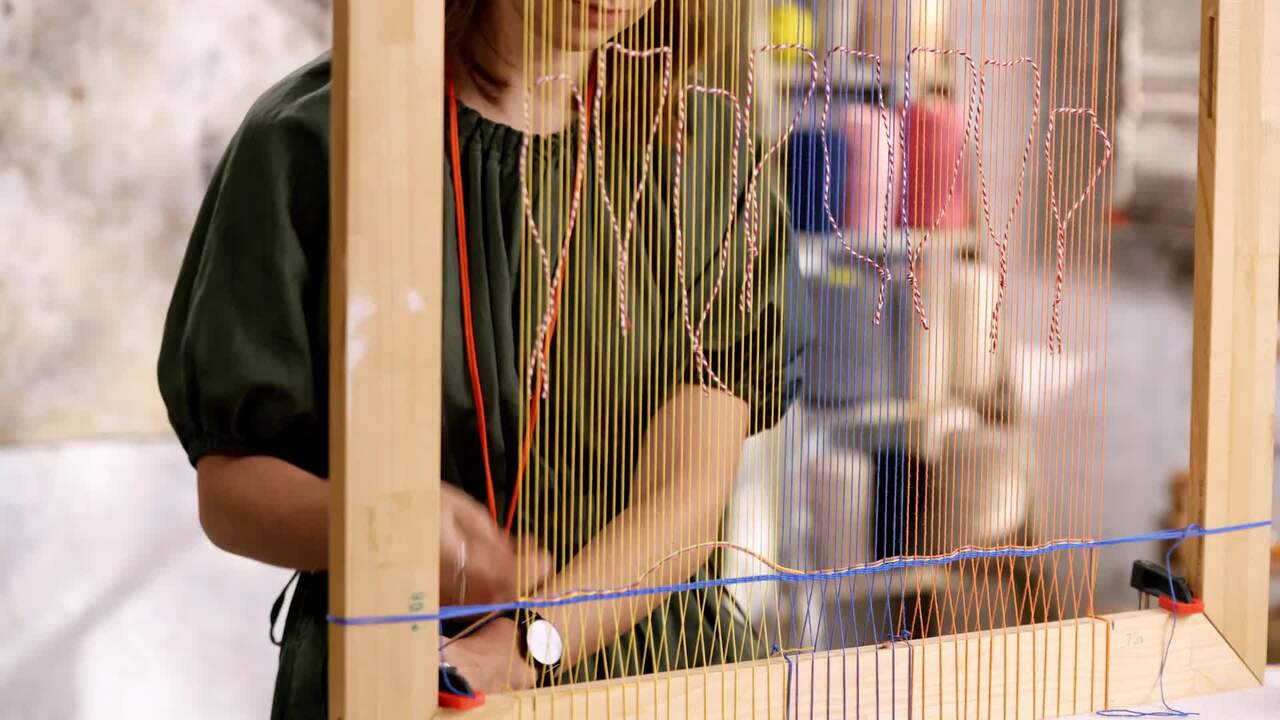
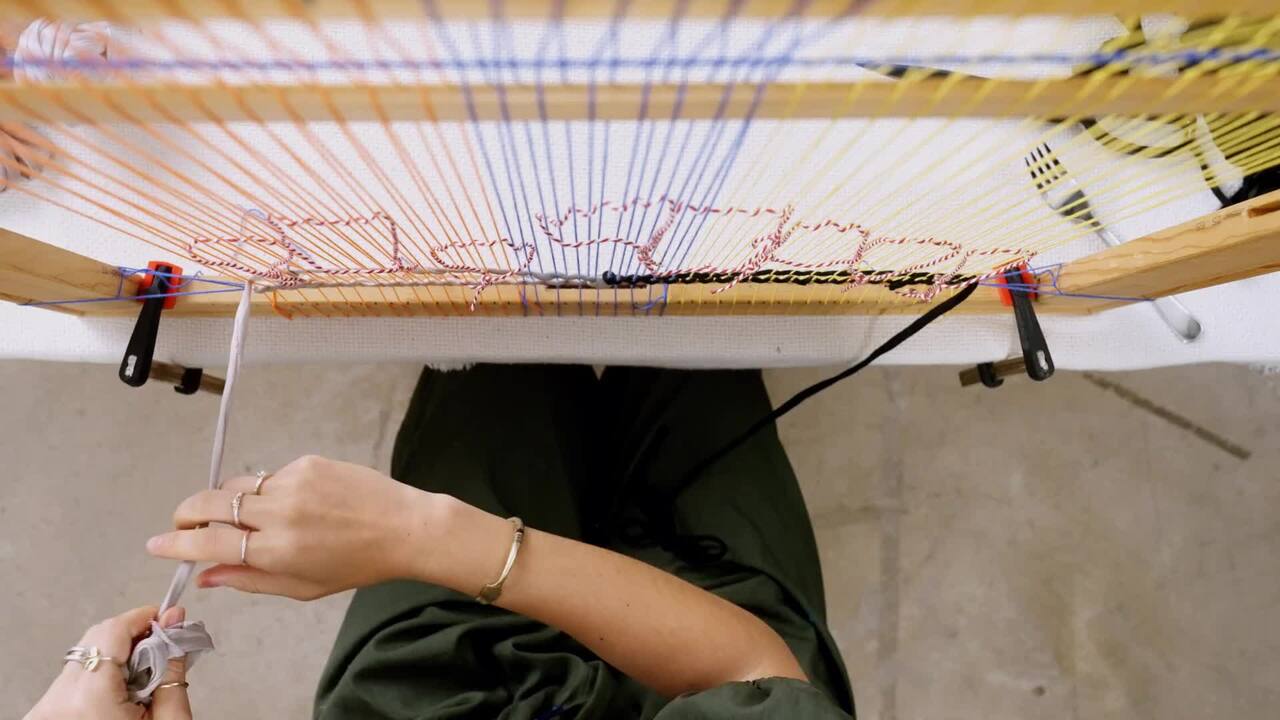
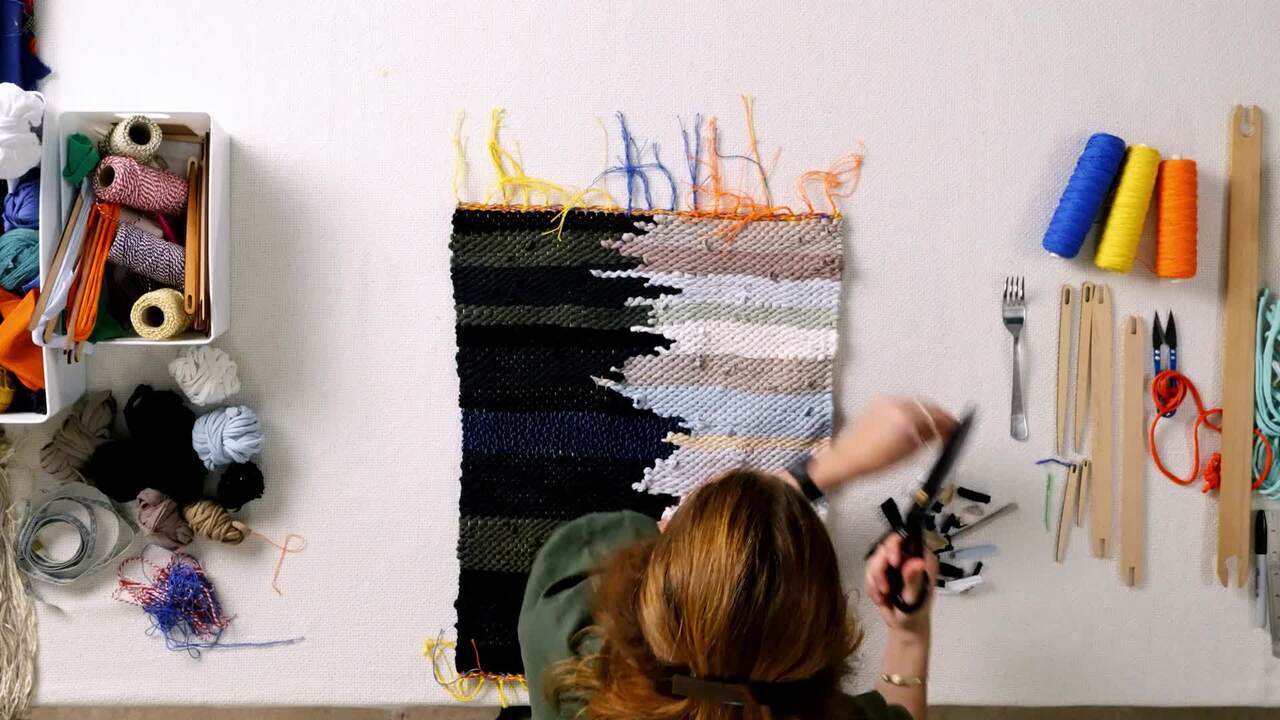
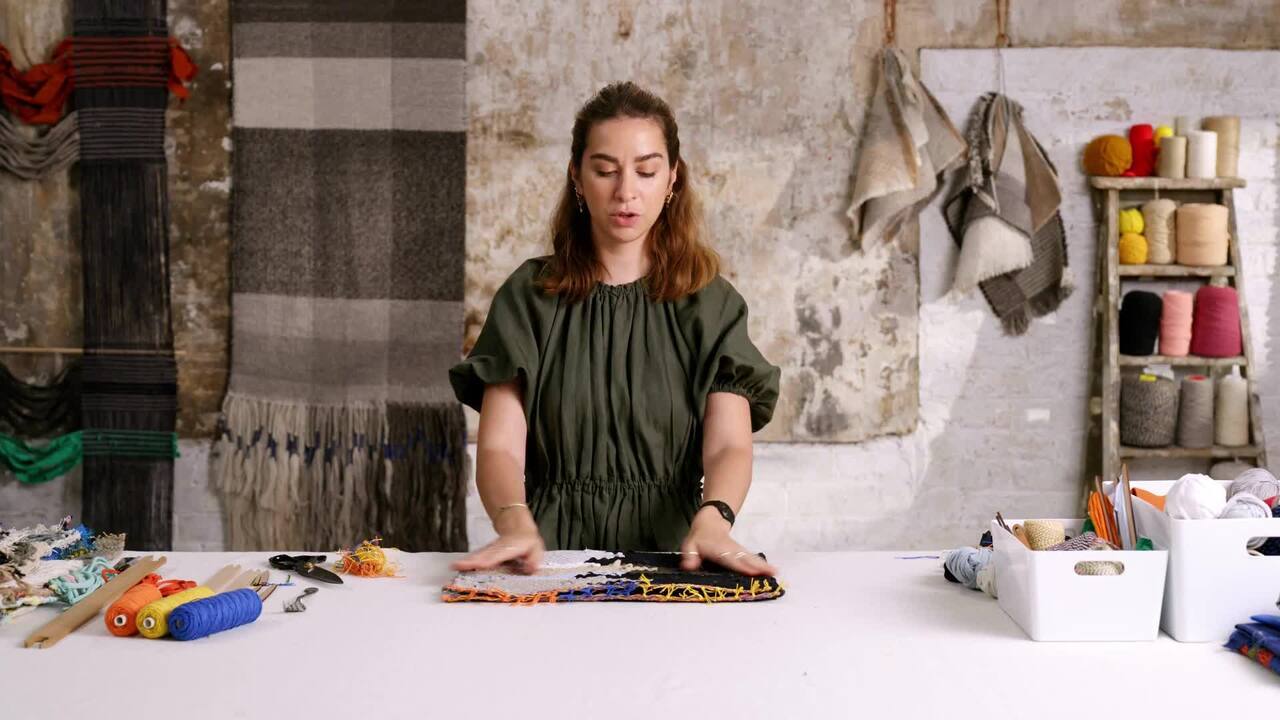
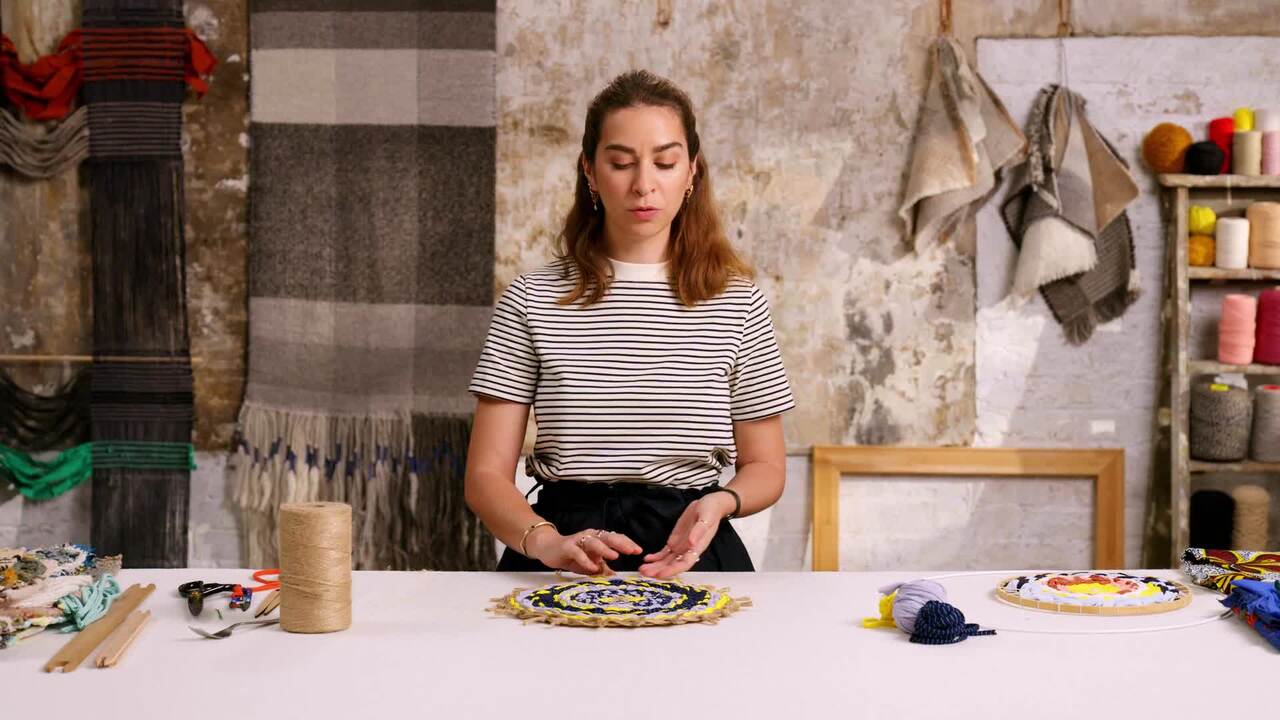
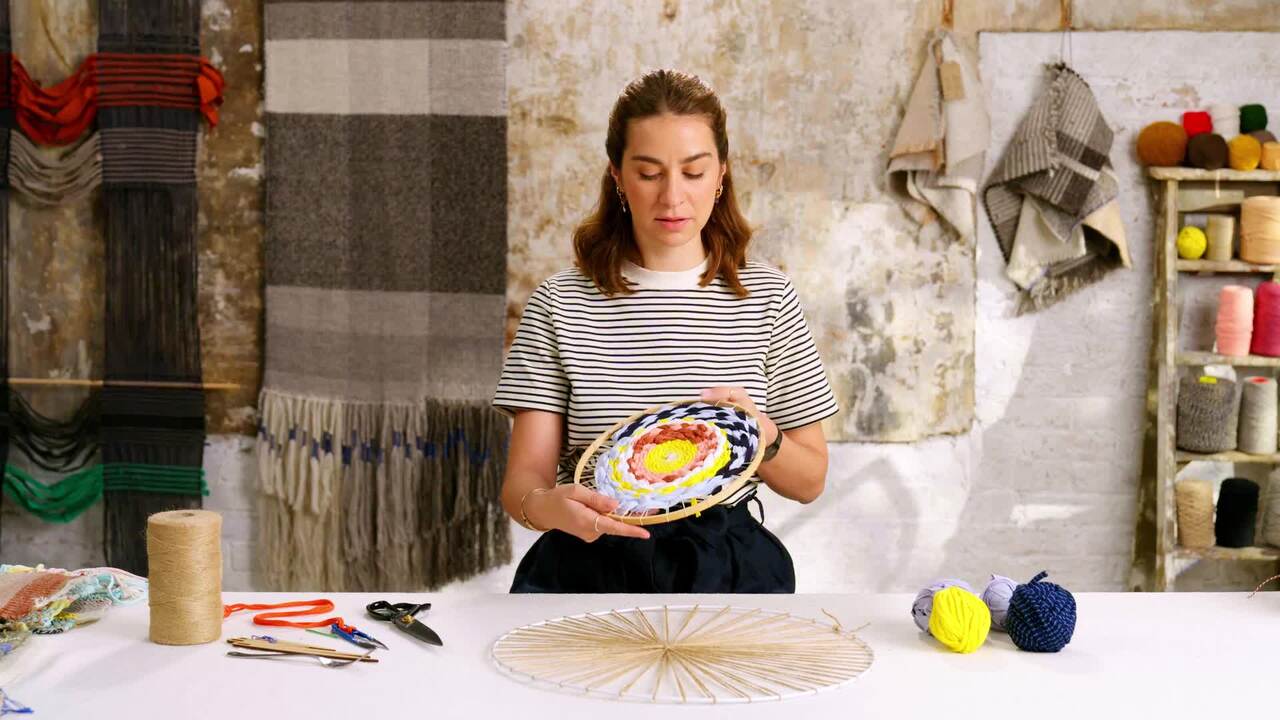
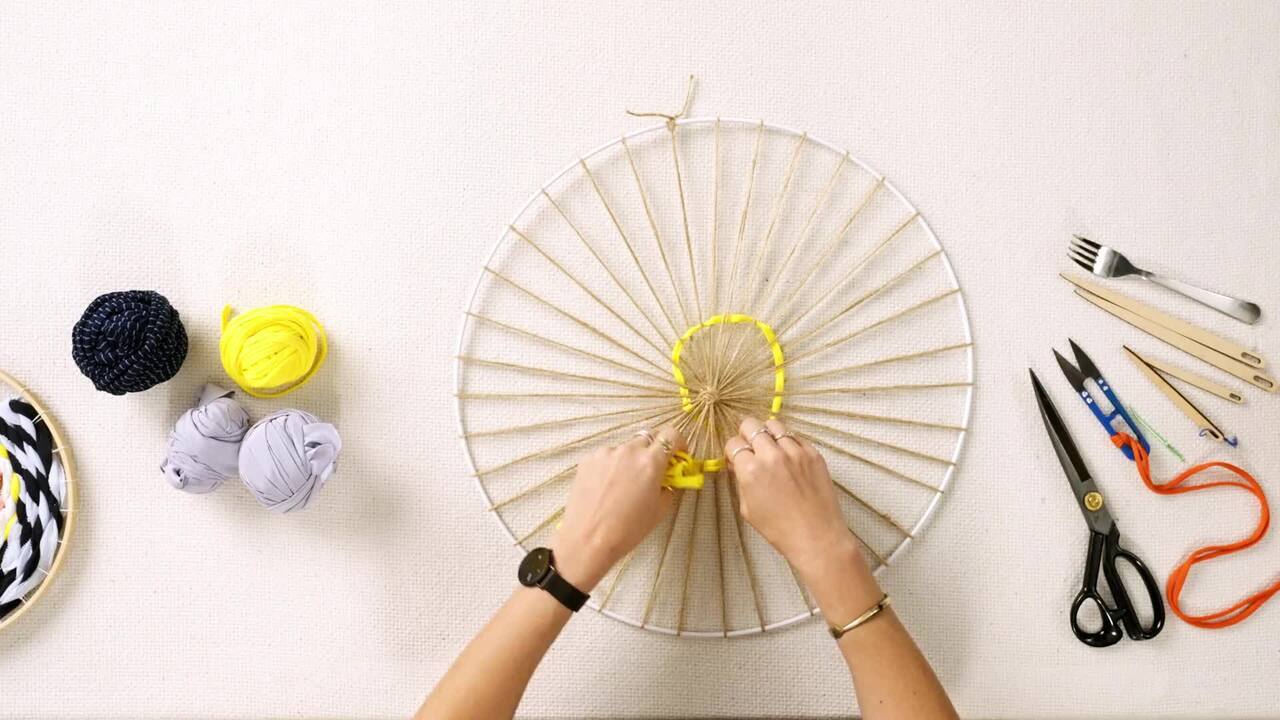
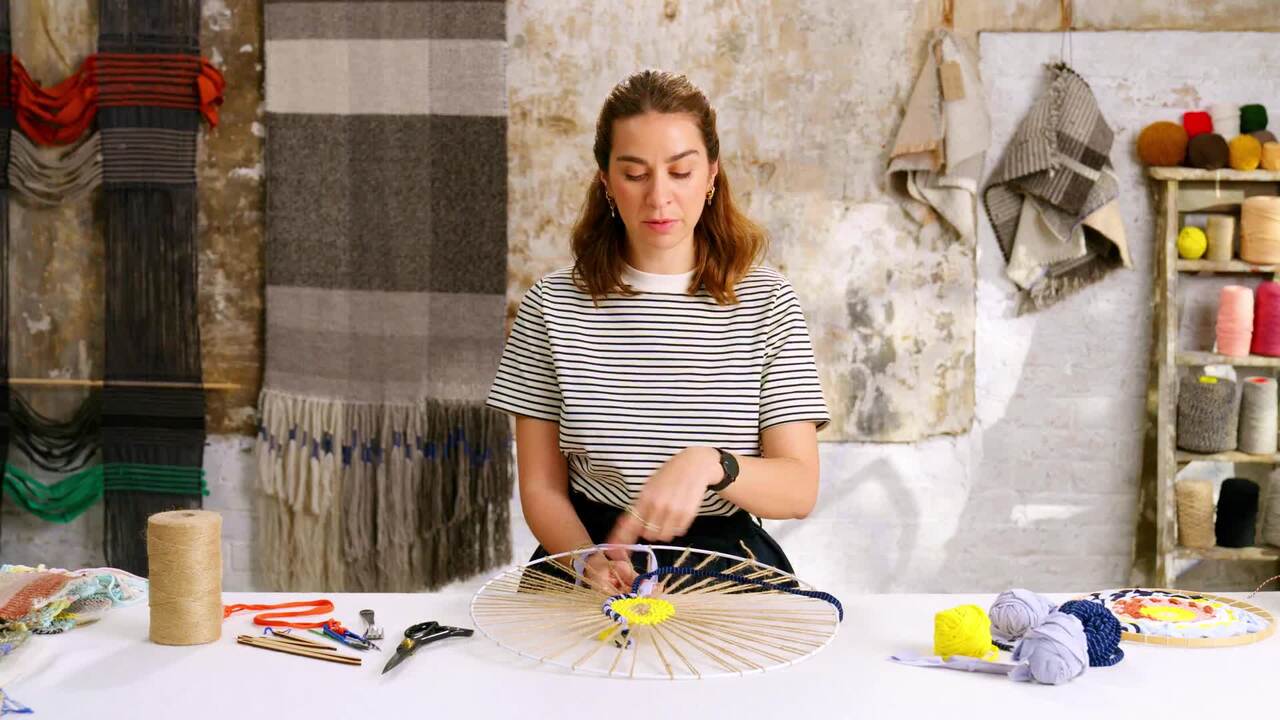
Once you have finished weaving, you can cut your piece off the loom and complete the finishing touches.
Once you have finished weaving, you can cut your piece off the loom and complete the finishing touches.
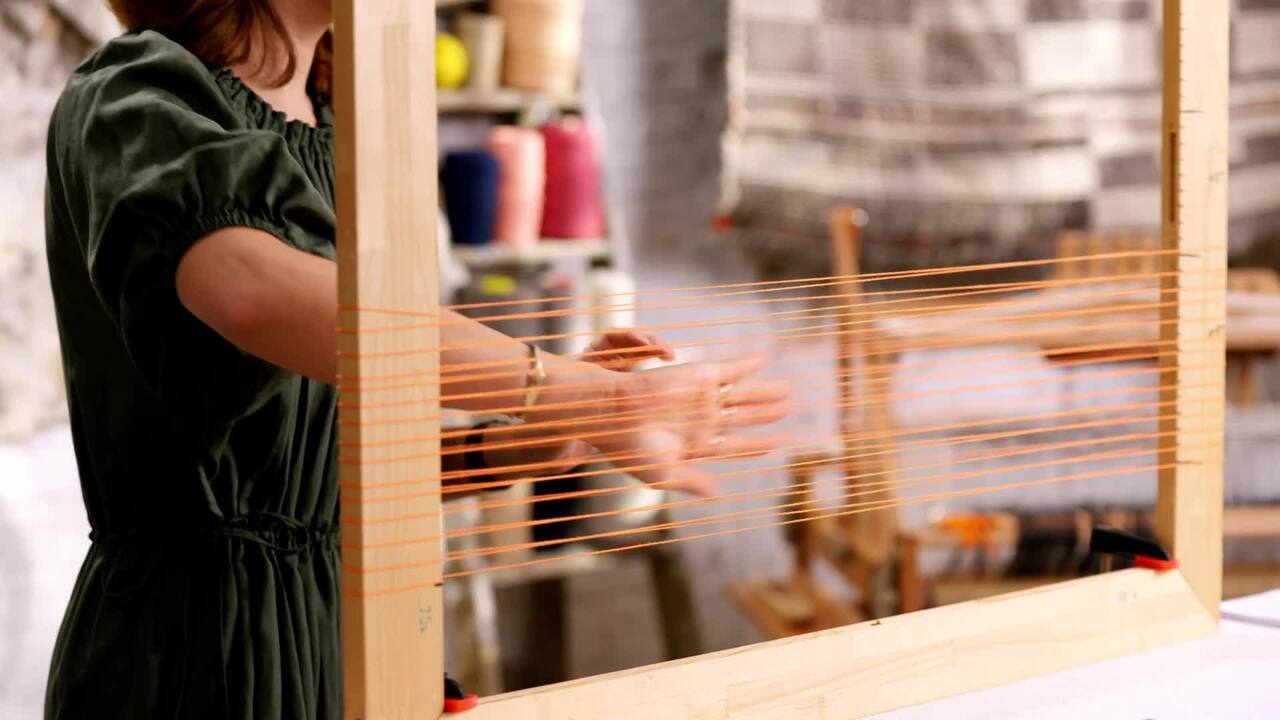
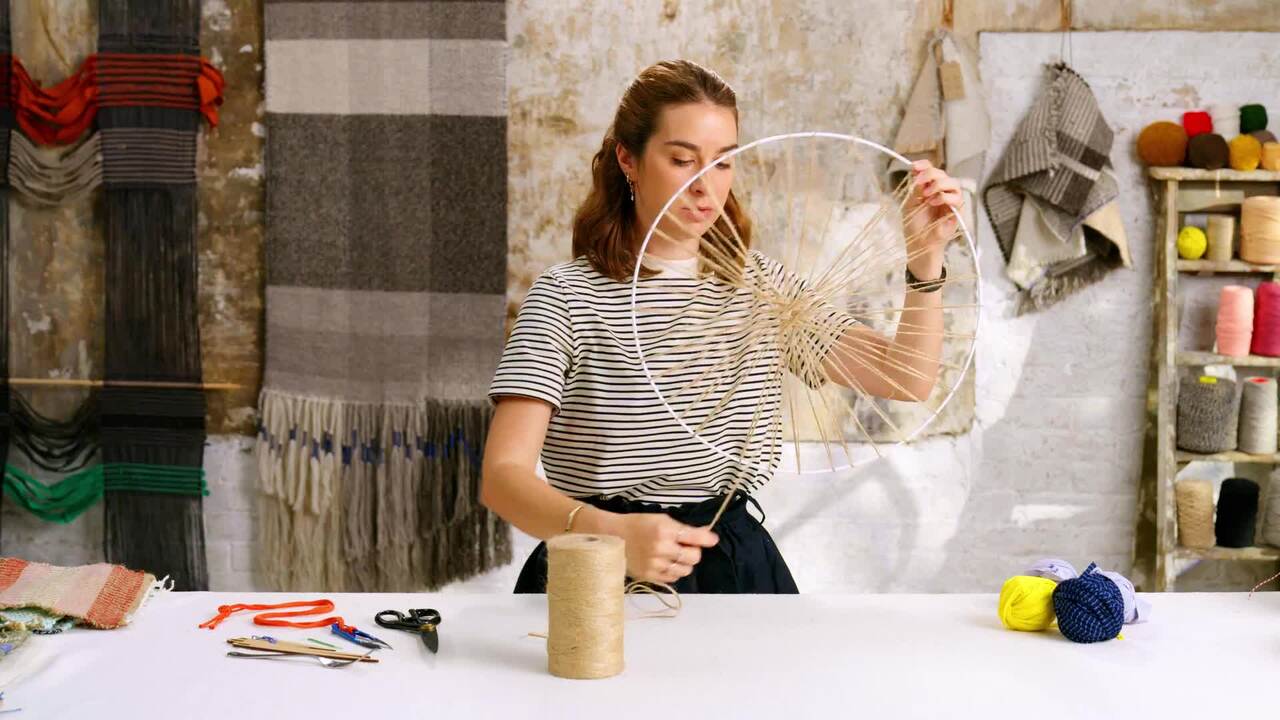
STEP 1: With a pair of scissors, cut the warp strings off the bottom of the loom. You need to leave approximately 2 inches of excess loose warp string, which, if you have set your loom up correctly, means you will be making the cut on the bottom edge of the frame.
STEP 2: Now cut the warp strings at the top of the loom. Again, you will need approximately 2 inches of excess loose warp string.
STEP 3: Free your woven piece from the weft strings that are attached to your loom. You might need to cut them to do this.
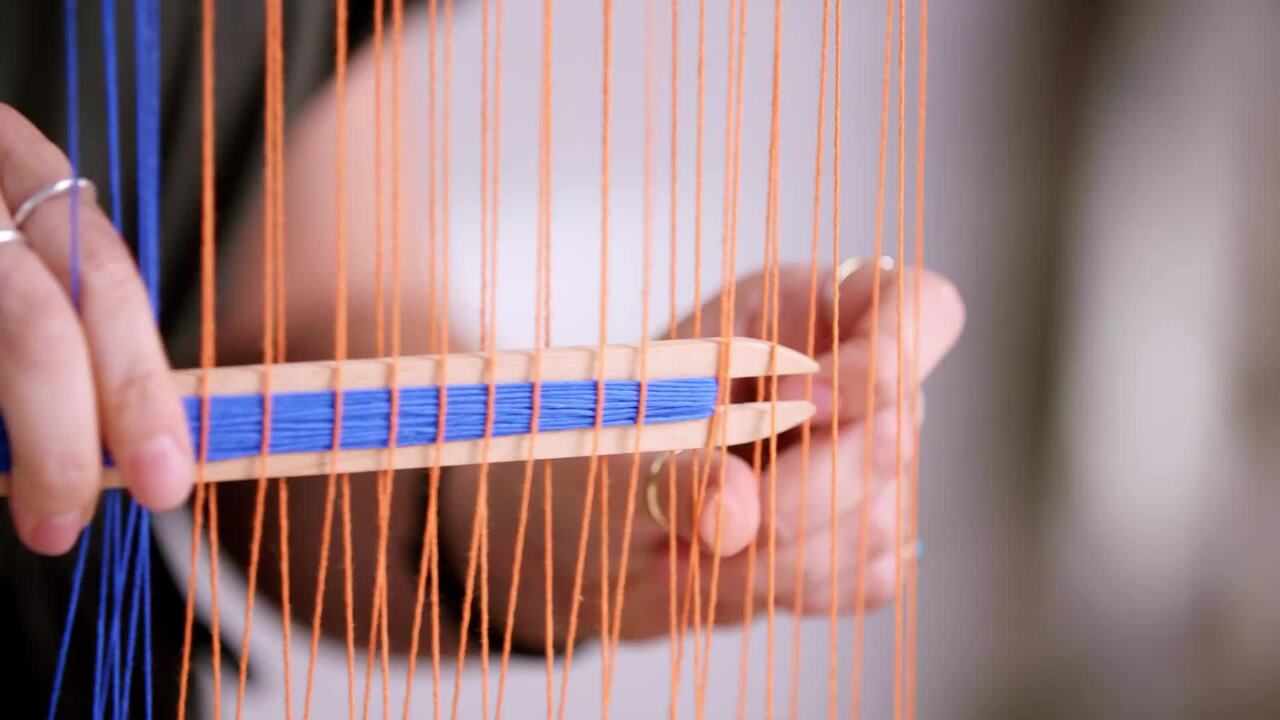
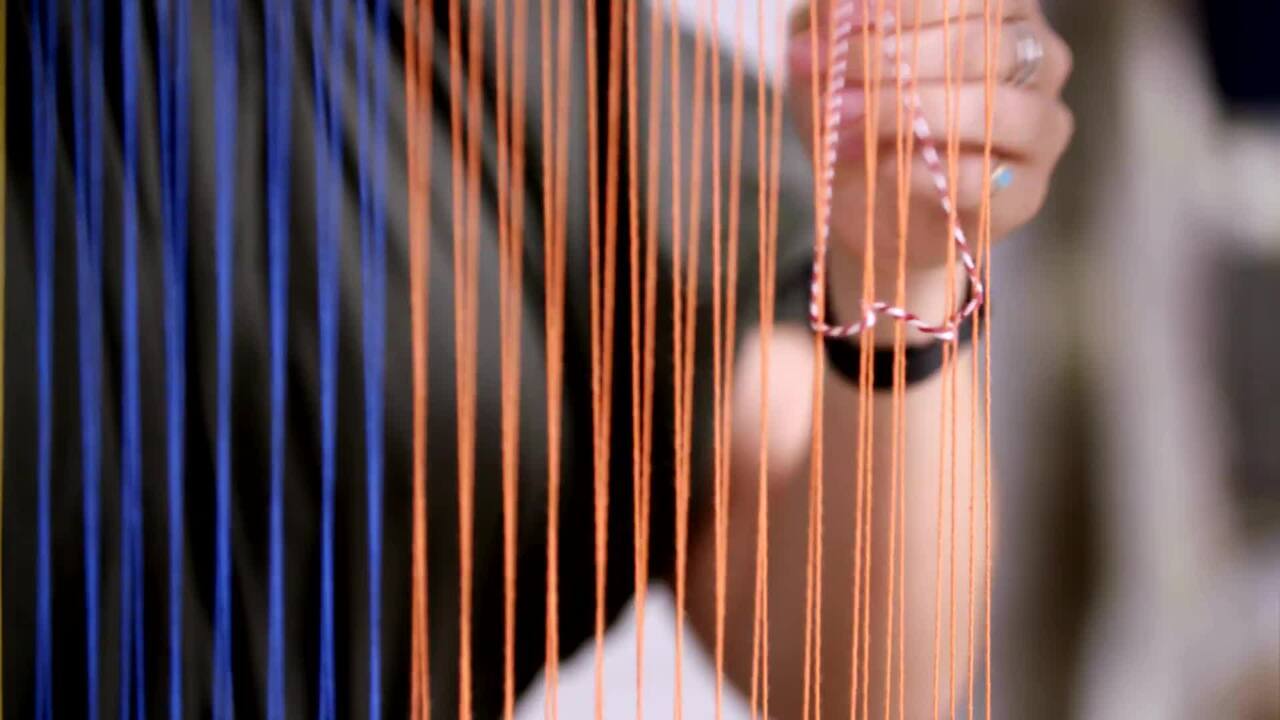
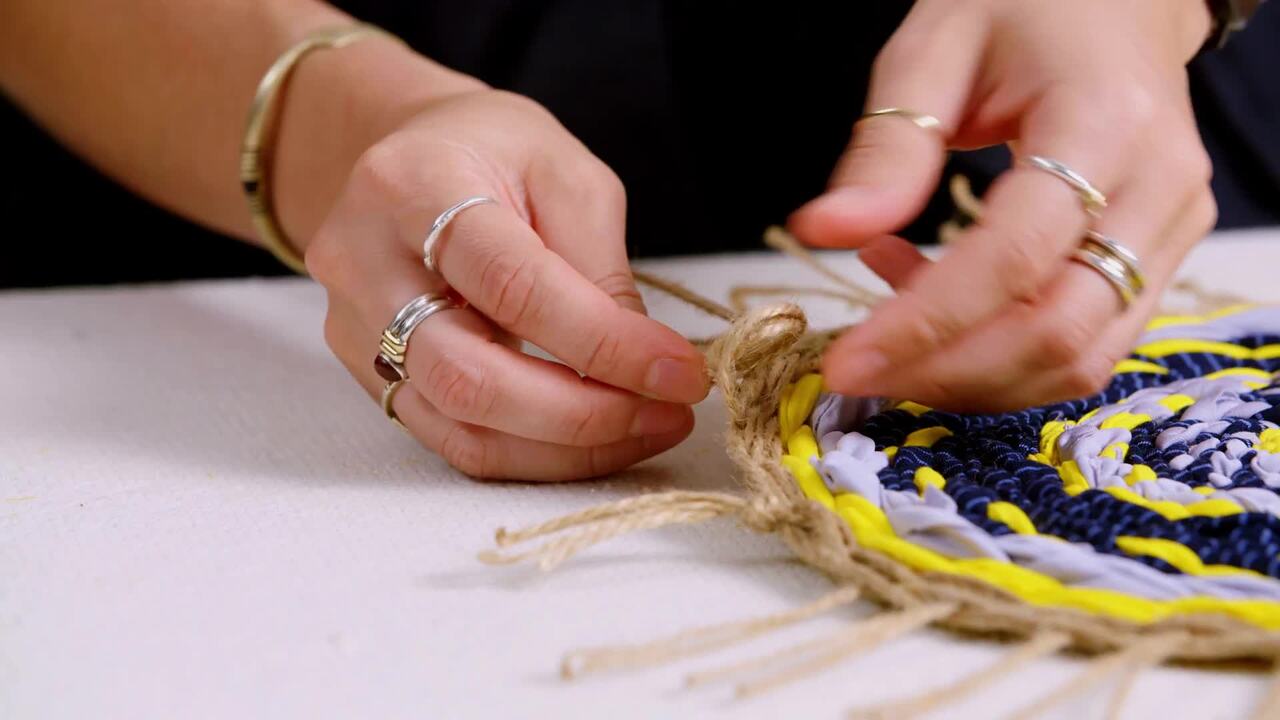
STEP 4: Next you will need to secure the weft. To do this, pick up the first two warp ends and tie them in a knot very close to the last row of weaving.
STEP 5: Repeat this for each pair of warp ends across the width of the weft.
STEP 6: Once that side is complete, move to the other side and follow exactly the same process to knot all of the warp ends.
STEP 7: Turn your woven piece over so the back is facing up.
STEP 8: Using a pair of scissors, trim off all the loose ends you threaded through to the back. Cut them as close to the surface of your woven piece as possible without damaging it.
STEP 9: You have two options for tidying up the warp strings. Simply cut them as close to each knot as you can, which will leave a little fringe all the way along. Alternatively, you can weave them into your piece to completely conceal them.
STEP 10: If you choose to weave the loose warp strings back in, take a tapestry needle and gently push it up alongside the first warp string and through a few rows of your weft.
STEP 11: Before you have pushed it through entirely so that the eye of the needle is still reachable, thread the needle with two warp strings that are tied together.
STEP 12: Pull the rest of the needle through so that the ends of the two warp strings are pulled into the weave. Then trim them as close as you can to the weave. It doesn't matter if they are slightly visible as this is the back of your piece.
STEP 13: Repeat the process for each pair of warp strings.
STEP 14: If you have tassels, you can leave them as they are or you can trim them to a desired length or shape.
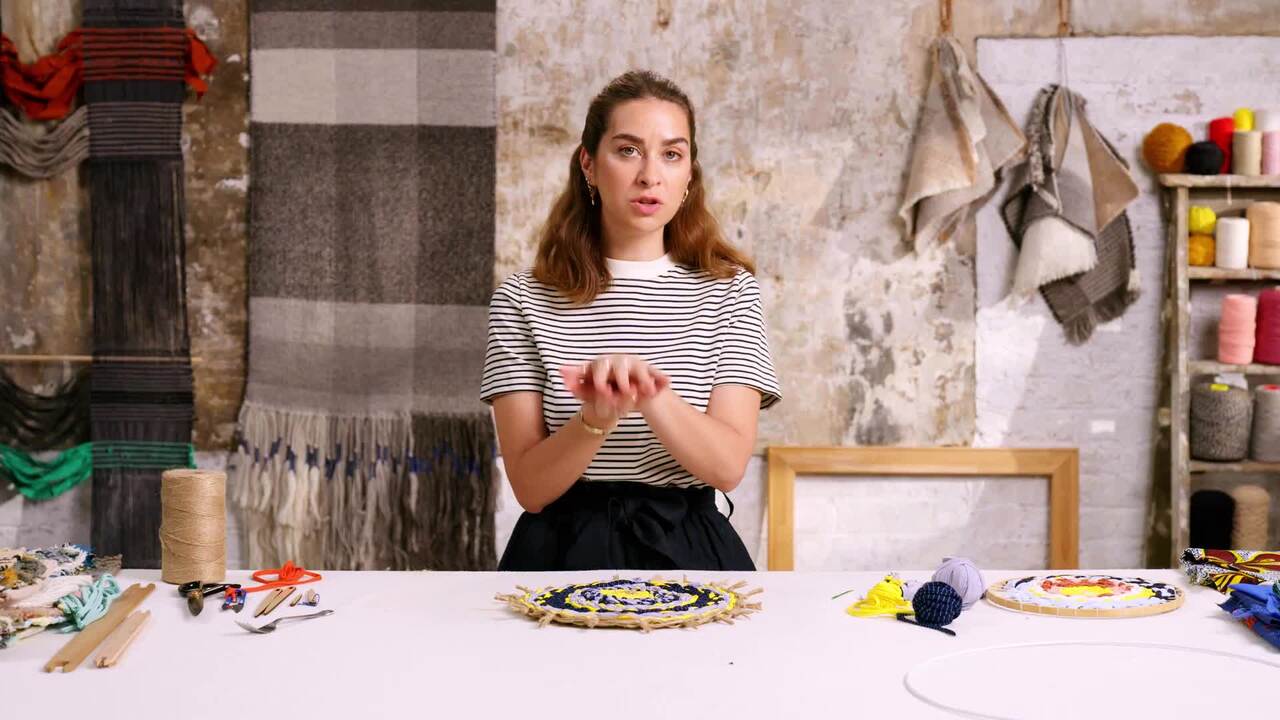
STEP 15: Your sample is now complete!
Creating samples is a huge part of weaving. Different yarns produce different results, so it's very common to create small samples to try out different techniques with a variety of yarns. These then act as a great reference for the future when you want to weave something with a specific look, as you can look at your collection of samples before deciding exactly which yarns and techniques to use.
Get the full workbook, video lessons, and more with a Create Academy subscription.
Subscribe to access the full workbookAlready a member? Sign in to watch
491 reviews
Read moreCreate Academy has been such a great resource. I'm in the middle of renovating a bungalow with a very large garden and the courses have offered a wealth of inform...
Harvey
Jun 10, 2026
Absolutely love Create Academy! The instructors are extremely informative, and it is beautifully filmed. Create Academy is great value for money and plan on renew...
SG
May 31, 2026
Butter's creativity is stunning! Her ability to incorporate brilliance in small gardens is magical!
Carla
May 30, 2026
The best adventure. I like all the courses, but my favorite are both Rita Konig interior design courses and Anna Jones. Excellent!
Karolina Kluczewska
May 20, 2026
Create Academy has been such a great resource. I'm in the middle of renovating a bungalow with a very large garden and the courses have offered a wealth of information to dive into and explore new ideas. I'm...
Harvey
Jun 10, 2026
Absolutely love Create Academy! The instructors are extremely informative, and it is beautifully filmed. Create Academy is great value for money and plan on renewing my subscription yearly because there are ...
SG
May 31, 2026
Butter's creativity is stunning! Her ability to incorporate brilliance in small gardens is magical!
Carla
May 30, 2026

Your Instructor
Award-winning textile designer
Maria Sigma is an award-winning Greek textiles designer and weaver specialising in ethical hand-woven textiles for interiors. Maria’s work - inspired by a traditional Greek Cycladic crocheted lace pattern - celebrates 'zero waste' design and a slow-making ethic, combining a contemporary approach of traditional weaving techniques with a focus on raw natural materials and texture. Maria has collaborated with a long list of exceptional interior designers, architects, galleries, fashion and furniture brands, including Susie Atkinson, Hauser & Wirth, Soho House, The New Craftsman, Anthropologie and Toast. She also teaches regular ‘weaving from waste’ workshops across London and has authored a book on the subject entitled, Weaving: the Art of Sustainable Textile Creation.

Access to all courses


