


Interior and exterior confidence
Create Academy has been such a great resource. I'm in the middle of renovating a bungalow with a very large garden and the courses have offered a wealth of inform...
Harvey
Jun 10, 2026

Subscribe to watch
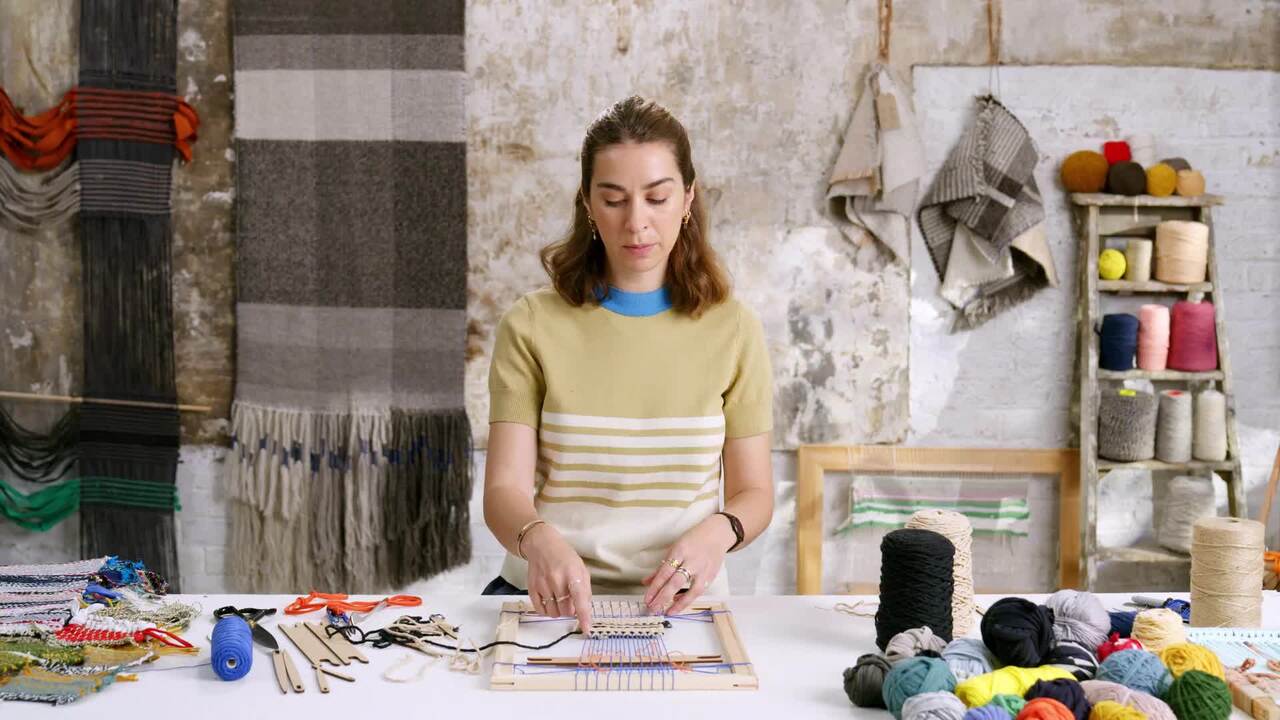
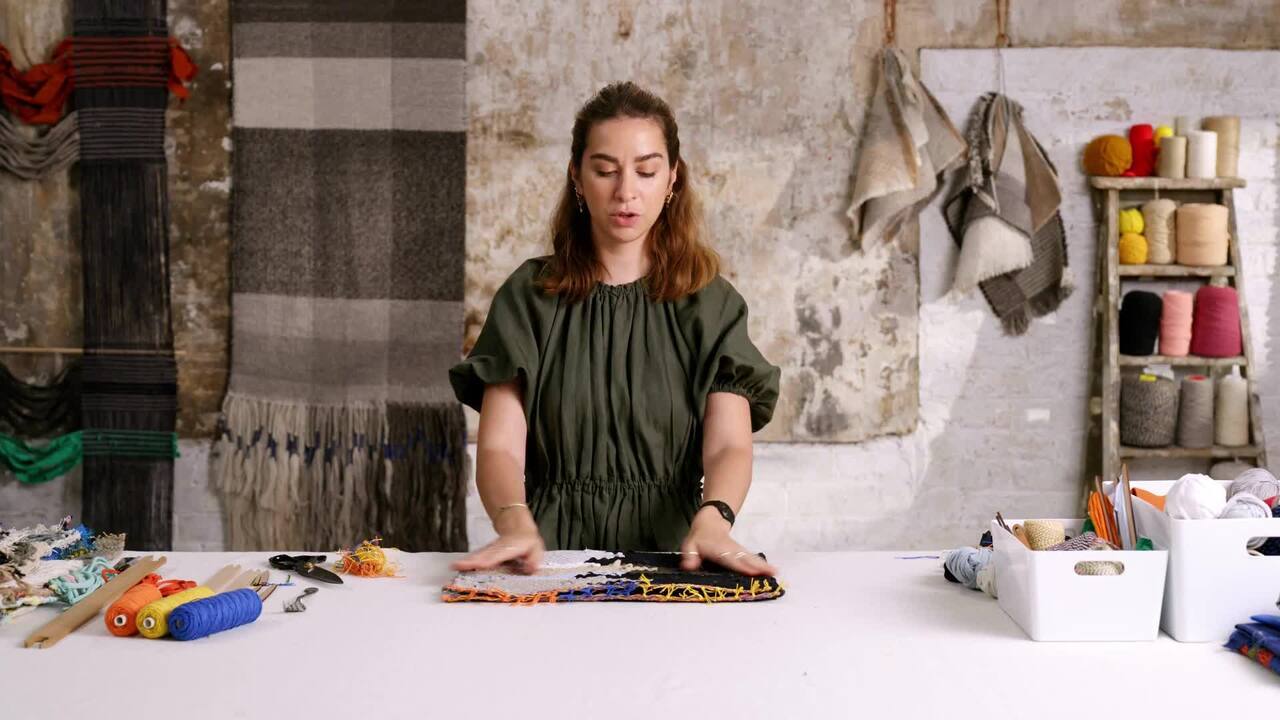
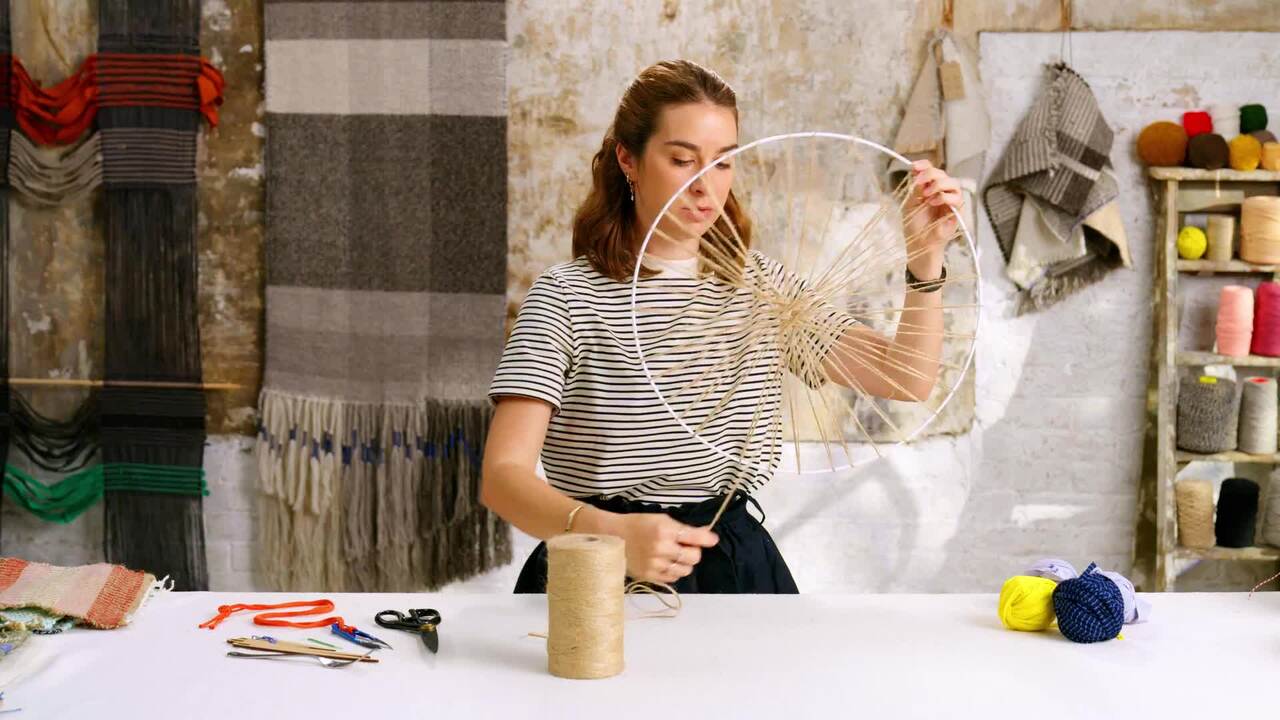
With the loom set up, Maria will now show you a set of techniques that will enable you to get weaving. The first is a basic weave, which forms the foundation of all weaving techniques.
Now that we have set the loom set up, I'm going to show some techniques that will enable you to get weaving. The first is the basic weave, which forms the foundation of all weaving techniques.
Think of these techniques as your weaving 'vocabulary'. Spend time practising each one and familiarising yourself until you feel comfortable. To really perfect the methods, you could flow from one to the other on one sample or create a sample using each technique.
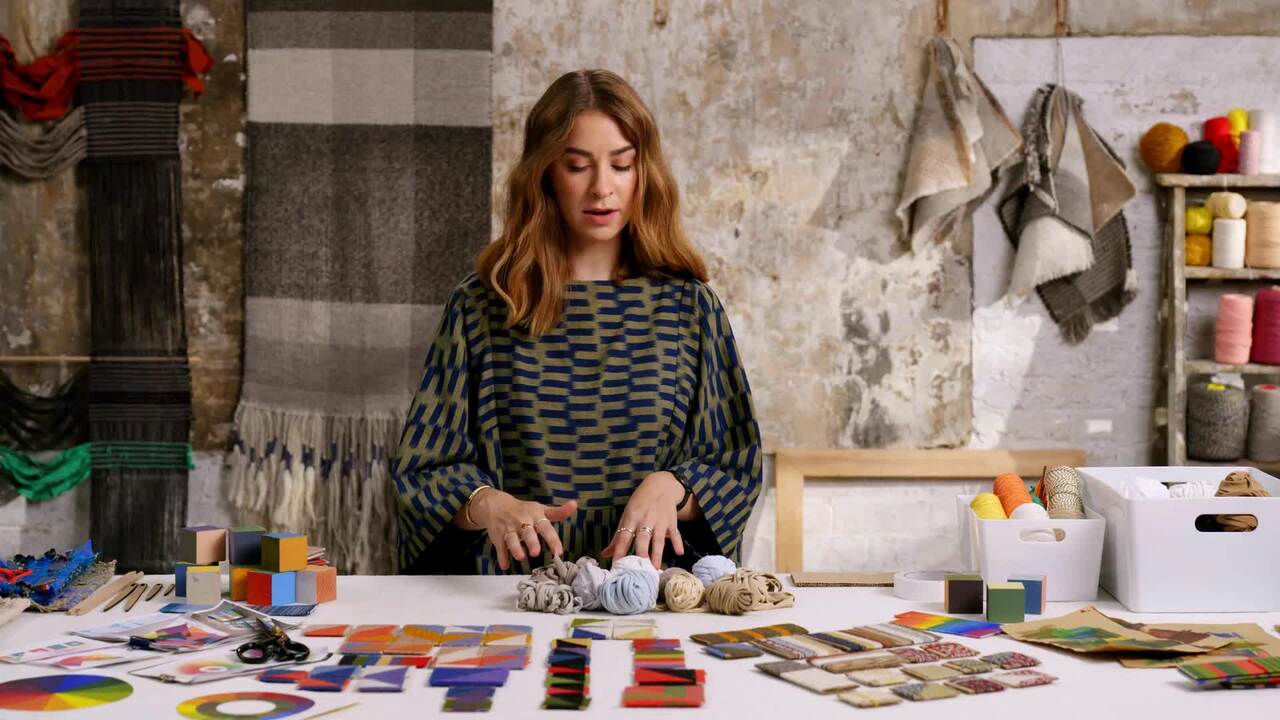
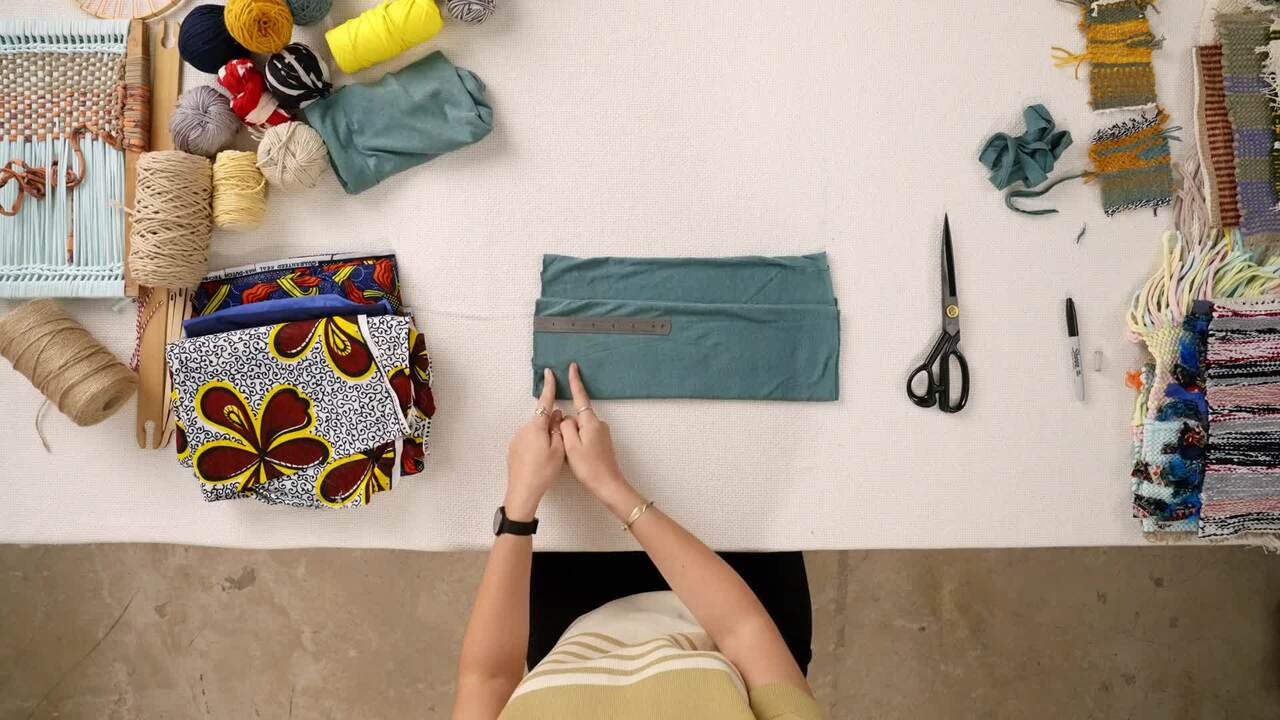
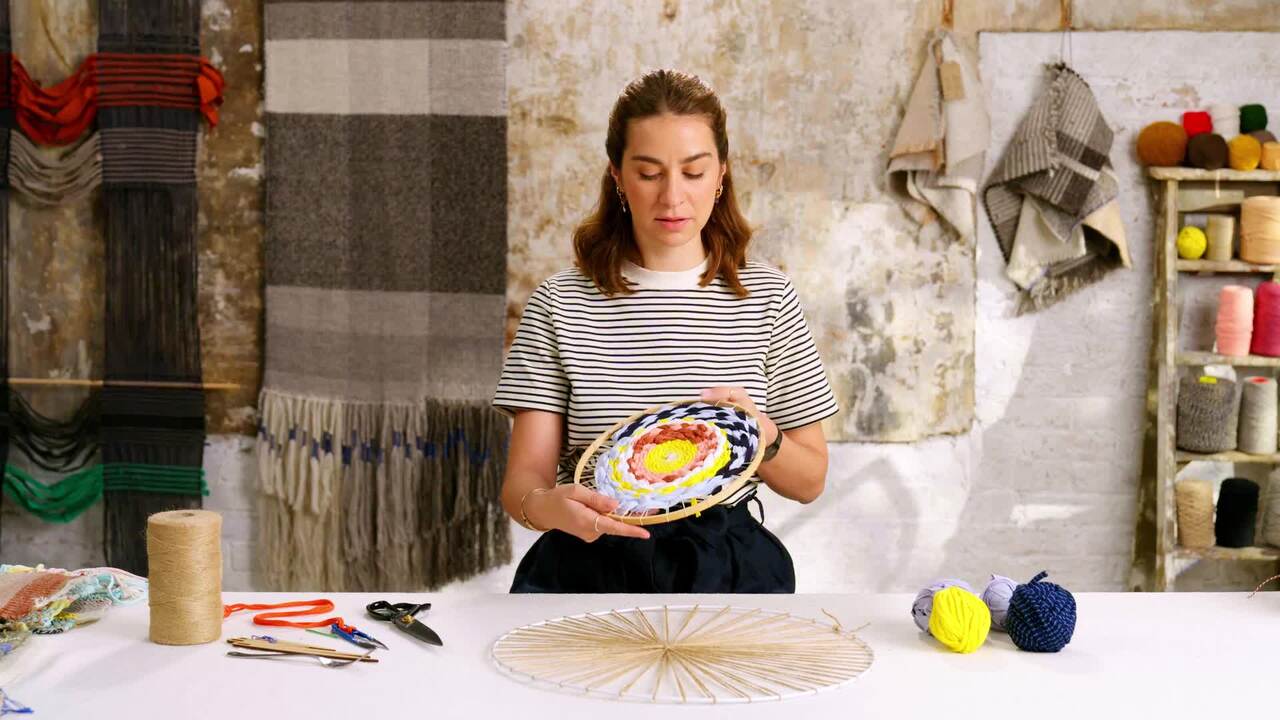
The yarn we choose has a huge impact on the look of the final piece. So, the same technique can produce very different results with a thicker yarn compared to something thinner. Part of the fun is experimenting and seeing what you like.
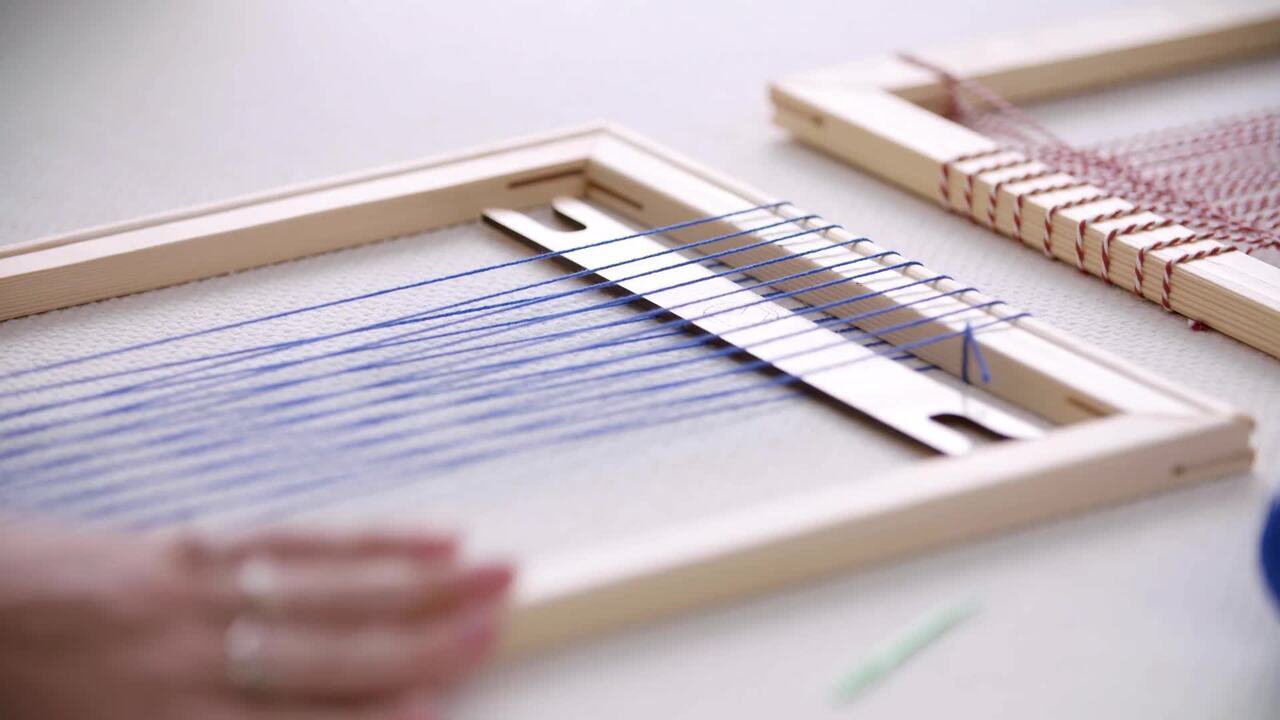
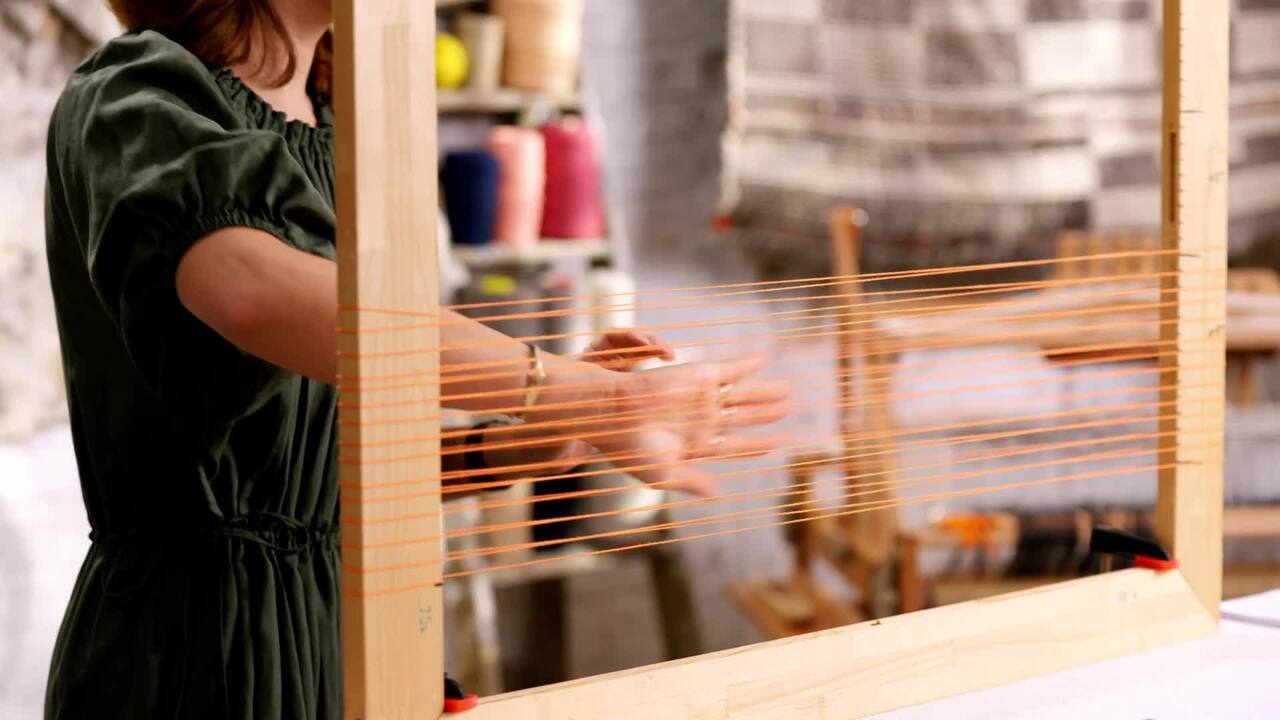
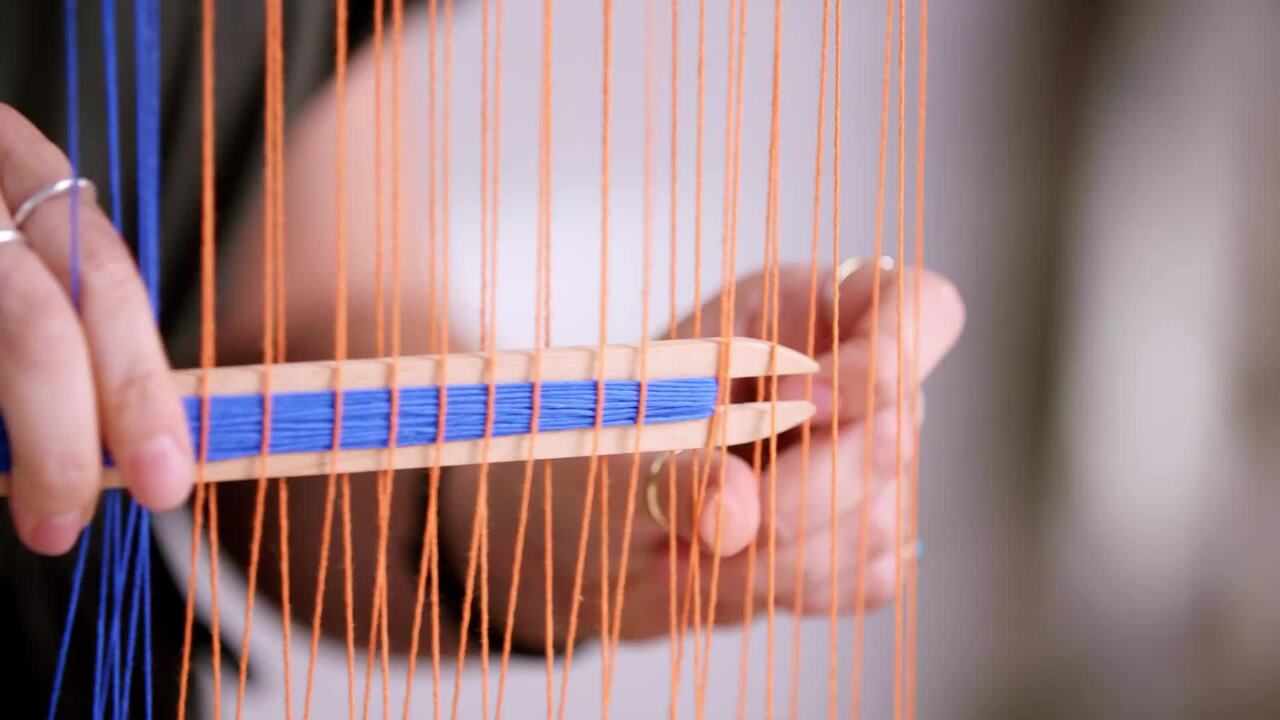
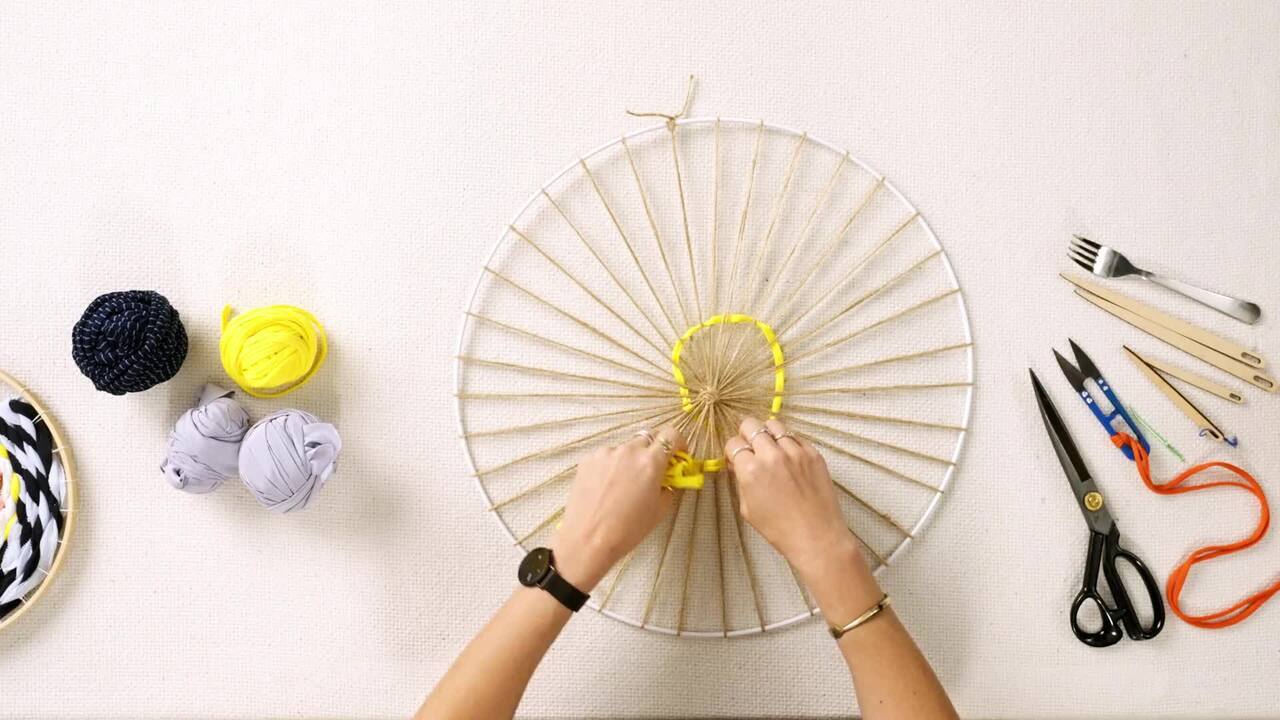
Weaving is the conjunction of yarns. The warp yarns are fixed in place on the loom. We will now weave the weft yarns over and under the warp yarns.
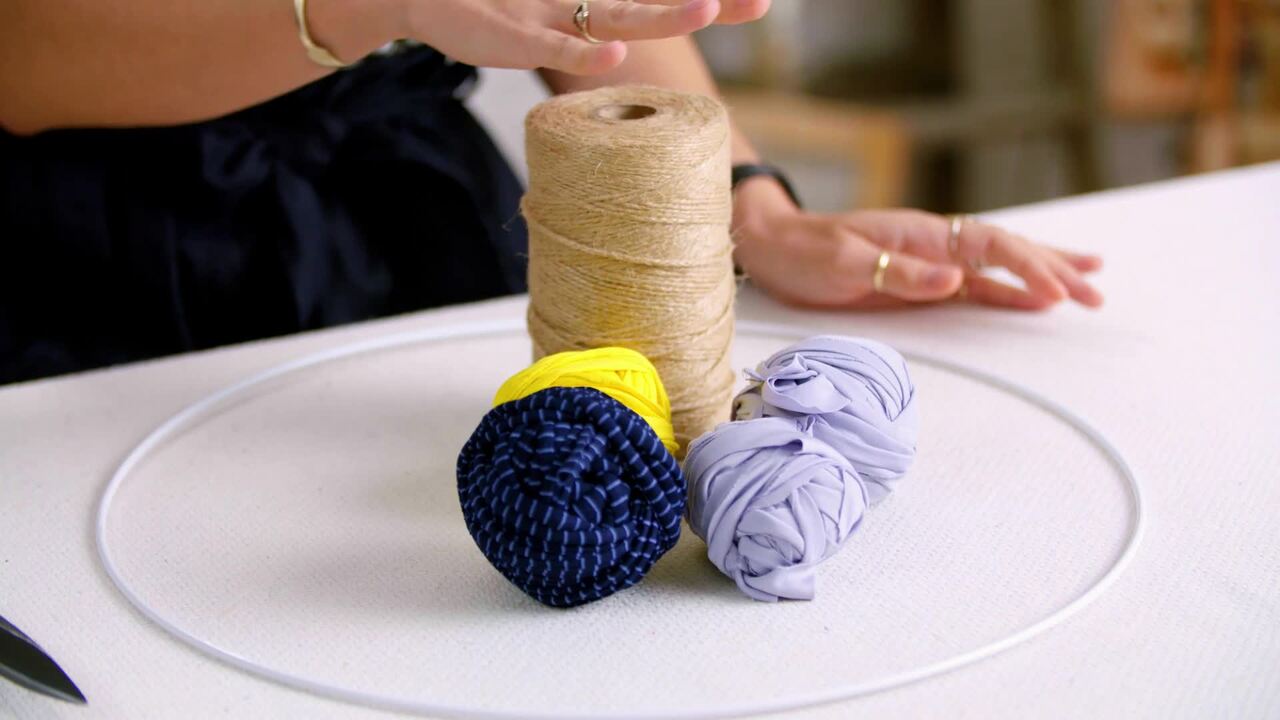
You Will Need:
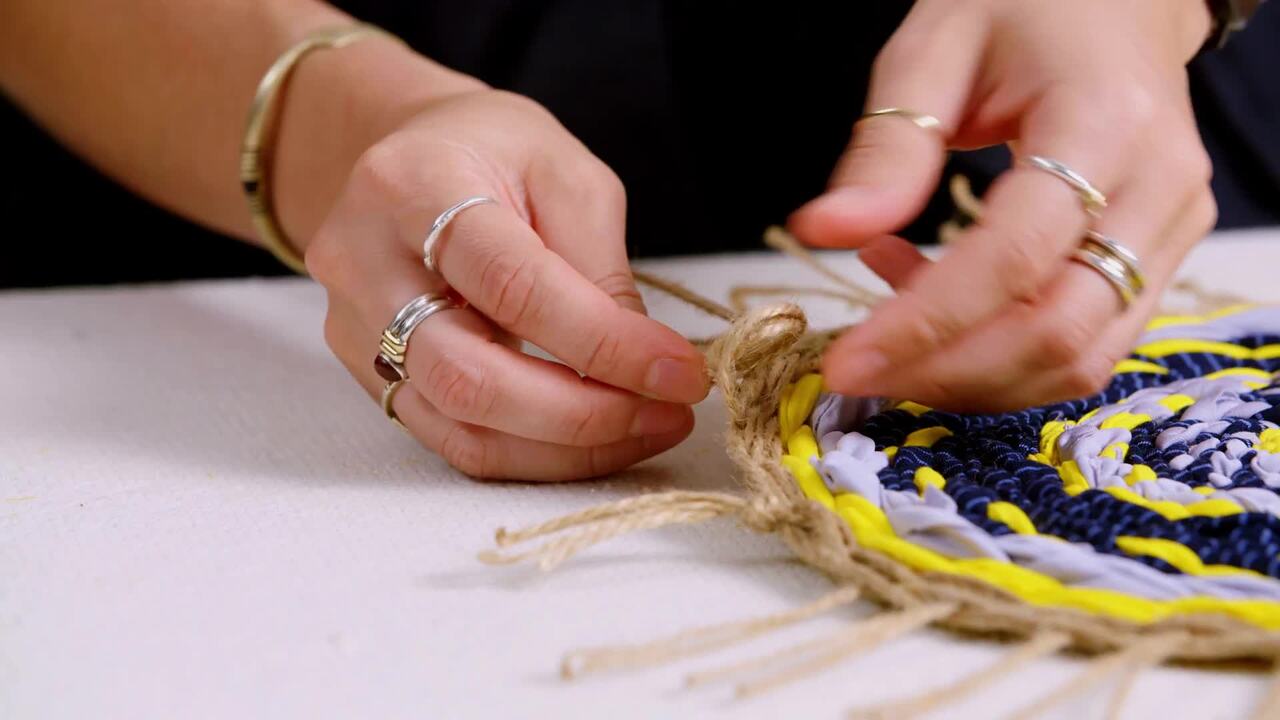
STEP 1: To begin weaving, you can take the same string you used to make your warp strings and use this as a weft yarn to create a strong starting section of around 1 cm width. If you are using a needle, you can simply thread the string onto it. If you are using a shuttle, cut a suitable length that will create a depth of 1 cm of weaving on your loom and wind this lengthways onto the shuttle.
STEP 2: Before you begin to weave, make sure your shuttle or needle has a length of loose yarn that is at least the width of your loom.
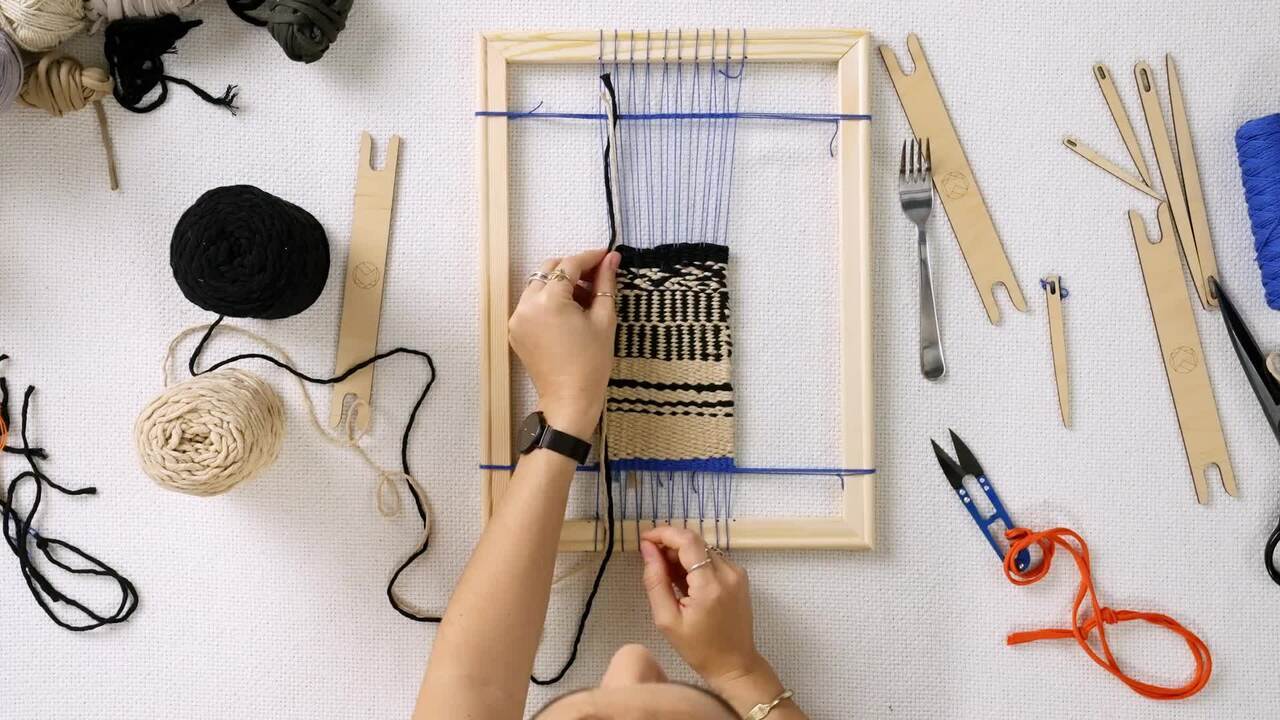
STEP 3: Feed your shuttle or needle through the warp strings, going under the even numbered yarns and then over the odd numbered yarns. So, it's under a yarn and over the next, repeating until you have reached the other side of your loom.
STEP 4: Pull the shuttle through so that your length of loose yarn is threaded through your loom until there is only an excess of approximately 2 inches remaining on the side you started from.
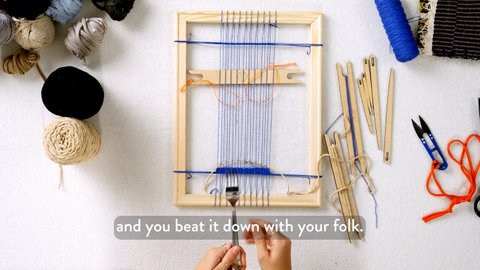
STEP 5: Shape the yarn into a small curve. Then push the weft on the loom down to the bottom with the fork, starting in the middle before doing the sides. This helps to give a little extra length and prevents the warp strings from becoming constricted.
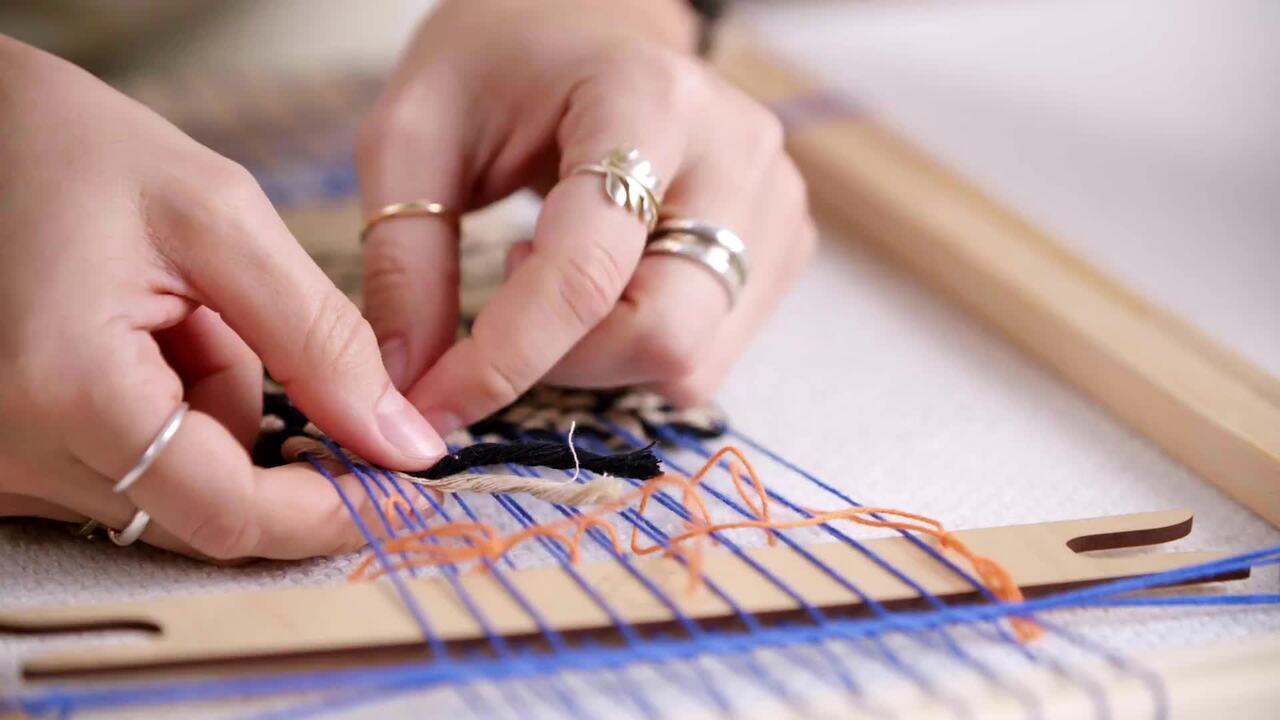
STEP 6: Pick up your shuttle and go back the way you came, again weaving through the warp strings over and under but this time going under the odd numbered threads.
STEP 7: Pull the weft yarn through your loom completely so that it bends around the warp string on the side you've just come from and just touches the yarn, not too tight but not too loose either.
STEP 8: Create the curve again and push the weft down with your fork, first in the middle and then the sides.
STEP 9: Either secure the weft yarn with a knot or thread it back through the first few warp strings and push it to the back of the loom so that it's hidden.
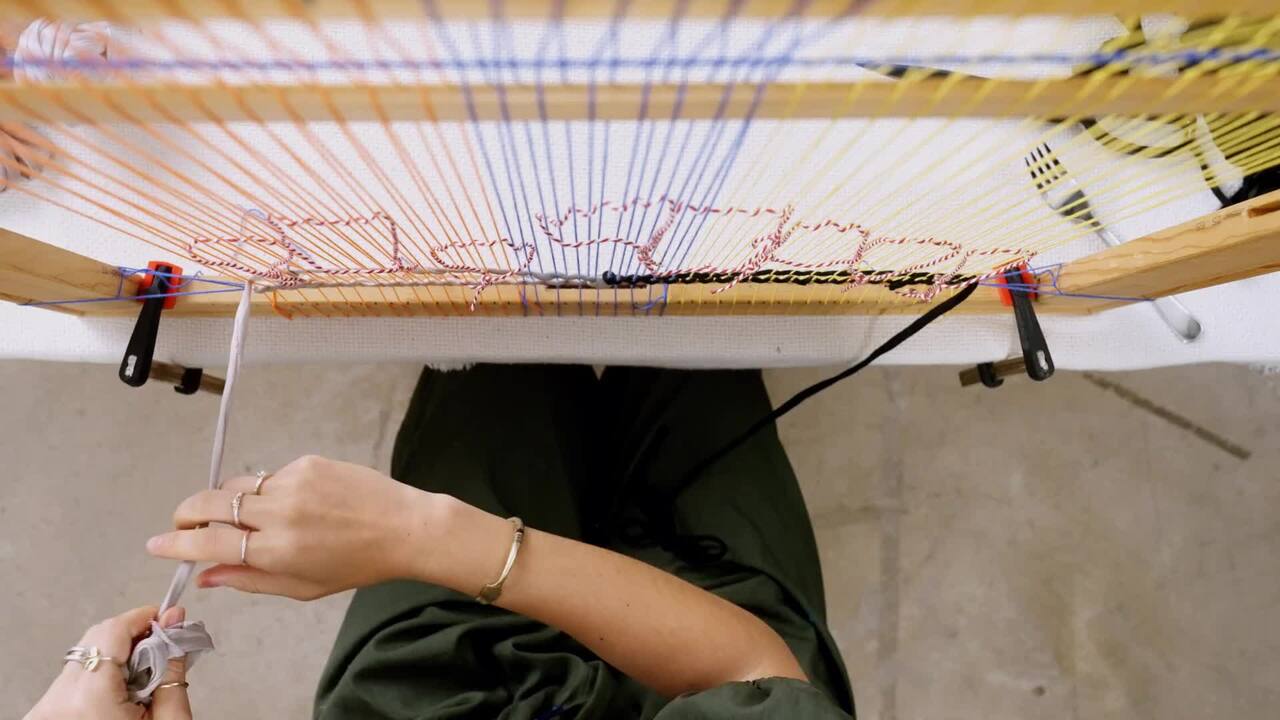
STEP 10: To make weaving easier and faster, you can open up the warp and access the space between the warp strings, which is known as the shed. You can do this by rotating the shuttle 90 degrees to lift up the odd numbered warp strings.
STEP 11: Pass the shuttle through the opening. Then rotate the shuttle back so that it's lying flat again. Create a curve in the weft yarn, pushing it down with your fork as before.
STEP 12: To come back, pick up your strings to lift up the even numbered warp strings. Pass the shuttle through, create the curve in the weft yarn and push down with your fork.
STEP 13: Repeat the process and keep practising the technique until you're comfortable with it, and happy with the length of your sample.
STEP 14: If you are starting to run out of weft yarn, weave with it as much as you can. You may need to use your fingers.
STEP 15: Once you've gone as far as you can, push it down as normal with your fork, and push the tiny loose end through to the back of your loom.
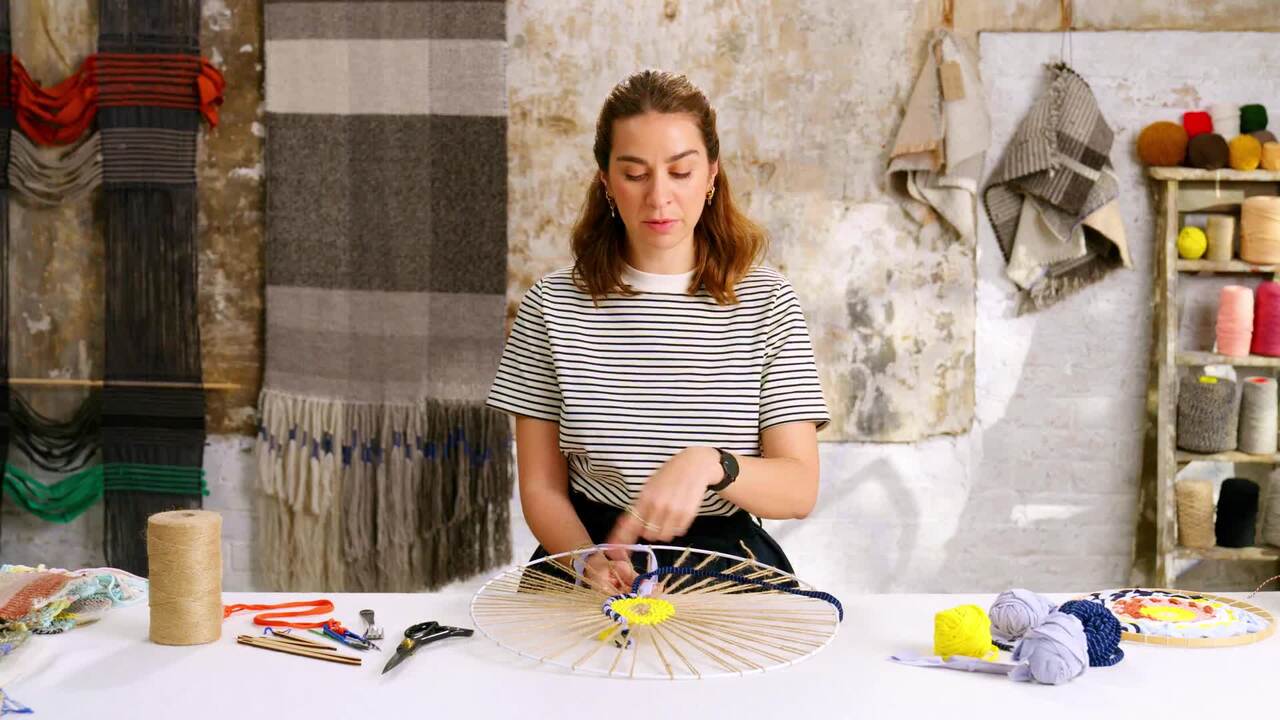
STEP 16: Load up your shuttle or needle with more weft yarn, and go through the loom again in the same direction, pulling it through so the end of your new weft yarn just overlaps the end of your first weft yarn.
STEP 17: Push the new loose end through to the back of your loom so it sits beside the loose end of your first weft yarn. Ensure that the two yarns are still overlapping on the front.
STEP 18: Continue to weave as normal!
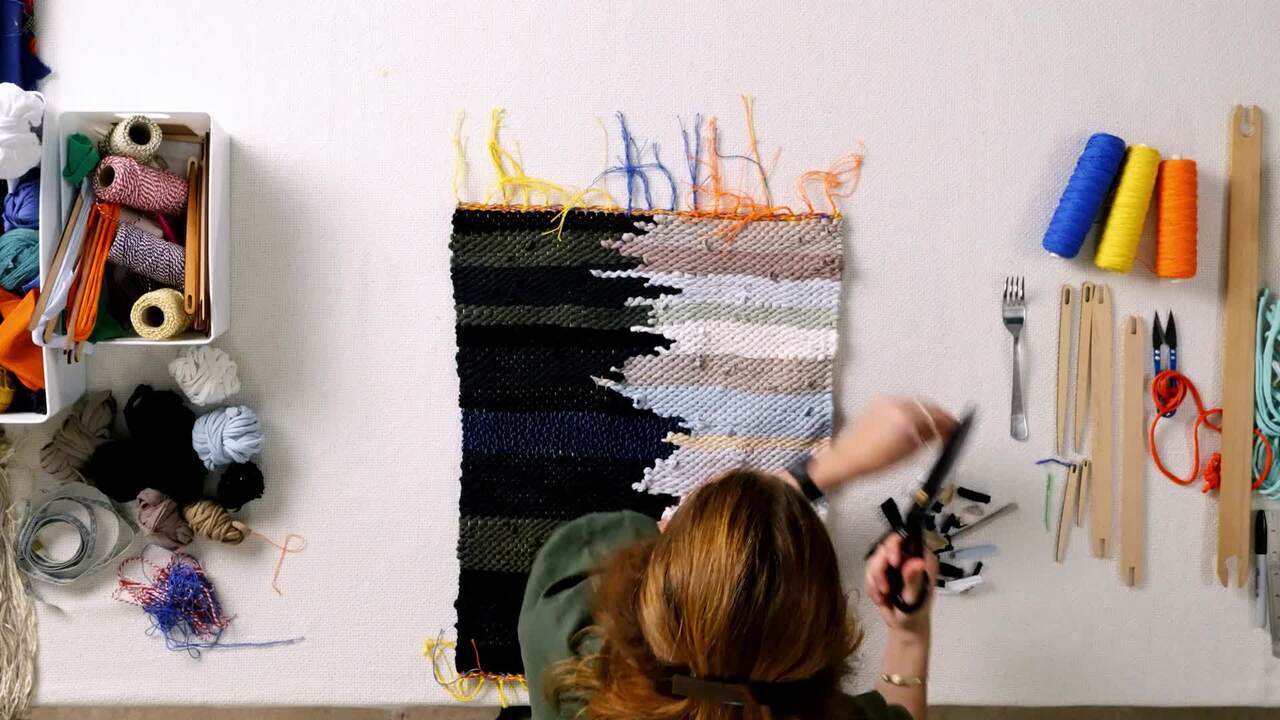
STEP 19: When you are ready to finish a section of weaving, cut the weft yarn leaving an excess of around 2 inches.
STEP 20: Using the same process you did at the beginning, or if you've run out of weft yarn, weave the excess back across the warp strings for a distance of 4 or 5 yarns, pushing the loose end to the back of the loom.
I recommend that you really master this technique before moving onto the next stage. Practise until you feel comfortable with each step. It might seem complicated at first but will soon become second nature.
Get the full workbook, video lessons, and more with a Create Academy subscription.
Subscribe to access the full workbookAlready a member? Sign in to watch
479 reviews
Read moreCreate Academy has been such a great resource. I'm in the middle of renovating a bungalow with a very large garden and the courses have offered a wealth of inform...
Harvey
Jun 10, 2026
Absolutely love Create Academy! The instructors are extremely informative, and it is beautifully filmed. Create Academy is great value for money and plan on renew...
SG
May 31, 2026
Butter's creativity is stunning! Her ability to incorporate brilliance in small gardens is magical!
Carla
May 30, 2026
The best adventure. I like all the courses, but my favorite are both Rita Konig interior design courses and Anna Jones. Excellent!
Karolina Kluczewska
May 20, 2026
Create Academy has been such a great resource. I'm in the middle of renovating a bungalow with a very large garden and the courses have offered a wealth of information to dive into and explore new ideas. I'm...
Harvey
Jun 10, 2026
Absolutely love Create Academy! The instructors are extremely informative, and it is beautifully filmed. Create Academy is great value for money and plan on renewing my subscription yearly because there are ...
SG
May 31, 2026
Butter's creativity is stunning! Her ability to incorporate brilliance in small gardens is magical!
Carla
May 30, 2026
Your Instructor
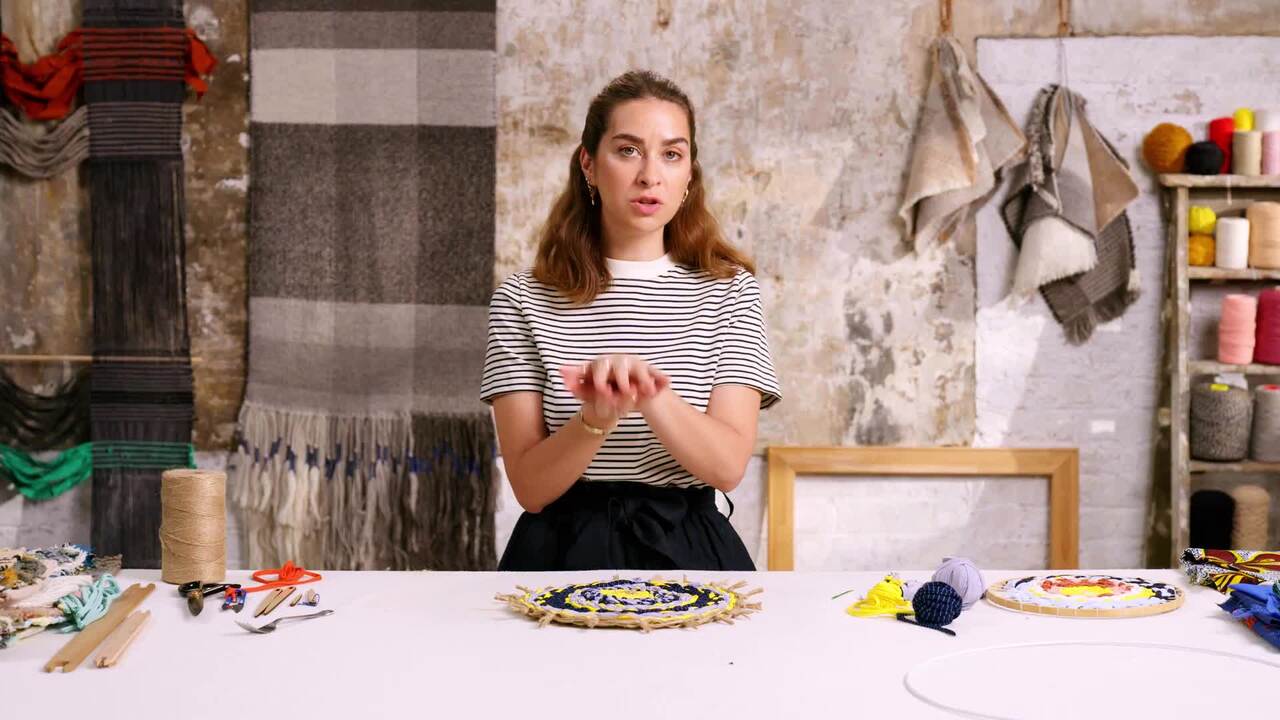
Award-winning textile designer
Maria Sigma is an award-winning Greek textiles designer and weaver specialising in ethical hand-woven textiles for interiors. Maria’s work - inspired by a traditional Greek Cycladic crocheted lace pattern - celebrates 'zero waste' design and a slow-making ethic, combining a contemporary approach of traditional weaving techniques with a focus on raw natural materials and texture. Maria has collaborated with a long list of exceptional interior designers, architects, galleries, fashion and furniture brands, including Susie Atkinson, Hauser & Wirth, Soho House, The New Craftsman, Anthropologie and Toast. She also teaches regular ‘weaving from waste’ workshops across London and has authored a book on the subject entitled, Weaving: the Art of Sustainable Textile Creation.

Access to all courses


