


Very good tutorial from a professional garden...
I have subscribed to access all the courses so have watched one on interior design and this one with Butter Wakefield who specialises in small garden design. She ...
Louise Brown
Apr 10, 2026
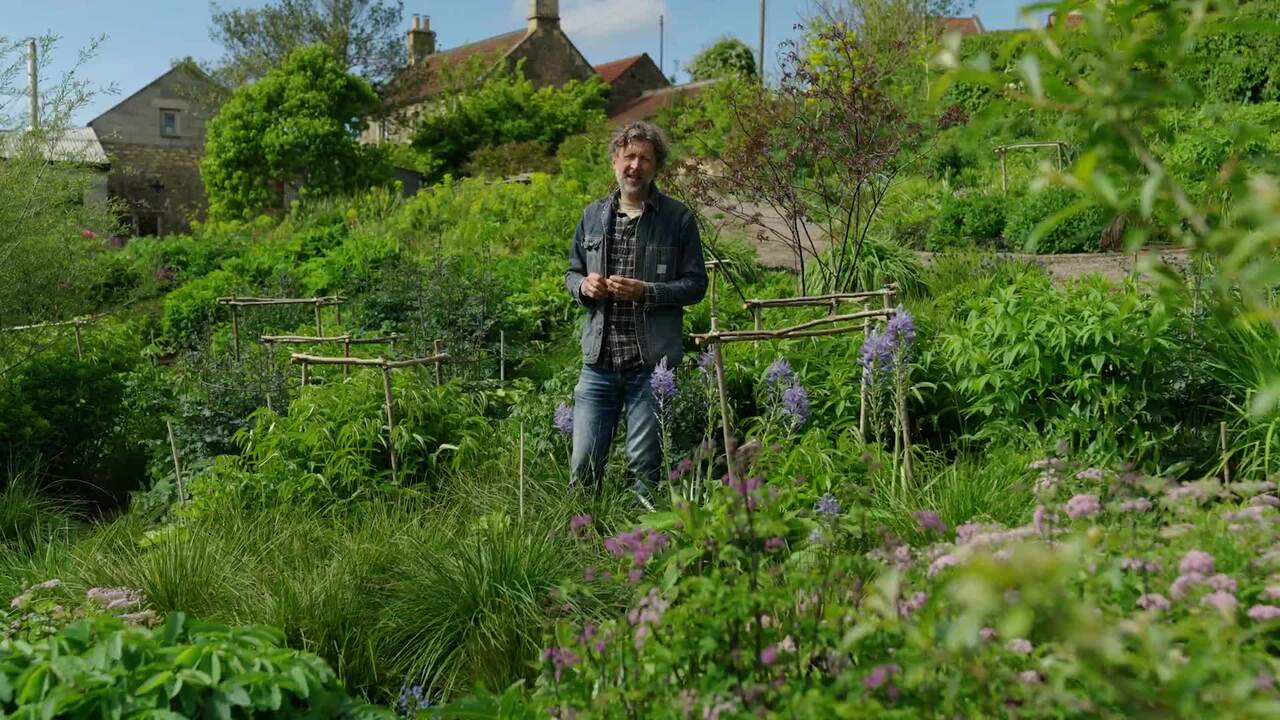
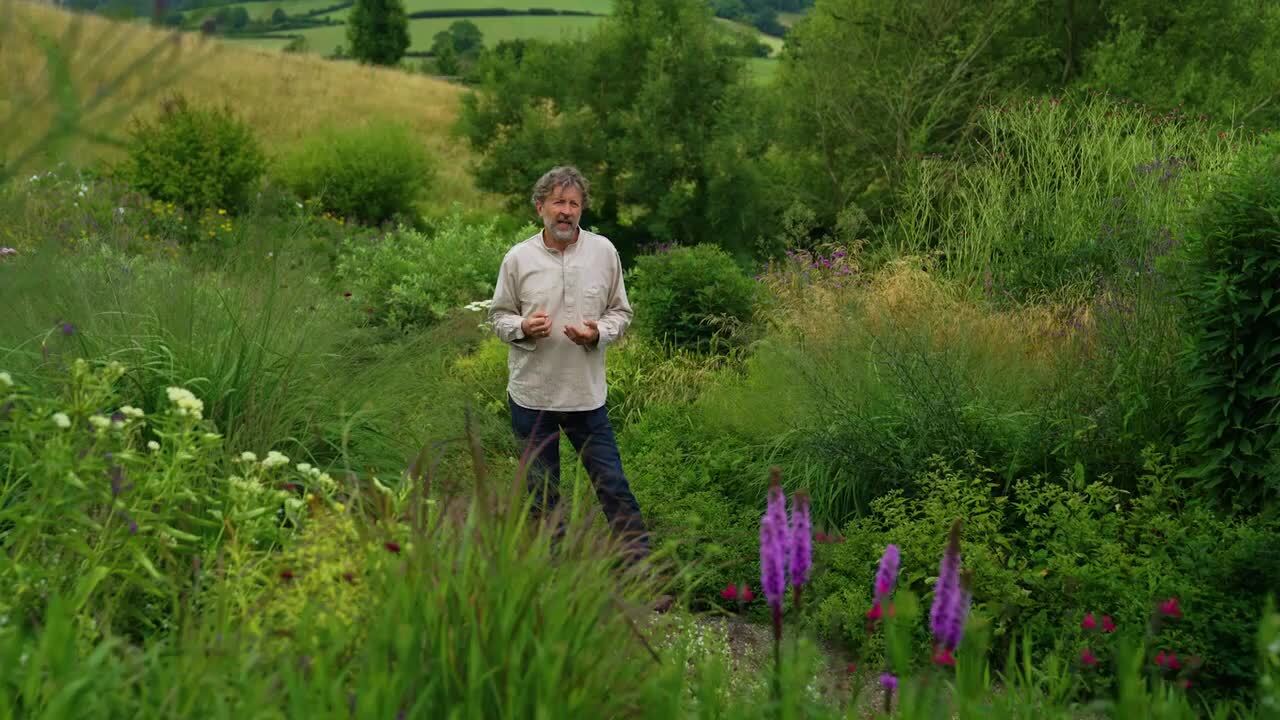
An Expert Guide to Planting Design
with DAN PEARSON — Acclaimed naturalistic landscape designer. Multiple Chelsea Gold Medal Winner. OBE.
Lesson 18 of 31
Buy or subscribe to watch
In this chapter, you’ll learn the details of putting together a plant palette, and how to translate this into a layered planting plan that provides year-round interest whilst being practical to maintain.
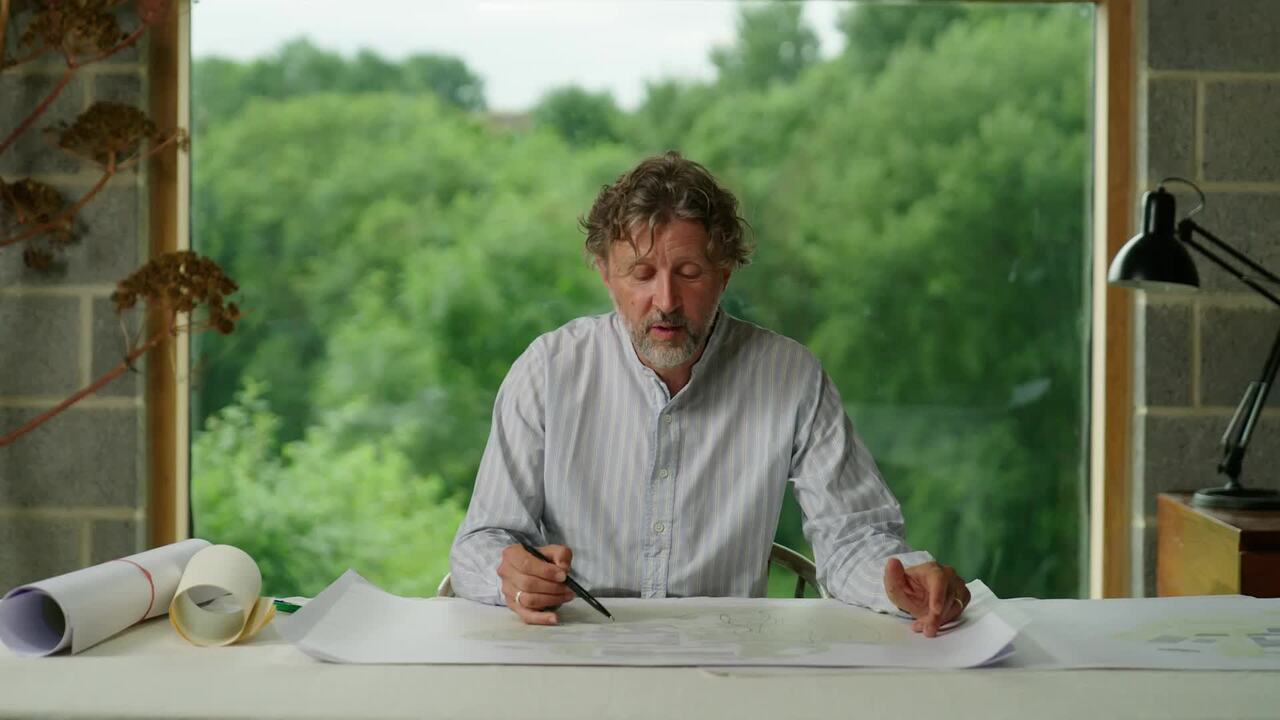
In this lesson, I'll explore the detail of putting together a plant palette and translating this into a planting design that is layered to provide year-round interest whilst being practical to maintain.
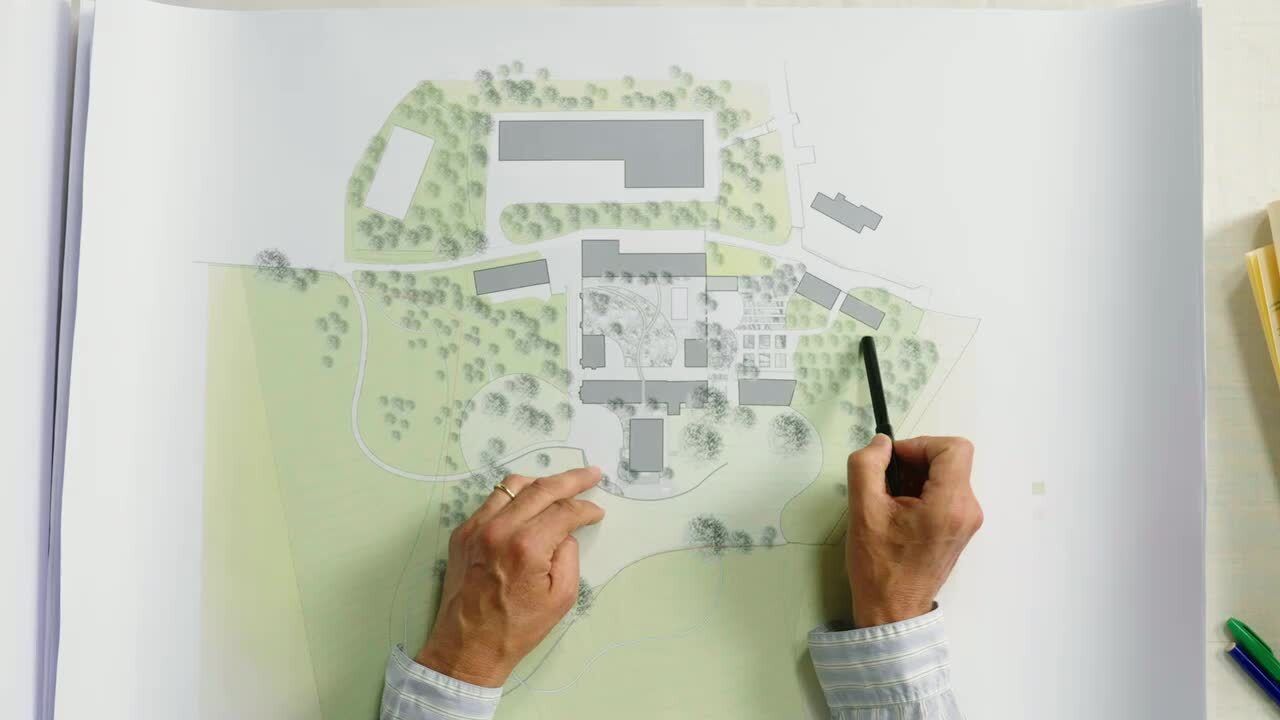
When developing a planting plan, it's always worth putting together a plant list. Plant lists make it easier to then draw up a detailed planting plan. Both the list and plan help you in several ways, including:
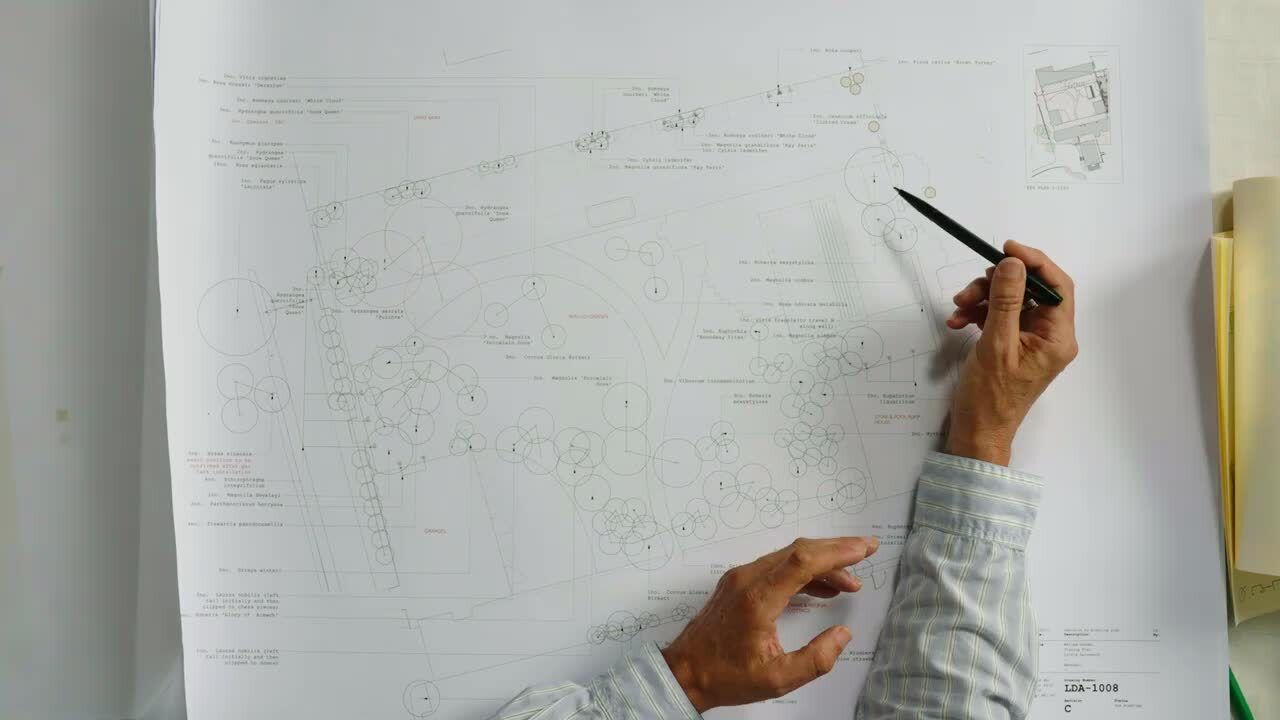
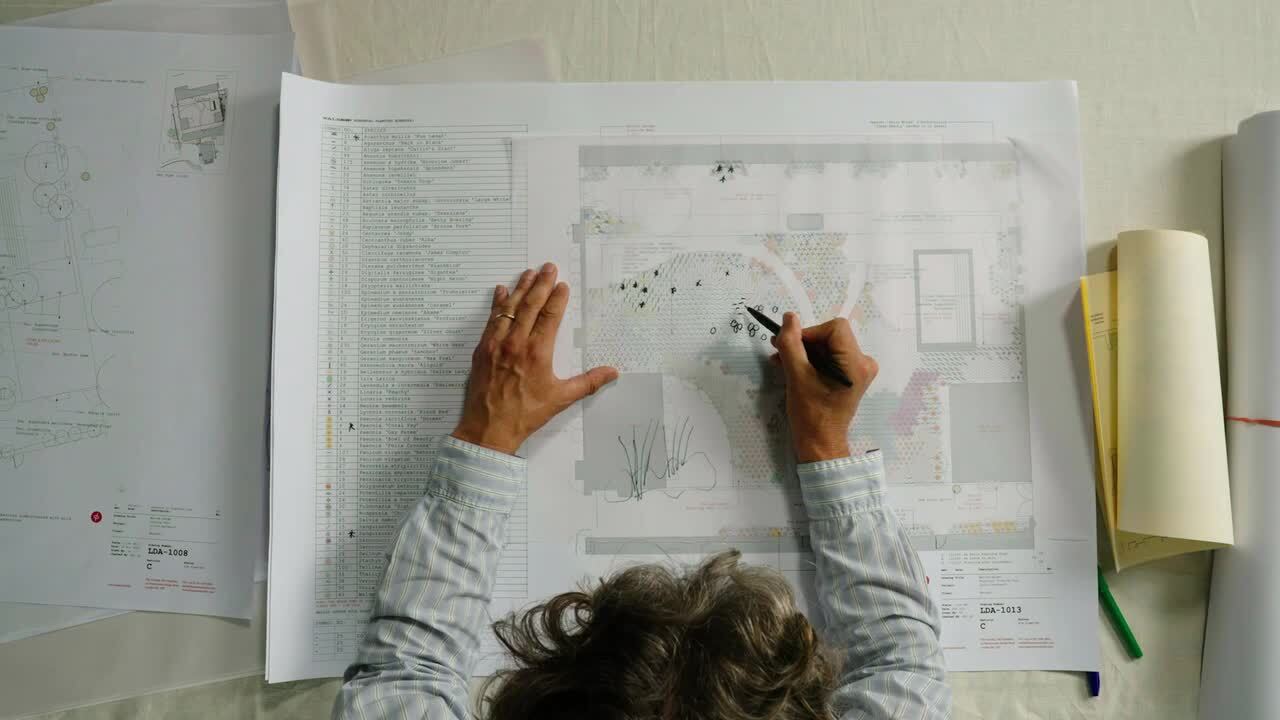
When working out the numbers of perennials you will want, I take an average and imagine the plants are all 30 cm apart. I then draw an icon representing a 30 cm area and flood the whole planting plan with those. Then I fill in those icons in sequence: emergents first, then mid-layer perennials, then ground covers.
Once I've got the approximate numbers for the space, I can fine-tune this according to the plant size and purpose; for example, whether I want dense swathes, like Iris lazica, or distinct exclamation marks, like Acanthus.
Once I've drawn up my plant list and put all the plants in alphabetical order, each plant is given an icon, and the icons are then placed according to how I want the plants to go into the garden.
1. My first step in putting a perennial planting plan together is to identify the emergents.
2. Then, I think about where to place these emergents to create height and animation.
3. Then I think about what would sit well underneath the emergents, and start to fill in the mid-layer of perennials that mingle at a lower level.
4. The next layer below that is the ground covers. These glue everything together, coming right down to the path edges and mingling amongst the plants that rise above them during the season.
5. Finally, I make a bulb planting plan.
Designing a perennial layer is a process of elimination. Identify and place your key plants first, then fill in the layers that flood between them, and finally, add the ground covers that tuck in underneath.
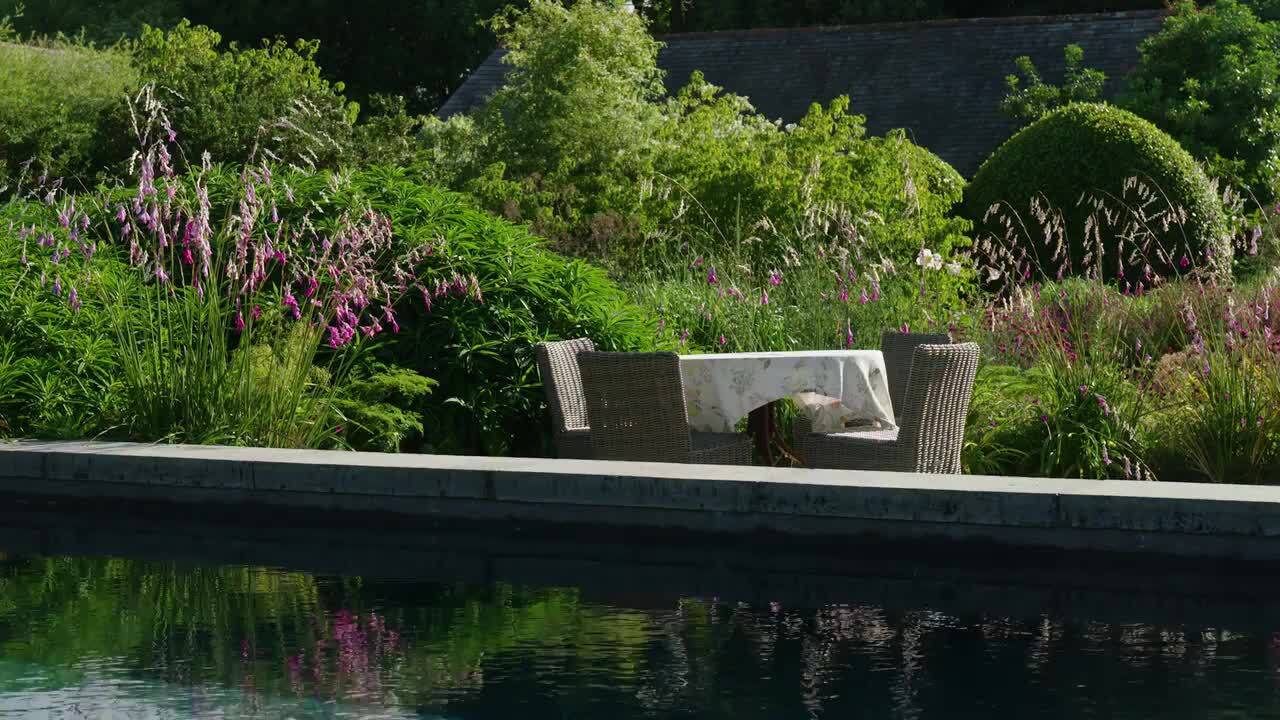
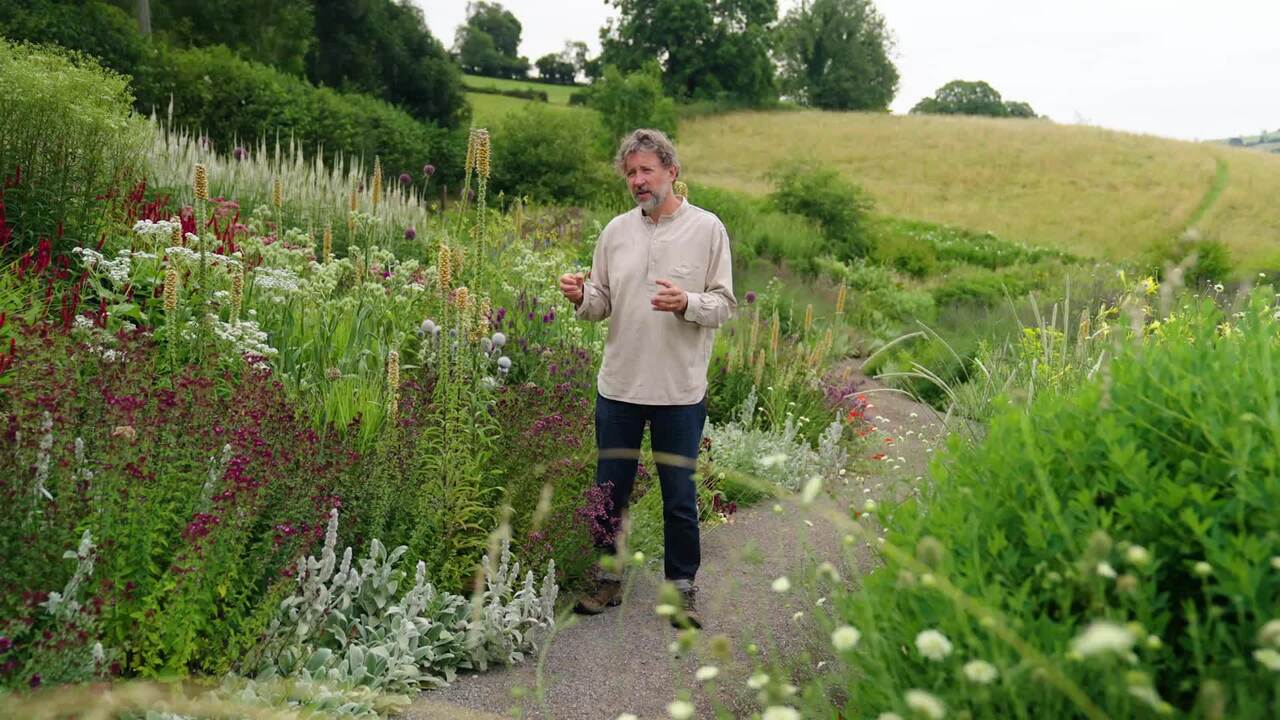
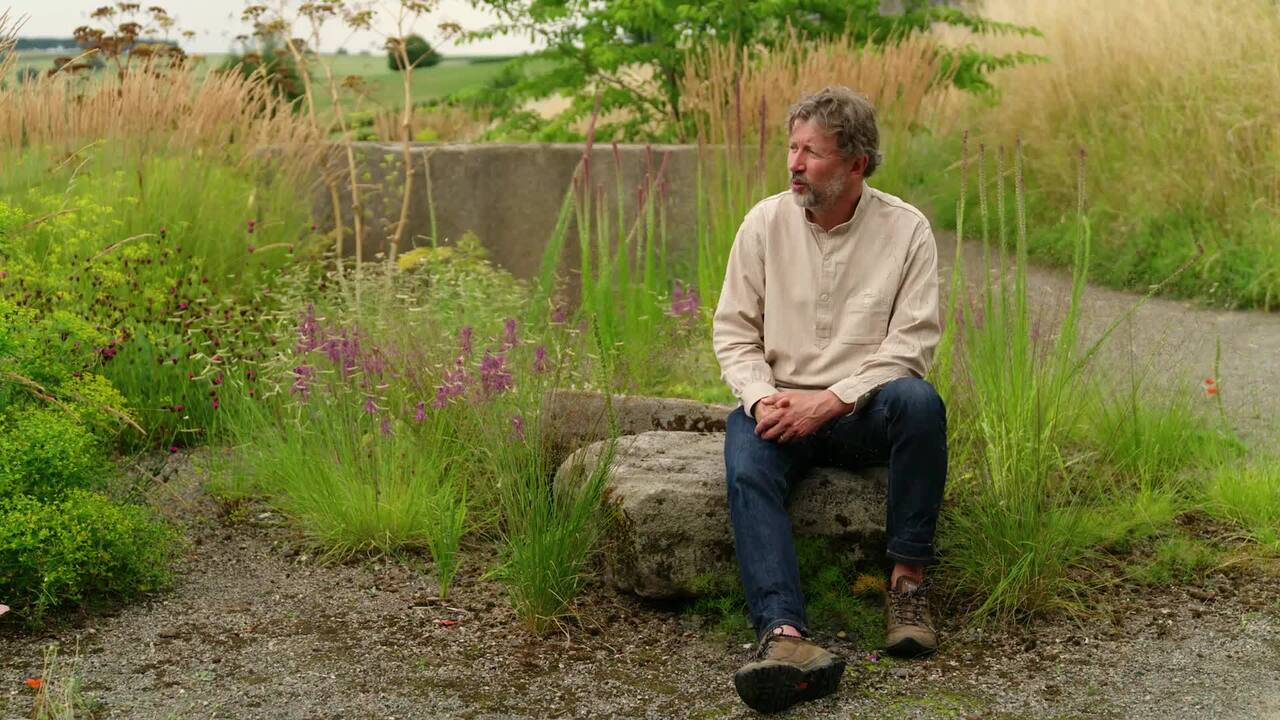
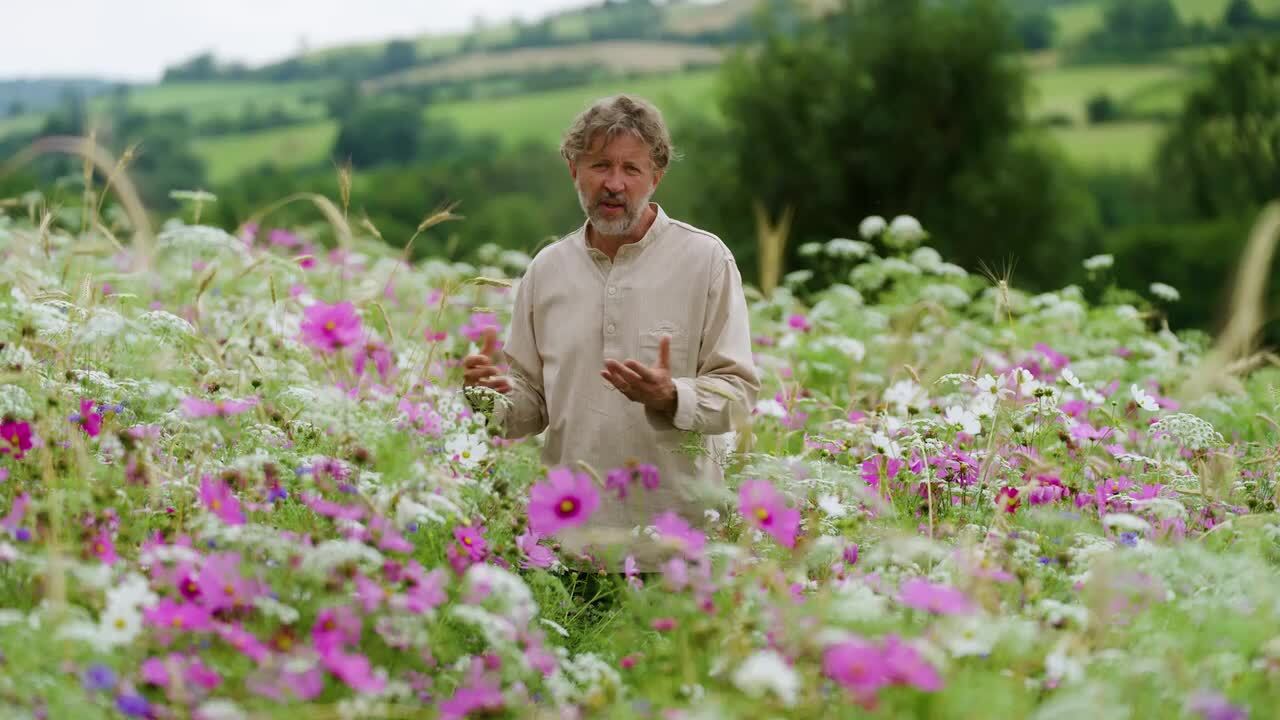
When I'm thinking about how to bring a planting together, with moments of excitement and quieter moments as a counterpoint, I consider the journey the garden can take you on using colour.
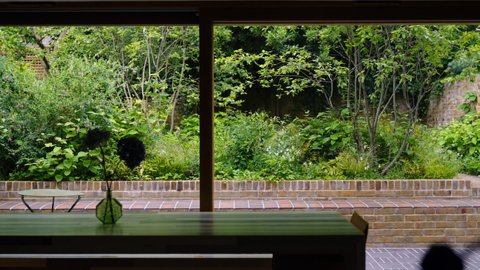
I've made the central open glade of the walled garden the place where the colour field happens. You come into the garden through the shade of the evergreens, then emerge into a pool of light and colour.
I also consider how I can harness microclimates to feed other senses. Against the west-facing wall, I've used scented plants: when the evening sun heats up the wall, the scent is liberated and fills that corner.
If your borders are deep, you can play with the quantity and intensity of plants. The most complex planting tends to be alongside paths and around seating areas, where you can see into the edges. The planting then gets simpler the further you get from the paths, finishing with very simple moves at the back.
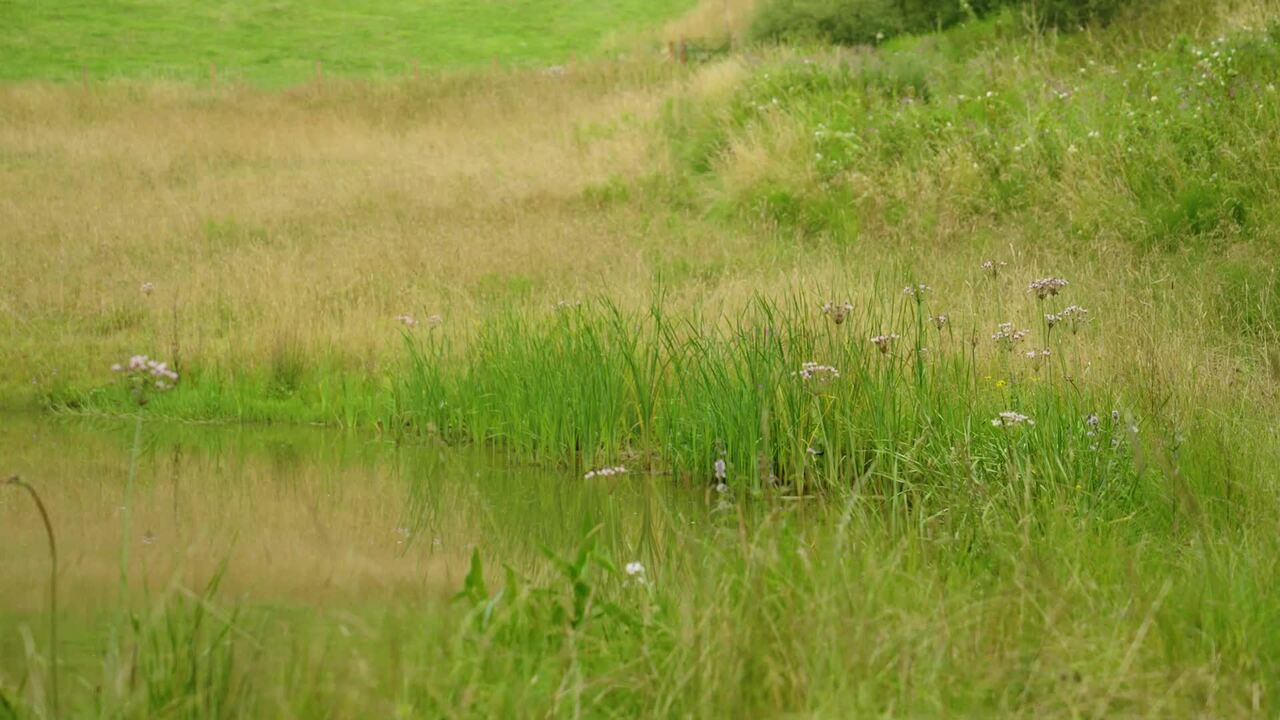
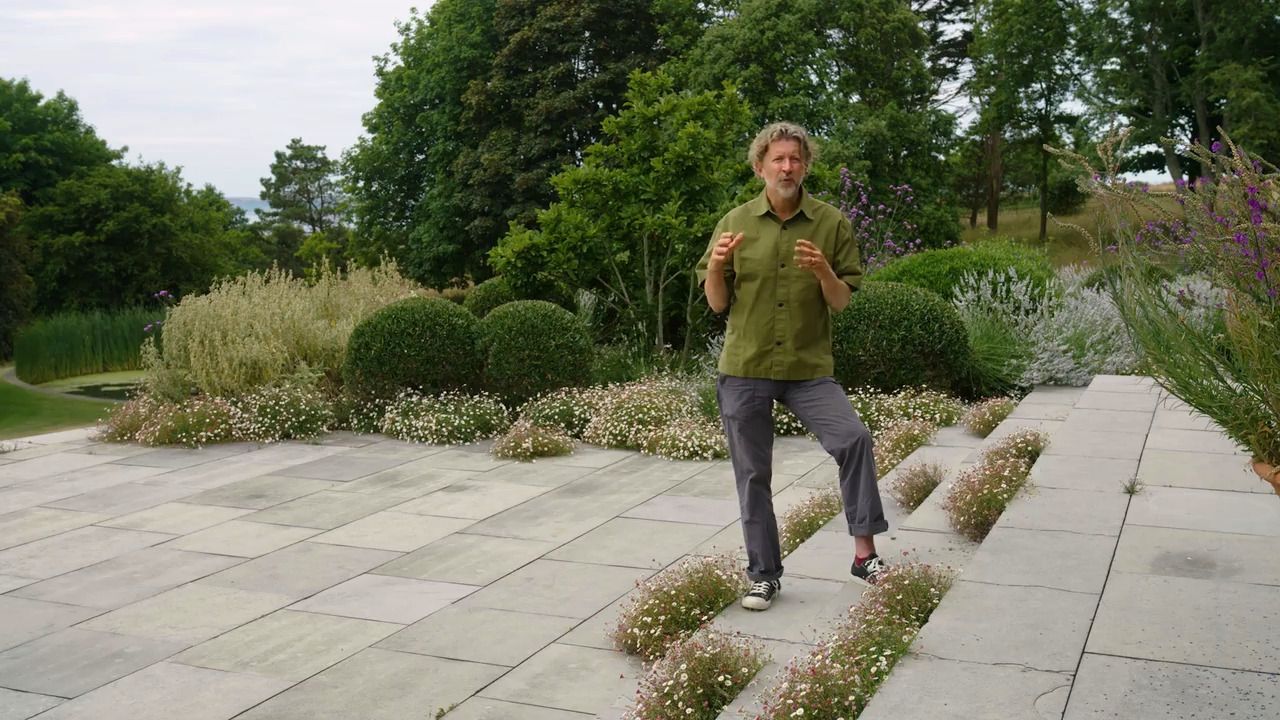
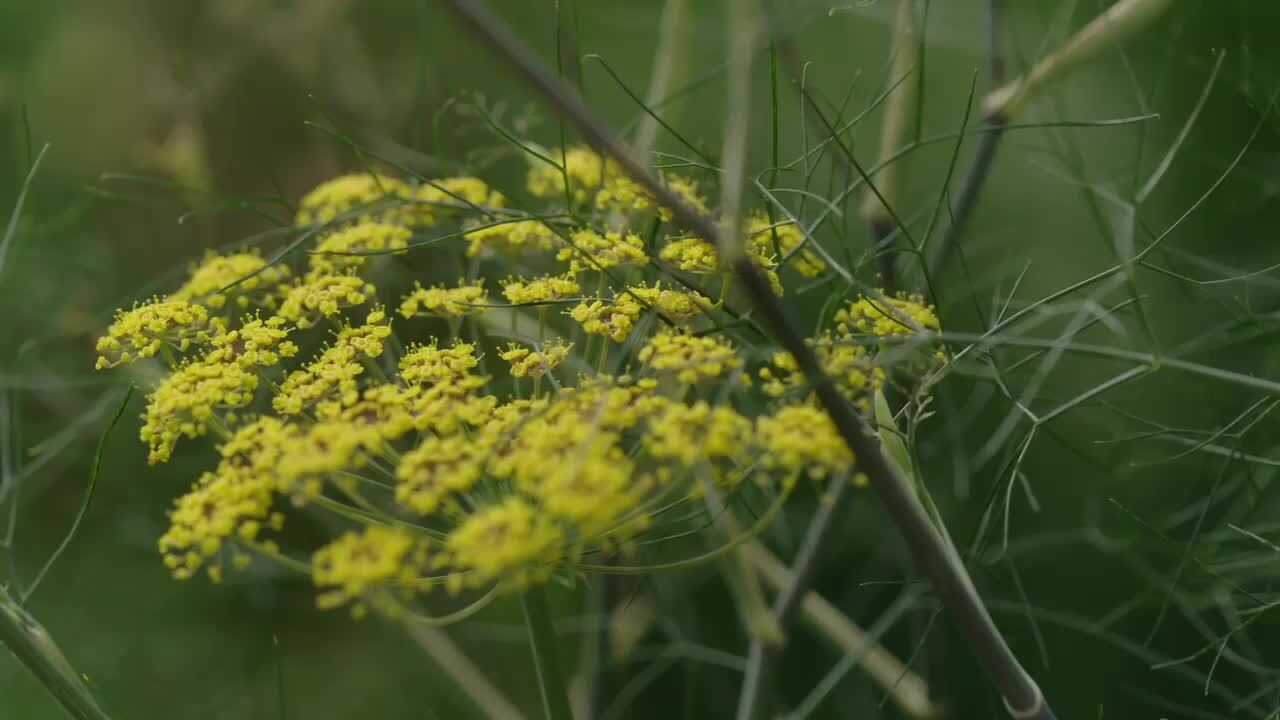
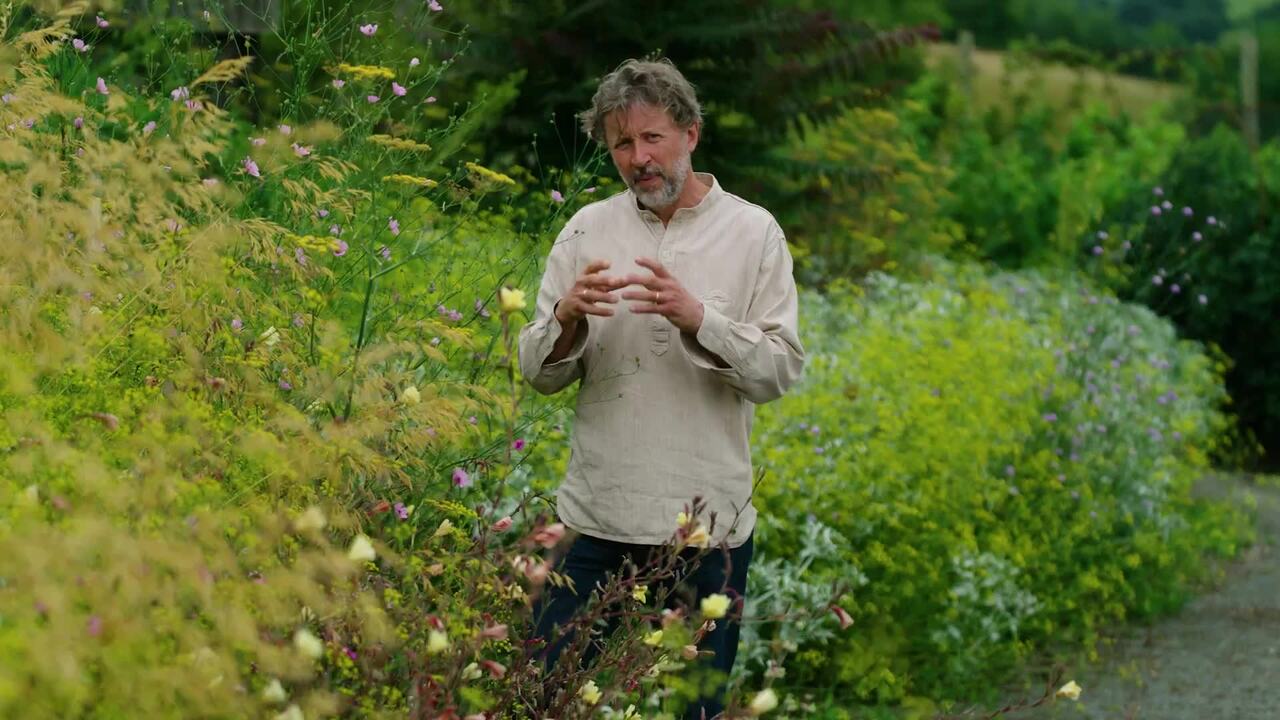
It's important to always think about a framework of good form and texture. The textures of greens and foliage underpin and support the ephemeral moments of colour that come and go in a garden.
So I've got quite large areas of this garden – probably about two-thirds – that are predominantly green. We've played with contrasting leaf forms and textures, which all work together to provide interest.
For example:
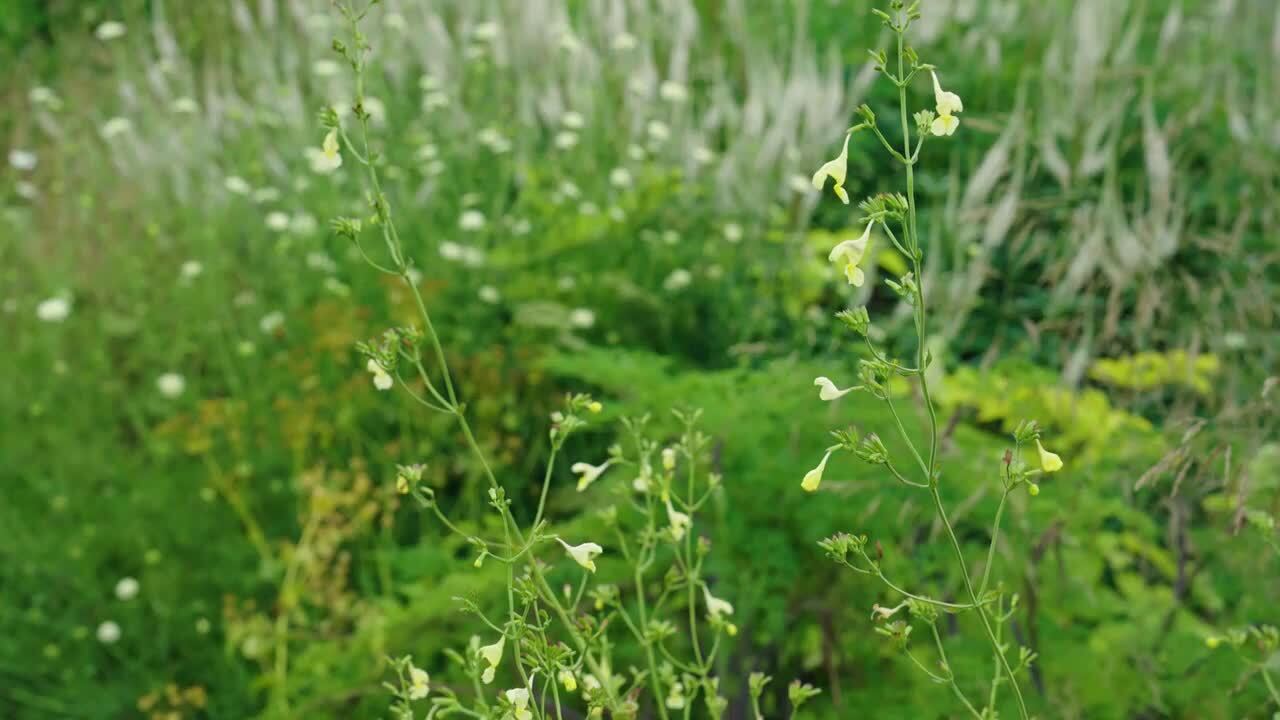
In other parts of the site where I don't want the eye to be caught up in dramatic foliage, I've used small foliage with low-key textures.
If you want to draw the eye, you can use large foliage to achieve the opposite effect.
You can use the leaf form, texture and size to modulate how a space feels and is moved through, where your eye gravitates towards, and create backdrops to the more ephemeral colours from flowers.
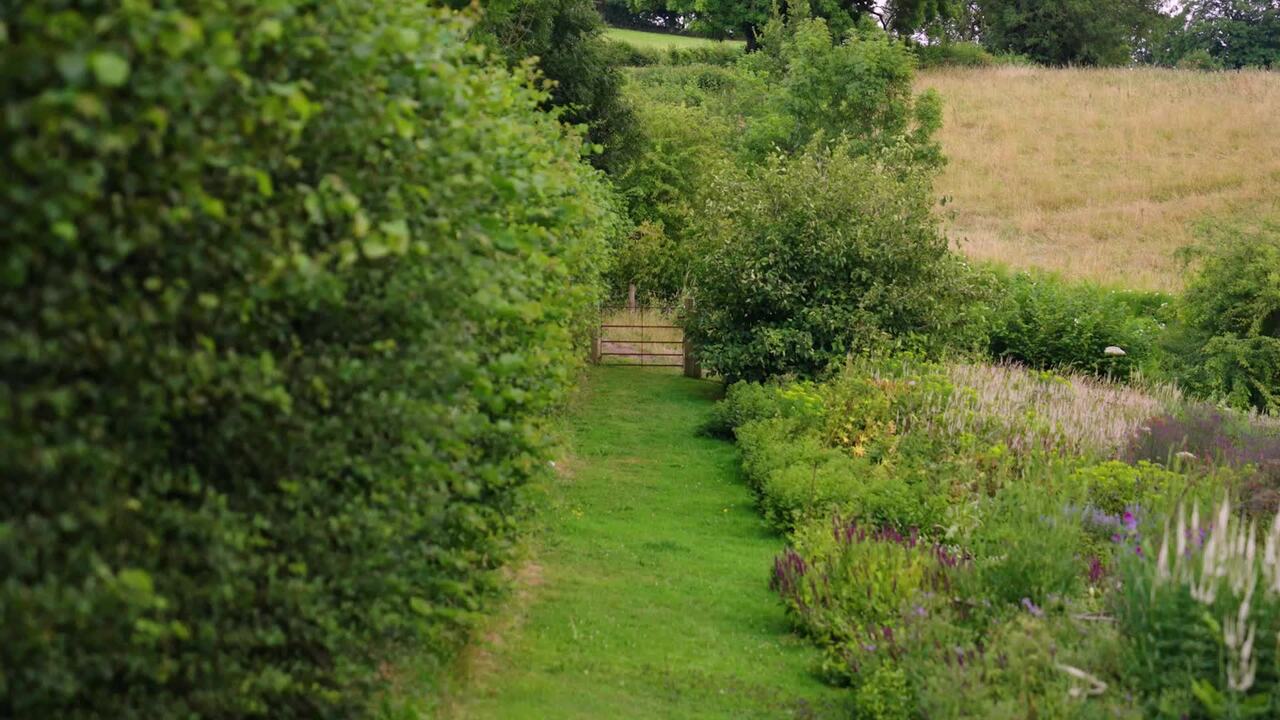
When putting a planting plan together, it's important to consider how many hours you might need to put into maintaining this garden. Here, the beds are densely planted with ground cover to reduce weeding.
The back sections of the walled garden are nearly all evergreen. The remaining three more dynamic front sections make up most of the maintenance – this is where the perennials are that need to be cut down once a year and perhaps divided every few years, and where a little staking may be needed.
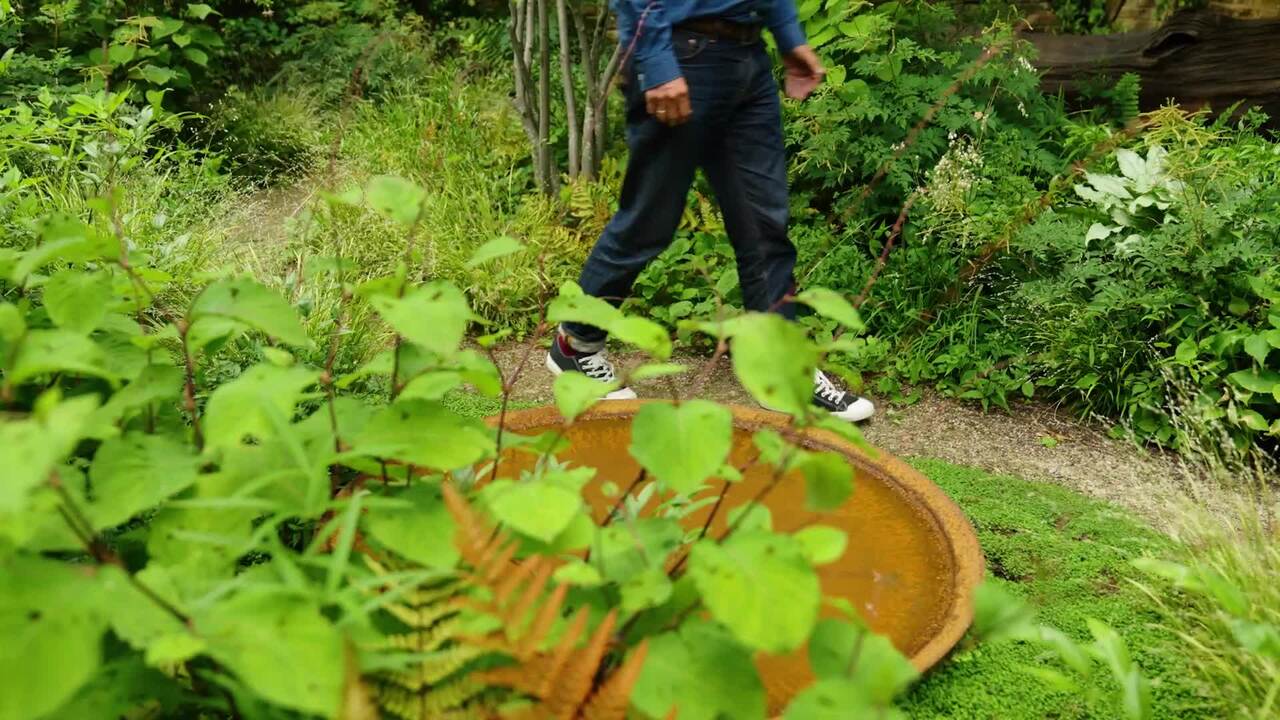
Areas of lower maintenance, such as evergreens, still have access and upkeep considerations. Here, we need to be able to get to the clipped forms to clip them, so we can't plant too densely around them.
So alongside thinking about the aesthetics of the planting, we're also thinking very practically to ensure the garden functions well, that it's easy to move through, and that it's easy to work in the areas that require maintenance.
Iris lazica
Sanguisorba
Anemone × hybrida 'Honorine Jobert'
Tellima grandiflora
Tiarella
Panicum
Hydrangea quercifolia
Magnolia grandiflora 'Kay Parris'
Olearia
Hydrangea aspera
Get the full workbook, video lessons, and more with a Create Academy subscription.
Subscribe to access the full workbookAlready a member? Sign in to watch
437 reviews
Read moreI have subscribed to access all the courses so have watched one on interior design and this one with Butter Wakefield who specialises in small garden design. She ...
Louise Brown
Apr 10, 2026
I love CreateAcademy. I came in for the gardening and floristry courses, but am also watching an interior design one at present. And the photography course is an ...
Wellesley
Apr 1, 2026
What a great investment, I have learned such a lot from the first three courses. My evenings have gone from not being able to find anything that captured my imagi...
sojojo
Mar 30, 2026
I loved this course with Amanda Lindroth! Her approach to decorating is so relaxed and she makes it feel attainable. She explains the reasons behind her decisions...
Elizabeth
Mar 27, 2026
I have subscribed to access all the courses so have watched one on interior design and this one with Butter Wakefield who specialises in small garden design. She has a lovely personality and comes across as ...
Louise Brown
Apr 10, 2026
I love CreateAcademy. I came in for the gardening and floristry courses, but am also watching an interior design one at present. And the photography course is an absolute must, best I've ever done.
Wellesley
Apr 1, 2026
What a great investment, I have learned such a lot from the first three courses. My evenings have gone from not being able to find anything that captured my imagination on TV to learning and expanding my kno...
sojojo
Mar 30, 2026
Your Instructor
Acclaimed naturalistic landscape designer. Multiple Chelsea Gold Medal Winner. OBE.
British landscape designer, horticulturalist and writer Dan Pearson OBE, has been designing award-winning gardens since 1987. His naturalistic use of plants, light-handed approach to design and deep-rooted horticultural knowledge has made him one of the most celebrated and innovative gardeners working today. Dan trained in horticulture at Wisley and Kew, before starting his garden and landscape design practice in 1987. In 2015, his show garden for Chatsworth and Laurent Perrier was awarded a Gold Medal and Best Show Garden at the Chelsea Flower Show. In 2014 Dan was appointed an advisor to the National Trust at Sissinghurst Castle. For over 20 years Dan has written regular gardening columns, with his work a staple of The Observer, and has written a number of best-selling gardening books.

Access to all courses

.jpg)
