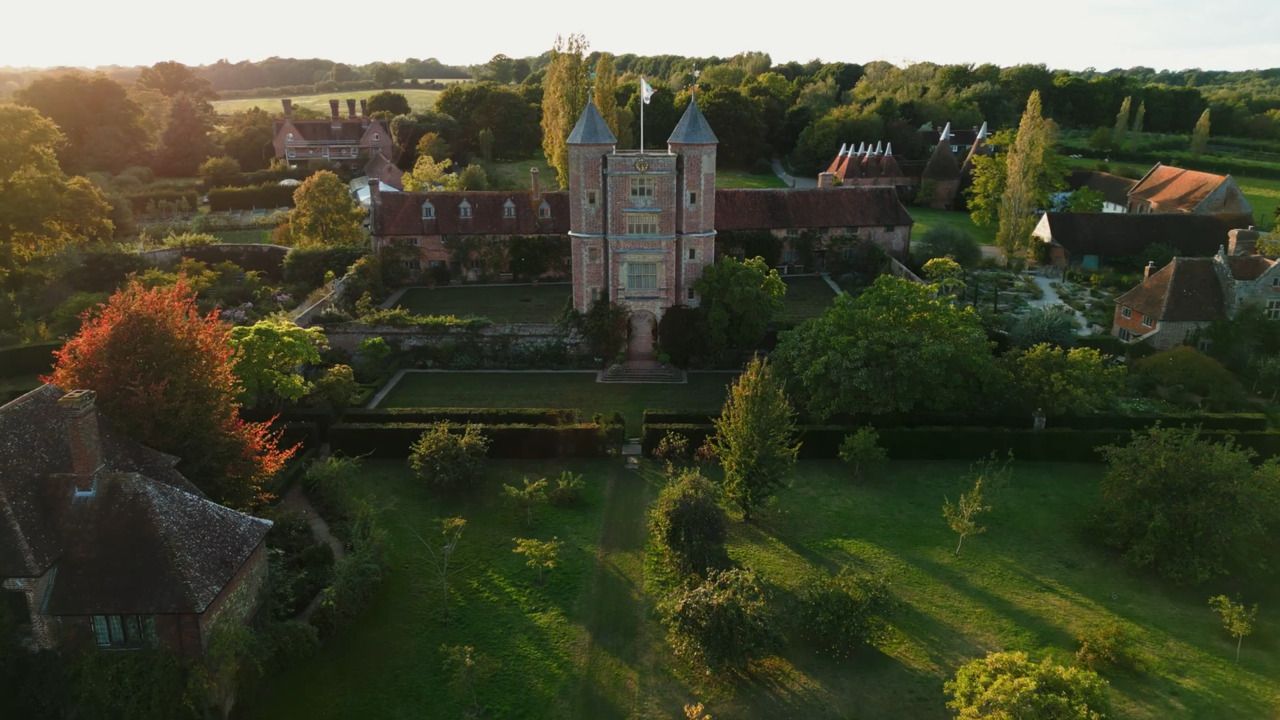
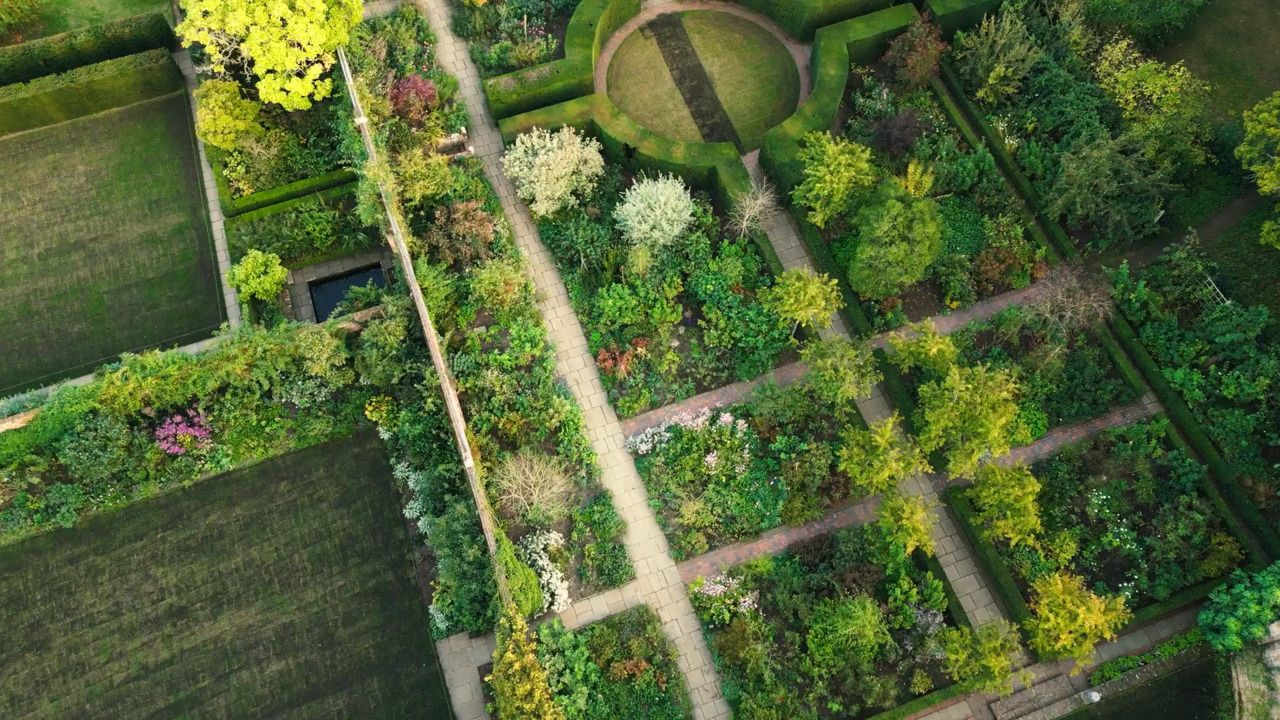
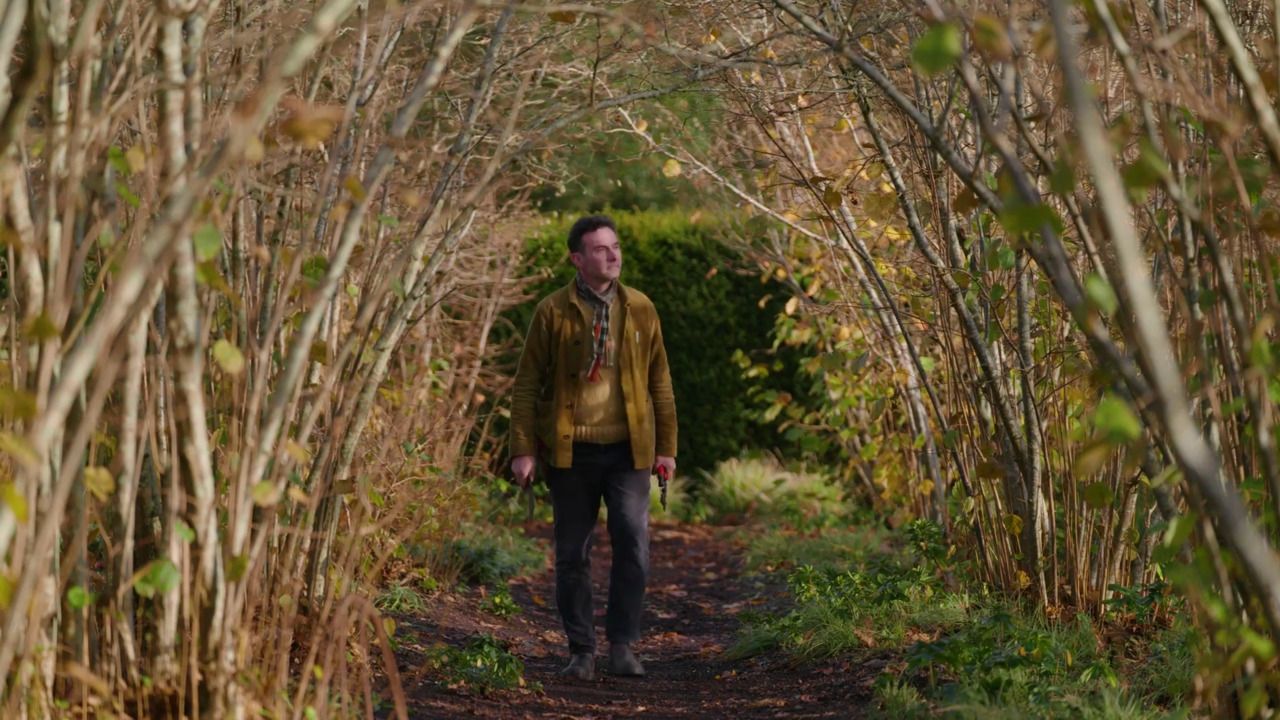
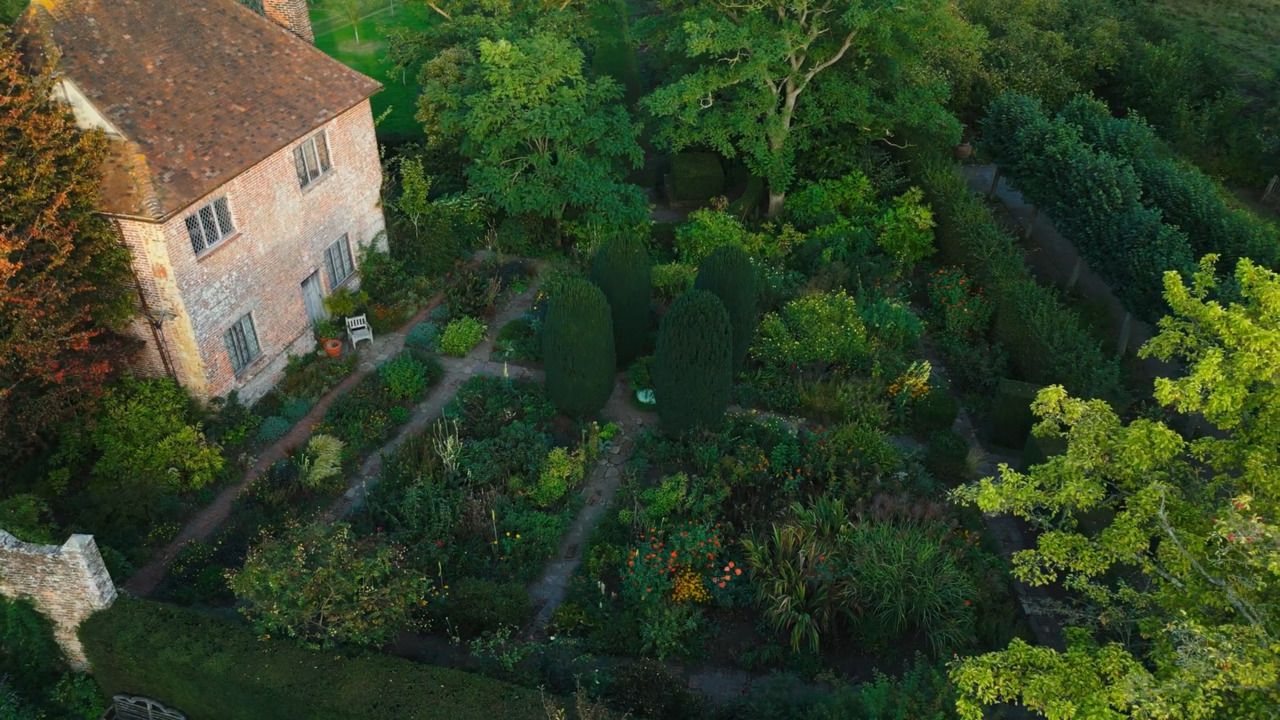
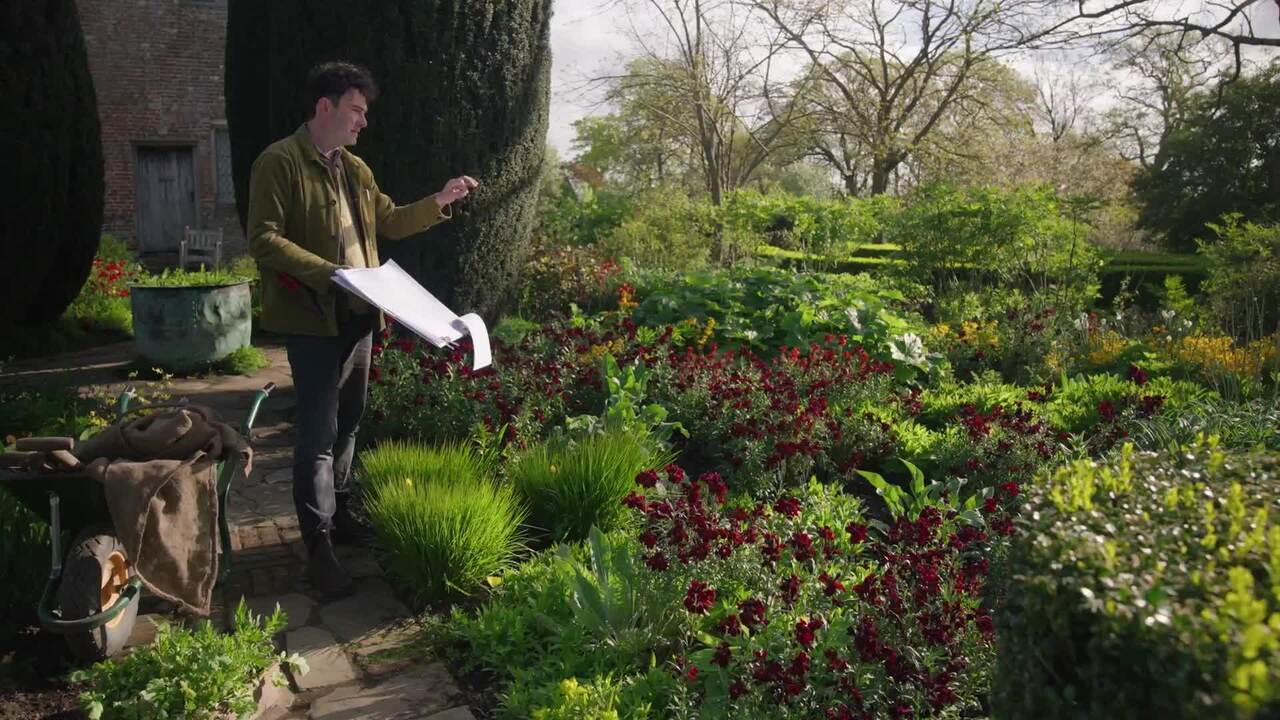
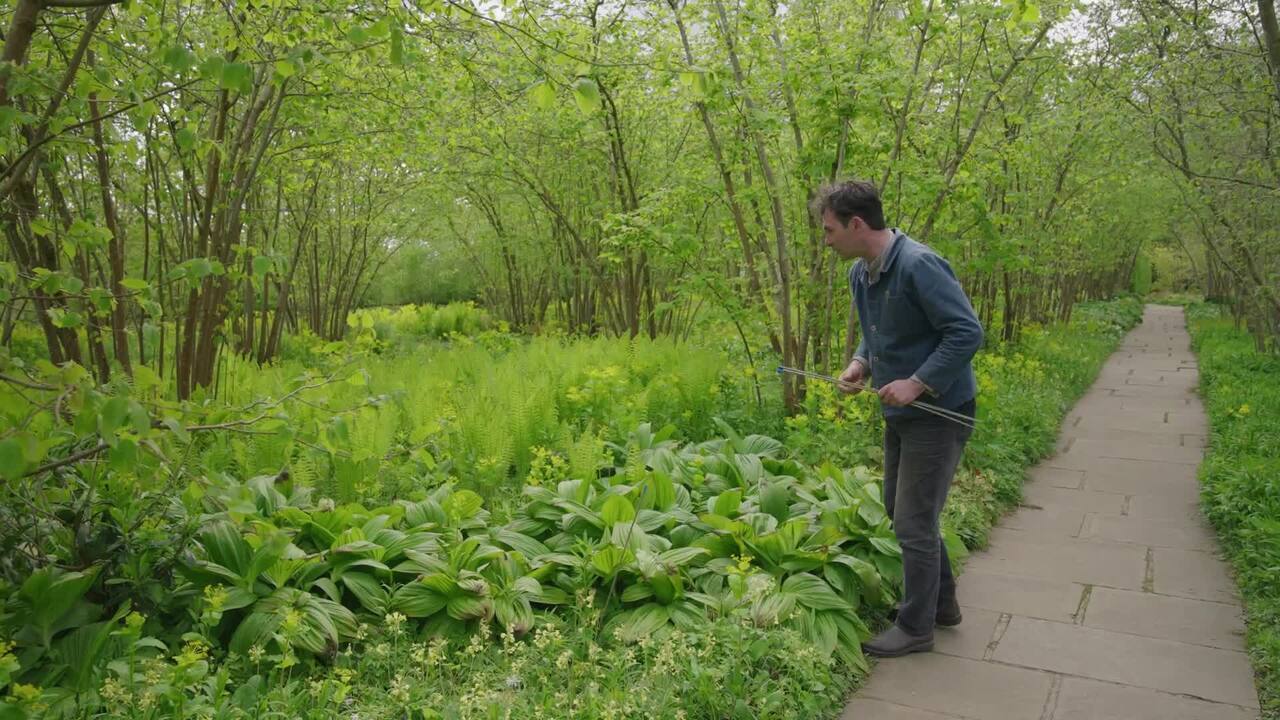
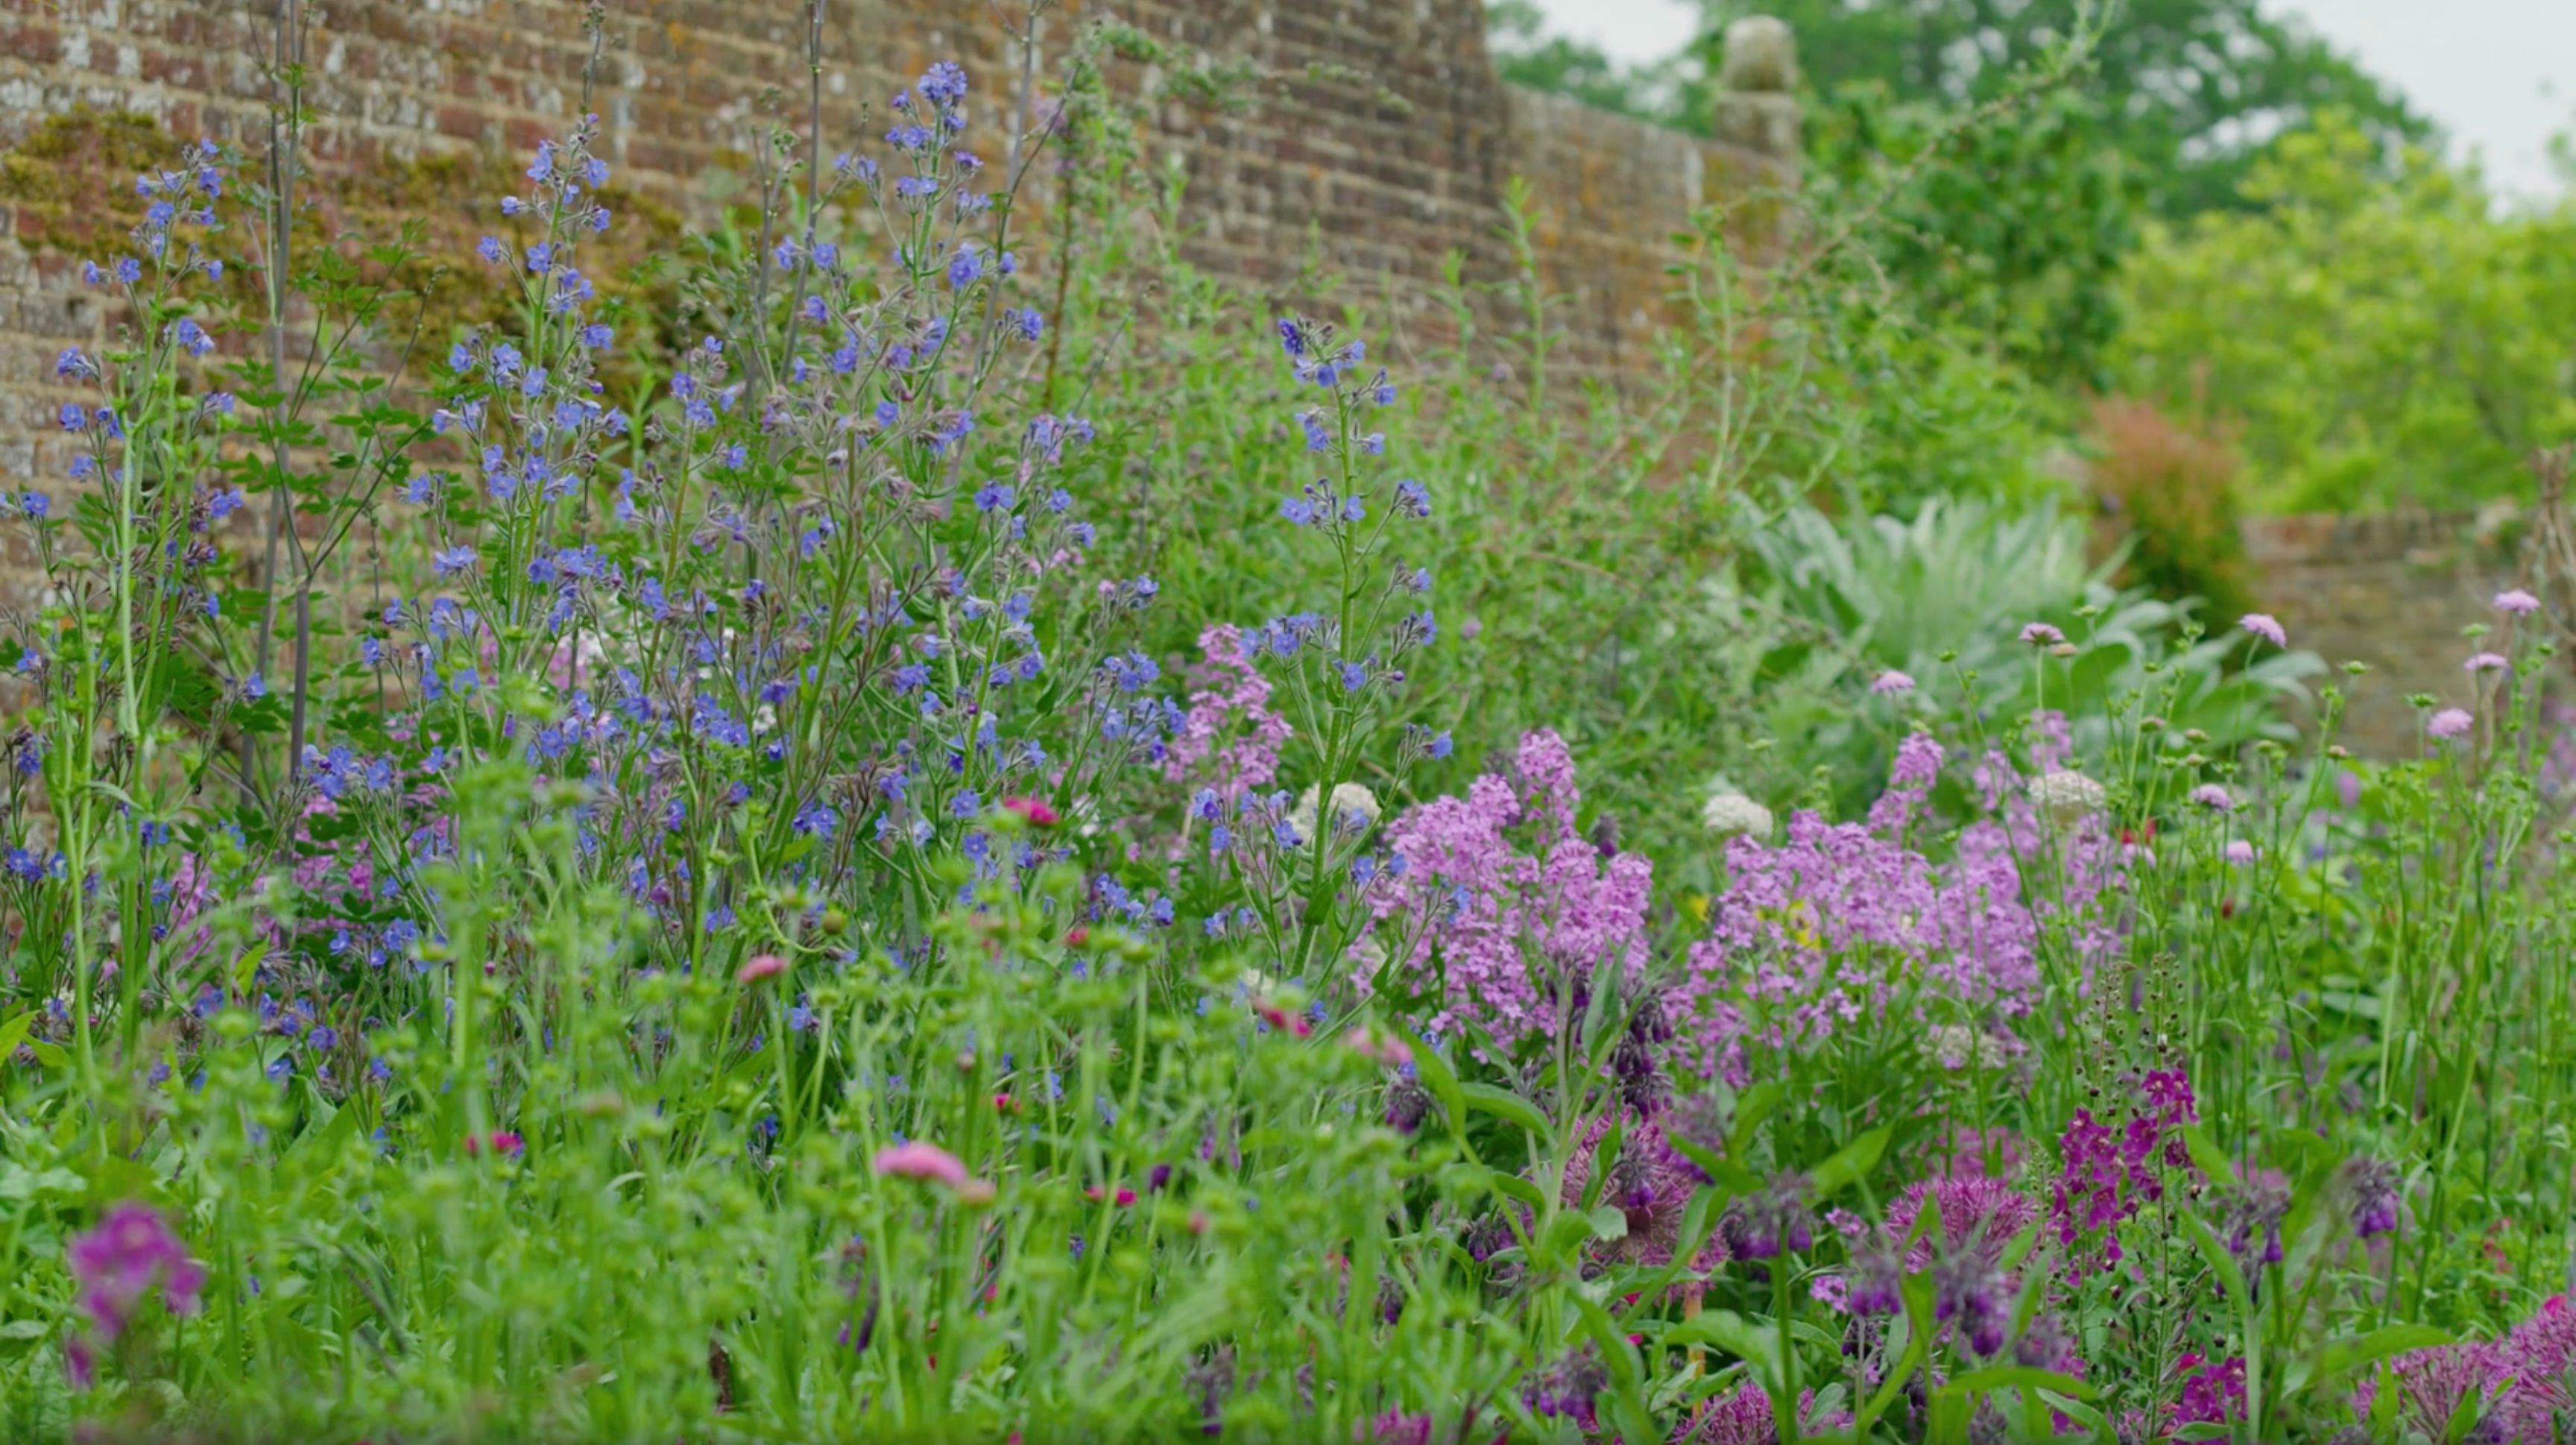
The Art of Gardening at Sissinghurst

Bending a rose into shape - part 2: Creating the structure

with TROY SCOTT SMITH — Head Gardener at Sissinghurst. Garden Writer, Speaker & Lecturer.

Lesson 12 of 56

Rated 4.7/5 on Trustpilot
|

Learn from the world's best creative minds on Create Academy

Bending a rose into shape - part 2: Creating the structure - Video thumbnail

Buy or subscribe to watch

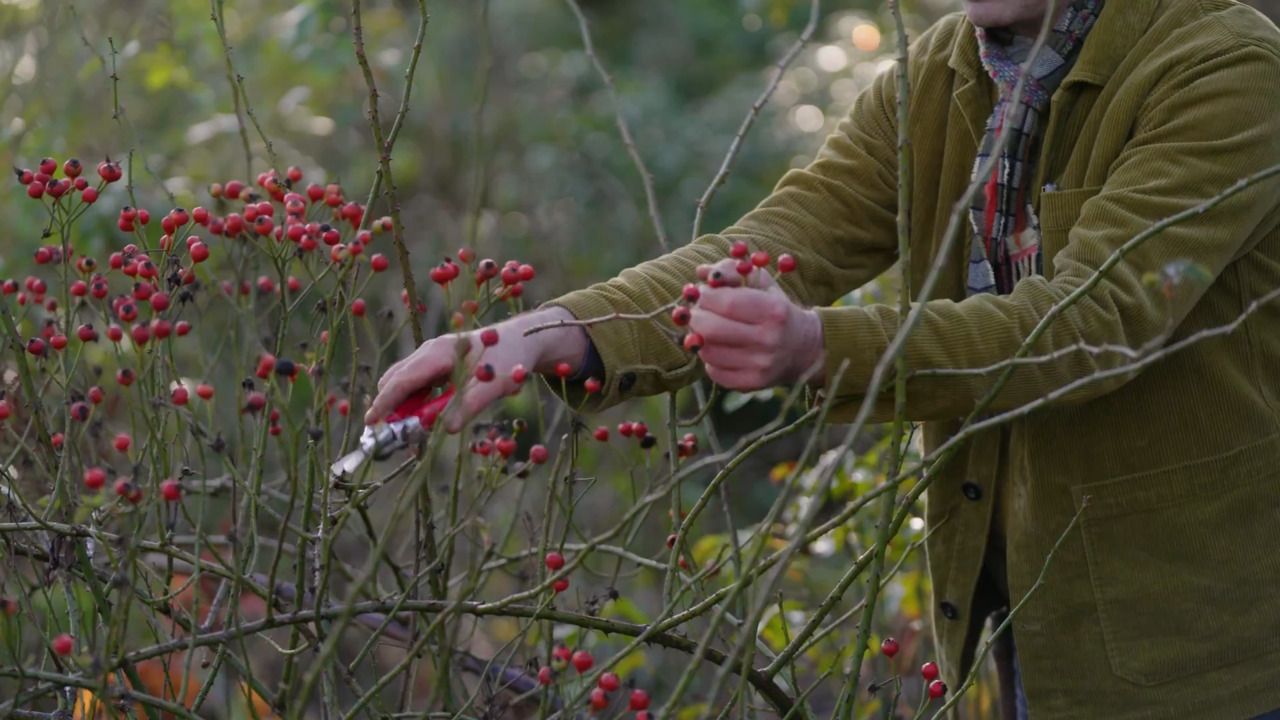
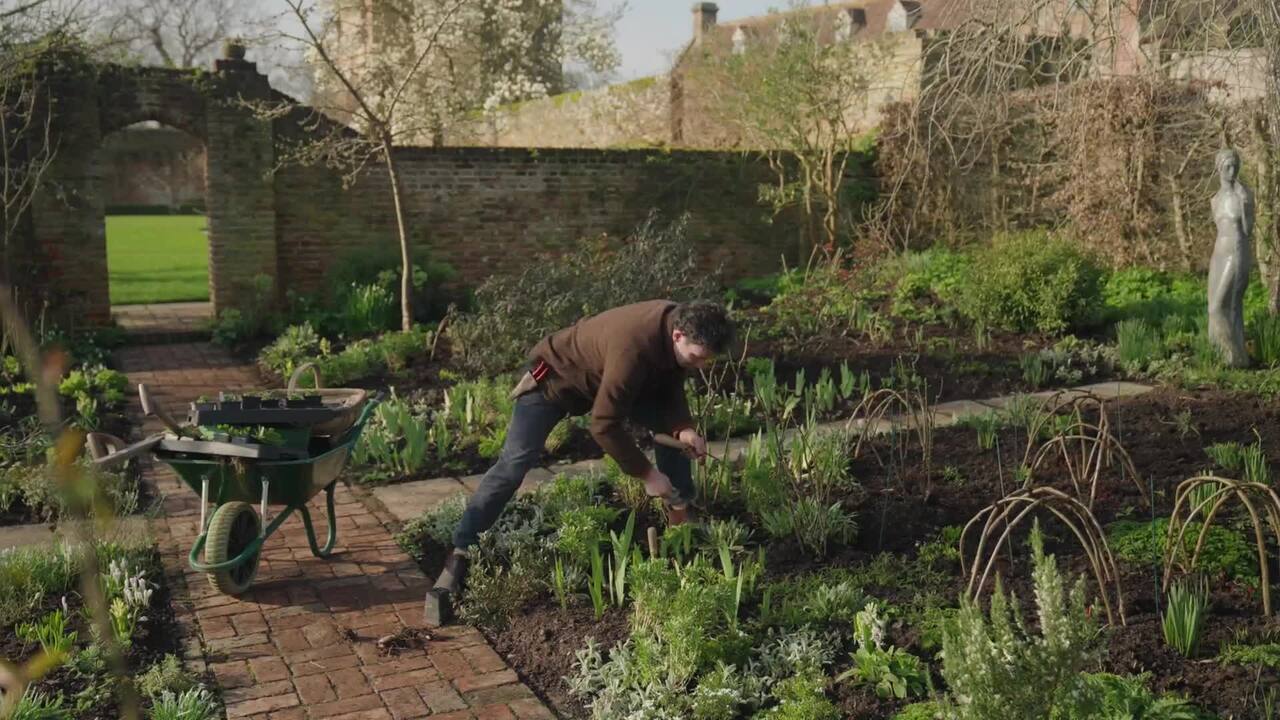
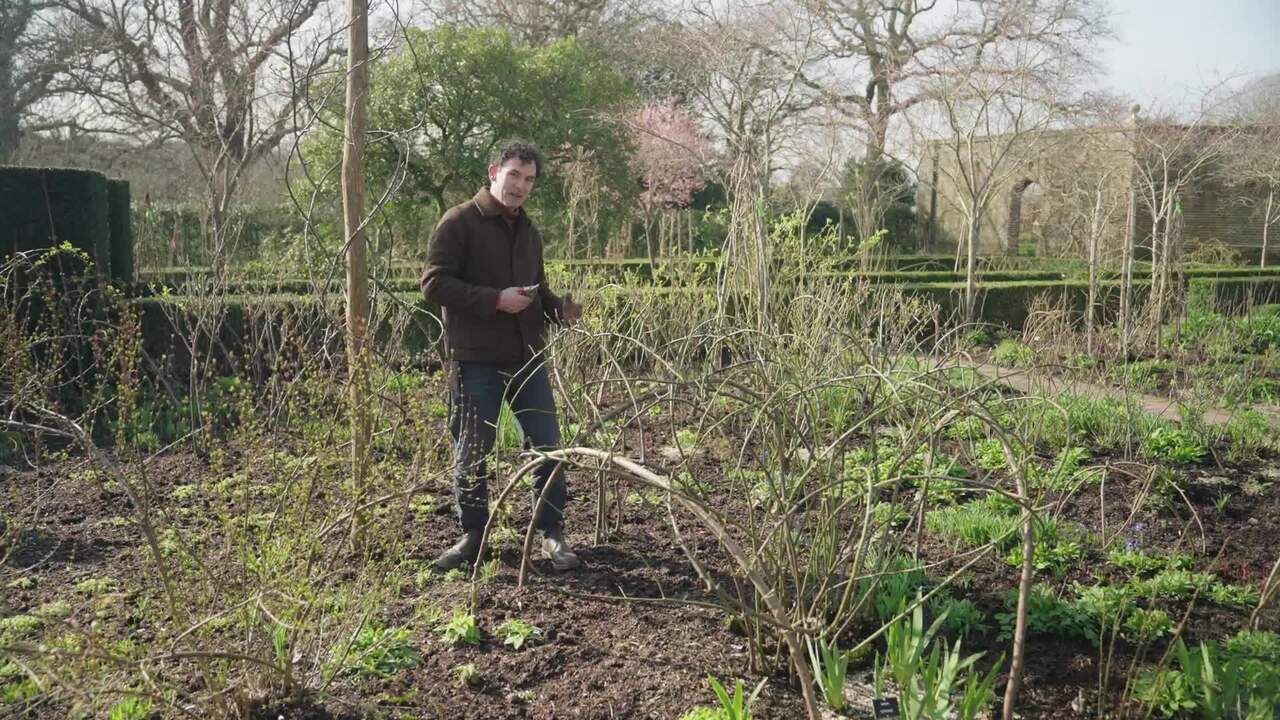
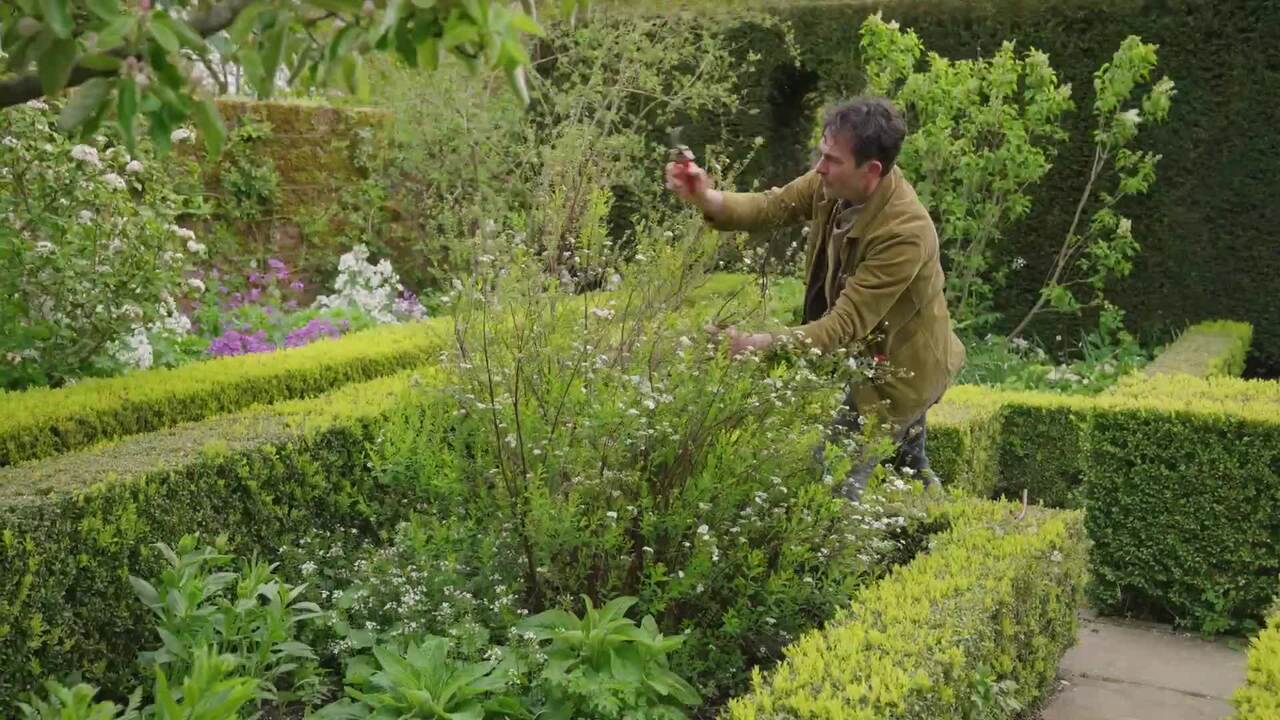
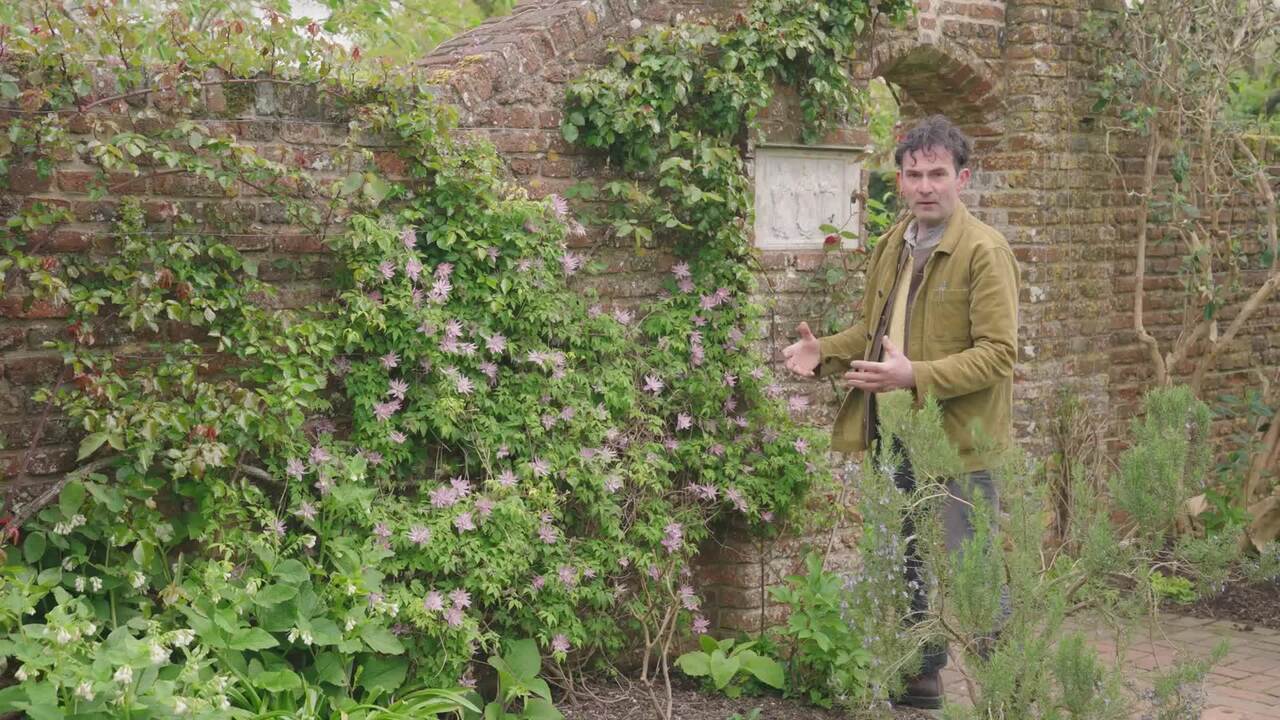
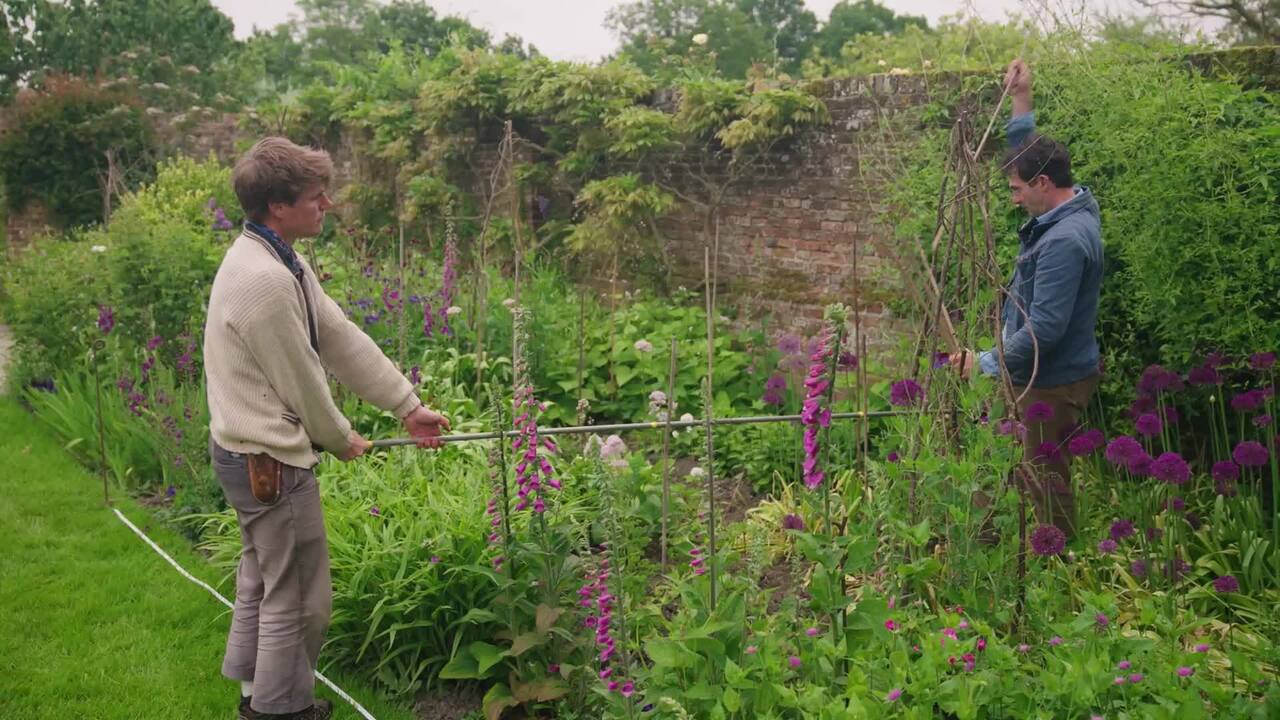
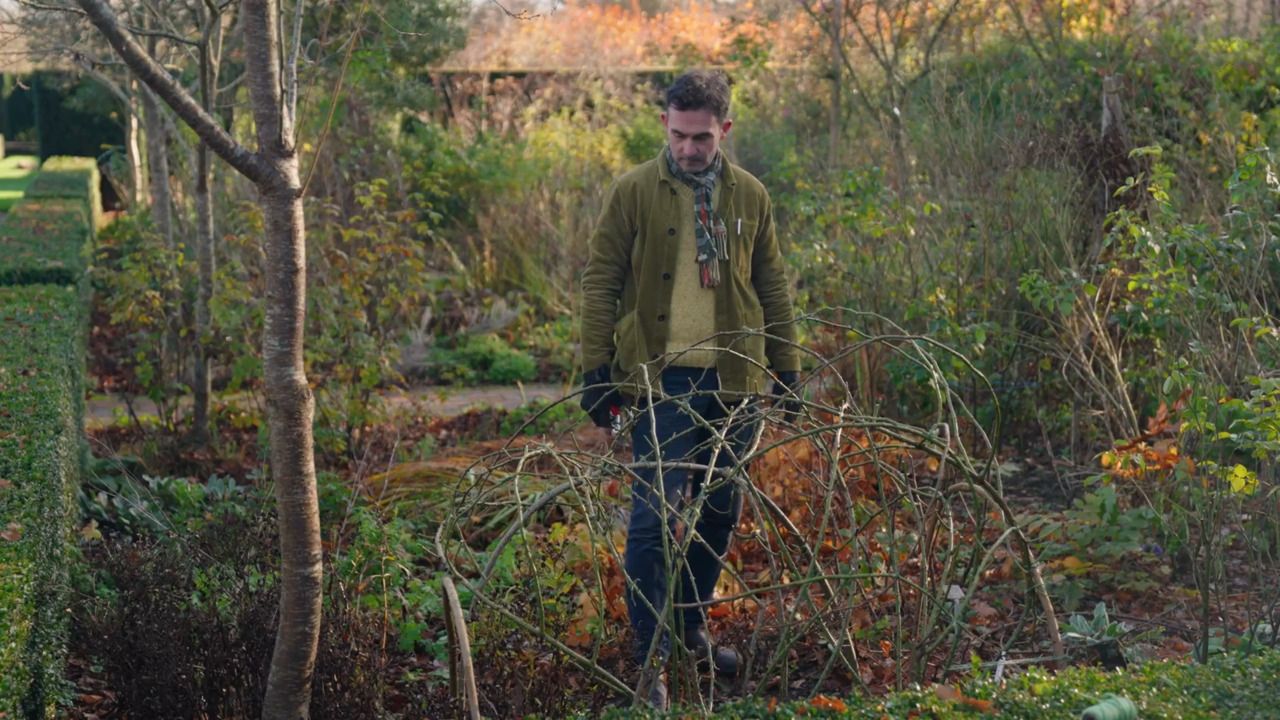
With Troy’s signature attention to detail, we build on the previous lesson with the next series of practical steps to create the perfect trained shrub rose.

From the Lesson Workbook

Bending a Rose into Shape - Part 2: Creating the Structure

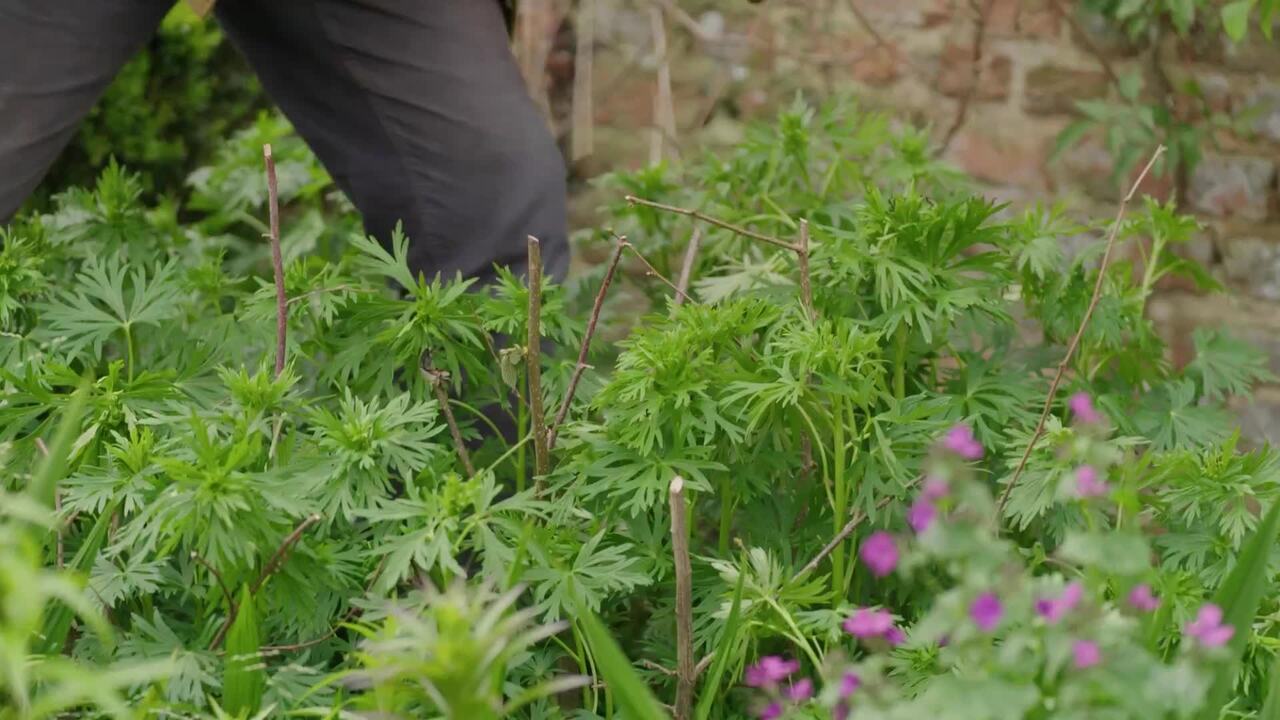
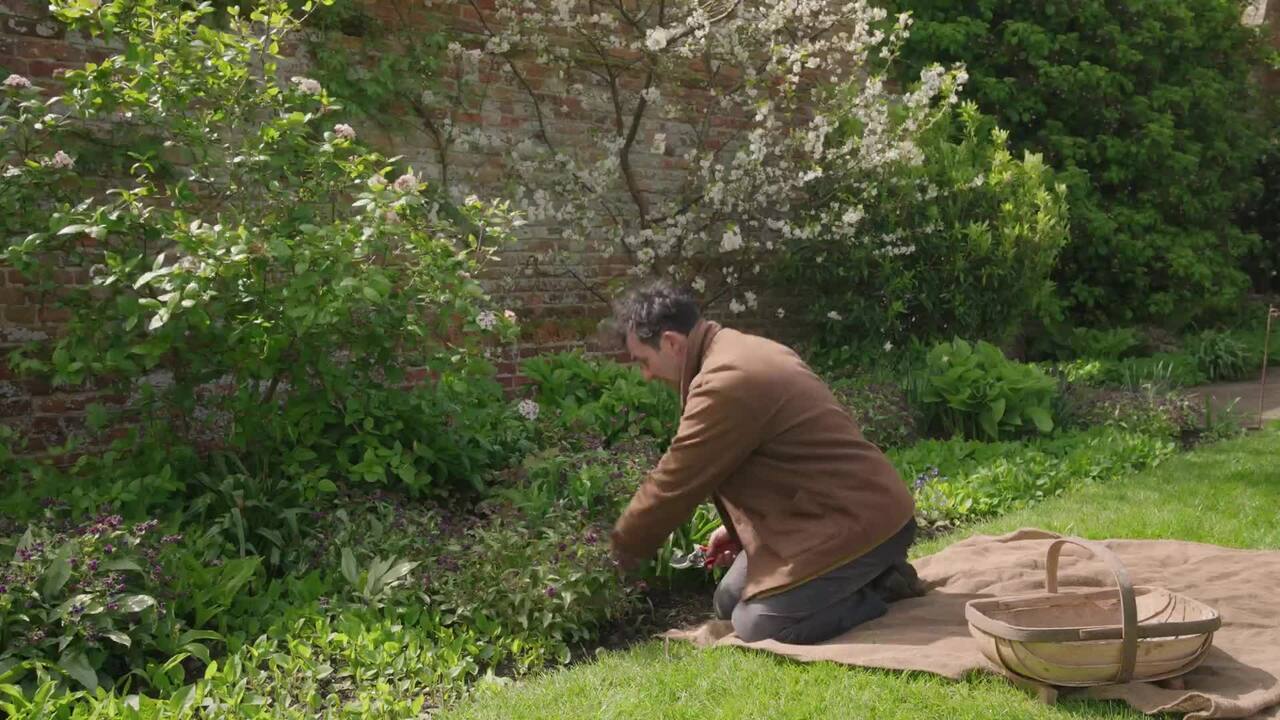
I've coppiced hazel stems from our Nuttery to give long, supple stems to use for benders.

  • If you have room for a hazel or two, you'll find them really useful plants to gather materials from.

Preparing the Hazel Benders

  1. Break a few fibres by bending the stick to a point just before it snaps to take out a bit of the tension, especially at the end; otherwise, when you push the end into the soil, it may fly out. I do this by standing on the end of the stem and bending it upwards.
  2. Take off any side shoots.
  3. Judge how long you need it. Cut the end to a point to make it go into the soil more easily.
  4. Now that I've got three sticks of a similar length, I'll go back into the bed and position them.

Placing the Hazel Benders

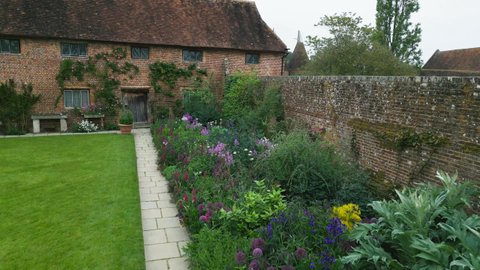
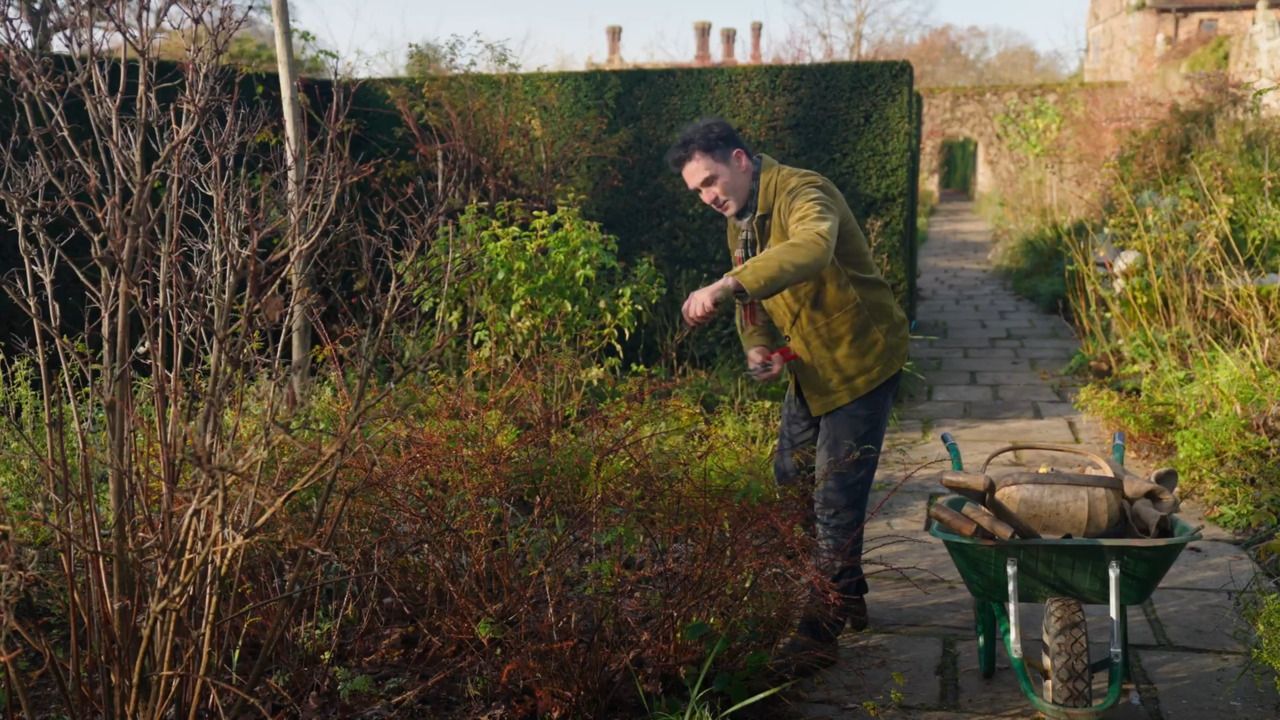
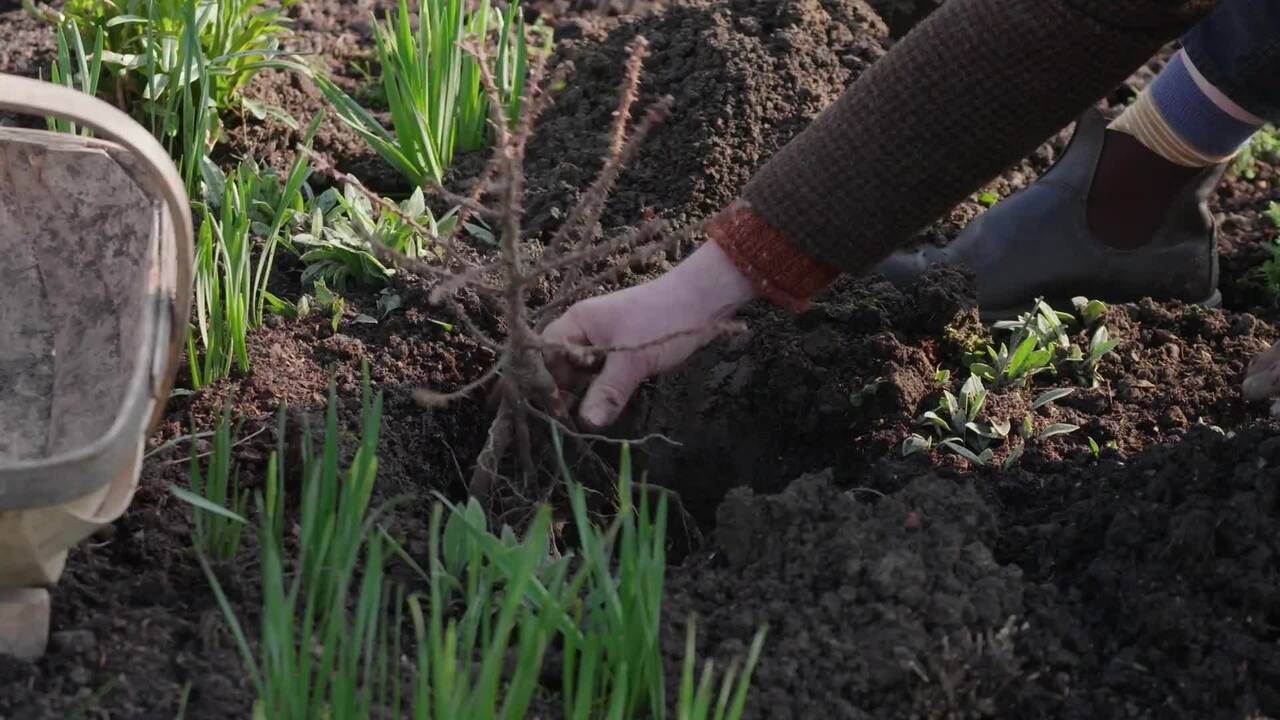
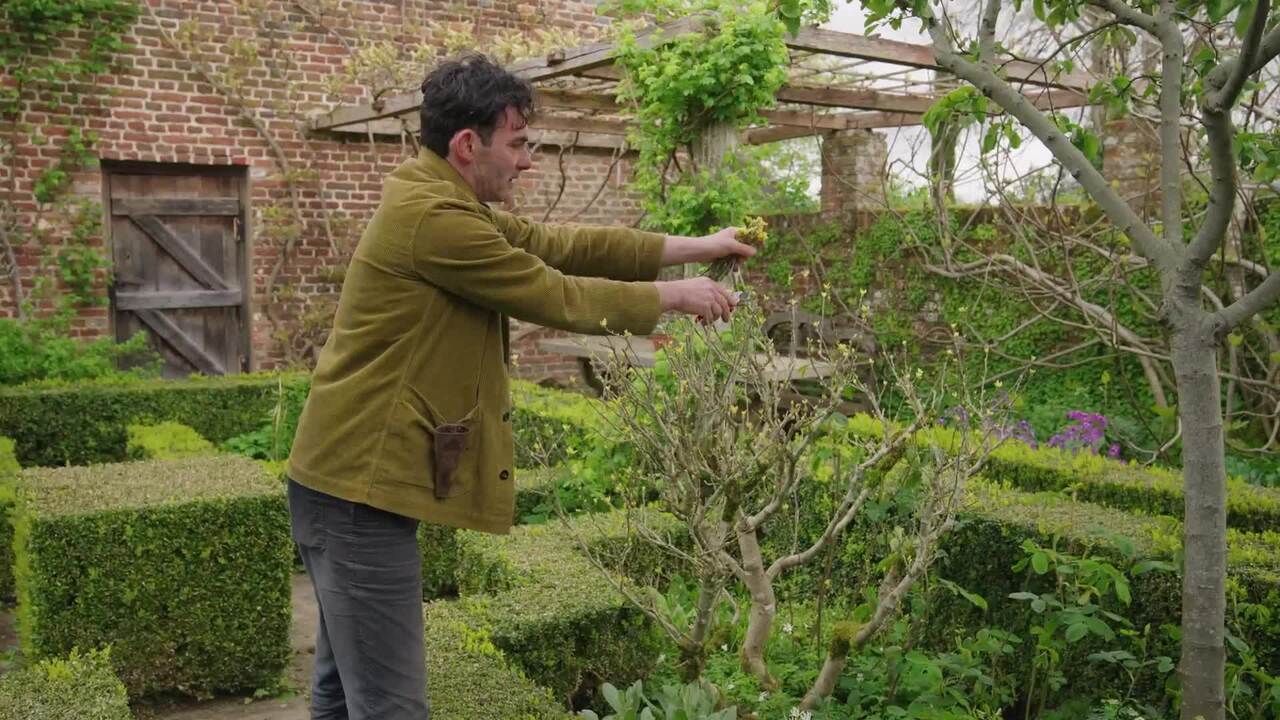
This rose was planted too close to the low hedge edging the border - there's only about a foot's gap.

  • Plant further back to ensure you can bend the stems in both directions.
  • As I need to bend them all away from the hedge, I need to put in the bender at the back (furthest side from the hedge) first, as that's the one that a lot of the stems will be tied to.

Equipment

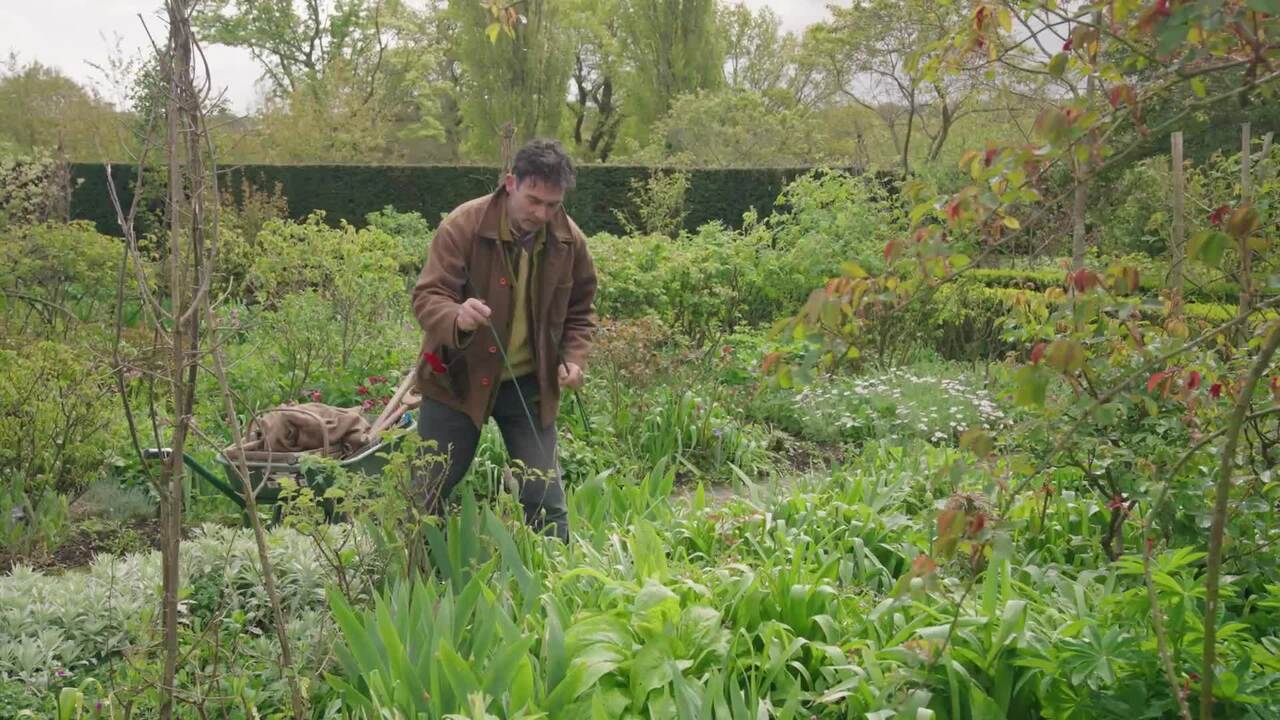
Be careful when putting in the benders - you may want to wear safety goggles as well as gloves to protect from the springy benders and the thorny stems. You may also wish to lay down some wooden planks or boards to avoid compacting the soil too much as you move round the rose.

Process

  1. Push the stick vertically into the soil (about a foot) rather than at an angle, which makes a more pleasing shape when bent and makes it more anchored.
  2. Bend the stick over and push the other end in about one foot into the soil.
  • Check you're happy with how the stems look when pulled down to the bender.
  • Now you can put in the next benders on either side.
  • There's no rule on how many benders you need - if it's, for instance, a clump of three roses making one mass, you would need more to go around the group. I'm only using three, as my rose is against a low hedge on one side.
  1. Put the next bender quite close to the first one; otherwise, you'll have too much of a gap in the stems.
  • As before, push the first end in one foot deep, bend it over and put the other end in one foot deep.
  • I think about all the little artistic details - the benders have a thin end and a thick end, so I'll think about which way round I want to put them in, and put the thin end of one next to the thick end of another so it goes thin, thick, thin, thick, thin, thick.
  1. Check that the height of the second bender is similar to the first.
  • Sometimes you might make it intentionally uneven - if it's at the back of a bed and you don't see it from the back, you'd have a higher bender at the back so that it presents the rose more to the front.
  • This rose is viewed from all directions, so I want the heights quite even.

Creating a Work of Art

If a bender is too low, you may need to replace it with a longer stick.

  • The choice is yours as you're creating this work of art - you might like the fluid energy that pushing some stems lower has created.
  • There's artistic merit and also consideration of the planting underneath - will it grow tall and collide with the rose?

Choice of String Makes a Difference

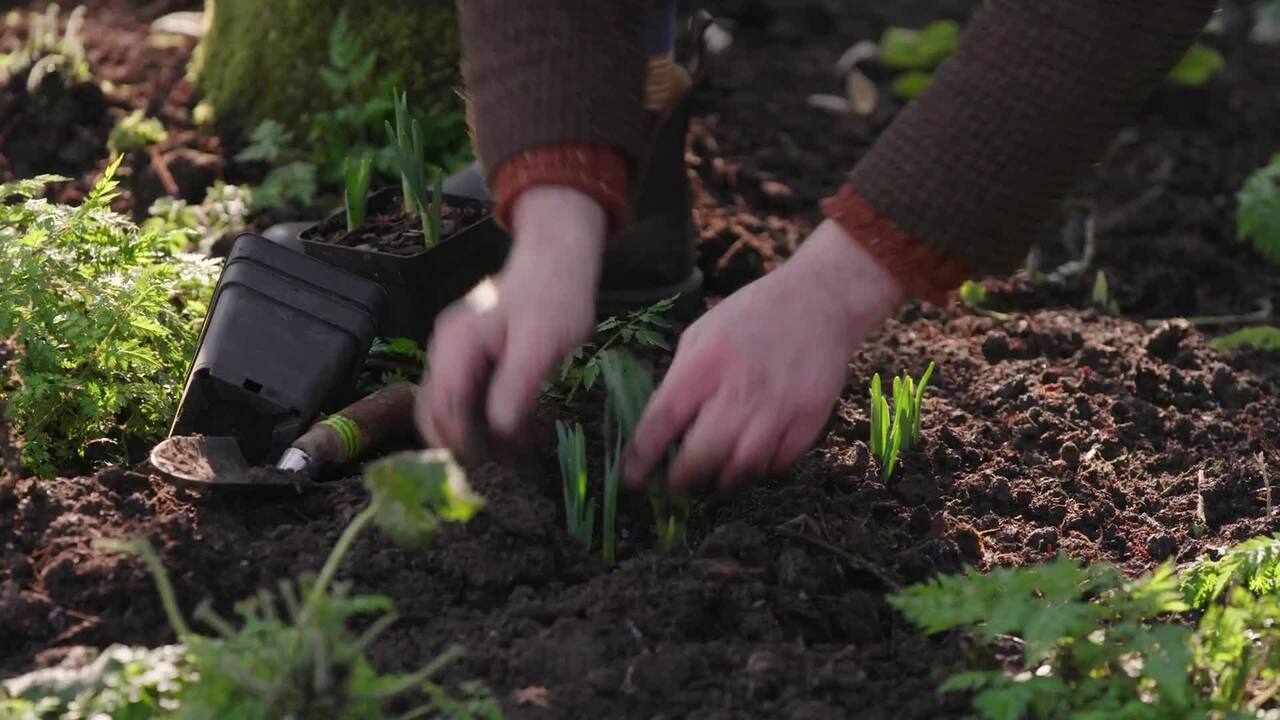
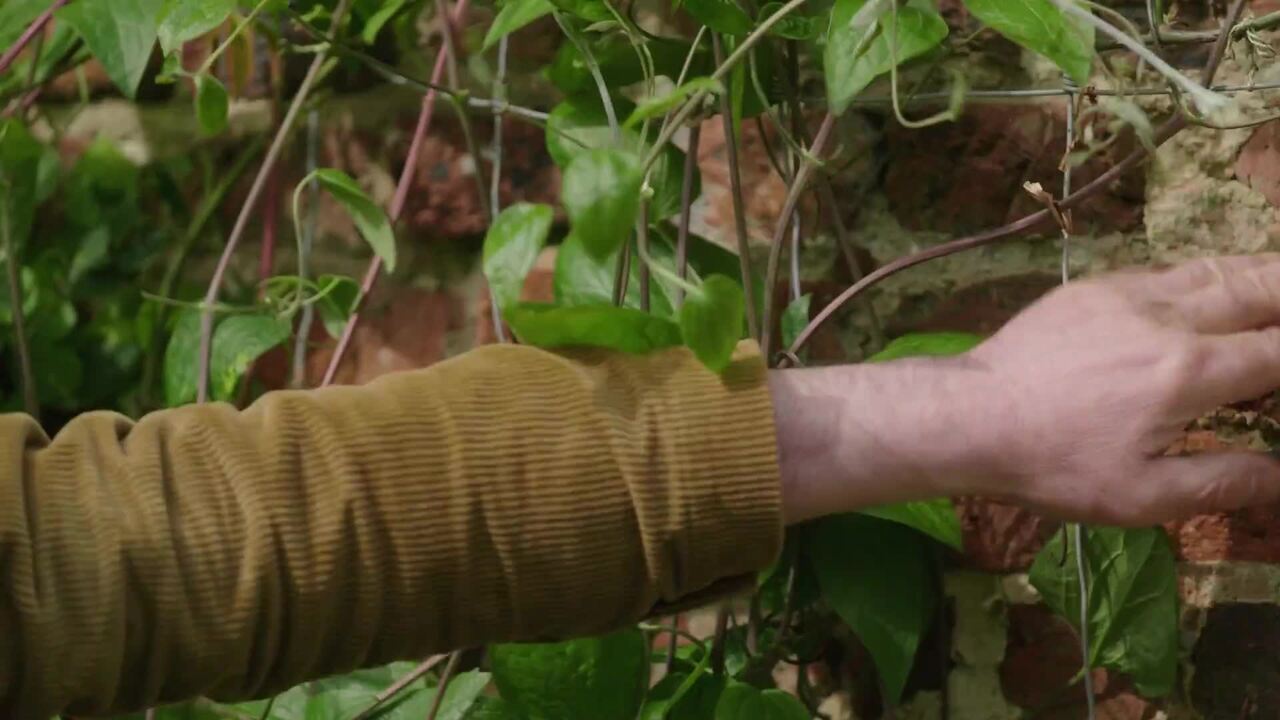
Once you're happy with the pruning and have put the sticks in, the final stage is to start tying the stems into the bender with string.

  • Three-ply string is ideal - you don't need to use anything thicker than that.
  • Tarred string is useful for older rose stems that aren't expanding because it lasts a couple of years, but if you're tying in stems that are still growing, the tarred string would constrict the growth and damage the plant.
  • The three-ply string you can tie as tight as you want because it only lasts a year, and there's some give, which means the stem won't be damaged as it grows.
  • We use string that unravels from the centre of the reel because then you can leave the reel in your pocket and pull the end.
  • If it unravels from the outside, it keeps getting jammed as you pull it out of your pocket. If you're up a ladder doing a wall rose, this becomes a problem, so look for string that unravels from the inside.

You want to anchor some of the stems down to give yourself a starting point, but you can save a lot of time by doing the string in an efficient way.

  • Go twice around the bender to start with, which, when you tie the rose in, locks it in place. Then go once around the rose and then tie a double knot.
  • Fingerless gloves are a good idea for this task as you're then less tentative around the thorns, which makes you quicker.

Tying in the Rose Stems

  • Each stem will probably need tying in at several points. Start tying closest to the point of origin of the stem.
  • Start lower down and work up, putting as many ties in as you need until you get to the final tie near the end of the stem.
  • You may need to hold the stem in position with your leg while you tie.
  • Leave the string attached to the reel in your pocket - that way, you don't have to cut it until after you've tied, to make sure it's not too short or too long.
  • You may need to move the stems around quite a lot until you get to an arrangement you're happy with.
  • You want the oldest stems underneath, with newer stems on top.
  • Work around the plant, tying the stems in, first to the benders and then to themselves. Keep standing back and looking.
  • You can end up with a really pleasing shape from what looked like a big tangle of stems.
  • I like the energy the stems create when they're piling on top of each other, like waves.
  • Sometimes you end up with an eggshell-like dome shape, but I prefer these flowing, interlocking looped shapes.

Tidying up the Last Few Stems

After tying in the last stems, check for anything you haven't tied that will spring out in the summer, or anything that looks wrong.

  • You might decide it's too crowded or too much going on in one place, so you can take a stem or two out to open up the space.
  • You don't want it too crowded, as that may encourage dieback of the lower stems from lack of light.
  • You also don't want the flowers to be jammed into each other, so having open spaces is quite nice to ensure flowers are presented in their own little space.
  • Just check everything's tied in and the stakes are in firmly.
  • Then tidy up underneath and mulch the rose to nurture it after the shock of pruning.

Make Sure You Look Back in June on What You Did:

  • Did it do what you expected?
  • Did it grow where you expected? How were the flowers presented?
  • Enjoy the blooming season, but also think about how you can improve the flowering next winter.

Enjoying the Creative Moments

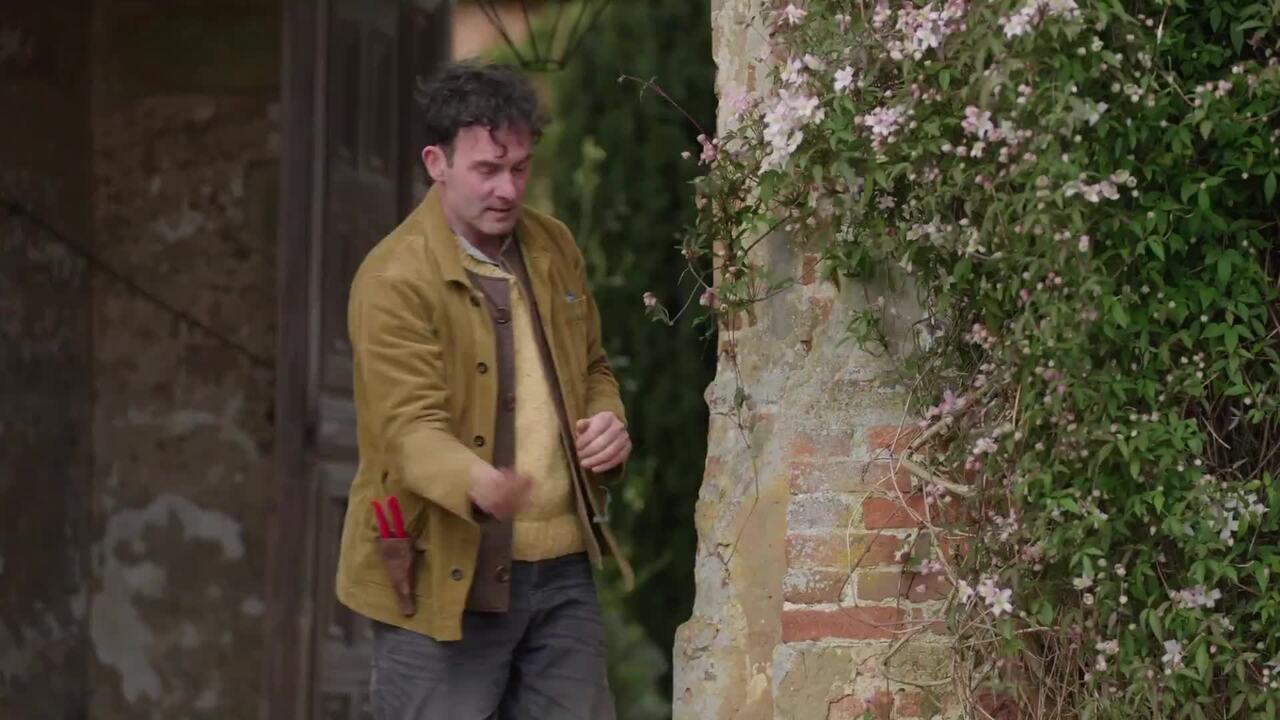
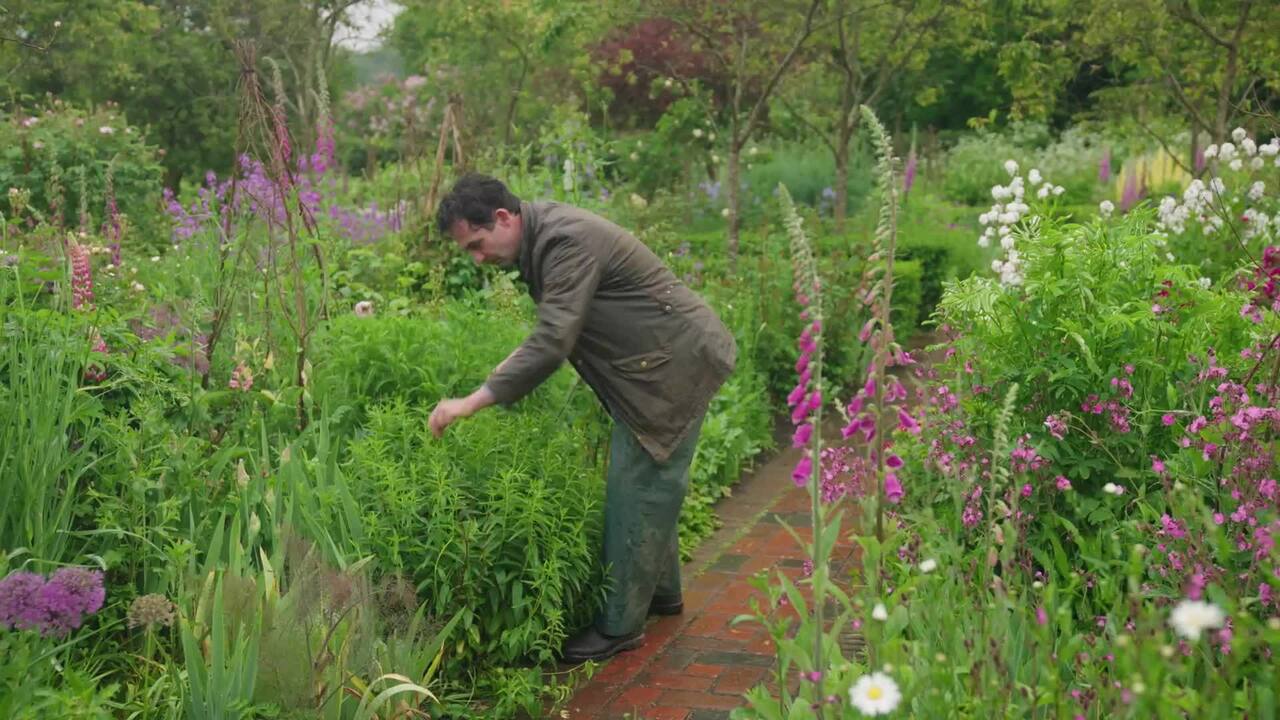
While a lot of gardening is about tidying and presenting, this feels really creative and a lot of fun.

  • There are lots of options for shapes - not just domes, but we have some on vertical poles, others on tripods; it just depends what rose you have and how it's growing.
  • If you've got quite a tall rose with long, pliable shoots, have a go at tying it down.

Gardening is art at its best. Look at your rose, give it a go and have fun.

Glossary

Bender

A flexible hazel stick that Troy uses to create hoops, with each end stuck into the ground, for tying rose stems to in order to train a shrub rose into an ornate shape.

Coppice

A woodland management technique where a tree or shrub down to ground level or very near ground level, encouraging new stems to grow from the cut-off point (the 'stool'), which are then harvested during the next cut. Hazel is generally coppiced every 5-7 years; different trees may be coppiced in rotation to provide materials continuously.

Get the full workbook, video lessons, and more with a Create Academy subscription.

Subscribe to access the full workbook
Access all courses
$30 /month

Access 56+ courses, billed annually

Subscribe Now
Buy this course
$267 one-time

Lifetime access to this course

Buy Course

Already a member? Sign in to watch

Rated 4.7/5 on Trustpilot

437 reviews

Read more

Very good tutorial from a professional garden...

I have subscribed to access all the courses so have watched one on interior design and this one with Butter Wakefield who specialises in small garden design. She ...

Louise Brown

Apr 10, 2026

Time spent well

I love CreateAcademy. I came in for the gardening and floristry courses, but am also watching an interior design one at present. And the photography course is an ...

Wellesley

Apr 1, 2026

What a great investment

What a great investment, I have learned such a lot from the first three courses. My evenings have gone from not being able to find anything that captured my imagi...

sojojo

Mar 30, 2026

I loved this course with Amanda\u2026

I loved this course with Amanda Lindroth! Her approach to decorating is so relaxed and she makes it feel attainable. She explains the reasons behind her decisions...

Elizabeth

Mar 27, 2026

Troy Scott Smith

Your Instructor

Troy Scott Smith

Head Gardener at Sissinghurst. Garden Writer, Speaker & Lecturer.

Troy Scott-Smith, previously head gardener of Iford Manor and Bodnant garden, now oversees the cherished grounds of Sissinghurst - one of the most famous gardens in England and is designated Grade I on Historic England's register of historic parks and gardens. Coming from a family of committed naturalists, Troy is a seasoned horticulturist, writer, designer and consultant, Troy is also a respected member of the RHS Floral Committee. When he set his sights on the head gardener role, he did so with refreshing candour, speaking passionately of the garden’s need for thoughtful evolution. It is a mark of the National Trust’s forward-thinking spirit that they embraced his vision, inviting him to guide this historic landscape into a compelling new chapter.

Access to all courses

Get access to unlimited learning with a Create Academy subscription