


Interior and exterior confidence
Create Academy has been such a great resource. I'm in the middle of renovating a bungalow with a very large garden and the courses have offered a wealth of inform...
Harvey
Jun 10, 2026
The Art of Gardening at Sissinghurst
with TROY SCOTT SMITH — Head Gardener at Sissinghurst. Garden Writer, Speaker & Lecturer.
Lesson 17 of 56

Subscribe to watch
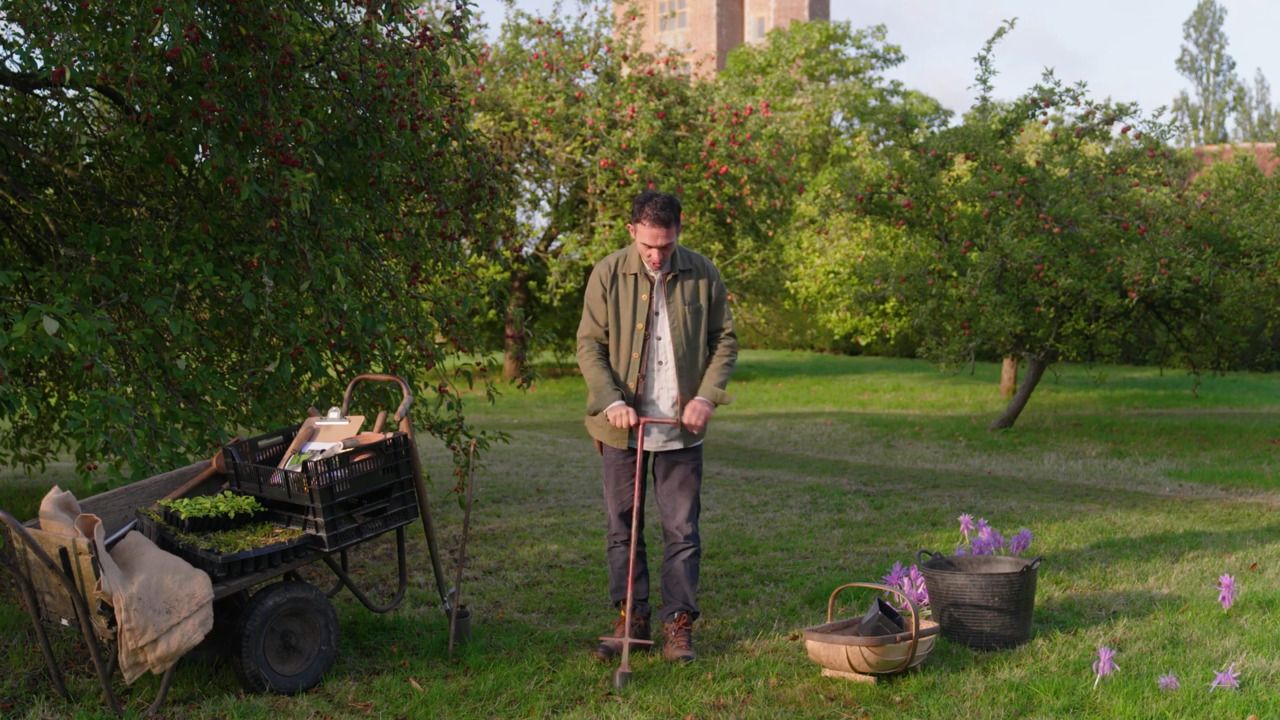
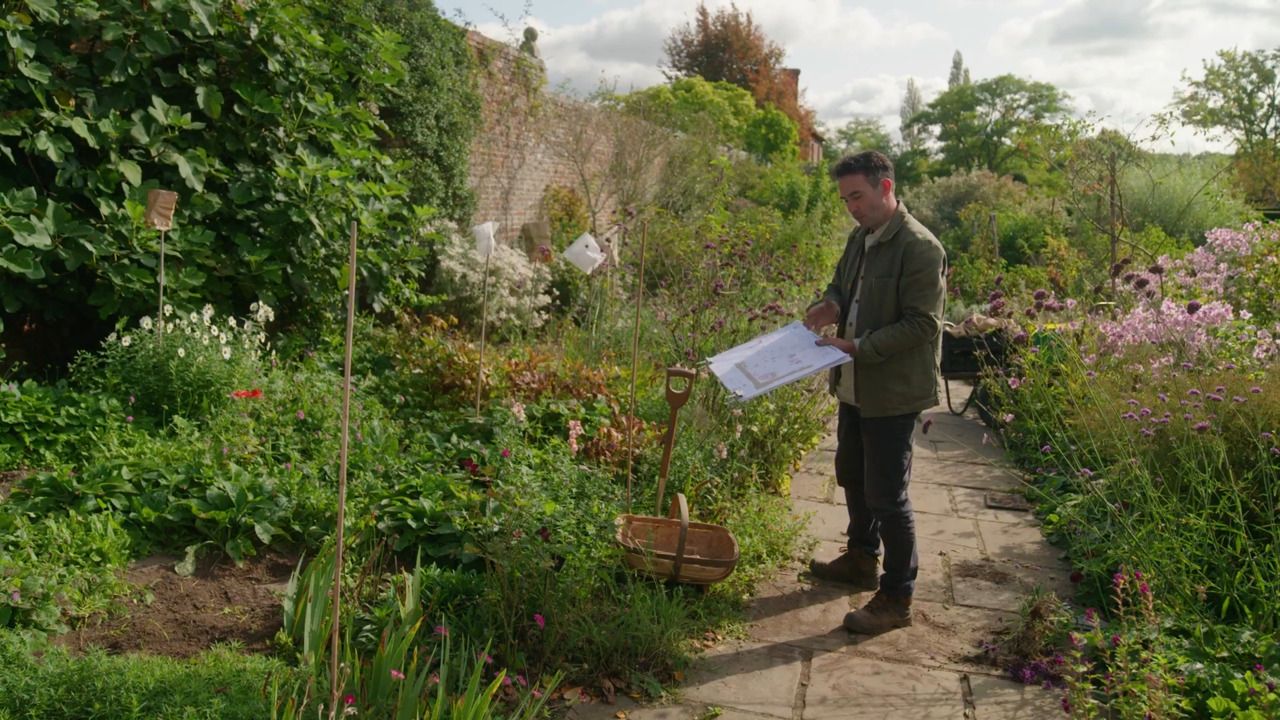
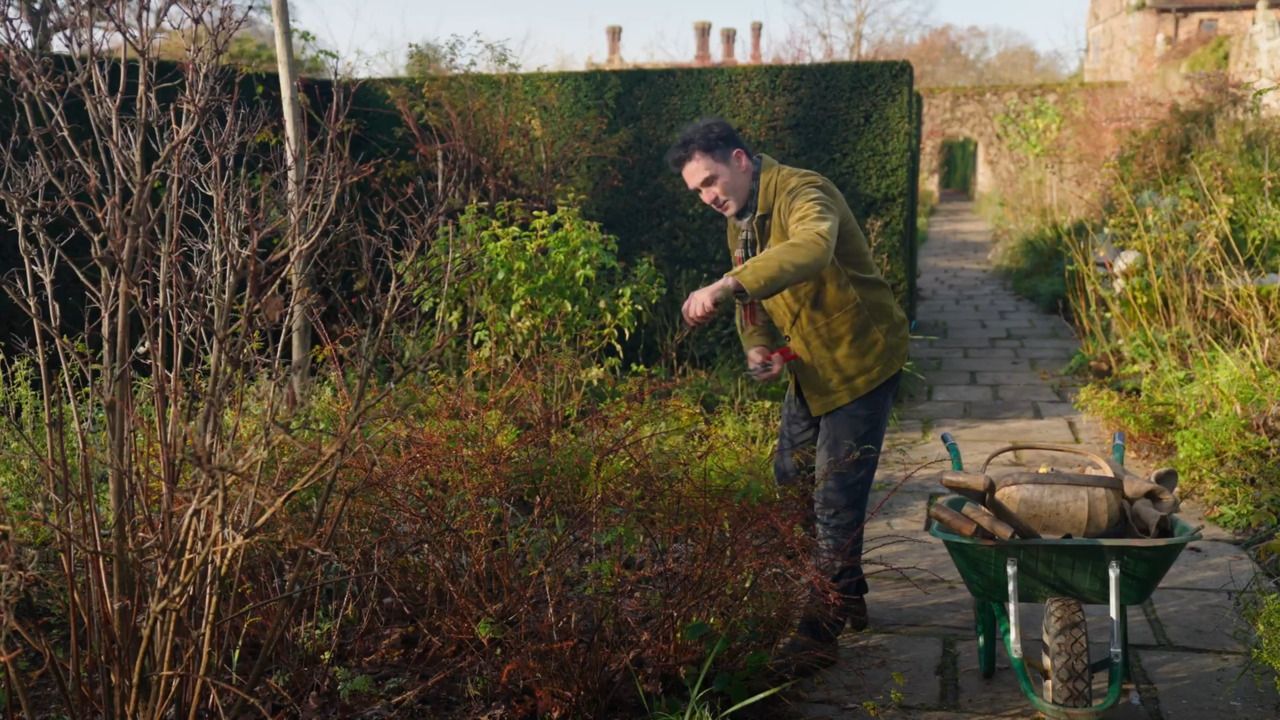
Moving to the Cutting Garden, we build on what we learned earlier about how to protect plants left in the ground over winter to look at another option - to lift and store plants indoors, using dahlias as a common example.
We learnt earlier about how to protect plants left in the ground over winter. Now we'll look at another option - to lift and store plants indoors, using dahlias as a common example.
The traditional way to overwinter dahlias, which are from Mexico and Central America, is to lift them.
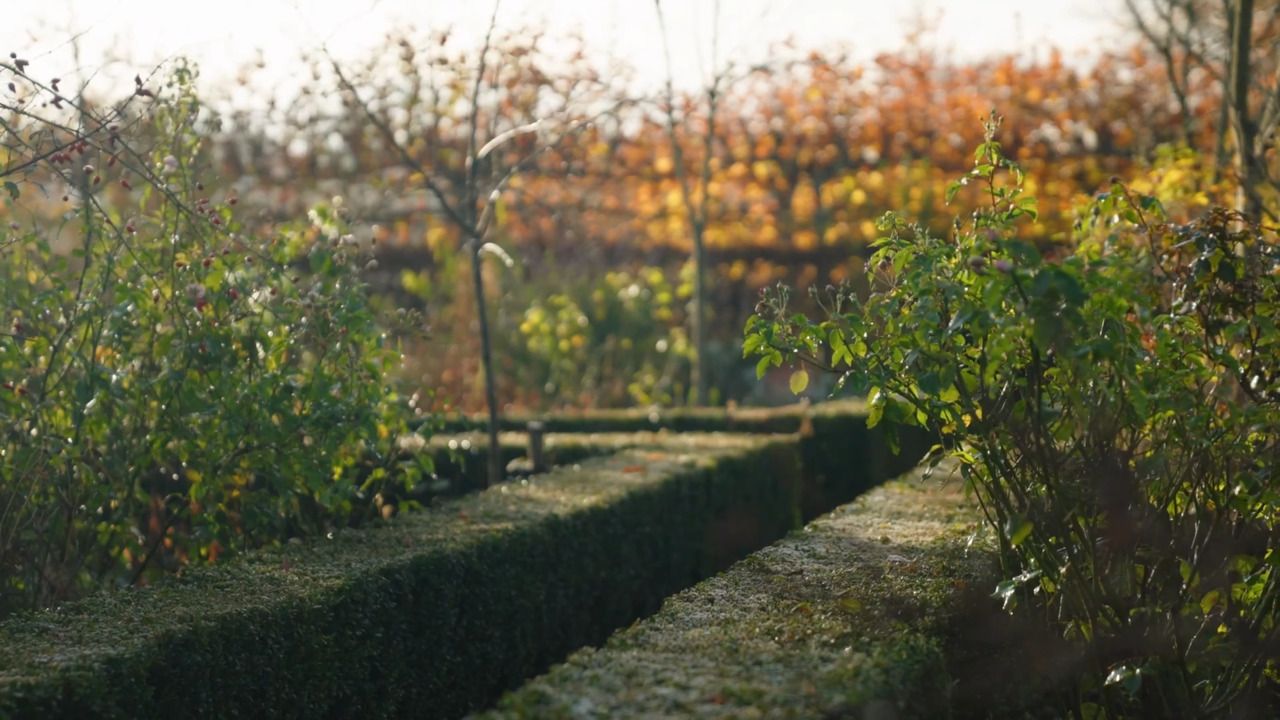
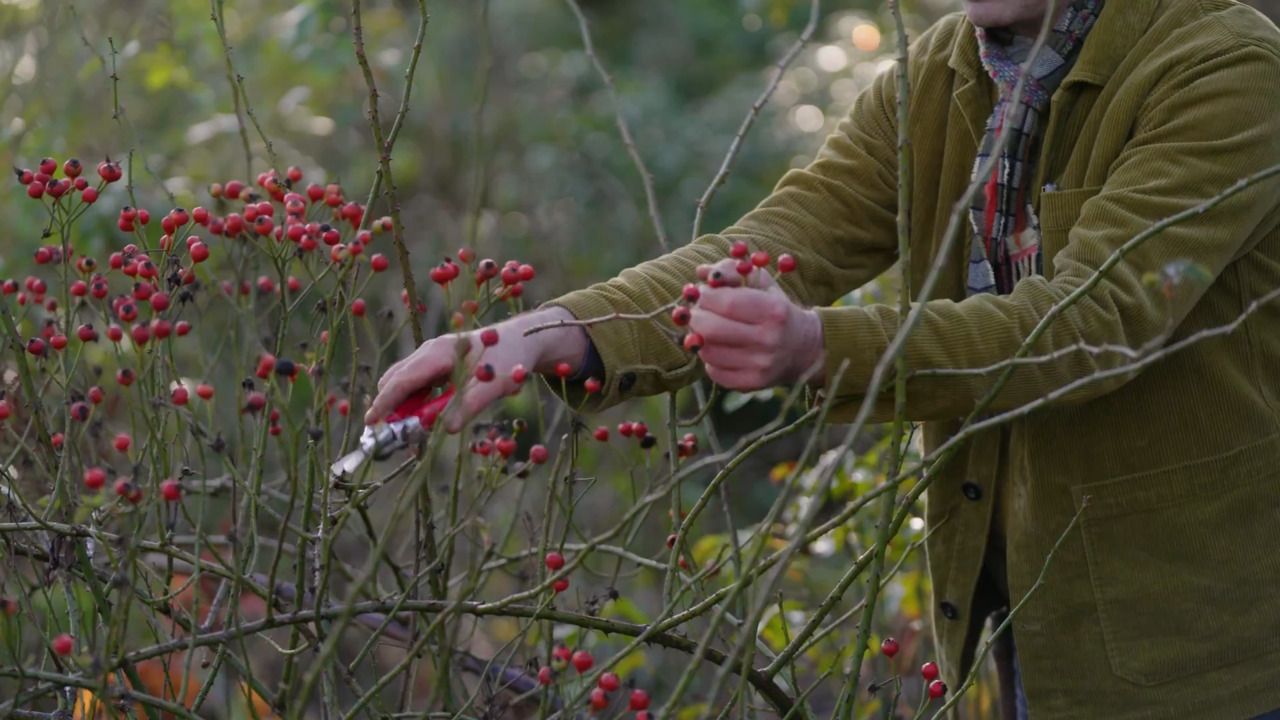
Wait for the stems and leaves to be 'blackened' by frost. It's the tubers we want to protect.
Now, in late November, we've had a couple of frosts and the stems and leaves have gone brown, so it's an ideal time to lift.
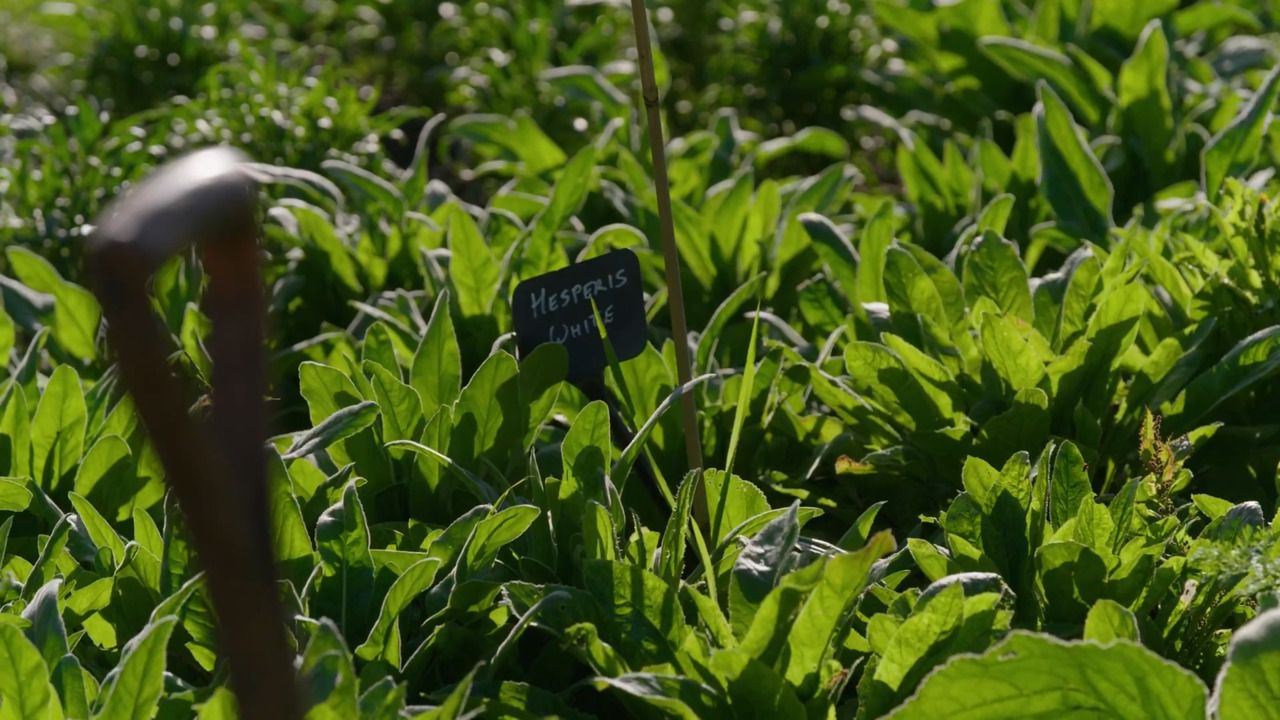
We try to use mainly cultivars from Vita's time, i.e. before 1962. Some of the dahlias we grow for cutting include:
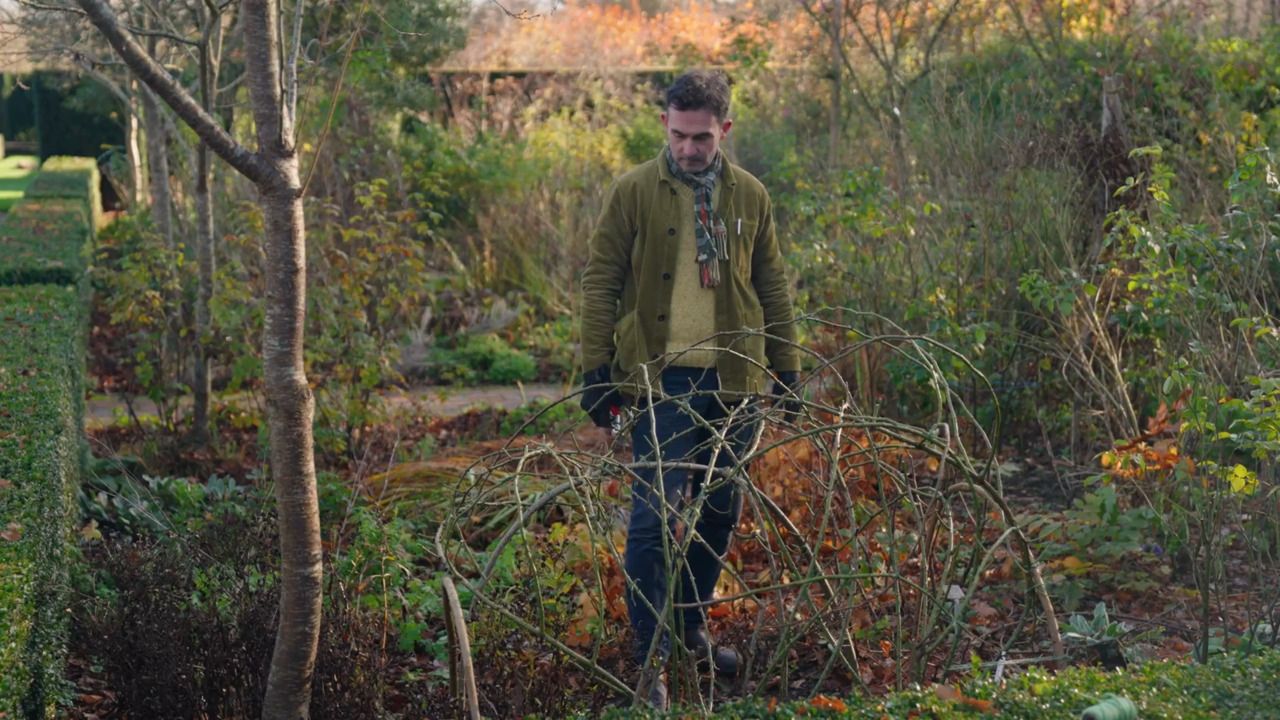
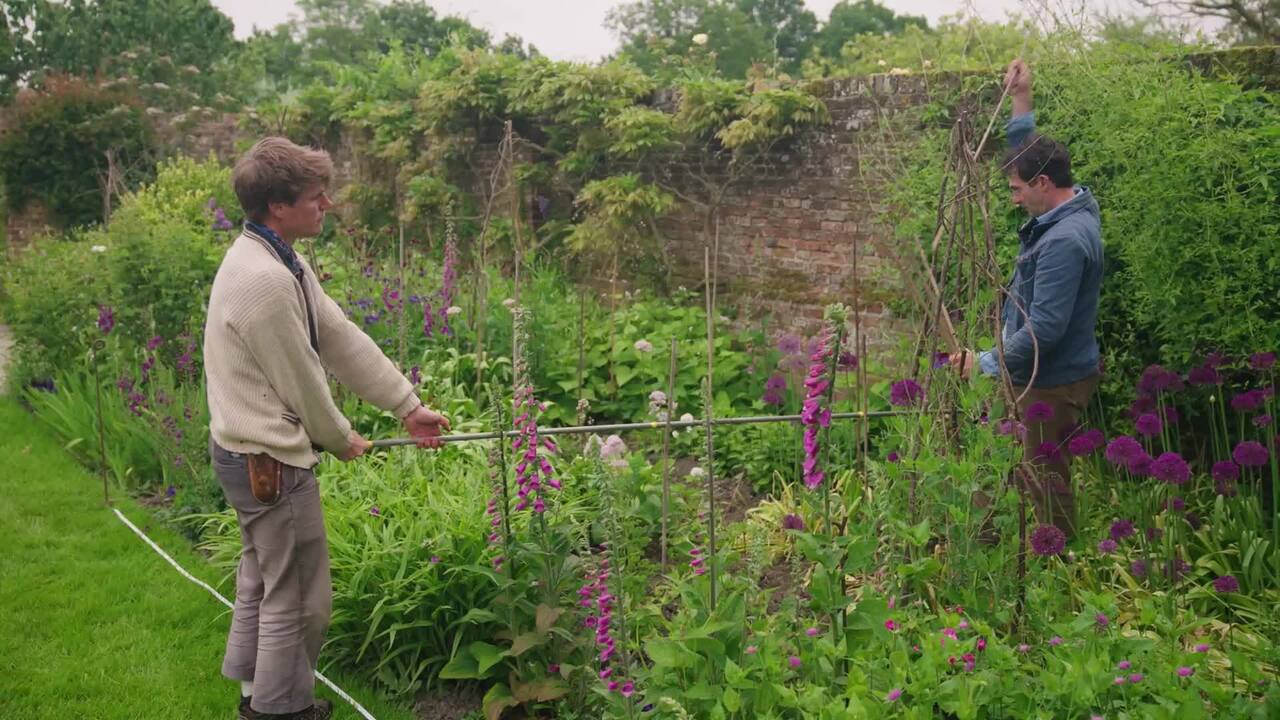
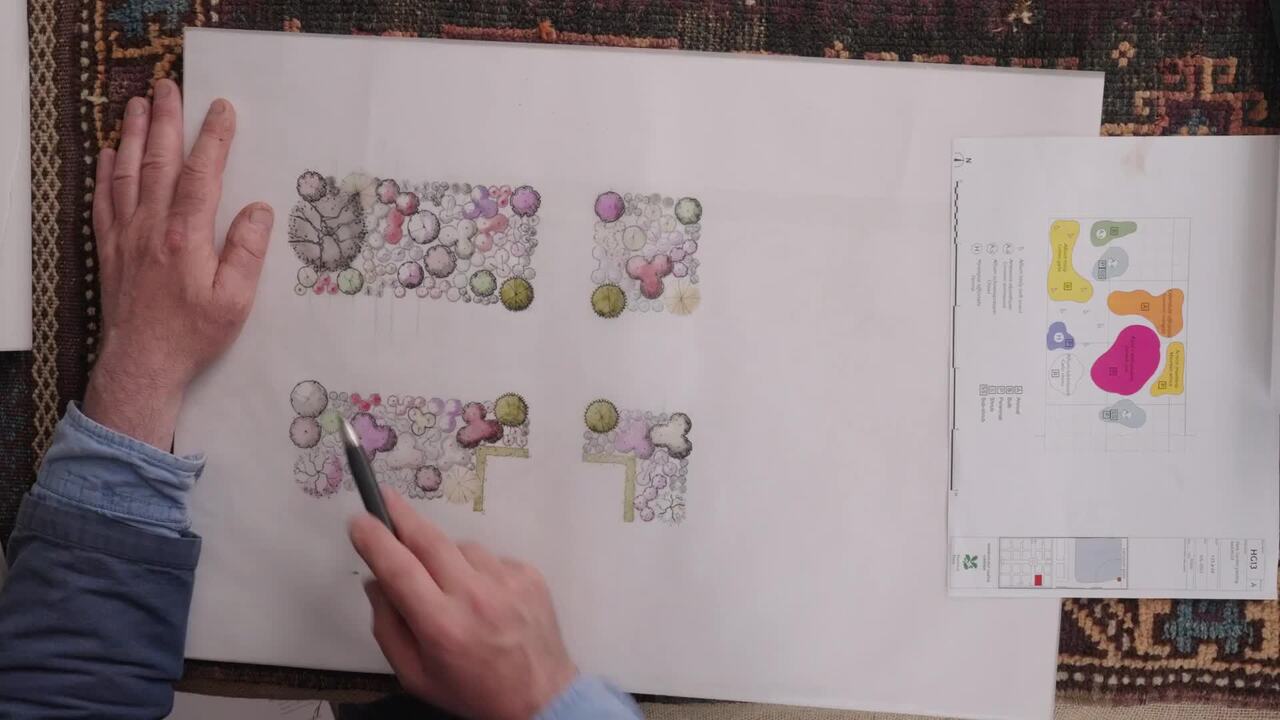
For the cutting garden we plant three tubers of each variety in a triangle, with the trios all forming a long row.
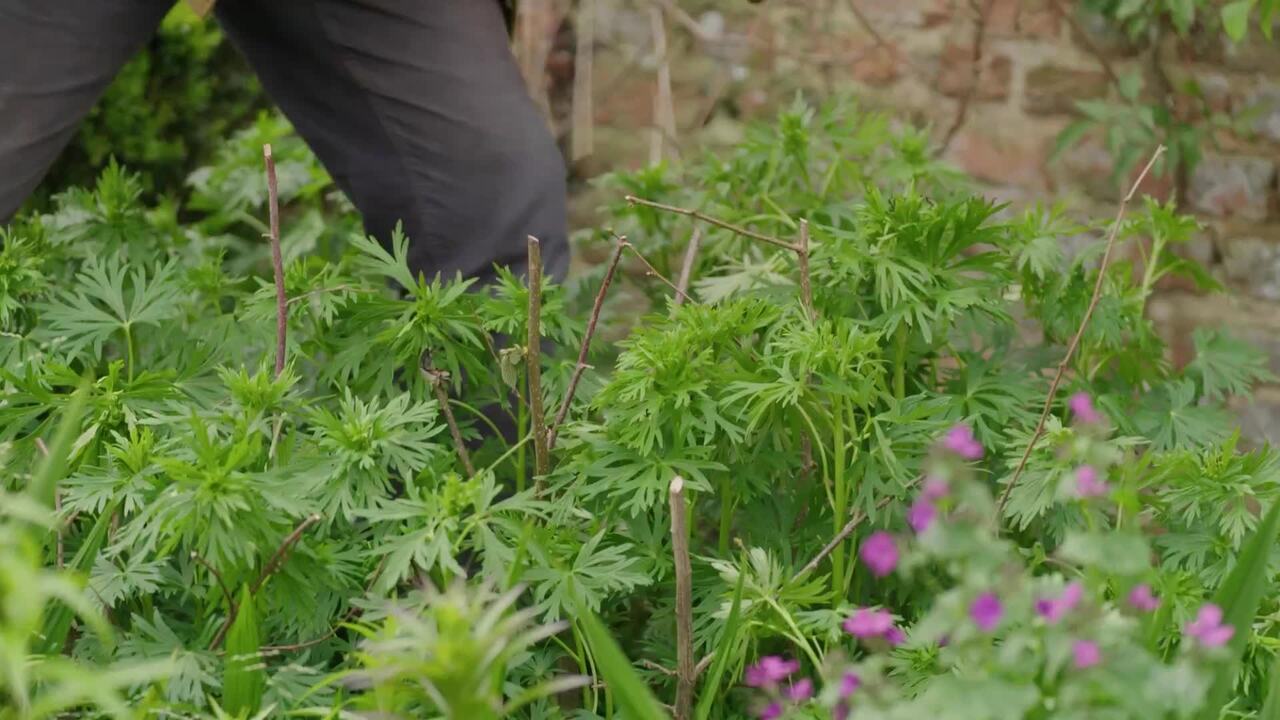
We have a row of stakes on either side of the row of dahlias, and then we put a string round all the stakes to hold the dahlias in place.
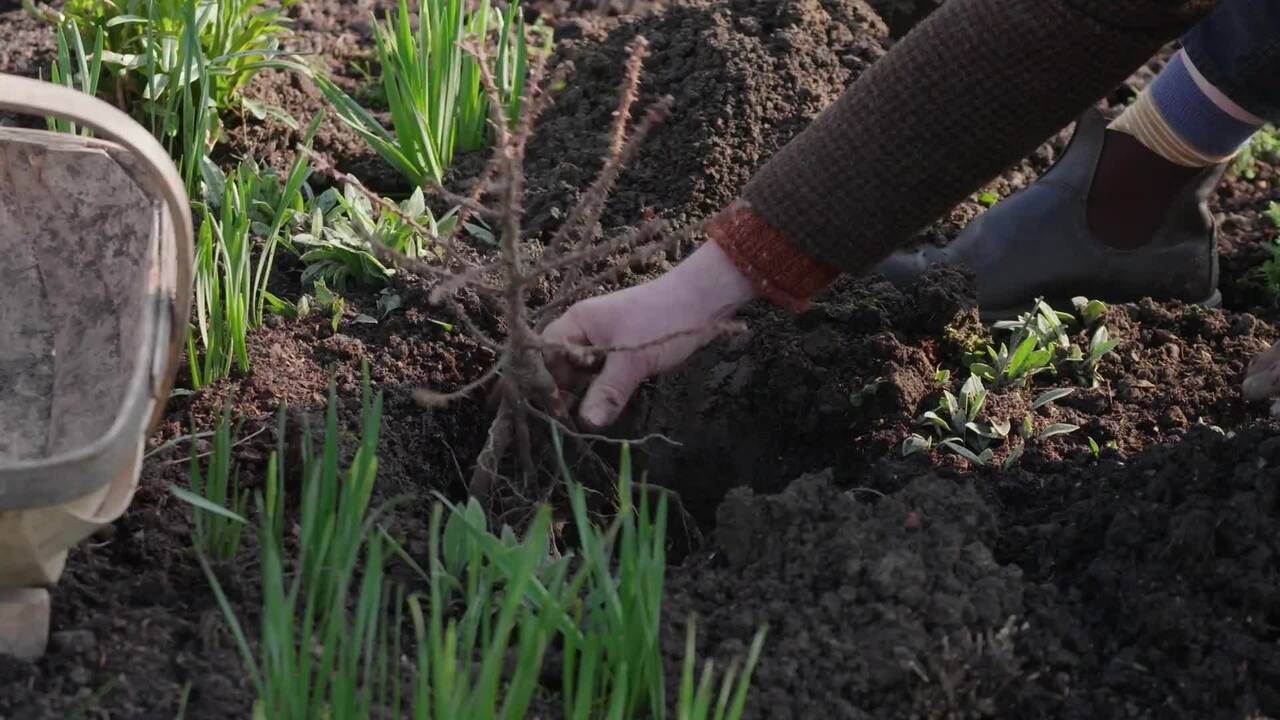
It might seem scary, but lifting dahlias is a simple process.
You can't store dahlia tubers straight away after lifting - they have to be dried first.
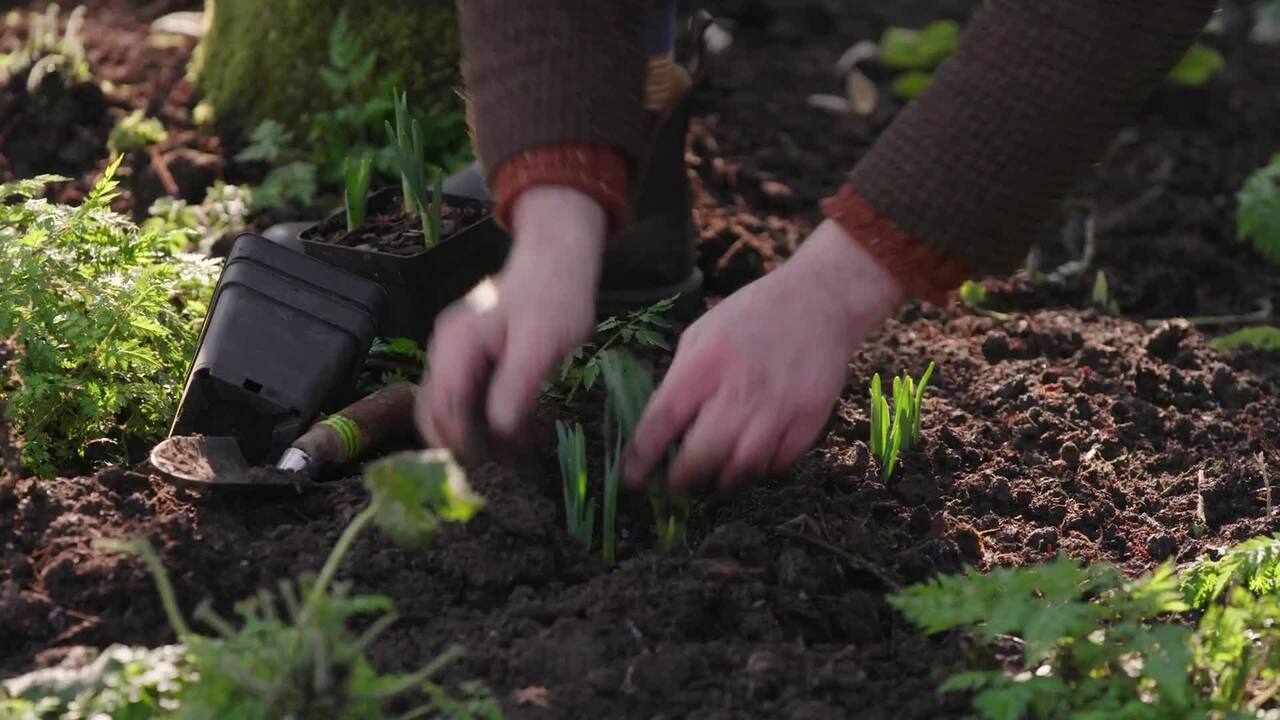
We always divide in spring, but you can also divide in autumn.
RHS dahlia growing guide: how to plant, propagate, overwinter and care for dahlias
Get the full workbook, video lessons, and more with a Create Academy subscription.
Subscribe to access the full workbookAlready a member? Sign in to watch
479 reviews
Read moreCreate Academy has been such a great resource. I'm in the middle of renovating a bungalow with a very large garden and the courses have offered a wealth of inform...
Harvey
Jun 10, 2026
Absolutely love Create Academy! The instructors are extremely informative, and it is beautifully filmed. Create Academy is great value for money and plan on renew...
SG
May 31, 2026
Butter's creativity is stunning! Her ability to incorporate brilliance in small gardens is magical!
Carla
May 30, 2026
The best adventure. I like all the courses, but my favorite are both Rita Konig interior design courses and Anna Jones. Excellent!
Karolina Kluczewska
May 20, 2026
Create Academy has been such a great resource. I'm in the middle of renovating a bungalow with a very large garden and the courses have offered a wealth of information to dive into and explore new ideas. I'm...
Harvey
Jun 10, 2026
Absolutely love Create Academy! The instructors are extremely informative, and it is beautifully filmed. Create Academy is great value for money and plan on renewing my subscription yearly because there are ...
SG
May 31, 2026
Butter's creativity is stunning! Her ability to incorporate brilliance in small gardens is magical!
Carla
May 30, 2026

Your Instructor
Head Gardener at Sissinghurst. Garden Writer, Speaker & Lecturer.
Troy Scott-Smith, previously head gardener of Iford Manor and Bodnant garden, now oversees the cherished grounds of Sissinghurst - one of the most famous gardens in England and is designated Grade I on Historic England's register of historic parks and gardens. Coming from a family of committed naturalists, Troy is a seasoned horticulturist, writer, designer and consultant, Troy is also a respected member of the RHS Floral Committee. When he set his sights on the head gardener role, he did so with refreshing candour, speaking passionately of the garden’s need for thoughtful evolution. It is a mark of the National Trust’s forward-thinking spirit that they embraced his vision, inviting him to guide this historic landscape into a compelling new chapter.

Access to all courses


