


Interior and exterior confidence
Create Academy has been such a great resource. I'm in the middle of renovating a bungalow with a very large garden and the courses have offered a wealth of inform...
Harvey
Jun 10, 2026
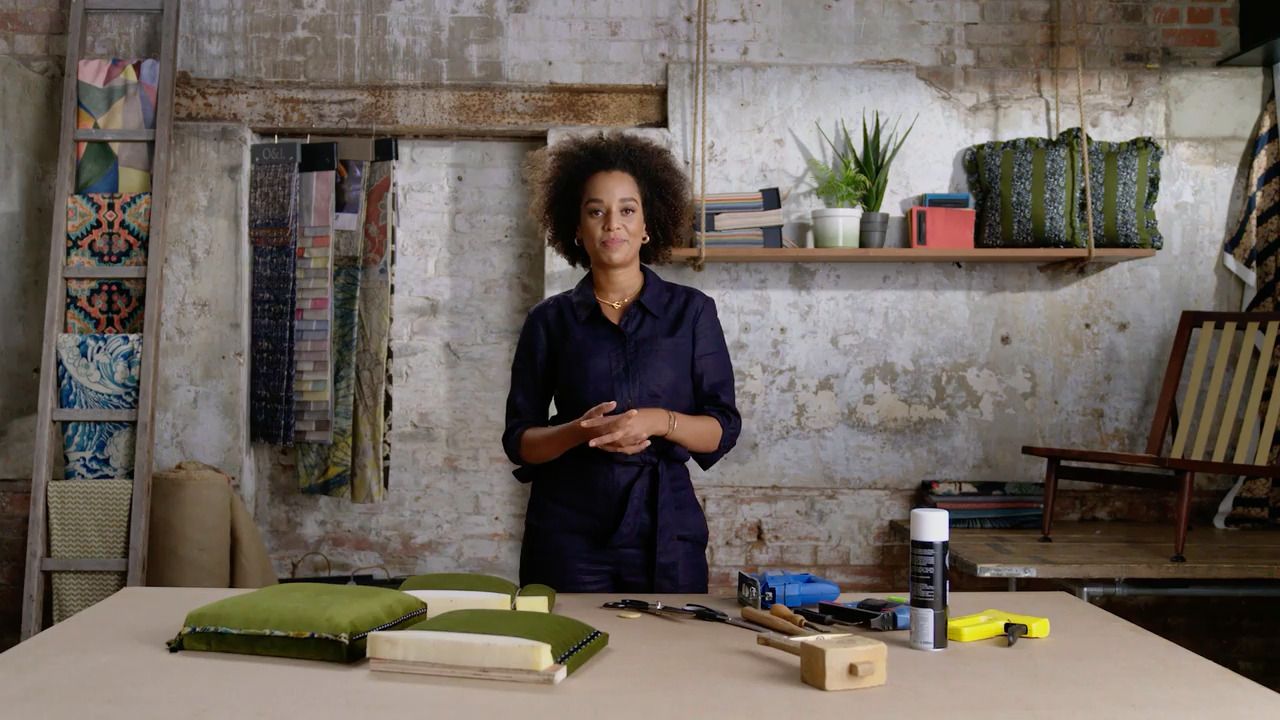
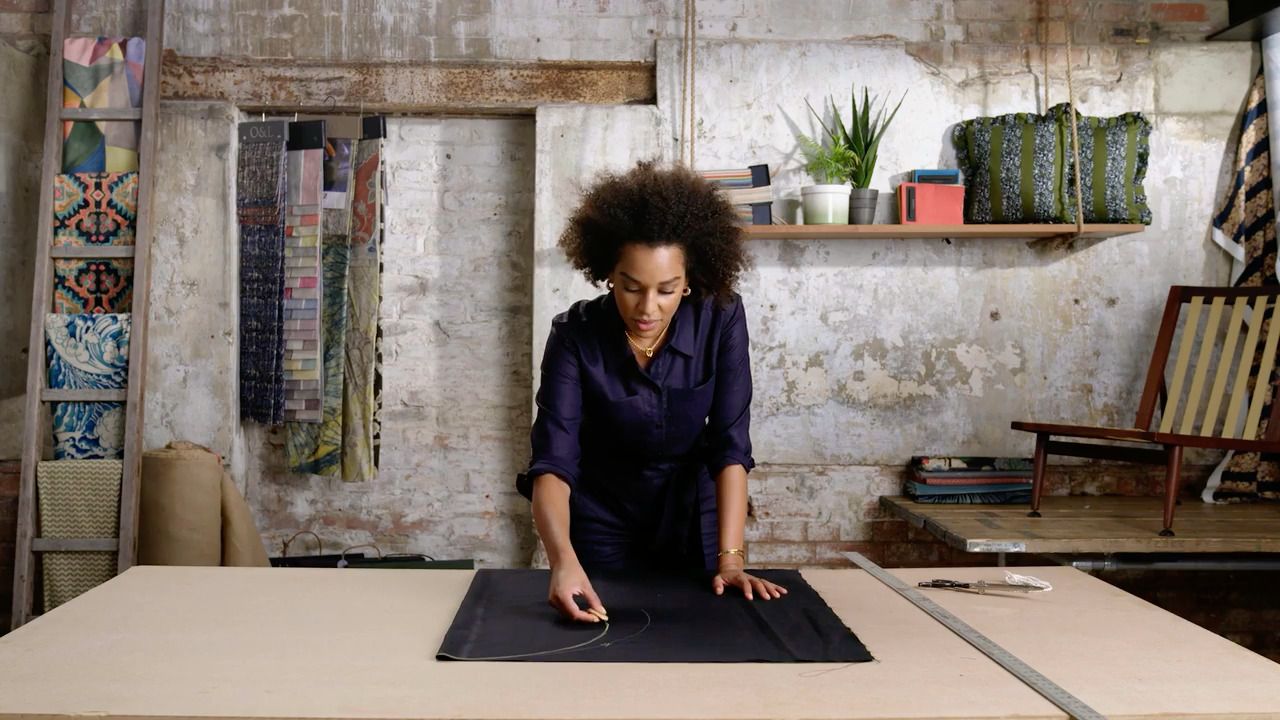
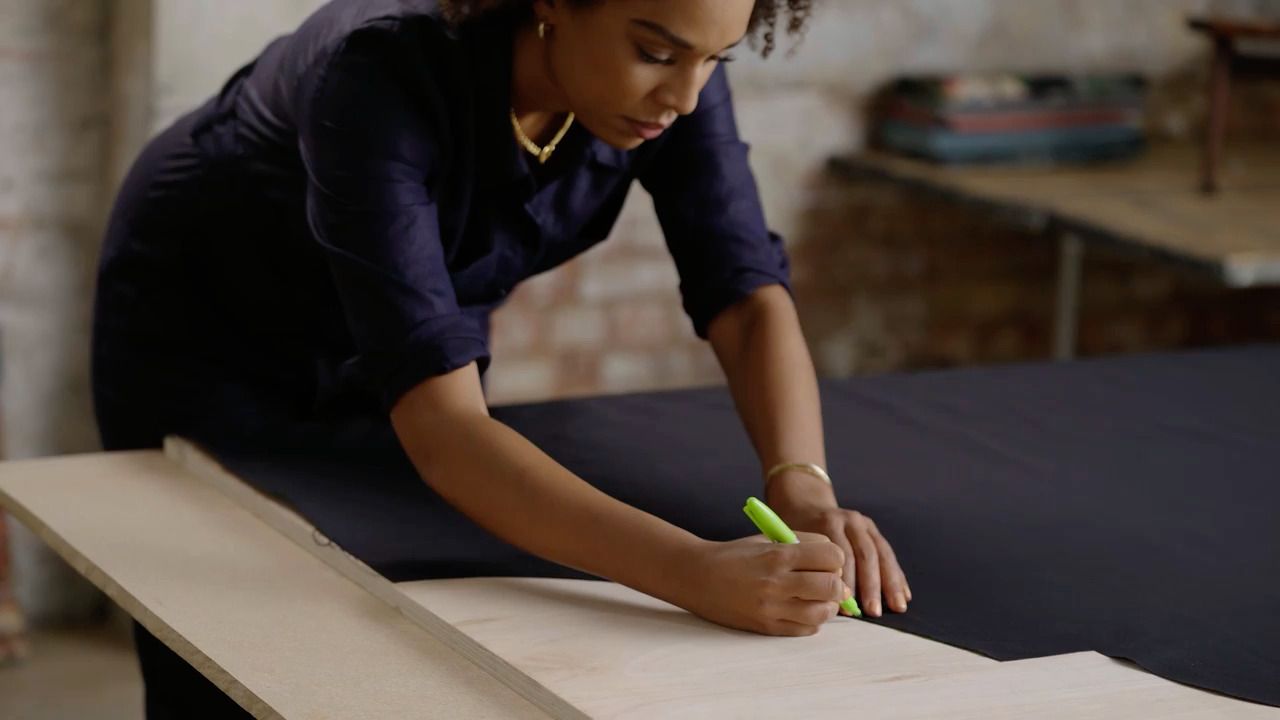
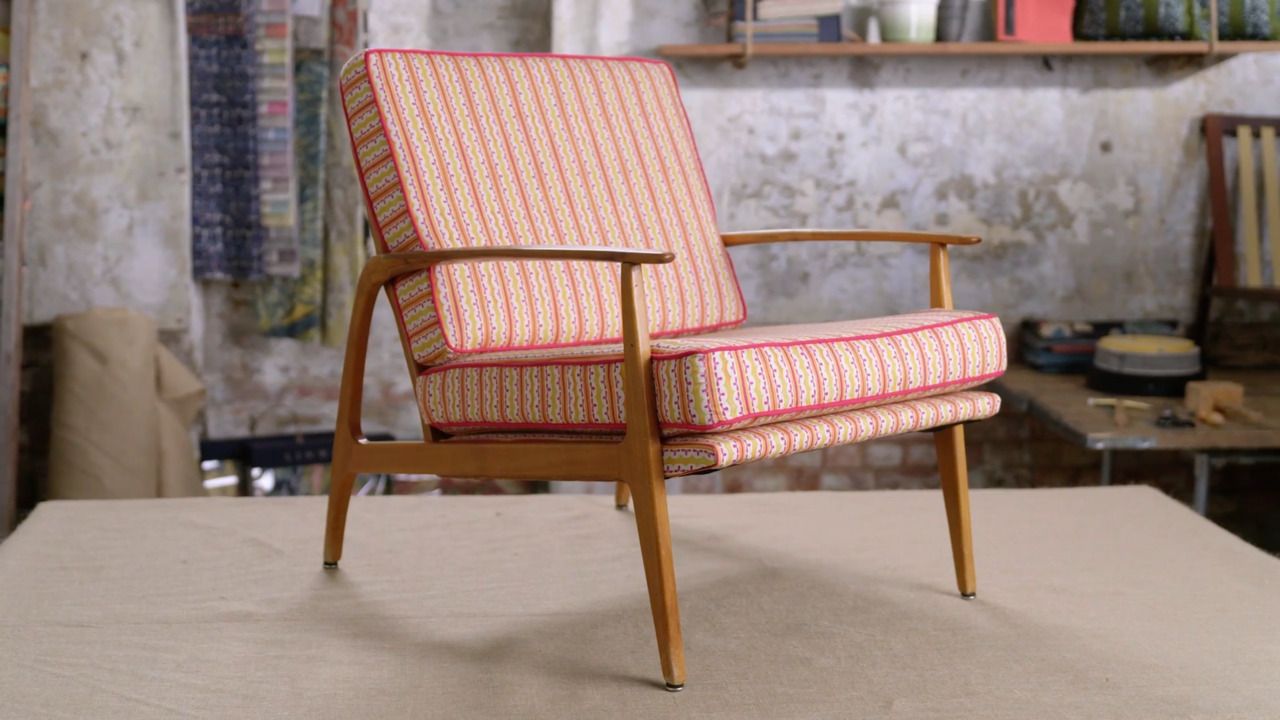
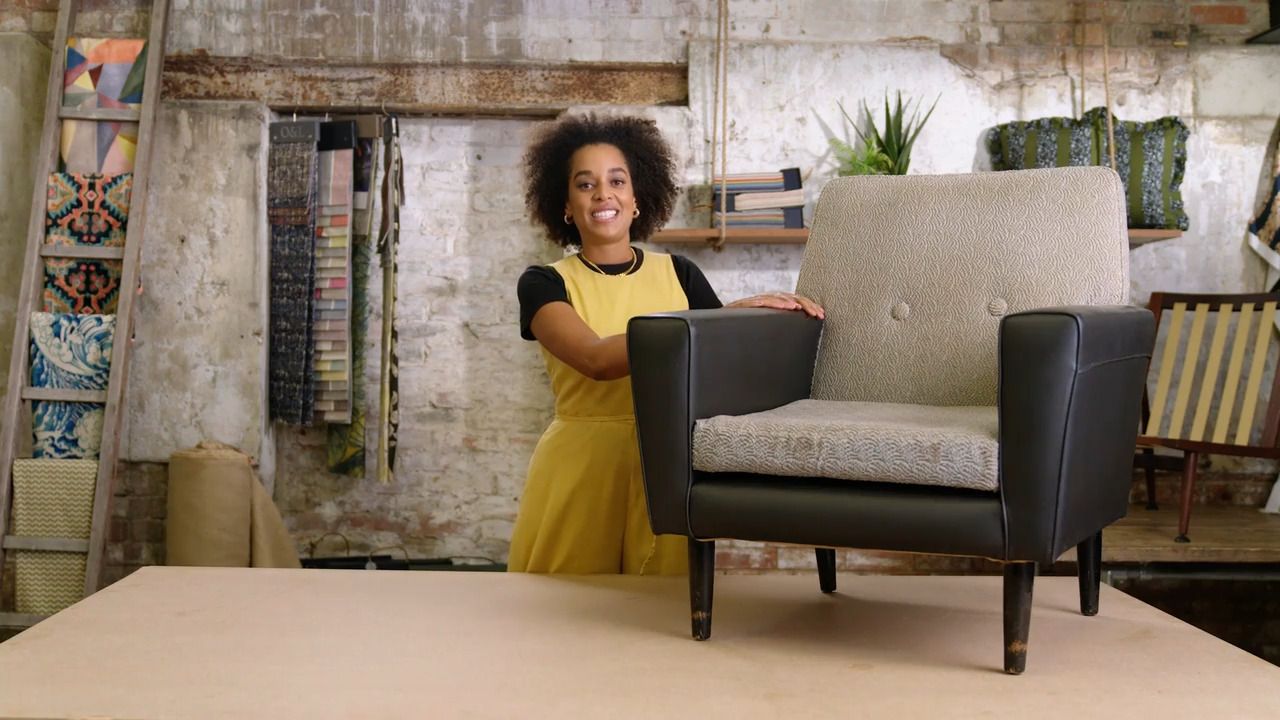
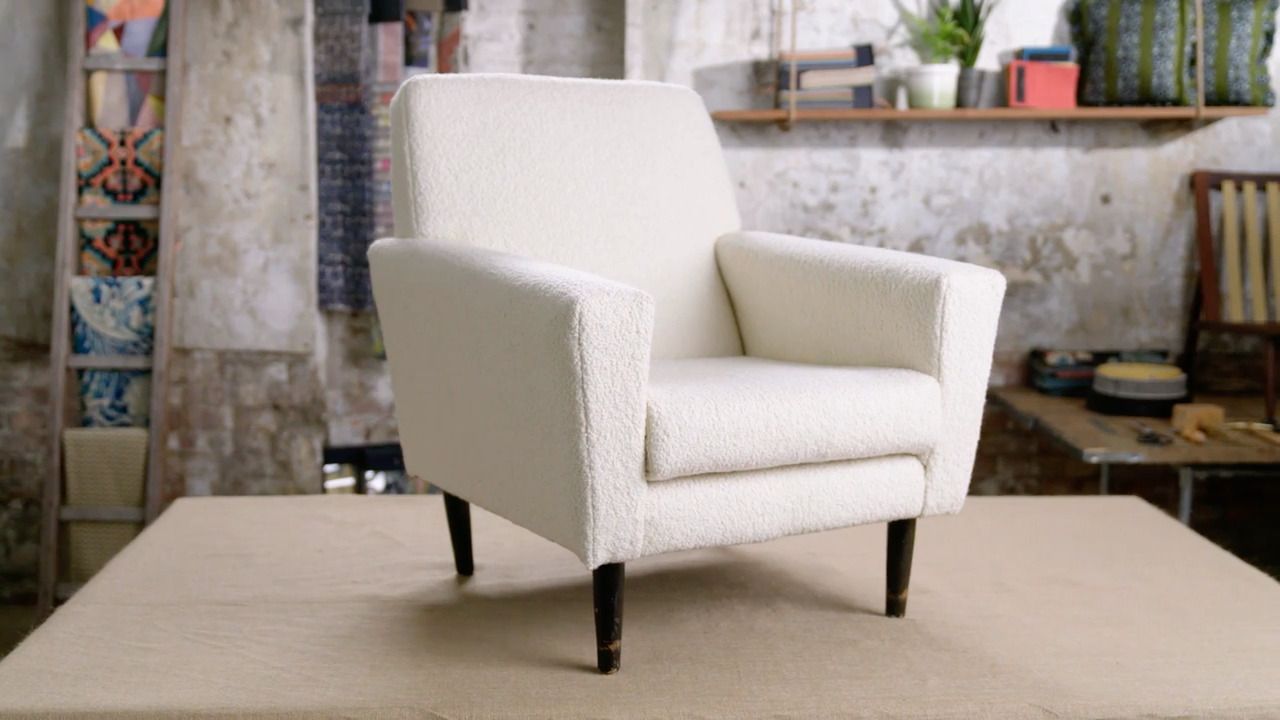
A Complete Guide to Modern Upholstery
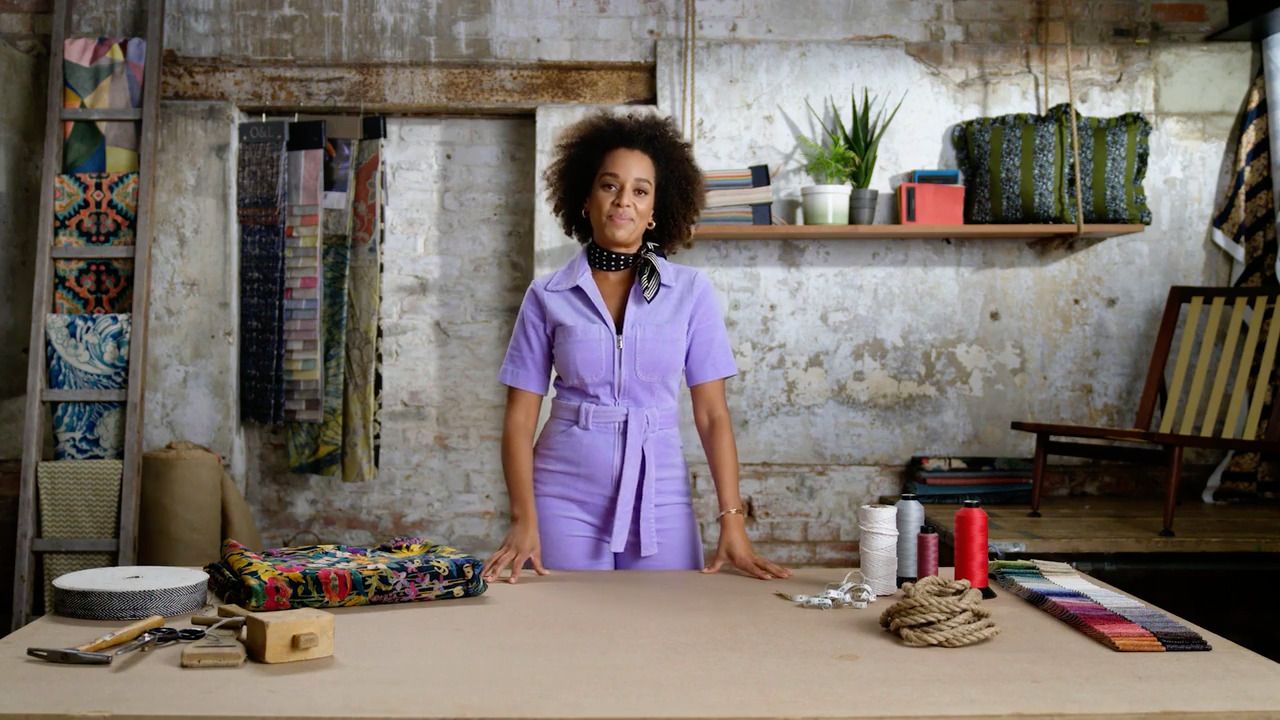
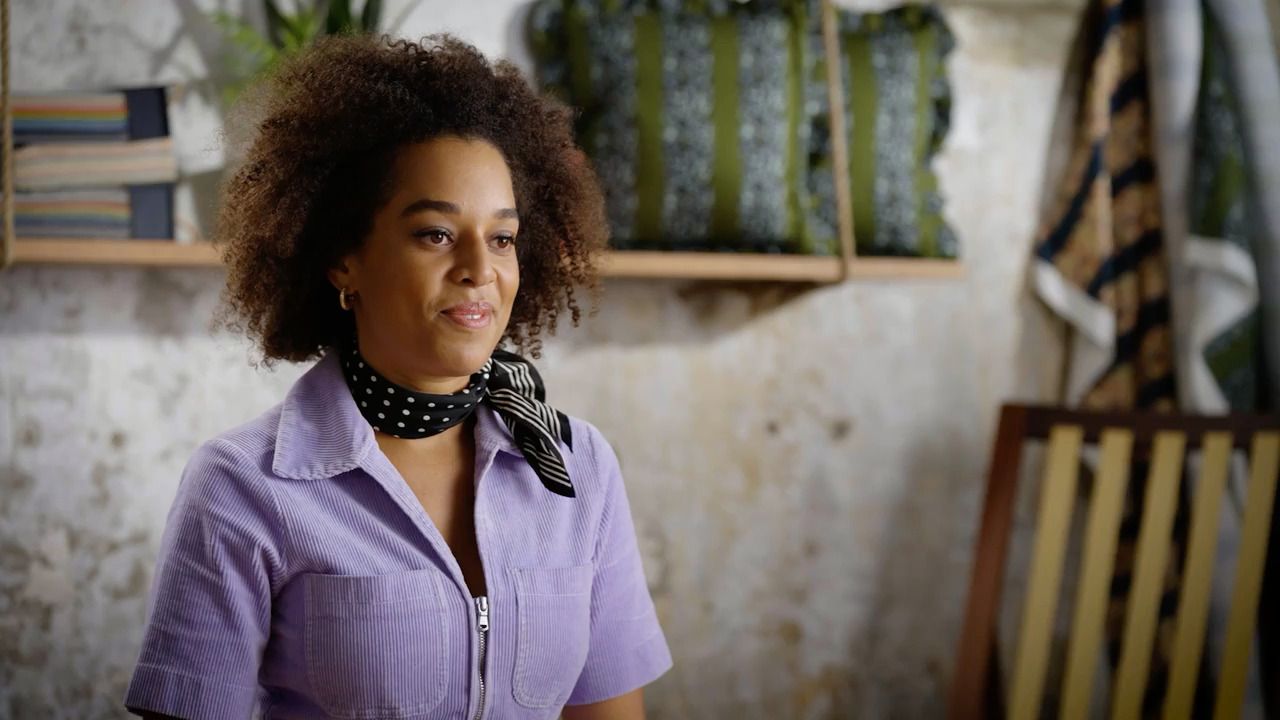
with MICAELA SHARP — Sustainable designer and modern upholstery expert. TV presenter and interior design judge.
Lesson 61 of 68
Subscribe to watch
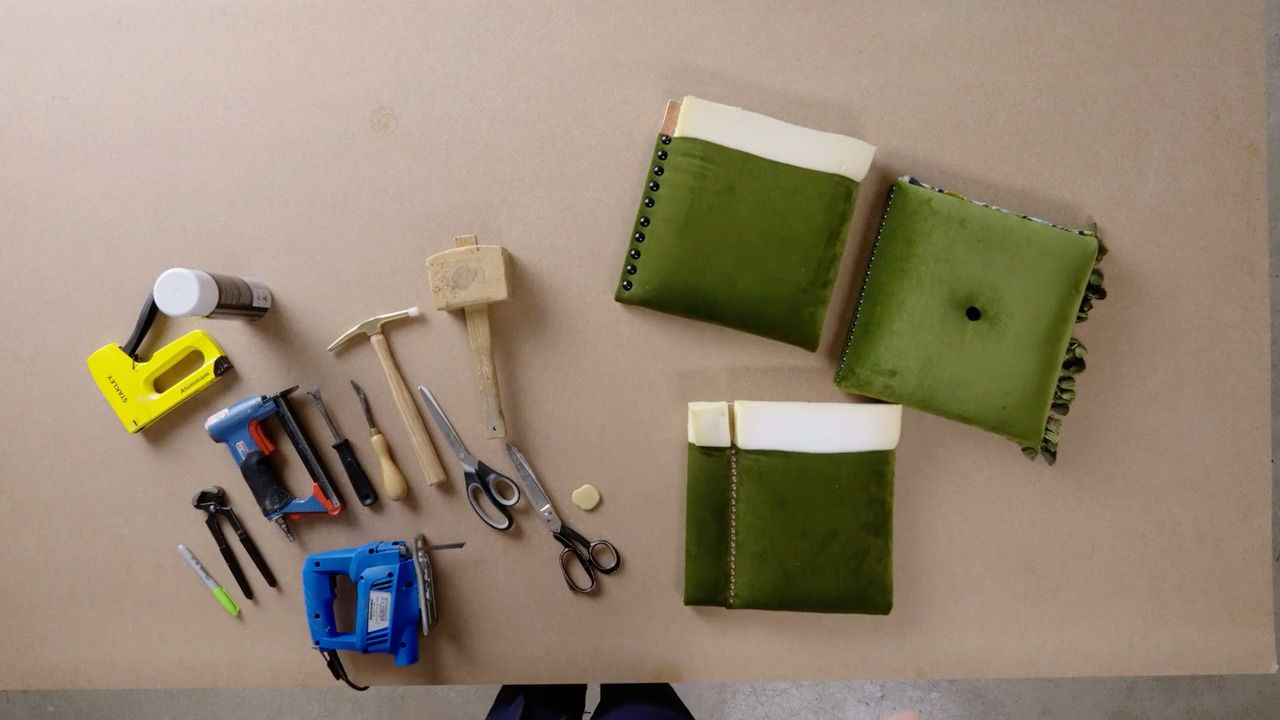
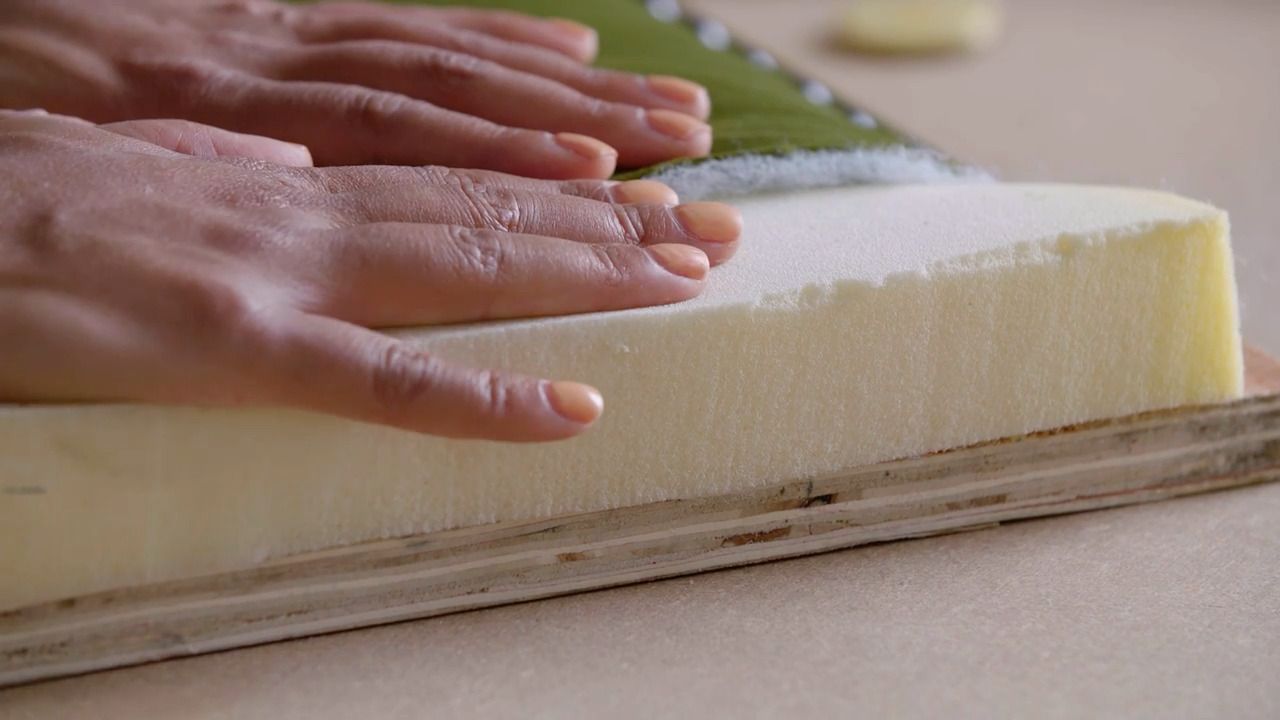
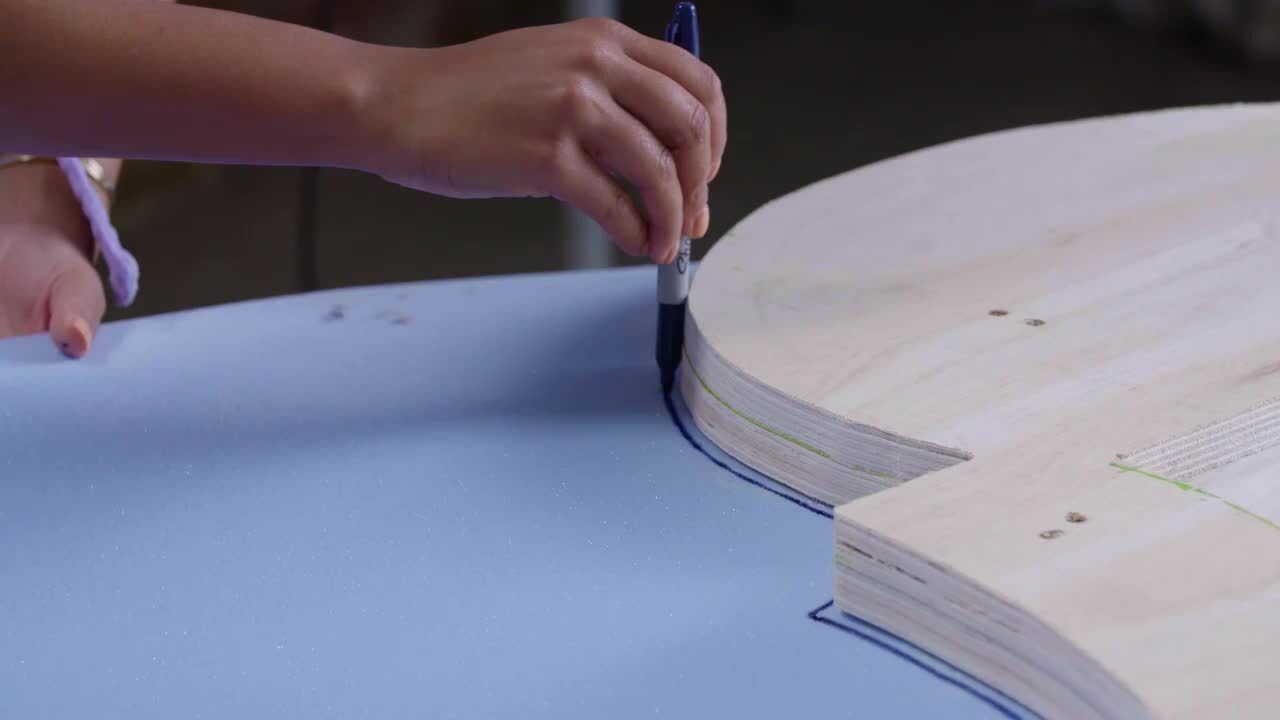
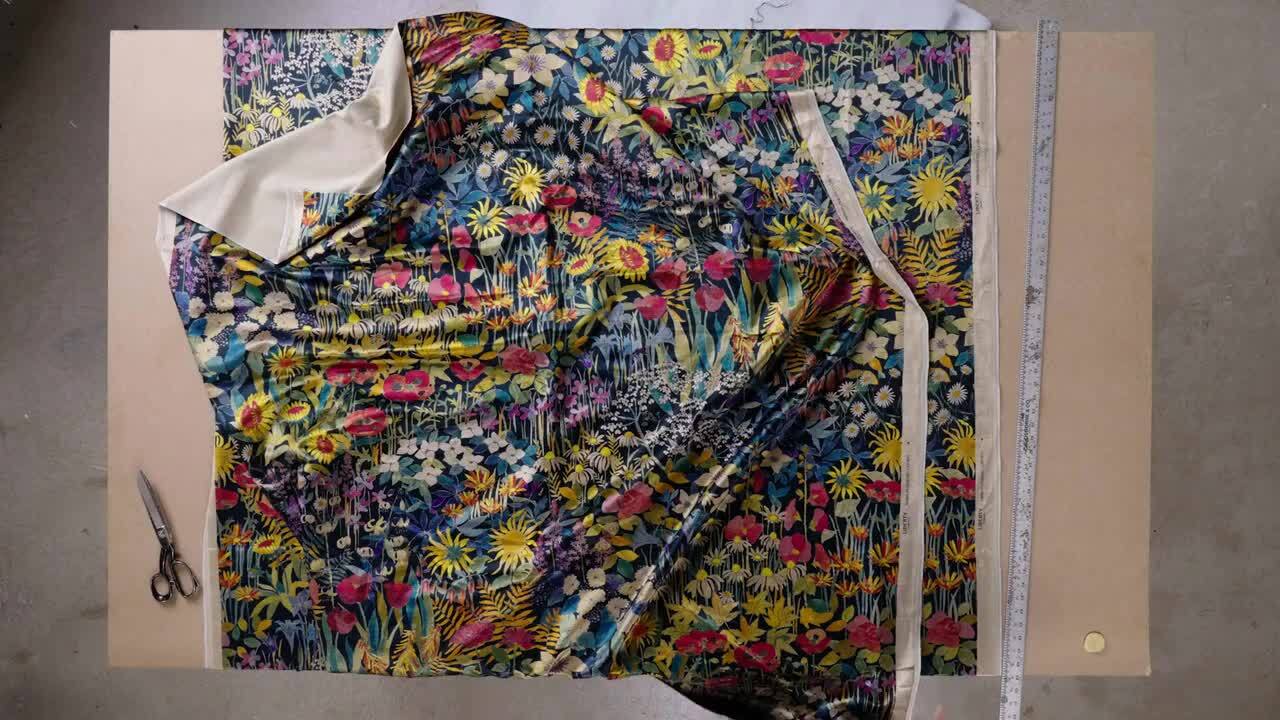
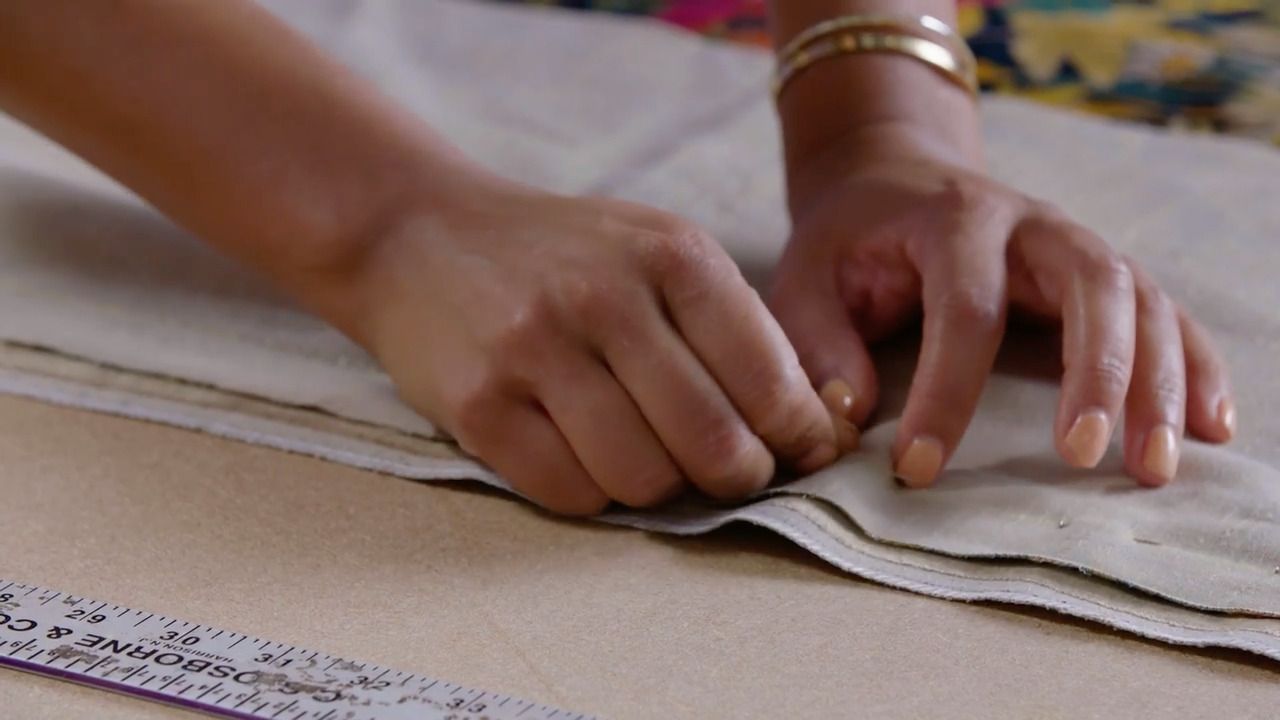
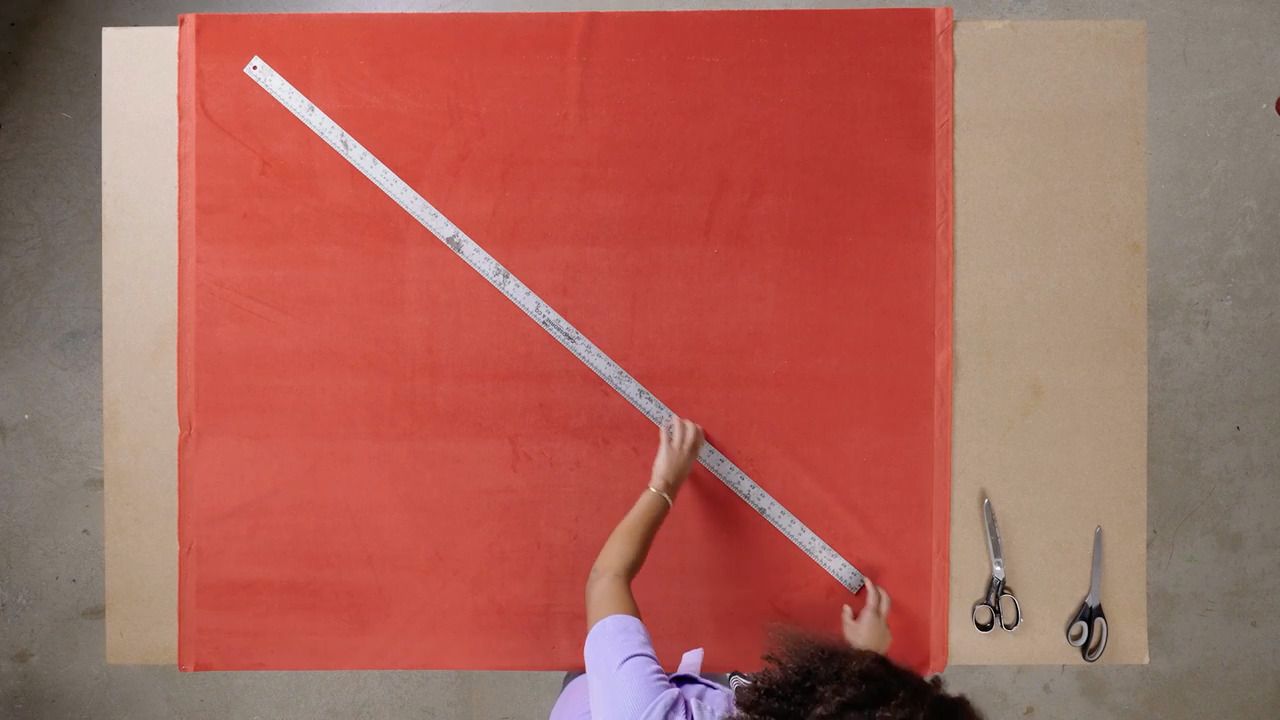
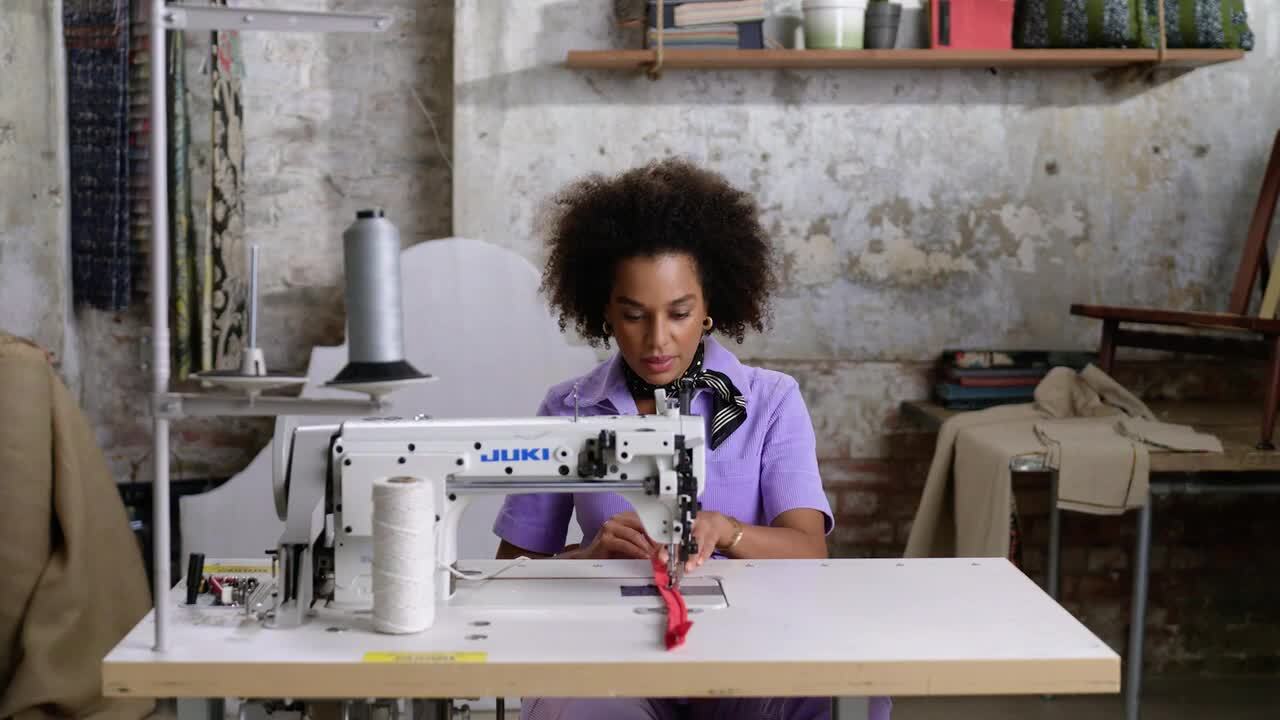
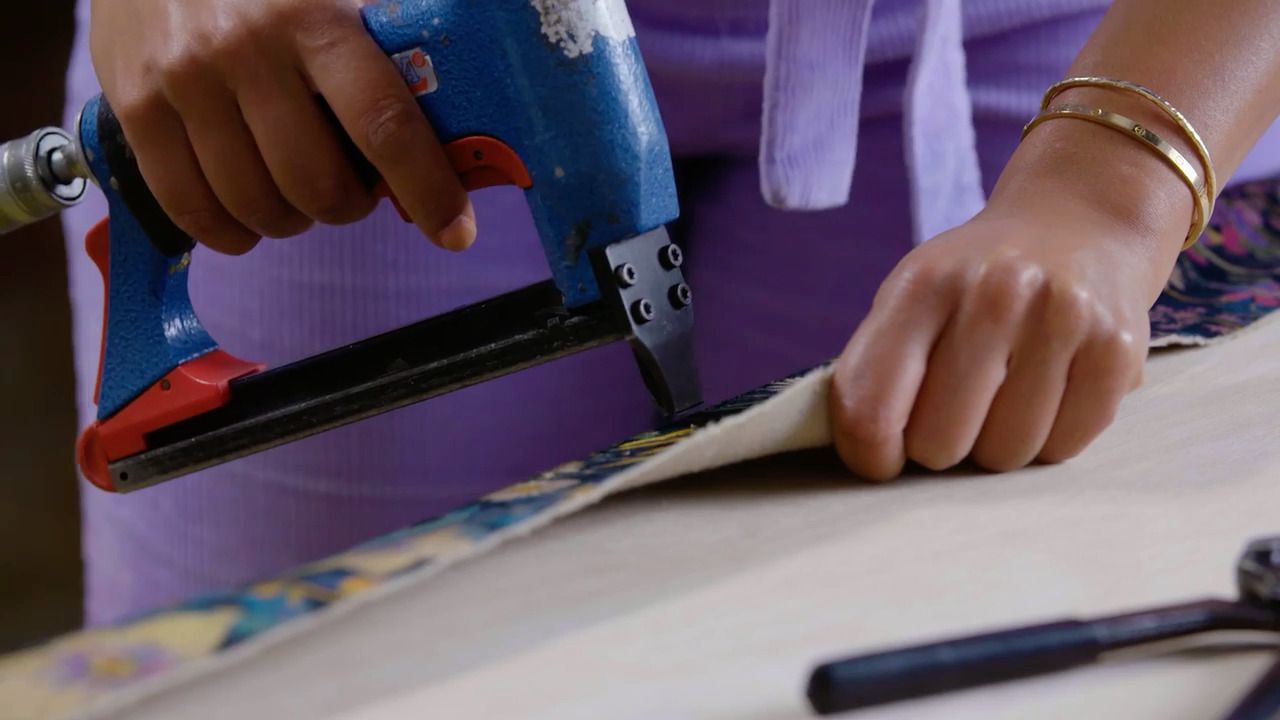
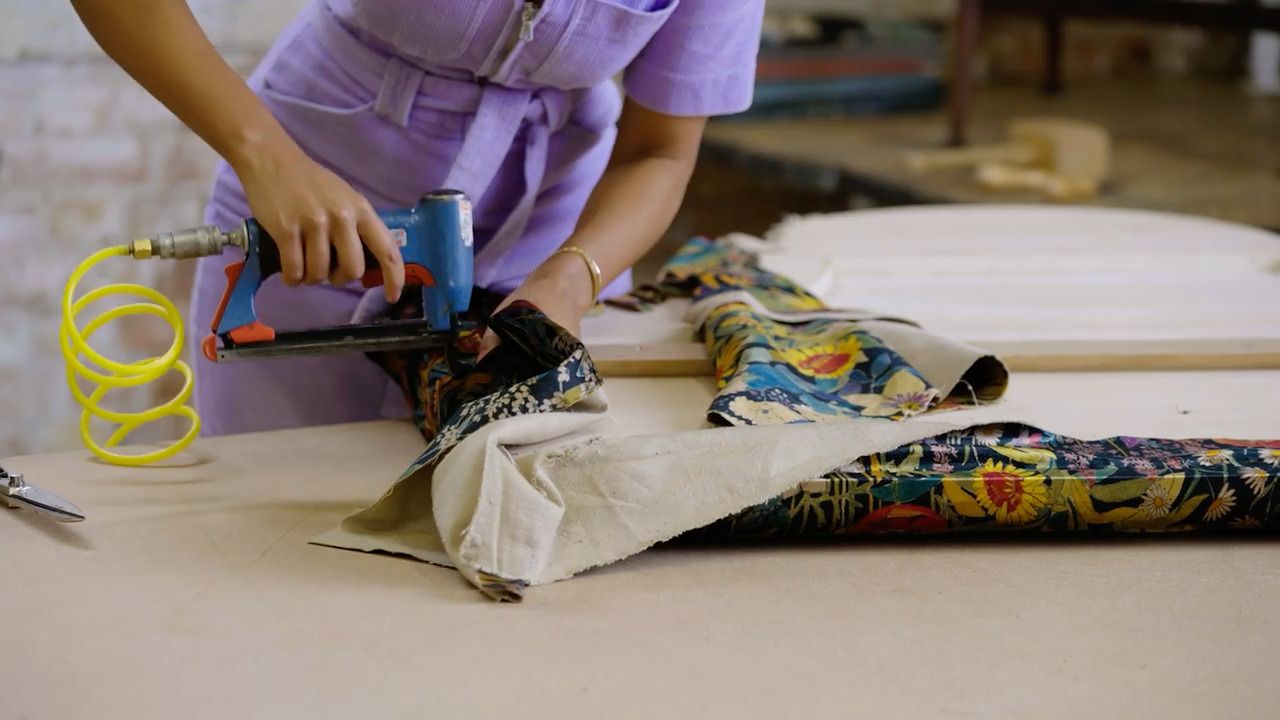
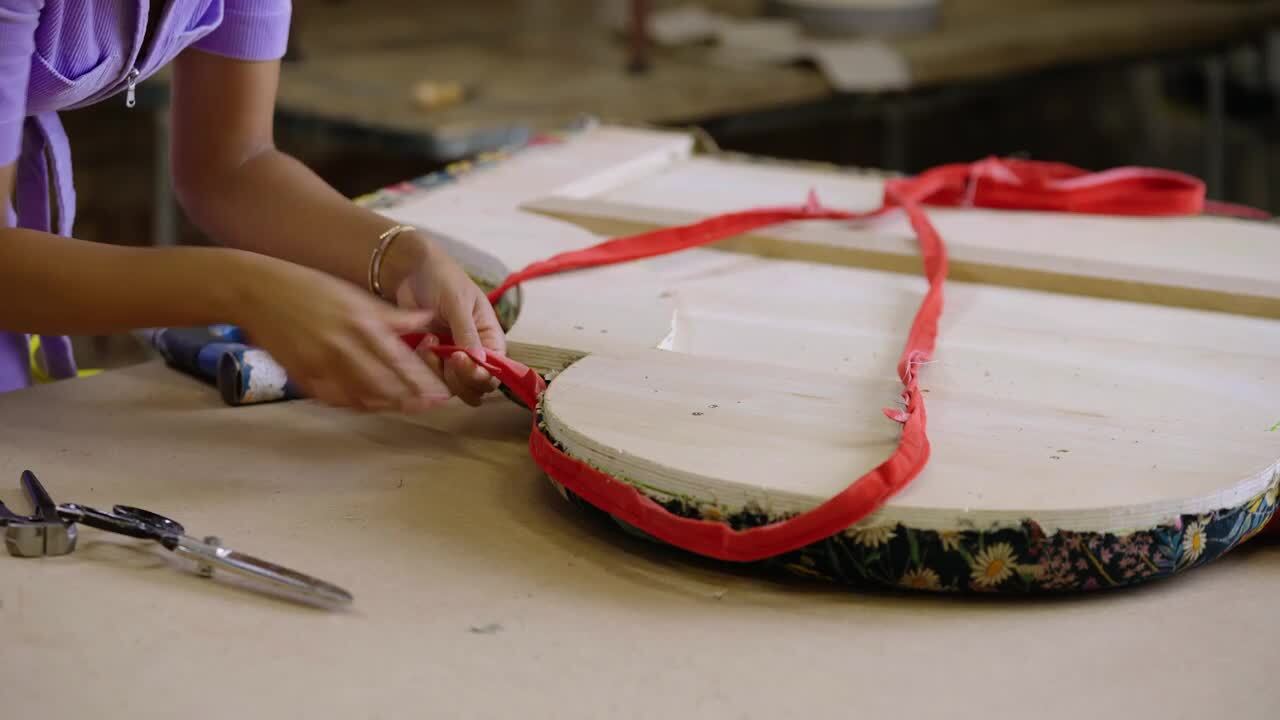
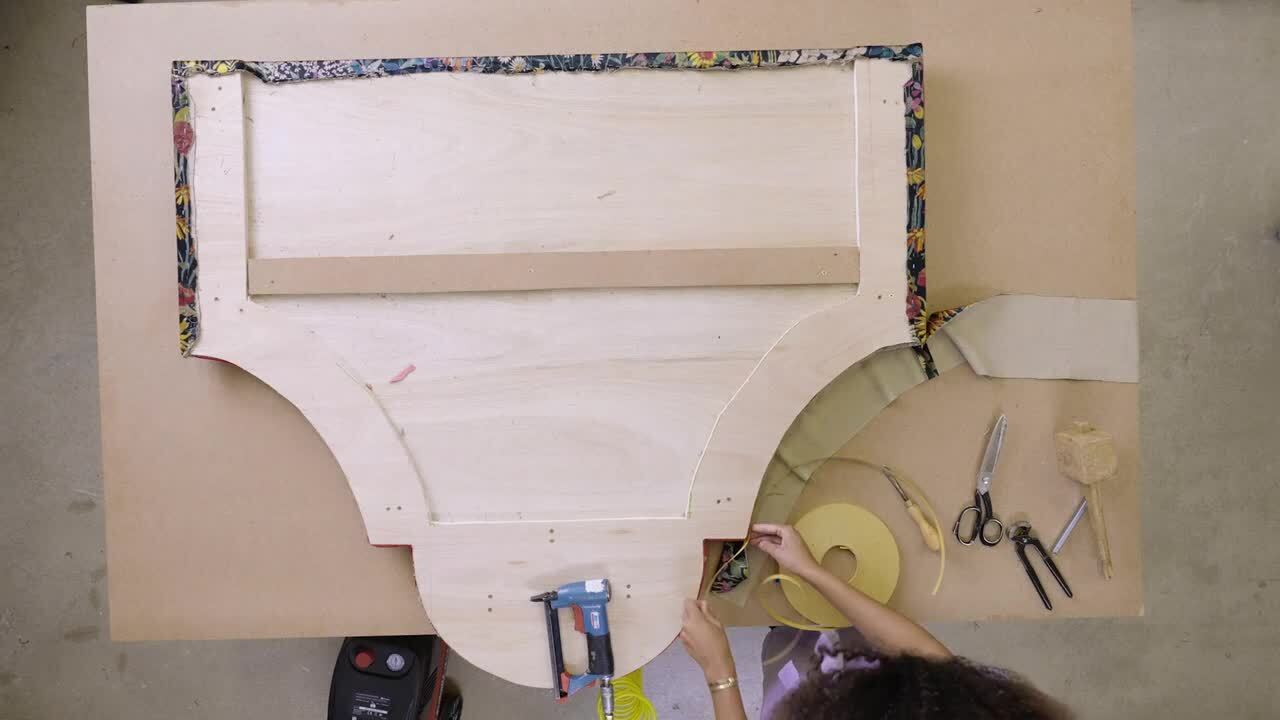
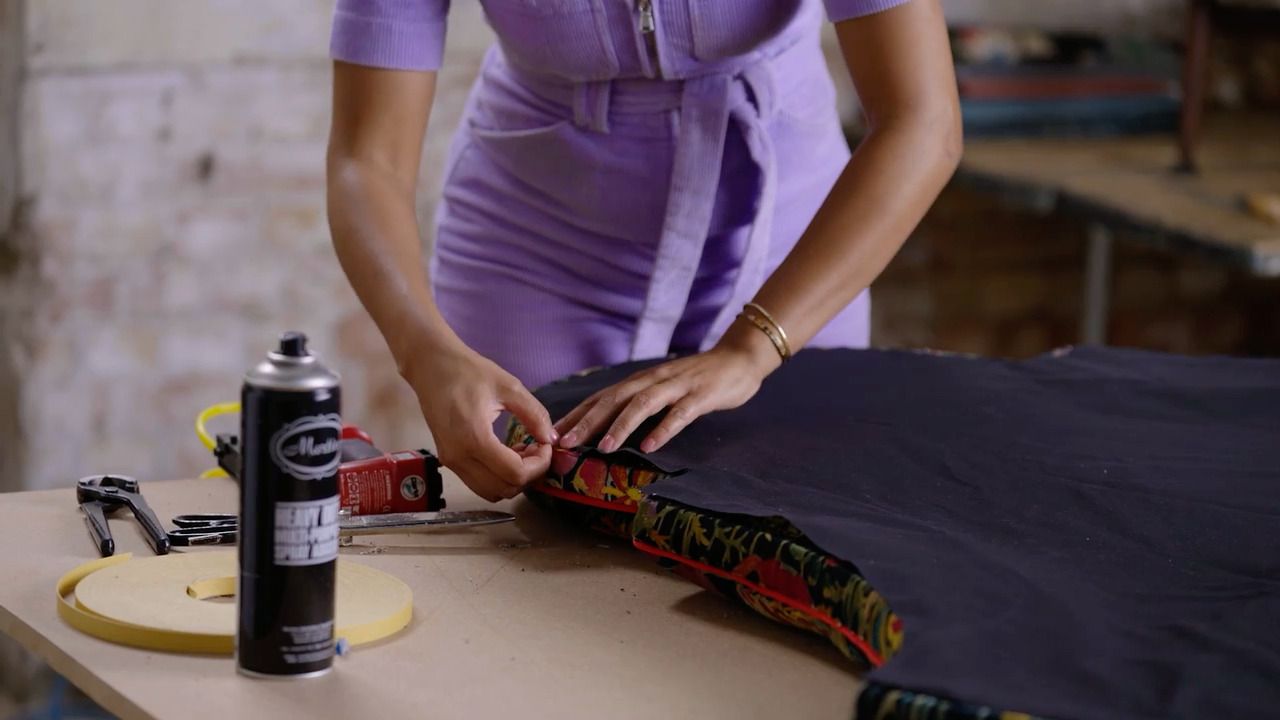
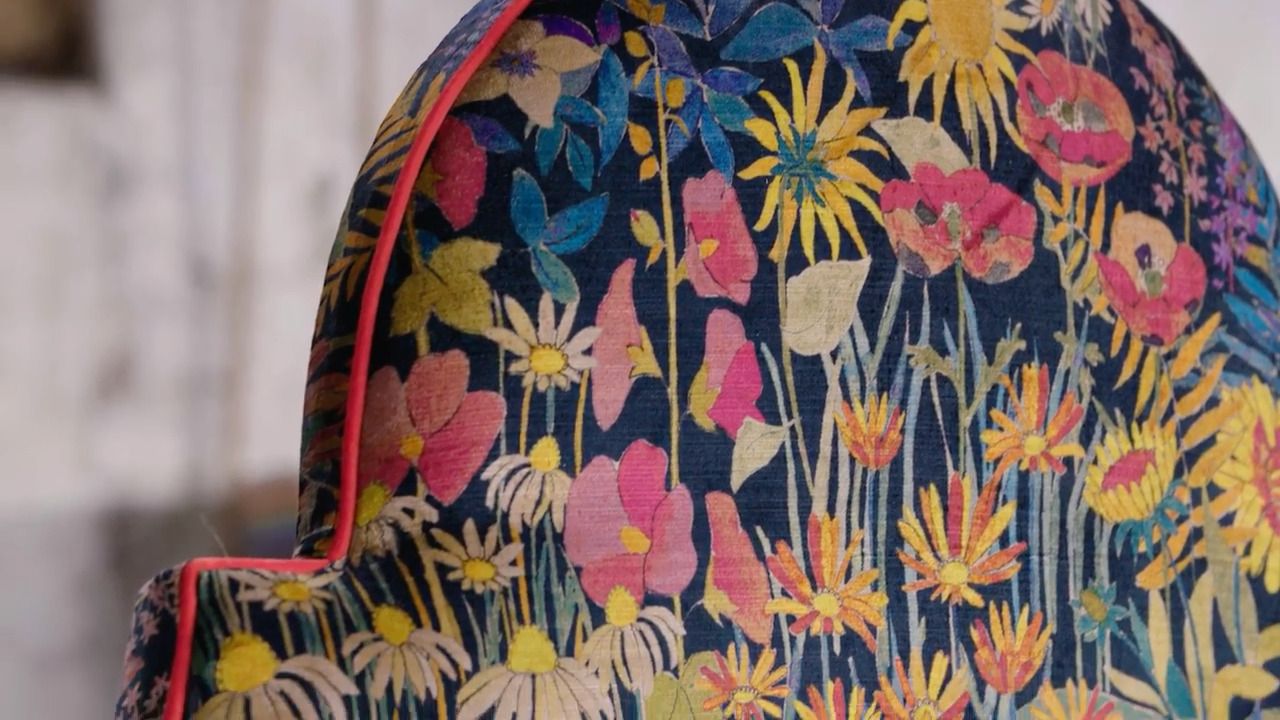
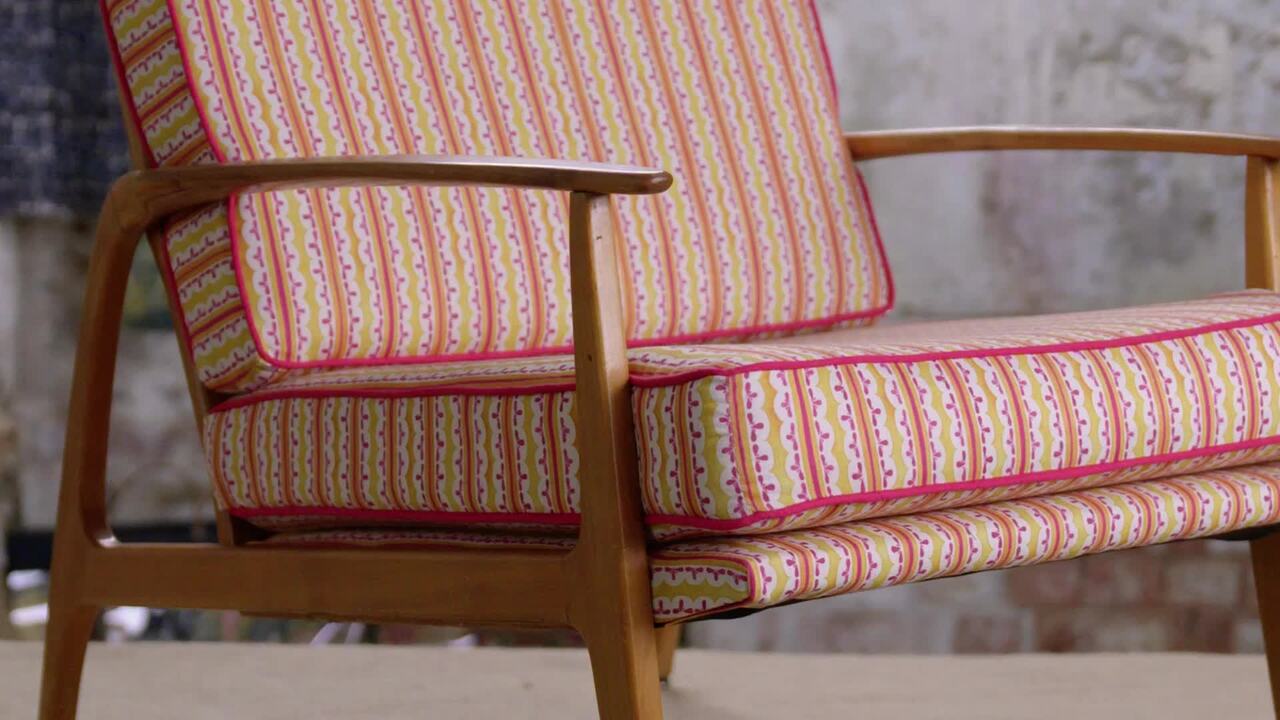
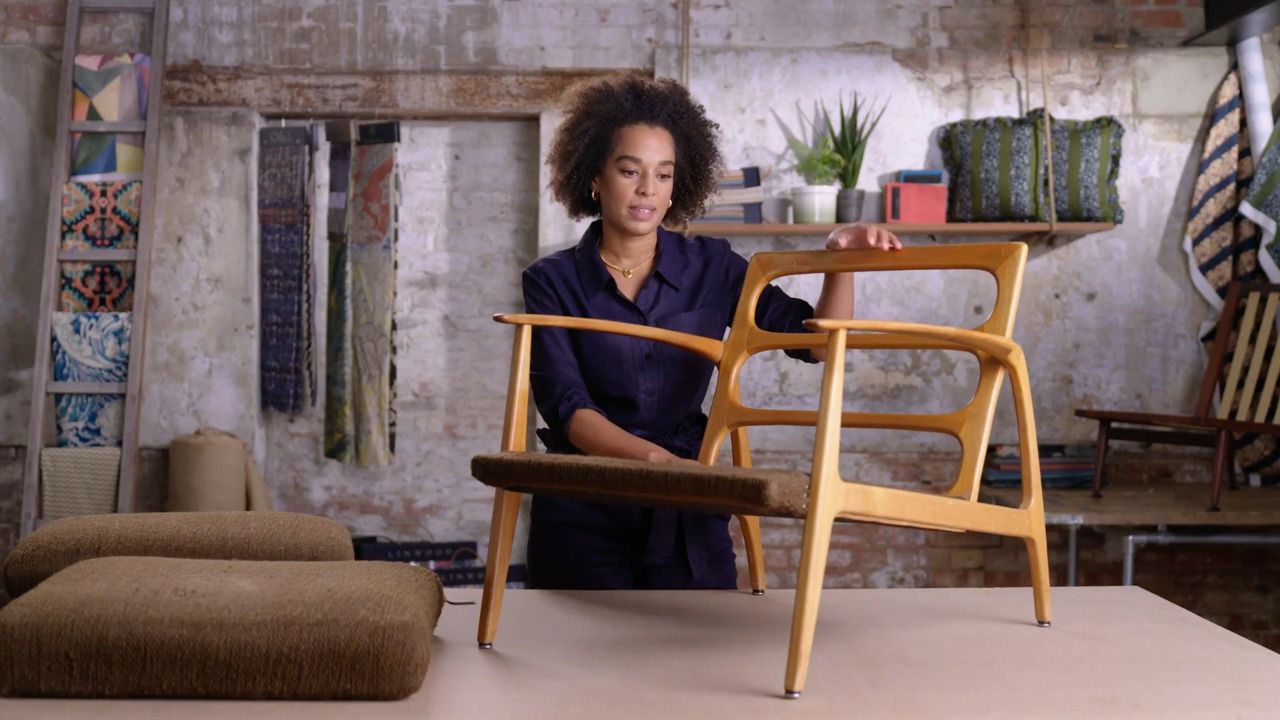
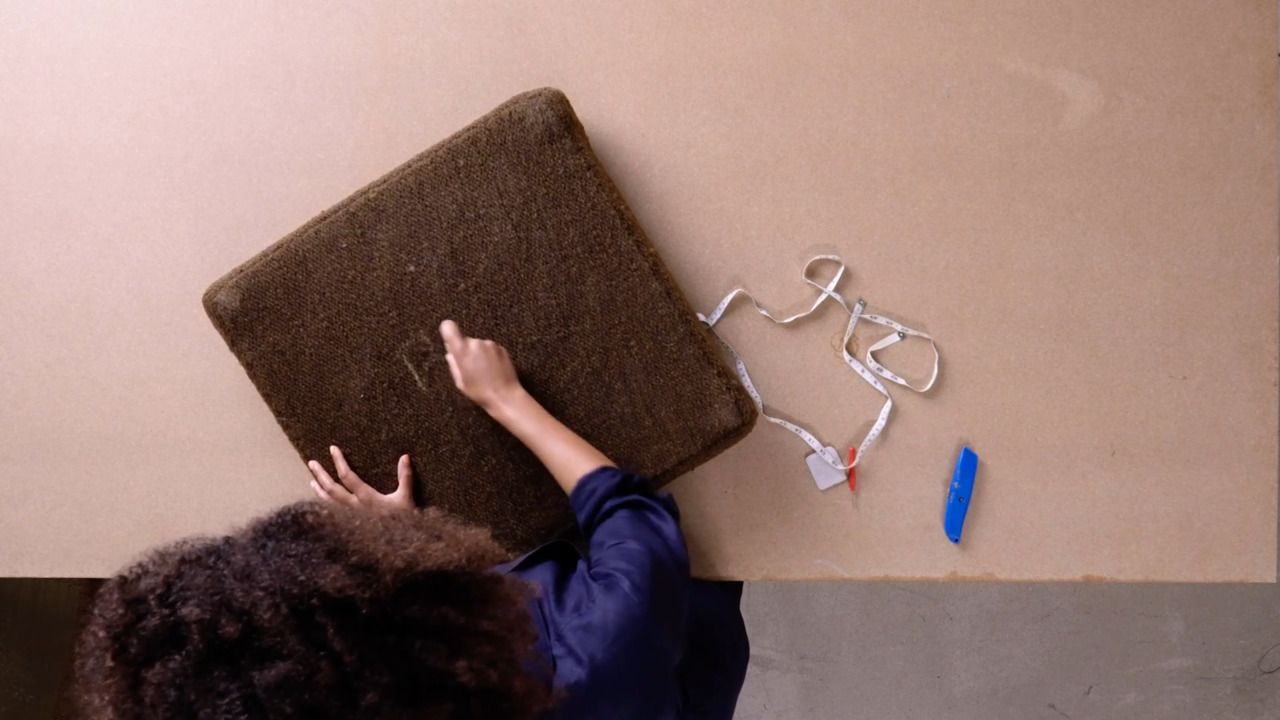
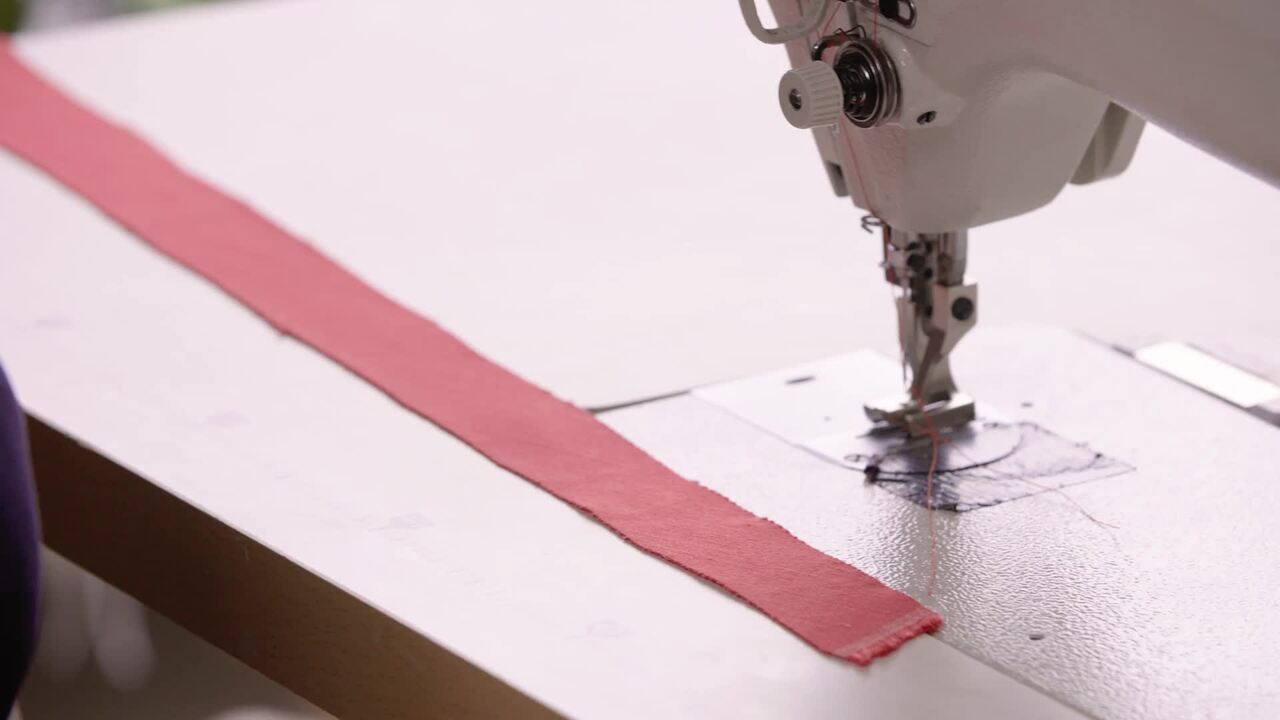
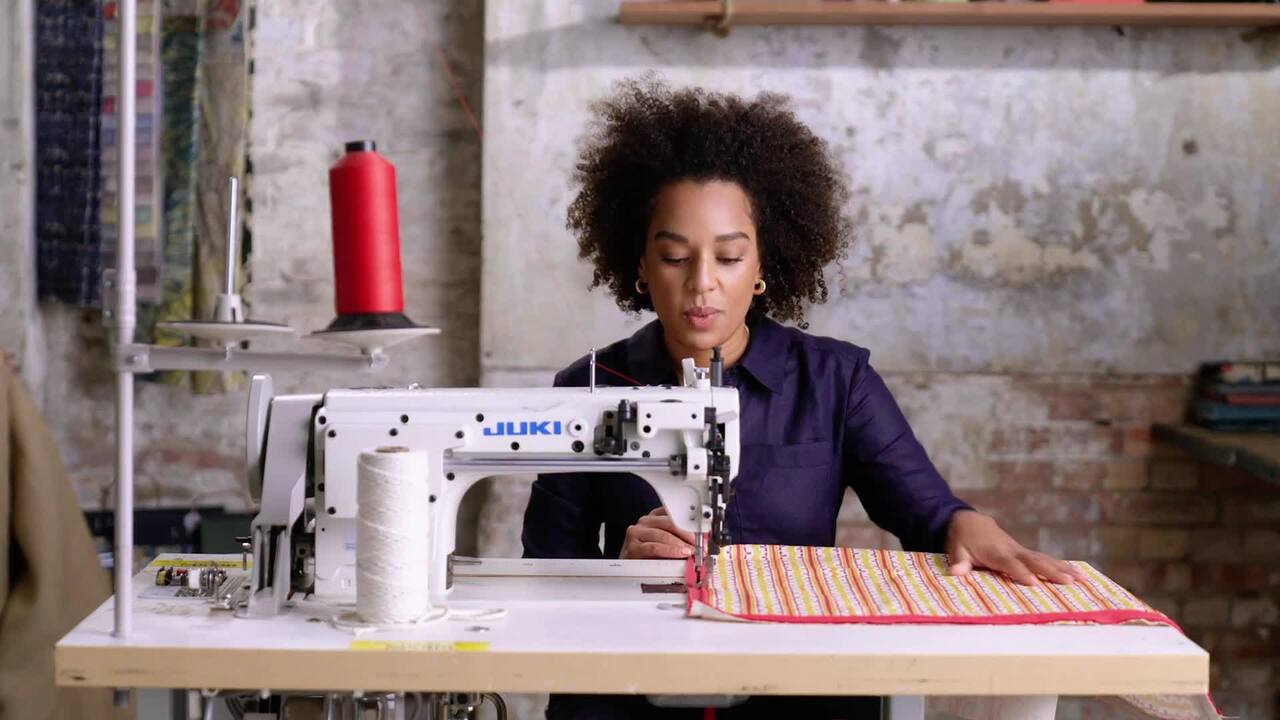
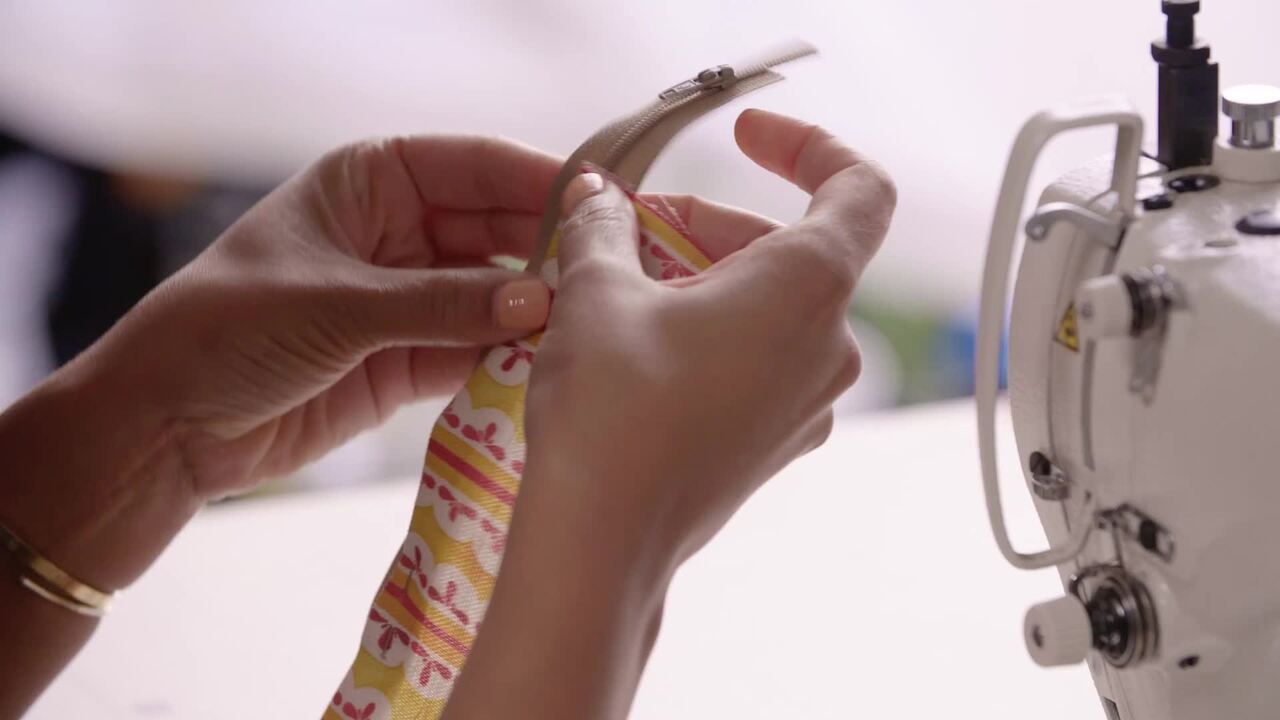
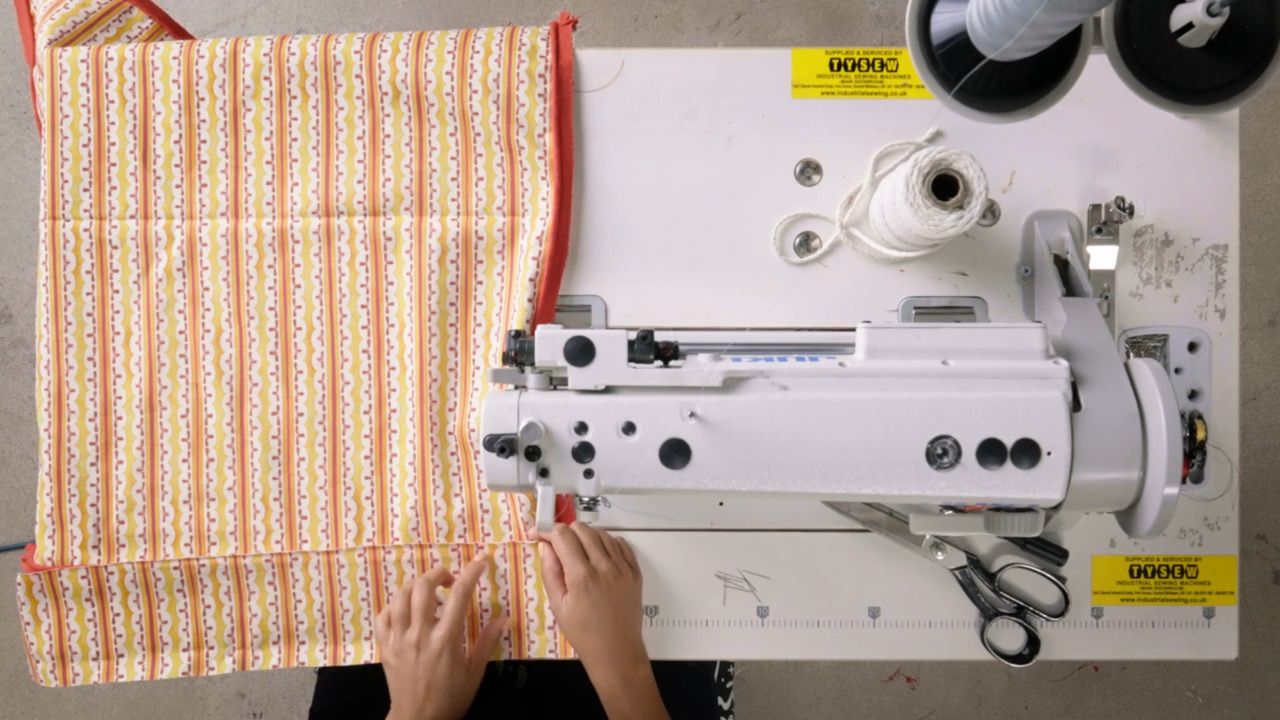
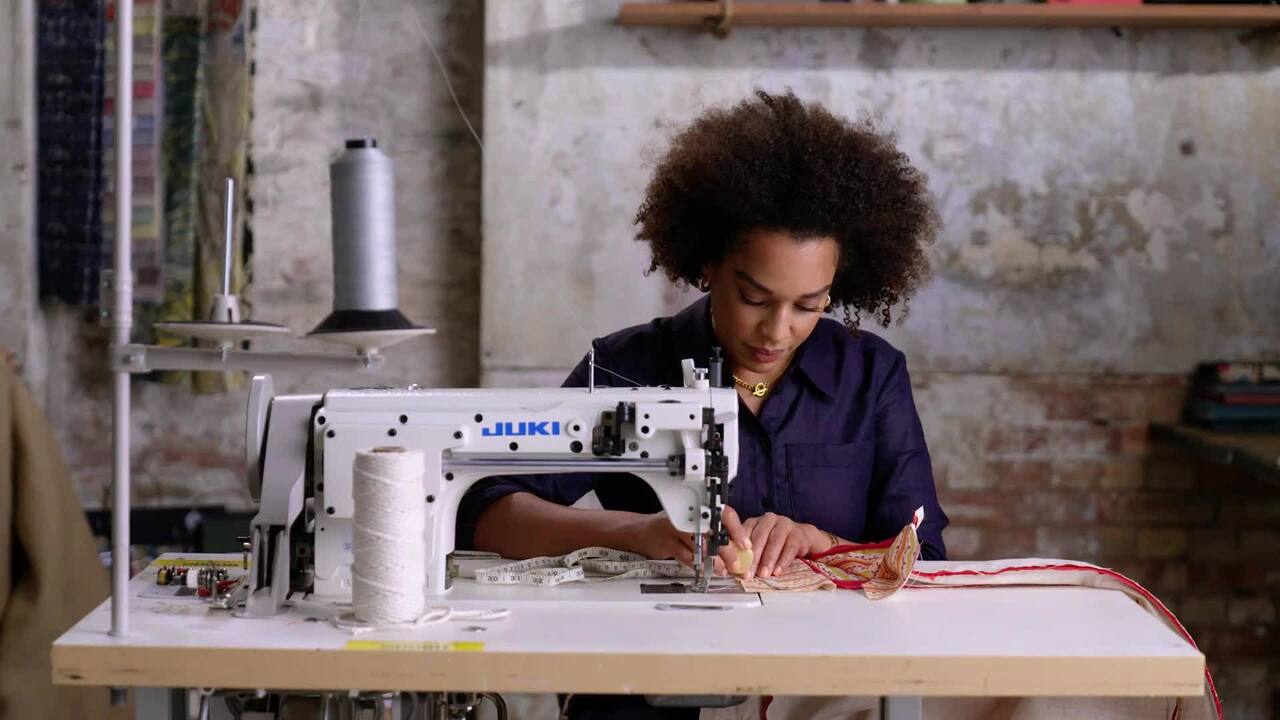
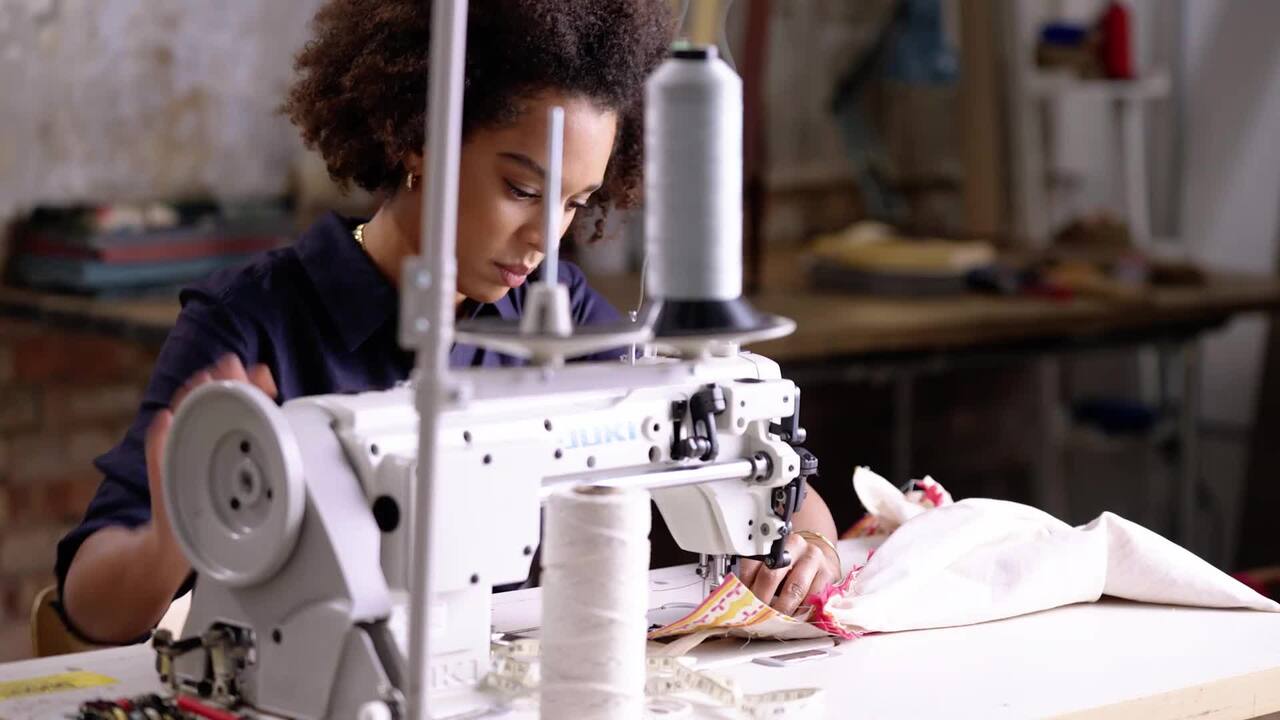
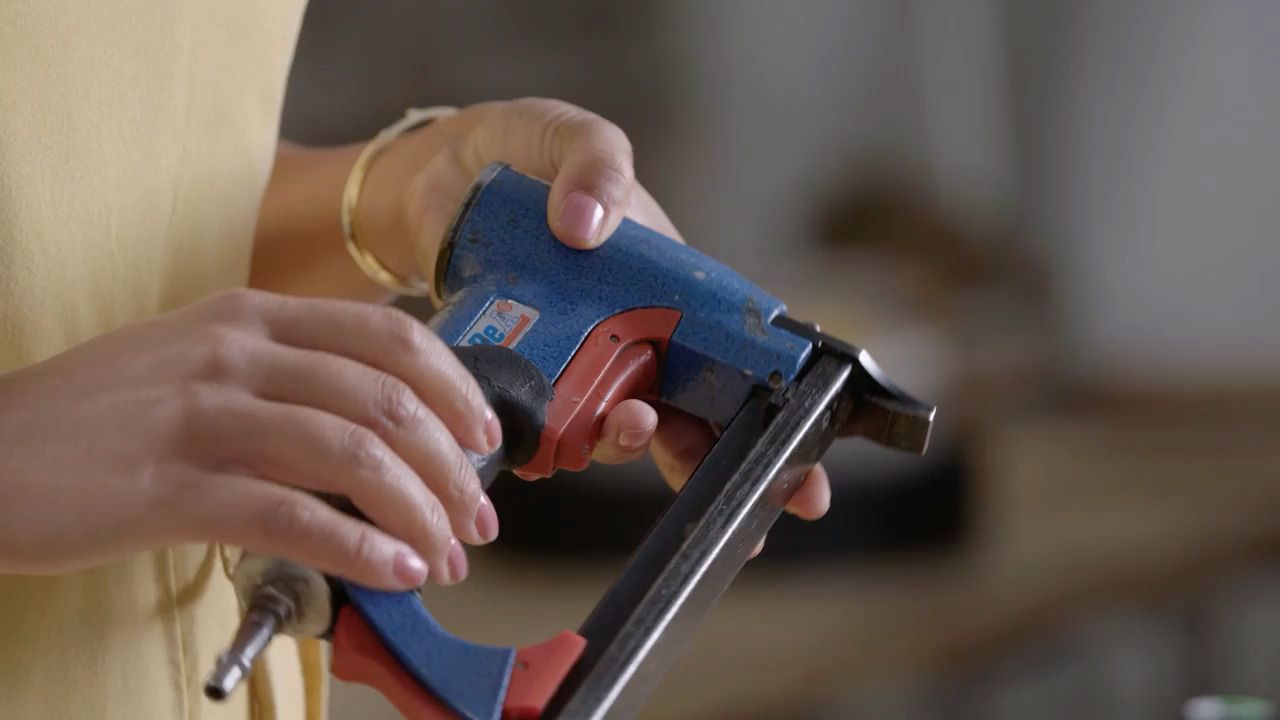
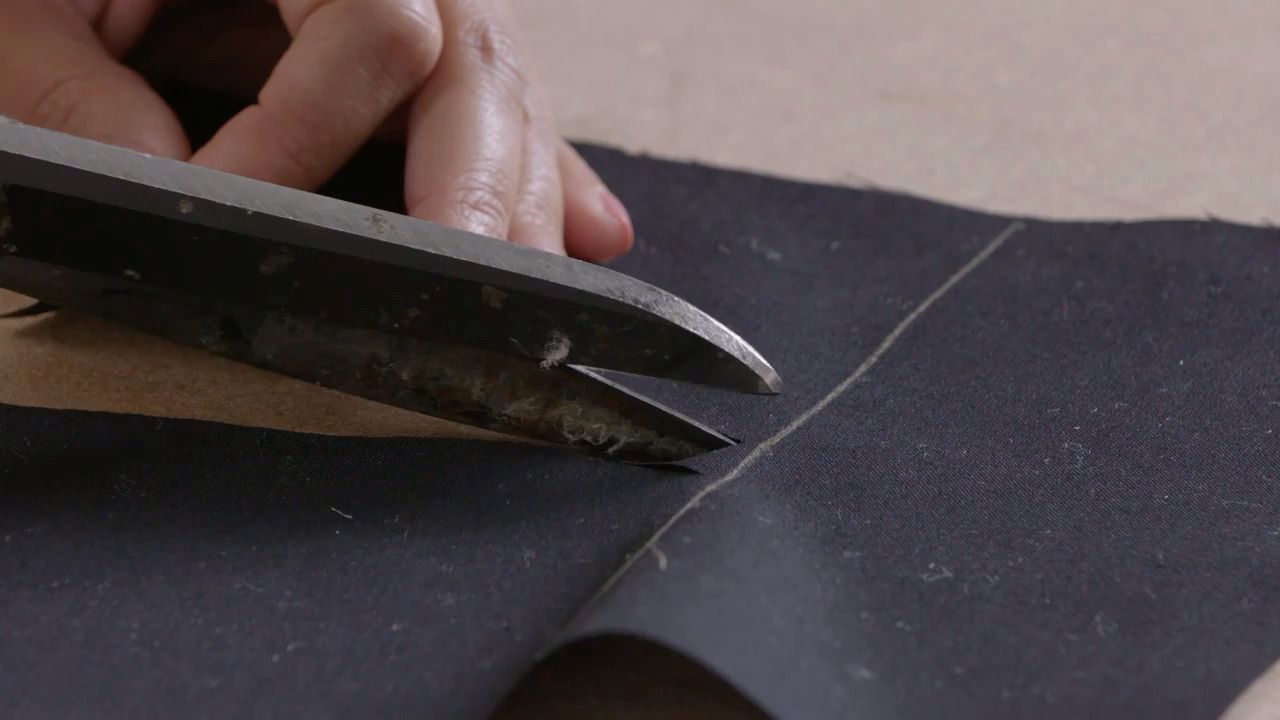
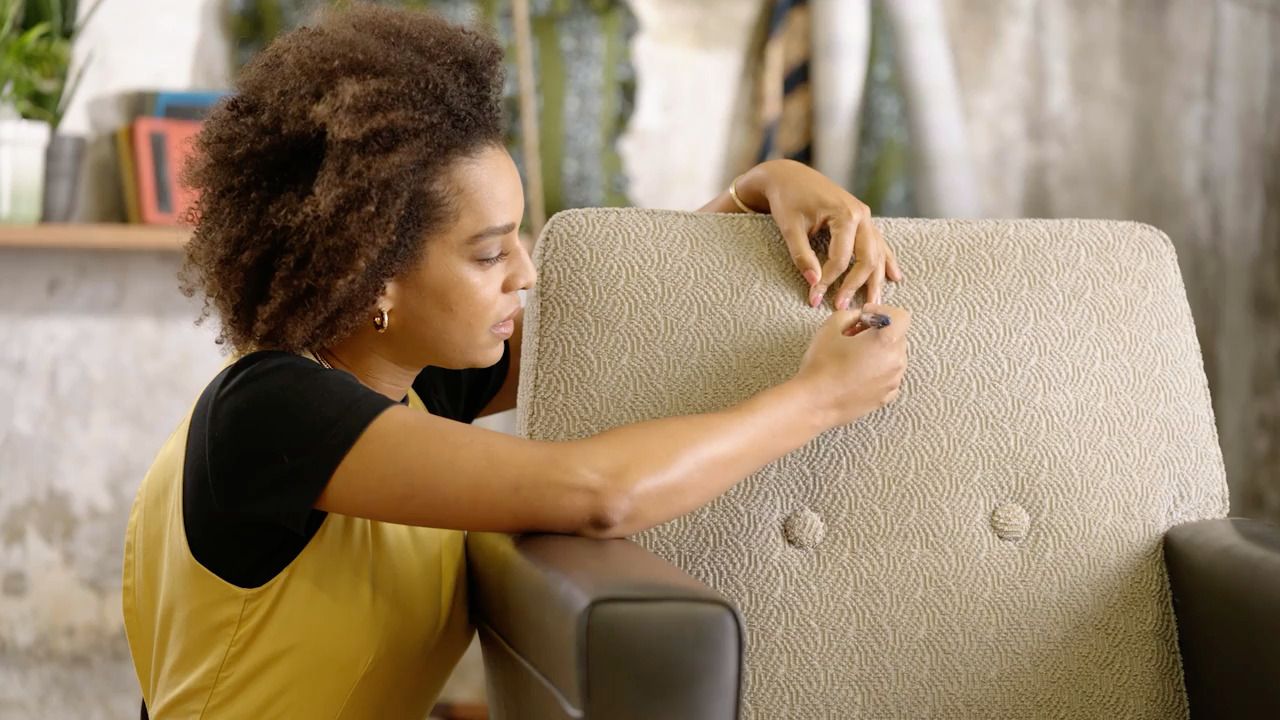
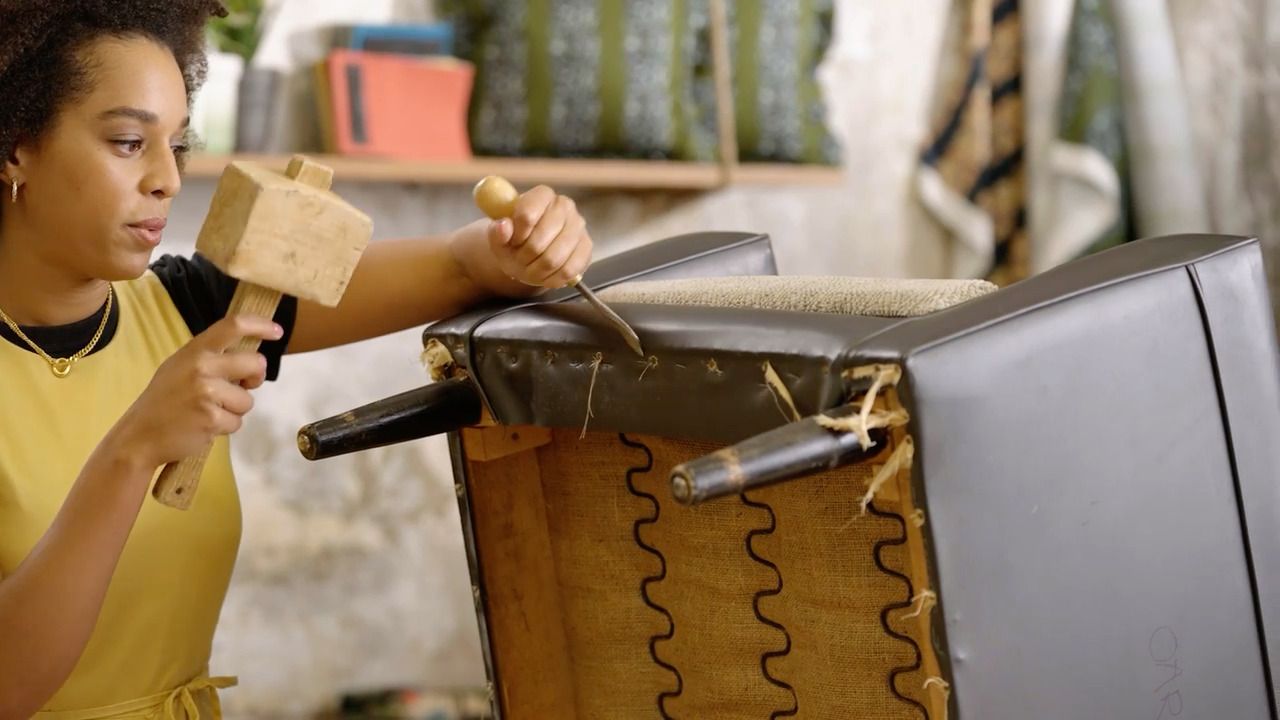
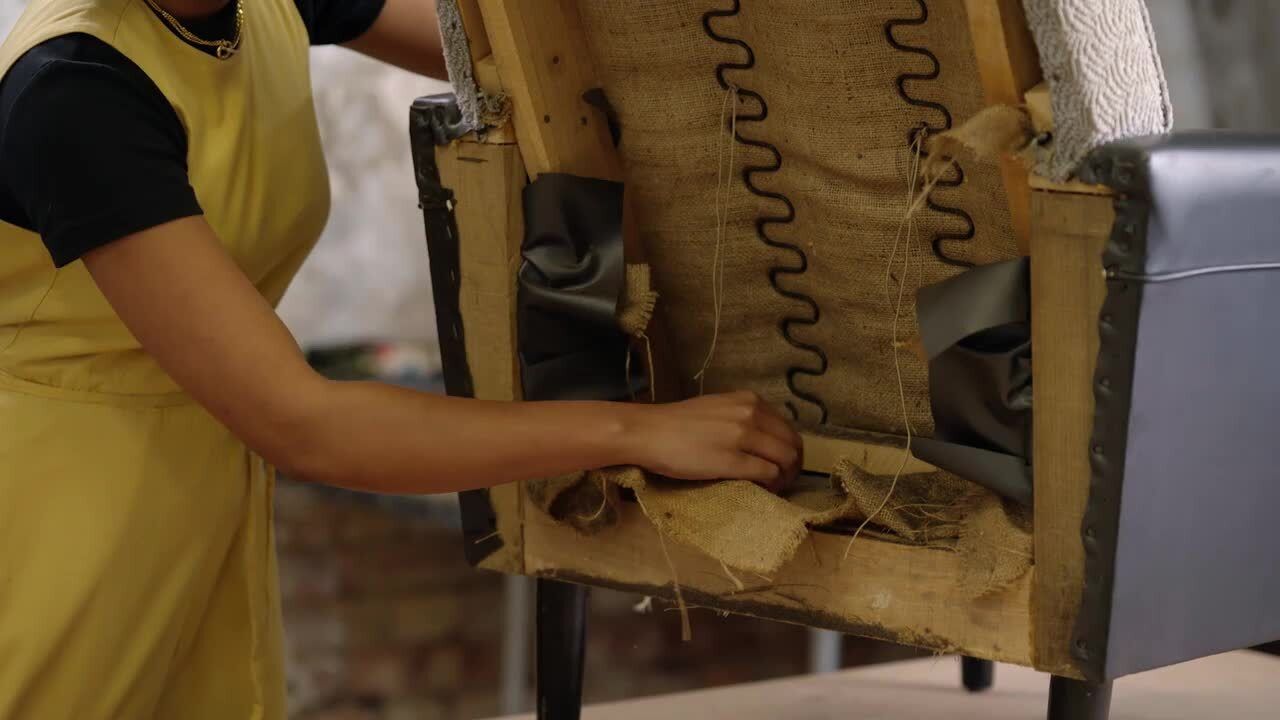
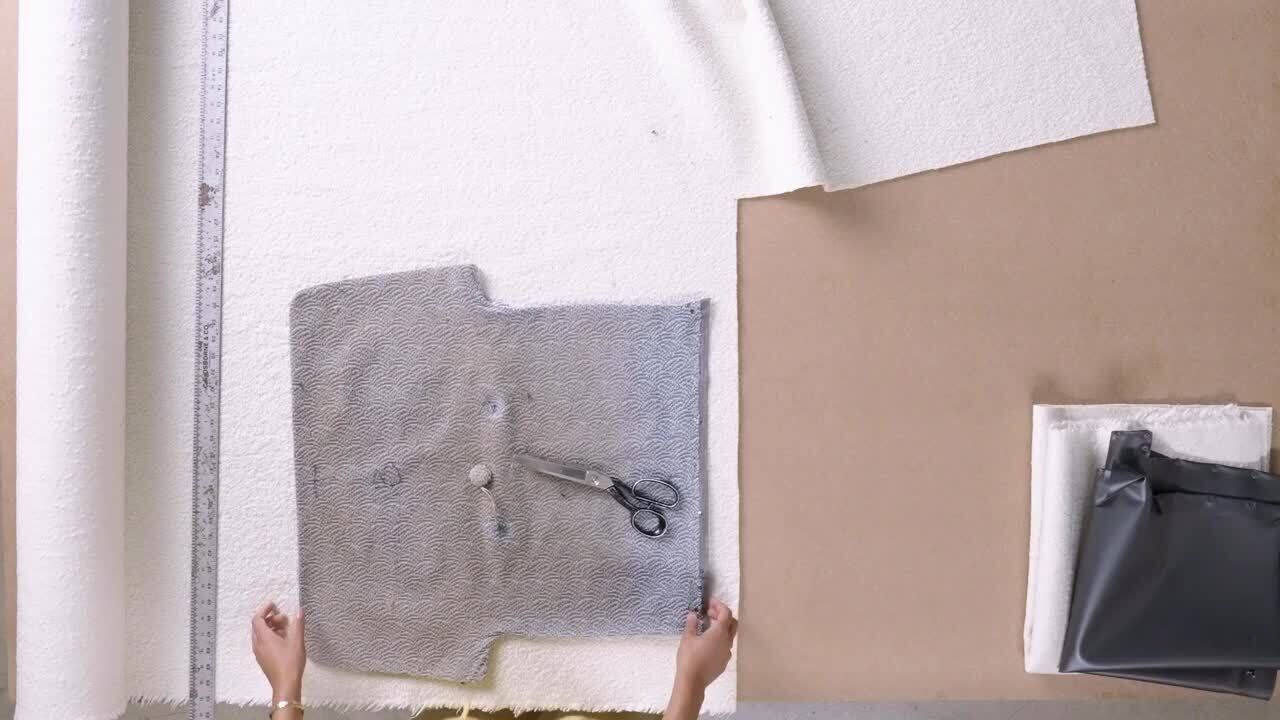
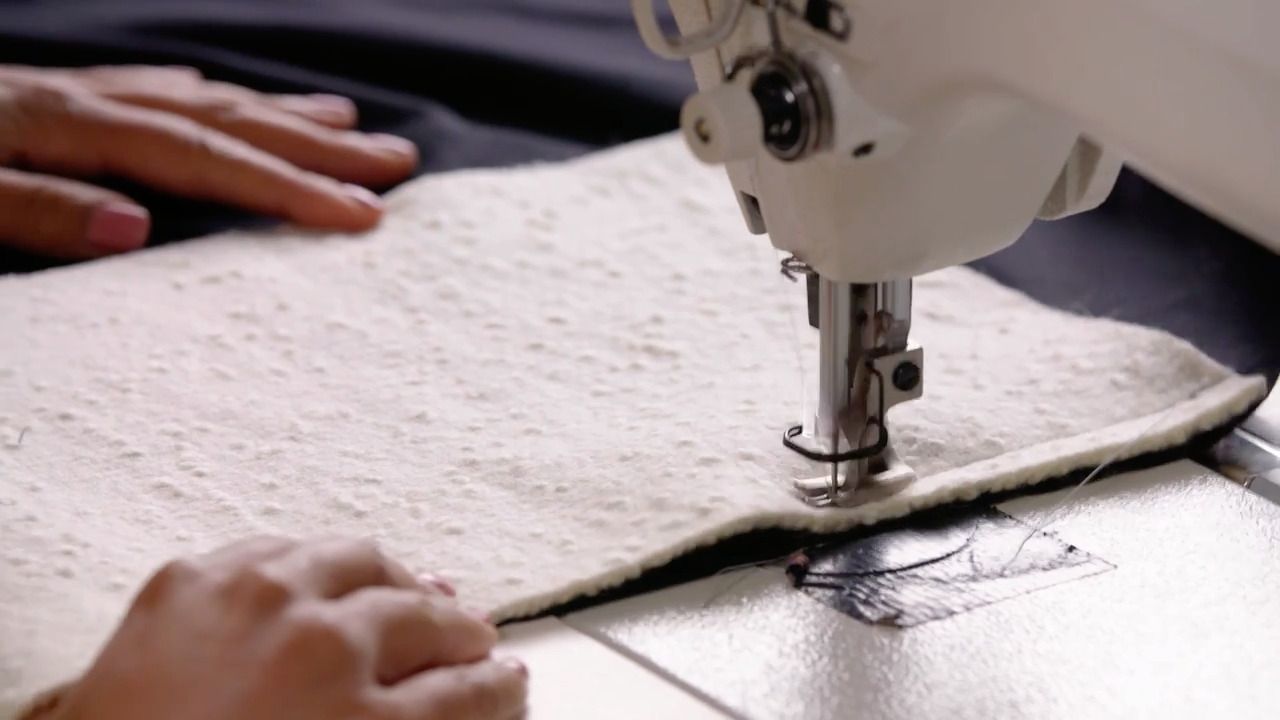
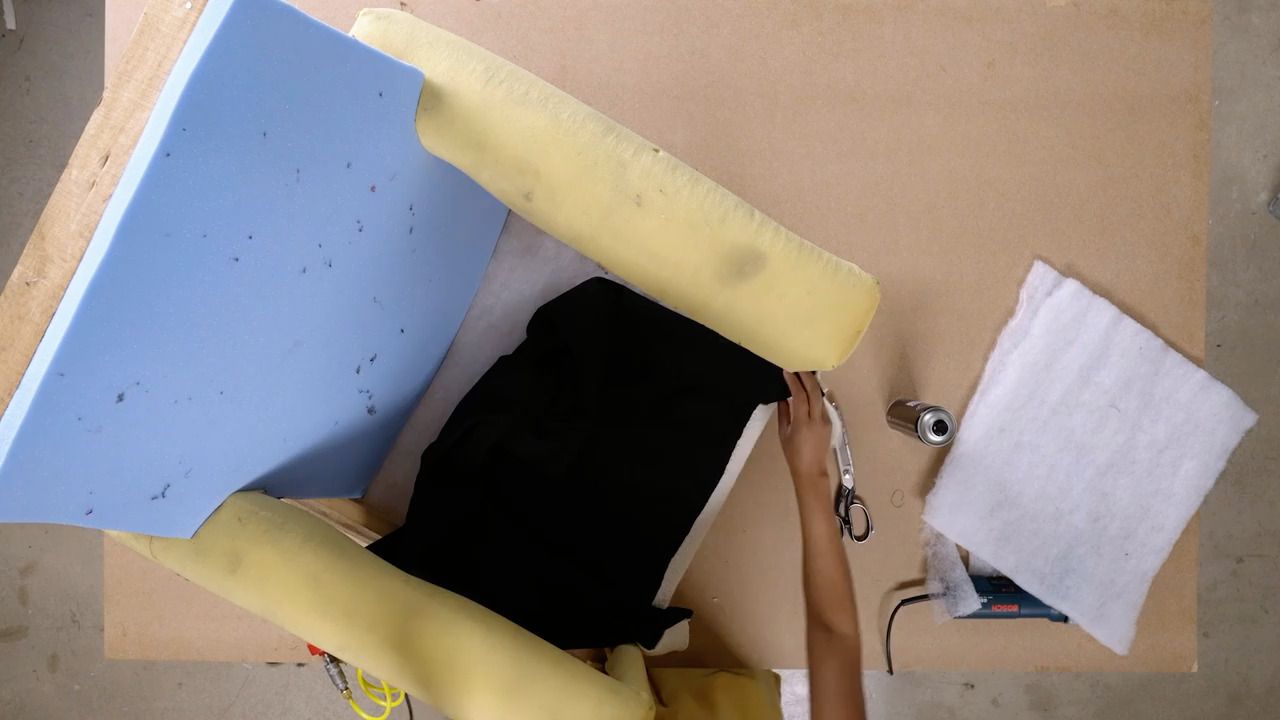
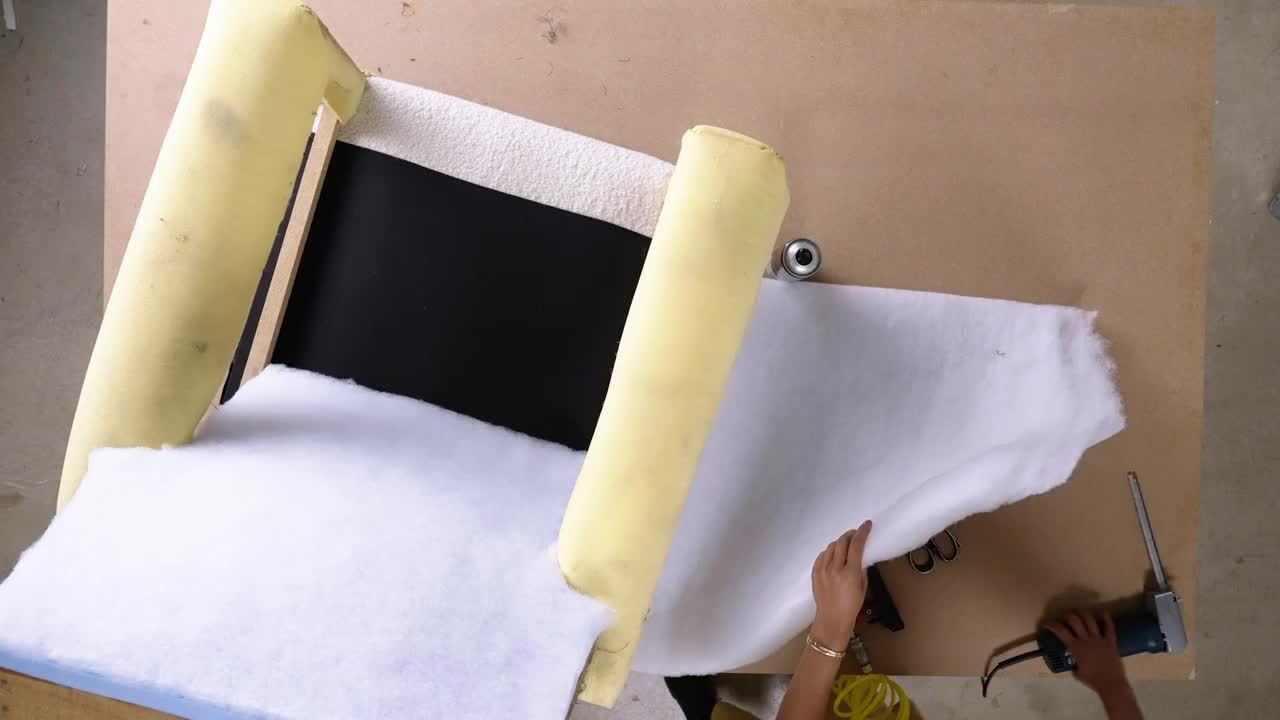
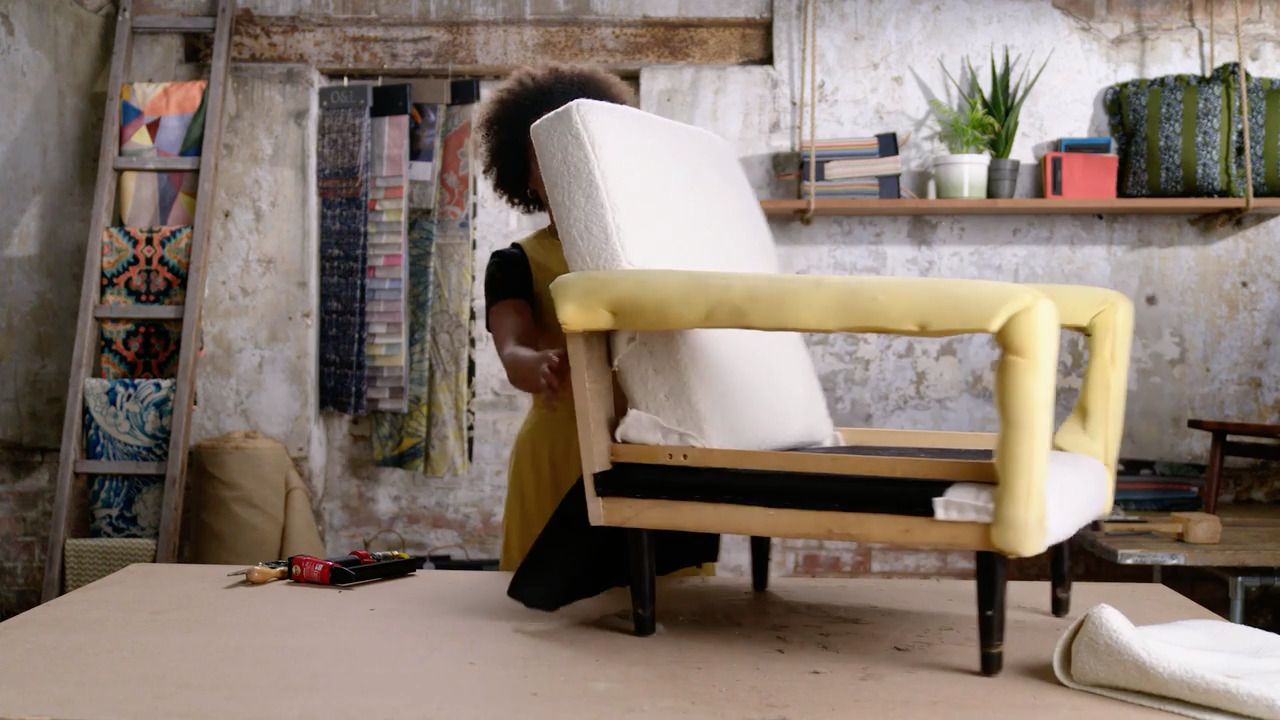
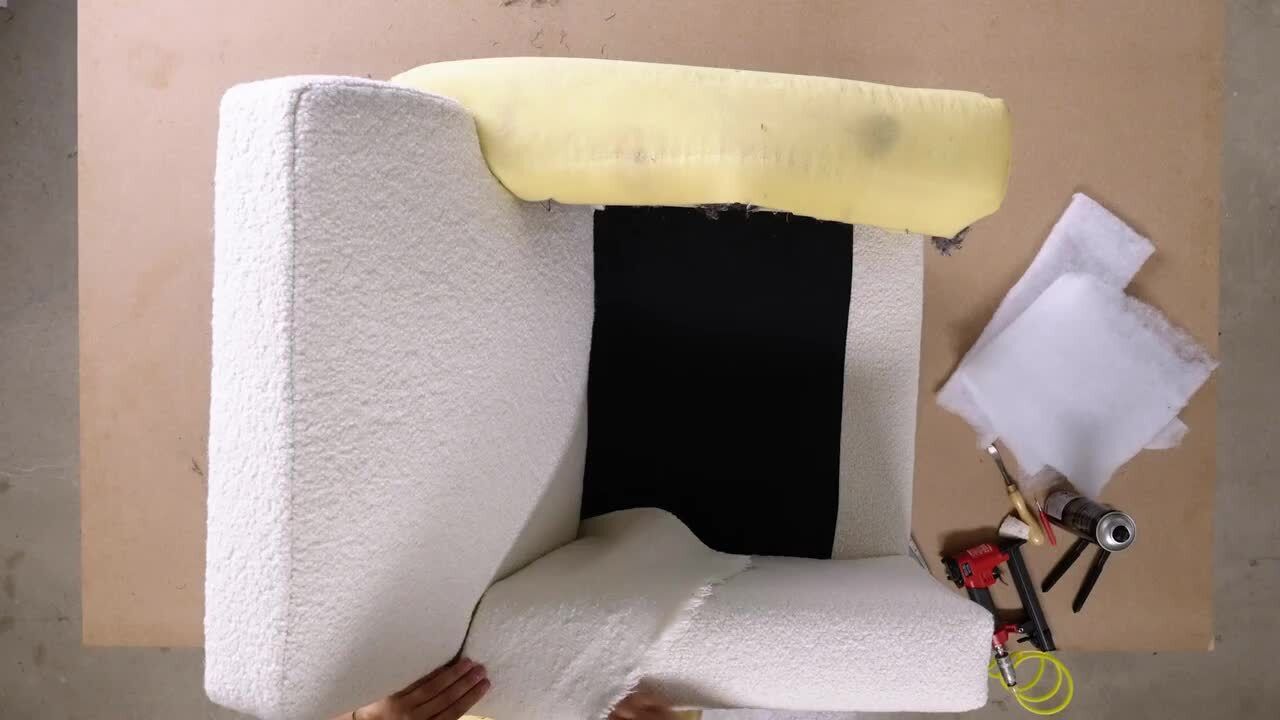
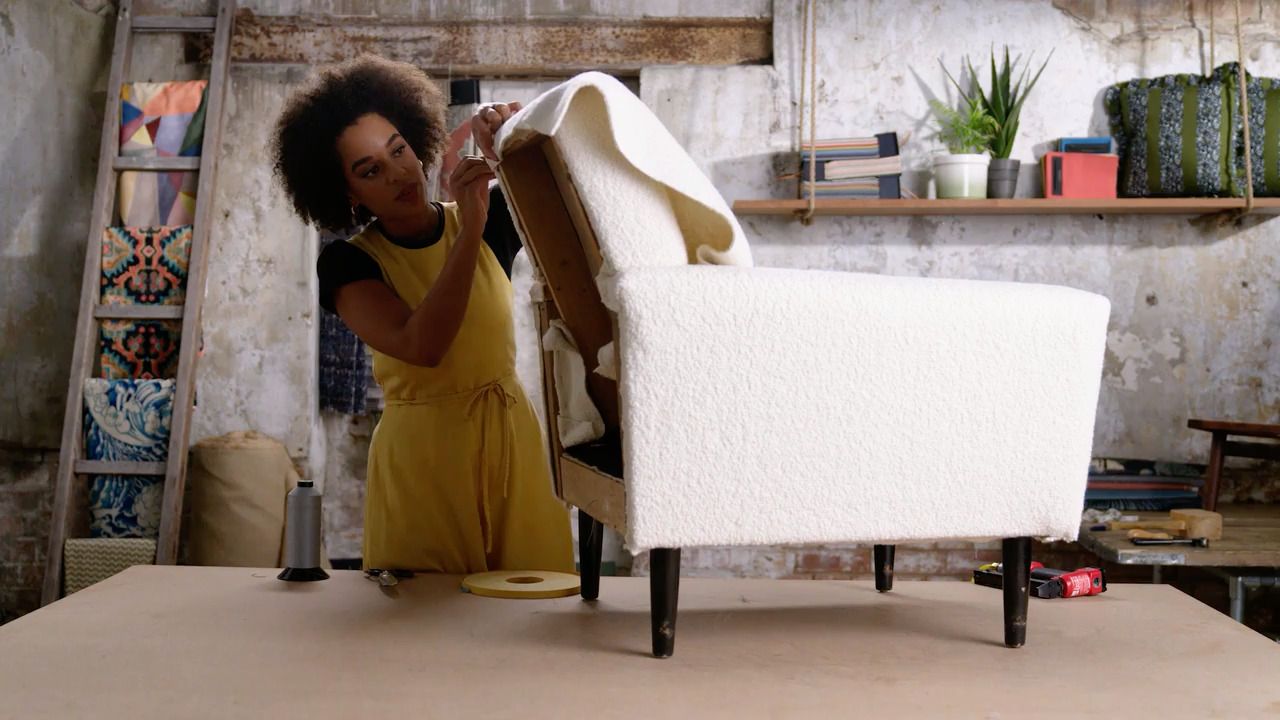
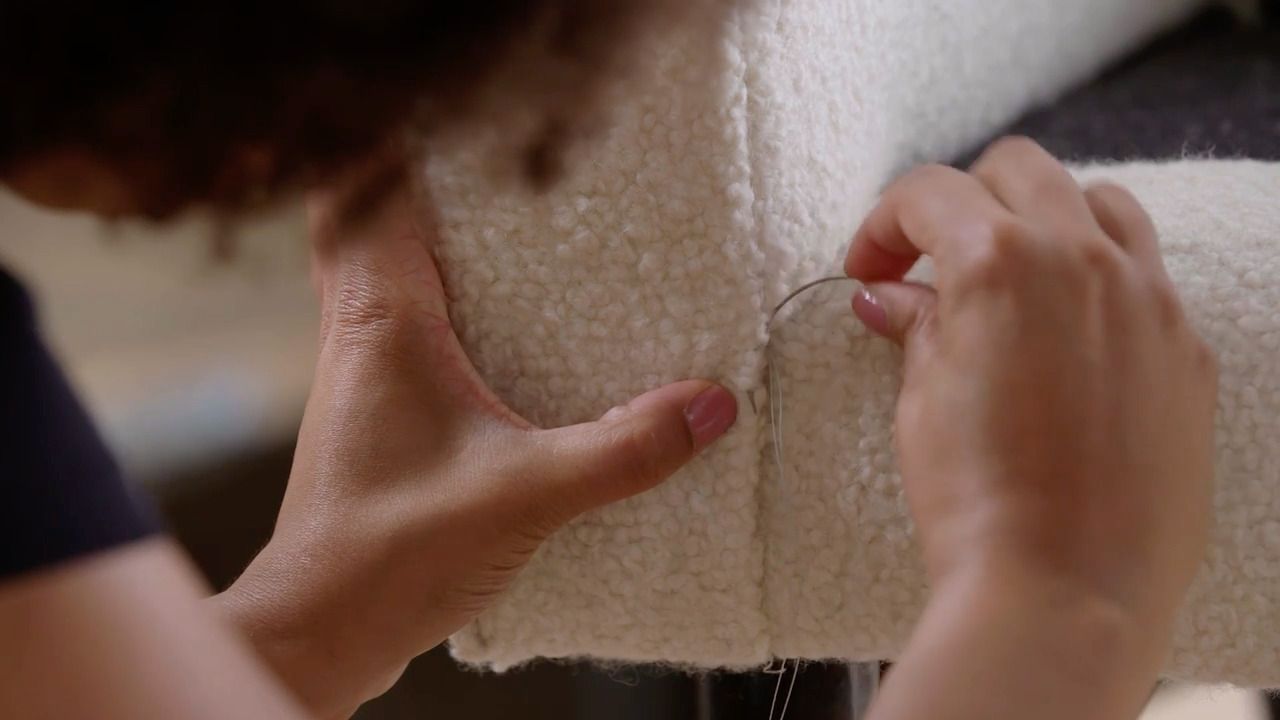
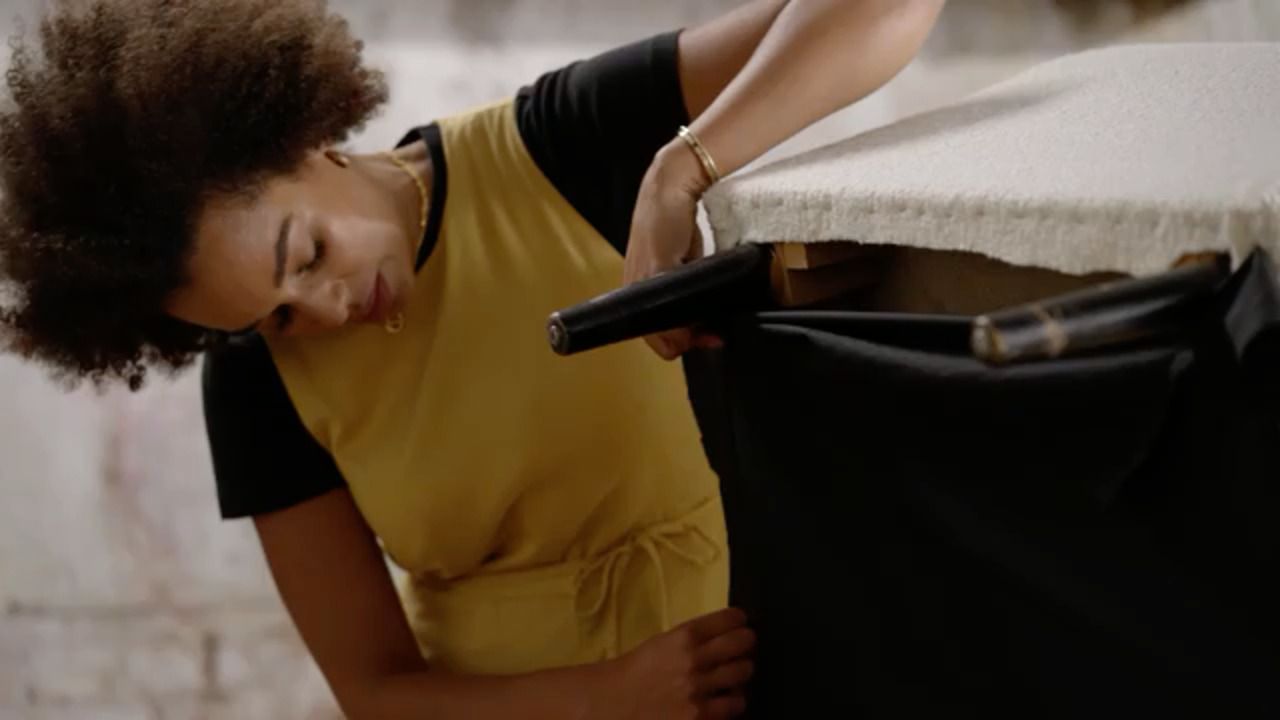
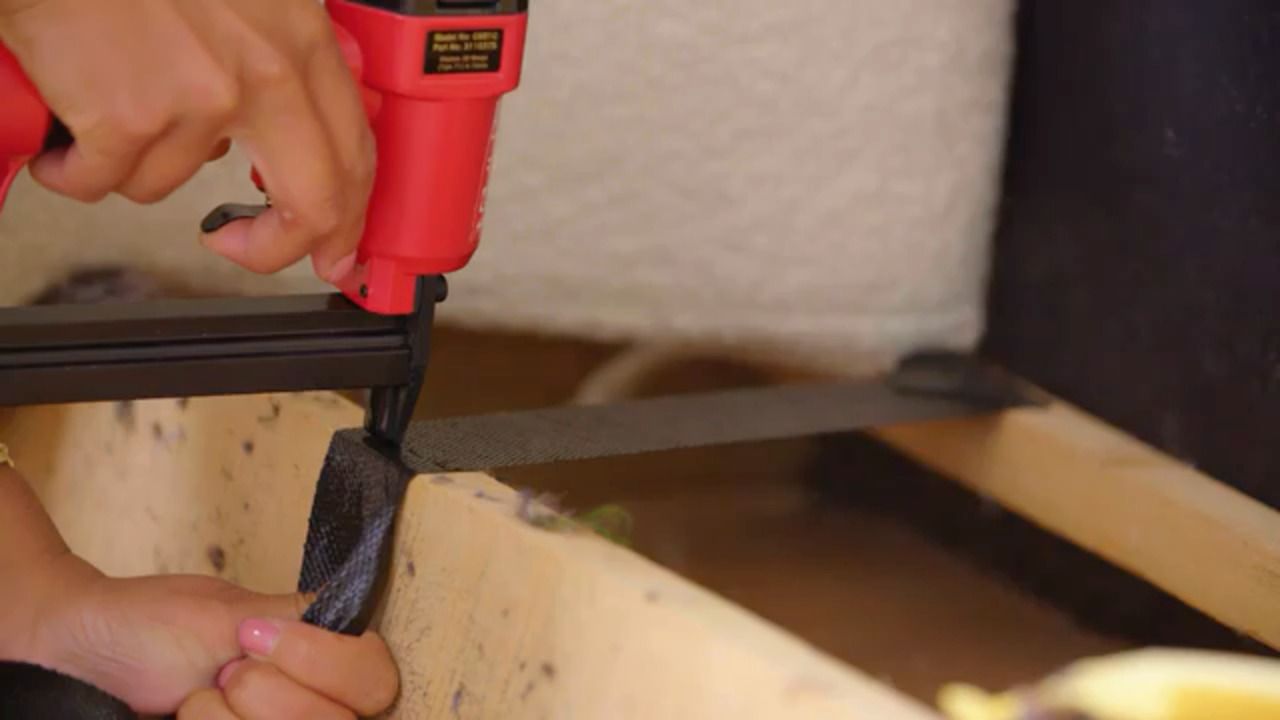
This stage will provide structure and support within the arms, which is important for both comfort and durability.
This stage will provide structure and support within the arms, which is important for both comfort and durability.
Get the full workbook, video lessons, and more with a Create Academy subscription.
Subscribe to access the full workbookAlready a member? Sign in to watch
479 reviews
Read moreCreate Academy has been such a great resource. I'm in the middle of renovating a bungalow with a very large garden and the courses have offered a wealth of inform...
Harvey
Jun 10, 2026
Absolutely love Create Academy! The instructors are extremely informative, and it is beautifully filmed. Create Academy is great value for money and plan on renew...
SG
May 31, 2026
Butter's creativity is stunning! Her ability to incorporate brilliance in small gardens is magical!
Carla
May 30, 2026
The best adventure. I like all the courses, but my favorite are both Rita Konig interior design courses and Anna Jones. Excellent!
Karolina Kluczewska
May 20, 2026
Create Academy has been such a great resource. I'm in the middle of renovating a bungalow with a very large garden and the courses have offered a wealth of information to dive into and explore new ideas. I'm...
Harvey
Jun 10, 2026
Absolutely love Create Academy! The instructors are extremely informative, and it is beautifully filmed. Create Academy is great value for money and plan on renewing my subscription yearly because there are ...
SG
May 31, 2026
Butter's creativity is stunning! Her ability to incorporate brilliance in small gardens is magical!
Carla
May 30, 2026
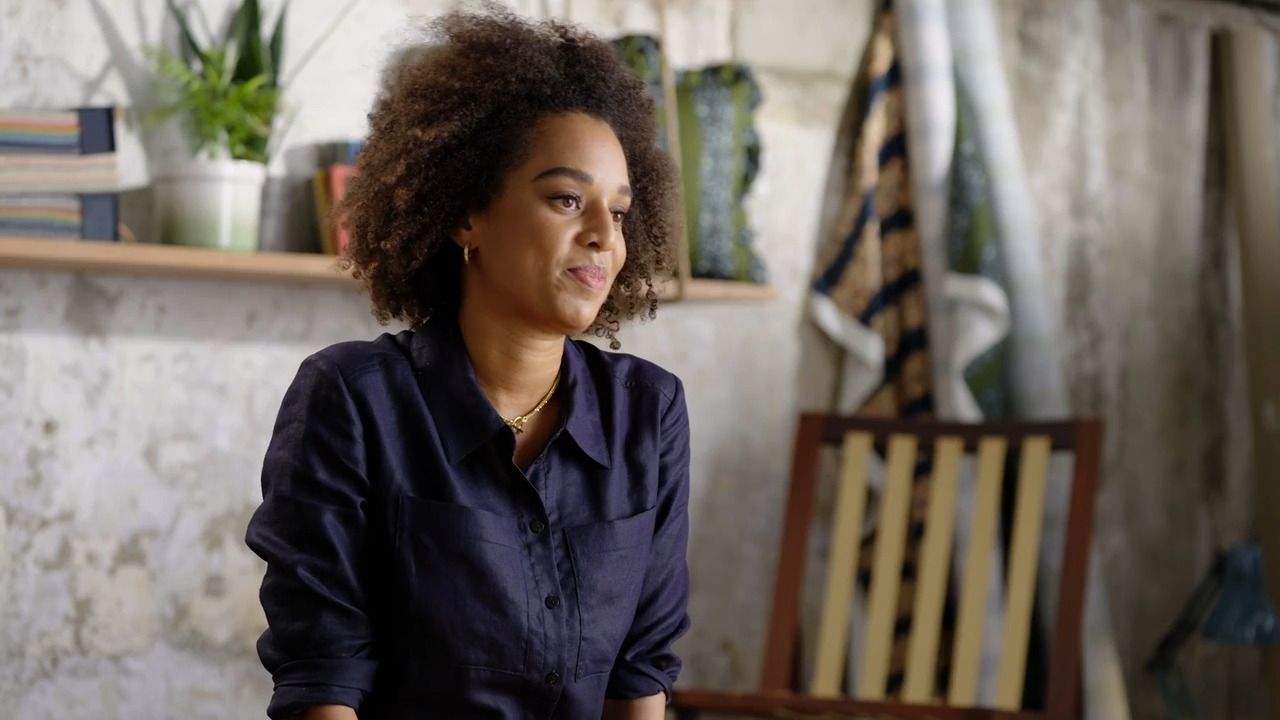
Your Instructor
Sustainable designer and modern upholstery expert. TV presenter and interior design judge.
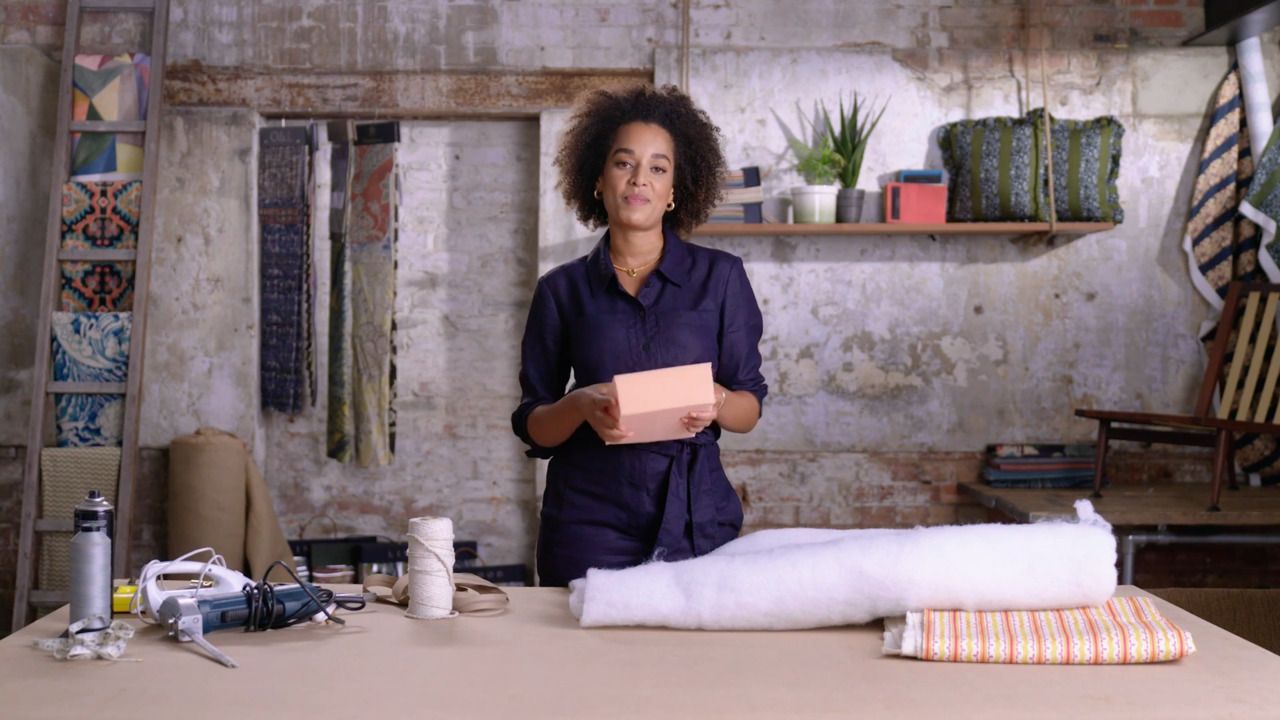
Micaela Sharp is a professional upholsterer, interior designer and broadcaster who champions the art of reupholstery and its ability to breathe new life into pre-loved furniture. Growing up, Micaela learnt both carpentry and sewing skills from her grandparents. It was this knowledge, alongside a passion for sustainability and longevity, that inspired her to take up upholstery and set up her own practice. Whether it’s designing furniture from scratch, reimagining a tired armchair into an heirloom to be cherished for years to come, or creating a room scheme layered with fabric and colour, Micaela brings her unique creativity and inventive flair to every project.

Access to all courses


