


Very good tutorial from a professional garden...
I have subscribed to access all the courses so have watched one on interior design and this one with Butter Wakefield who specialises in small garden design. She ...
Louise Brown
Apr 10, 2026
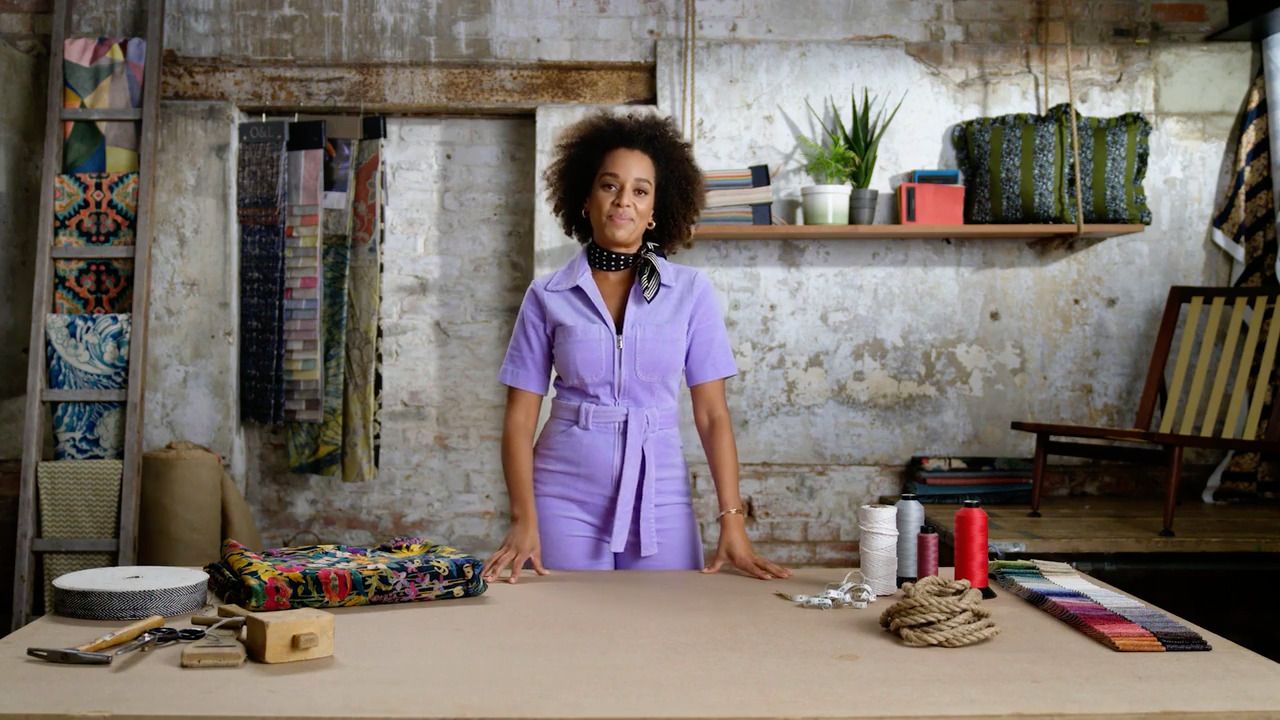
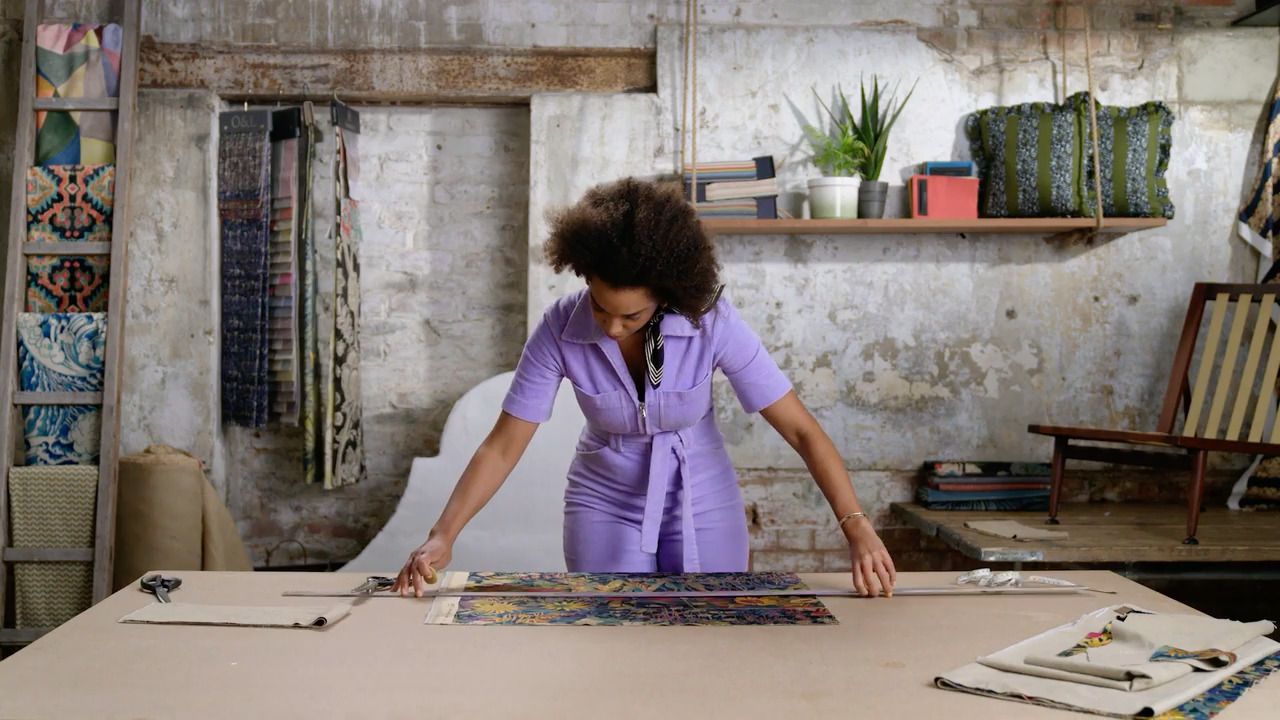
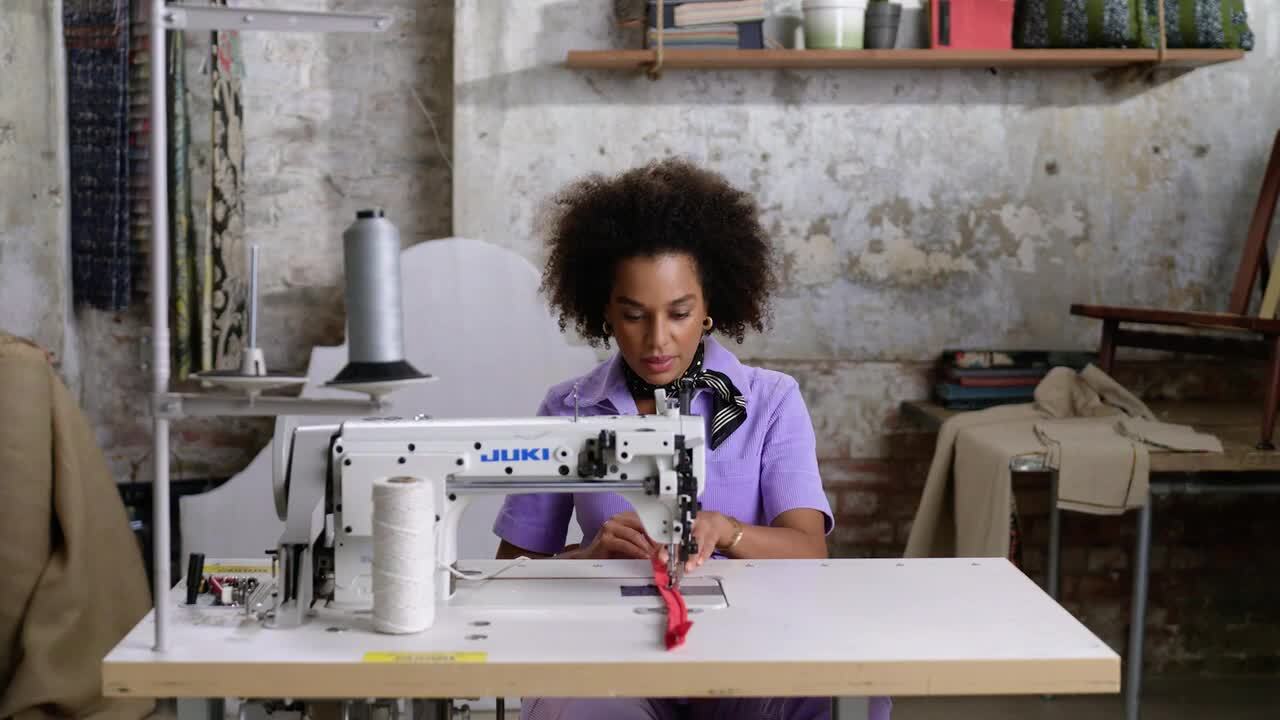
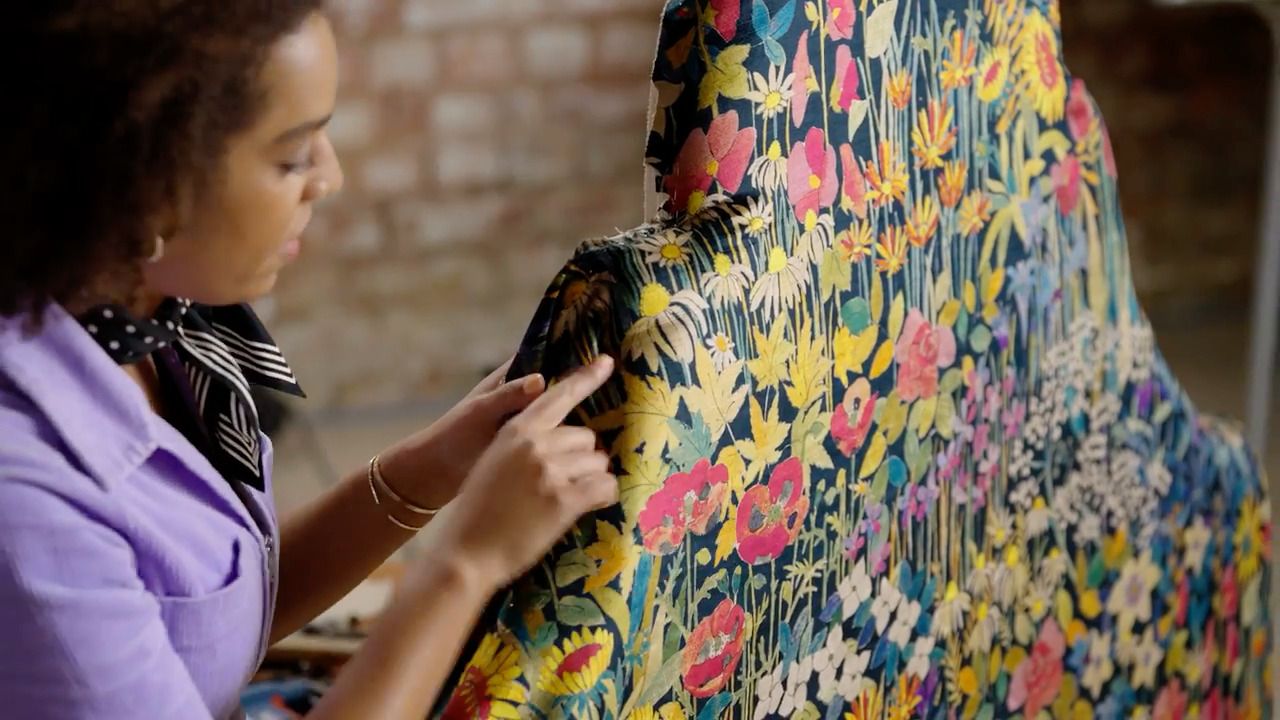
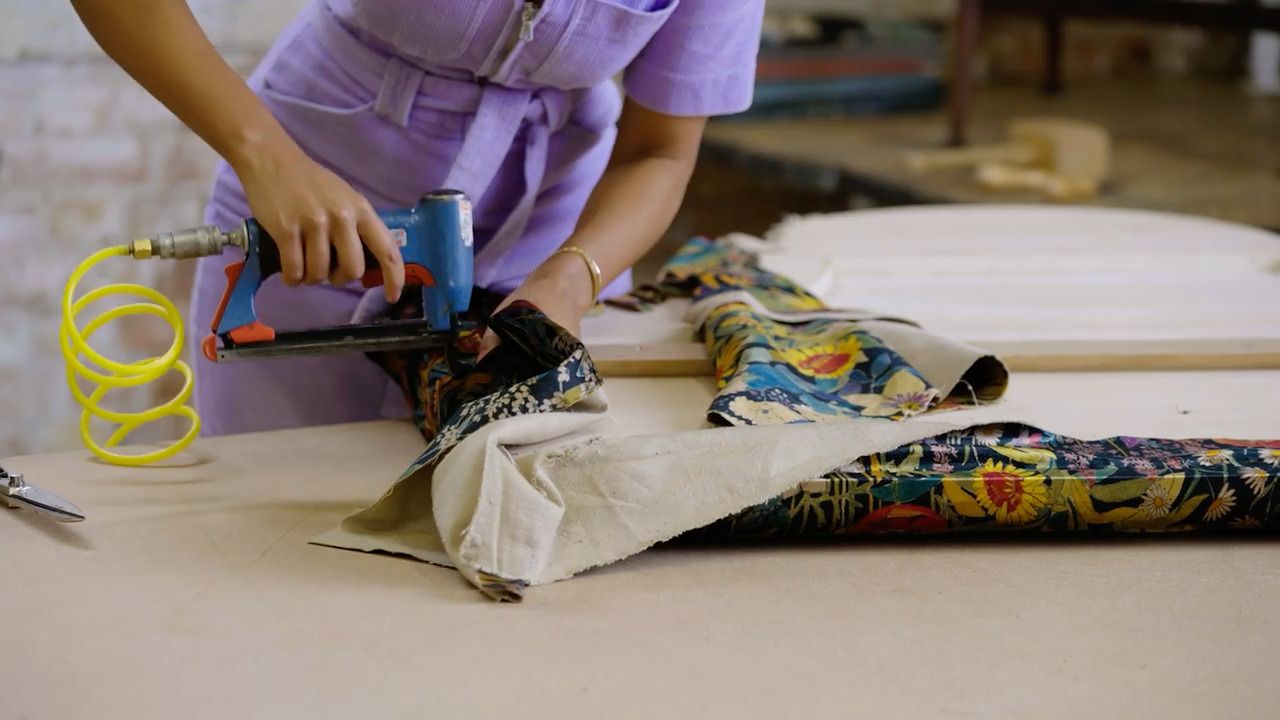
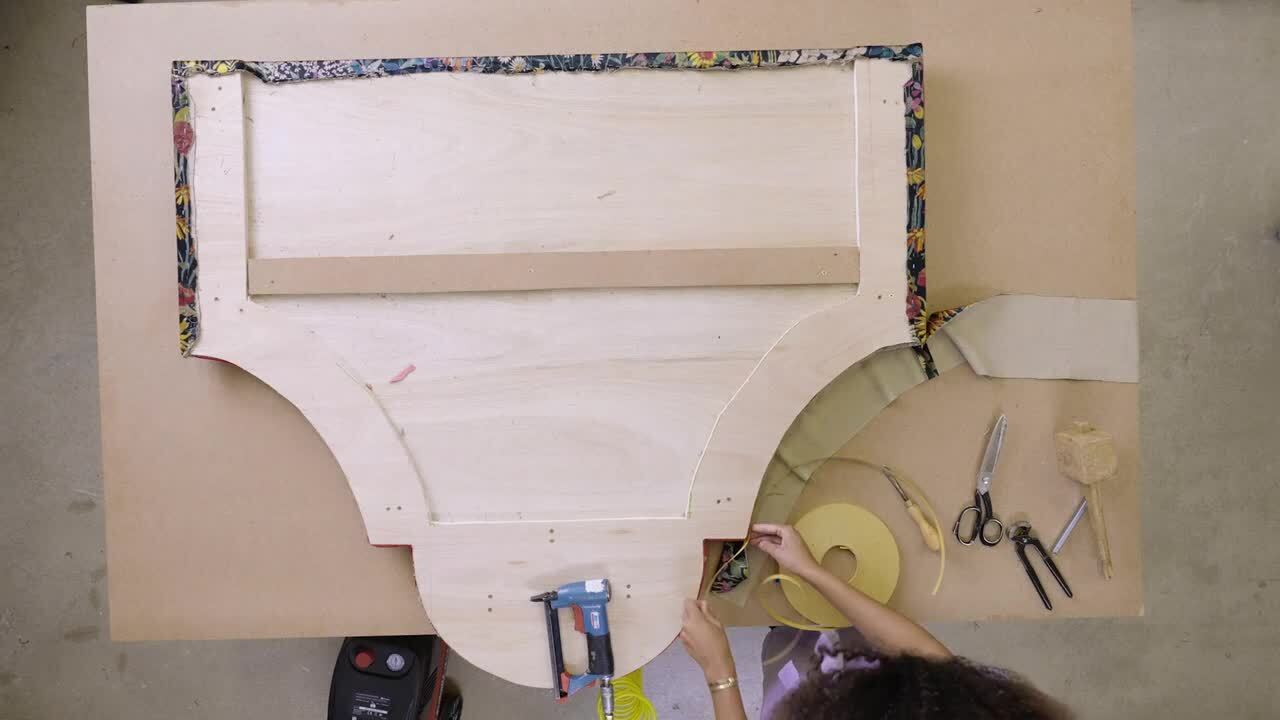
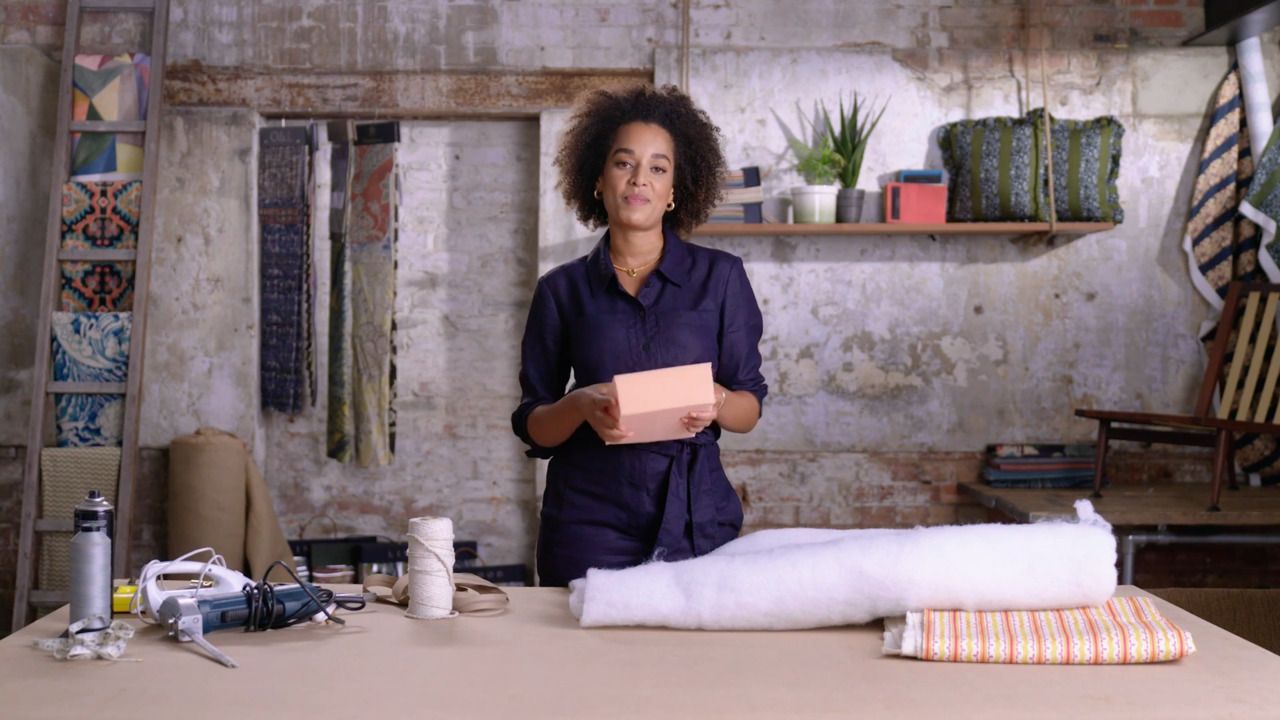
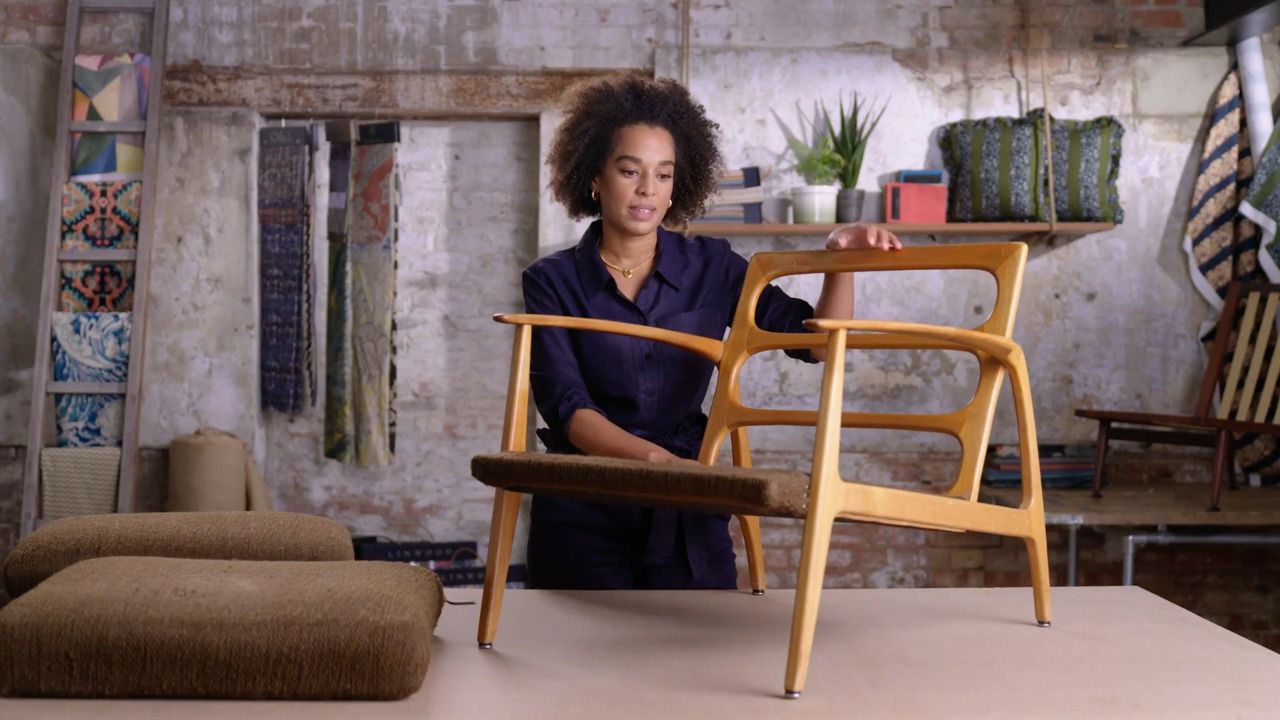
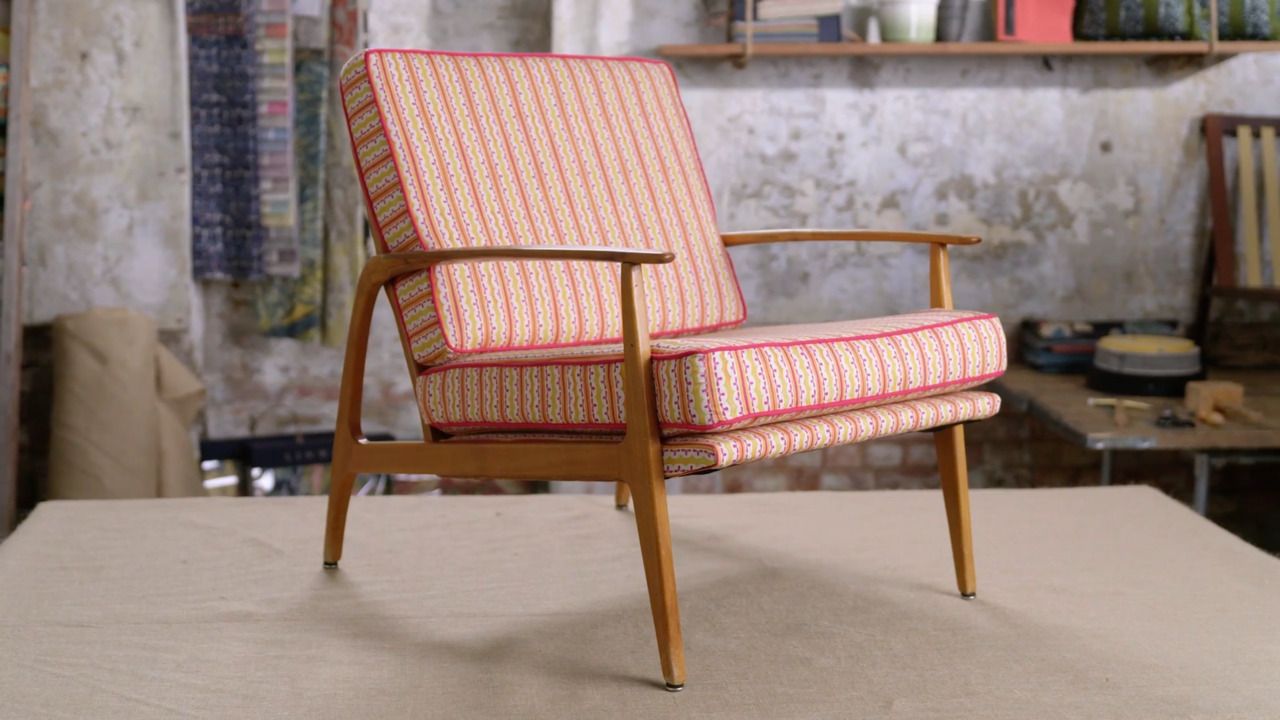
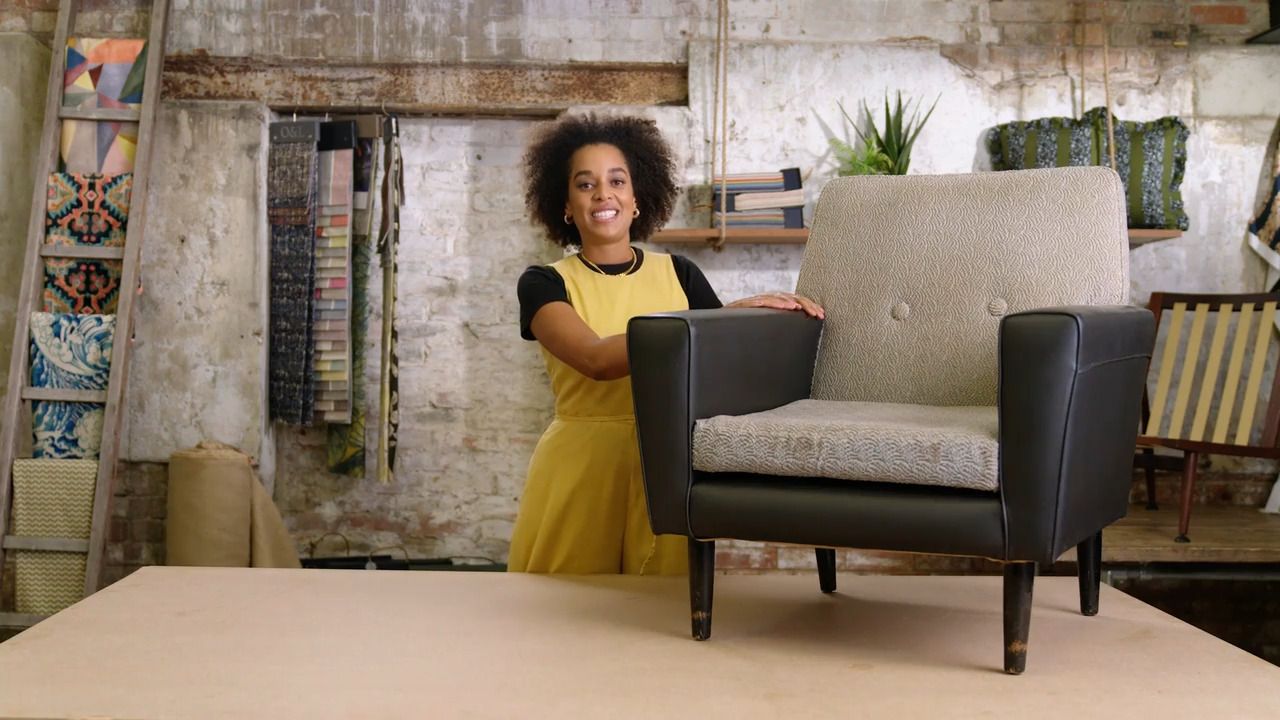
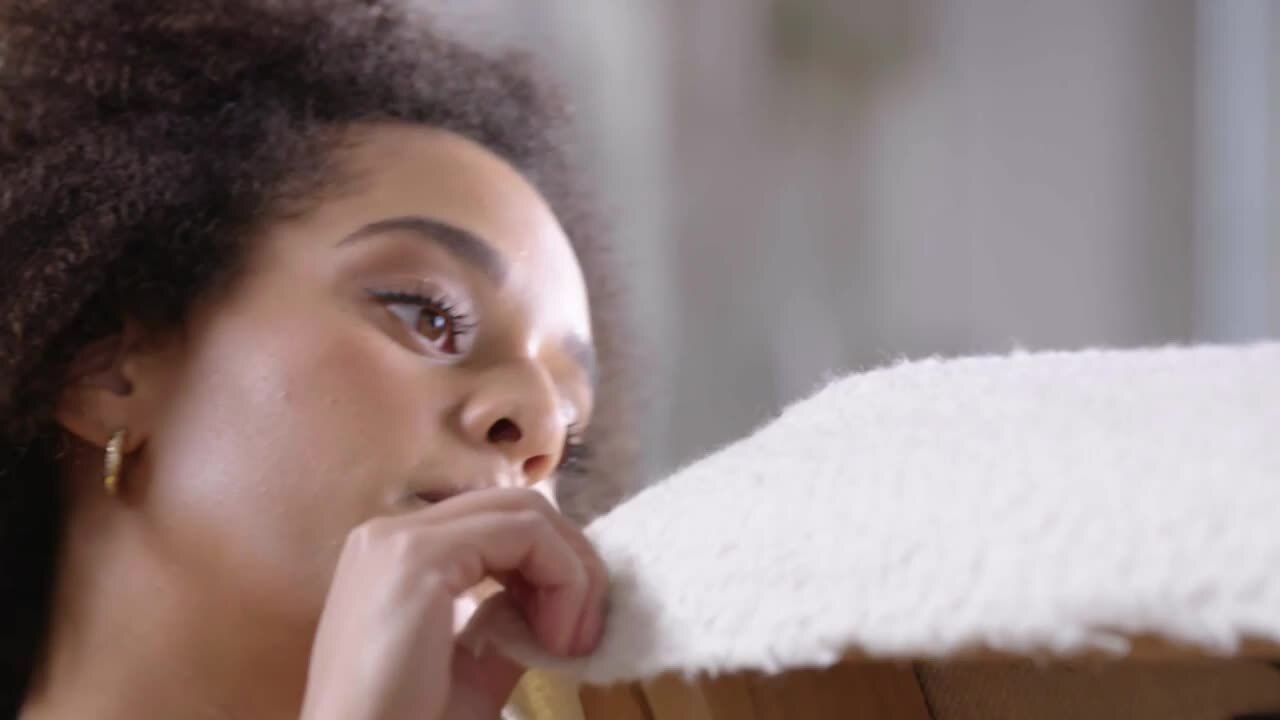
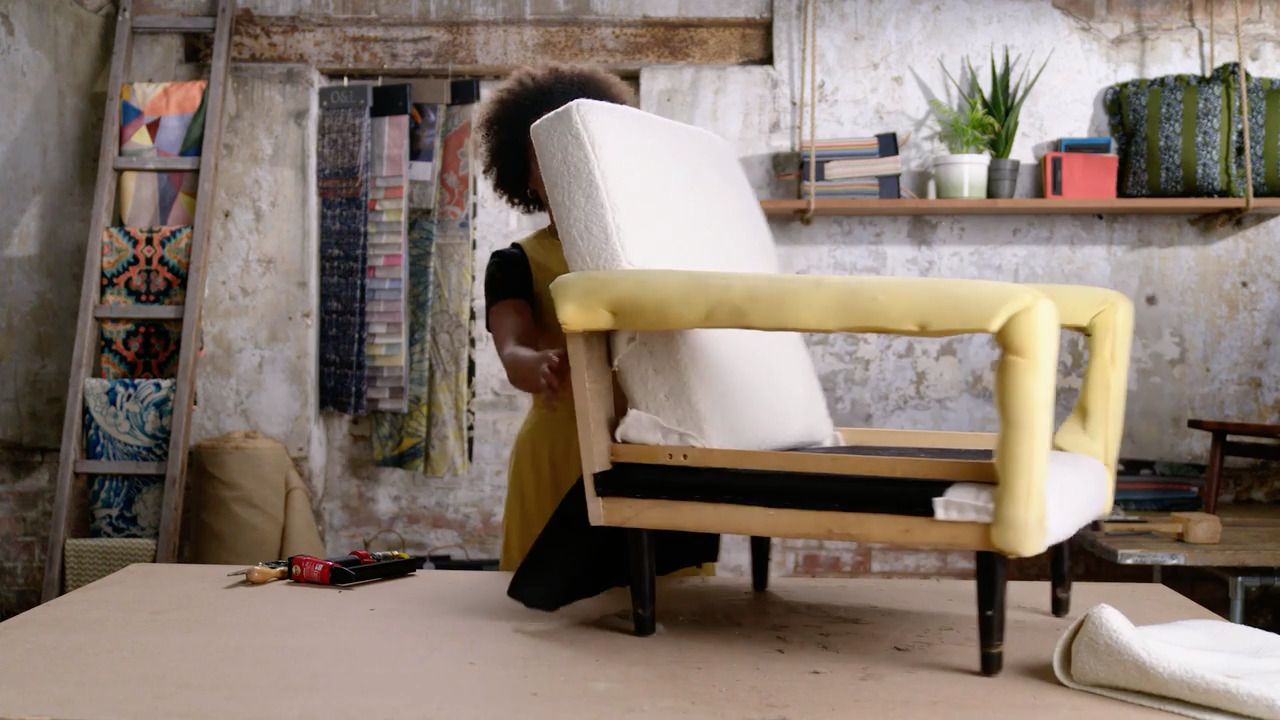
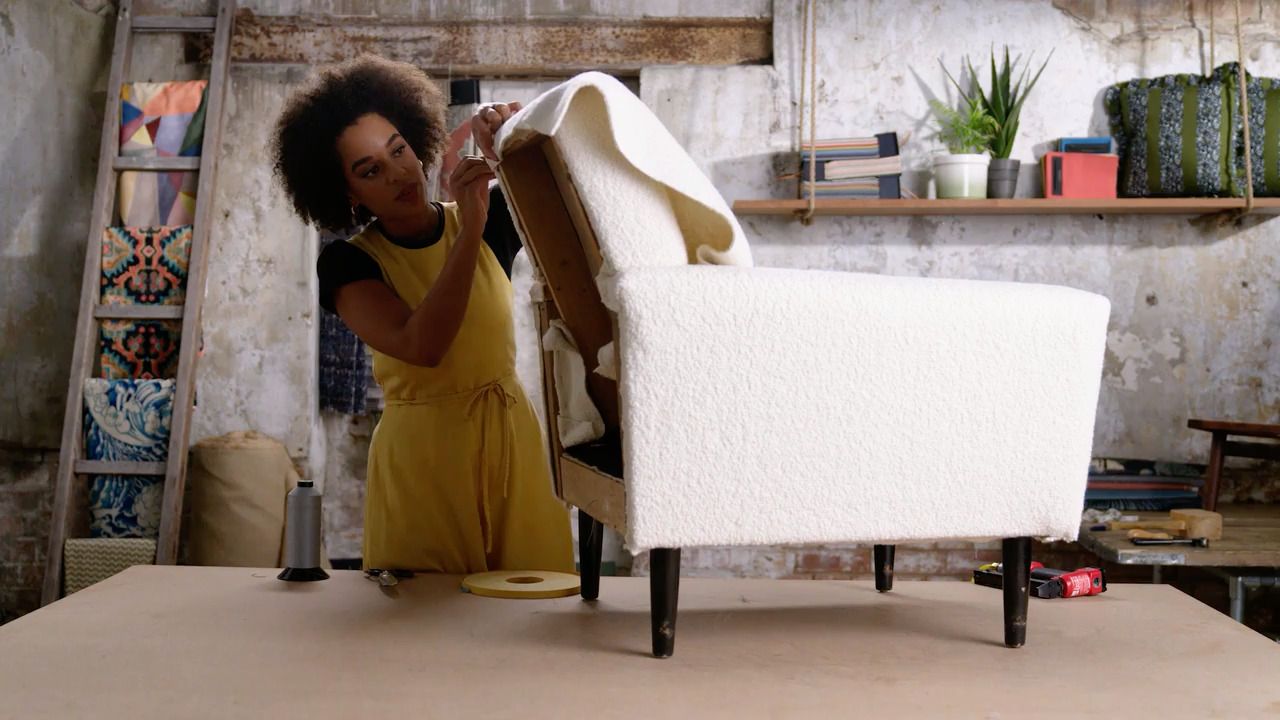
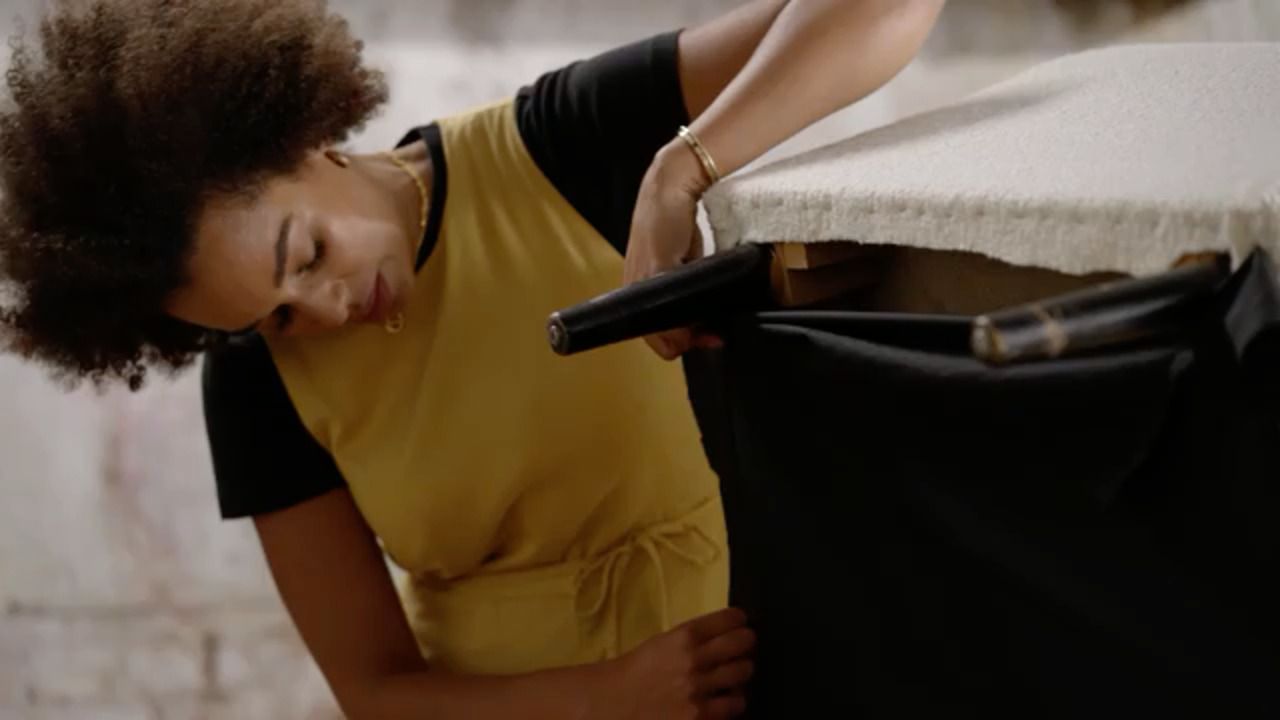
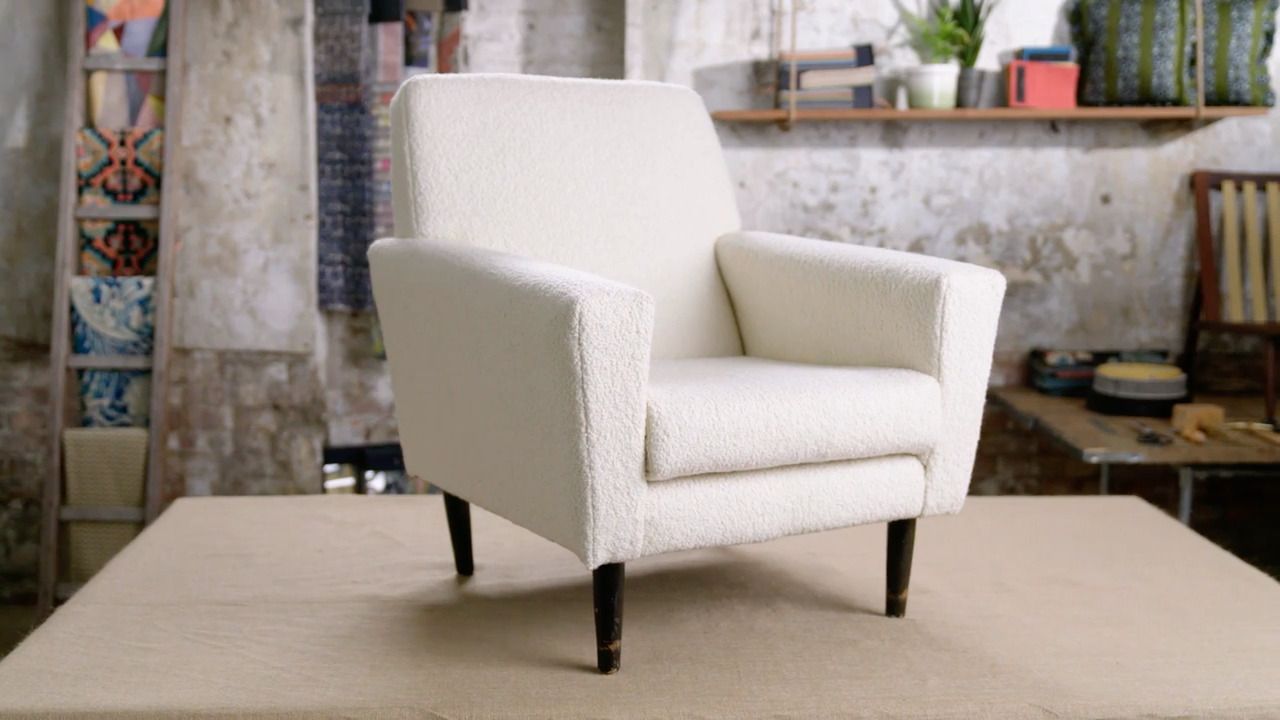
A Complete Guide to Modern Upholstery
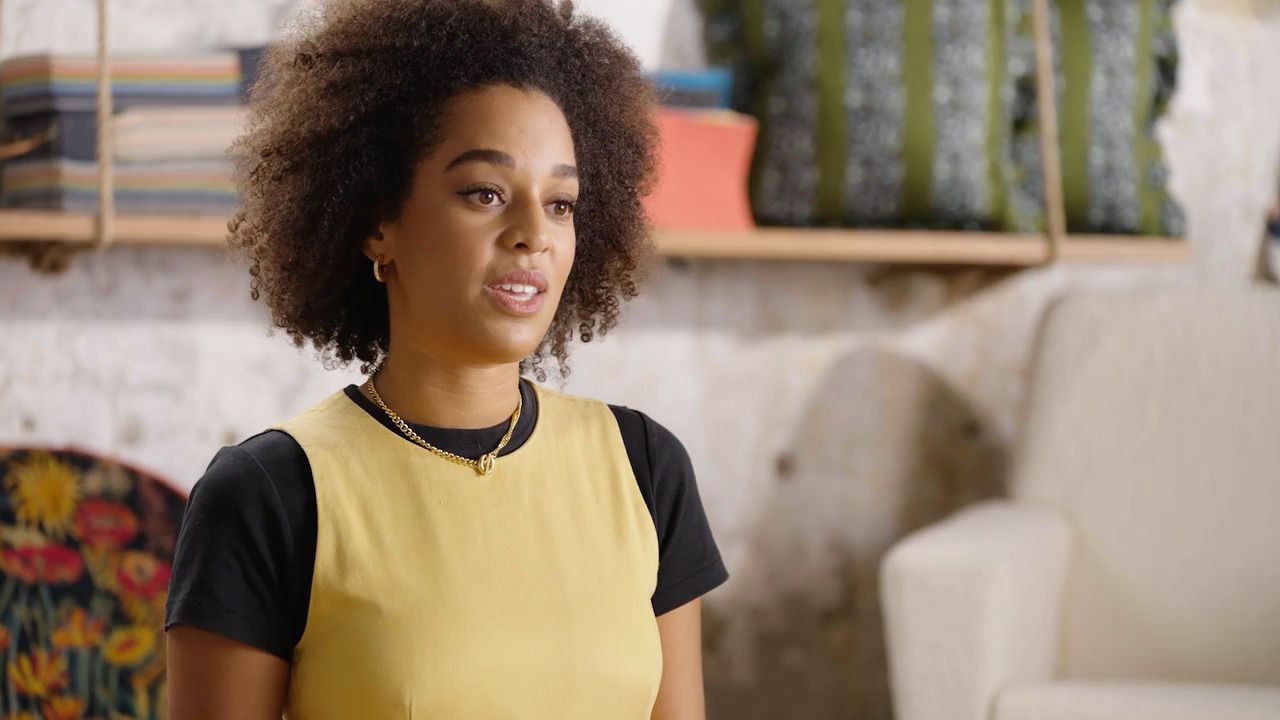
with MICAELA SHARP — Sustainable designer and modern upholstery expert. TV presenter and interior design judge.
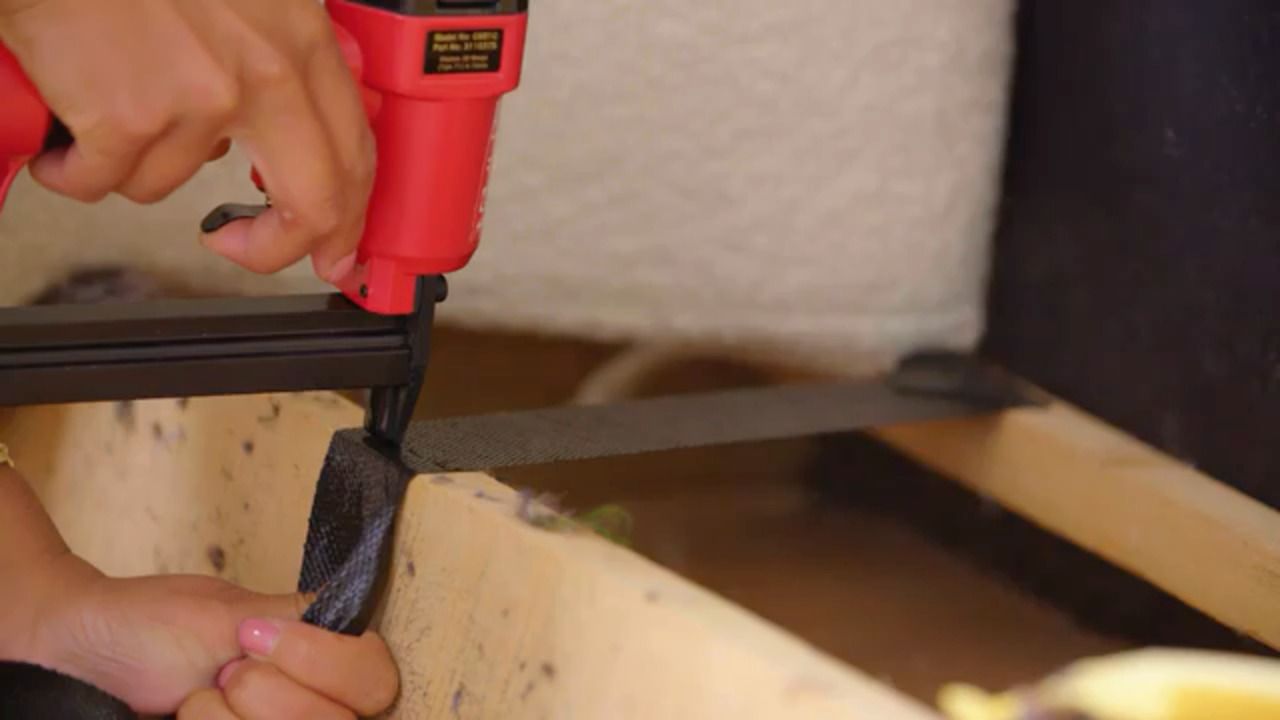
Lesson 35 of 68
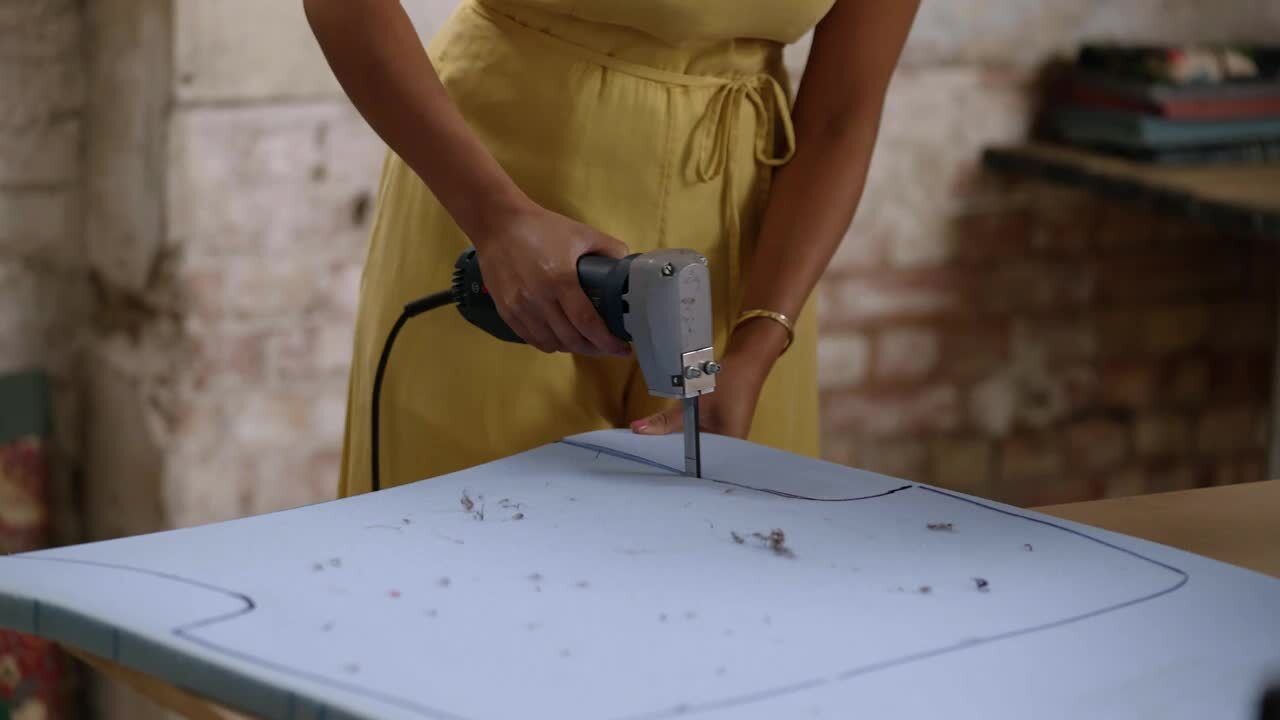
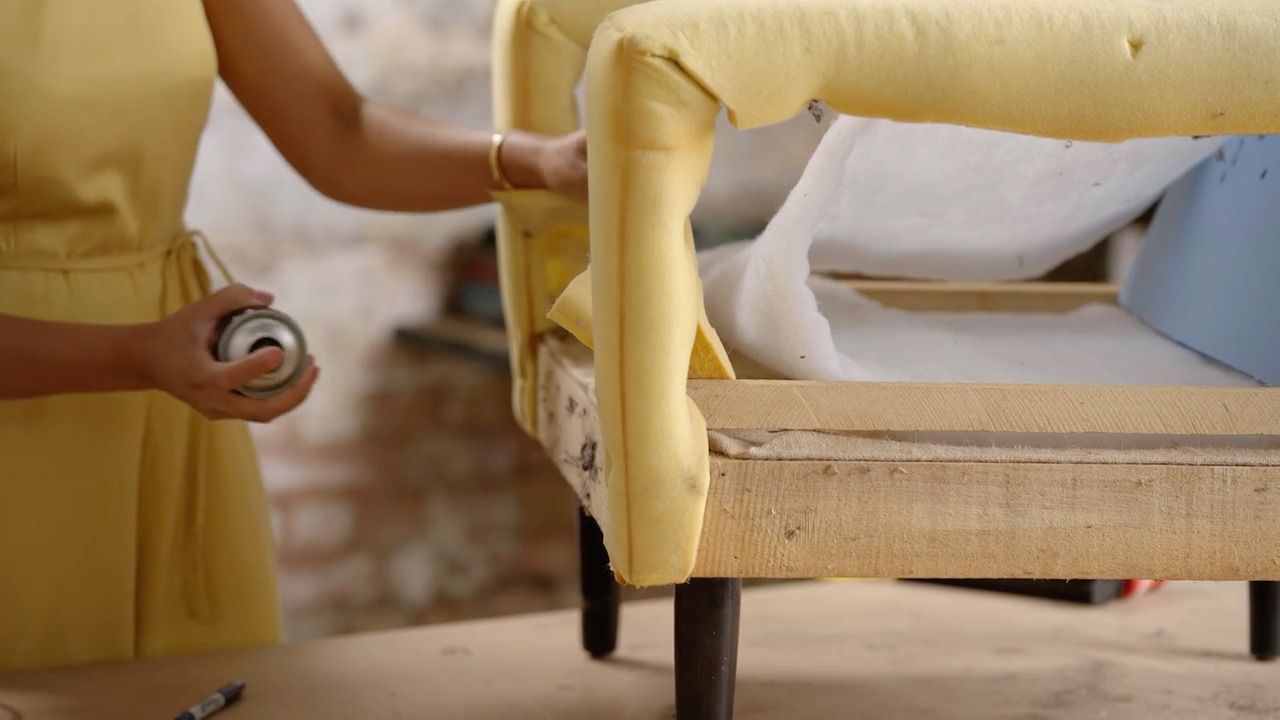
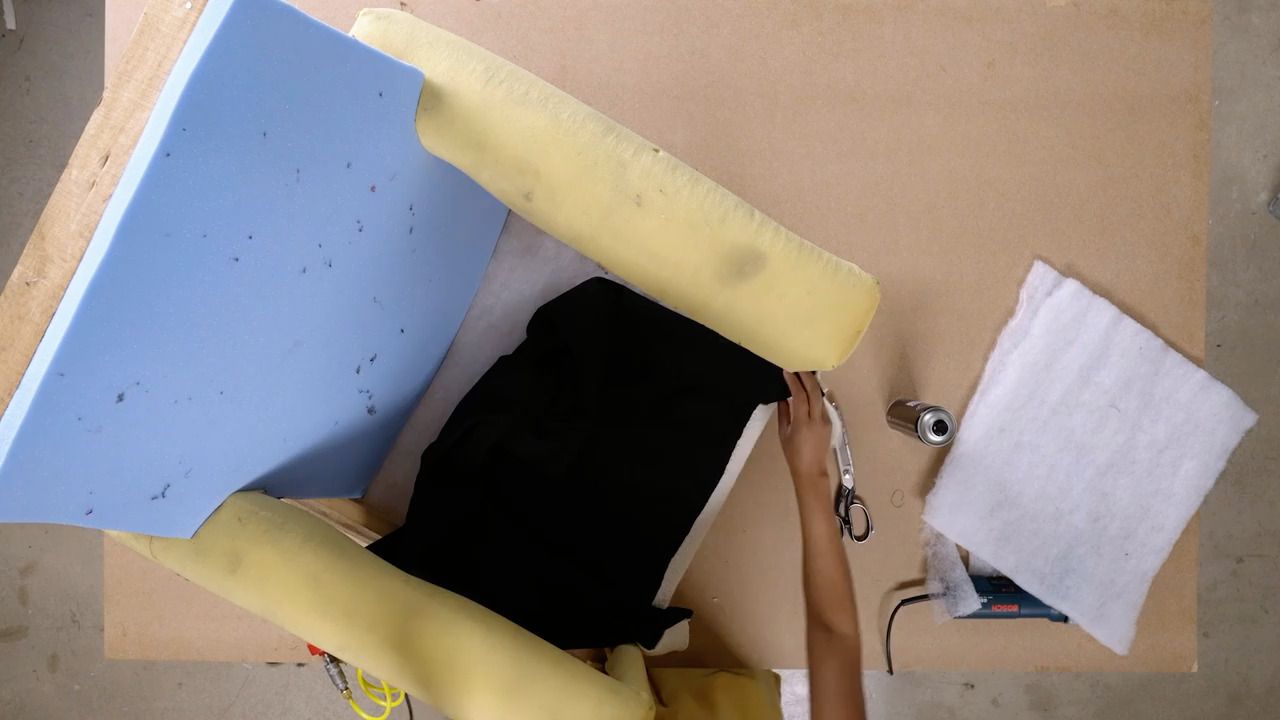
Buy or subscribe to watch
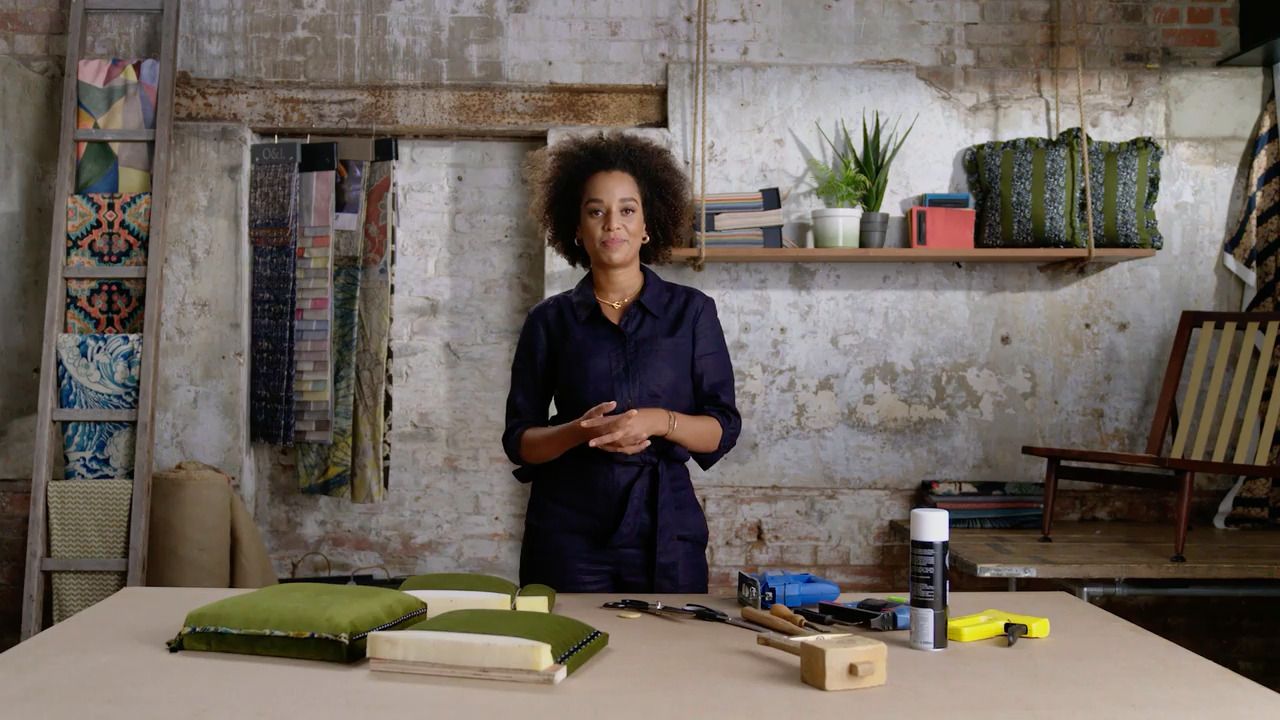
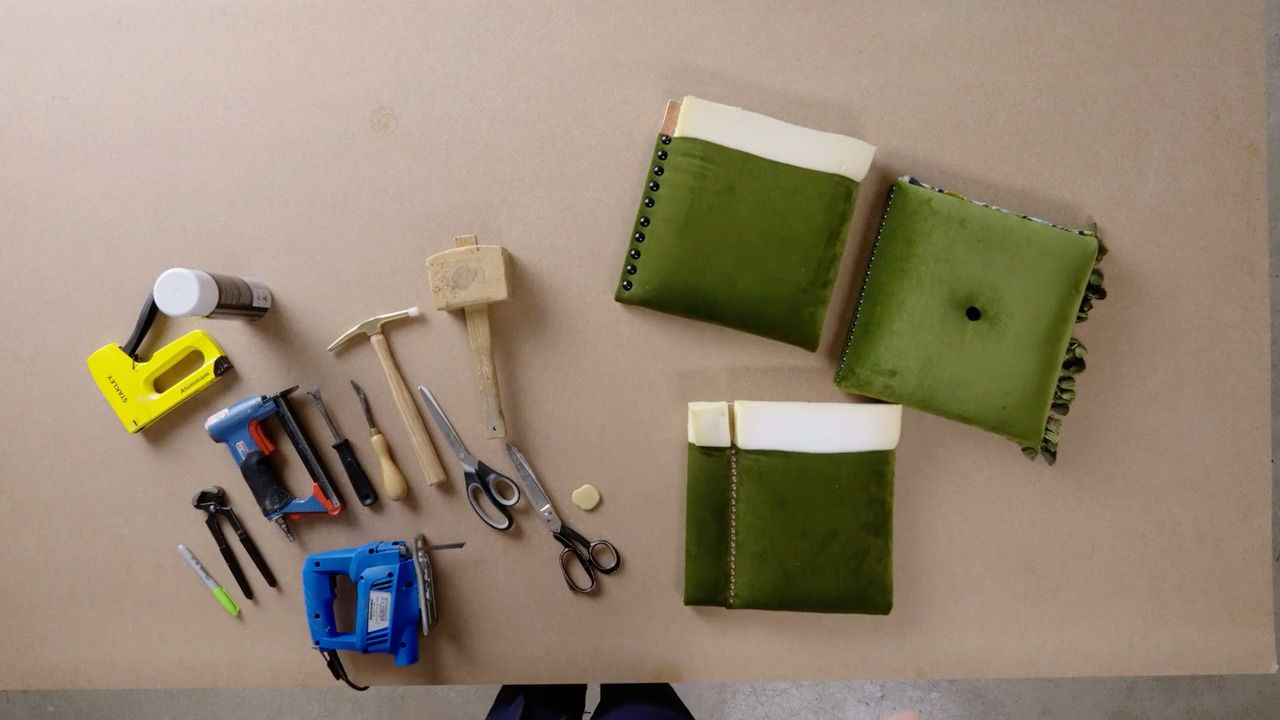
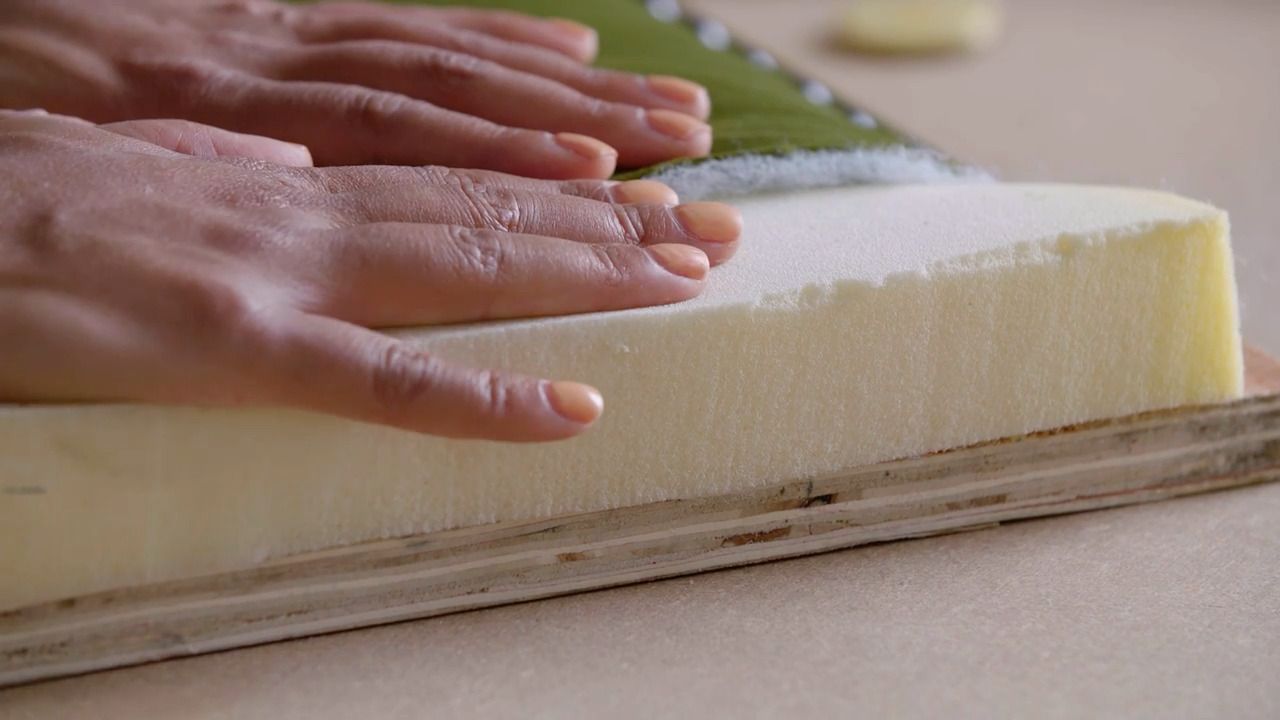
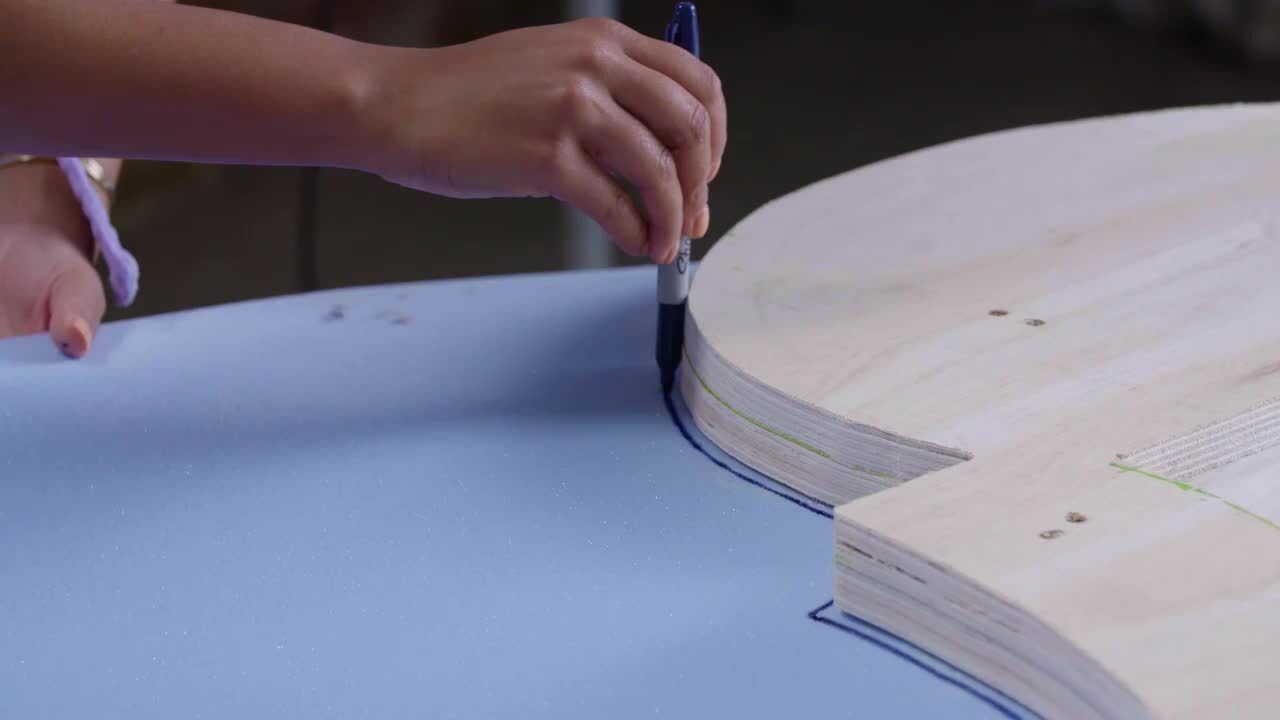
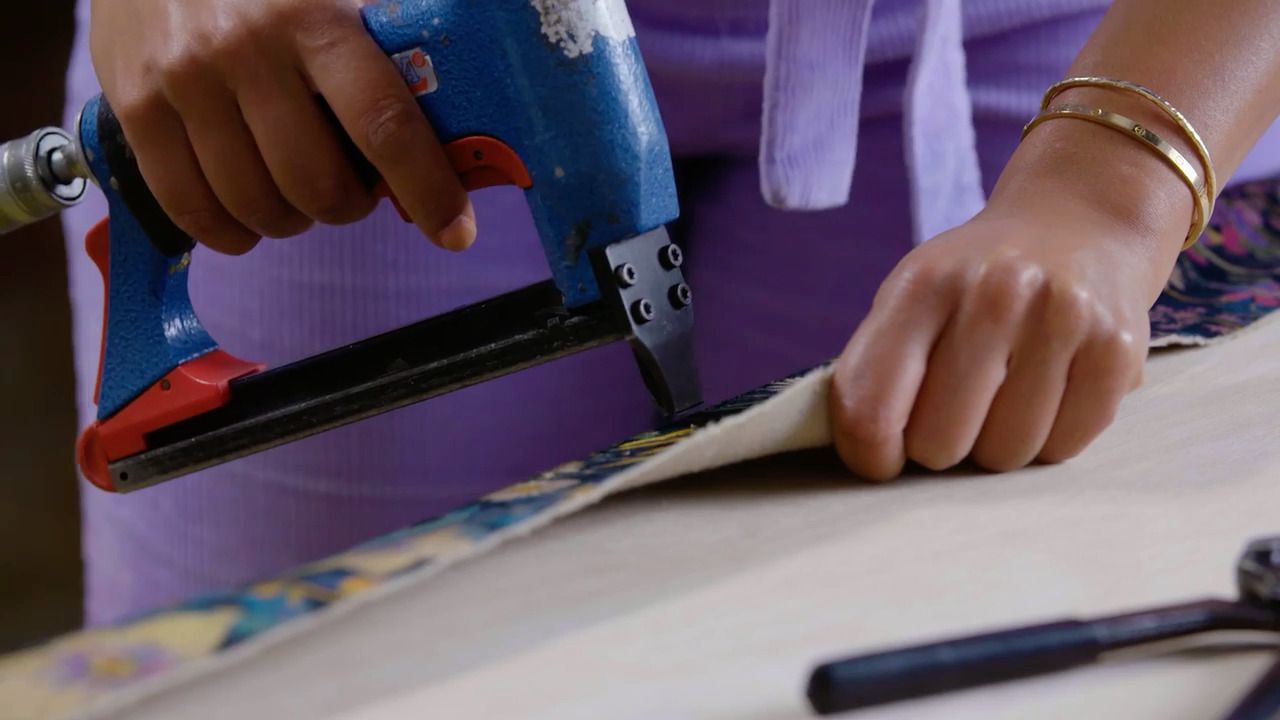
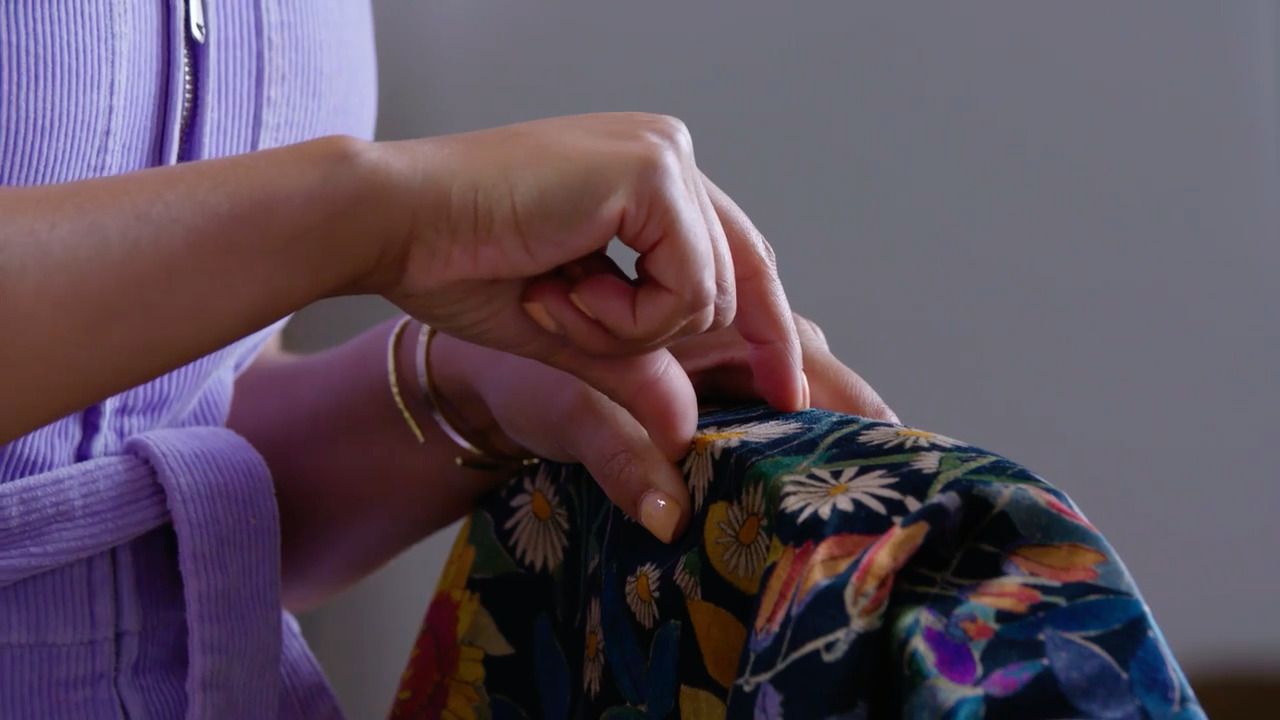
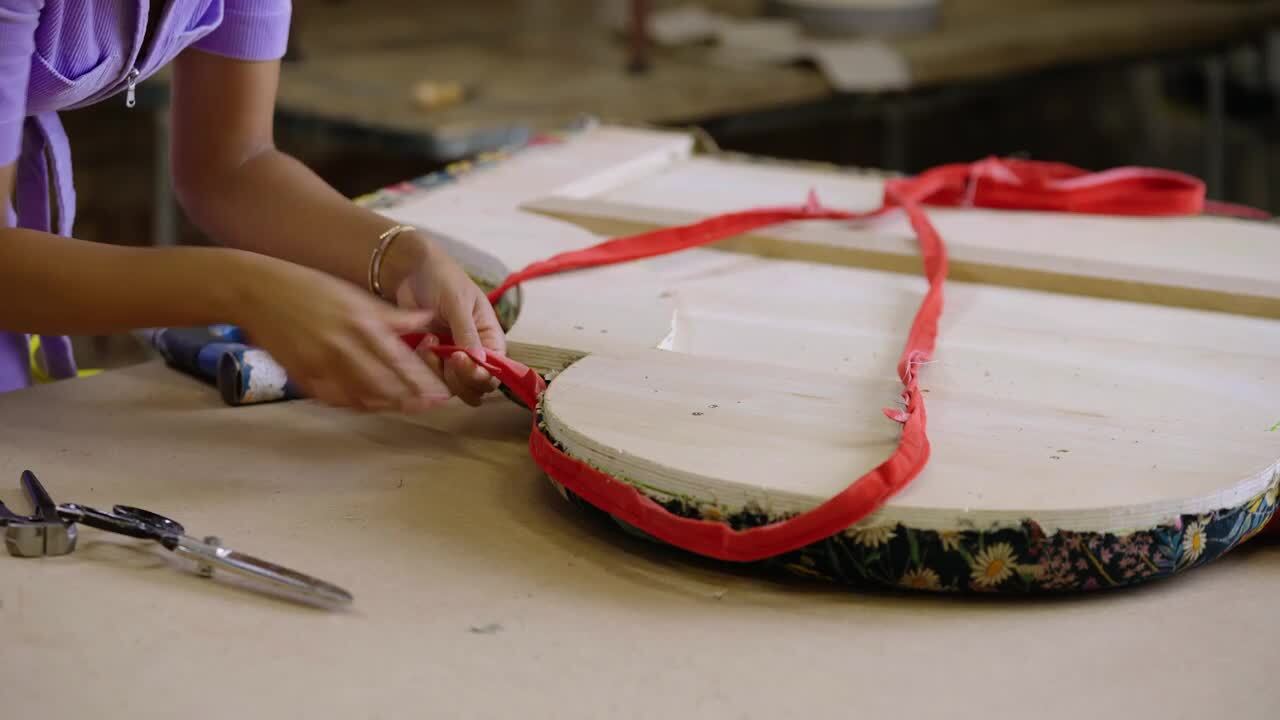
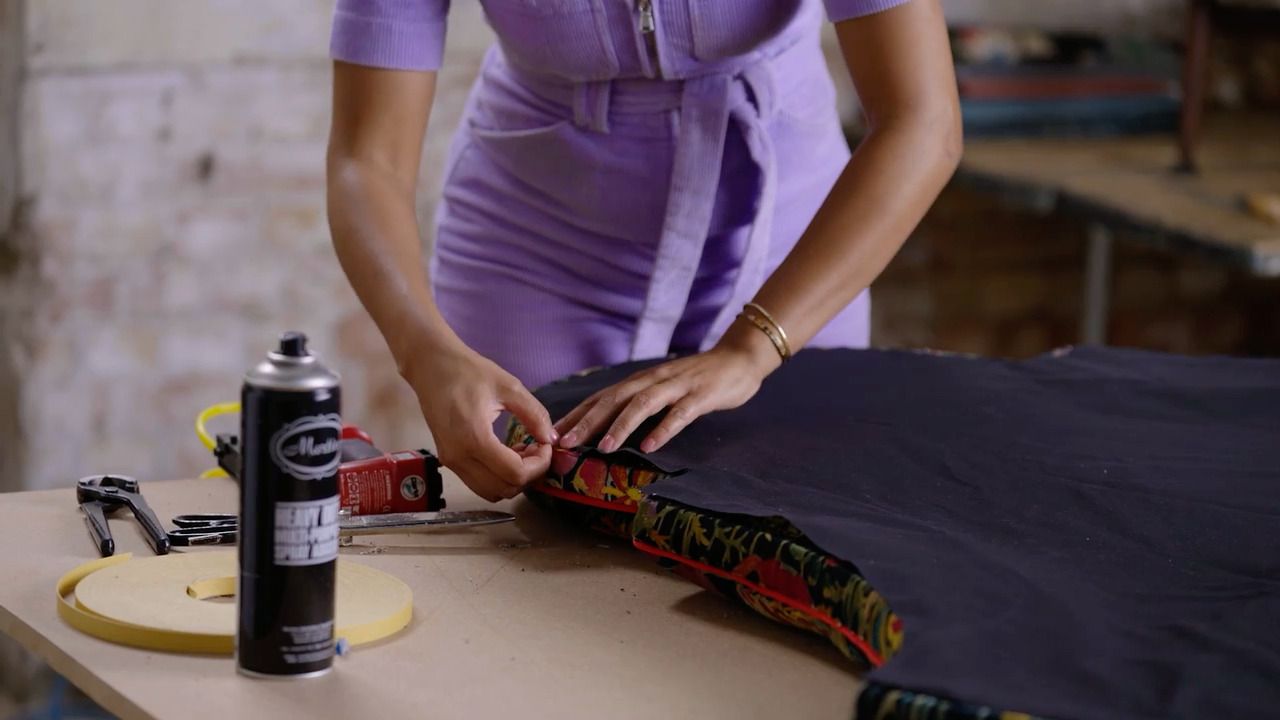
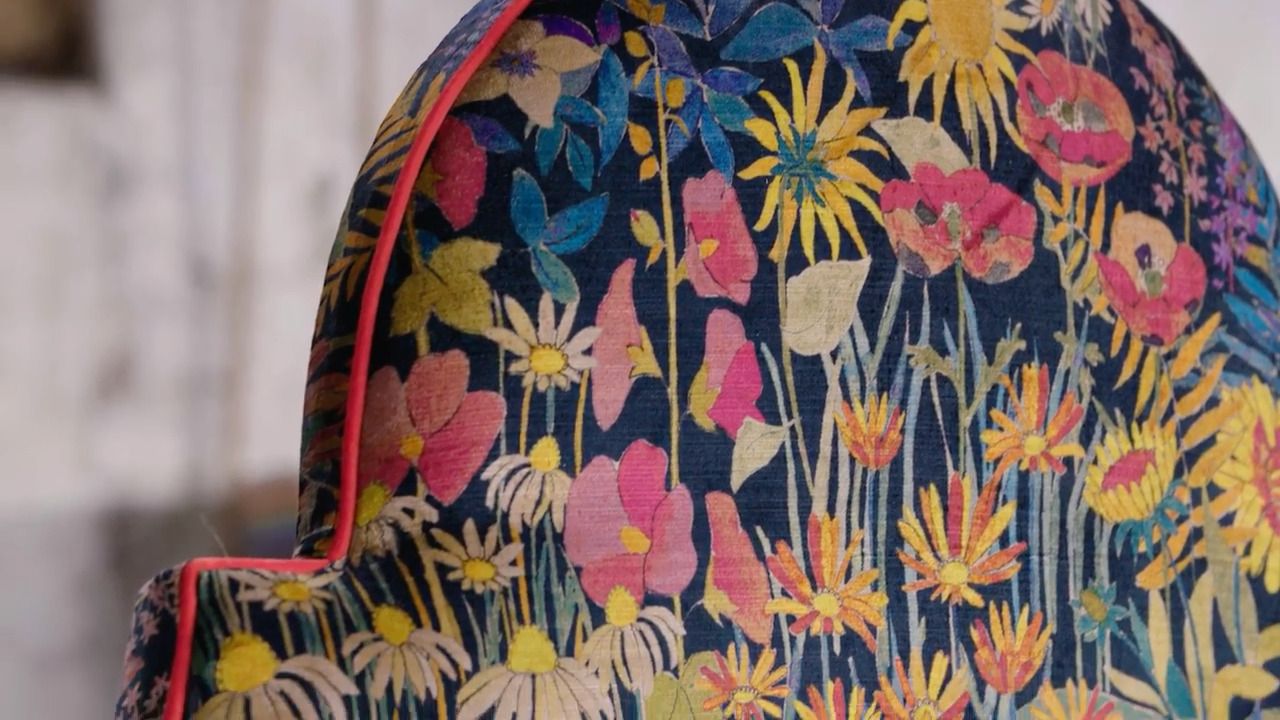
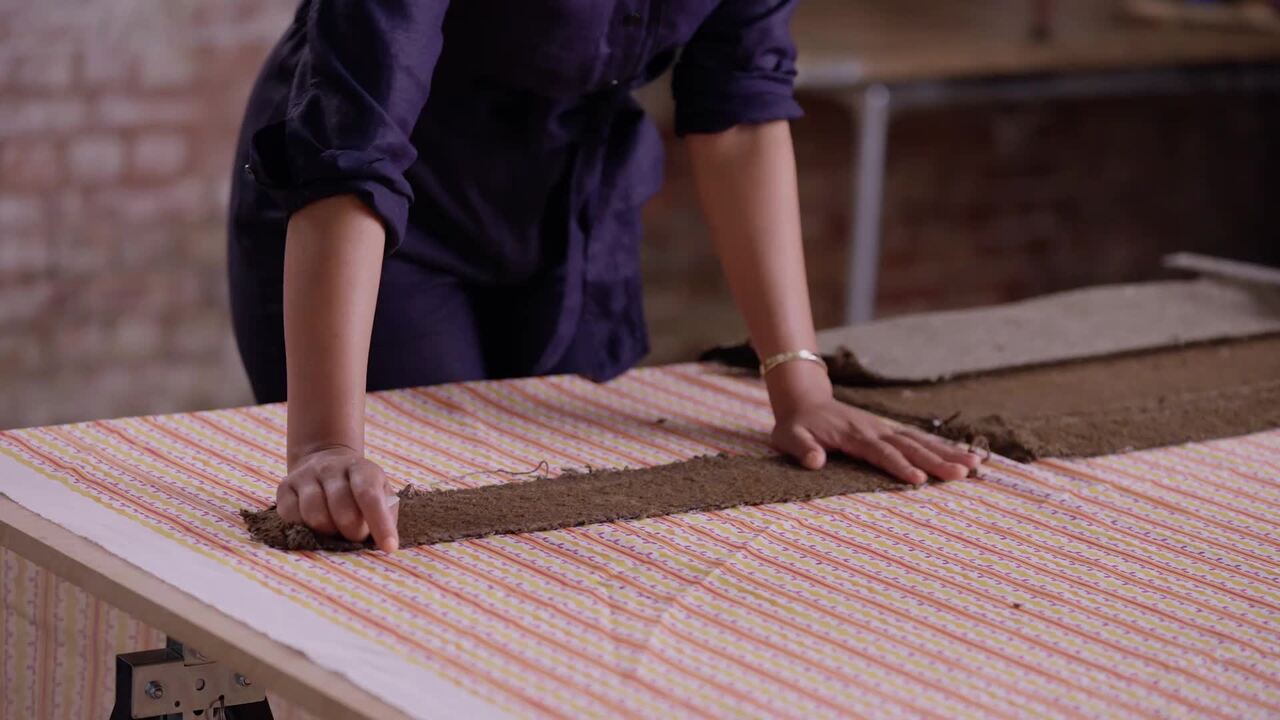
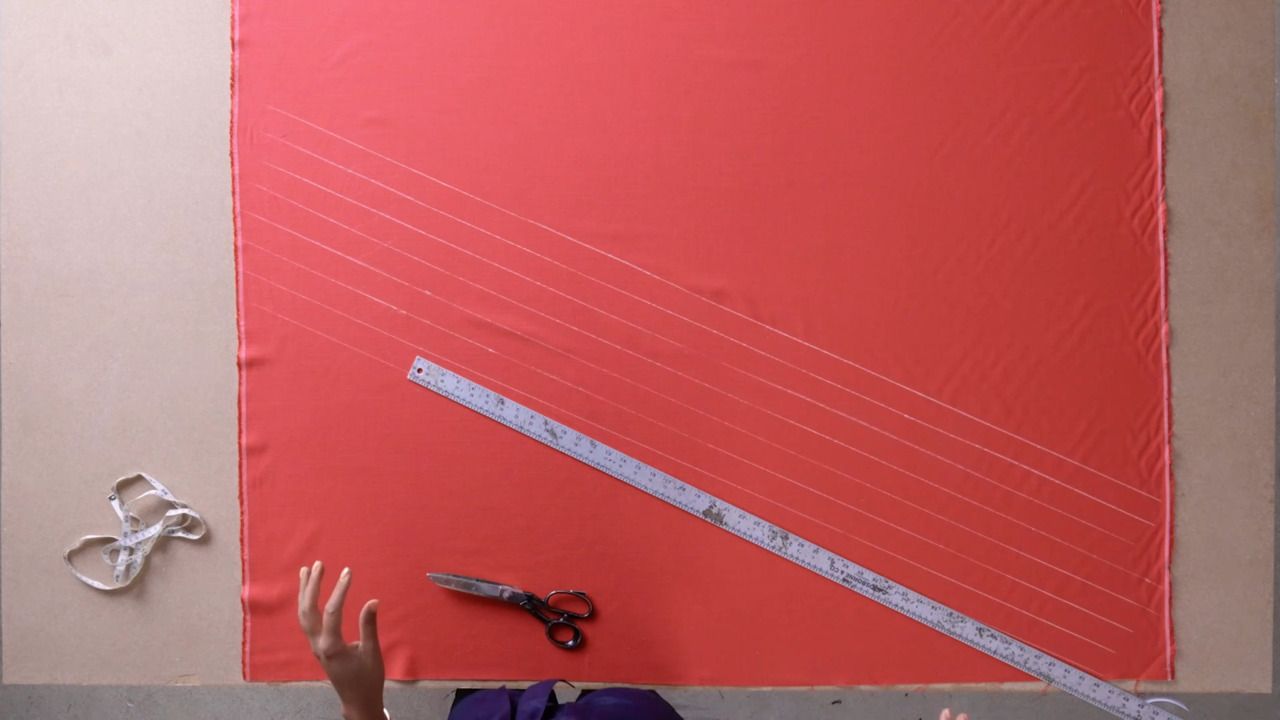
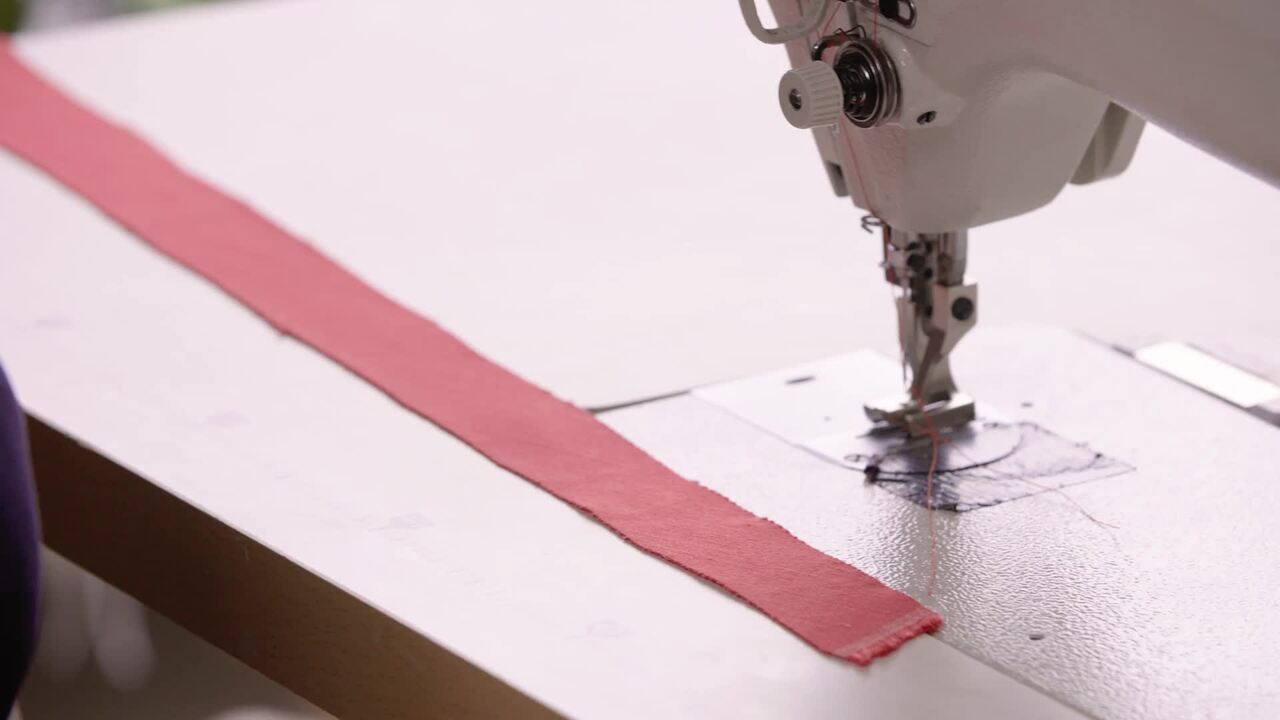
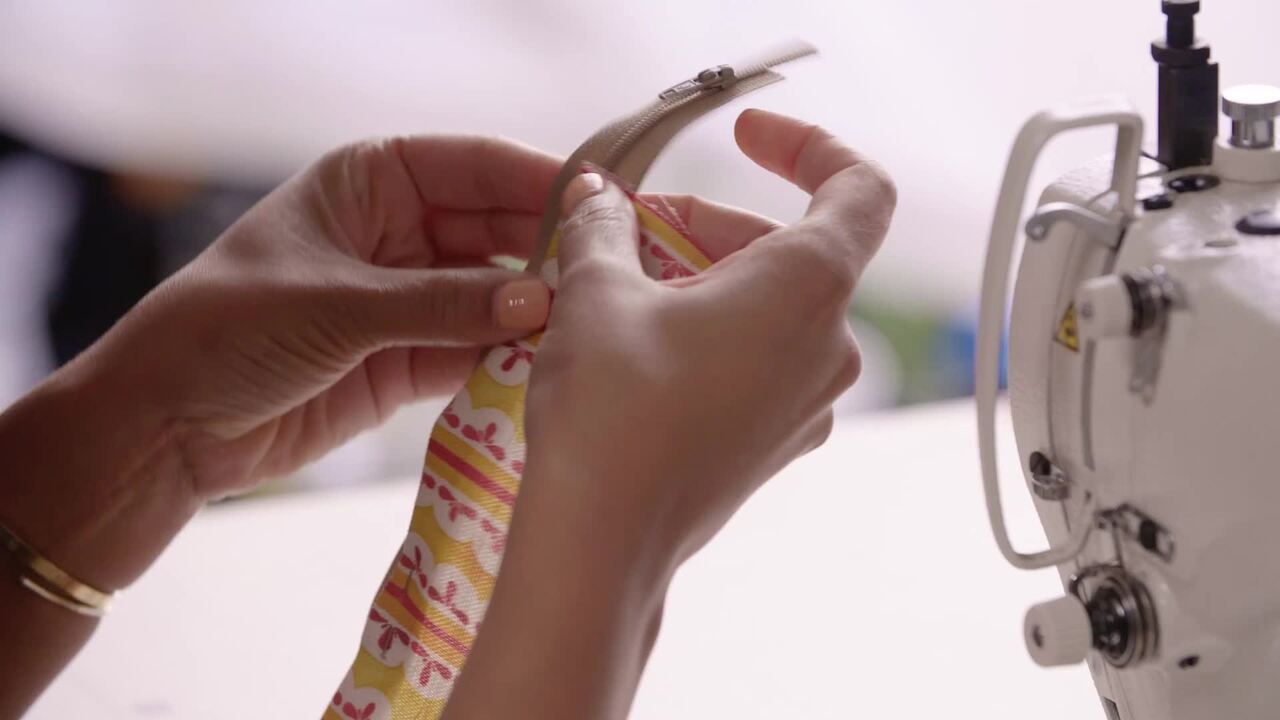
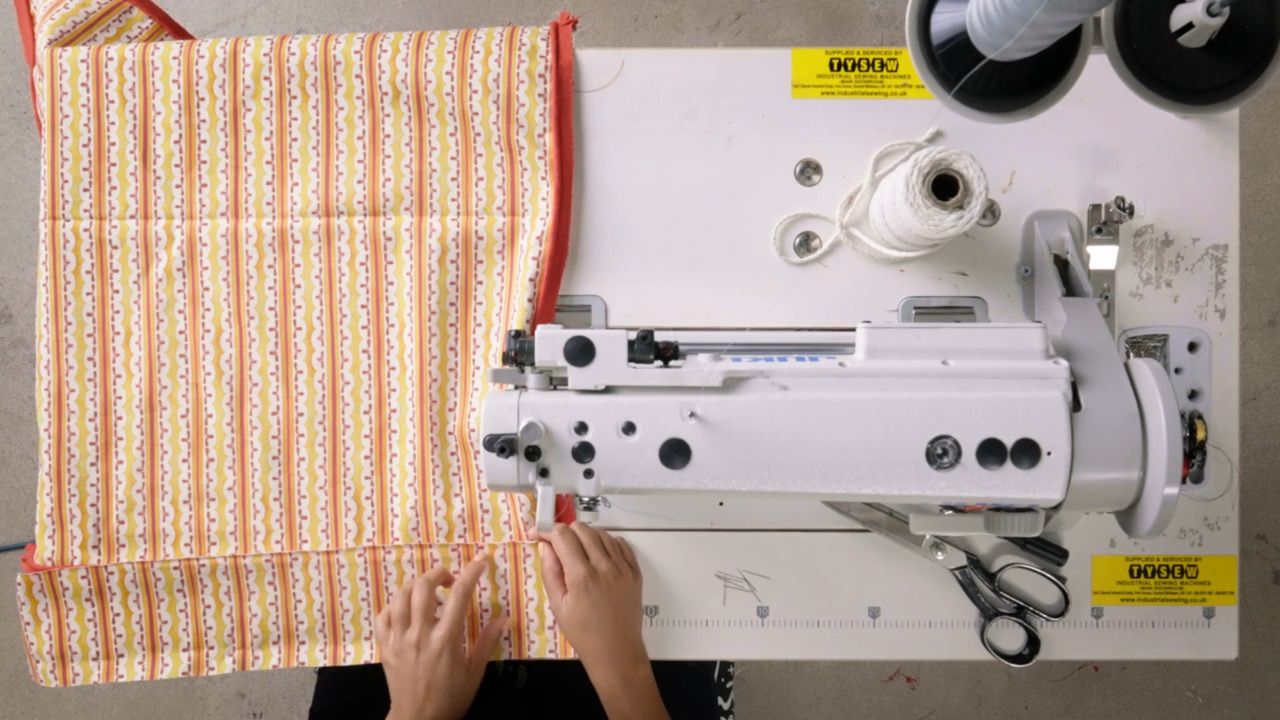
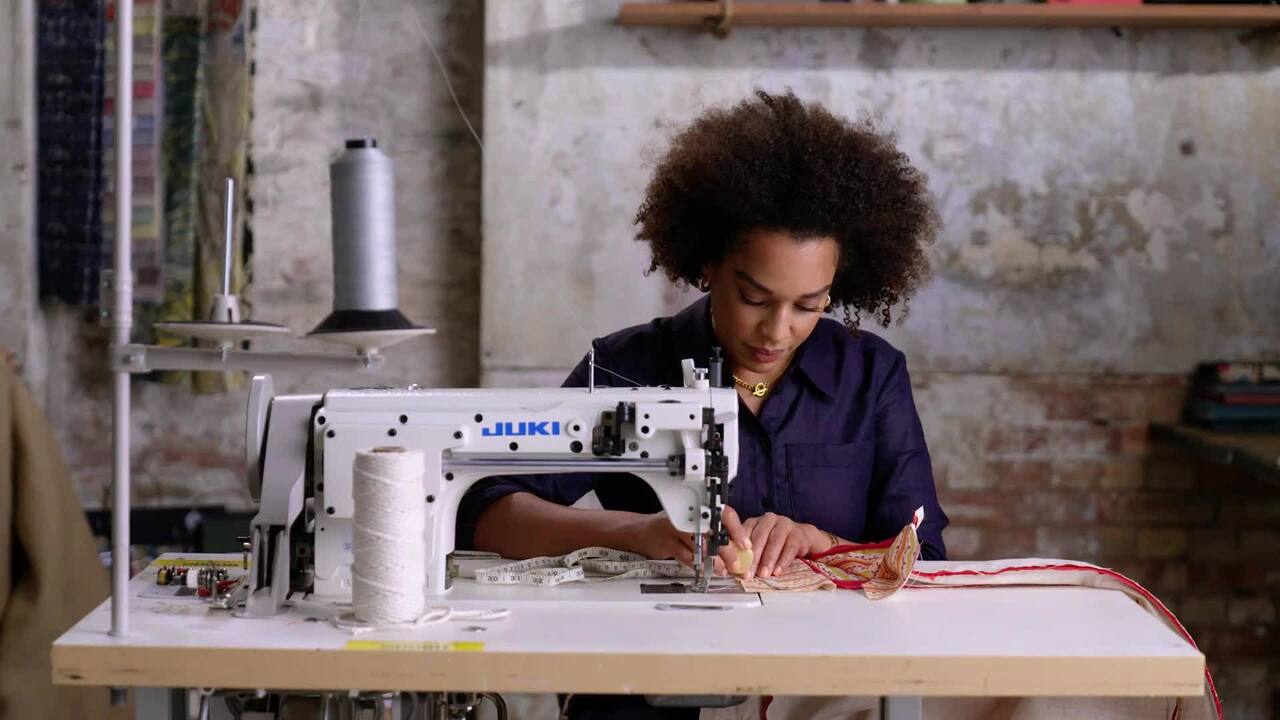
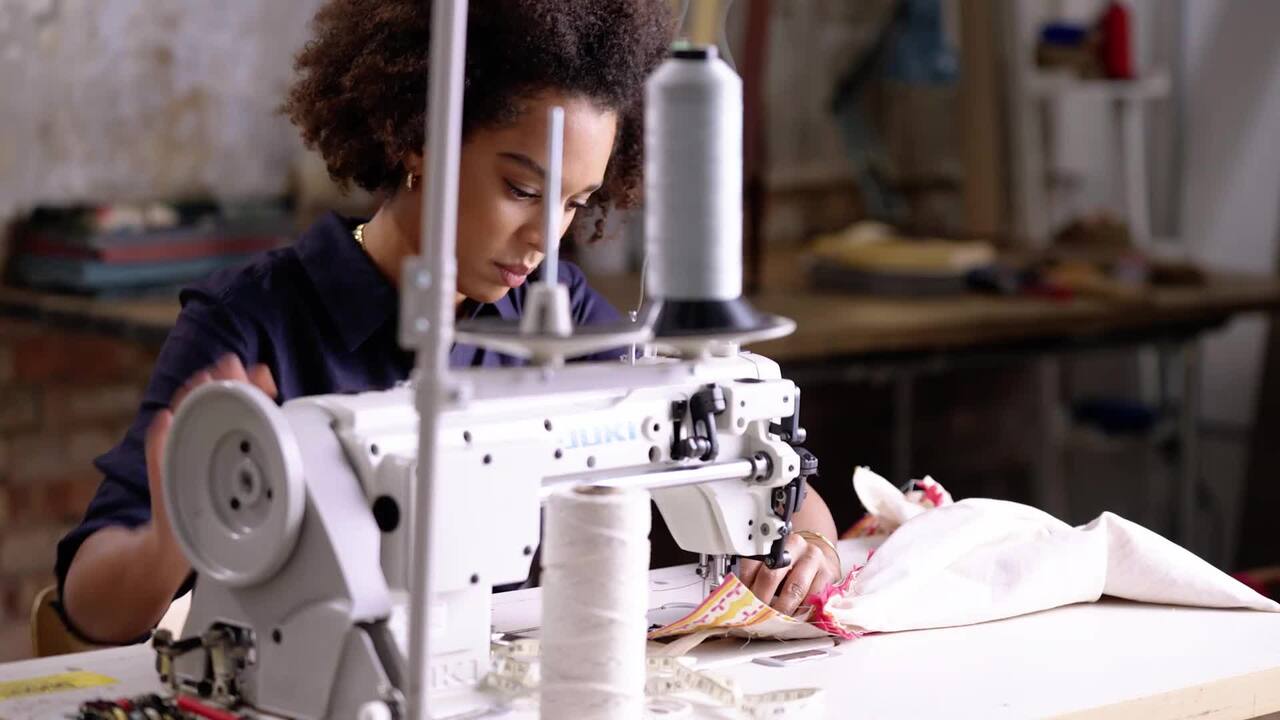
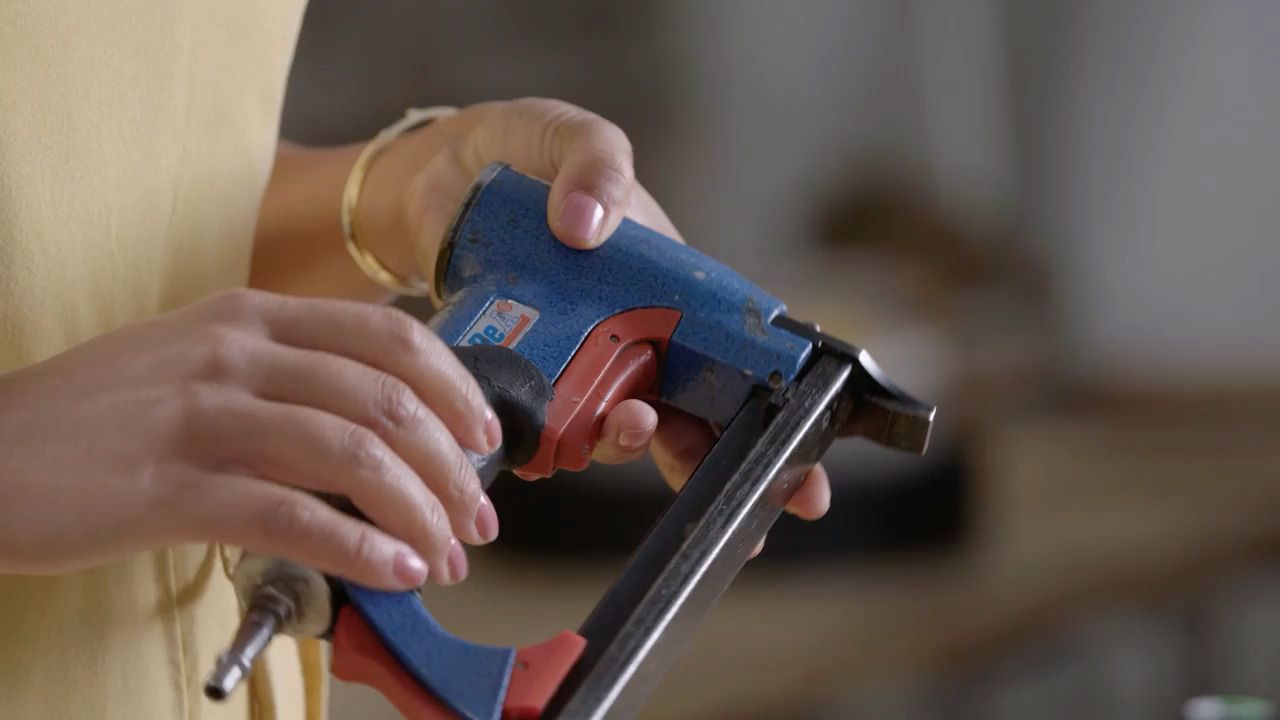
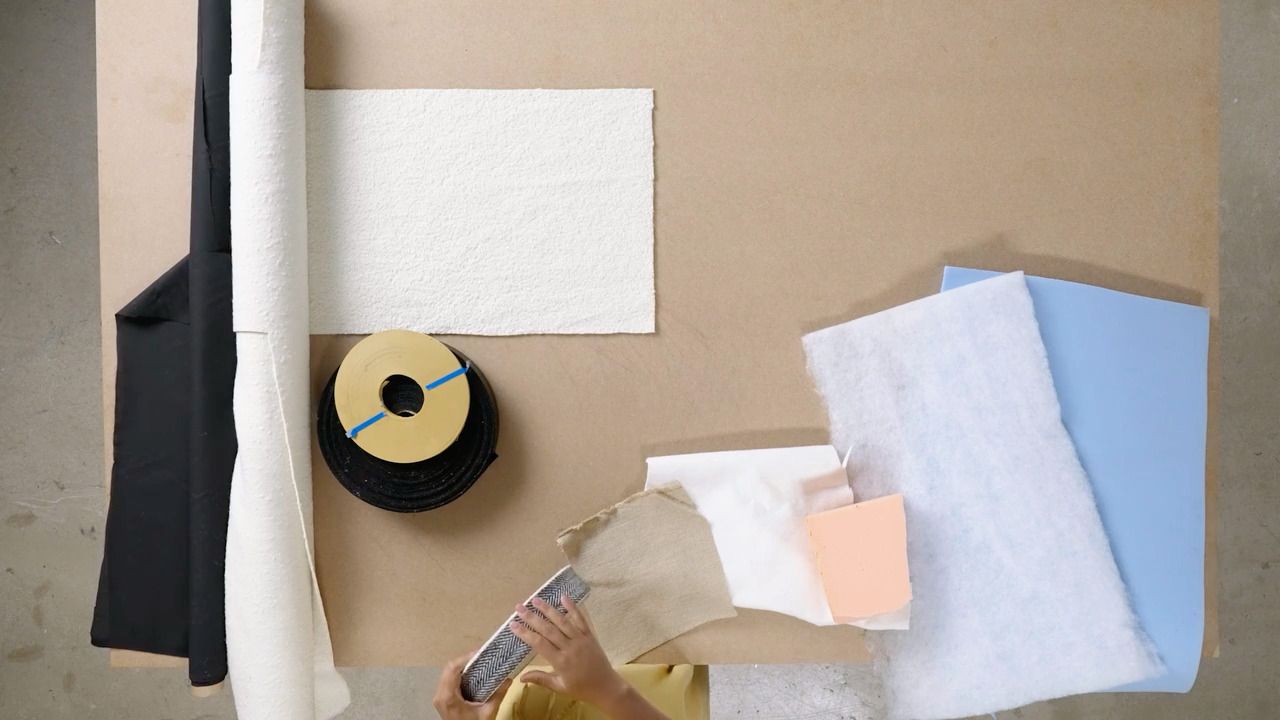
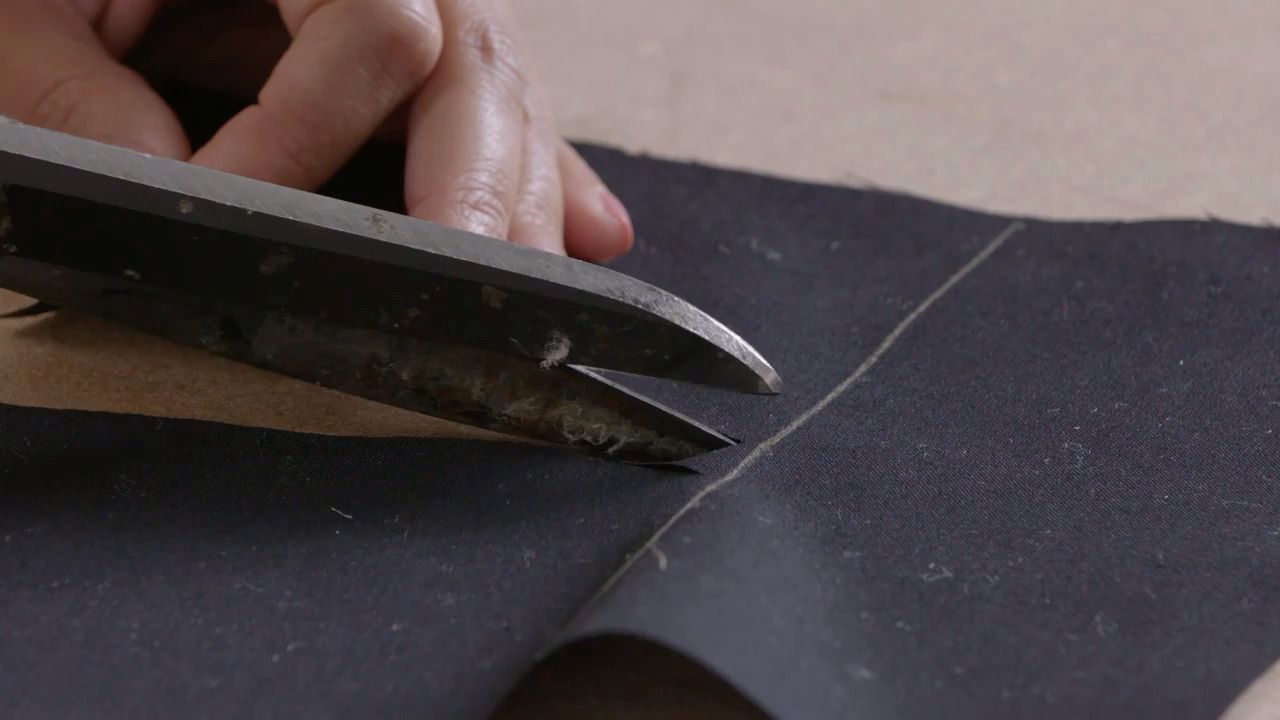
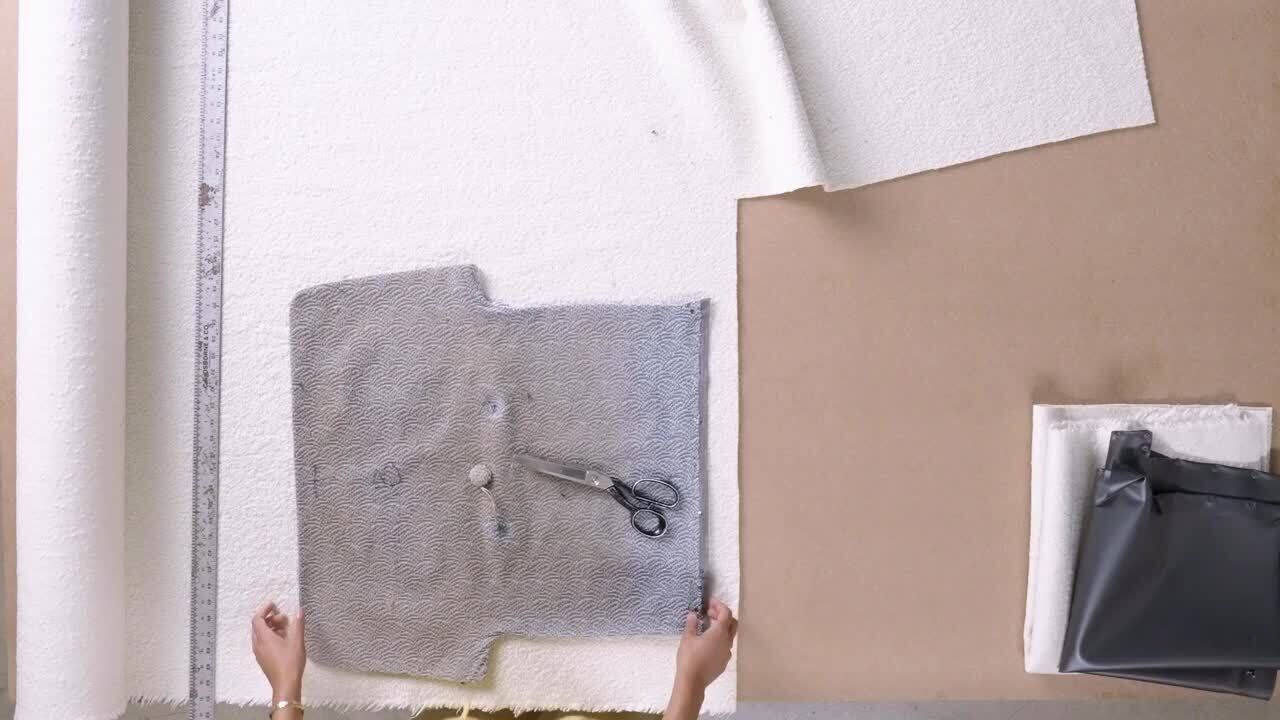
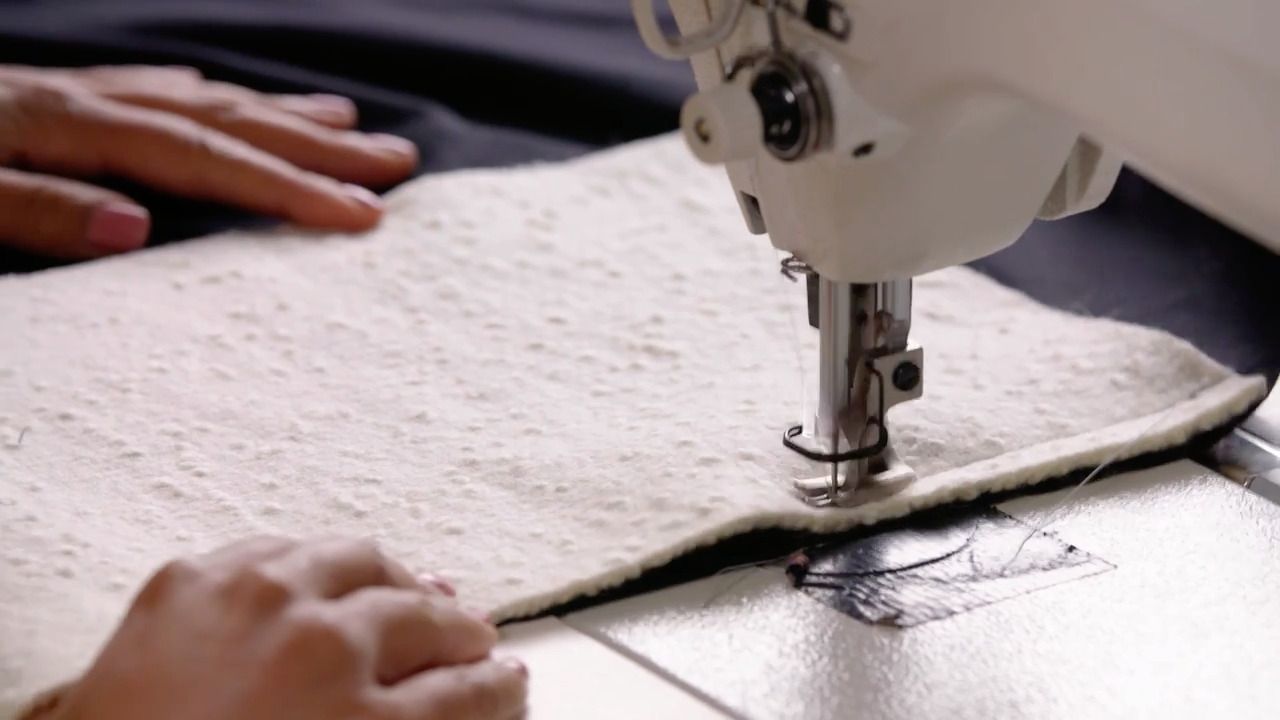
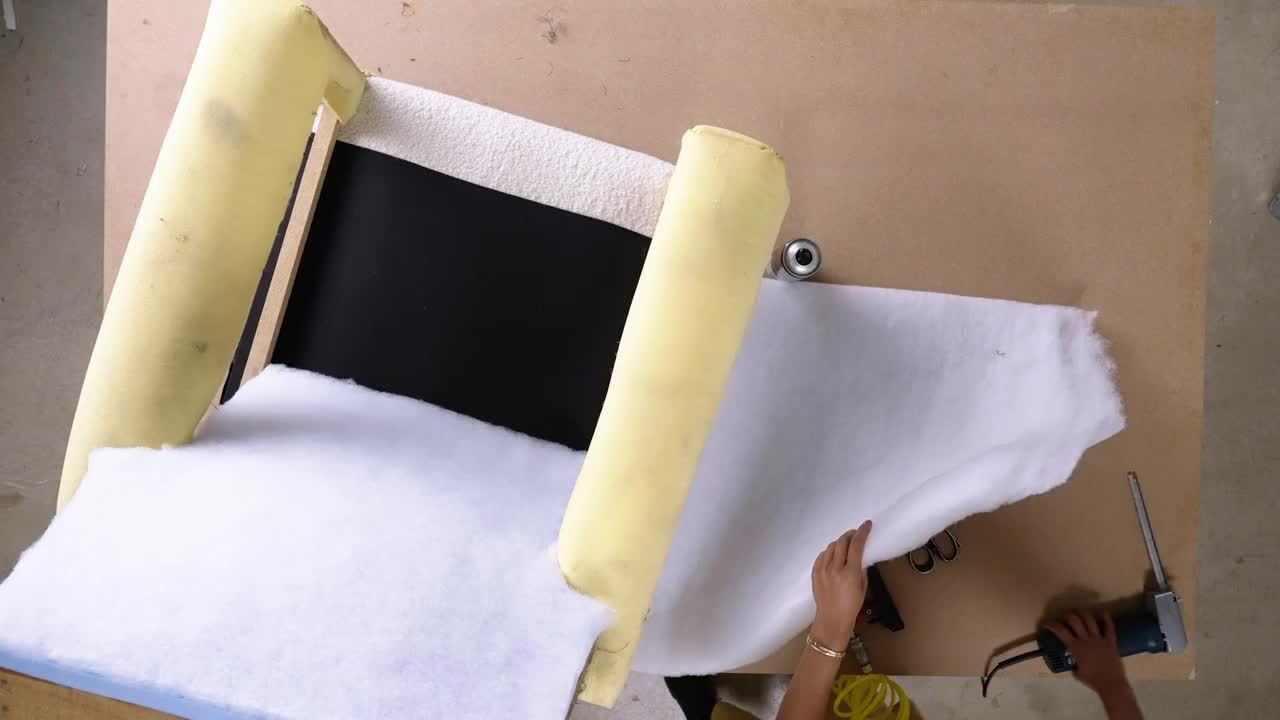
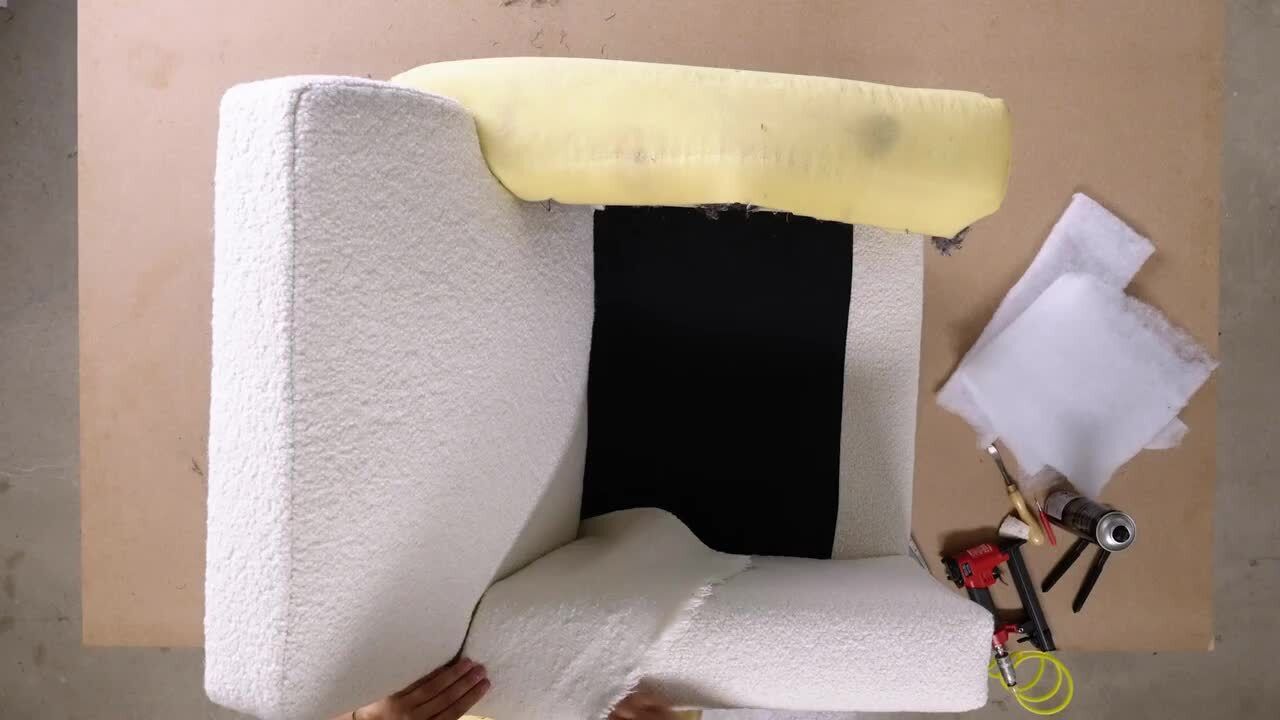
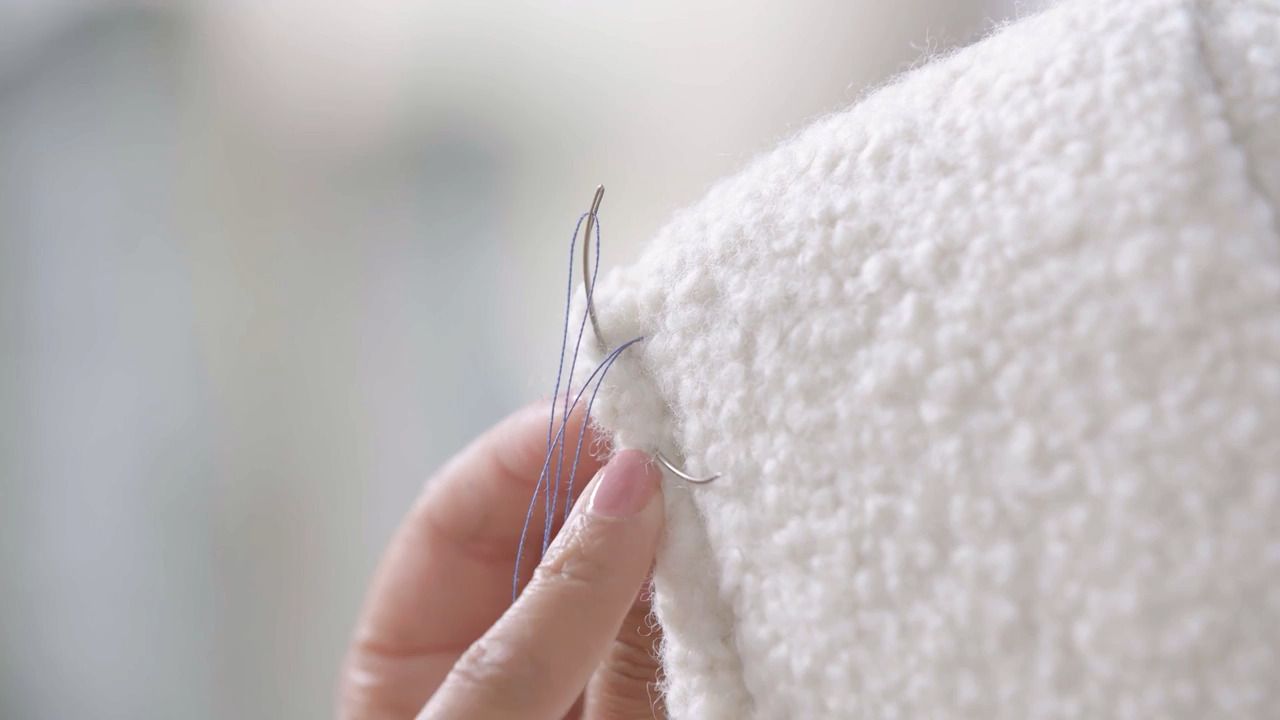
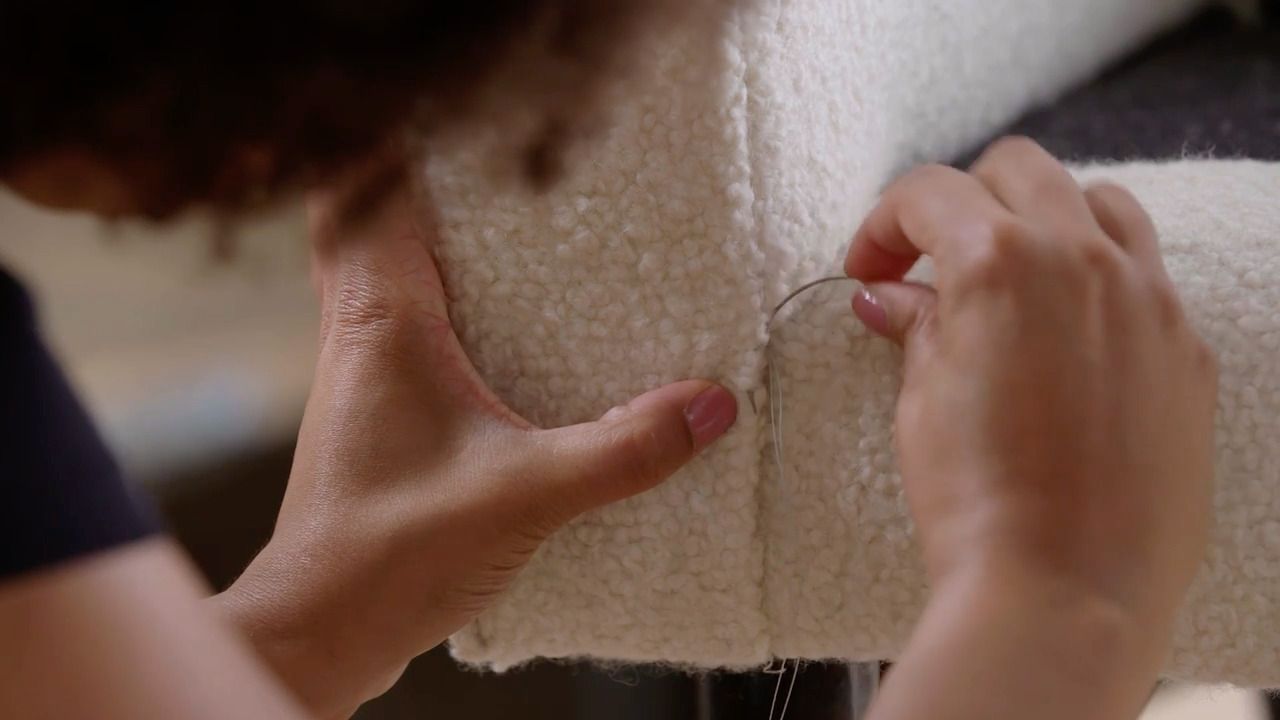
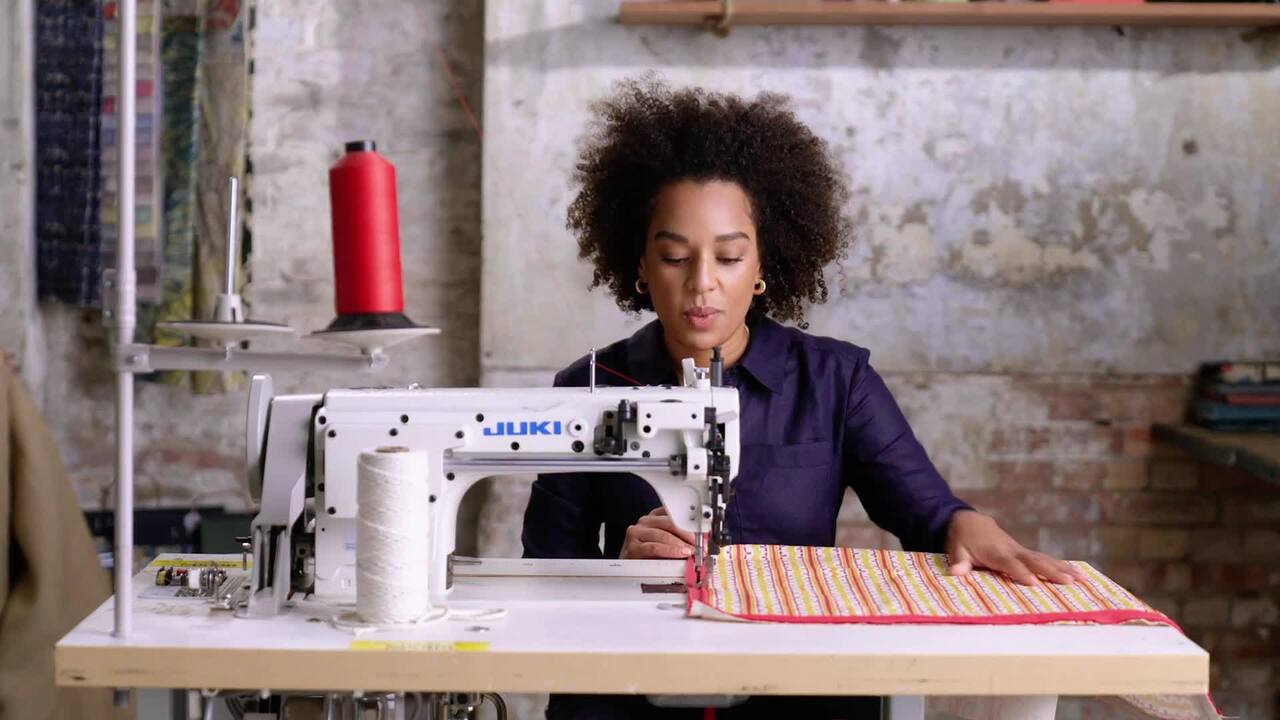
Now it’s time to attach the piping to both the top and bottom of your cushion cover.
Now it's time to attach the piping to both the top and bottom of your cushion cover.
Get the full workbook, video lessons, and more with a Create Academy subscription.
Subscribe to access the full workbookAlready a member? Sign in to watch
437 reviews
Read moreI have subscribed to access all the courses so have watched one on interior design and this one with Butter Wakefield who specialises in small garden design. She ...
Louise Brown
Apr 10, 2026
I love CreateAcademy. I came in for the gardening and floristry courses, but am also watching an interior design one at present. And the photography course is an ...
Wellesley
Apr 1, 2026
What a great investment, I have learned such a lot from the first three courses. My evenings have gone from not being able to find anything that captured my imagi...
sojojo
Mar 30, 2026
I loved this course with Amanda Lindroth! Her approach to decorating is so relaxed and she makes it feel attainable. She explains the reasons behind her decisions...
Elizabeth
Mar 27, 2026
I have subscribed to access all the courses so have watched one on interior design and this one with Butter Wakefield who specialises in small garden design. She has a lovely personality and comes across as ...
Louise Brown
Apr 10, 2026
I love CreateAcademy. I came in for the gardening and floristry courses, but am also watching an interior design one at present. And the photography course is an absolute must, best I've ever done.
Wellesley
Apr 1, 2026
What a great investment, I have learned such a lot from the first three courses. My evenings have gone from not being able to find anything that captured my imagination on TV to learning and expanding my kno...
sojojo
Mar 30, 2026
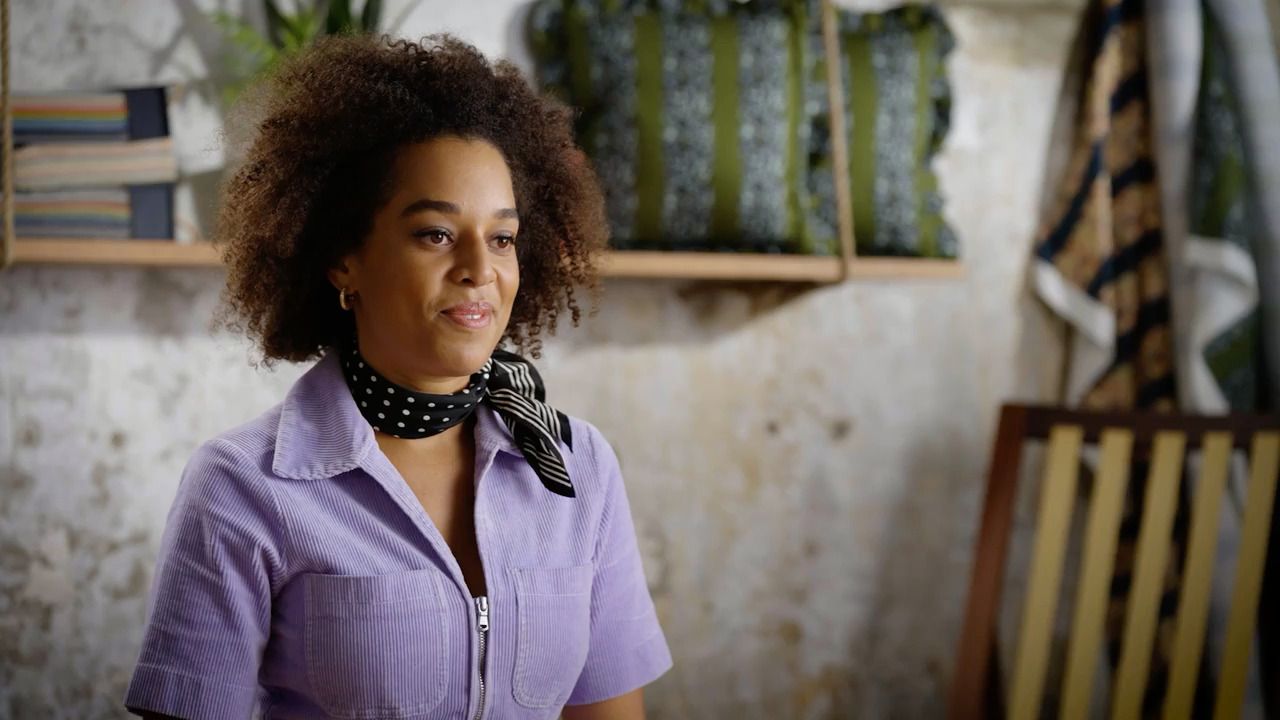
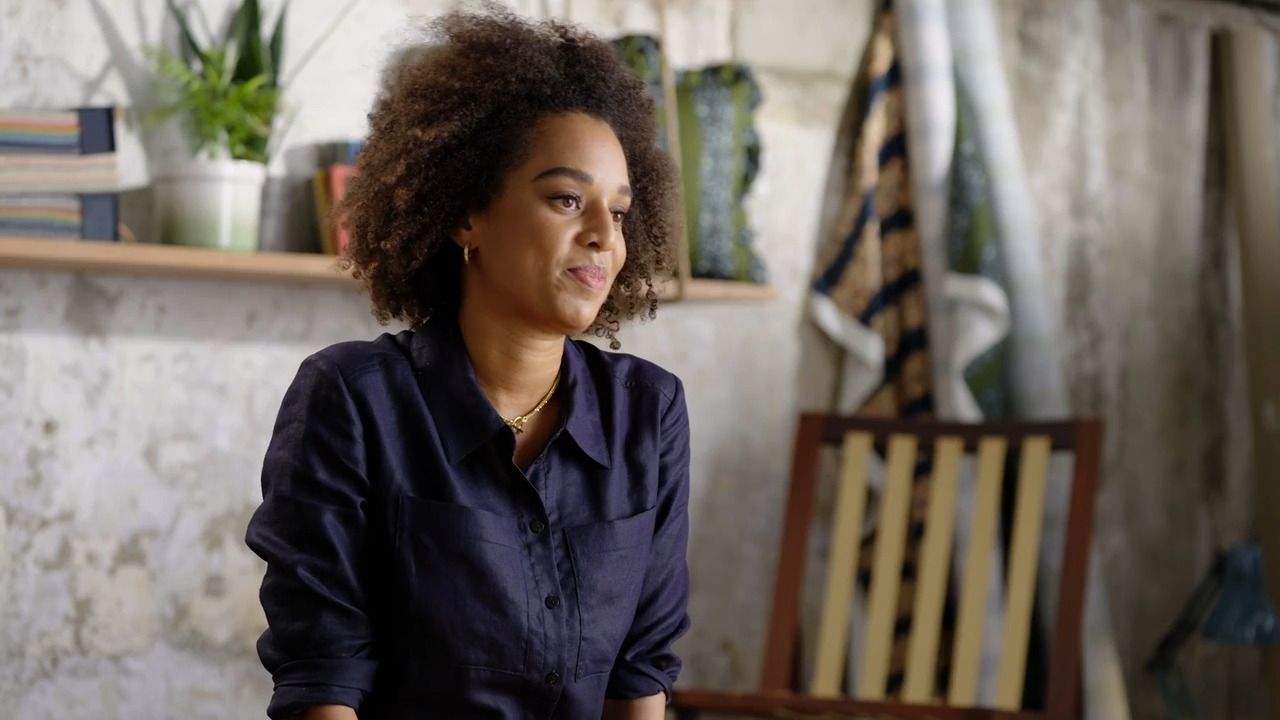
Your Instructor
Sustainable designer and modern upholstery expert. TV presenter and interior design judge.
Micaela Sharp is a professional upholsterer, interior designer and broadcaster who champions the art of reupholstery and its ability to breathe new life into pre-loved furniture. Growing up, Micaela learnt both carpentry and sewing skills from her grandparents. It was this knowledge, alongside a passion for sustainability and longevity, that inspired her to take up upholstery and set up her own practice. Whether it’s designing furniture from scratch, reimagining a tired armchair into an heirloom to be cherished for years to come, or creating a room scheme layered with fabric and colour, Micaela brings her unique creativity and inventive flair to every project.

Access to all courses


