Rated4.8/5on Trustpilot
A Complete Guide to Modern Upholstery
AS SEEN IN


What's Included

Choosing the right fabric

Sourcing furniture

Micaela’s must-have toolkit

Three step-by step upholstery projects

A Complete Guide to Modern Upholstery
68 lessons | 7 hours
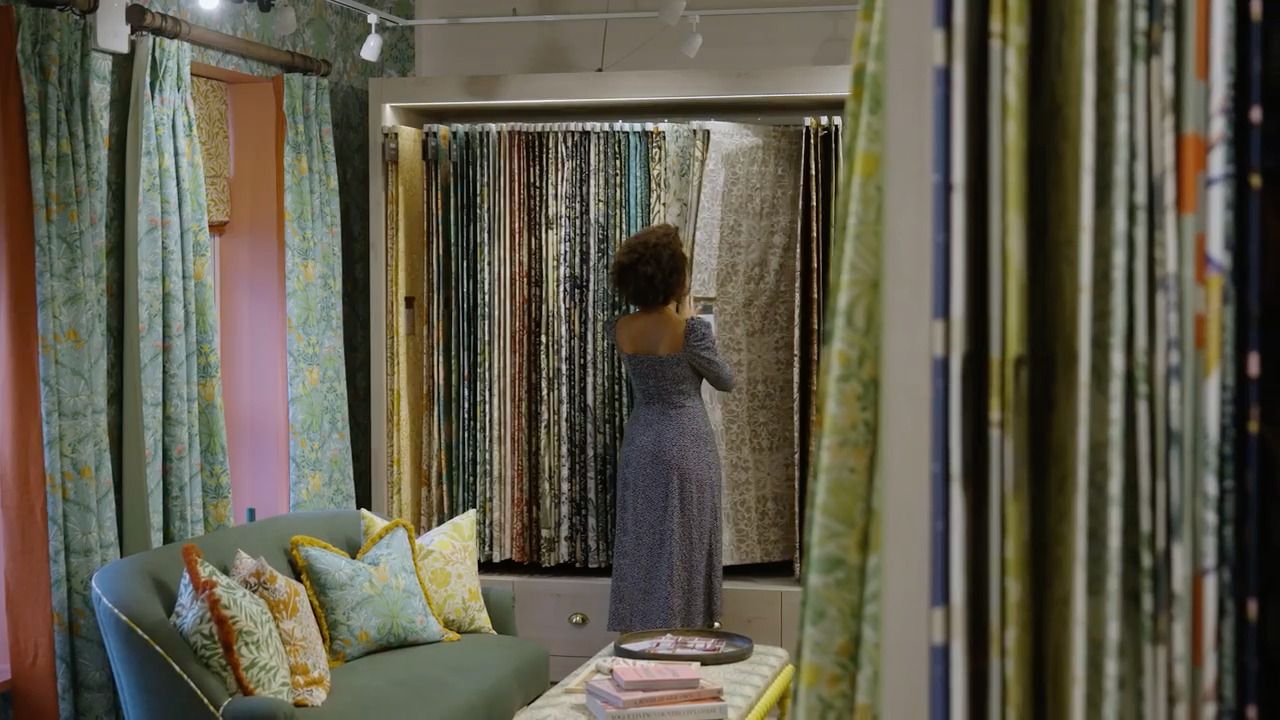
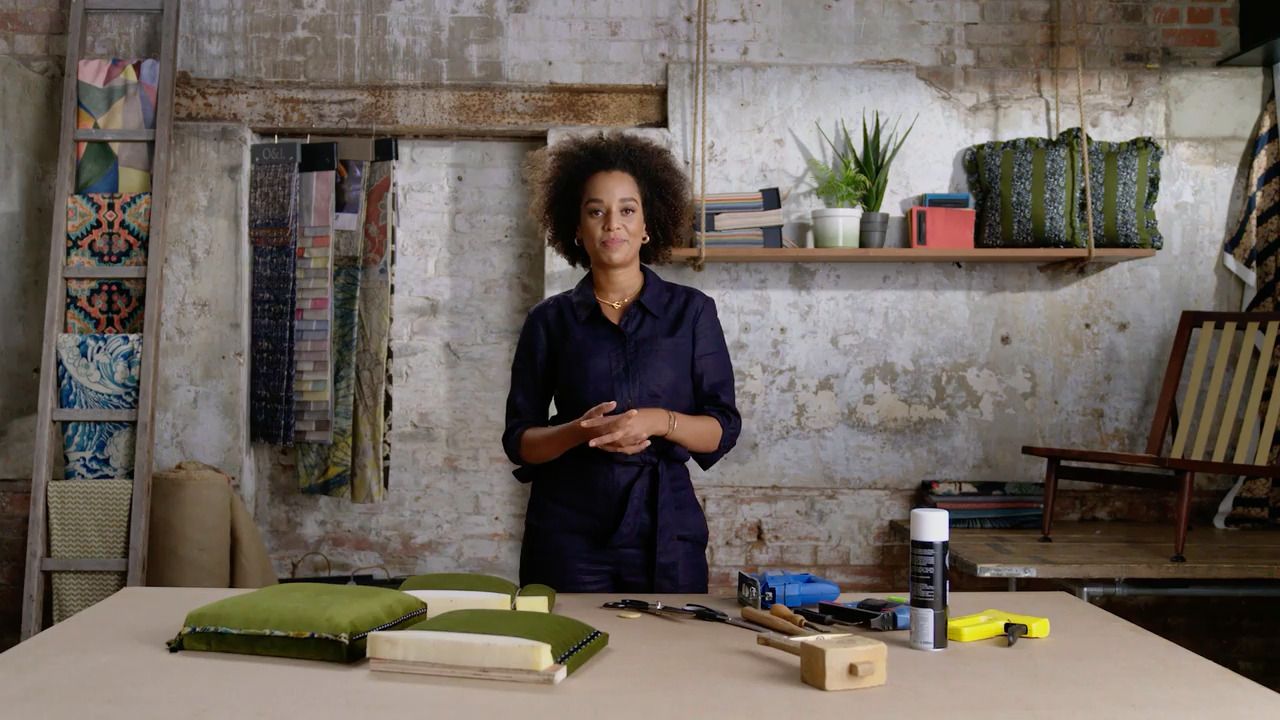
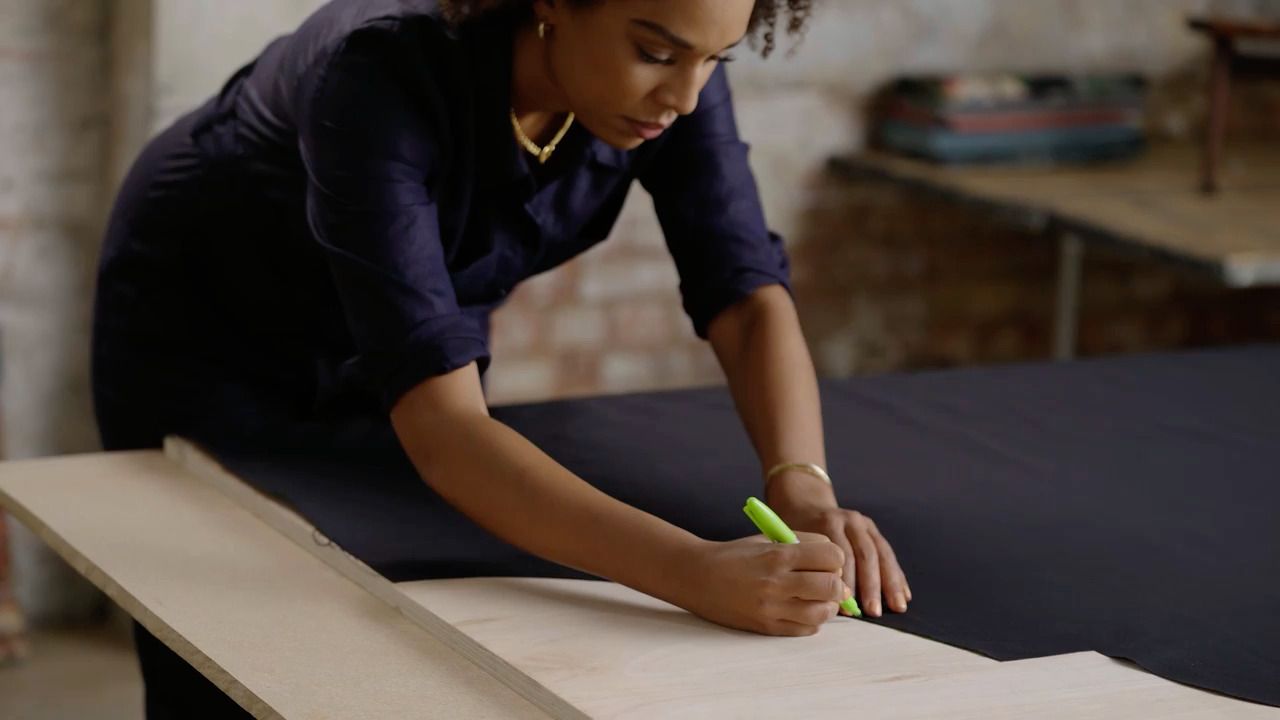
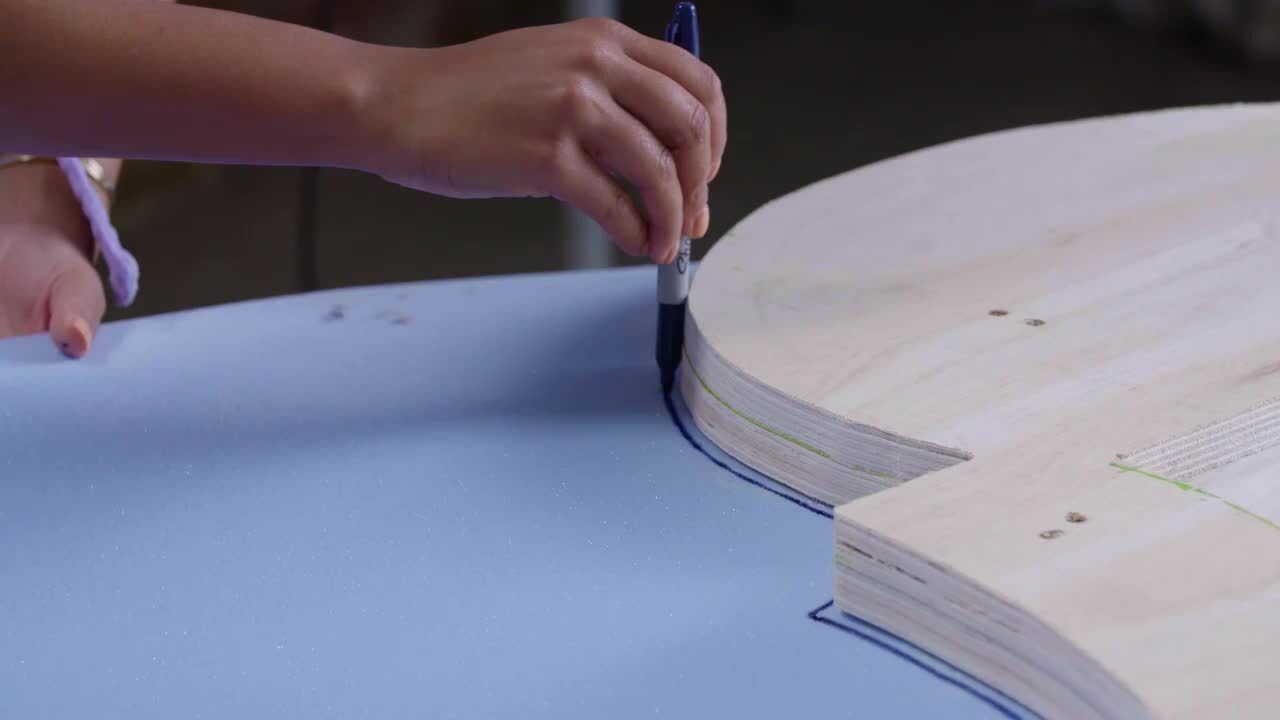
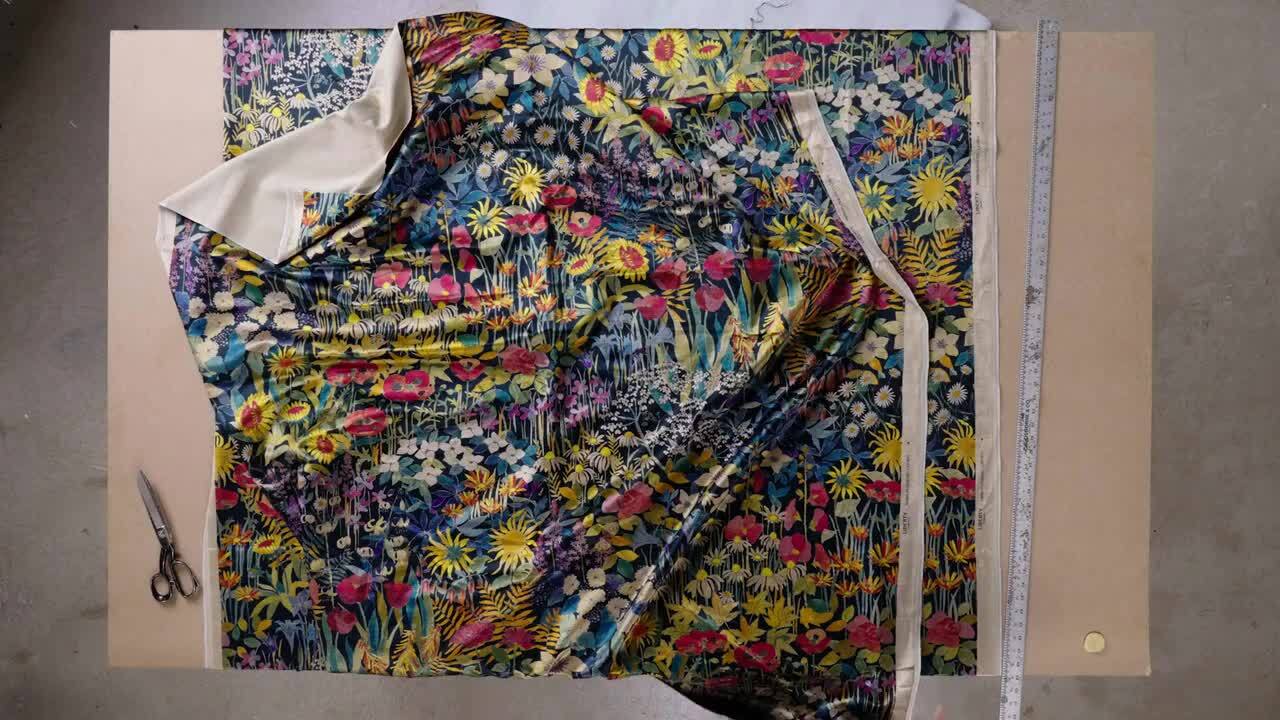
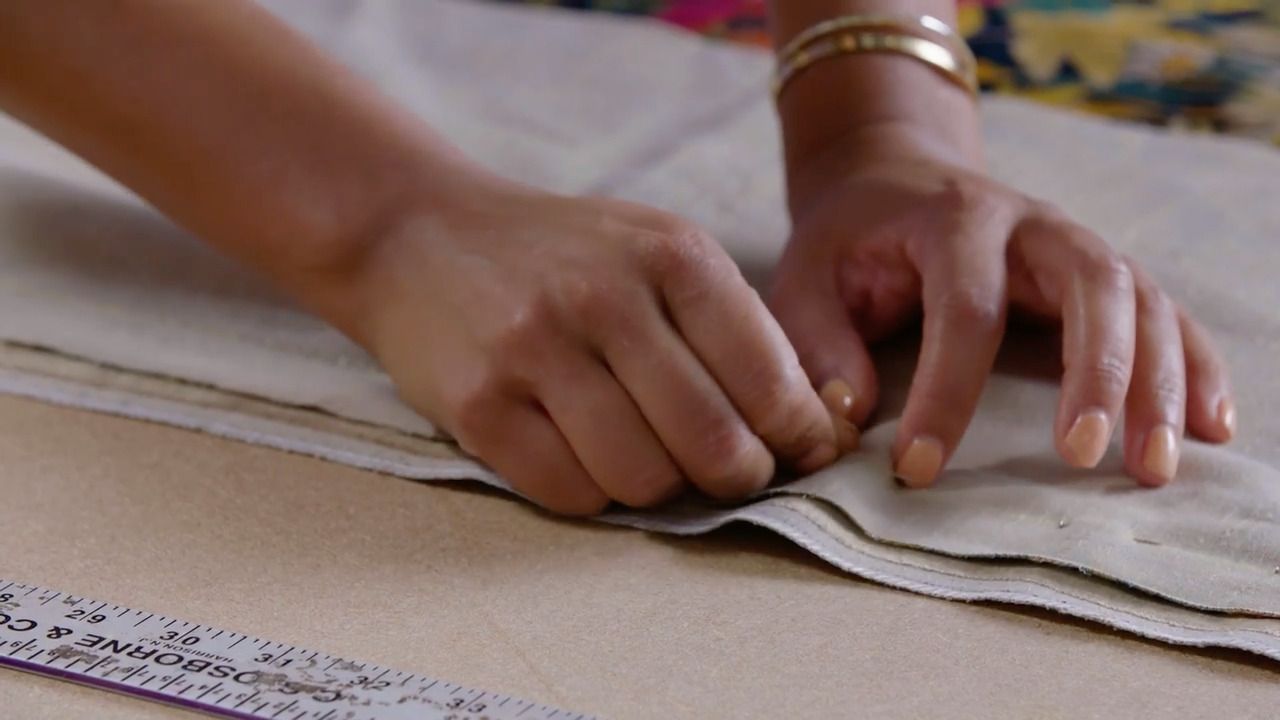
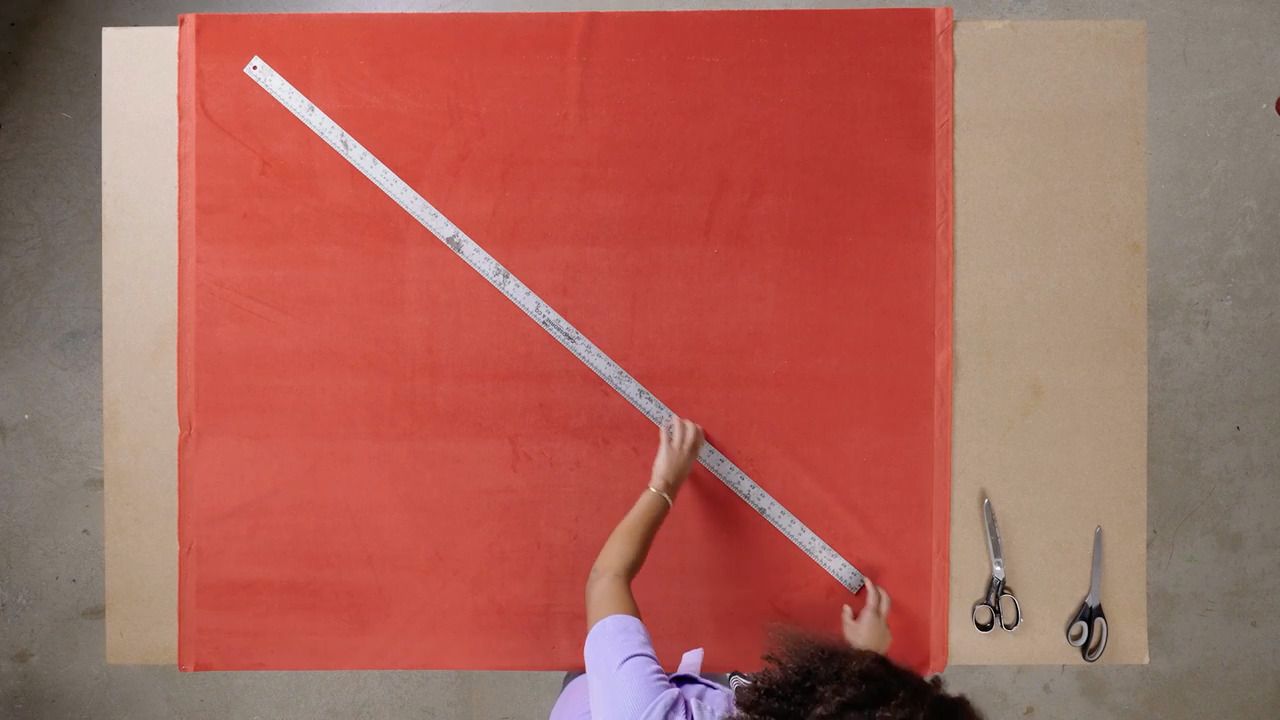
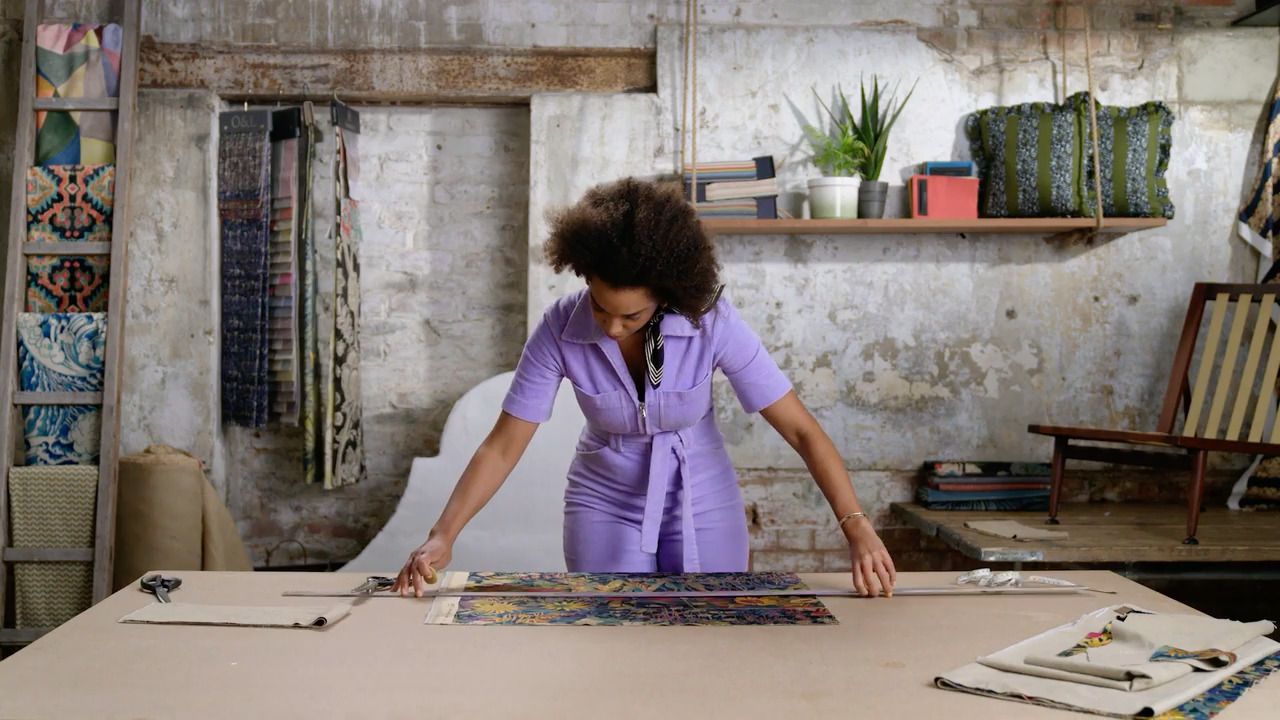
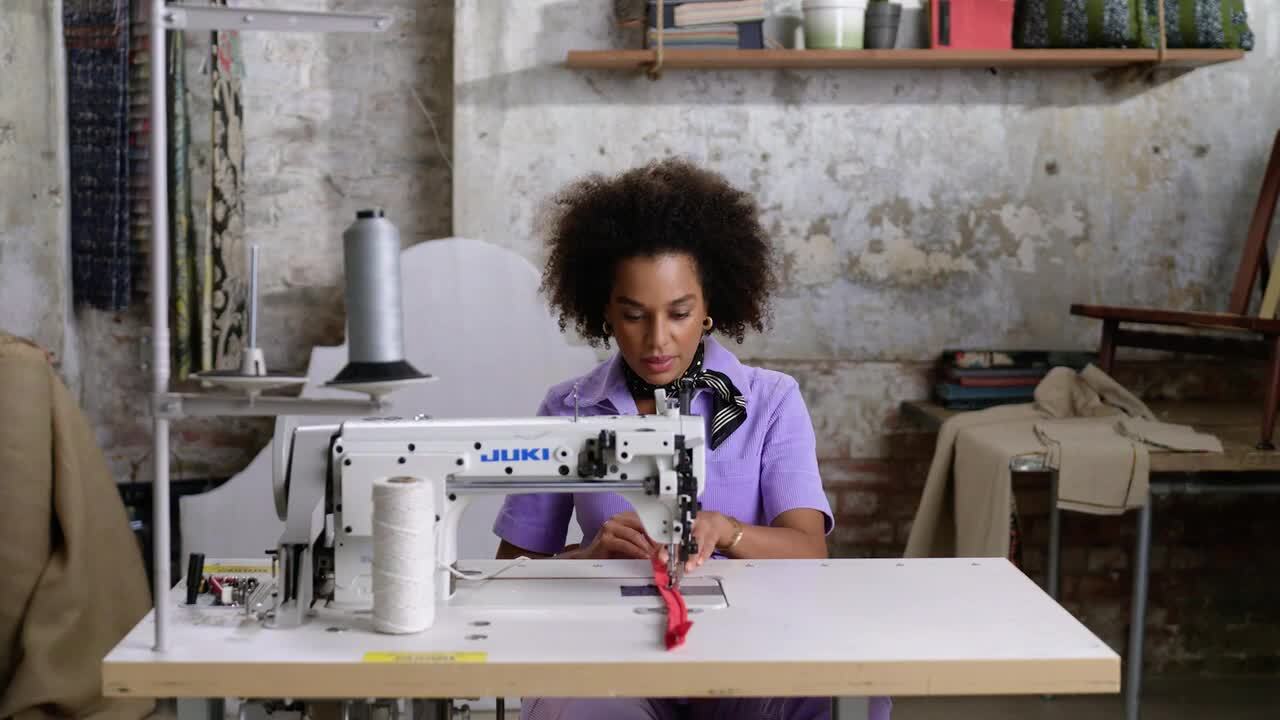
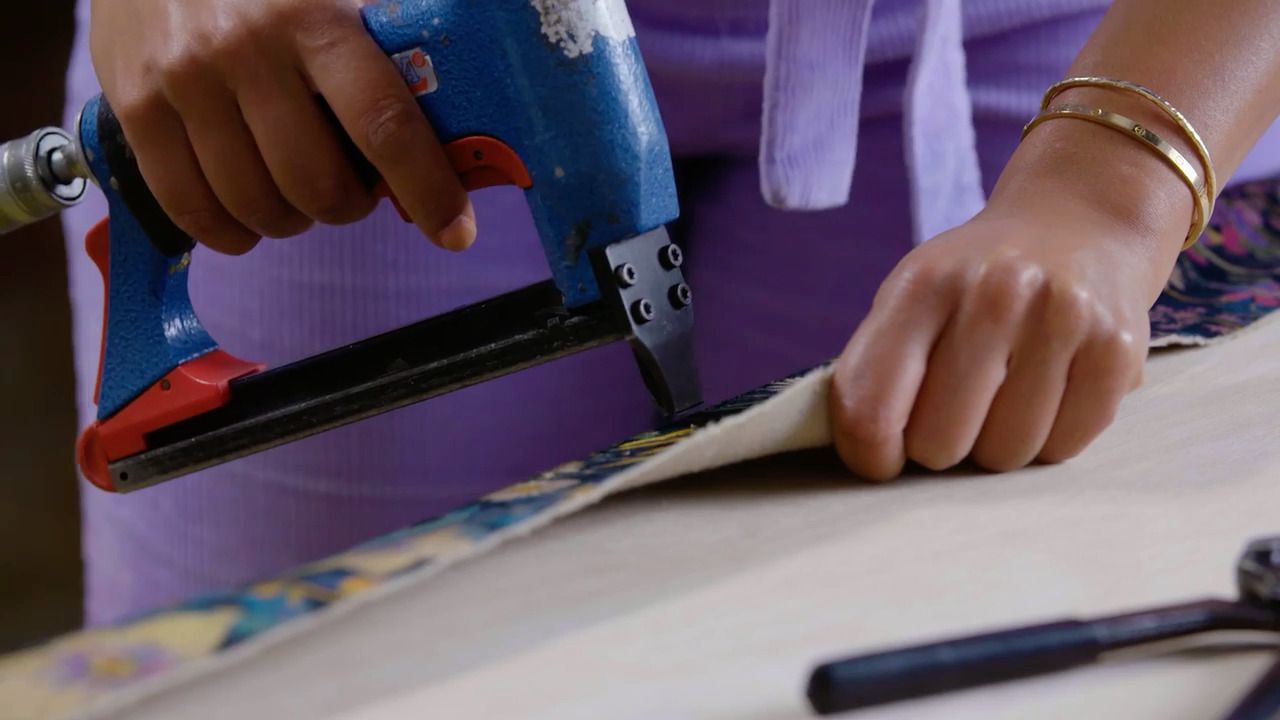
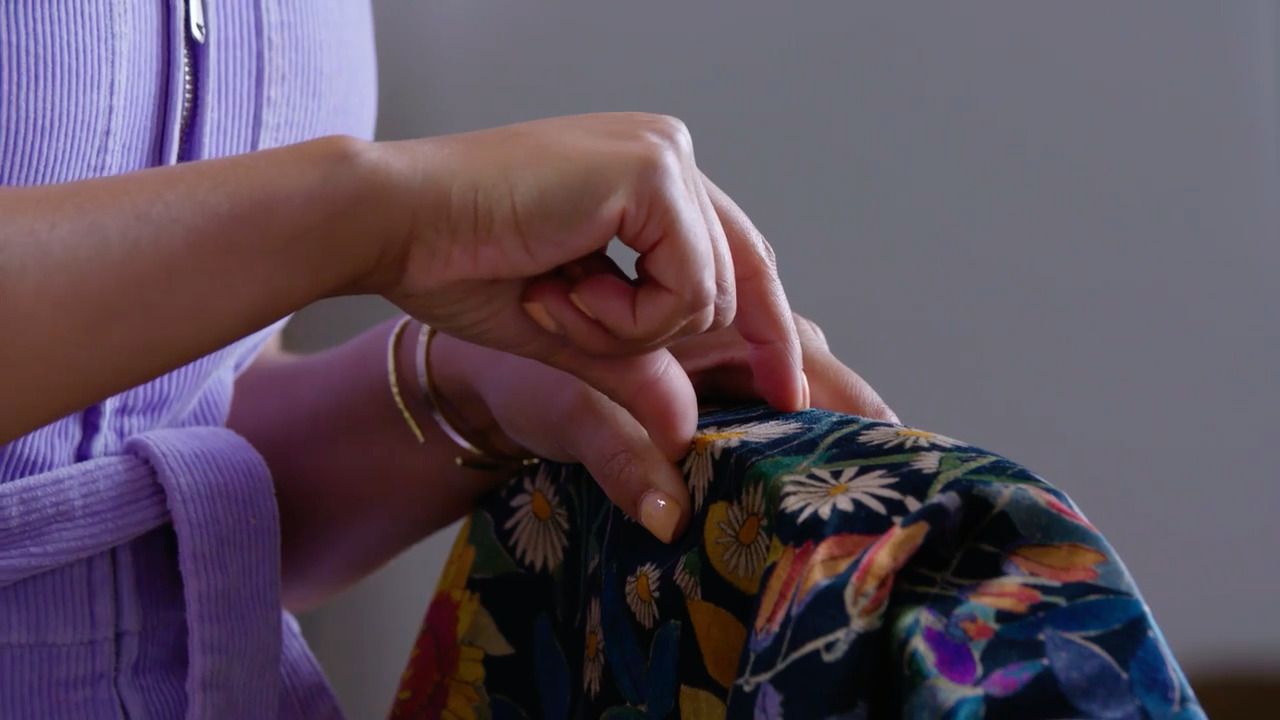
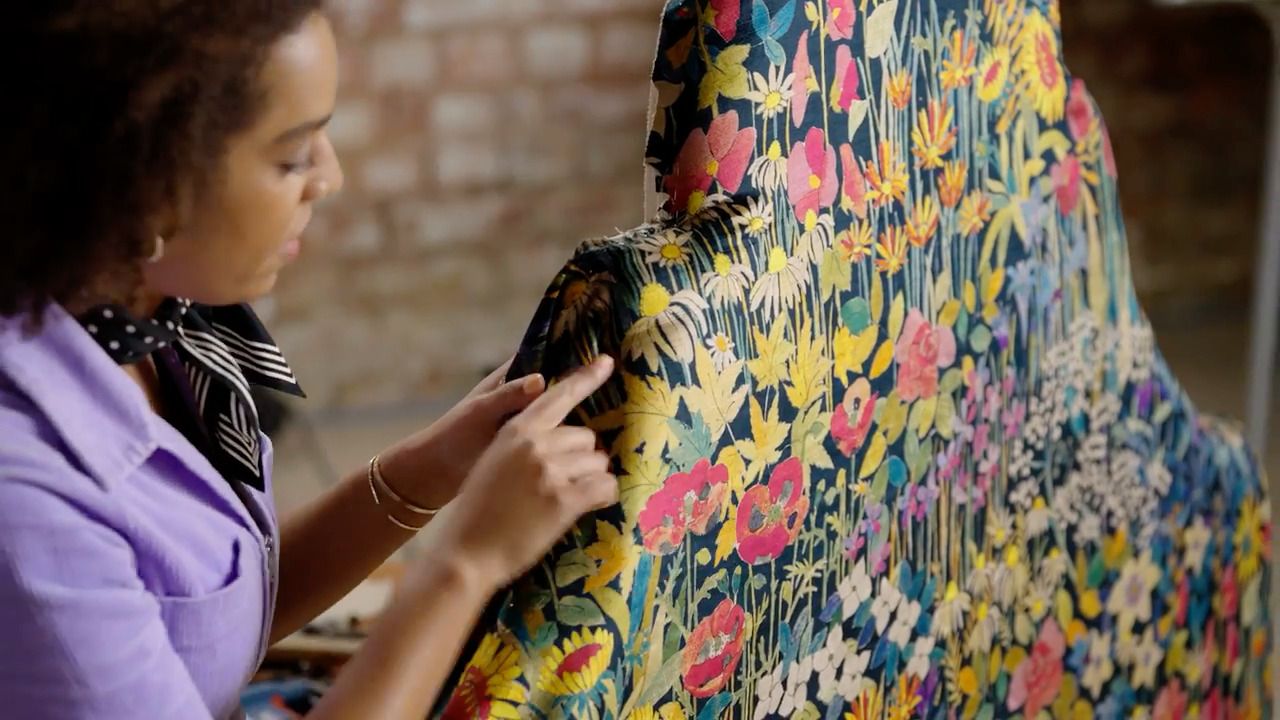
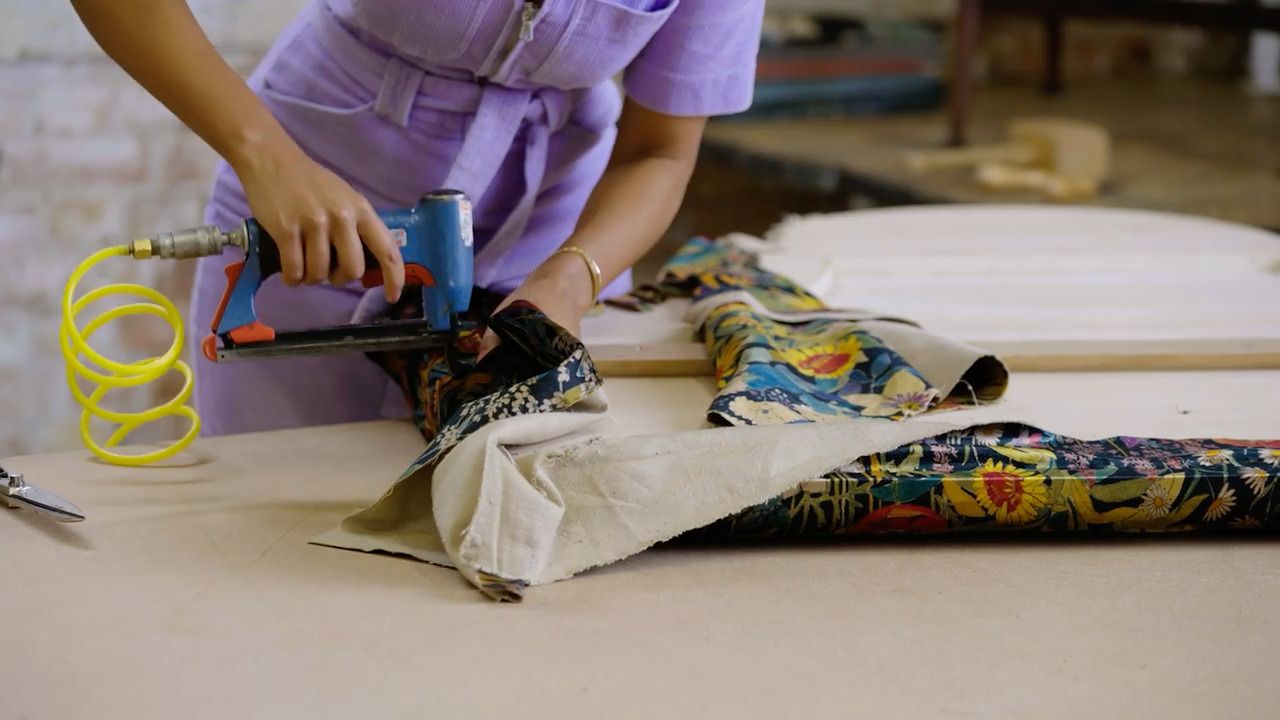
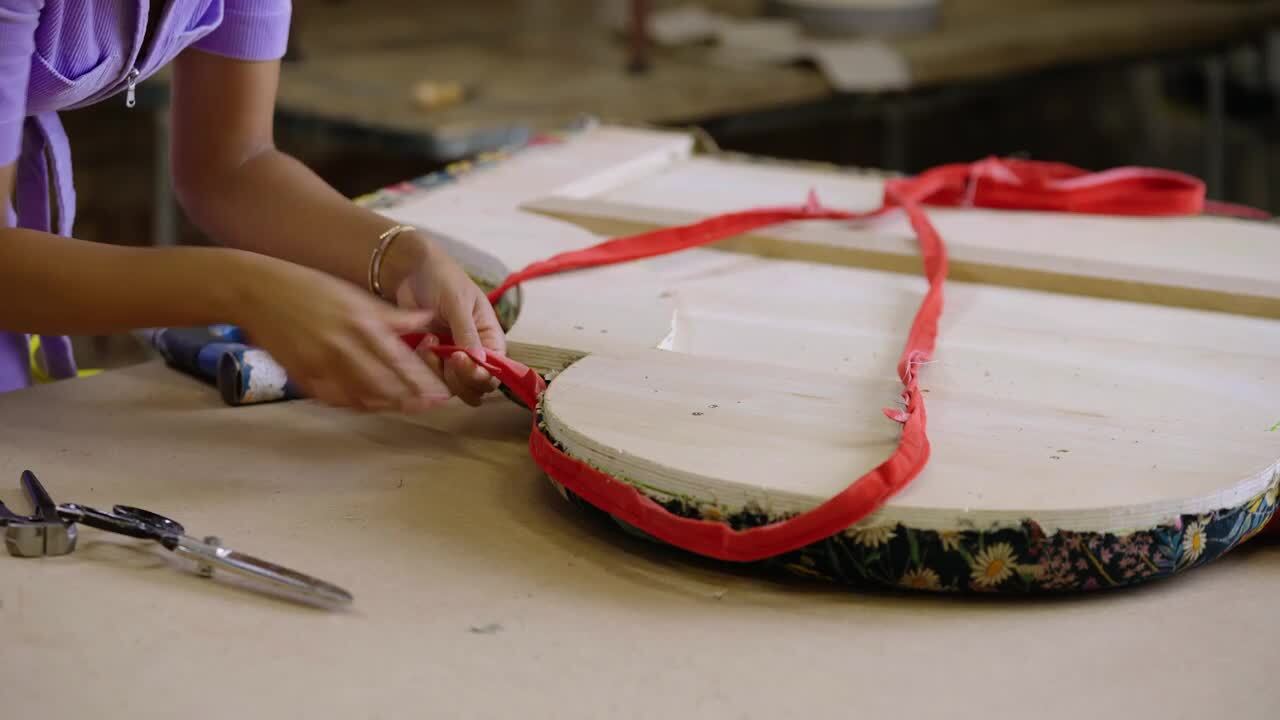
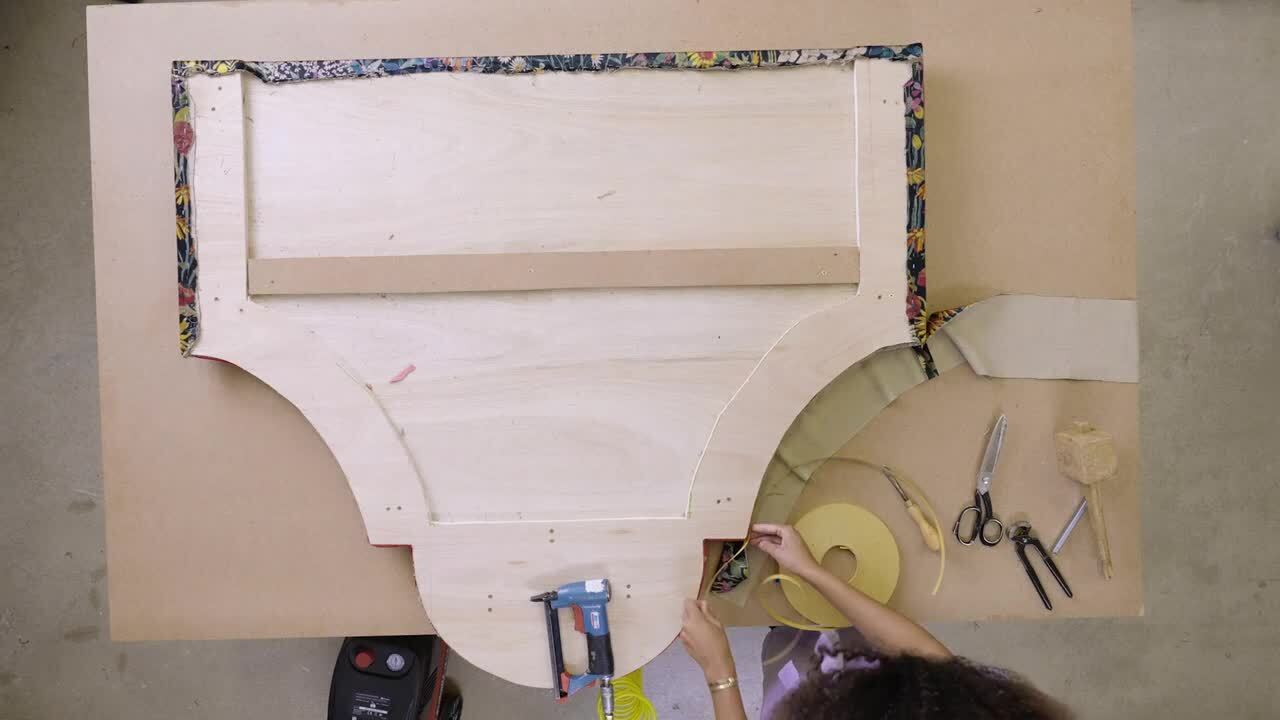
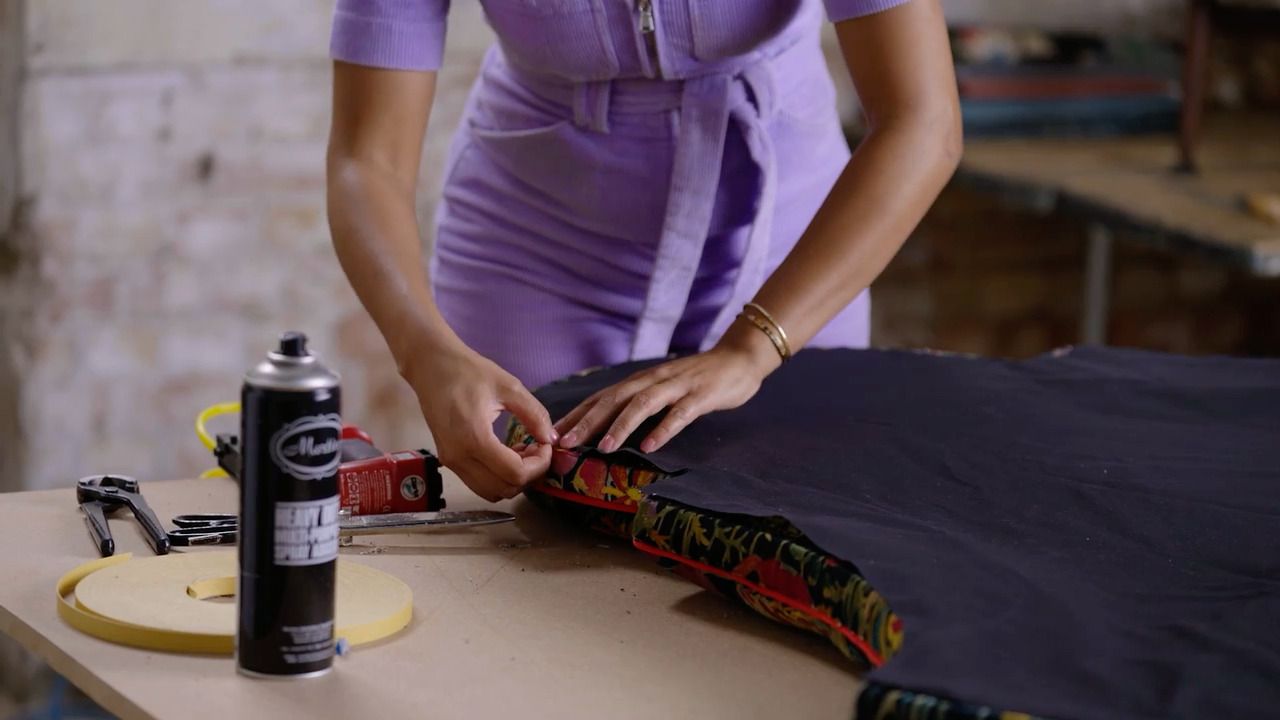
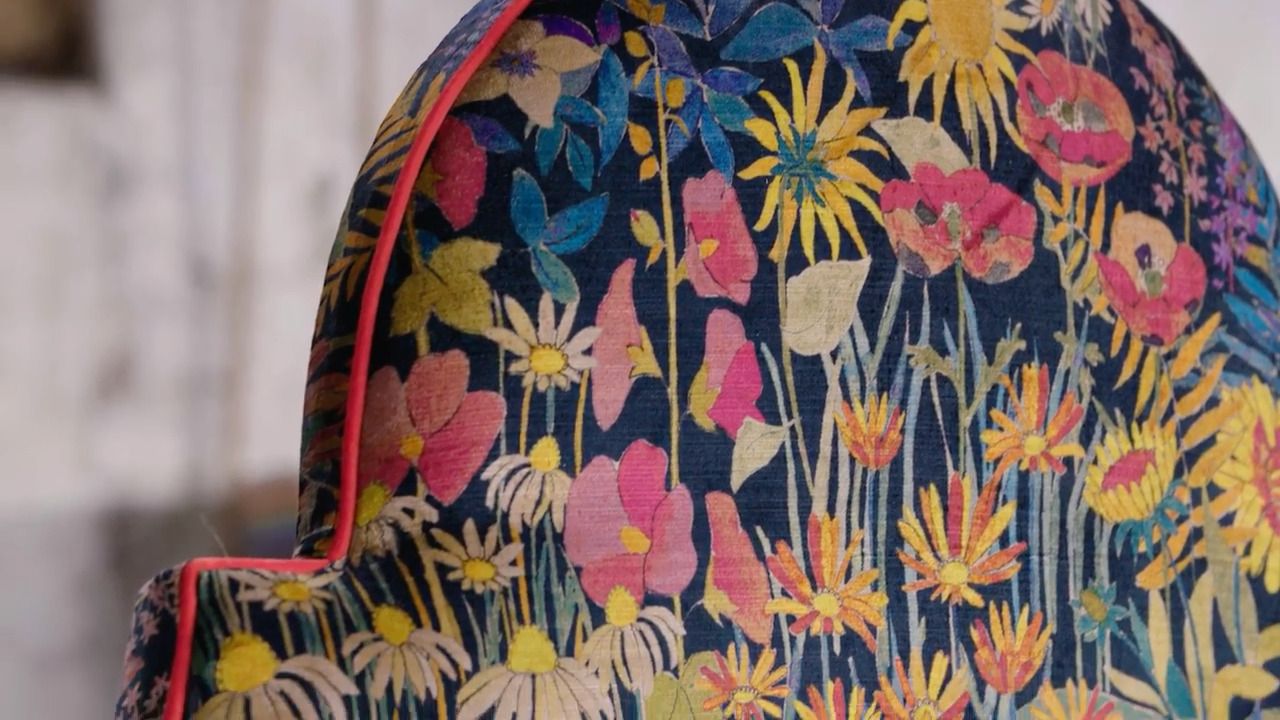
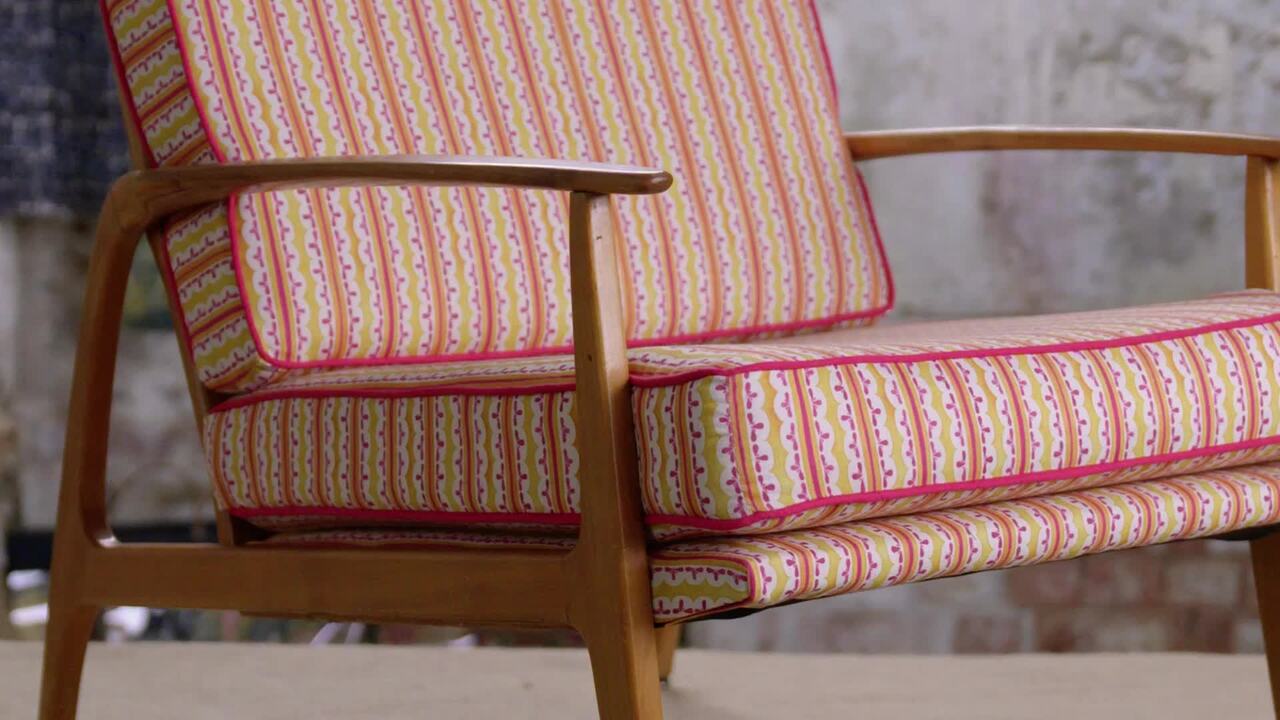
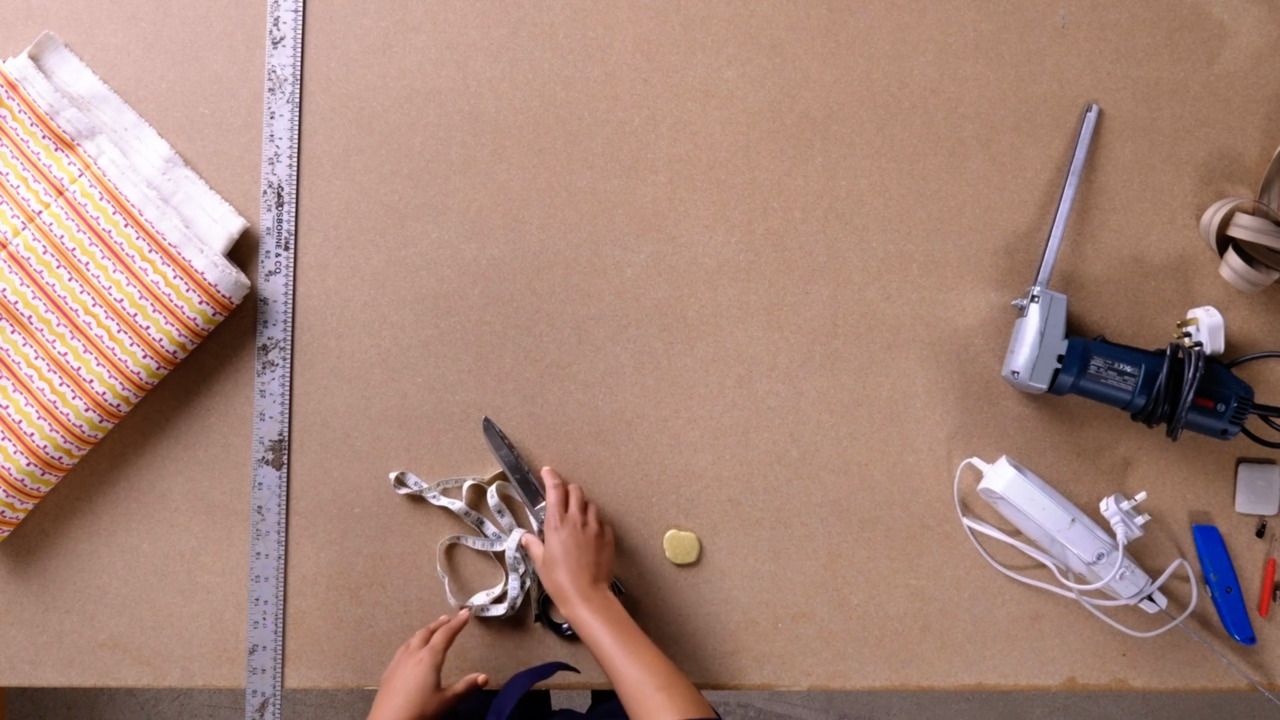
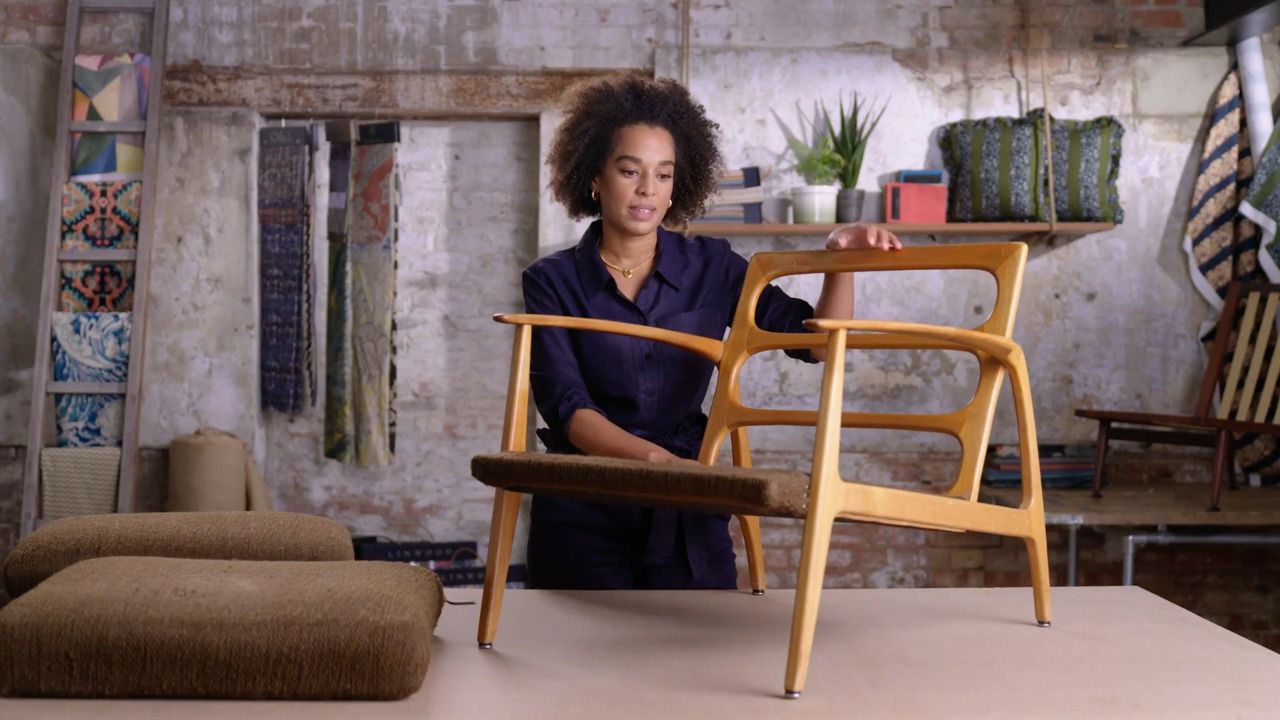
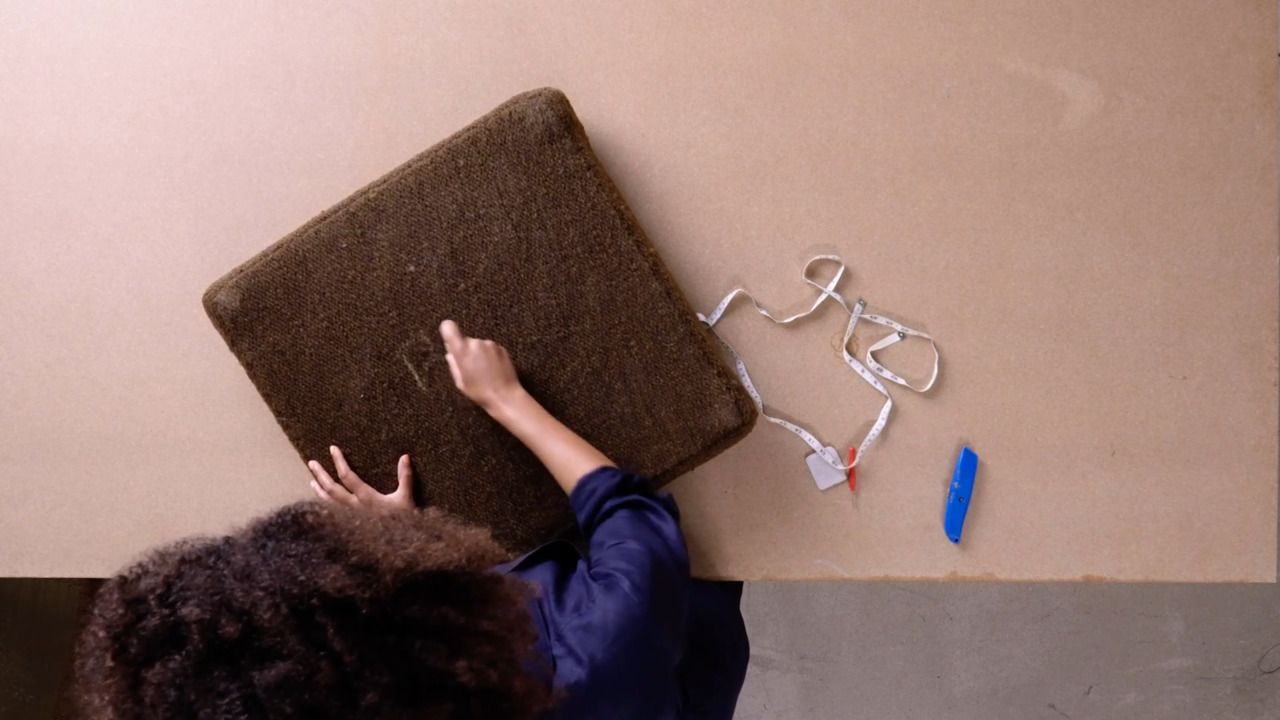
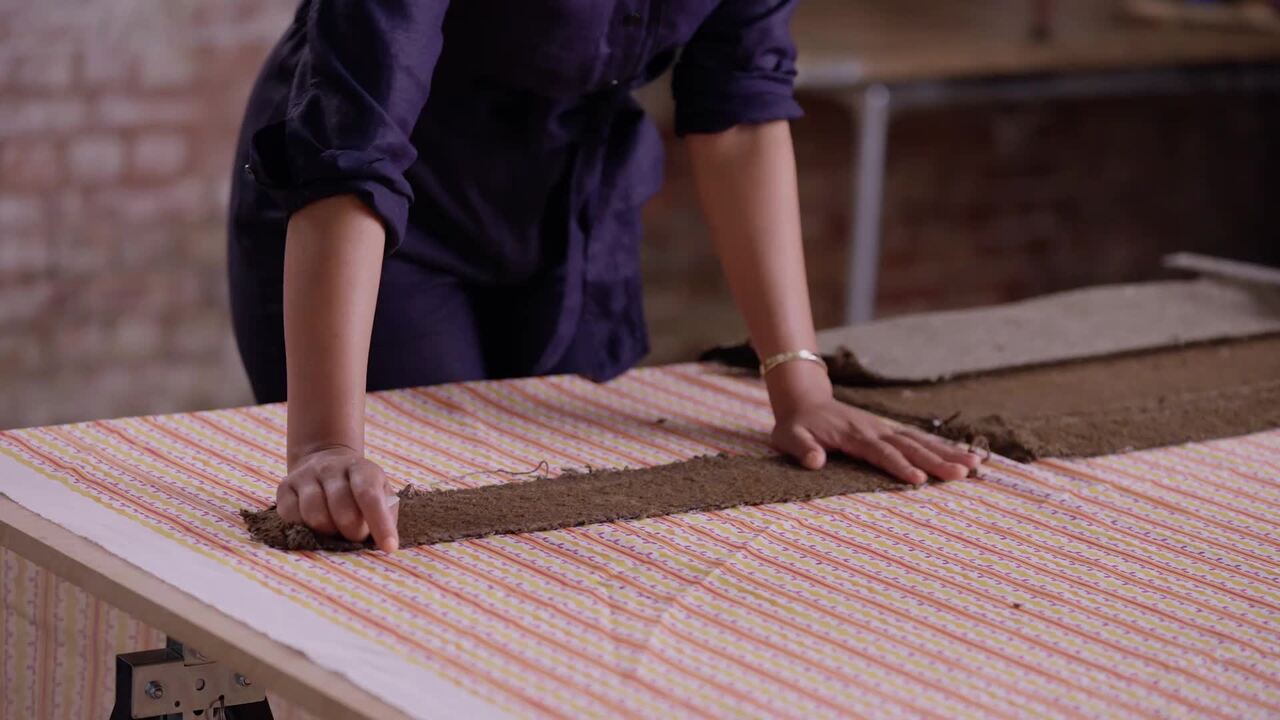
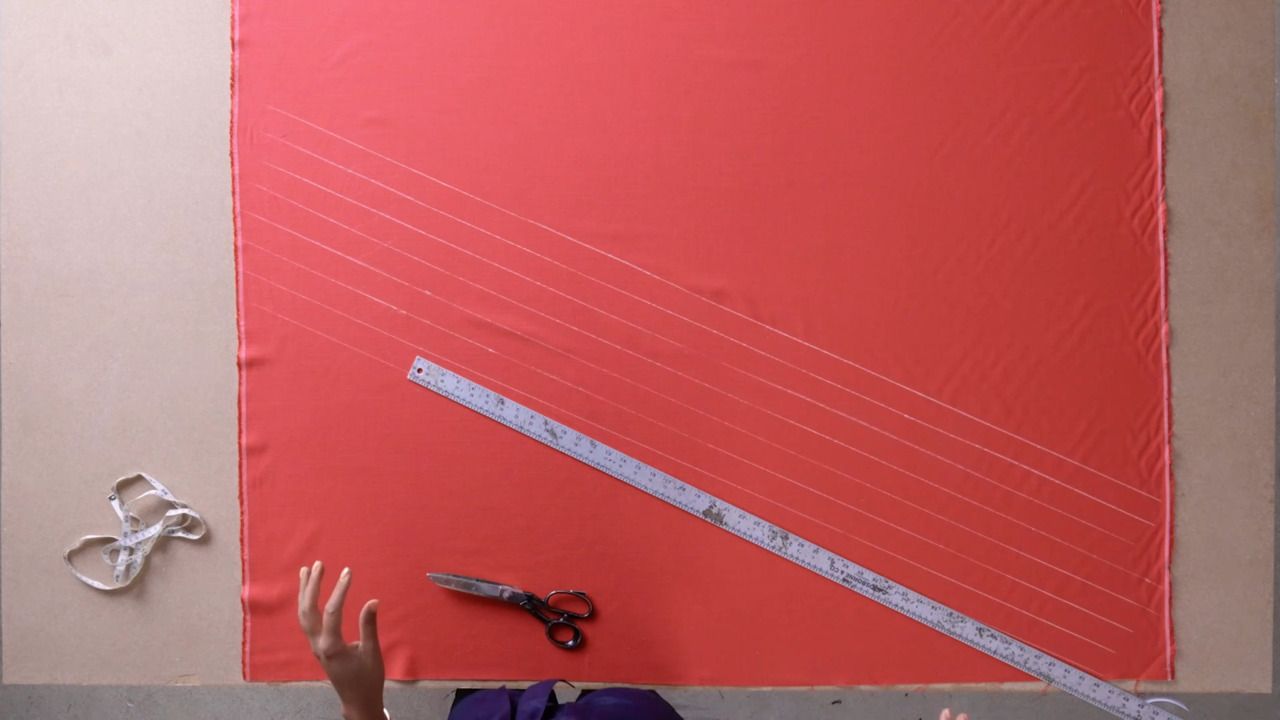
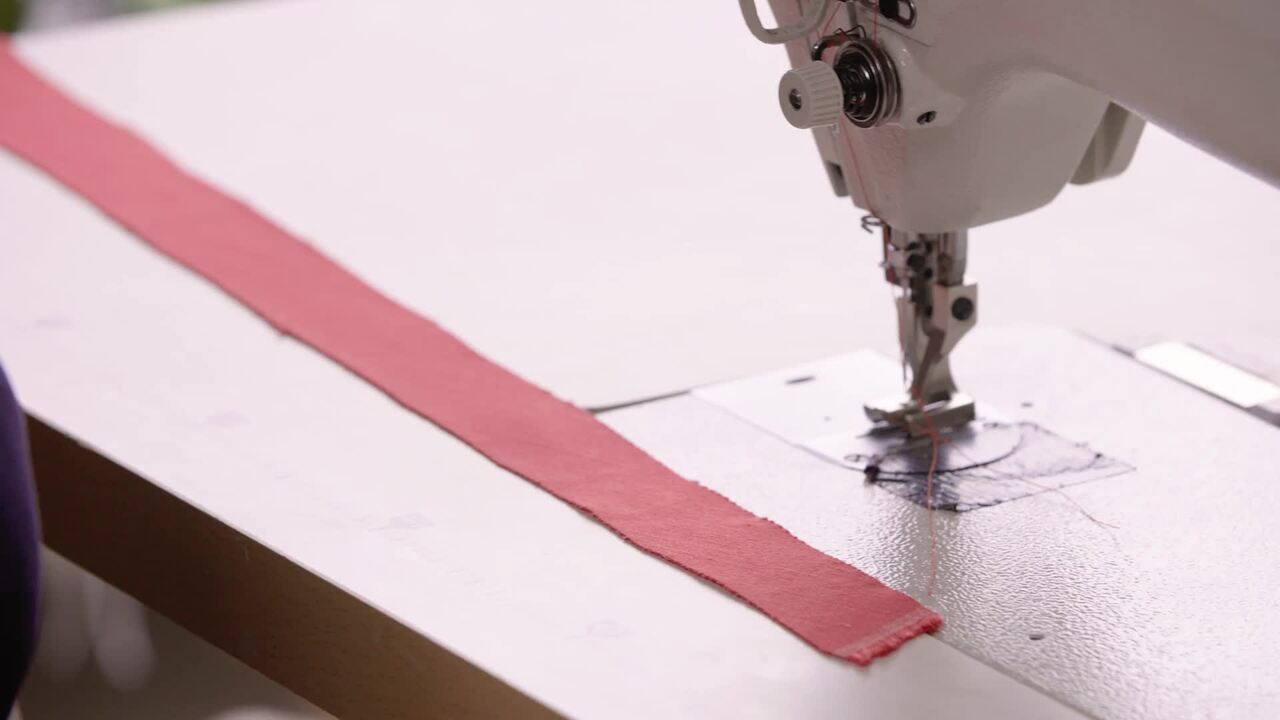
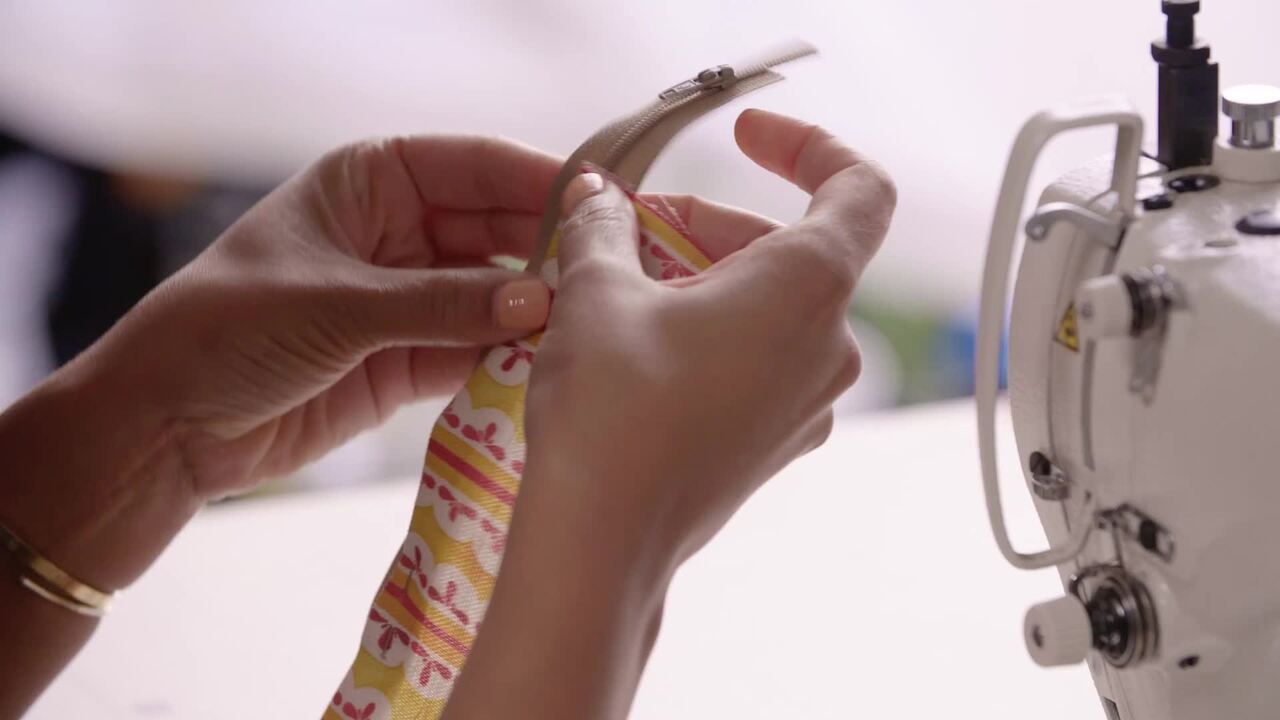
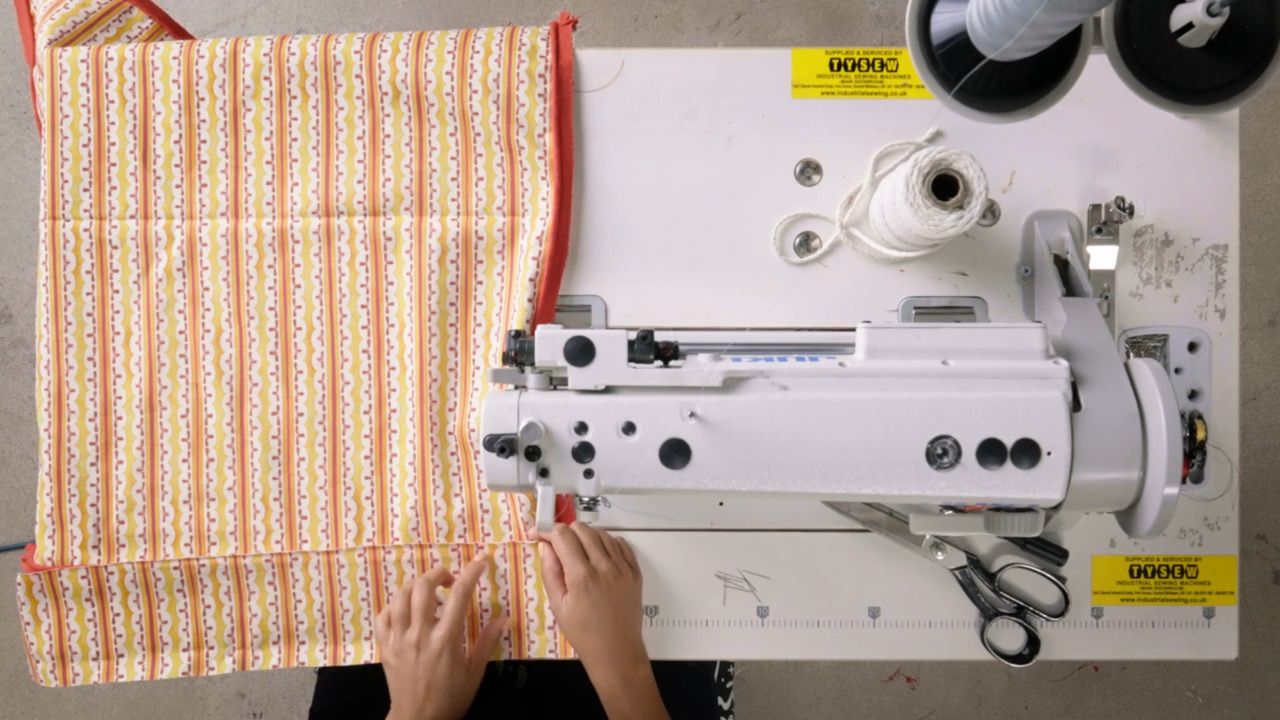
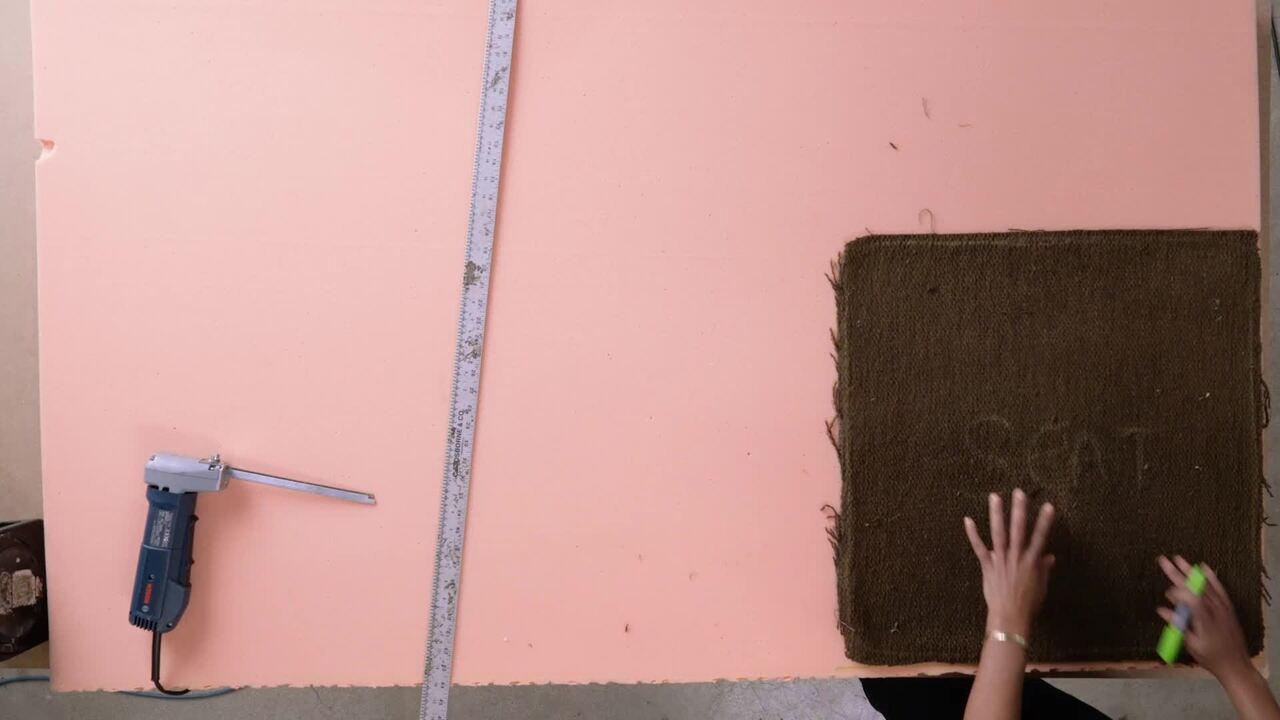
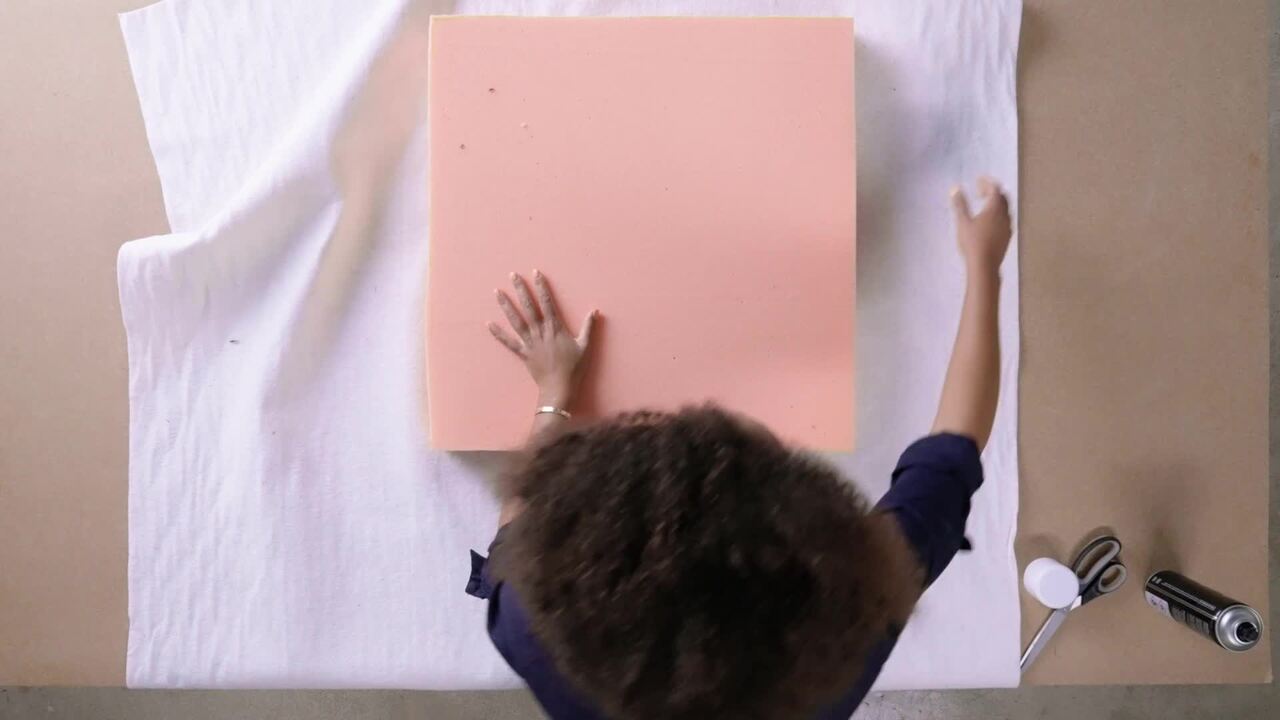
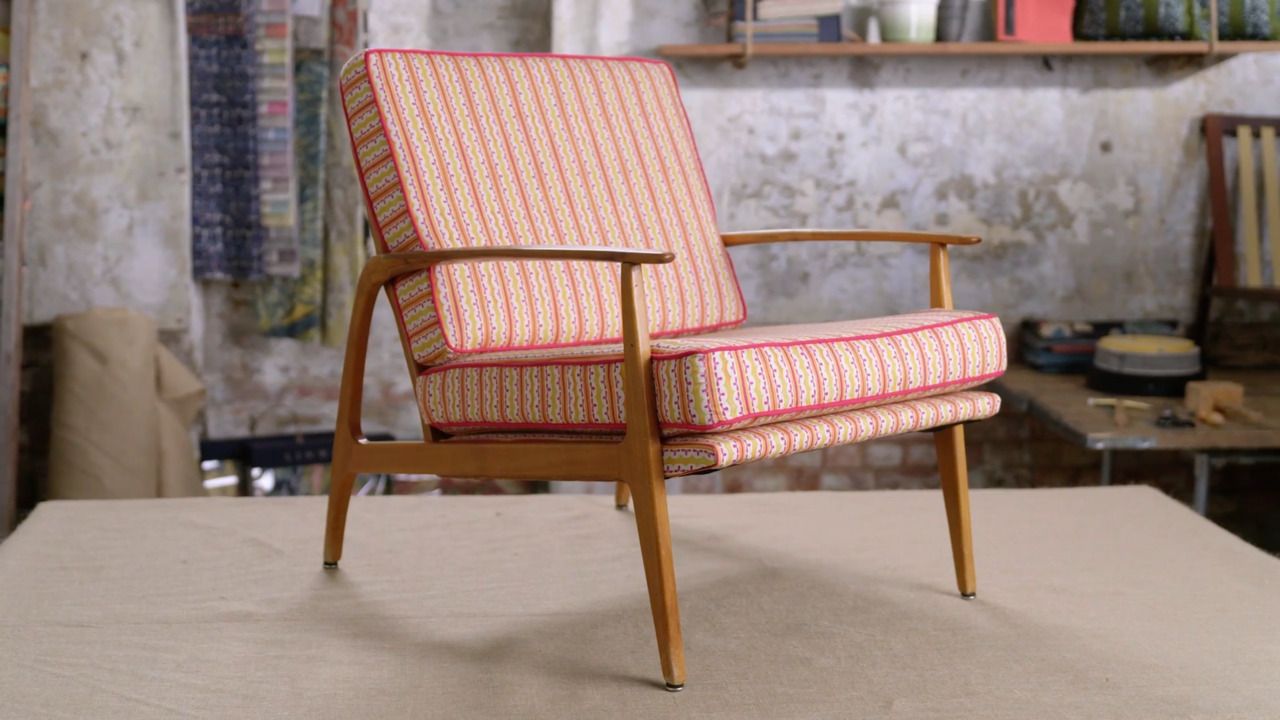
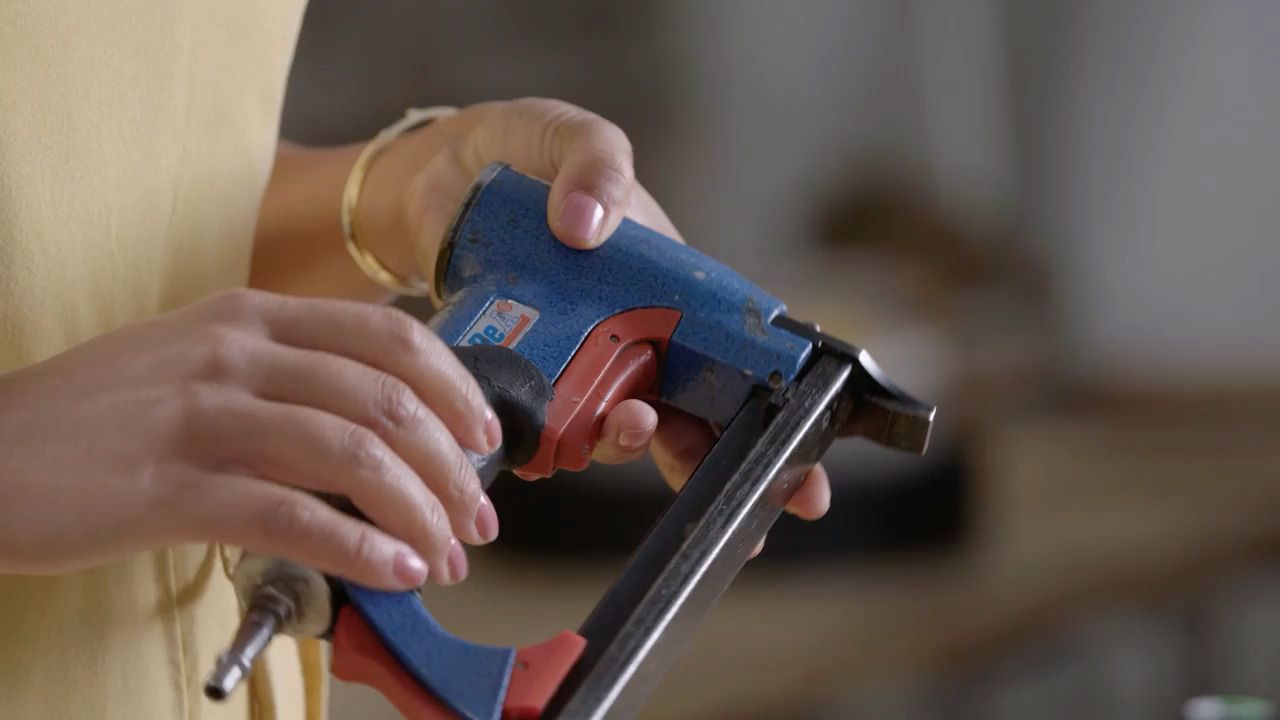
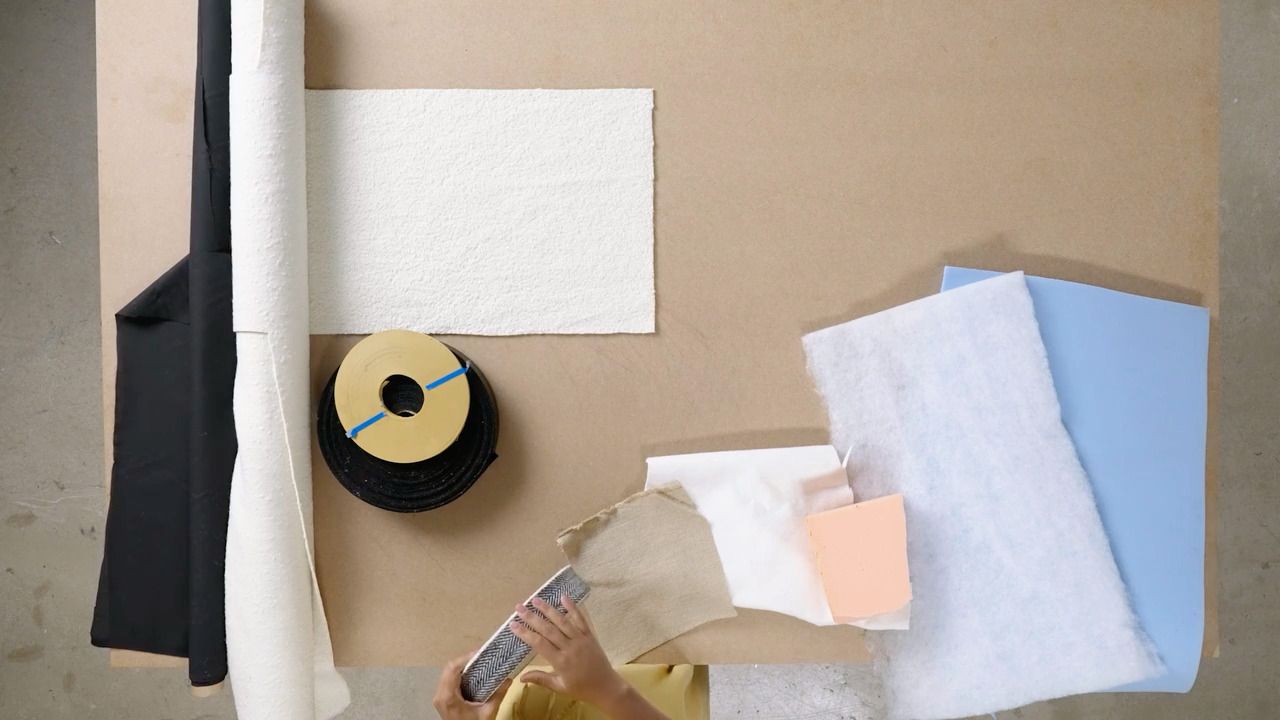
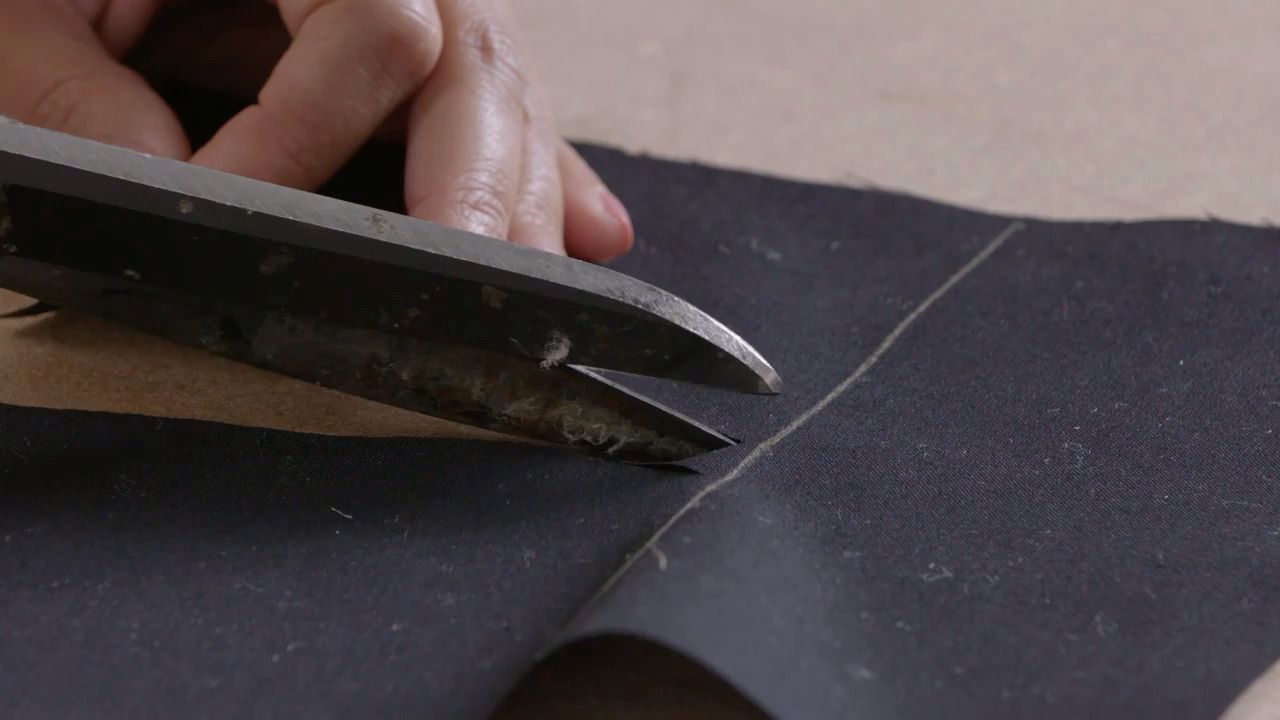
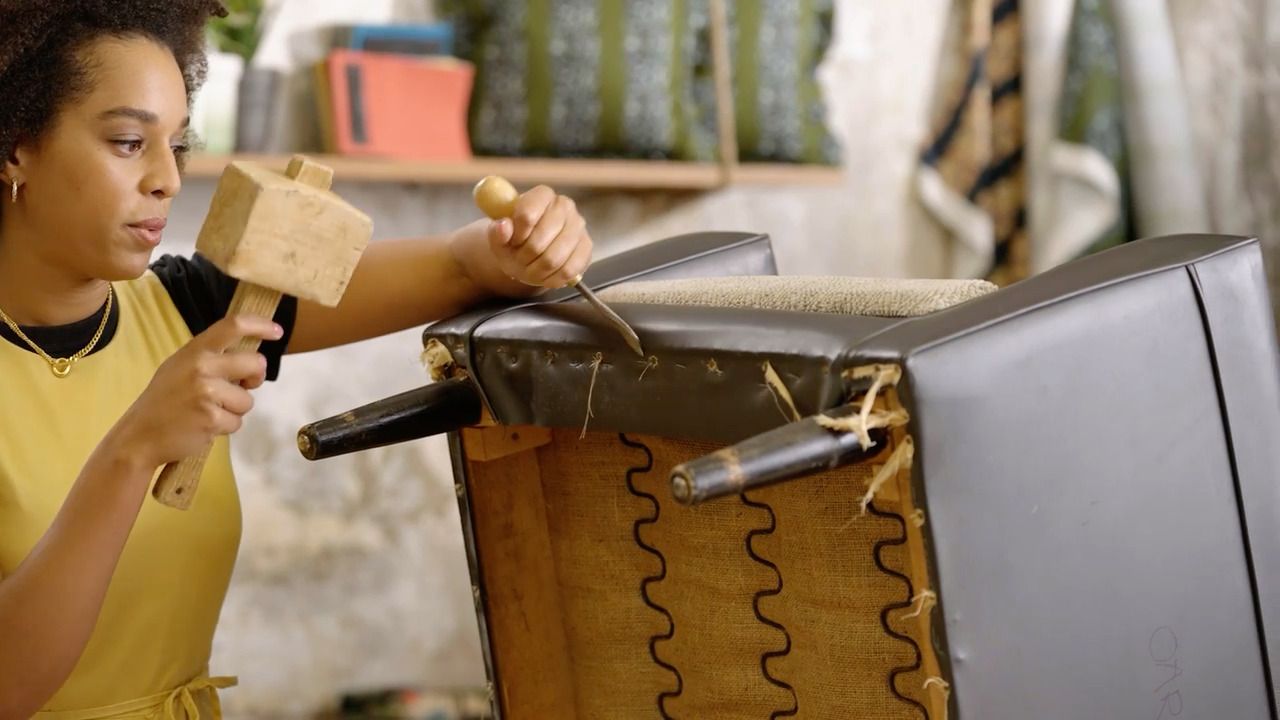
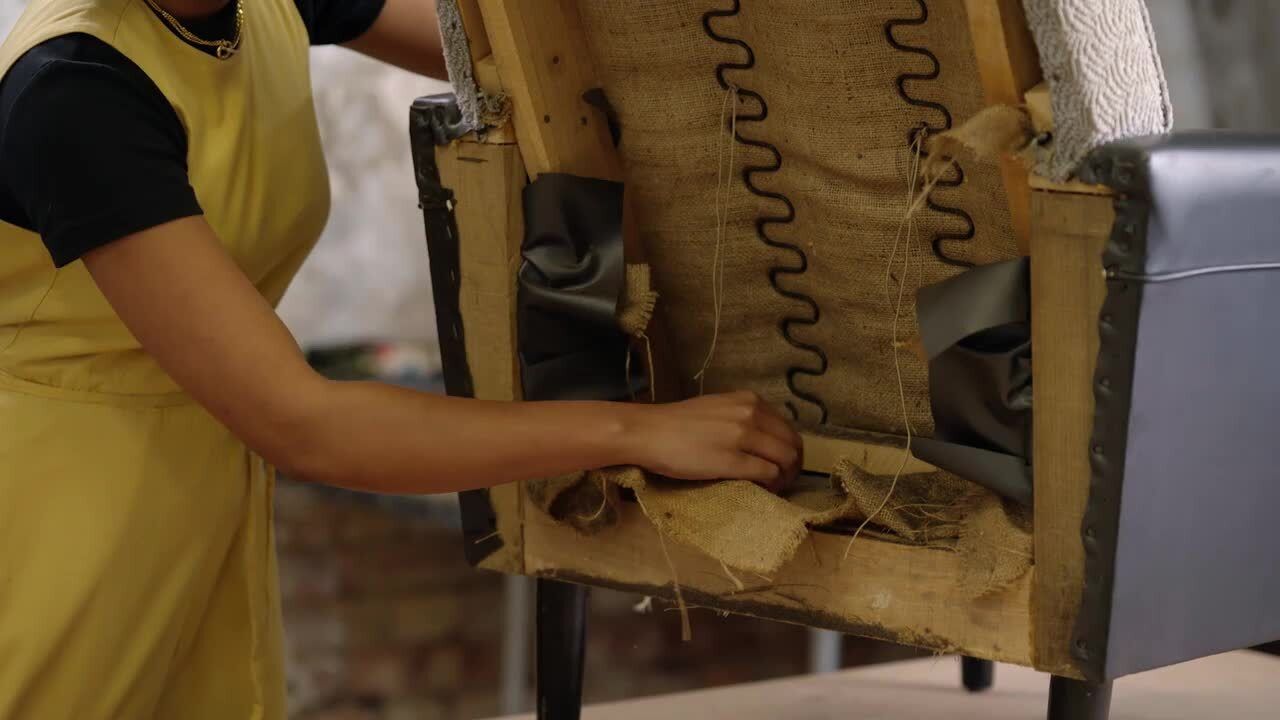
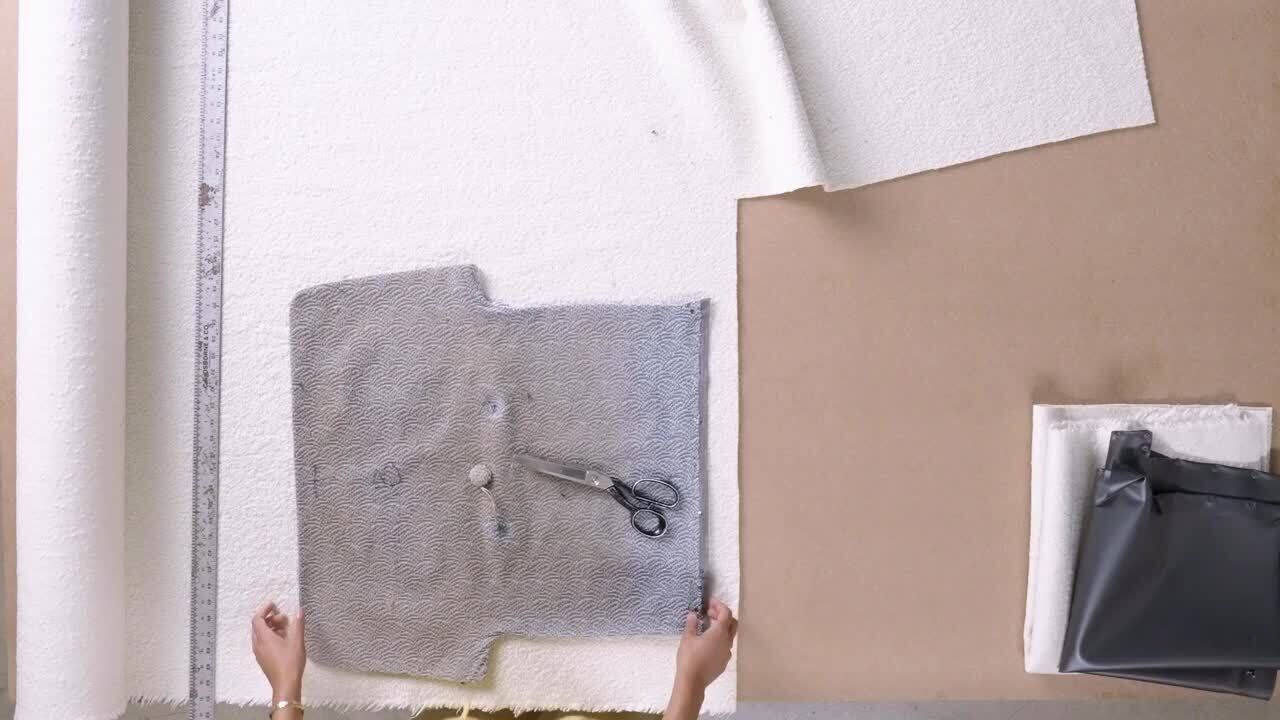
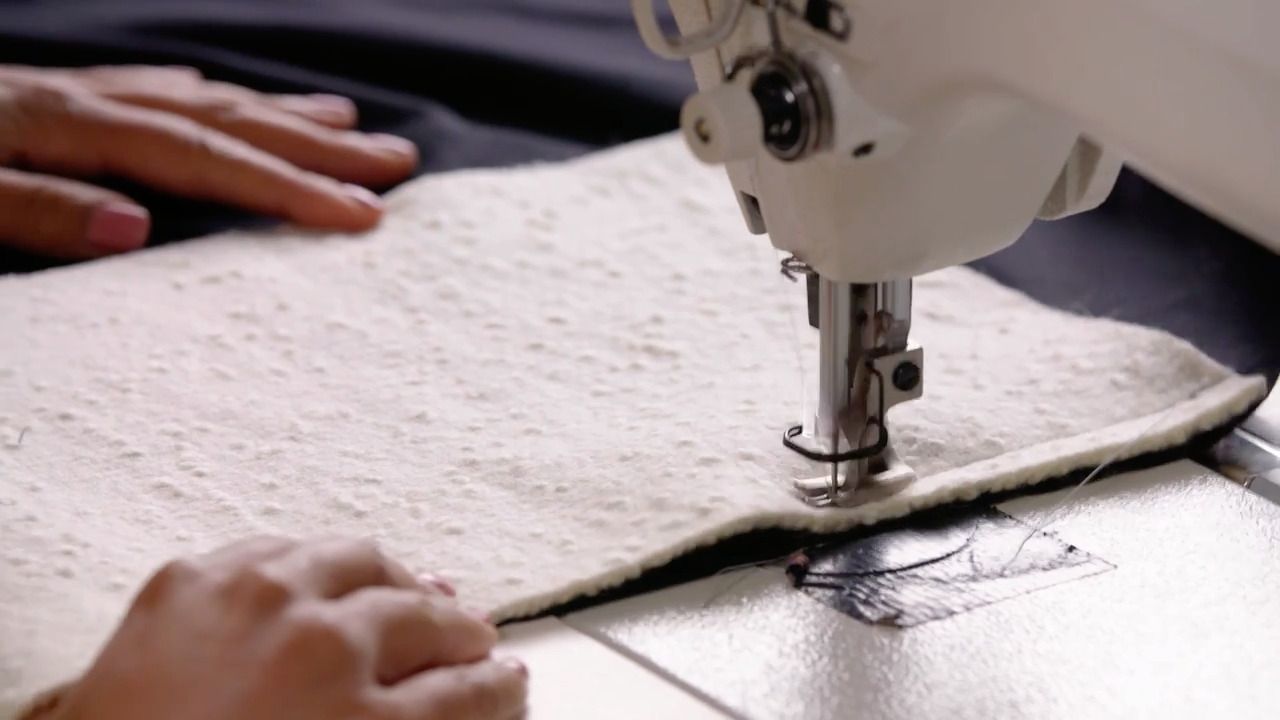
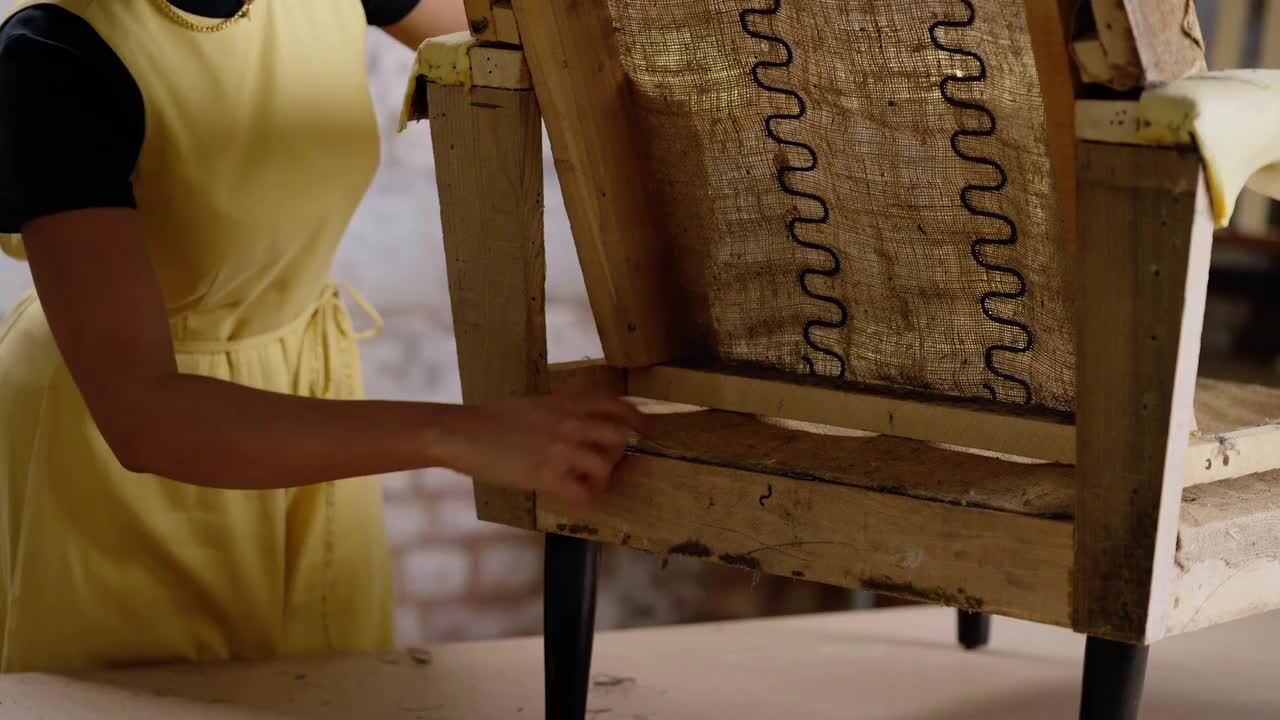
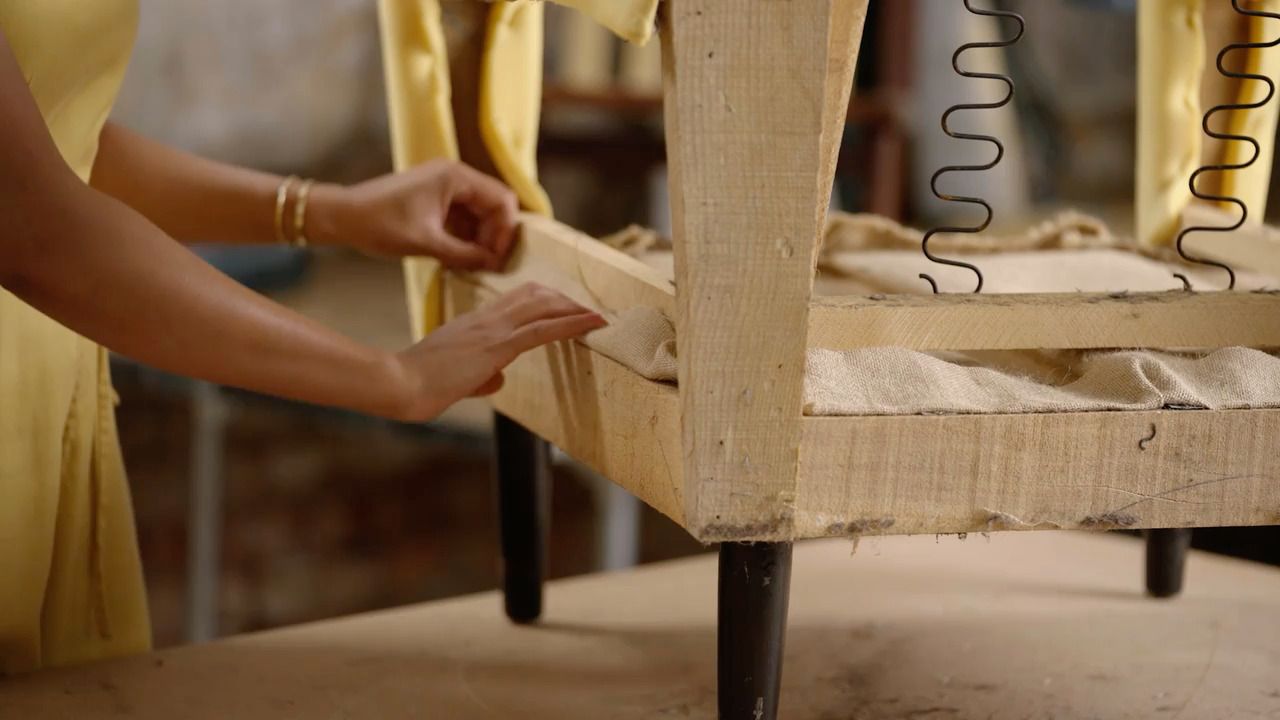
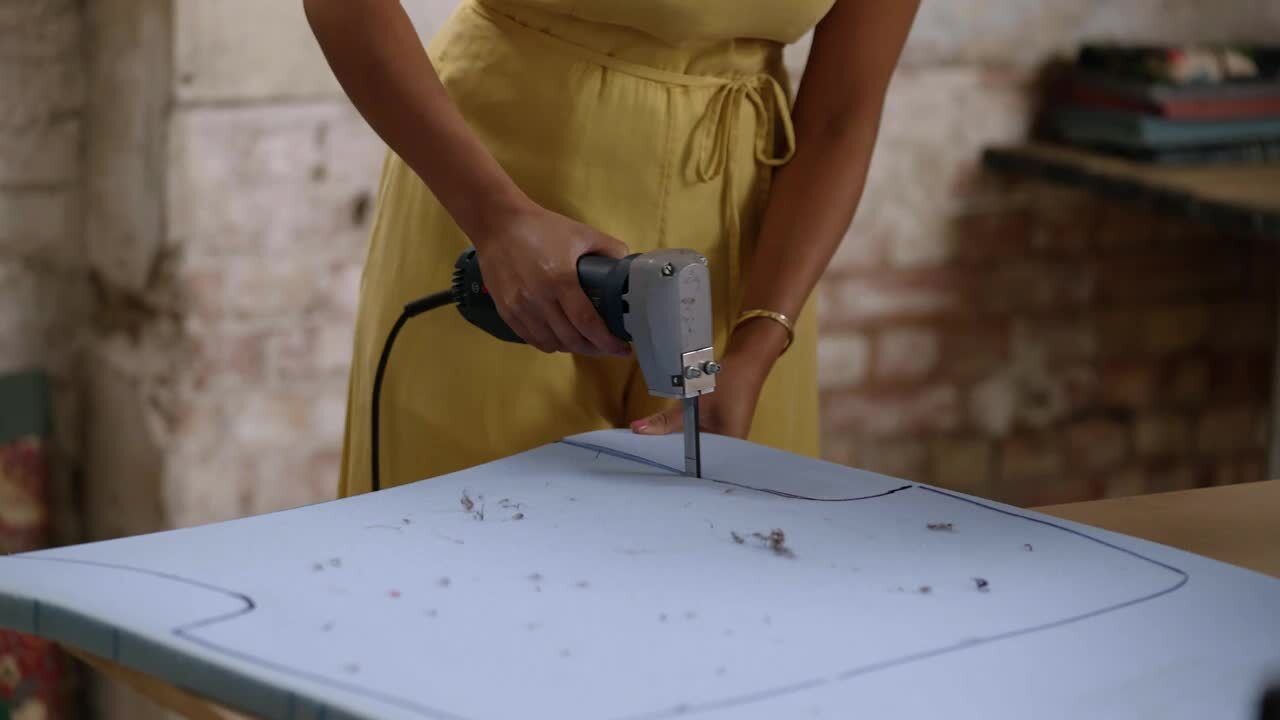
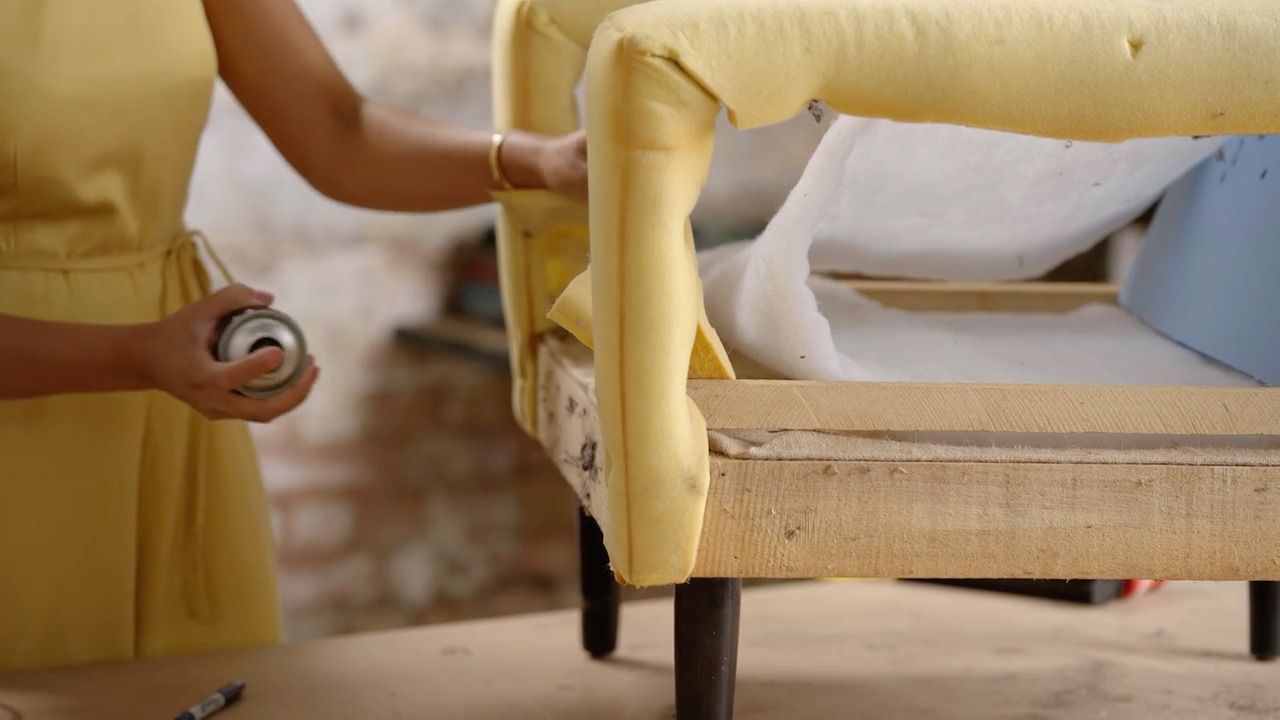
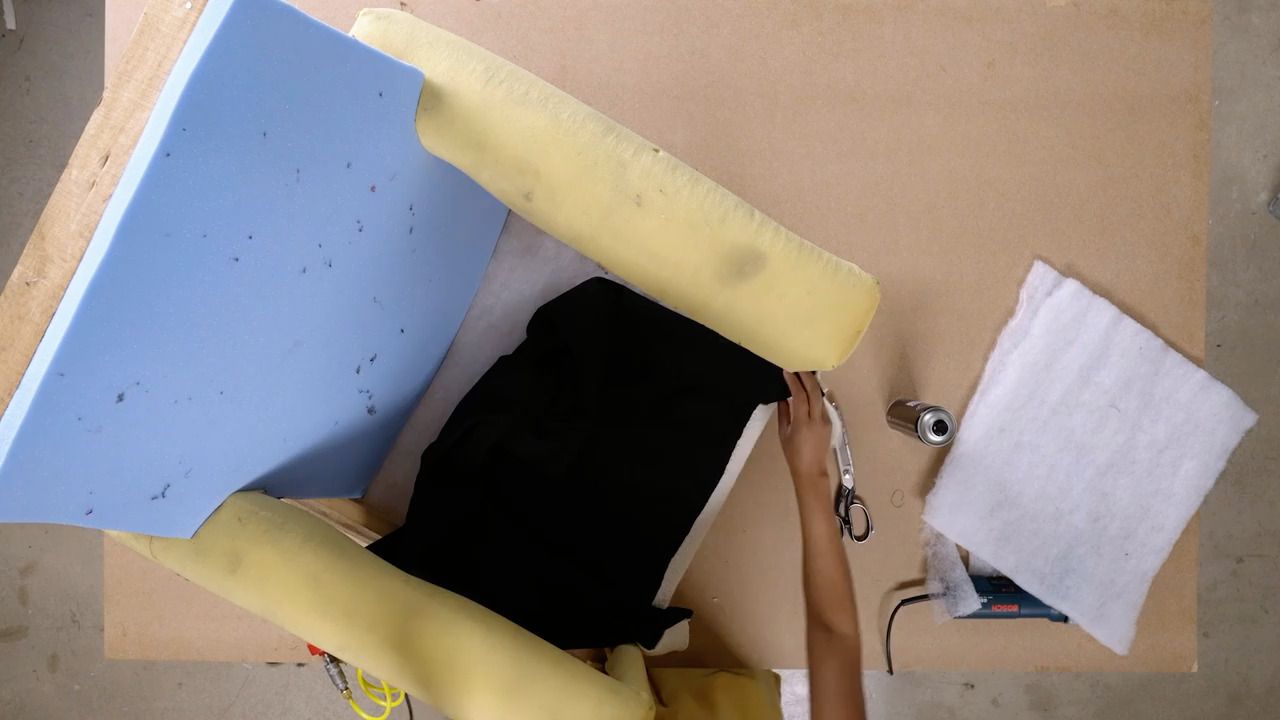
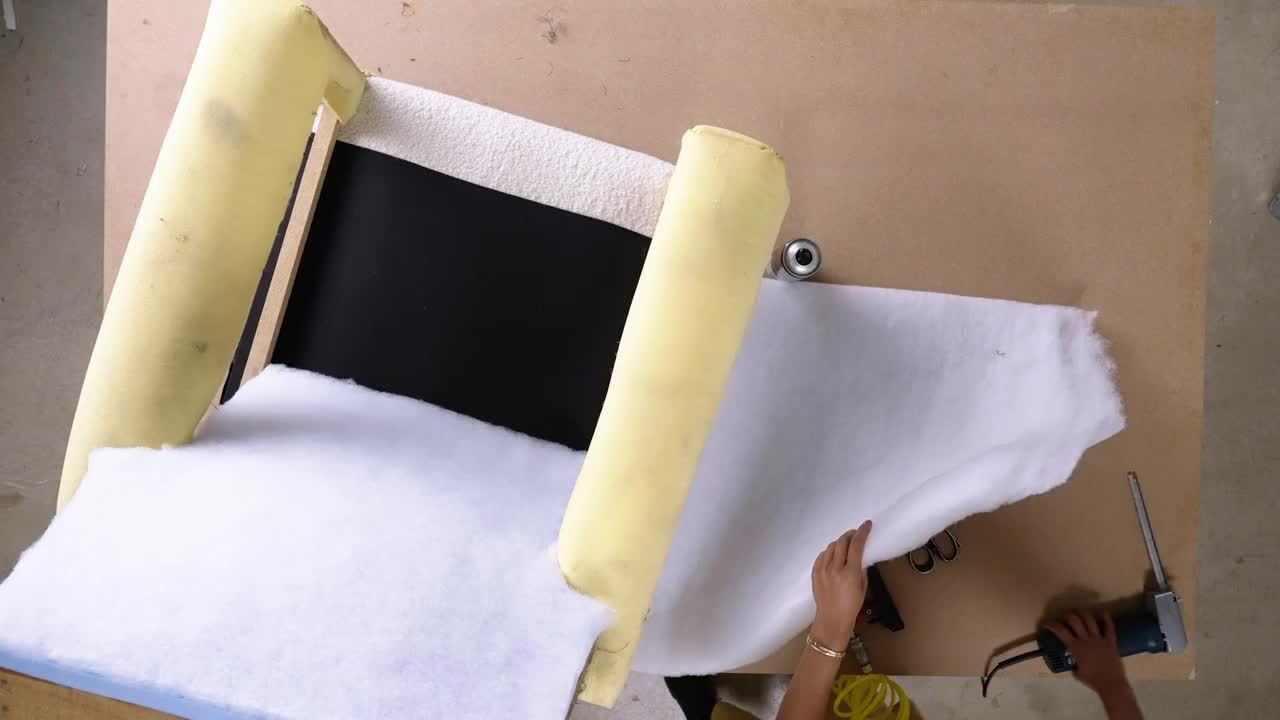
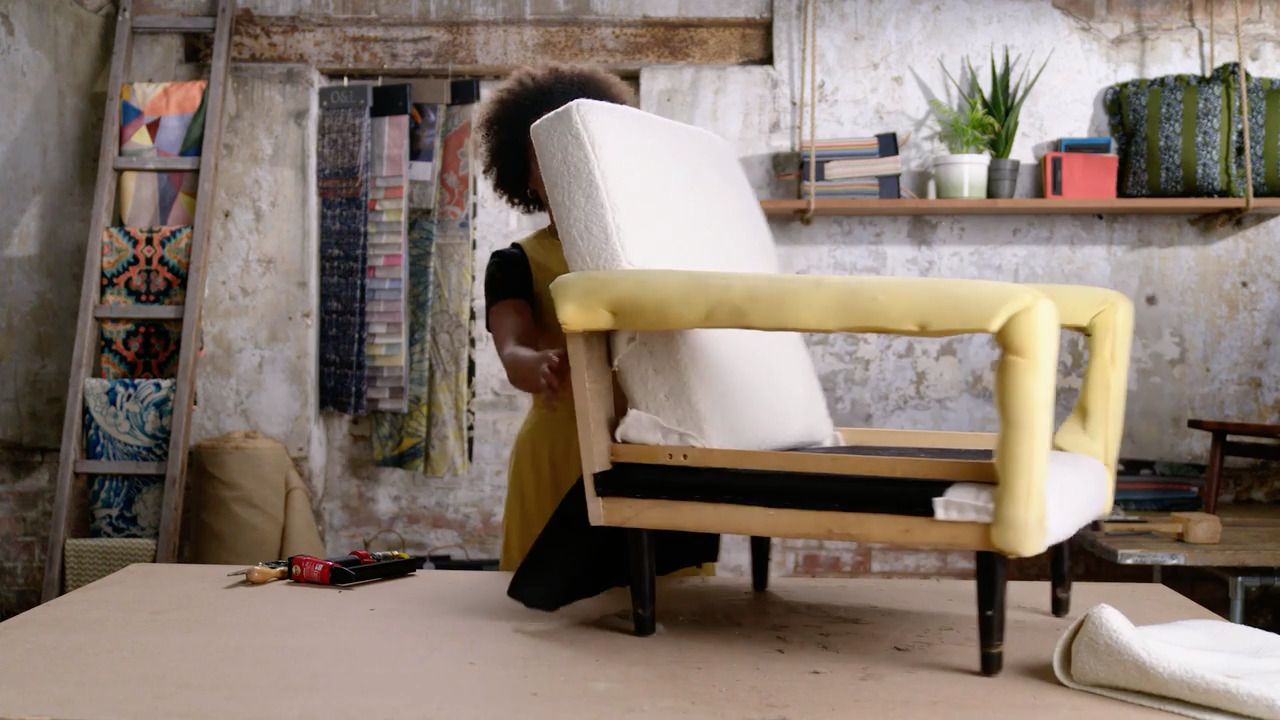
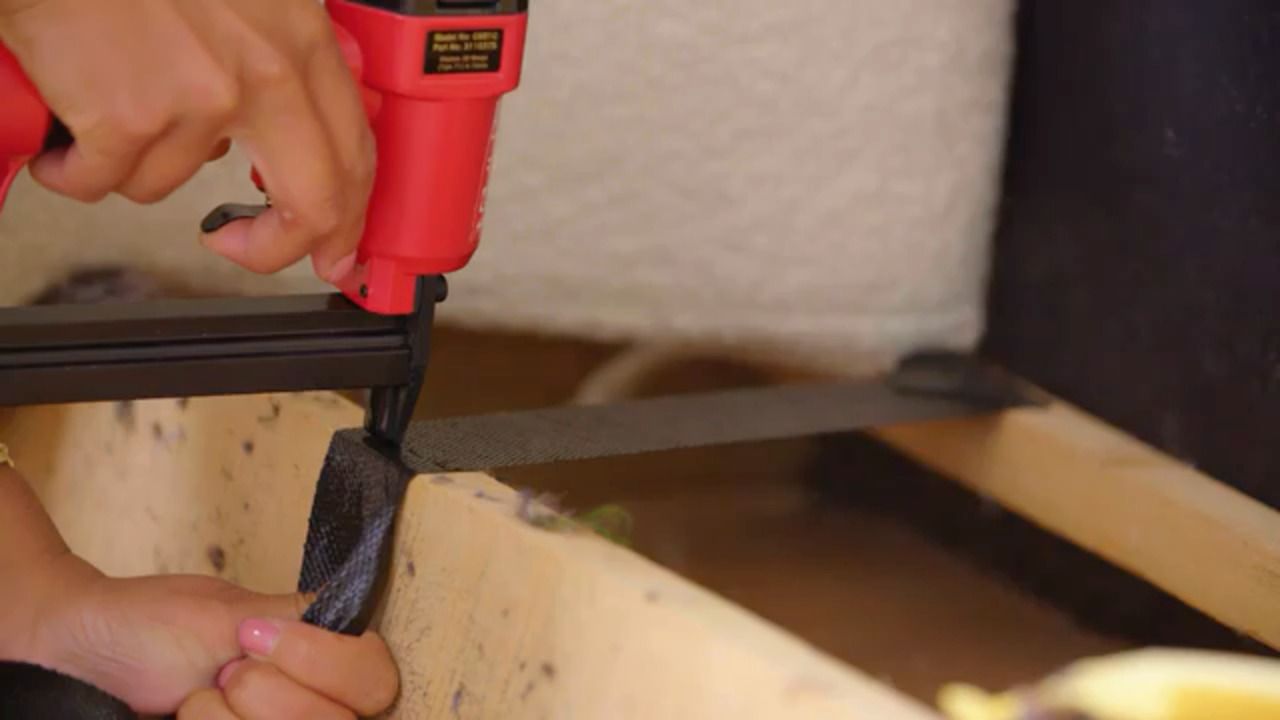
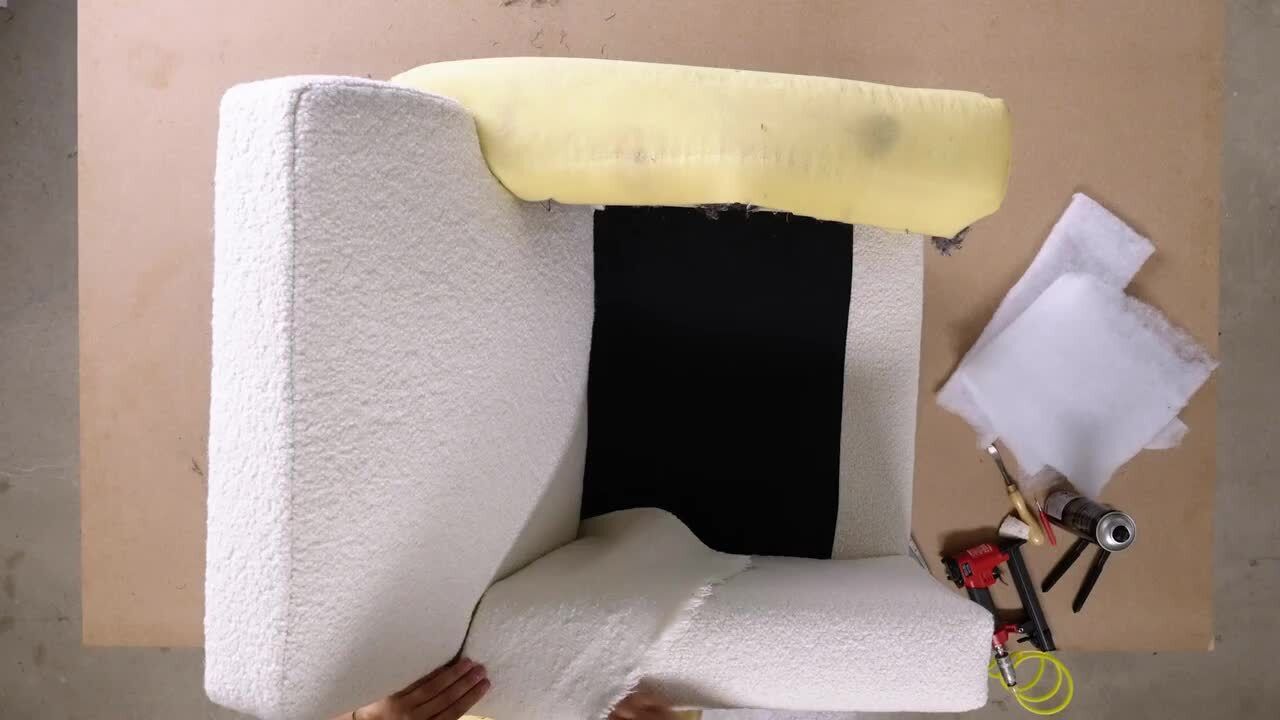
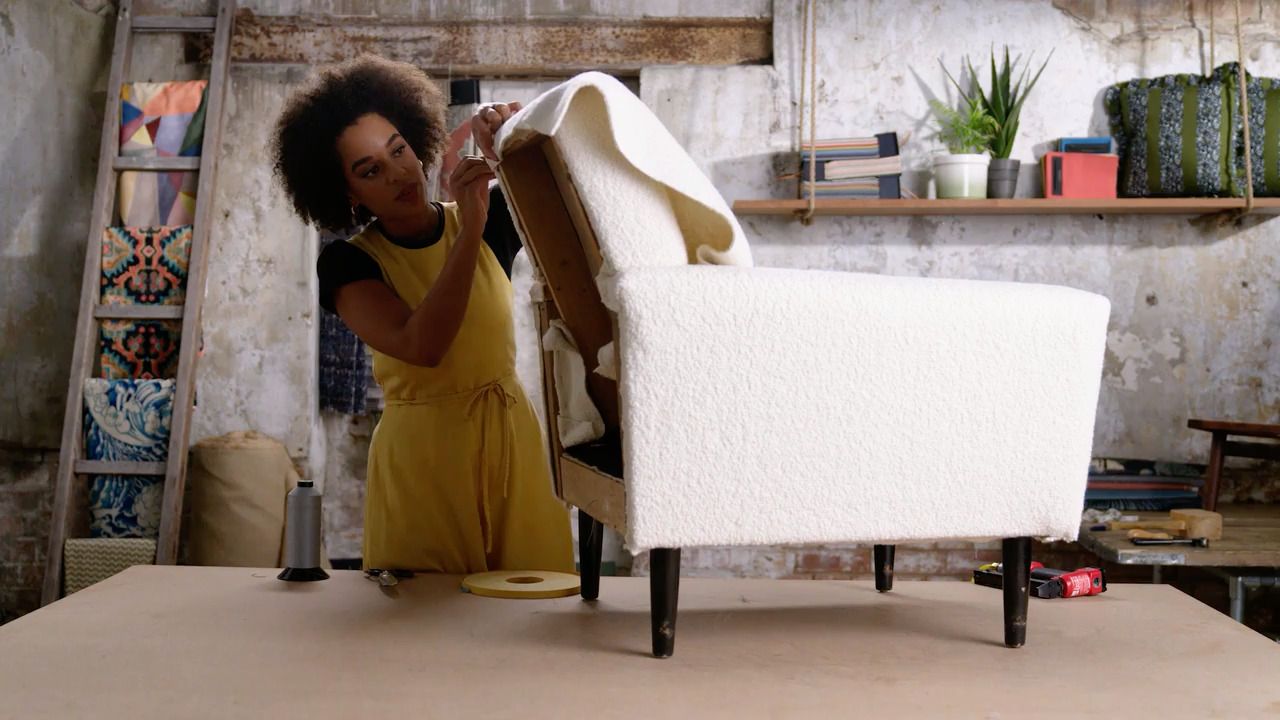
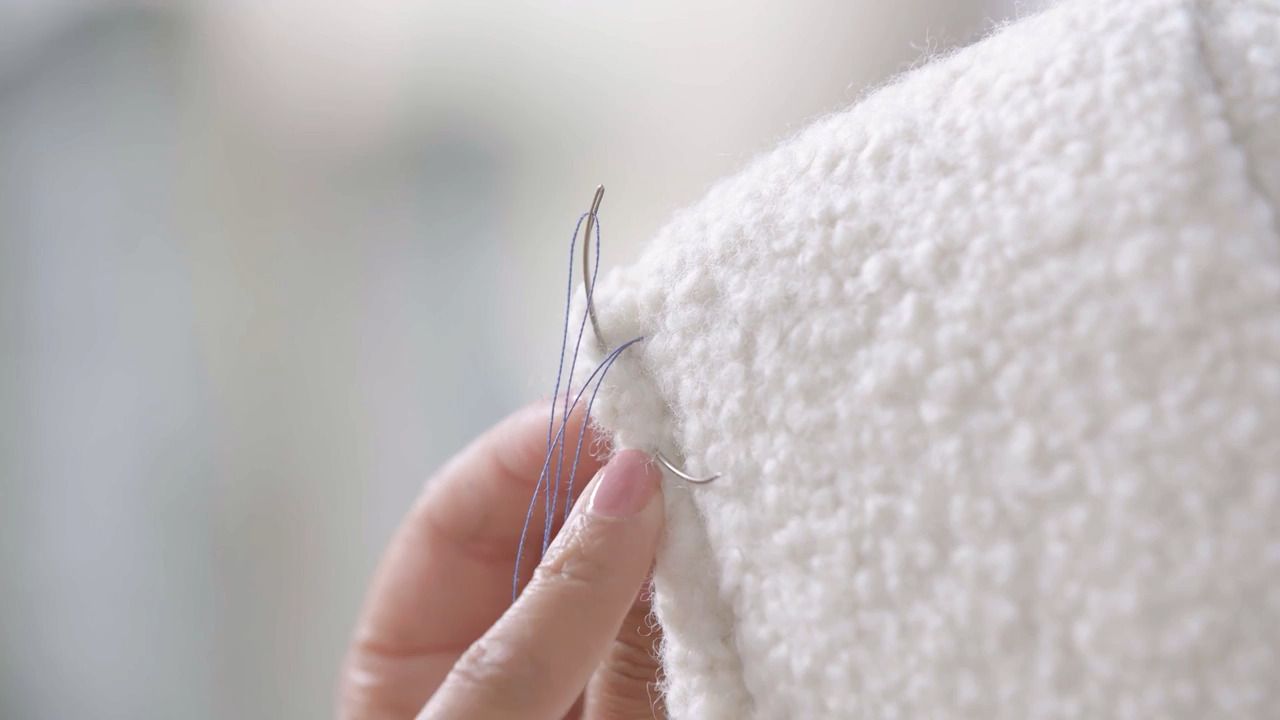
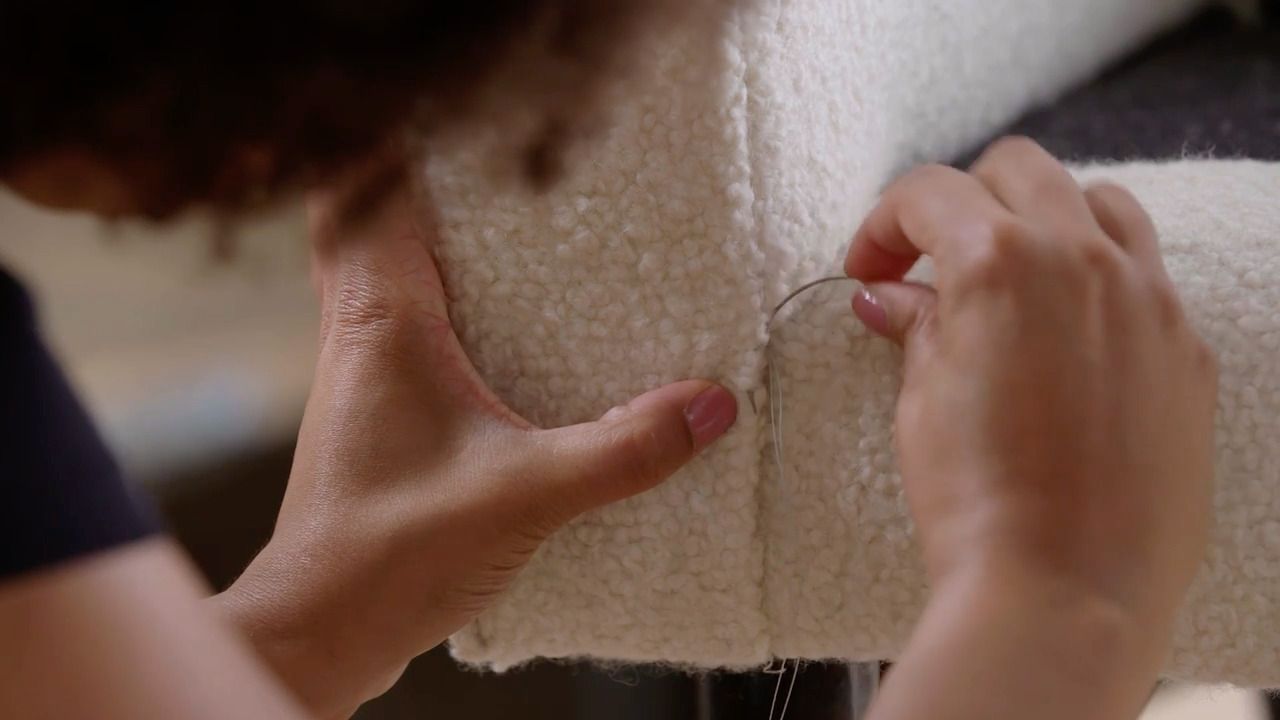
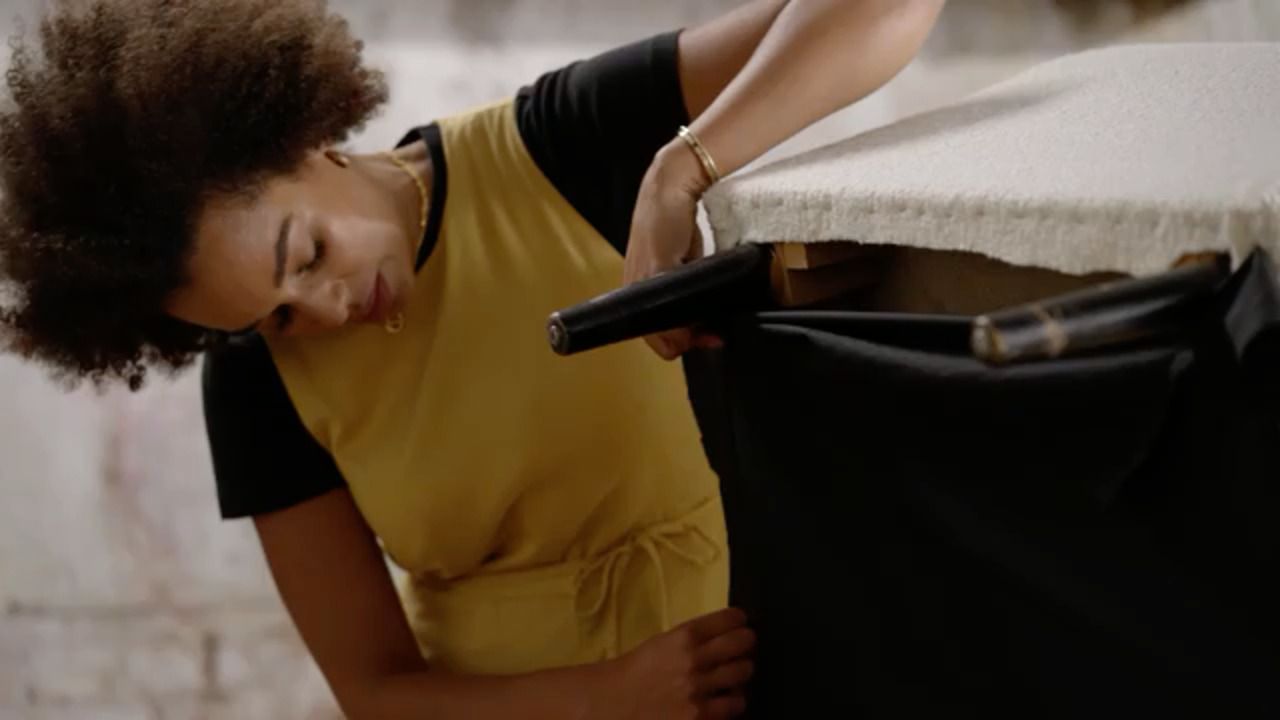
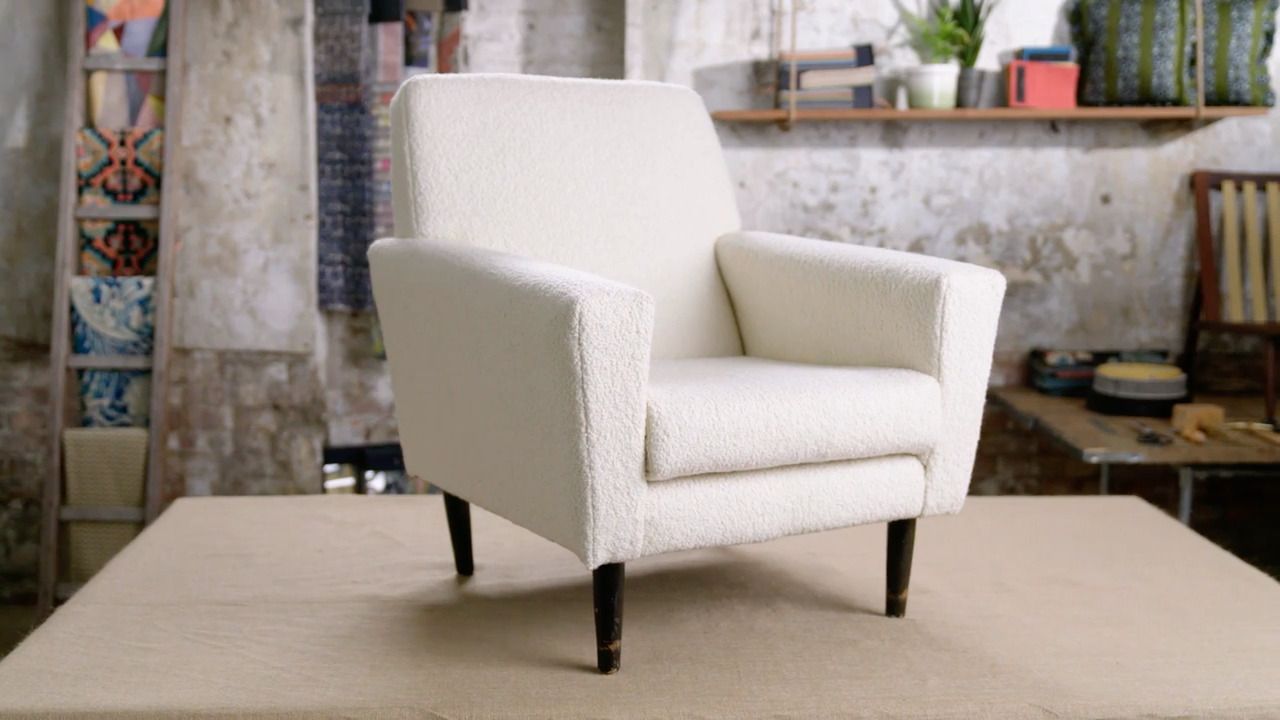
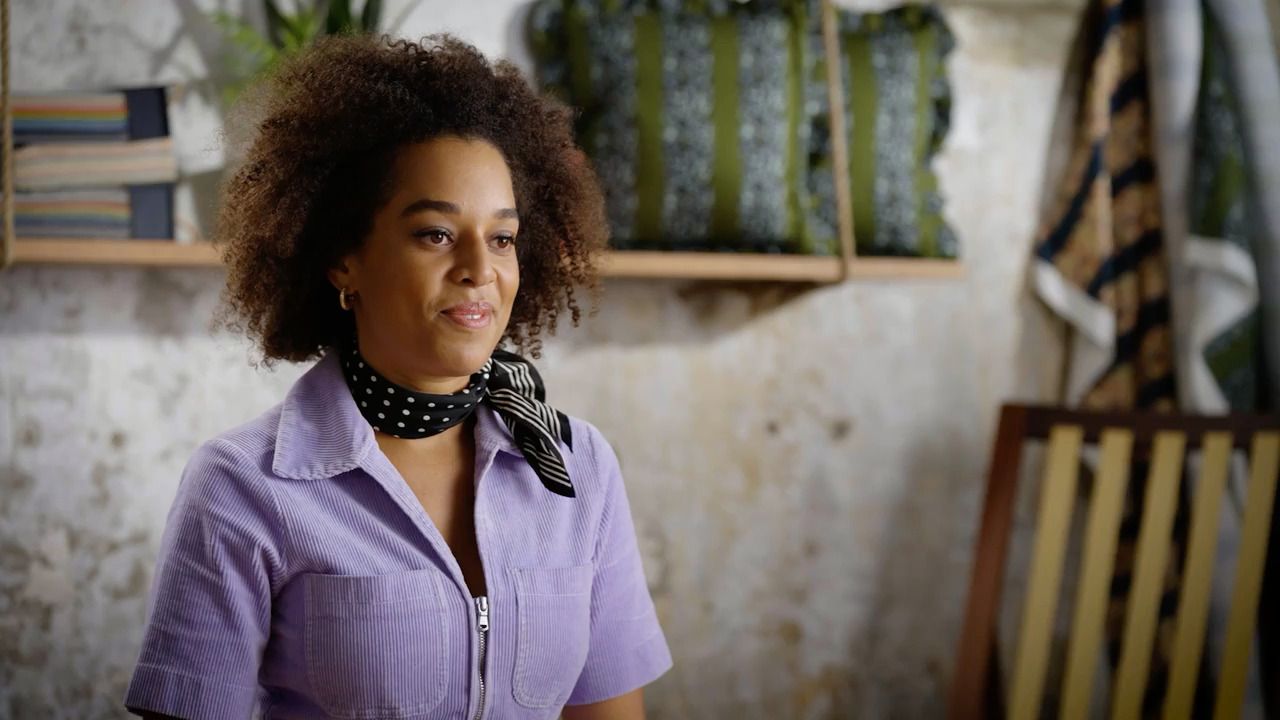
Transform your furniture with sustainable designer and upholsterer Micaela Sharp. In this course Micaela will guide you through every step of the process from start to finish, teaching you the different upholstery styles, what to look out for when choosing furniture, how to select, measure and pattern cut fabric, and key upholstery techniques including stripping back, piping, webbing and box cushion sewing. Through three increasingly challenging projects - a bespoke make-your-own headboard, a loose cushioned chair and a mid-century armchair - you will gain the confidence and mastery needed to tackle your own upholstery projects.
“
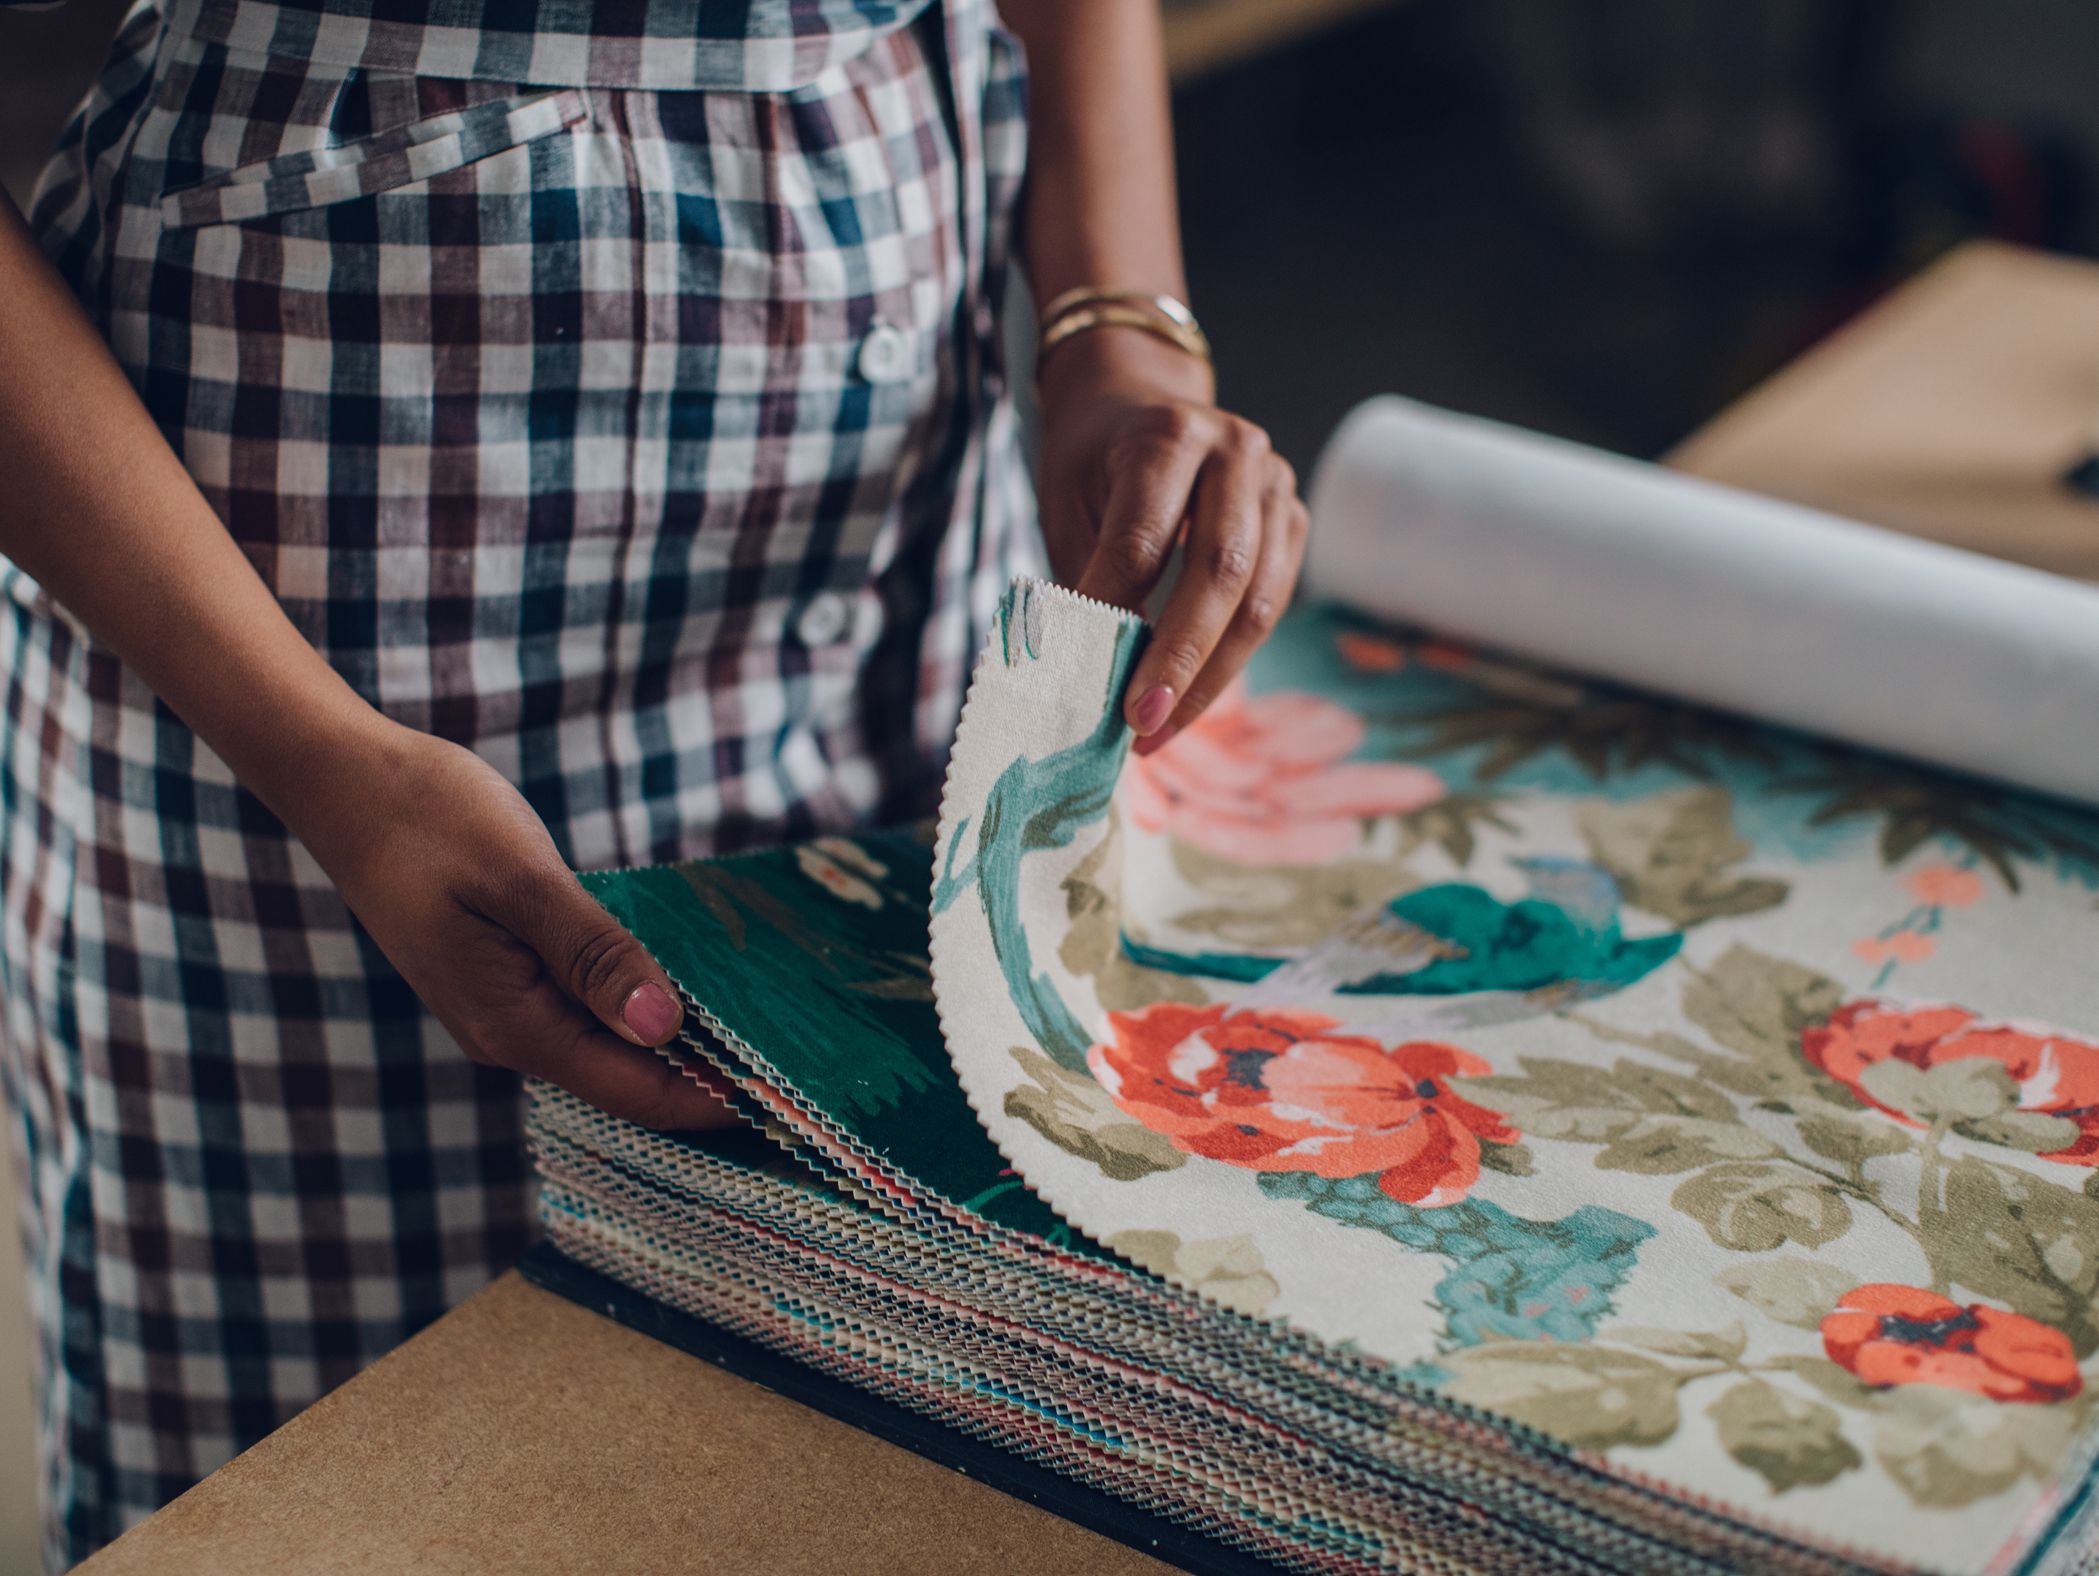
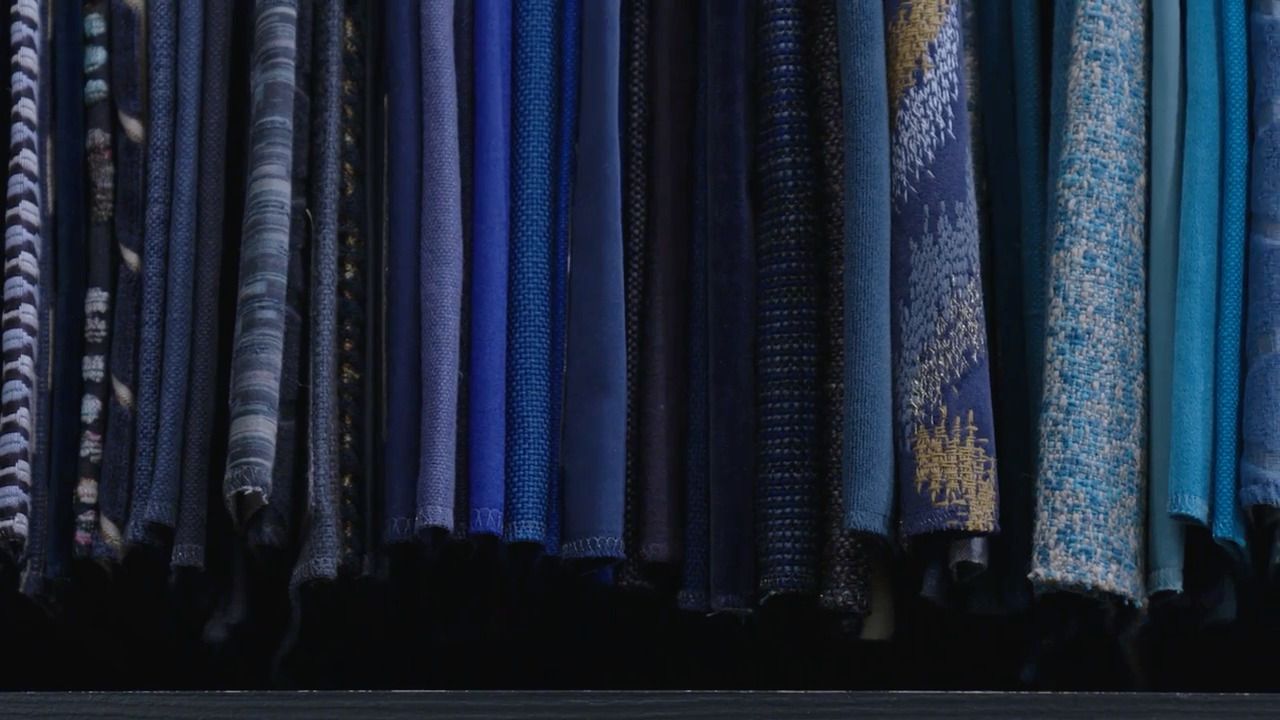
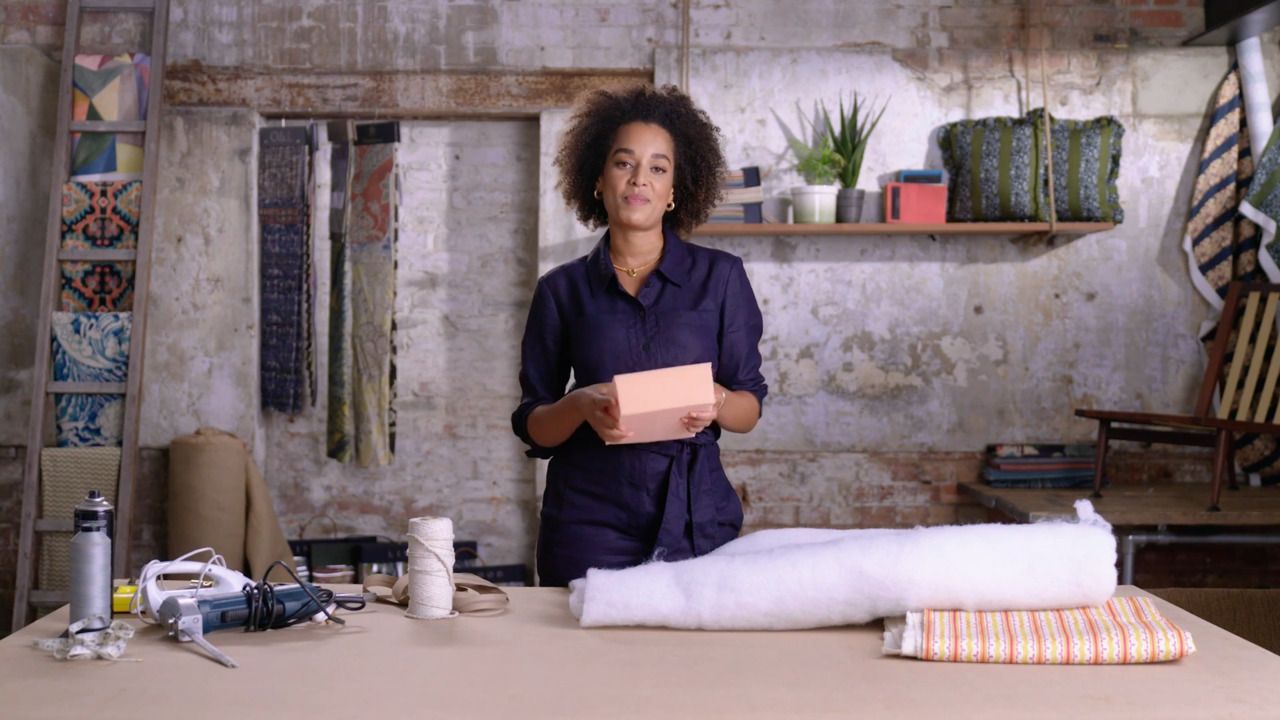
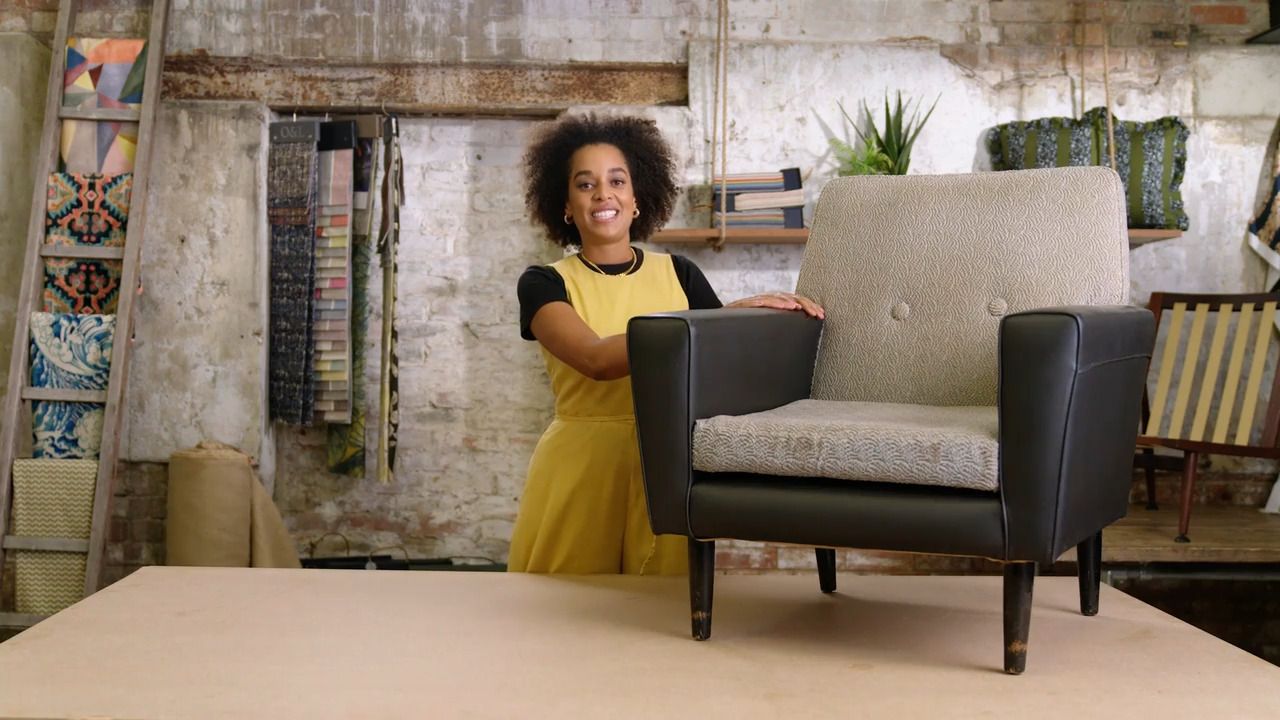
Upholstery for me is a perfect blend of all the things I love - being practical, using hand tools and working with fabrics, colour, pattern and really lovely textures.
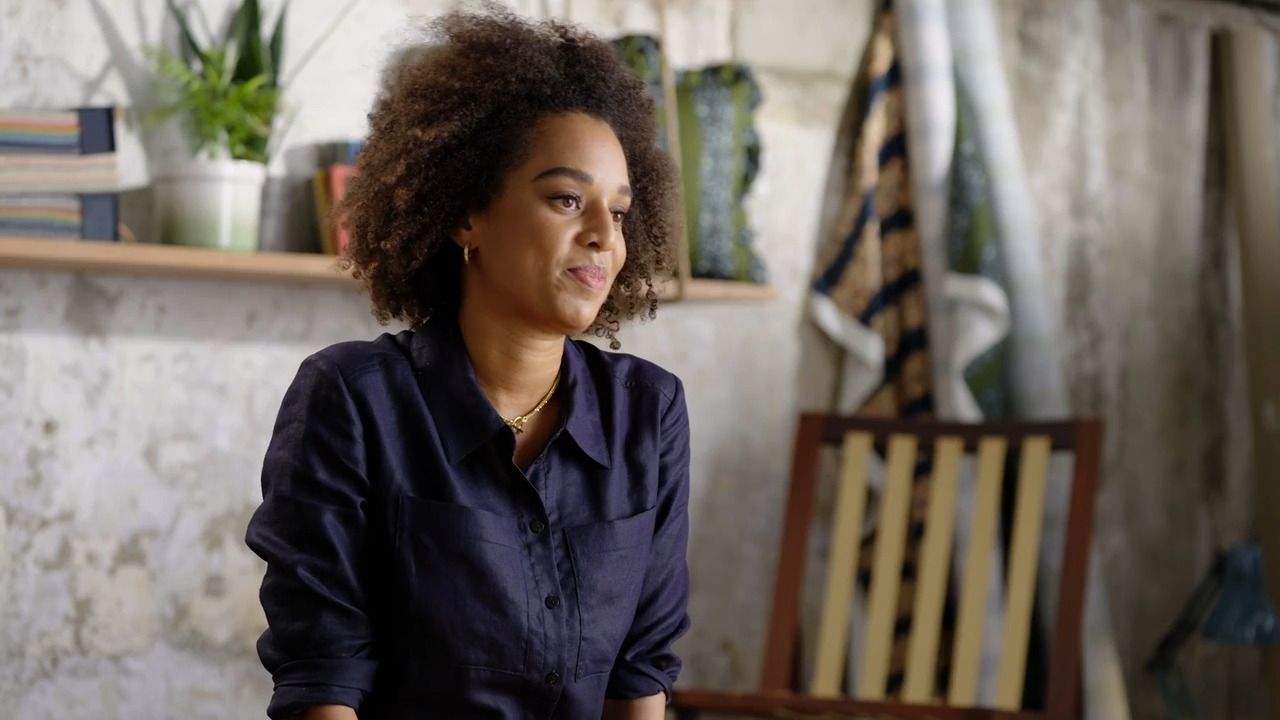
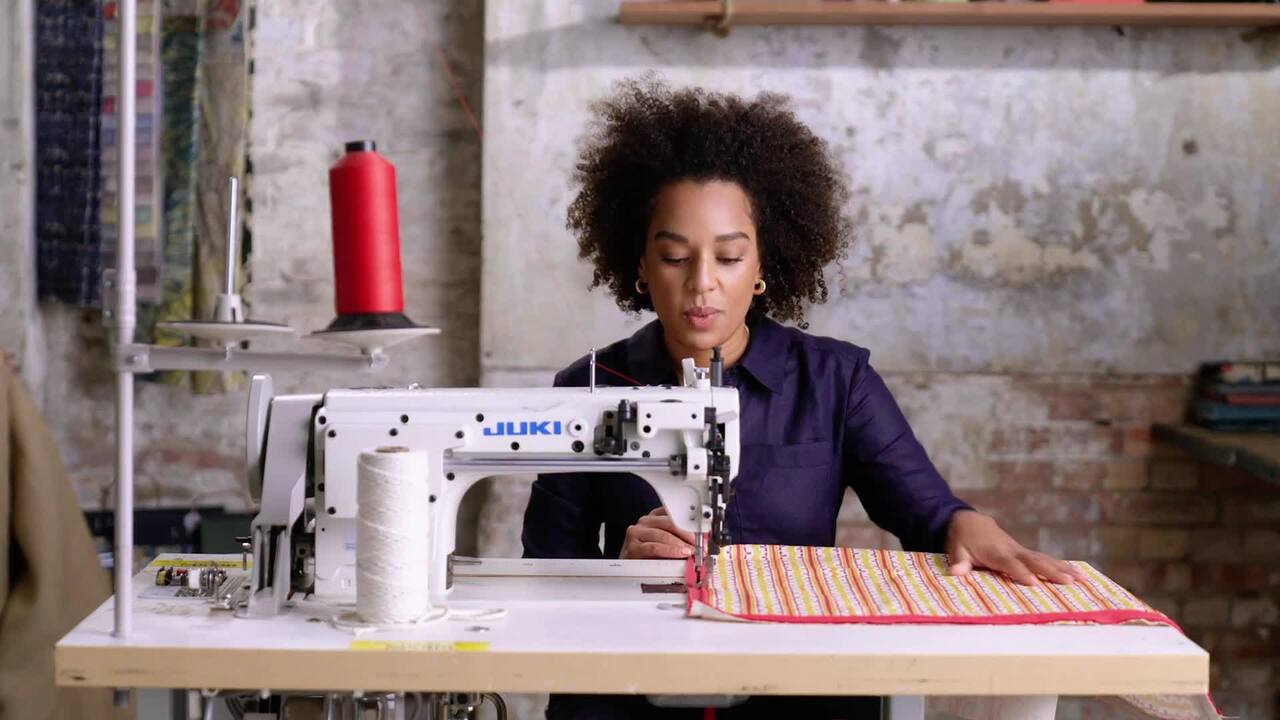
— Micaela Sharp
Billed annually
One time purchase

Lesson Plan
68 LESSONS / 7 HOURS
Meet Micaela
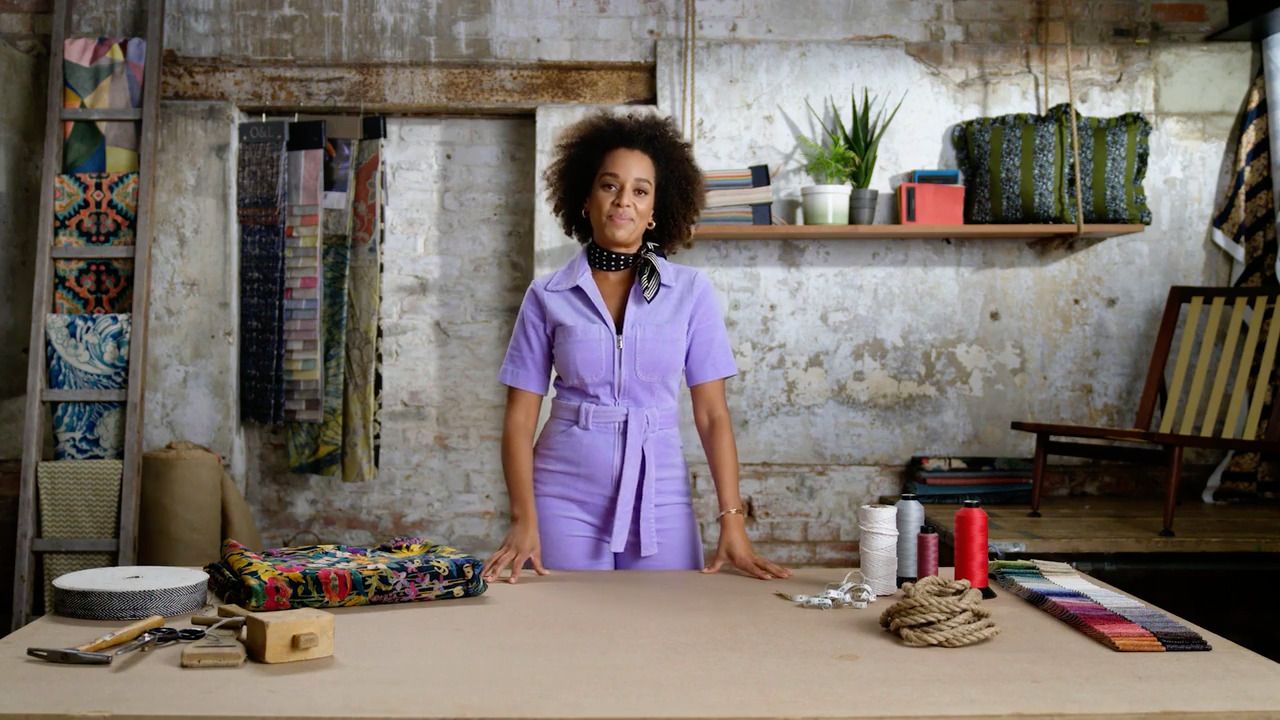
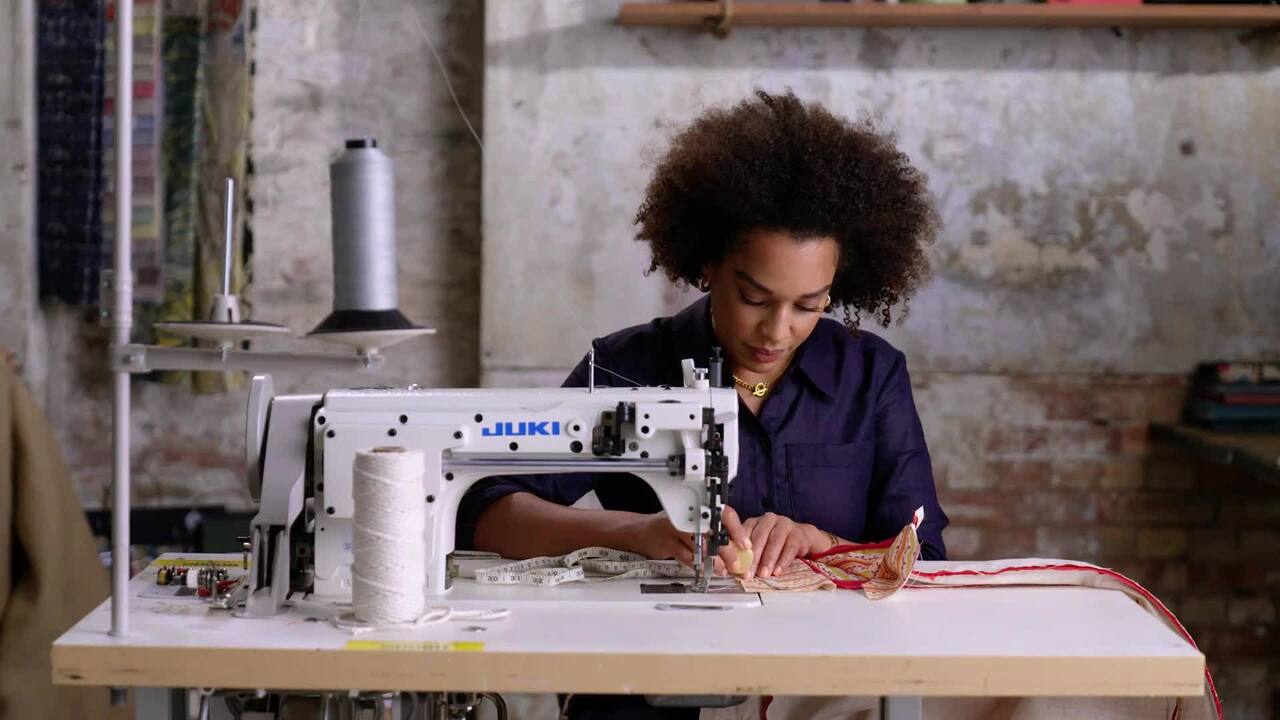
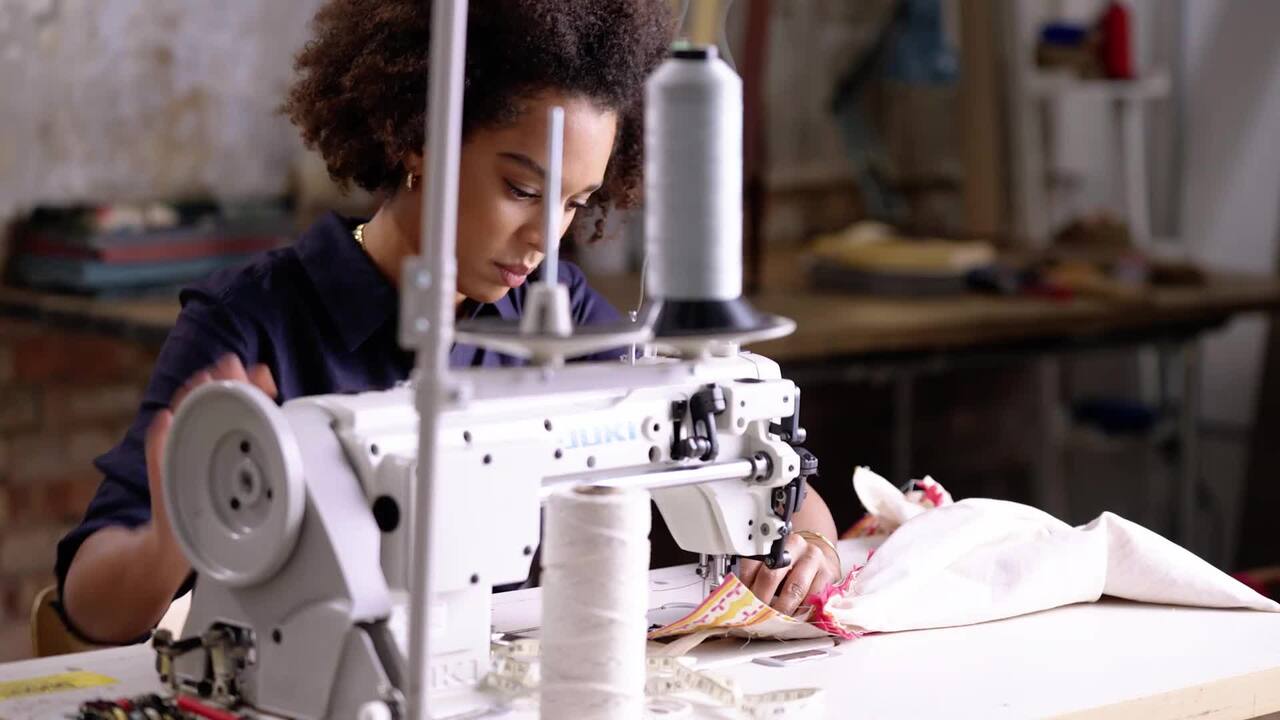
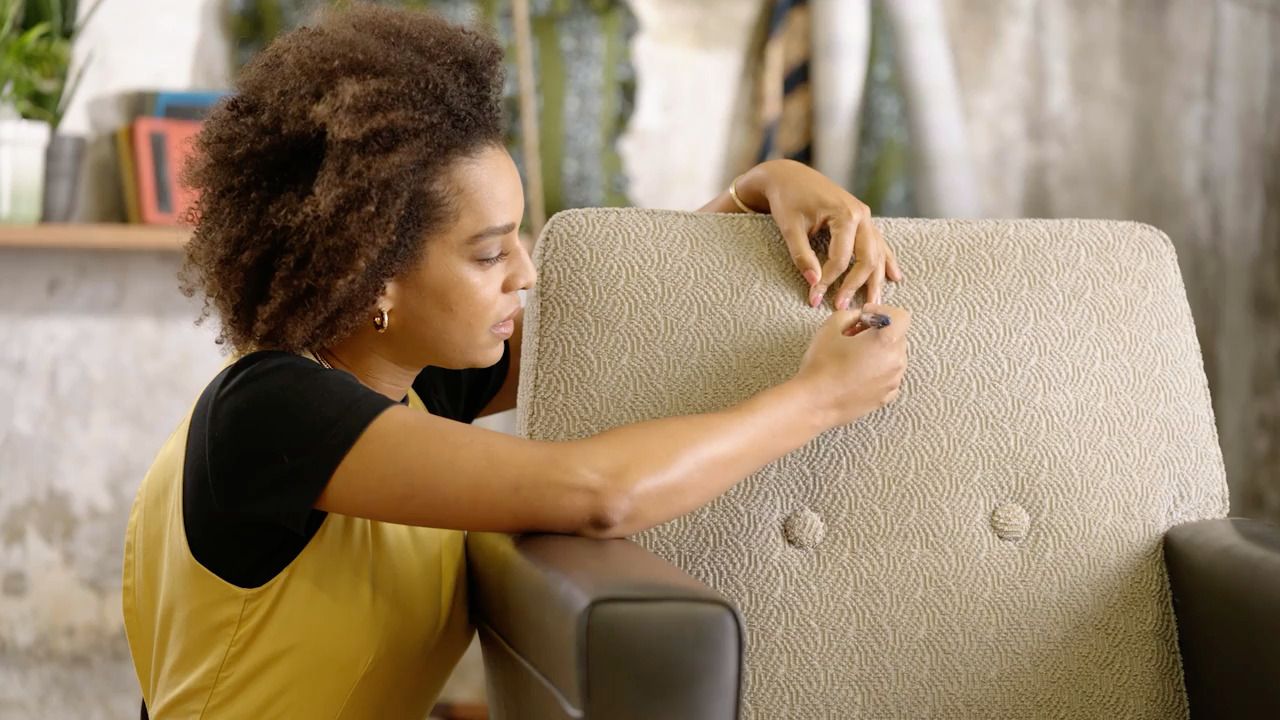
A professional upholsterer, interior designer and broadcaster, Micaela Sharp is a firm believer in the transformative power of re-upholstery.
Different Upholstery styles
I have chosen to teach you the modern method of upholstery; however, if you develop a passion for the craft during this course, you may want to challenge your new-found skills and explore traditional techniques.
How to choose fabric
I really enjoy sourcing the fabrics for an upholstery project – it’s one of the most fun parts, and an opportunity to get really creative. I’ll be running through the practical considerations too.
Sourcing furniture on location - Atomic
With so much choice out there, it can be difficult to know what sort of furniture to choose for an upholstery project. Join Micaela on a visit to one of her favourite places to see how she chooses furniture for her own projects.
Sourcing furniture on location - Bright Sparks
Join Micaela as she looks for amazing bargains, and discover how to find cheap furniture ready to transform through upholstery.
Sourcing fabric on location - Sanderson
Whether you want to explore more traditional options or are looking to go for something contemporary, choosing fabric is a really fun part of any upholstery project.
Part 1 - Where to begin
For your first upholstery project, I’ll be teaching you how to make a headboard. It’s the perfect way to familiarise yourself with the key skills you’ll need to take on the more advanced projects later in this course.
Part 2 - Designing your headboard
Before beginning your project, it’s well worth taking some time to think about the design of your headboard. Consider the shape and size, as well as the materials, colours and any details you want to introduce.
Part 3 - The essential toolkit
Before beginning your project, it’s well worth taking some time to really think about the design of your headboard. Consider the shape and size, as well as the materials, colours and any details you want to introduce yourself with the key skills you’ll need to take on the more advanced projects later on in this course.
Part 4 - Materials
As well as tools, there are certain materials to source before you embark on your project. You may have already chosen your main fabric, but there are additional layers underneath to consider too.
Part 5 - Create the template
This is the really creative
part of the project, where
you can experiment with the shape and dimensions of your headboard to get it
exactly right.
Part 6 - Transferring the shape to the wood
Now you can use your fabric template to translate the shape of your headboard over to the plywood.
Part 7 - Constructing your headboard
With both pieces cut out and the split batten made, you can begin to assemble the headboard and attach your internal layers.
Part 8 - Cutting the fabric
It’s time for the exciting part – beginning to position and cut your chosen fabric for the face of the headboard.
Part 9 - Pinning pieces of fabric together
Once you have cut out any required additional sections, you can pin them to the main body of fabric, pattern matching if necessary.
Part 10 - Cutting the piping
Before doing any sewing, it’s a good idea to get all the elements cut and ready. If you are adding piping to your design, you can join me as I cut out the fabric I’ll be using.
Part 11 - Cutting the borders
The final element to prepare and cut is your border pieces. These will cover the sides of your headboard where the piping and staples are visible. You can use the same fabric as the front of the headboard, or a third fabric to give a stylish contrast.
Part 12 - Sewing the fabric and piping
With everything cut and prepared, you can now sew all the elements together.
Part 13 - Adding your first staples
Now that all the components have been sewn together and your headboard is constructed, you can begin the process of upholstering.
Part 14 - Top section
When your bottom edge is
all secured, you can begin to replace the temporary staples at the top of your headboard with permanent ones.
Part 15 - Concave section
If your design has any concave curves, you will need to approach these in a slightly different way.
Part 16 - Side sections
After the top of the headboard is fully secured, you can move to work on the side sections.
Part 17 - Adding the piping
The next step, if you are including it in your design, is to attach the piping to the edge of your headboard.
Part 18 - Adding the borders
To hold the piping firmly in place and to finish off the side section of your headboard neatly, you can now add the border pieces of fabric.
Part 19 - Adding the polyester
To add fullness to your borders, it’s a good idea to add a layer of polyester on top of the back tack card.
Part 20 - The finished headboard
All that’s left is to finish covering the back, and then you’re ready to enjoy your completed headboard!
Part 1 - Where to begin
Learning how to make box cushions is a really fundamental and useful skill. Once you master it, you’ll be able to take on a broad range of different upholstery projects.
Part 2 - The essential toolkit
You will have likely sourced most of these already to make your headboard, but here’s a rundown of what you’ll need for this particular project.
Part 3 - Materials
Box cushions are great, because they don’t require too many raw materials, and they can all be picked up easily from your local craft shop.
Part 4 - Disassembling your chair
Don’t worry if the chair you’re using is slightly different to mine – I’ll be showing you how to make a template from the old cushions, so you’ll
be able to replicate the exact unique measurements
and shape.
Part 5 - Creating the template
To make the template, you’ll need to remove the existing cushion cover and unpick each seam.
Part 6 - Using your template to cut the new fabric
You can now use the template you’ve made to cut out the pieces you need from the new fabric.
Part 7 - Cutting the piping
Piping can be bought pre-made; however, to create something really bespoke, I like to make my own. It’s easy to make, and well worth taking the time to do.
Part 8 - Sewing the piping
Once you have your cut lengths of piping cut and prepared, you’re ready to start sewing them together and inserting the piping cord.
Part 9 - Sewing the piping to your cushion cover
Now it’s time to attach the piping to both the top and bottom of your cushion cover.
Part 10 - Sewing the zip
The next part of the process is to install the zip into your back border piece.
Part 11 - Sewing the borders
Each border piece can now be attached to the top side of your cushion cover – this step may take a little while if you need to pattern match.
Part 12 - Bottom section
Once you have sewn all four borders to the top side of the cushion, you’re now ready to attach the bottom side of
the cushion.
Part 13 - Sewing the corners
The final bit of sewing to complete your box
cushion cover is to close up the corners.
Part 14 - Cutting the foam
Your cushion cover is now fully constructed, so it’s time to begin work on the inner padding.
Part 15 - Wrapping the foam
To complete the inner padding, you’ll need to wrap the foam in a polyester layer – and possibly a fire retardant layer too, depending on your cushion cover fabric.
Part 16 - The finished box cushion
Your hard work has paid off, and you’re now ready to fill your cushion cover and enjoy your box cushion.
Part 1 - Where to begin
You’ve now got the skills and experience to move onto our final project: upholstering an armchair, specifically a mid-century style box chair.
Part 2 - The essential toolkit
For this project, you’ll need a few extra tools to be able to strip down your chair.
Part 3 - Materials
Every chair is different, and I would always recommend stripping your chair first before buying materials, so that you can see how it was originally made and assess whether you’re going to replicate the same materials.
Part 4 - Before we start
Cutting your fabric to manipulate it into tricky corners can be the most nerve-racking part of upholstery
– to help reduce the chances of mistakes, I’ll often use ‘V cuts’.
Part 5 - Preparing your chair
Being organised in the first instance will give you the best chance of upholstering your chair successfully.
Part 6 - Stripping your chair
Once you’ve made all the necessary notes and labelled your chair, you can begin to strip it down.
Part 7 - Removing the outside back
An outside back can be secured in lots of different ways, so take your time
to work out how you can release it.
Part 8 - The frame of the chair
With the fabric stripped away, you can really begin to see and understand how your chair has been constructed. You’ll also be able to see more clearly what work needs to be done.
Part 9 - Cutting the fabric
Now you can use your template to cut out all the different pieces of fabric you need.
Part 10 - Sewing the cover
This stage will vary a
little depending on the construction of your chair, but the techniques will be the same.
Part 11 - Upholstering the frame
You can now refocus your attention on the chair frame and begin to prepare it for upholstery.
Part 12 - Adding the hessian
I would recommend replacing the hessian to increase the durability and longevity of your chair.
Part 13 - Adding the foam
This is the layer that will begin to soften the frame of your chair for a comfier shape.
Part 14 - Attaching your Dacron
For extra comfort and cosiness, a layer of polyester or Dacron will help to smooth over any edges for a
softer seat.
Part 15 - Attaching your seat platform
With the seat and back prepped, you can now begin to upholster the seat platform.
Part 16 - Adding Dacron to the inside back
Once the seat platform is done, it’s time to move onto the inside back.
Part 17 - Covering the inside back
The back is now ready to cover with your fabric – and you’ll be able to really see how your chair is
coming together.
Part 18 - Finishing the inside back
How you approach this will depend on the shape and design of your chair, so take some time to figure out the best method.
Part 19 - Webbing the arms
This stage will provide structure and support within the arms, which is important for both comfort and durability.
Part 20 - Covering the arms
With the structure of the arms complete, you can move onto covering them with fabric.
Part 21 - Webbing and covering the outside back
The bulk of our structure is now upholstered. The last thing to do is to work on the outside back.
Part 22 - Stitching the chair
To neatly finish your outside back, you will need to hand stitch.
Part 23 - Hand sewing the front
There is also some hand sewing to be done to complete the front of your chair.
Part 24 - Covering the base
With your chair fully upholstered, the very last thing to do is to neatly finish the underneath of your chair. I’ll be using a plain cotton fabric as a bottom cloth.
Part 25 - The finished chair
Congratulations! You have now fully upholstered your chair.
Hear from our community of creative learners
I LOVE IT
“I have been loving the gardening courses so much…I couldn’t decide which one to get…so bought a subscription for the year. I love how each one has a different design (in terms of type and color) - so they truly feel like different experiences. So happy I signed up!”
JESSICA, US
It really is great value
“So much insight into a wonderful range of creative, interiors and gardening options. It is really great value. I've most enjoyed learning about paint with Edward Bulmer - and the practical aspects and insights in Rita's courses have also been so useful. ”
JENNA, GB
Tremendous, priceless information
“I am loving the courses. I am getting pearls here! It makes me think in a totally different way and look up loads of new things. It is all comfortable to watch and I cannot tell you how much joy it is bringing me. ”
FRANKIE, GB
The greatest creative minds
“These courses are akin to sitting across the table with some of the greatest creative minds. This is hard won wisdom generously passed out.”
LJ, US
Very thorough courses
“Very thorough courses. Much better than some other "masterclass" type of websites. You get very actionable lessons. I learned a lot and took multiple courses. The floristry course especially was a favourite.”
TROVE, US
What a gem platform!
“I am so impressed. All of a sudden all ideas coming to my head and somehow I am a lot braver when it comes to planning my sitting room. There is so much to choose from. Everyone will find a course for themselves!”
B.P, GB
Really great creative courses!
“So many varied courses, great selection of talented instructors, great organisation of lessons within each course.”
CAMILLA, DK
Give the gift of creativity
Treat someone you love to a full year or joyful learning or a digital gift card

Course FAQs

Rated 4.8/5 on Trustpilot
Get unlimited access to this and all other courses for just £16/Month
- Learn from 40+ world-renowned designers, makers and gardeners
- Watch over 1,300 bite-sized lessons at a time that suits you
- New content added each month