Part 7 - Constructing your headboard
with MICAELA SHARP
Lesson 13 of 68


Already a member? Sign in
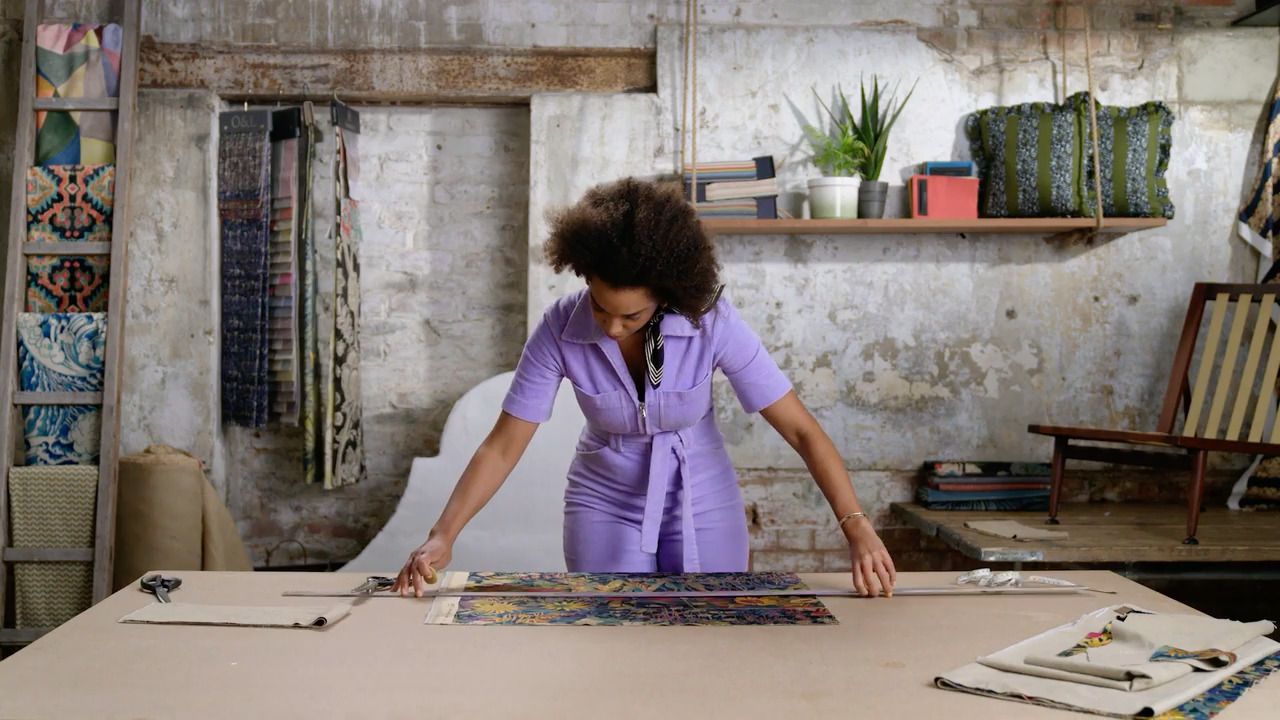
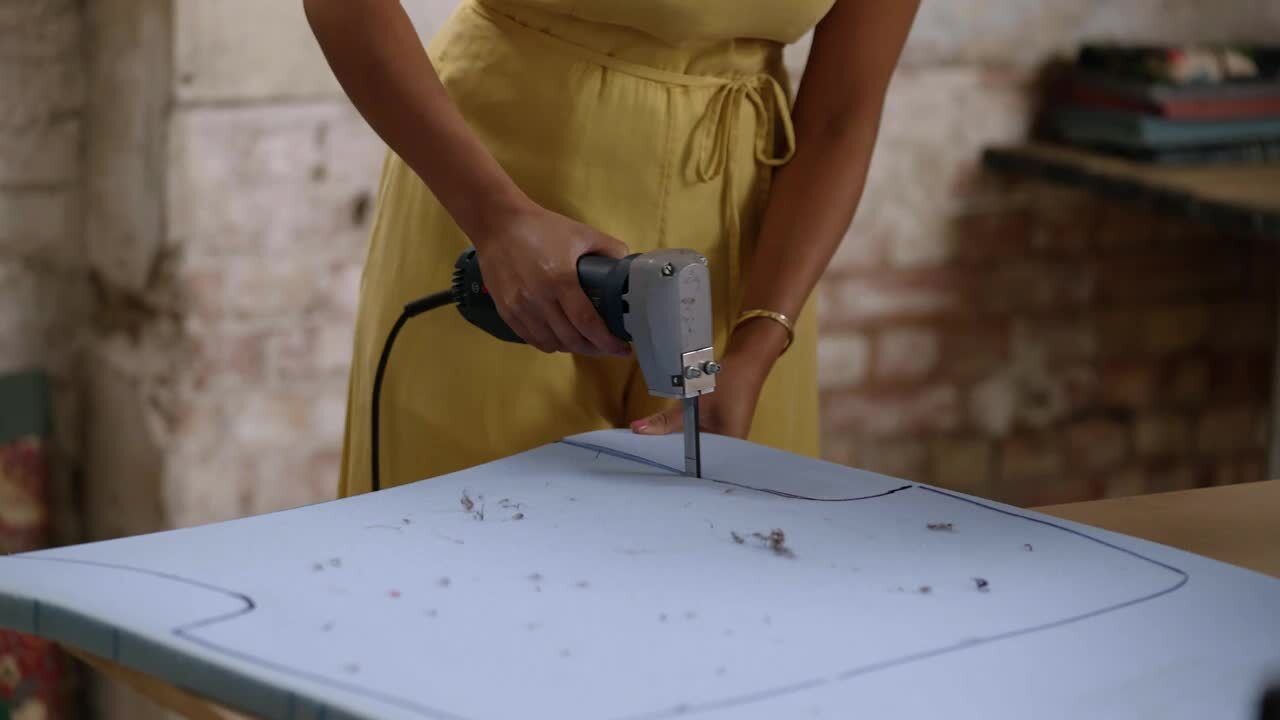
With both pieces cut out and the split batten made, you can begin to assemble the headboard and attach your internal layers.
From the Lesson Workbook
Part 7- Constructing Your Headboard
With both pieces cut out and the split batten made, you can begin to assemble the headboard and attach your internal layers.
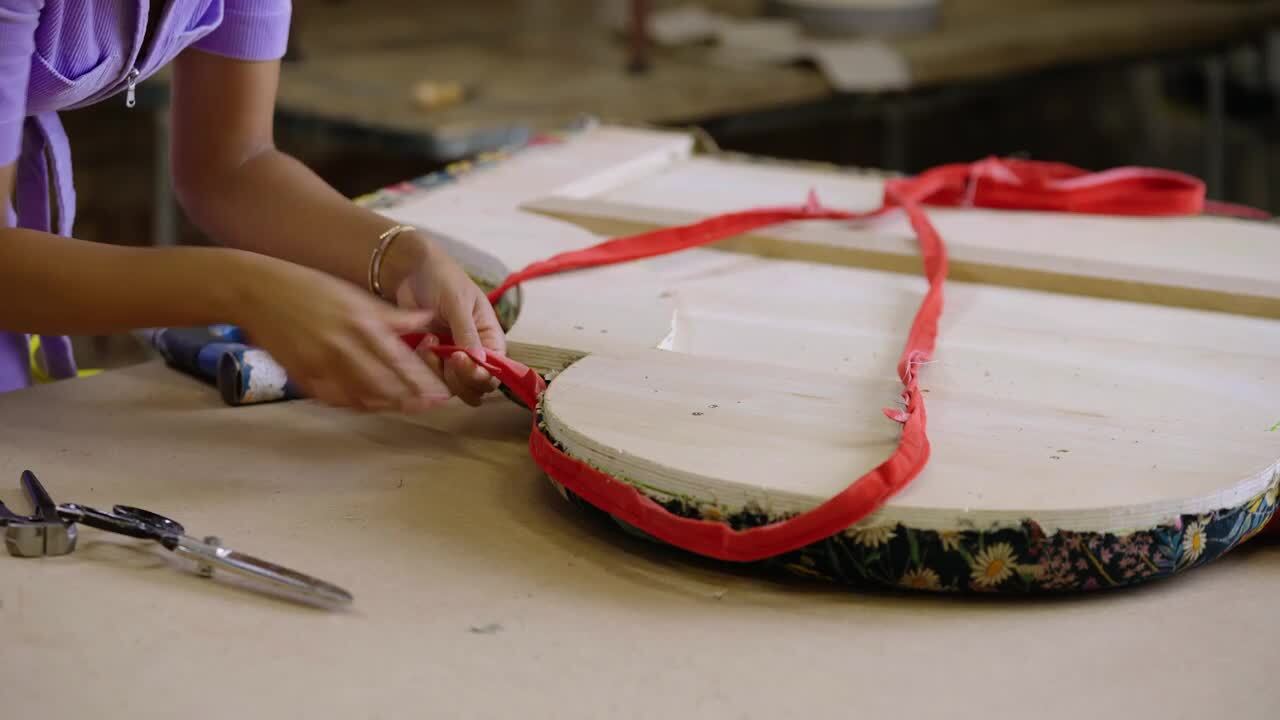
- Place the back frame and front board of the headboard together, making sure they line up exactly.
- Attach the two pieces with wood glue first, then use a drill and screws to secure, making sure the screws don't protrude at all from the wood.
- Attach the top half of your split batten in the middle between the back frame and front board with a drill and screws, again ensuring the screws don't protrude. It's essential the split batten is completely level, otherwise your headboard won't hang straight.
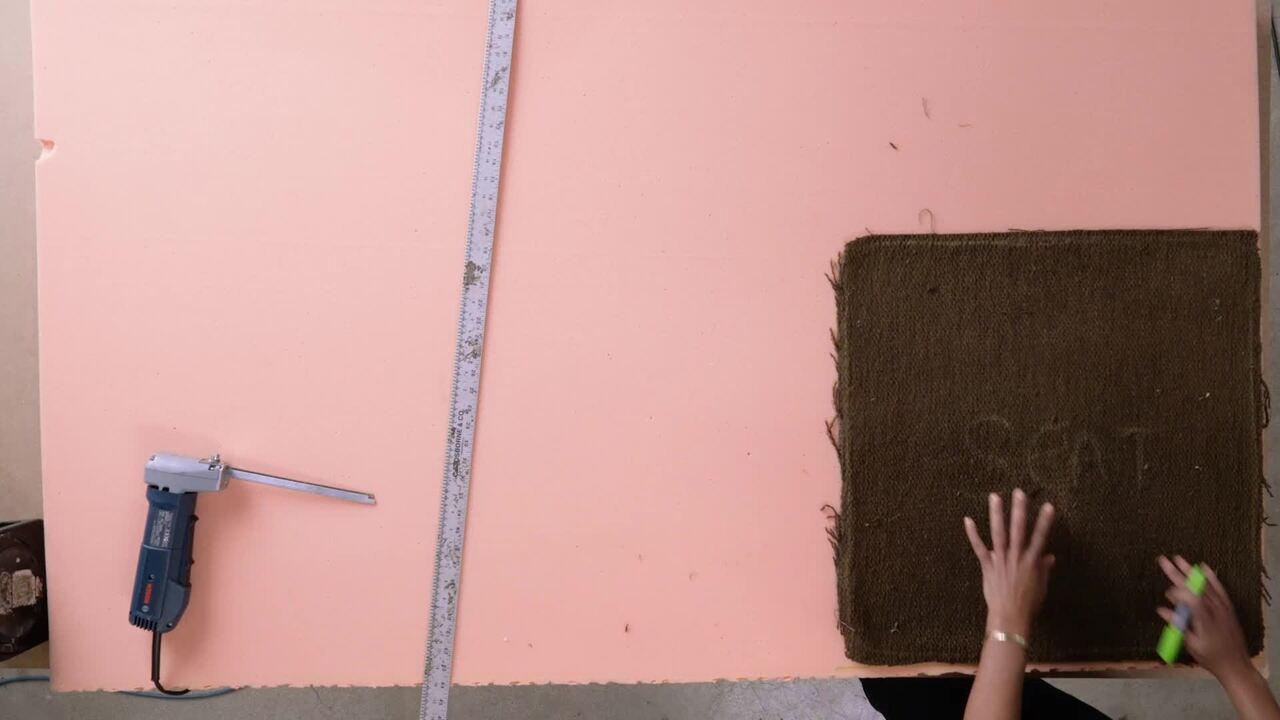
- Now is a good time to check that both pieces of wood fit flush together – if there are some uneven edges, these can be sanded back.
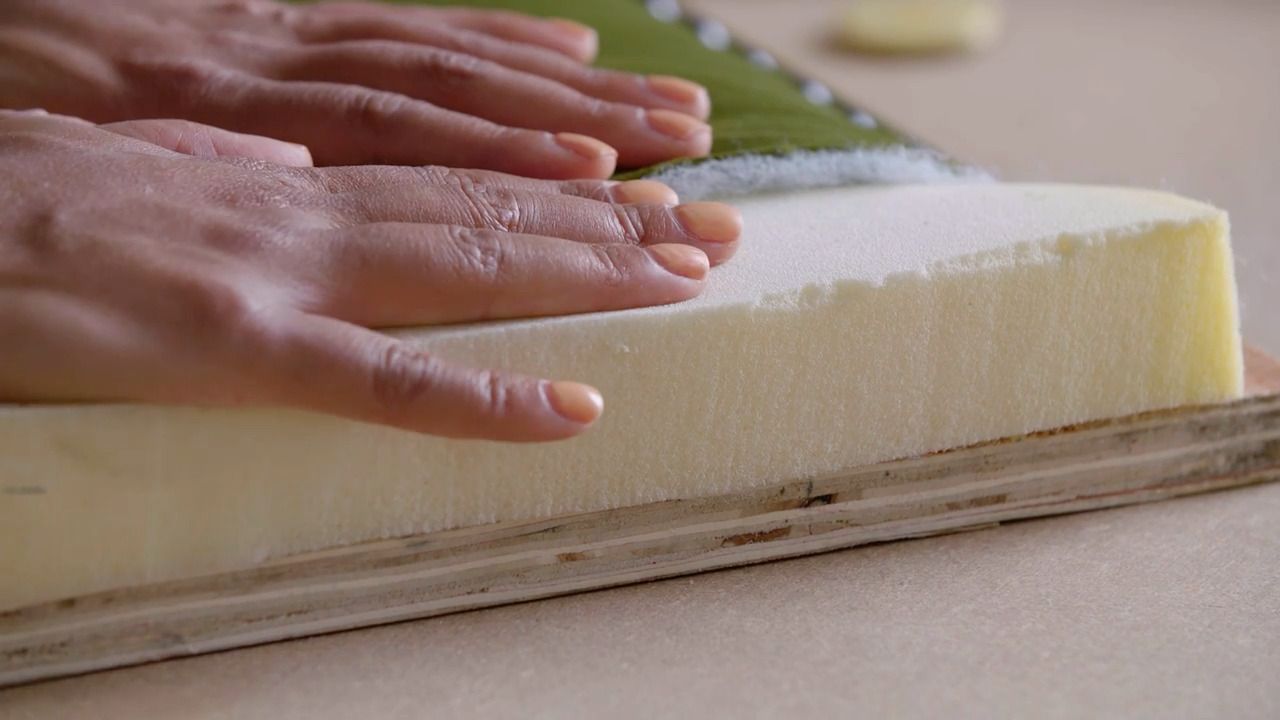
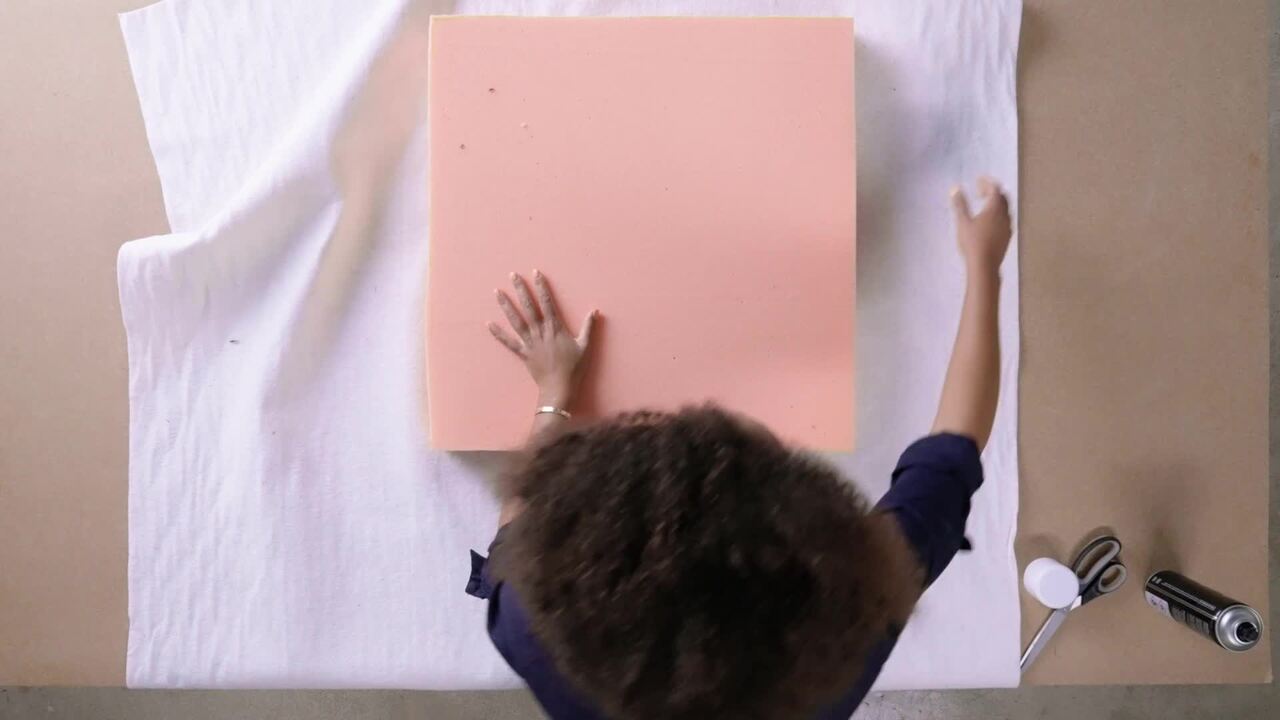
- With the front of the headboard facing up, lay your sheet of foam on top. Make sure it's straight by lining up the bottom edge of the foam with the bottom edge of the headboard.
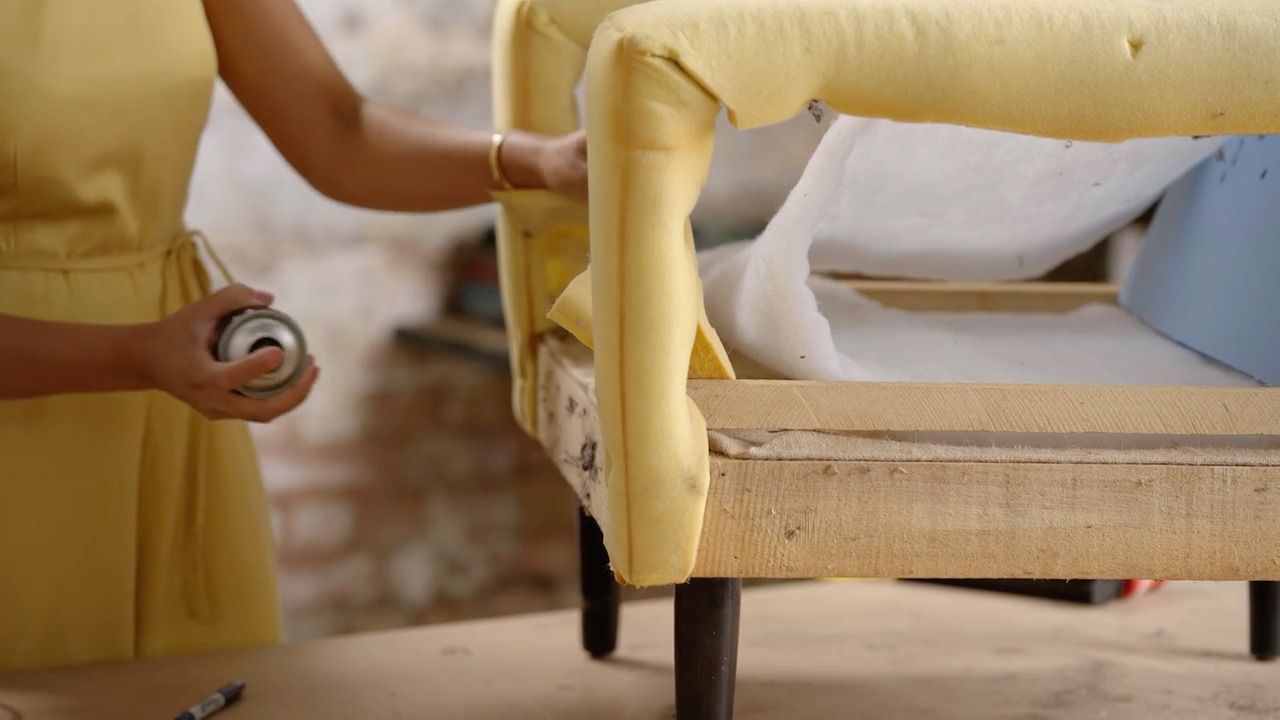
- Fold back half of the foam and apply a generous layer of spray glue around the edge of the headboard, spraying a little in the middle too. Apply an additional layer of spray glue to the sheet of foam in the corresponding area.
- Now fold the foam down onto the headboard, ensuring it's still lined up at the bottom, and press to secure.
- Check the edges are fully secure – if not, add a little more glue.
- Repeat the process on the other half of the headboard.
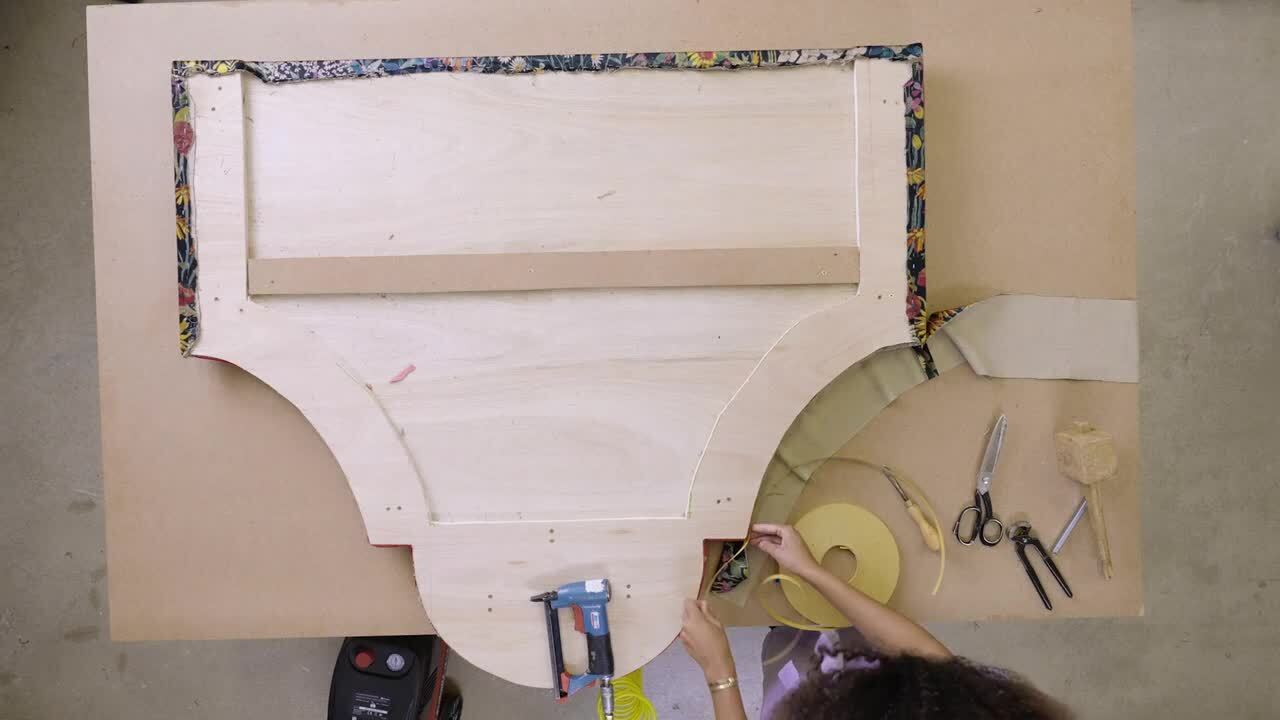
- Once the foam is securely attached to the entire headboard, turn it all over so the foam sheet is on your table and the wood headboard is facing up.
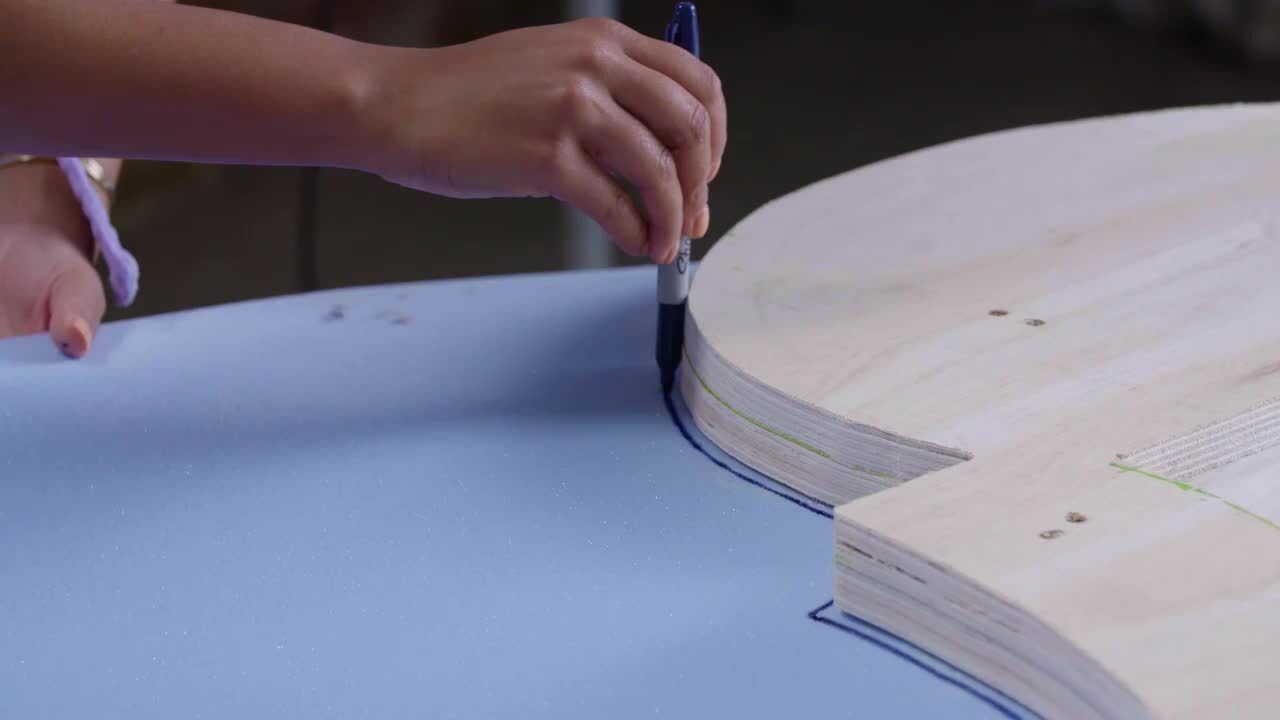
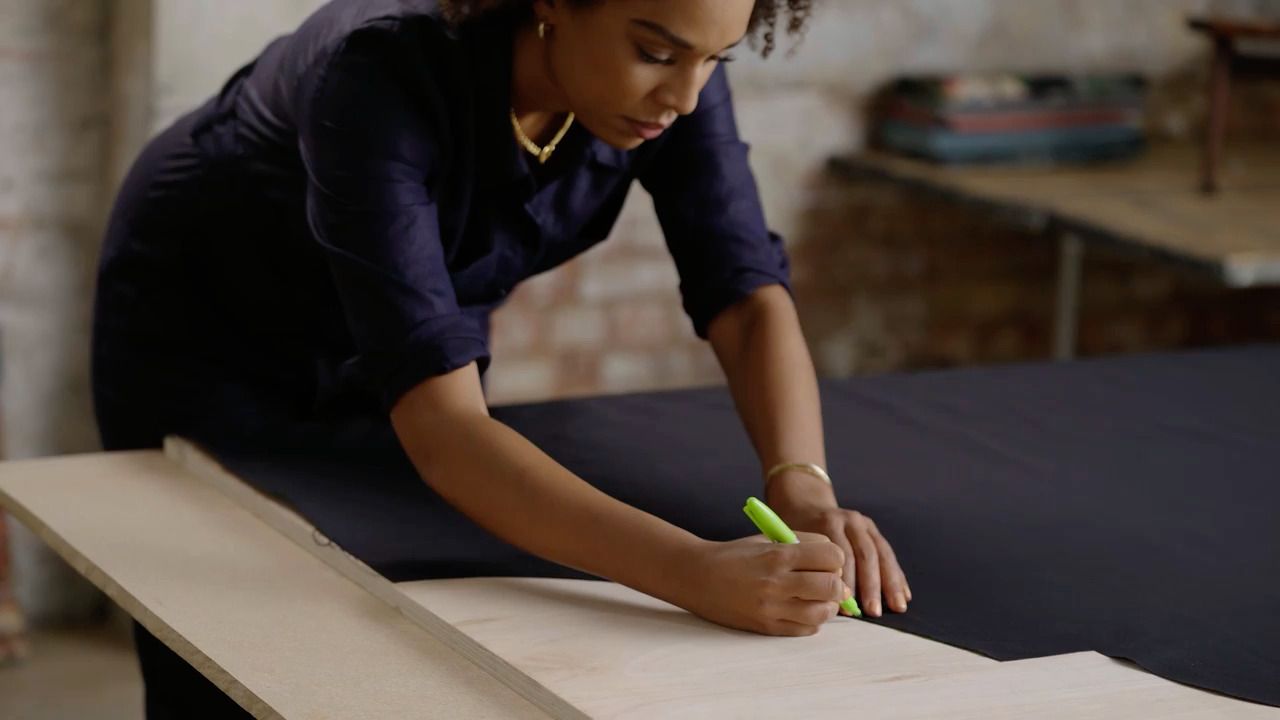
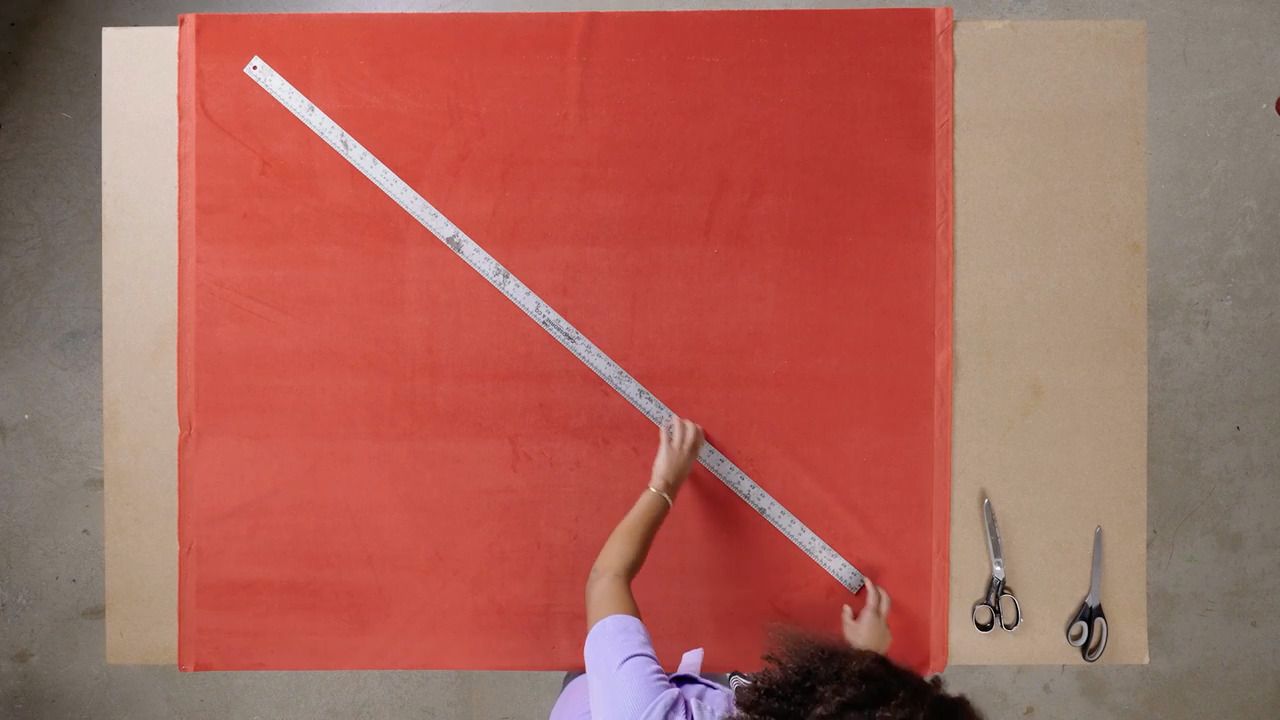
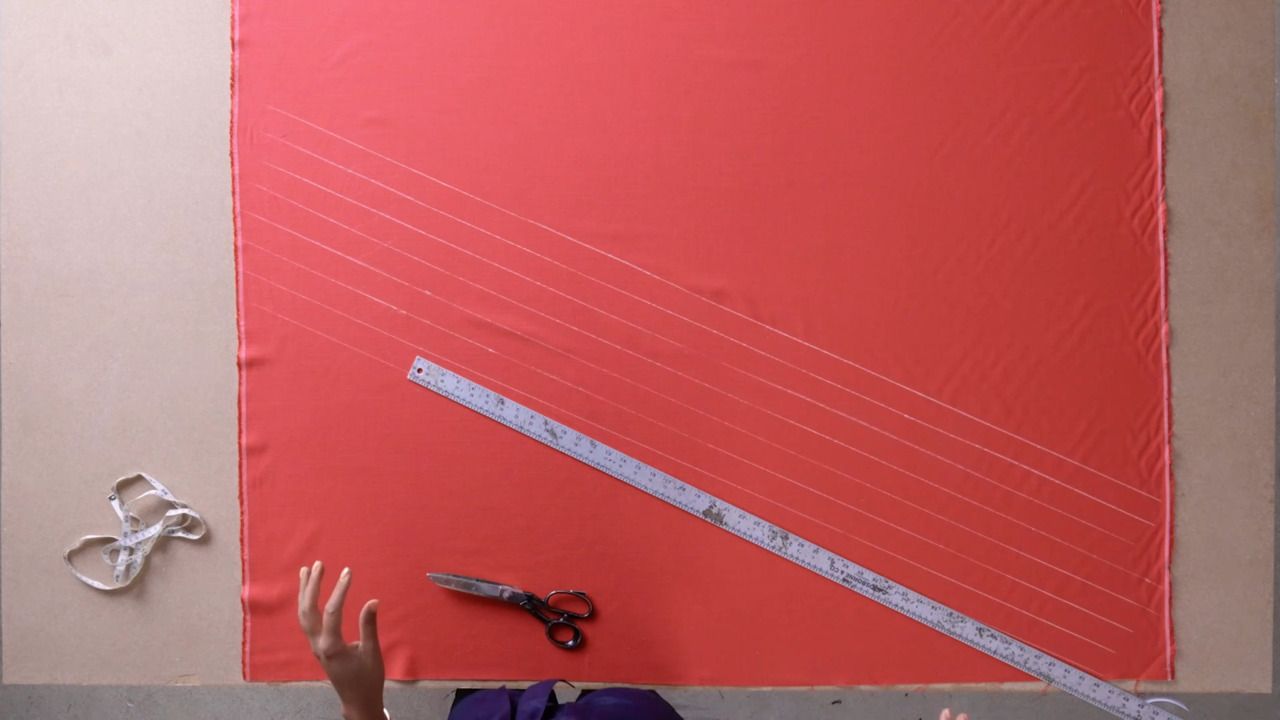
- Mark a 3–4 mm border onto the foam all the way around your headboard with a Sharpie.
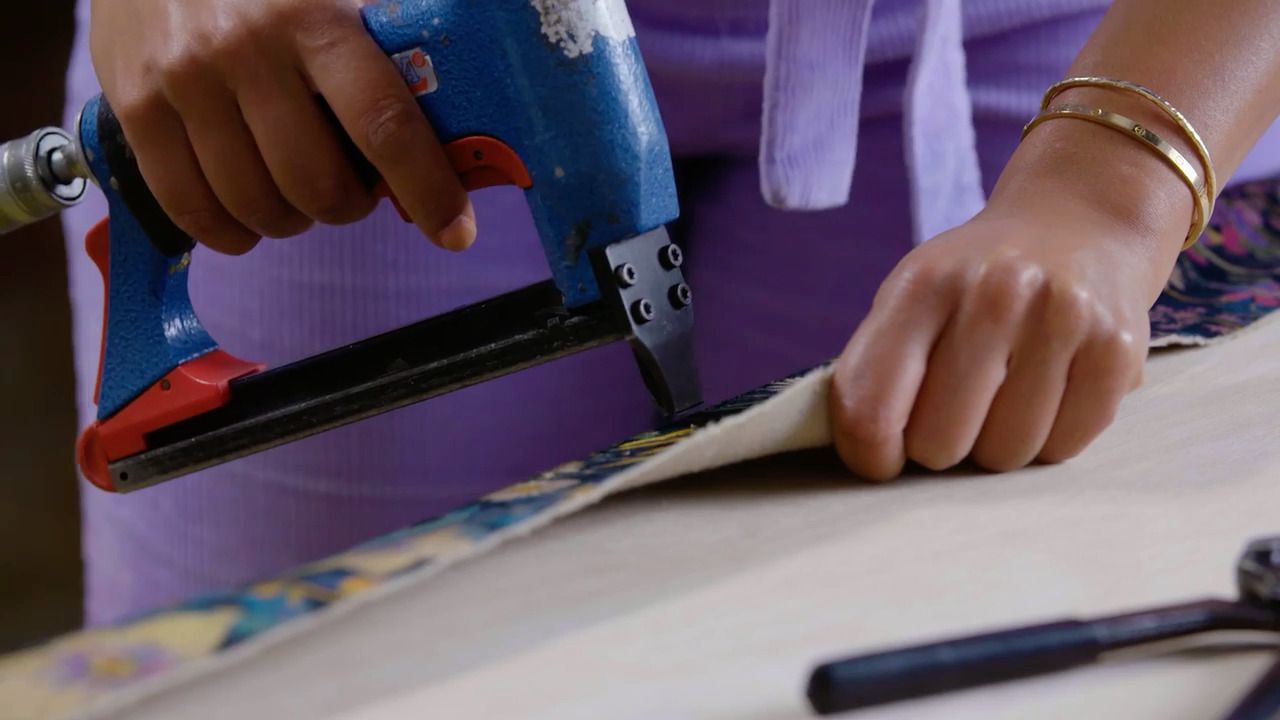
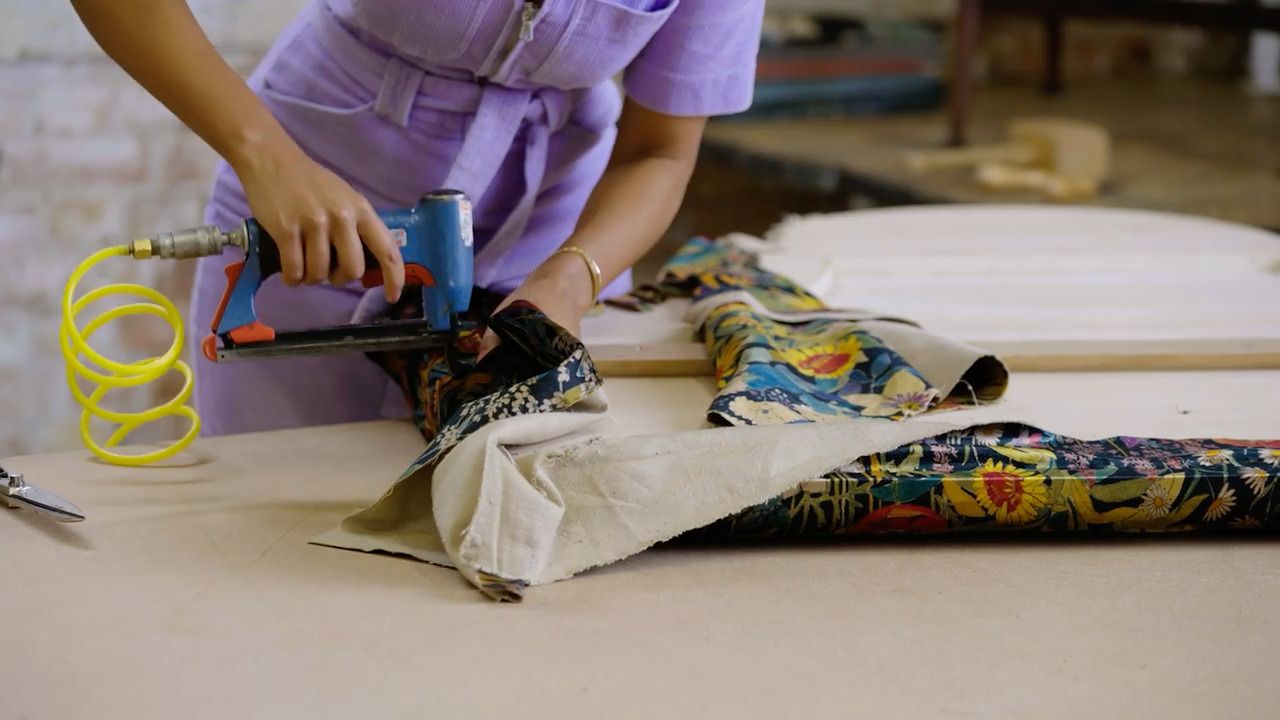
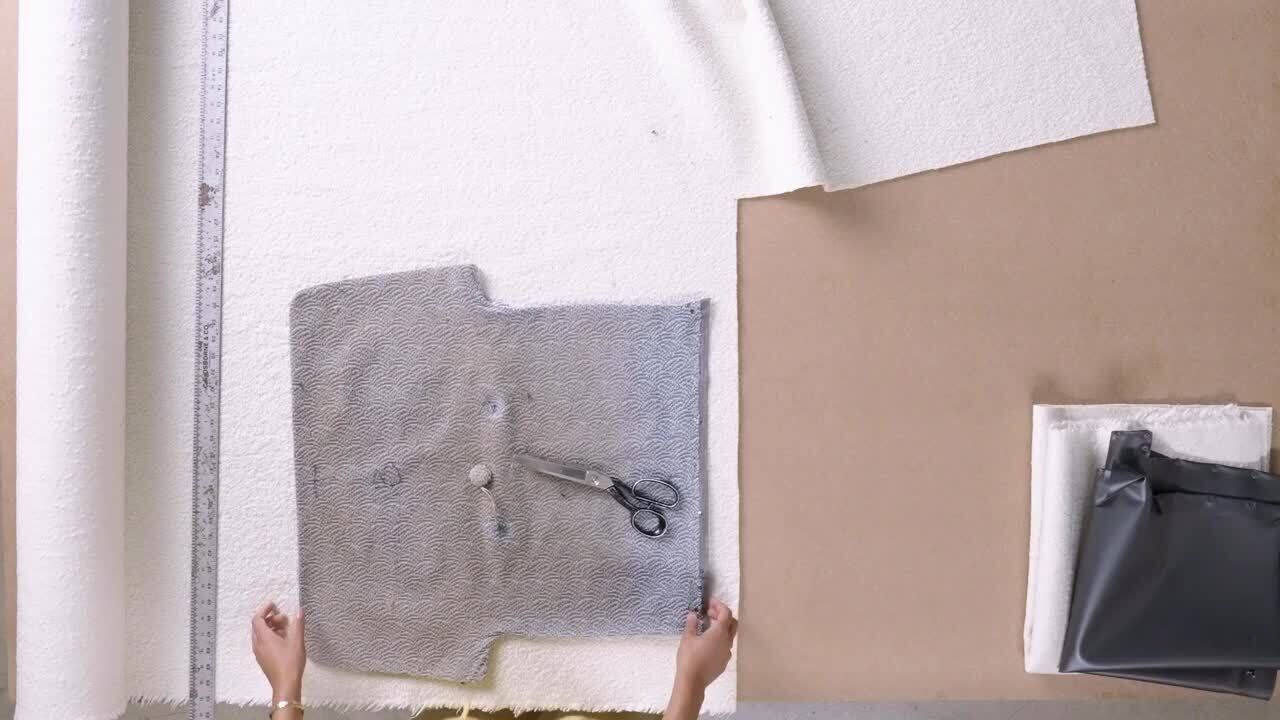
- Using either a foam cutter, electric knife or serrated knife, follow this Sharpie line to trim away the excess foam so the foam is 3–4 mm larger than your wooden headboard all the way round. Take your time to ensure the foam is cut evenly with a square, crisp, straight edge.
- Ensure you are holding up any pieces of foam that might be draping, as this can stop you from getting a sharp edge
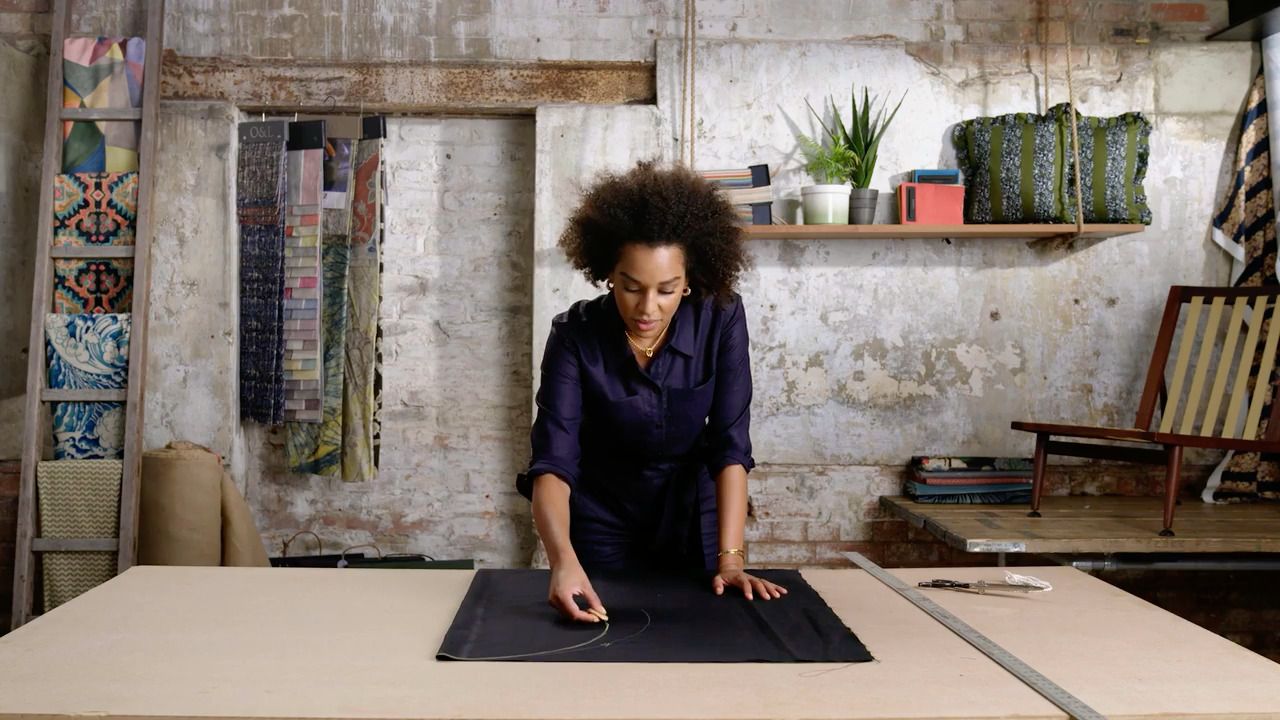
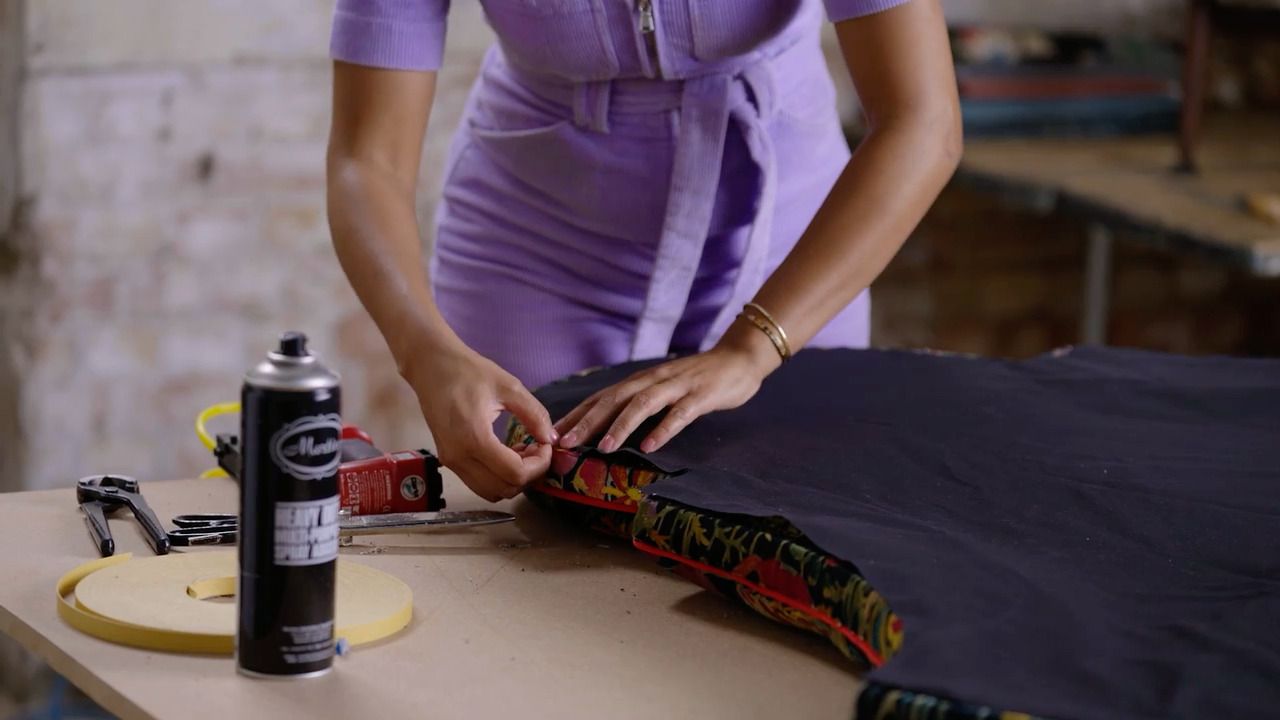
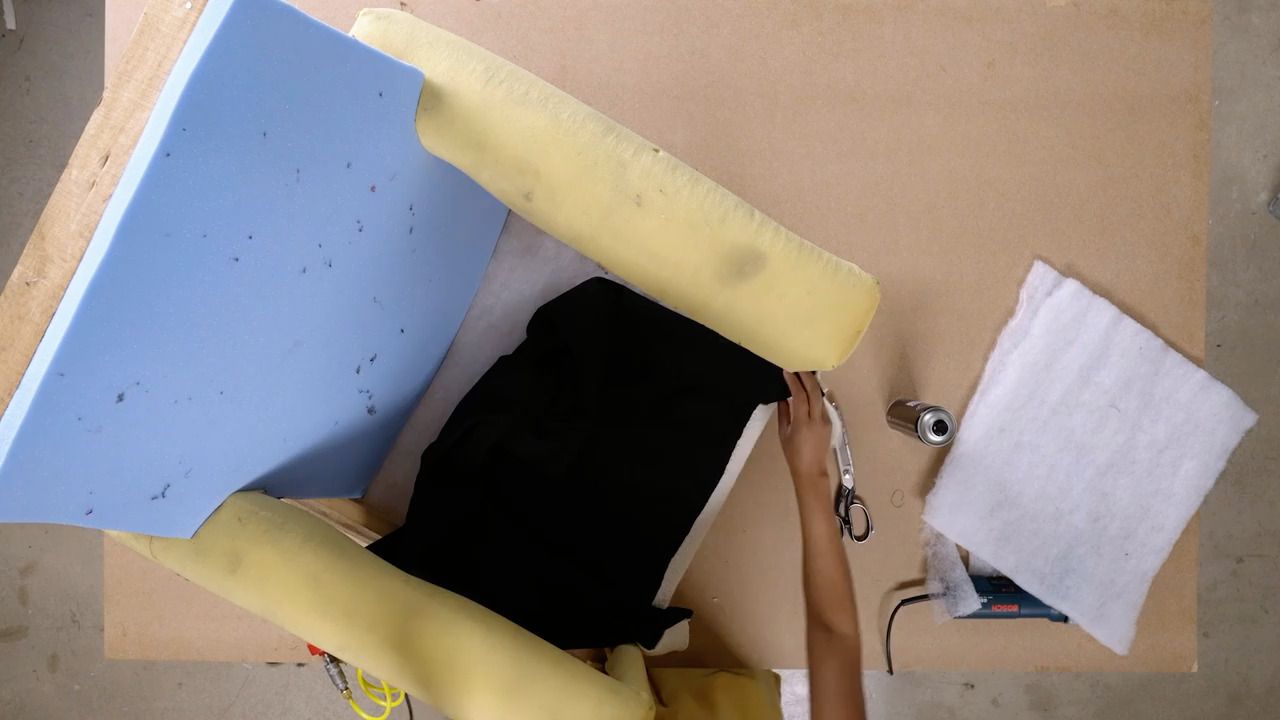
- The next step, if required, is to add the fire retardant layer. Turn the headboard back over so the foam is facing up.
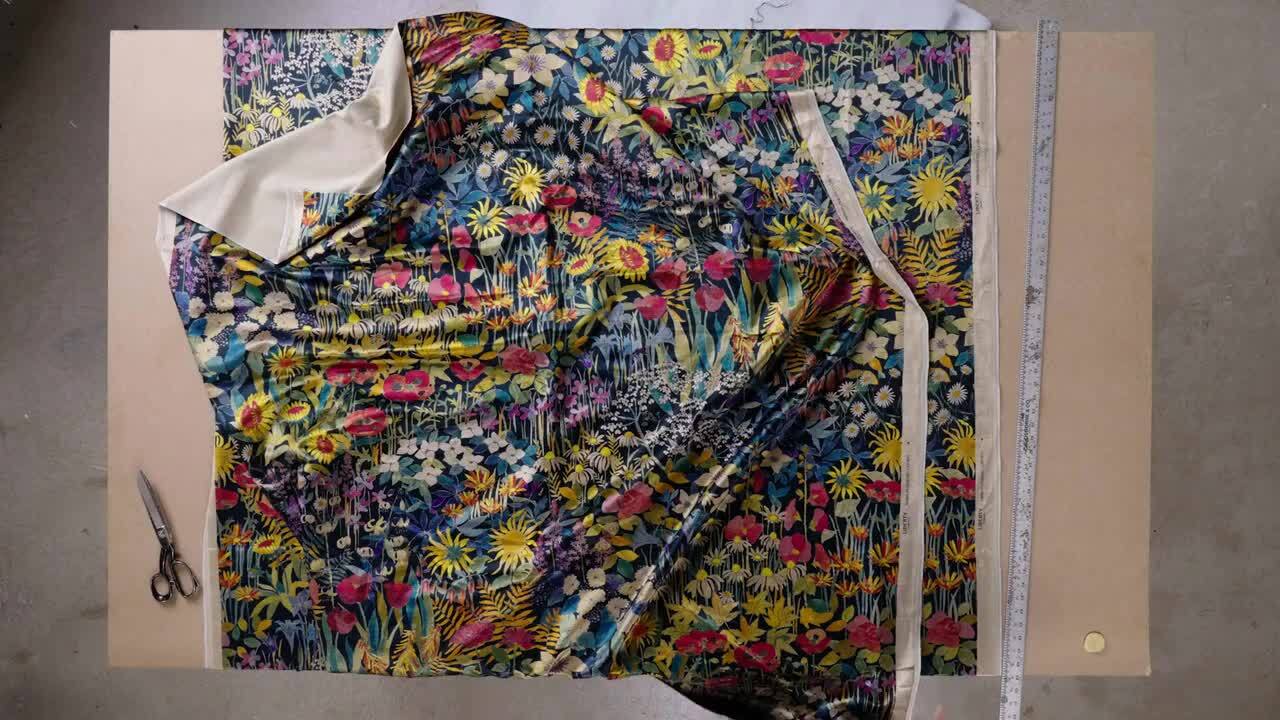
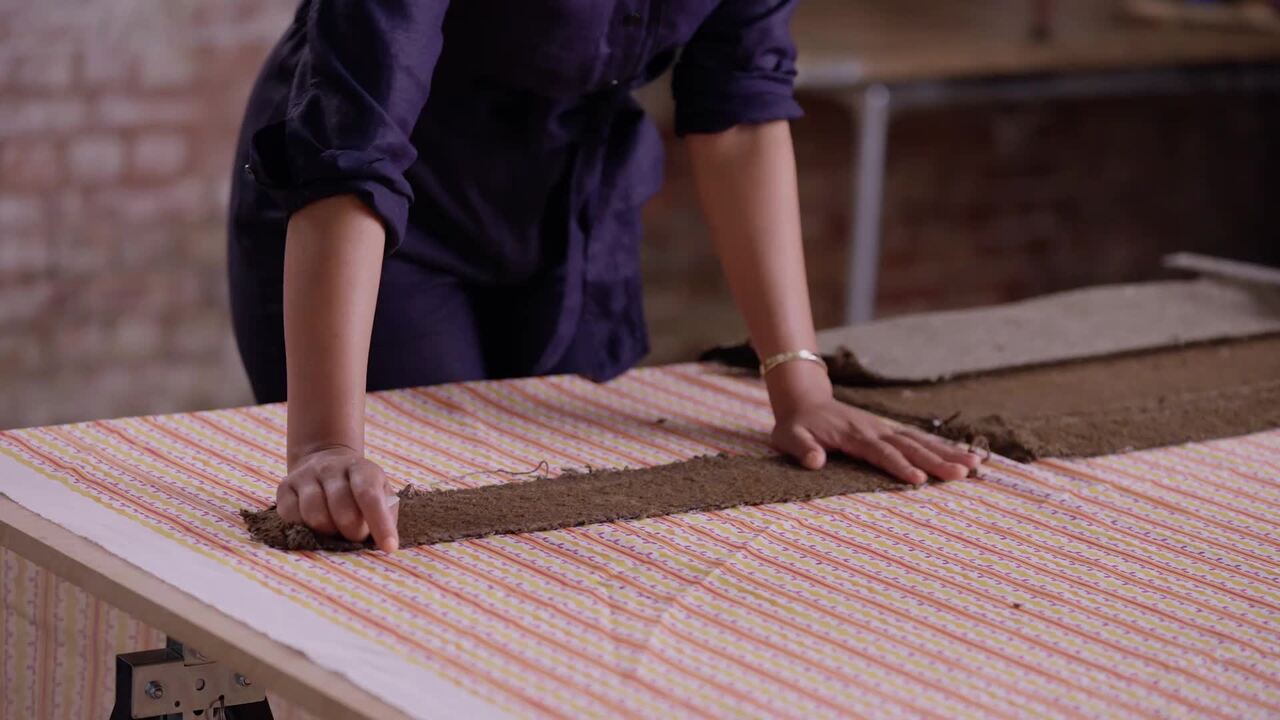
- Lay the fire retardant fabric down flat on top of the foam, cutting off the roll if needed.
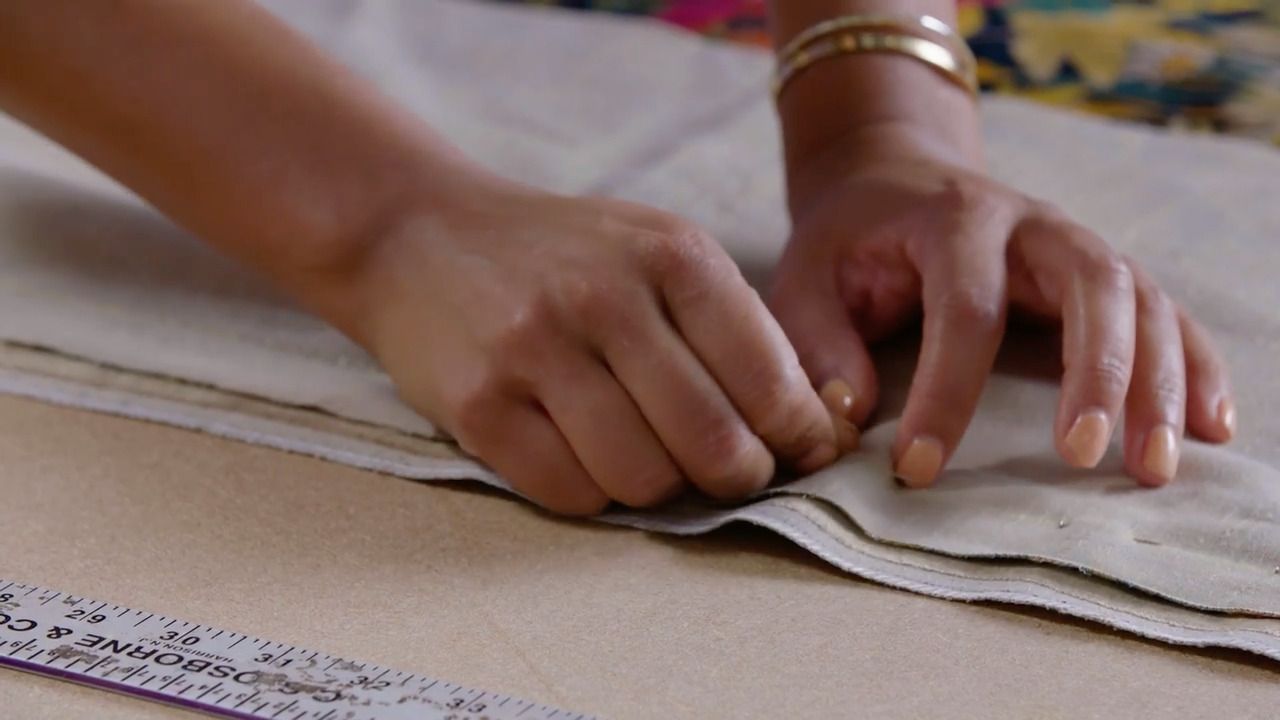
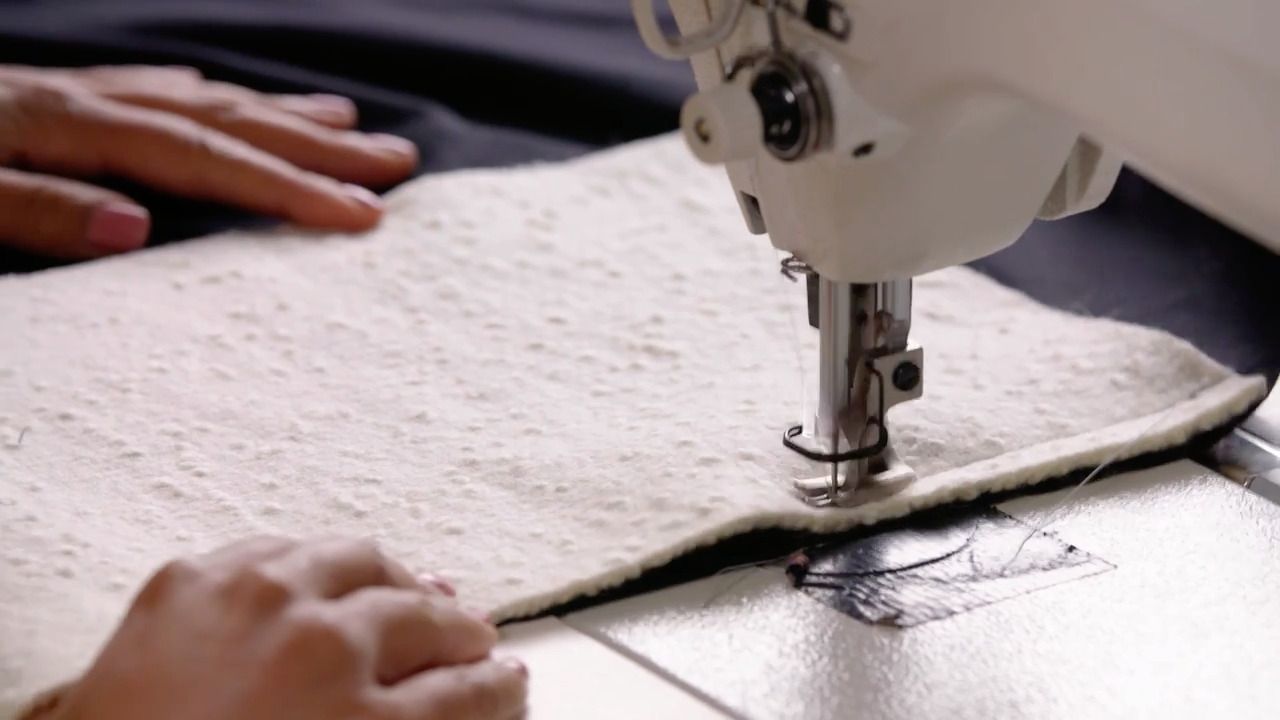
- Attach the fire retardant layer to the foam in the same way you attached the foam to the wooden board – first folding back one half, applying spray glue and pressing to secure, making sure there are no creases, then attaching the other side in the same way.
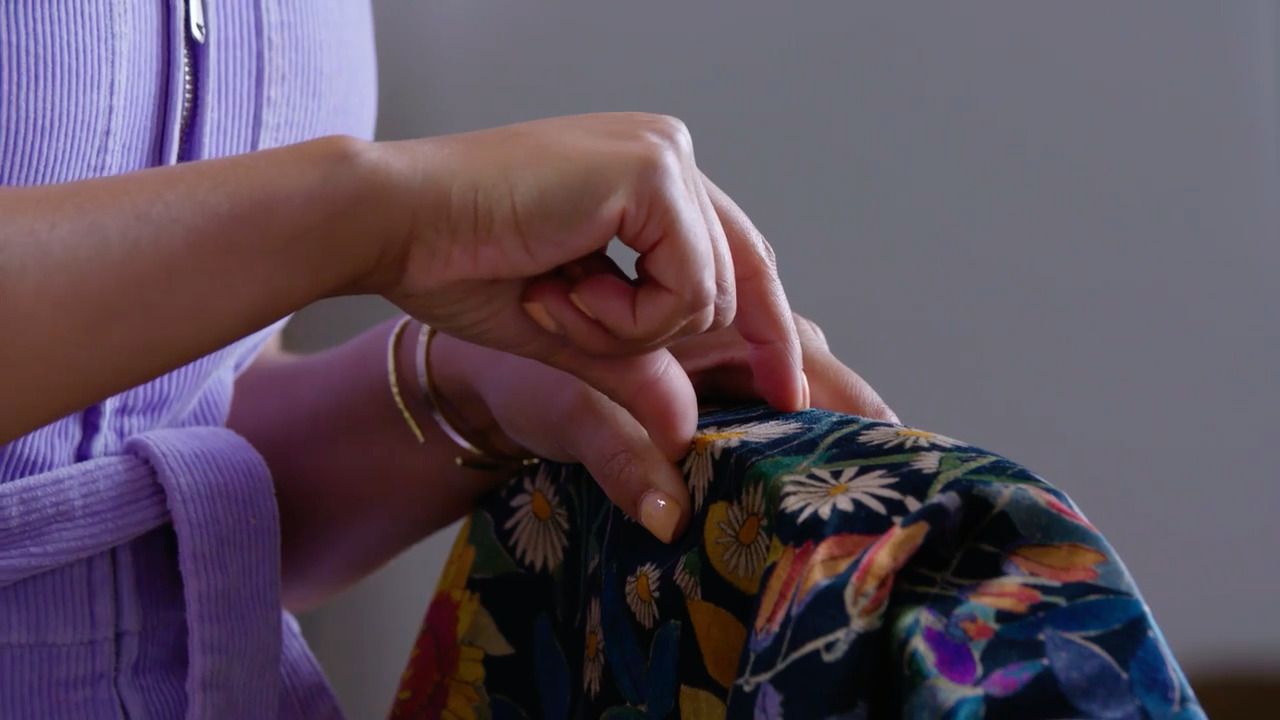
- Once secure, use fabric scissors to cut the fire retardant fabric to the same size as the foam layer. It doesn't need to be taken over the sides.
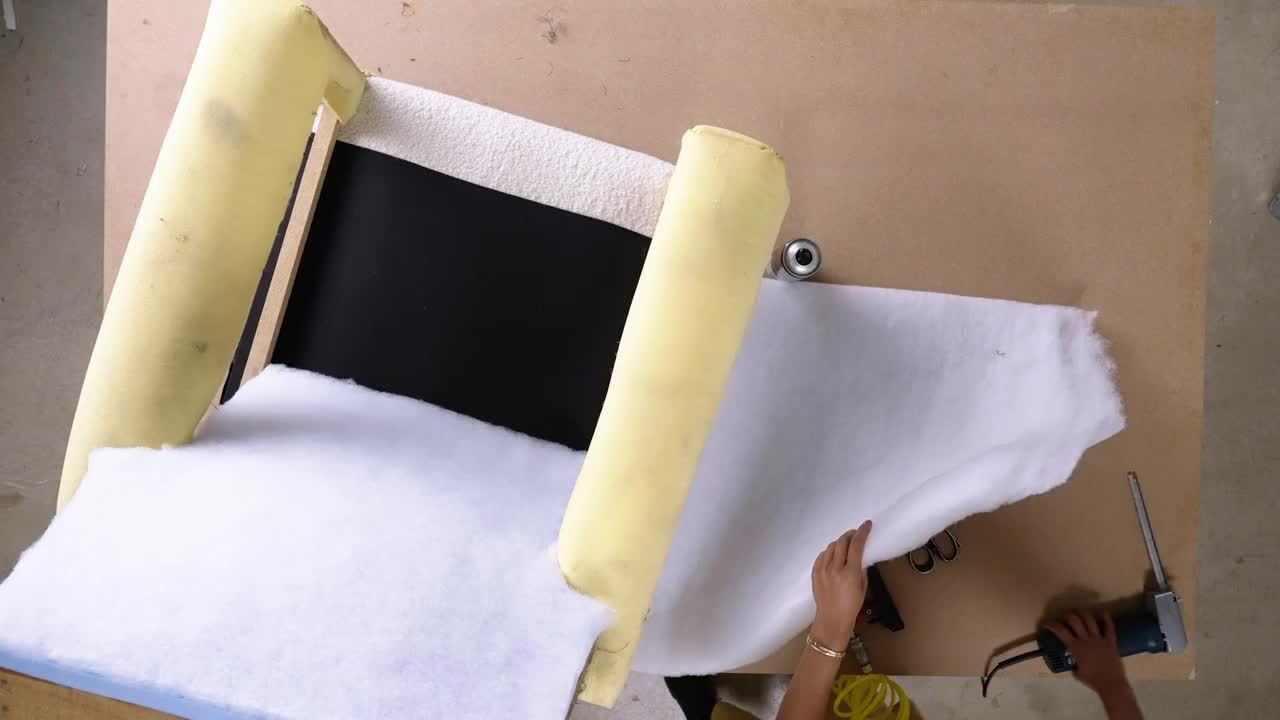
- Repeat the exact same process to attach the Dacron or polyester.
- If your polyester isn't wide enough to reach the top of your headboard, you will need to do this in two stages.
- First apply a length of polyester to the bottom half of your headboard as normal.
- To apply the top half, as well as spraying glue around the edge of the wood, you'll also need to spray the side of the top edge of the now attached polyester where it will meet the top half. Be careful to avoid getting any glue on the top of the polyester.
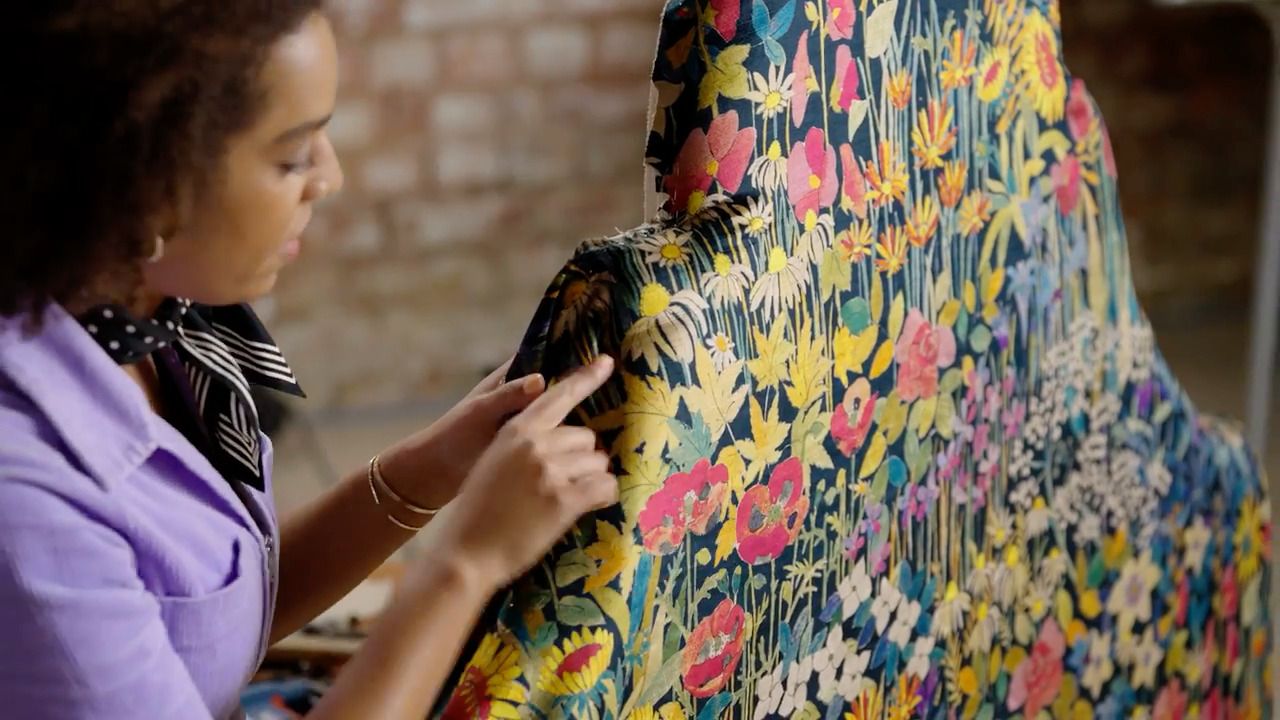
- Lay the top half down onto the wood ensuring it lies flat and straight, then pinch the join together all the way along so that the glue binds the two pieces.
- Once secure, use fabric scissors to cut the polyester fabric to the same size as the foam layer and fire retardant layer.
Get the full workbook, video lessons, and more with a Create Academy subscription.
Subscribe to access the full workbookYour Instructor
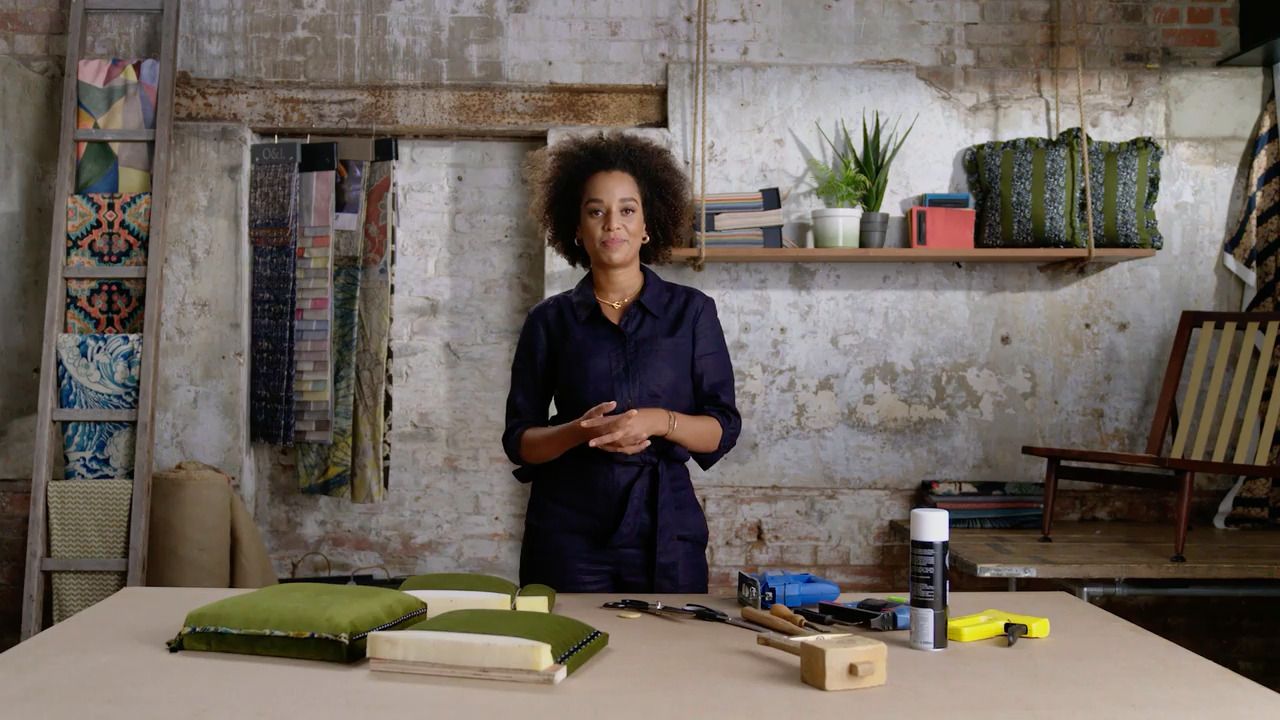
Micaela Sharp
Sustainable designer and modern upholstery expert. TV presenter and interior design judge.
Micaela Sharp is a professional upholsterer, interior designer and broadcaster who champions the art of reupholstery and its ability to breathe new life into pre-loved furniture. Growing up, Micaela learnt both carpentry and sewing skills from her grandparents. It was this knowledge, alongside a passion for sustainability and longevity, that inspired her to take up upholstery and set up her own practice. Whether it’s designing furniture from scratch, reimagining a tired armchair into an heirloom to be cherished for years to come, or creating a room scheme layered with fabric and colour, Micaela brings her unique creativity and inventive flair to every project.


Access to all courses