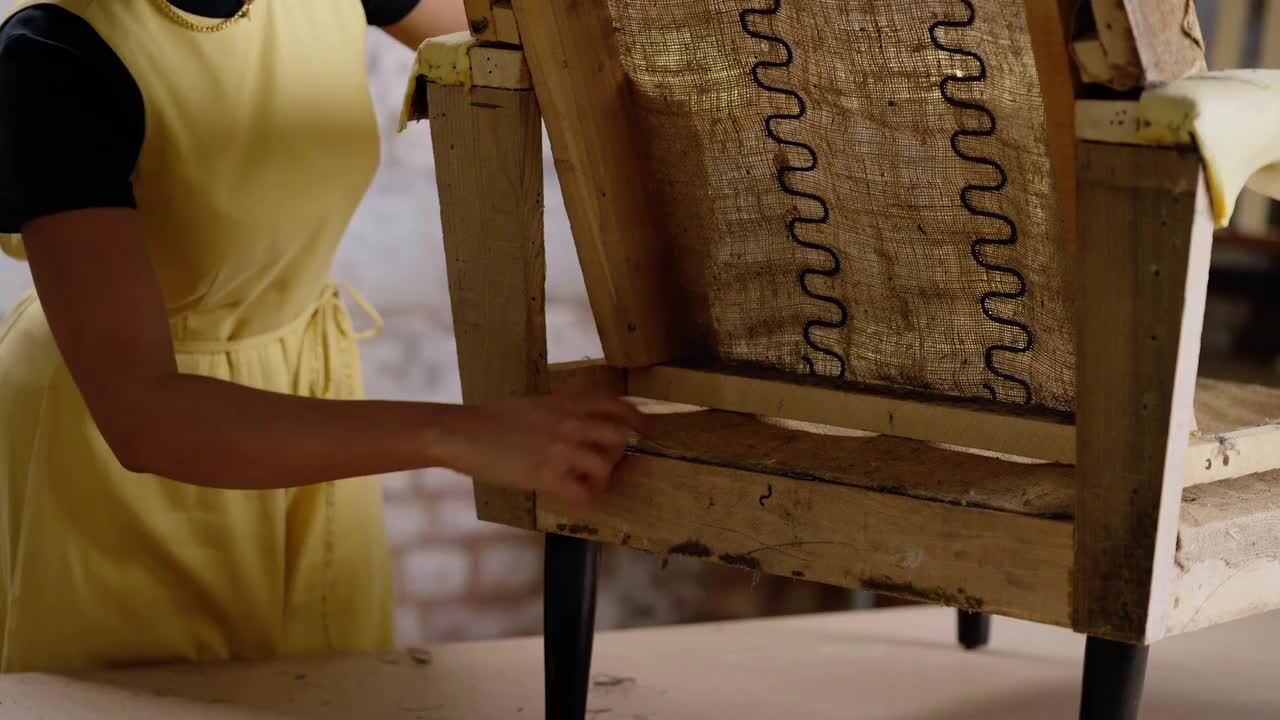
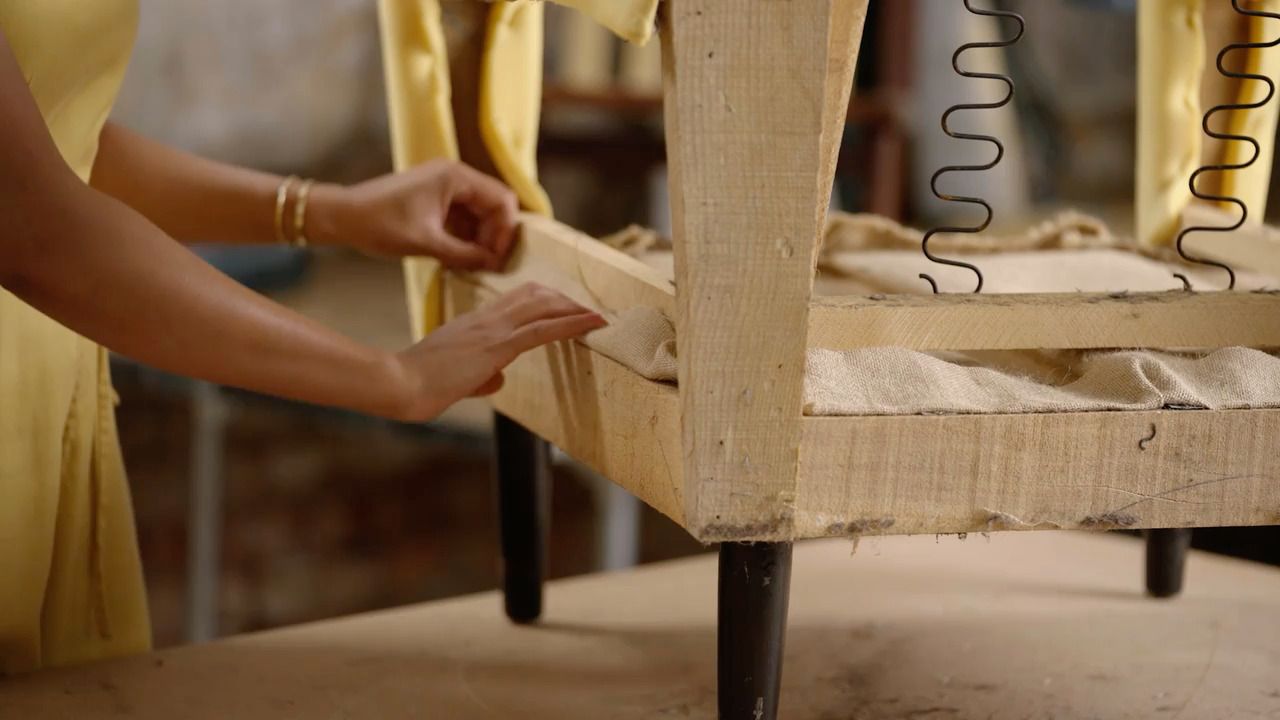
Part 12 - Bottom section
with MICAELA SHARP
Lesson 38 of 68


Already a member? Sign in
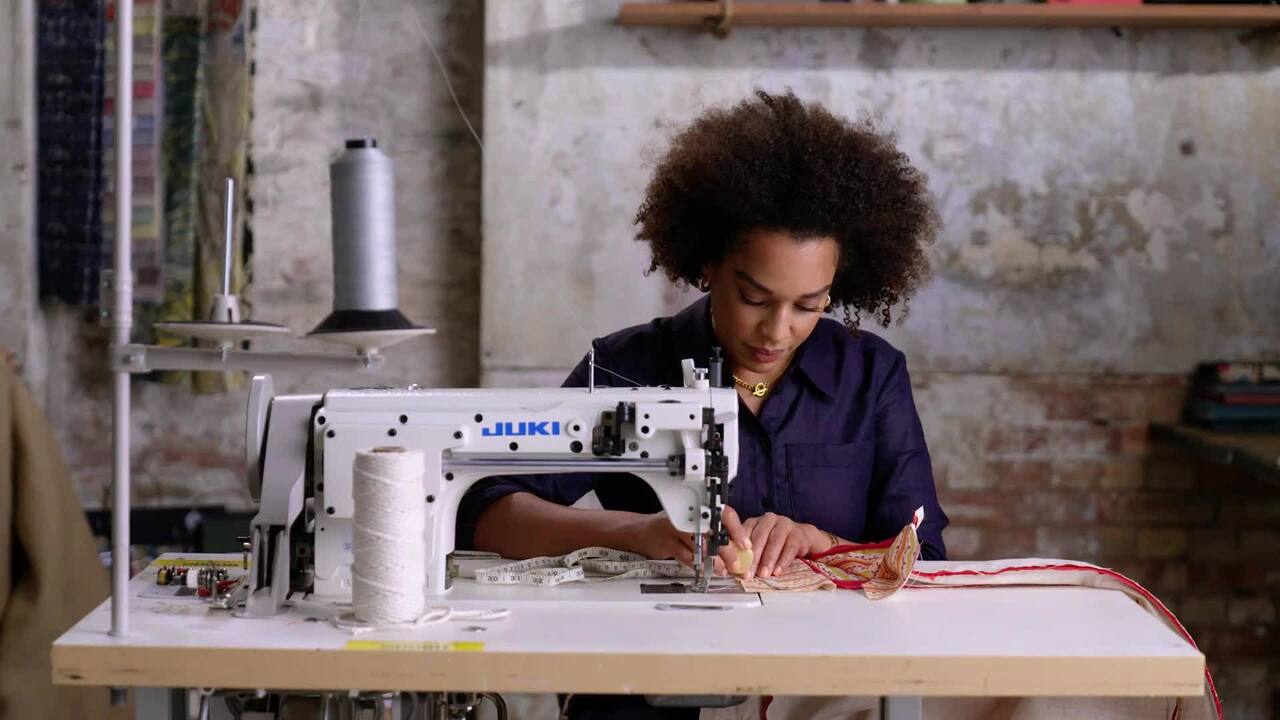
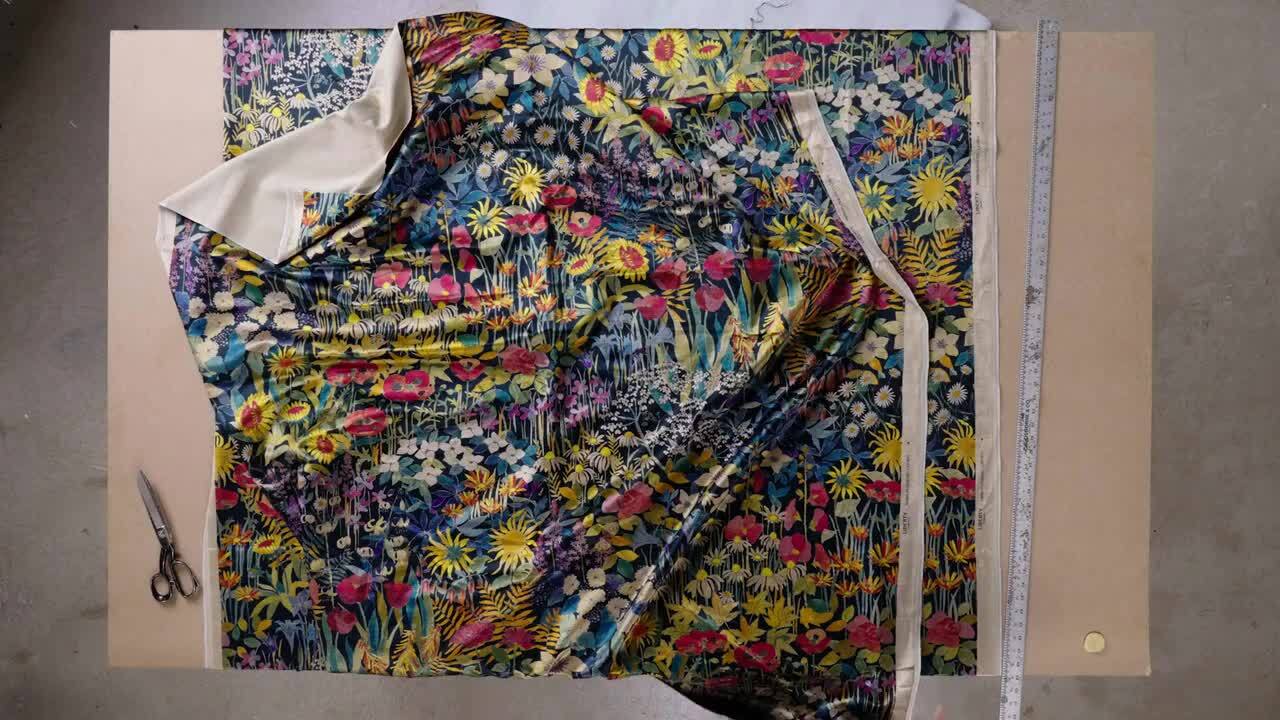
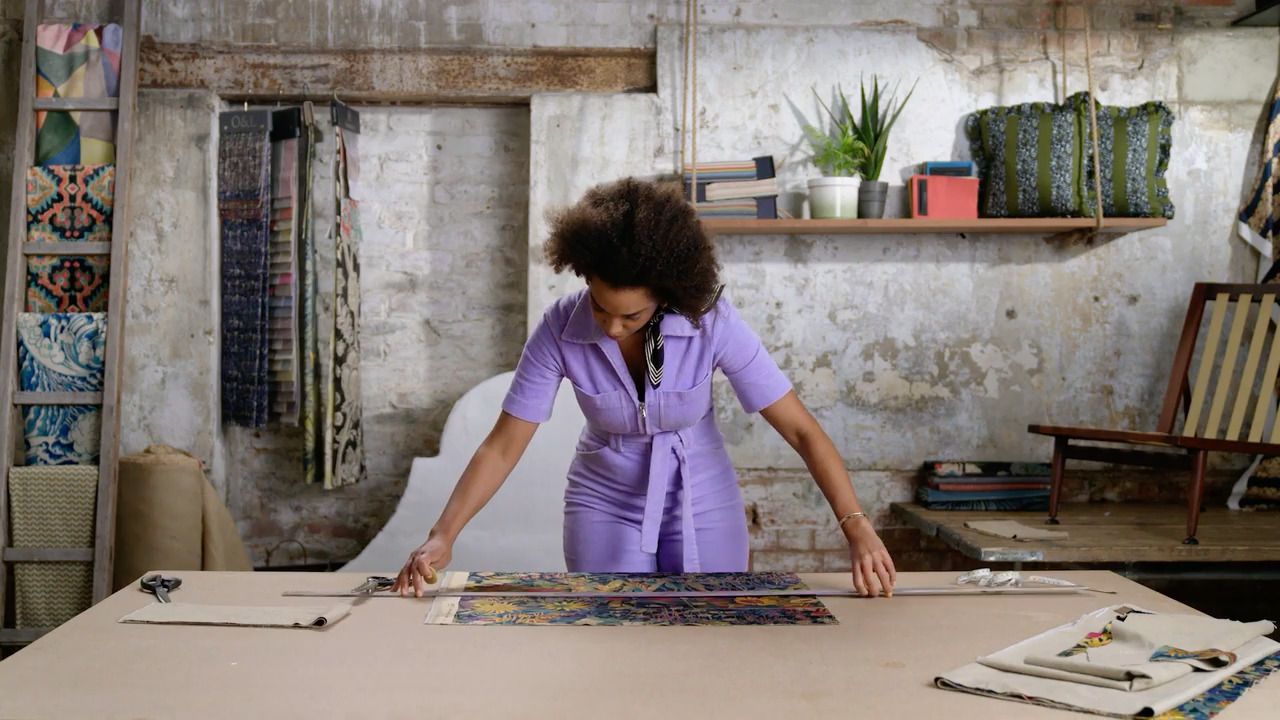
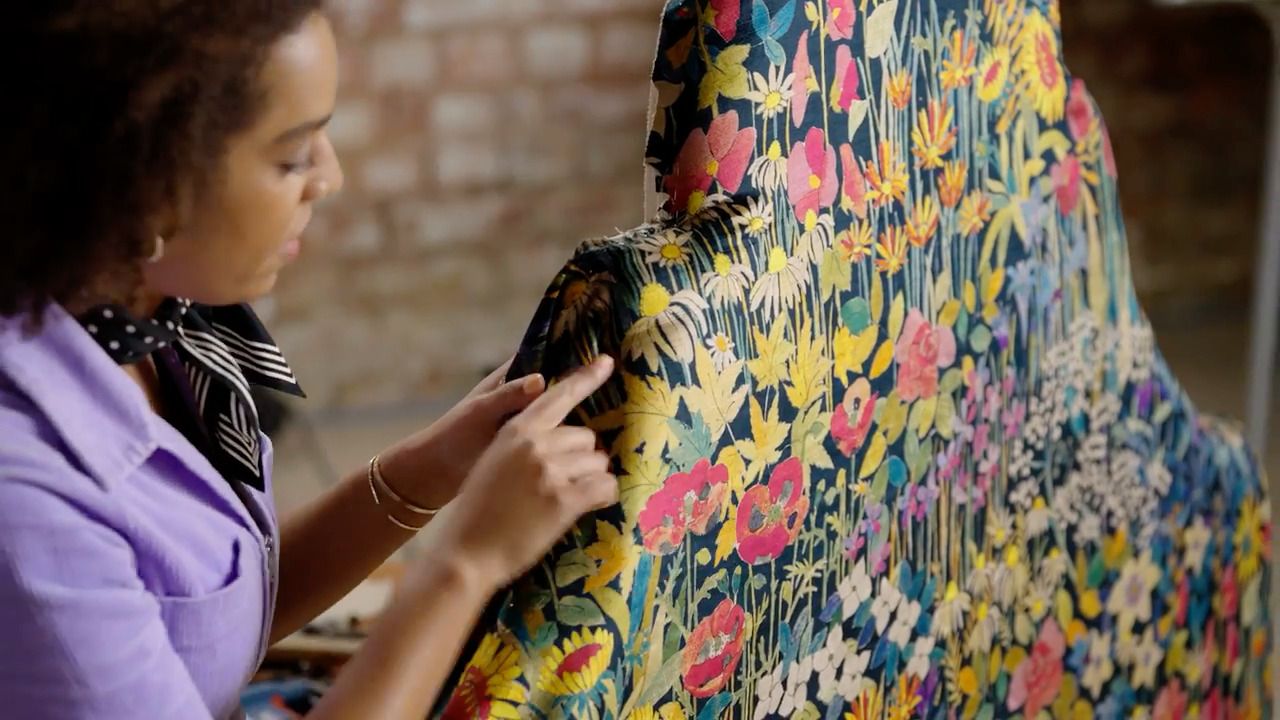
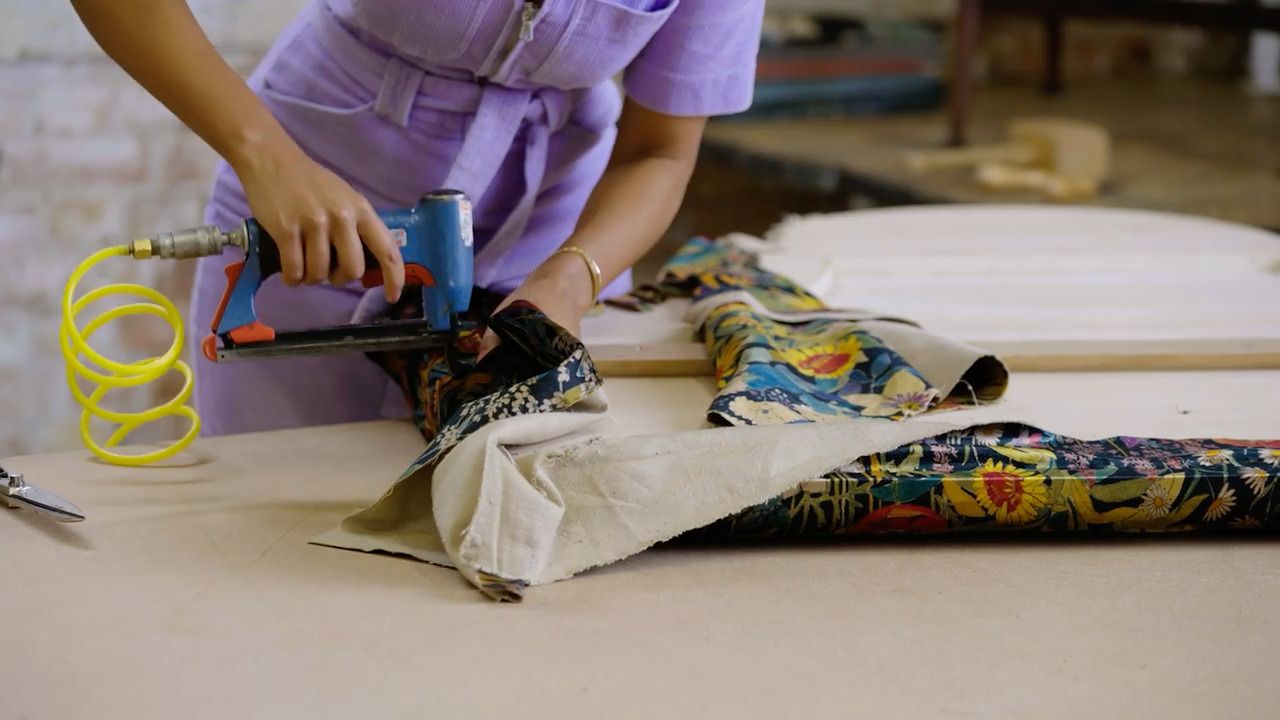
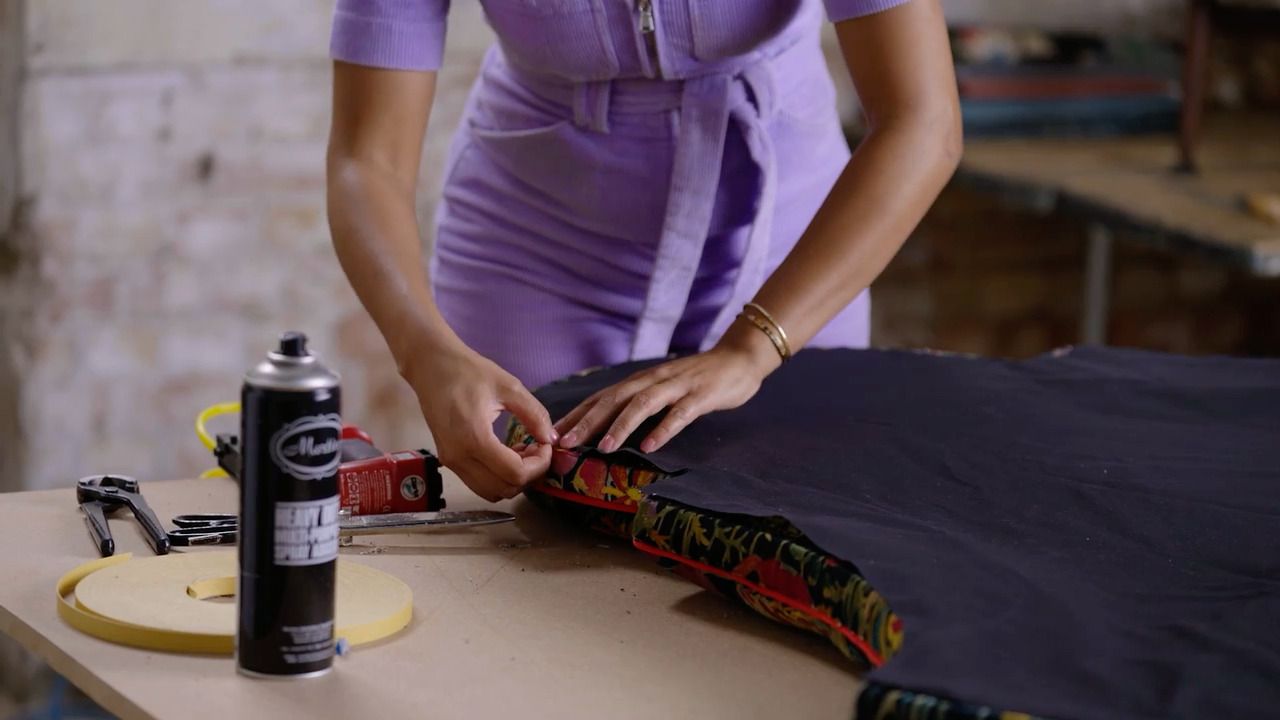
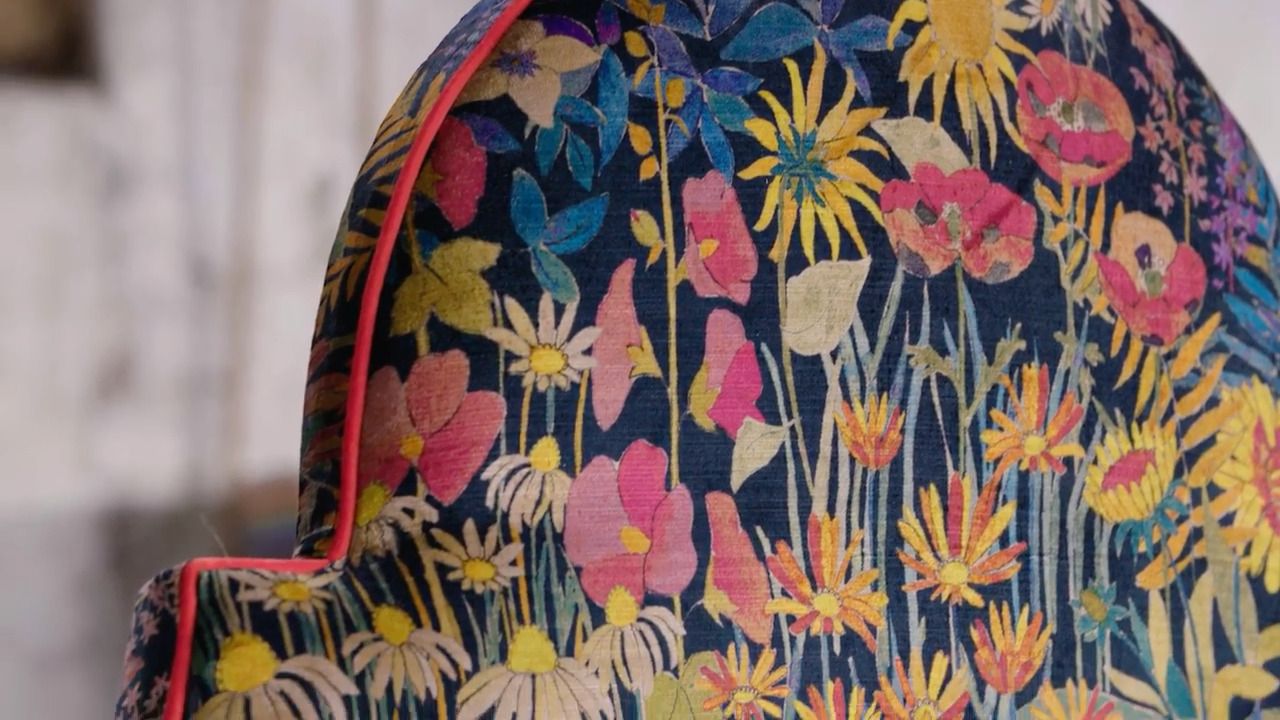
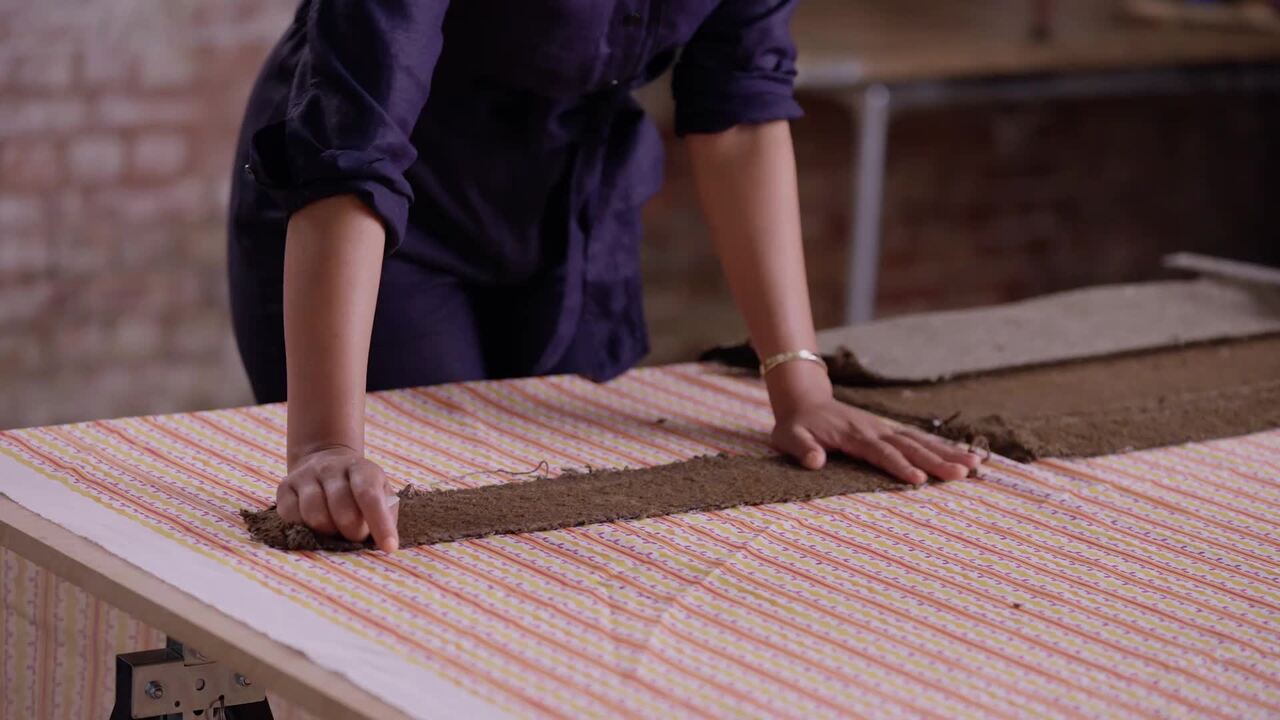
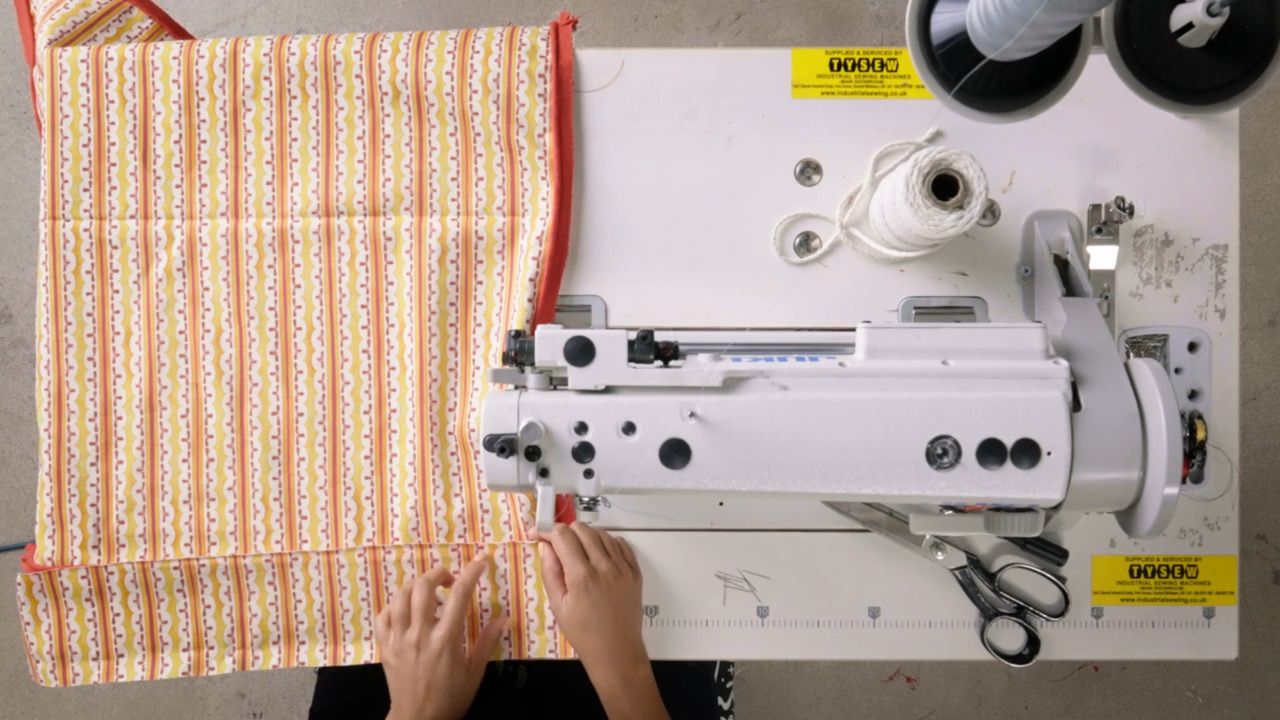
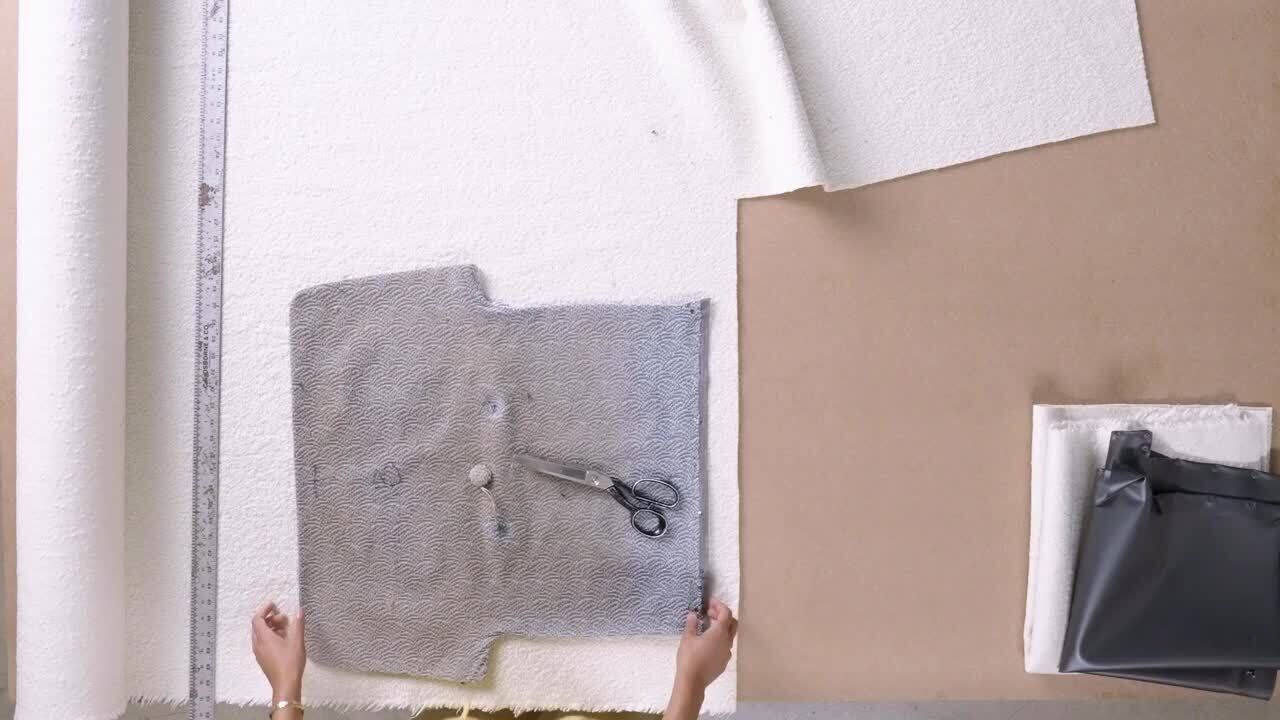
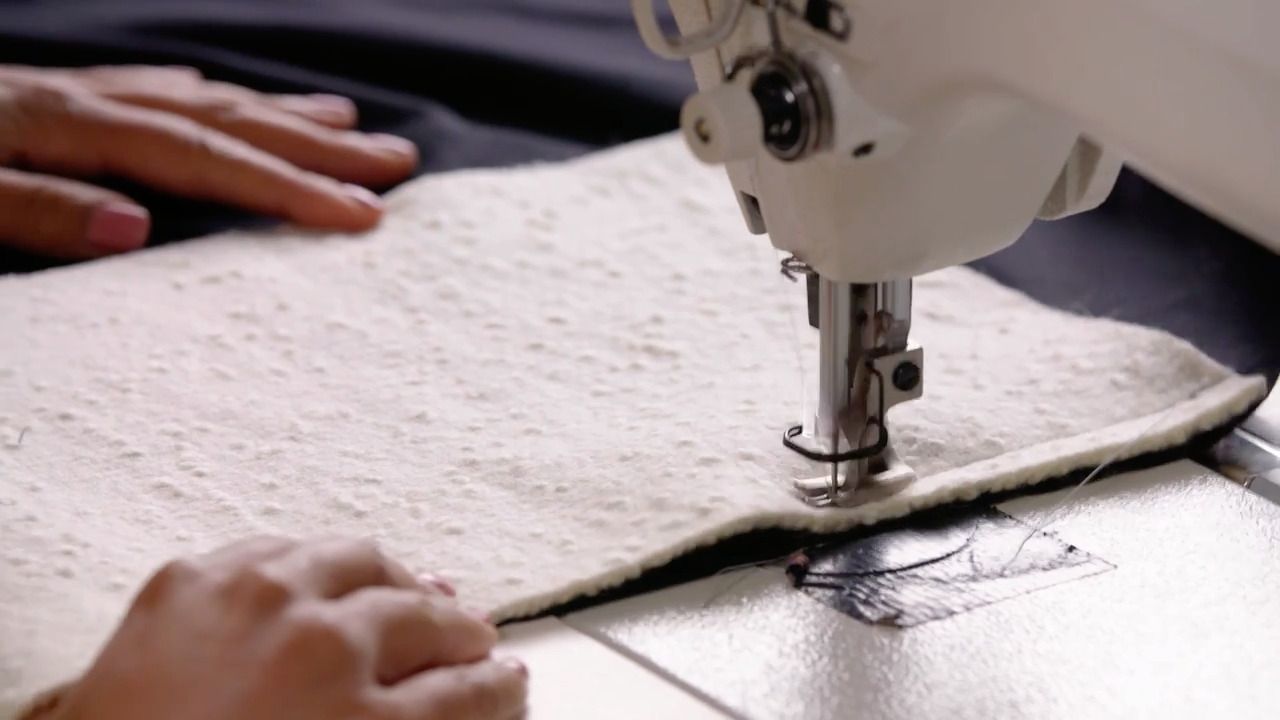
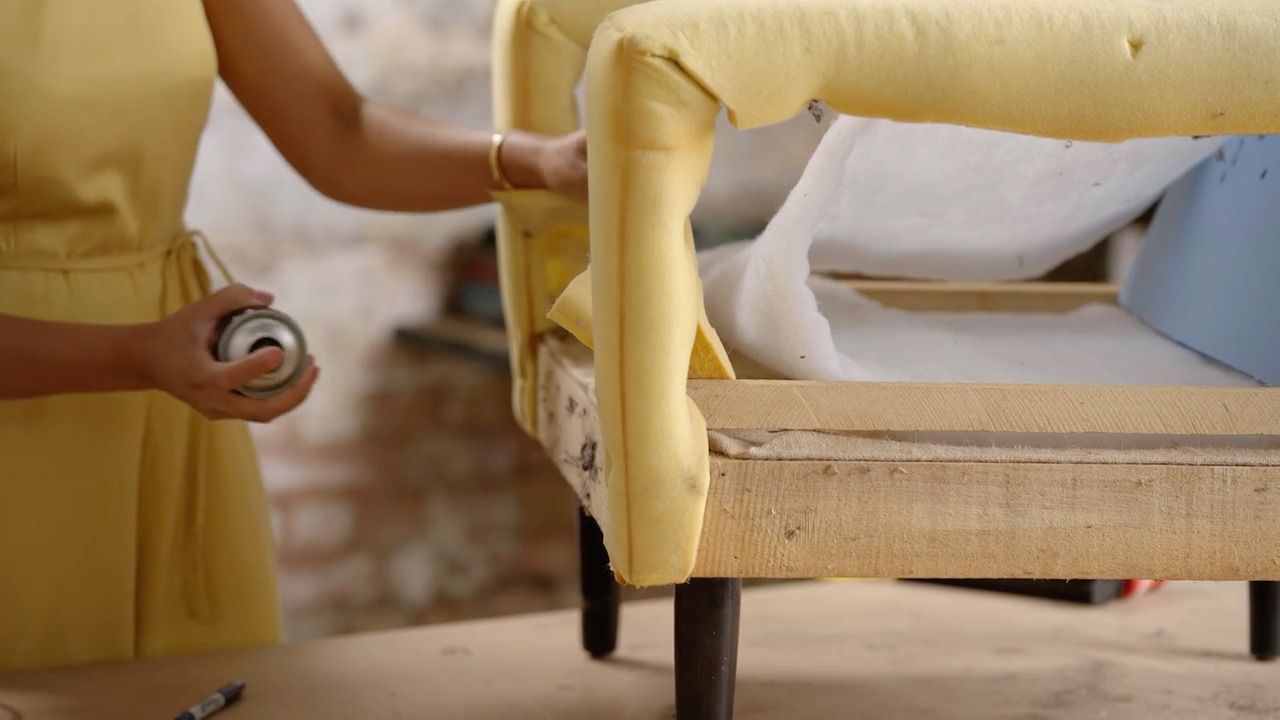
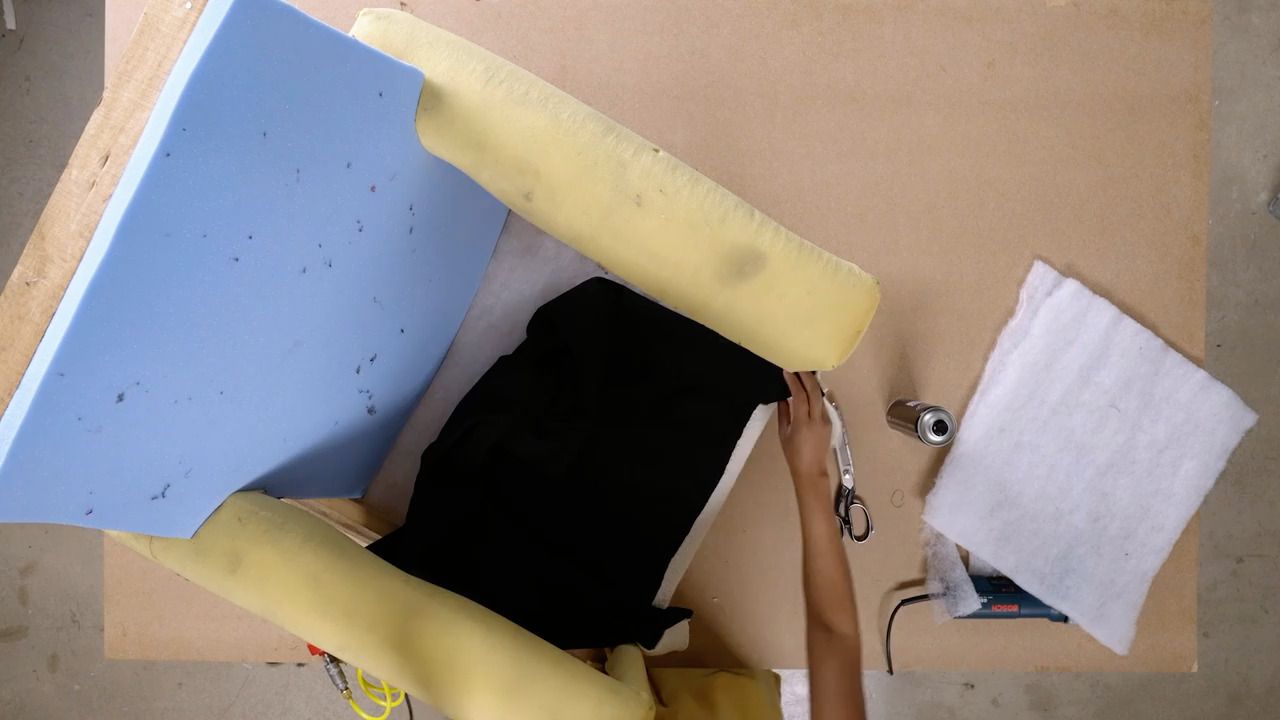
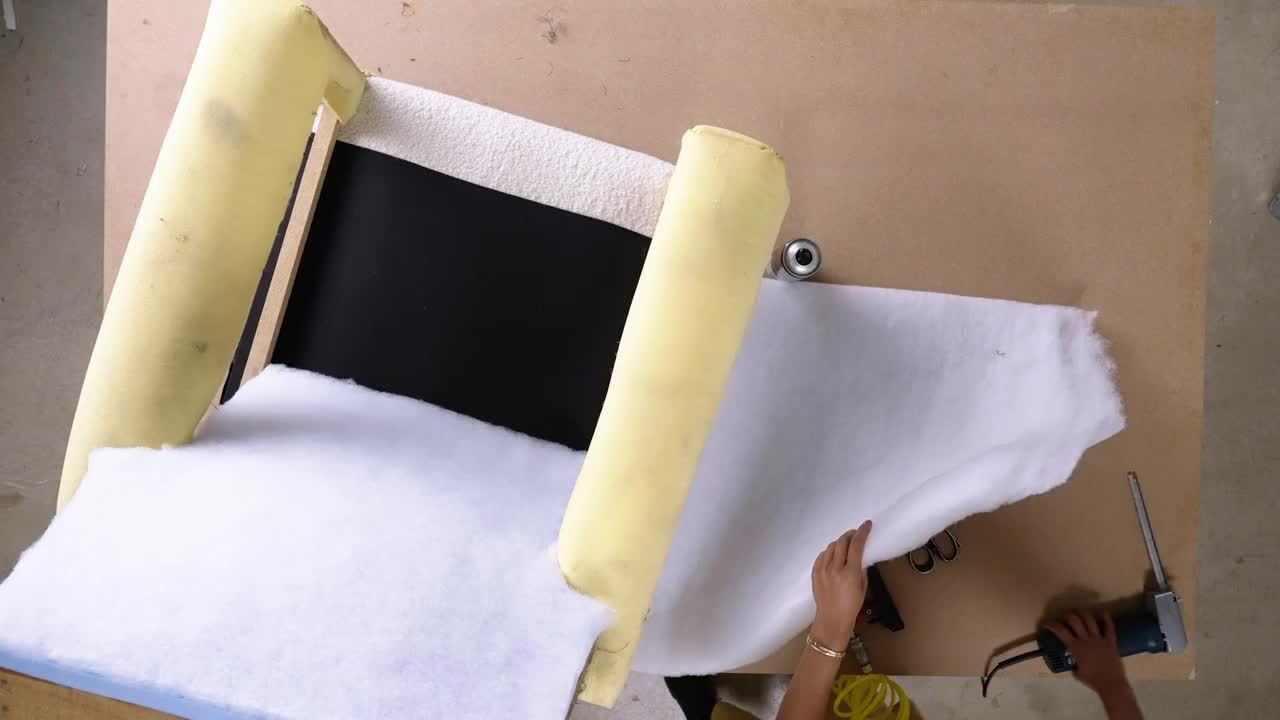
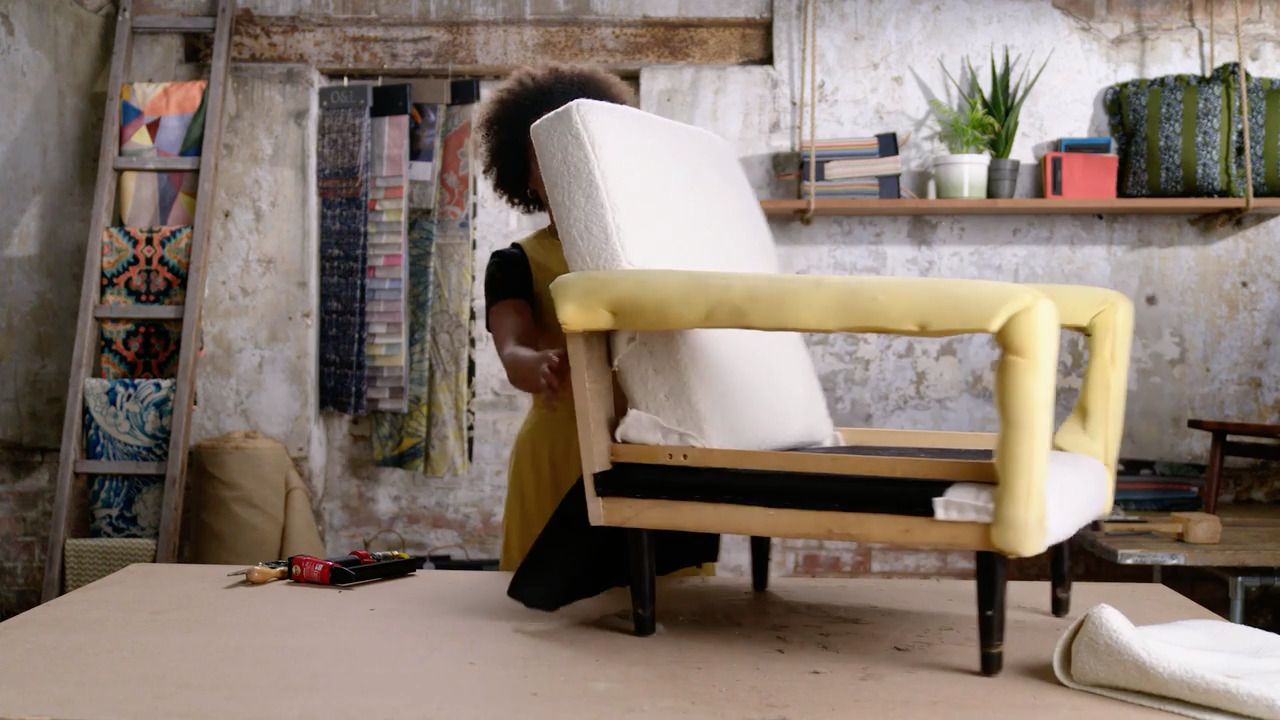
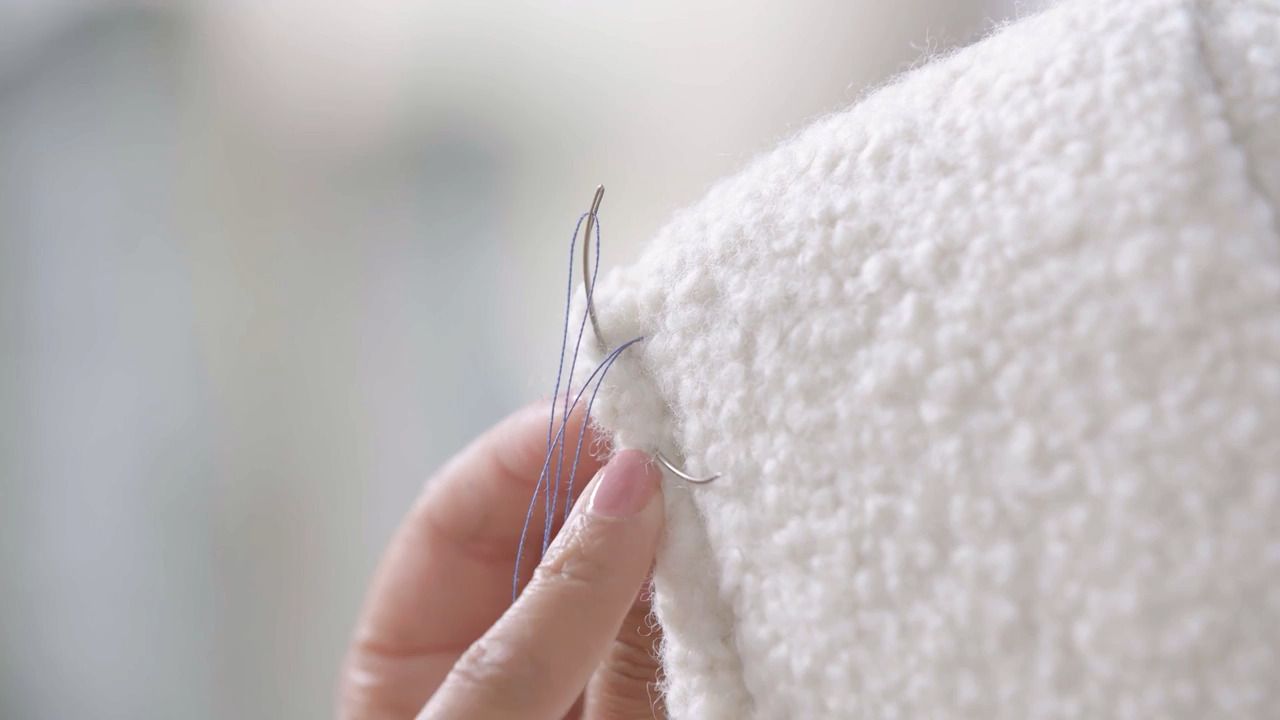
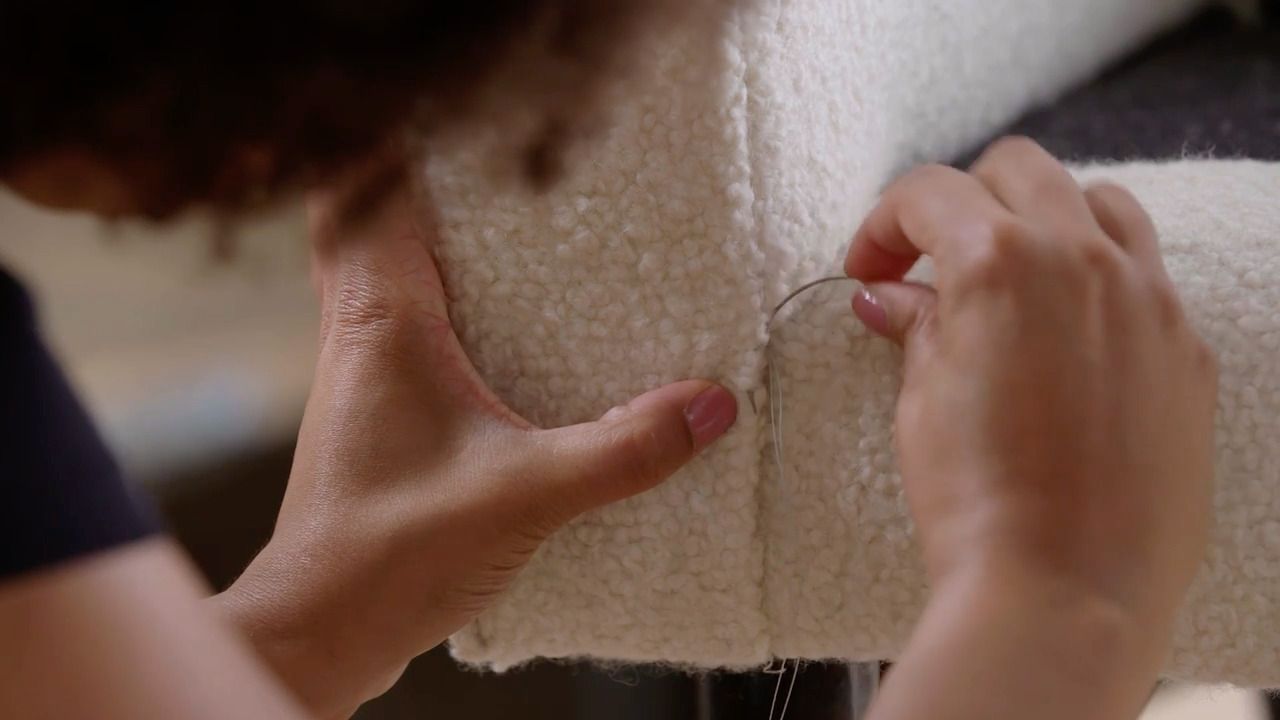
Once you have sewn all four borders to the top side of the cushion, you’re now ready to attach the bottom side of the cushion.
From the Lesson Workbook
Part 12- Bottom Section
Once you have sewn all four borders to the top side of the cushion, you're now ready to attach the bottom side of the cushion.
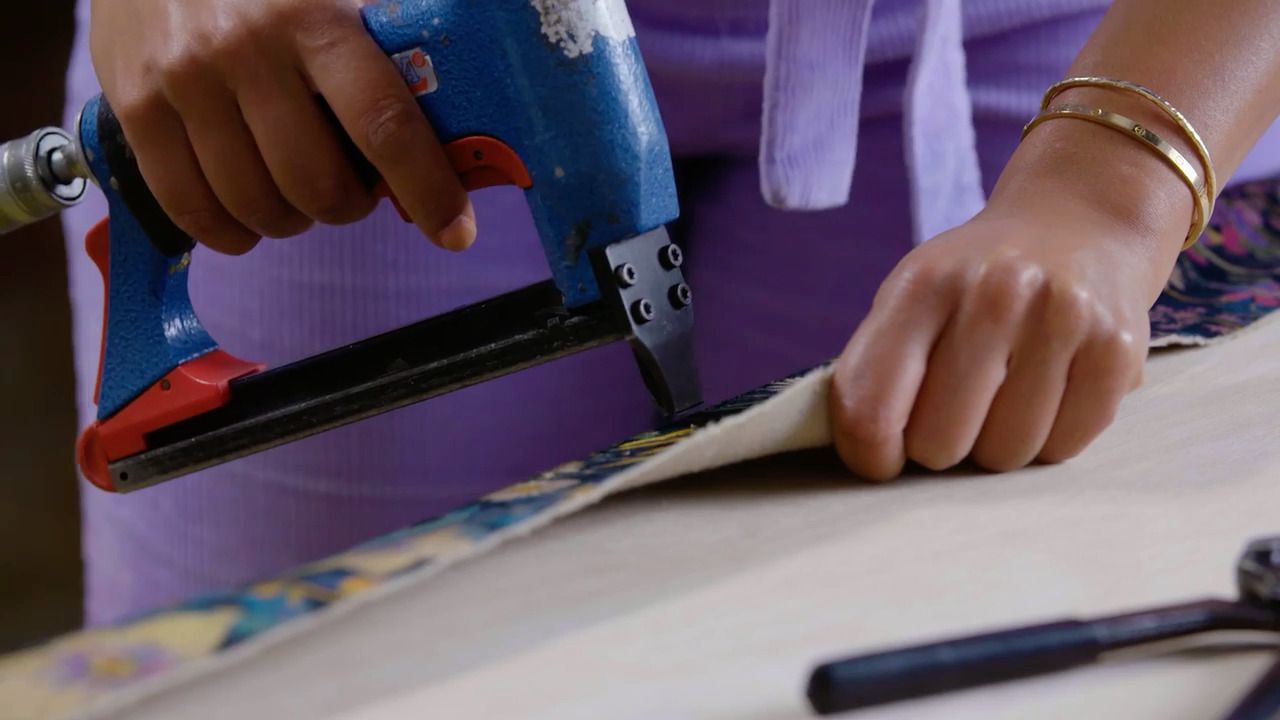
- Lay your top piece and bottom piece face together, lining up the piped edges. Starting with one of the side borders, fold over the far edge to meet the corresponding edge of the bottom cushion piece.
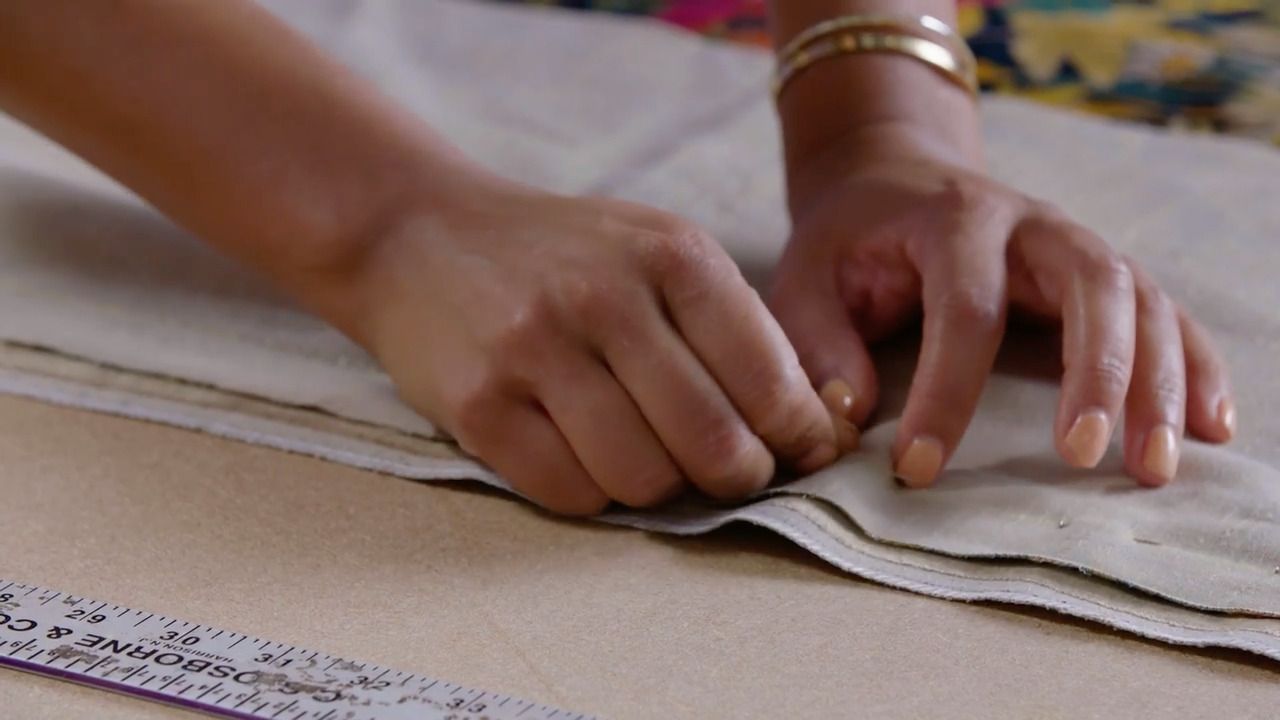
- To ensure the border is lined up to the bottom piece in exactly the same way it is to the top piece, measure the distance between the top edge of your border and the top of your sewing line on the top piece, then mirror this on the bottom piece.
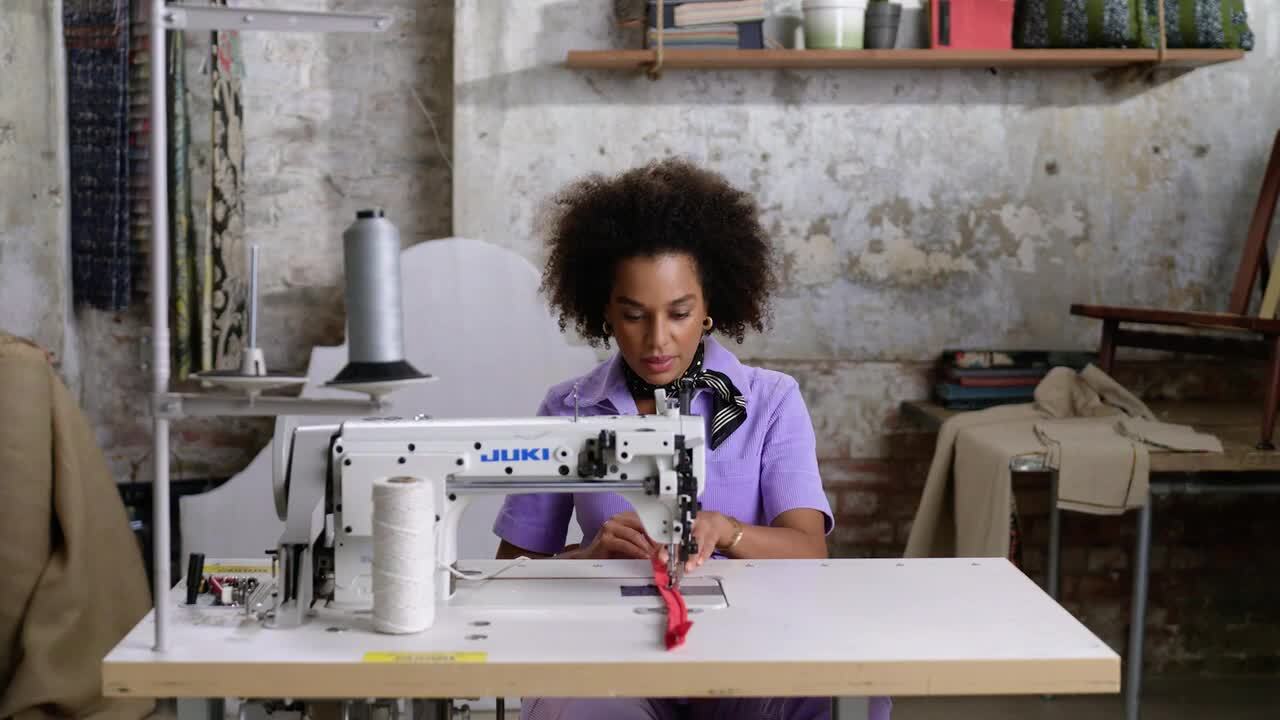
- Sew together with a straight stitch, still leaving the corners open.
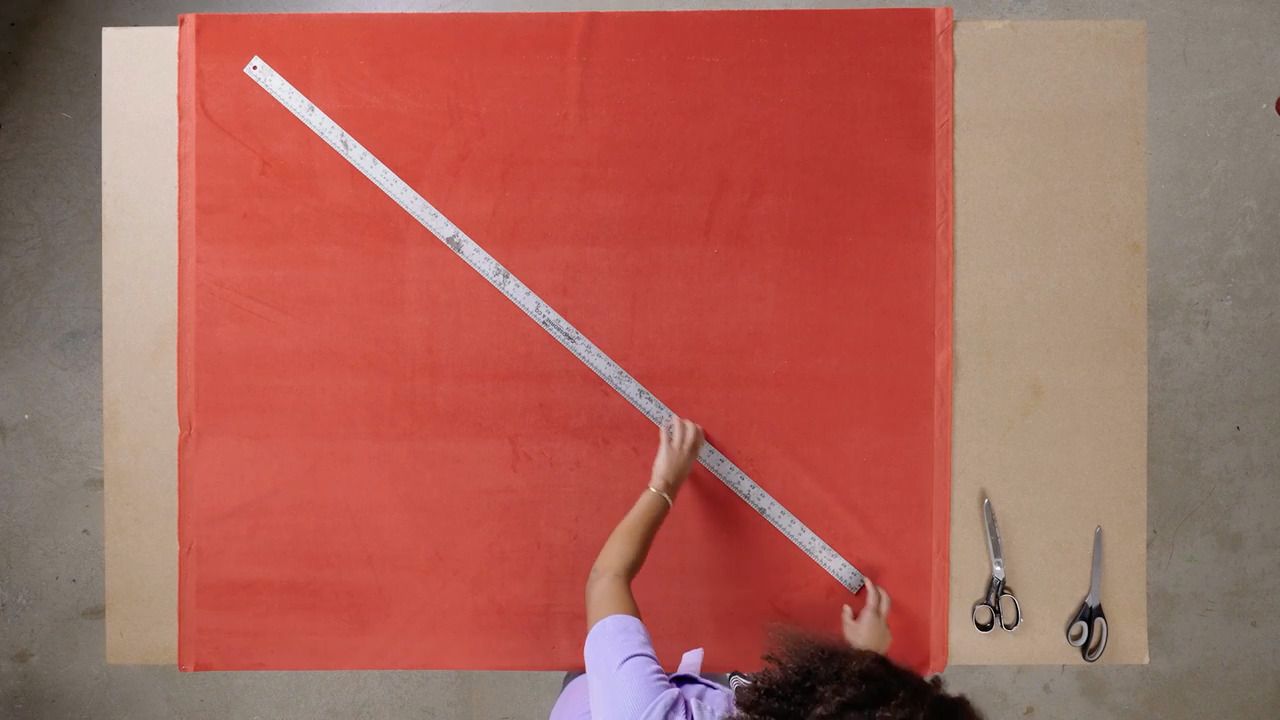
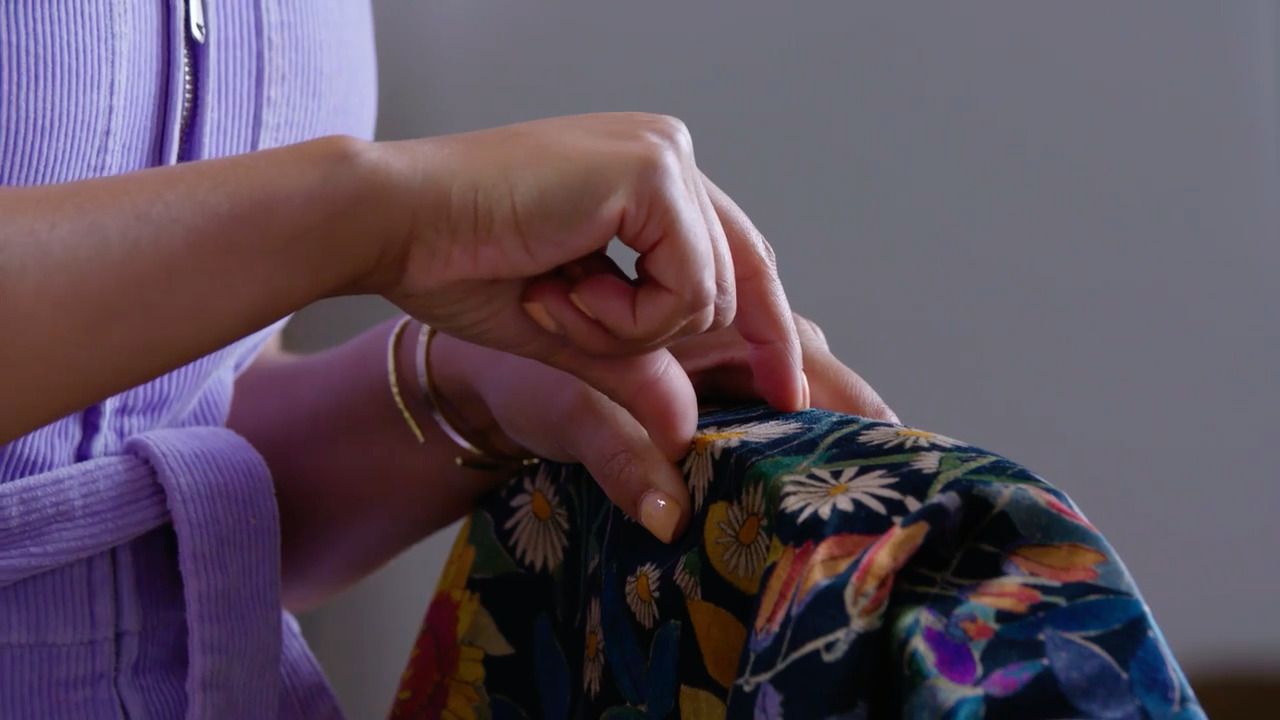
- Repeat for the remaining side border.
- Attach the front and back borders to the bottom piece, pattern matching if required. Your cushion should now be sewn everywhere apart from the corners.
Get the full workbook, video lessons, and more with a Create Academy subscription.
Subscribe to access the full workbookYour Instructor
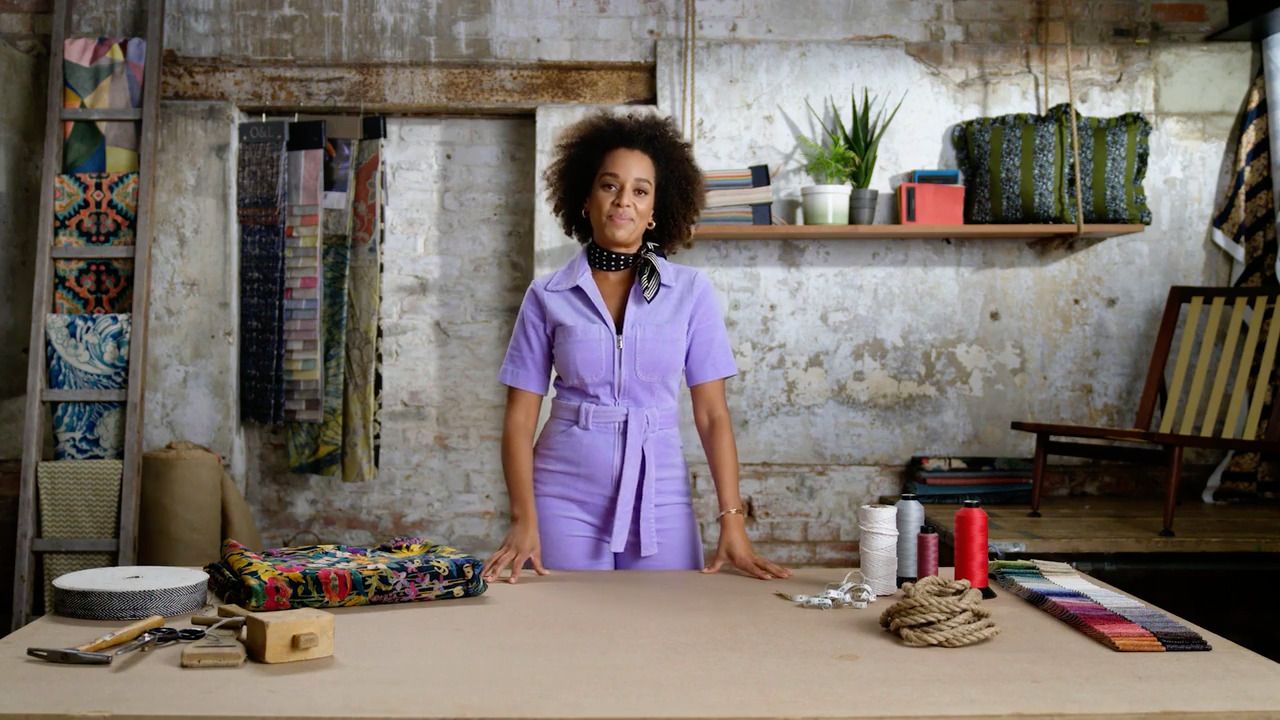
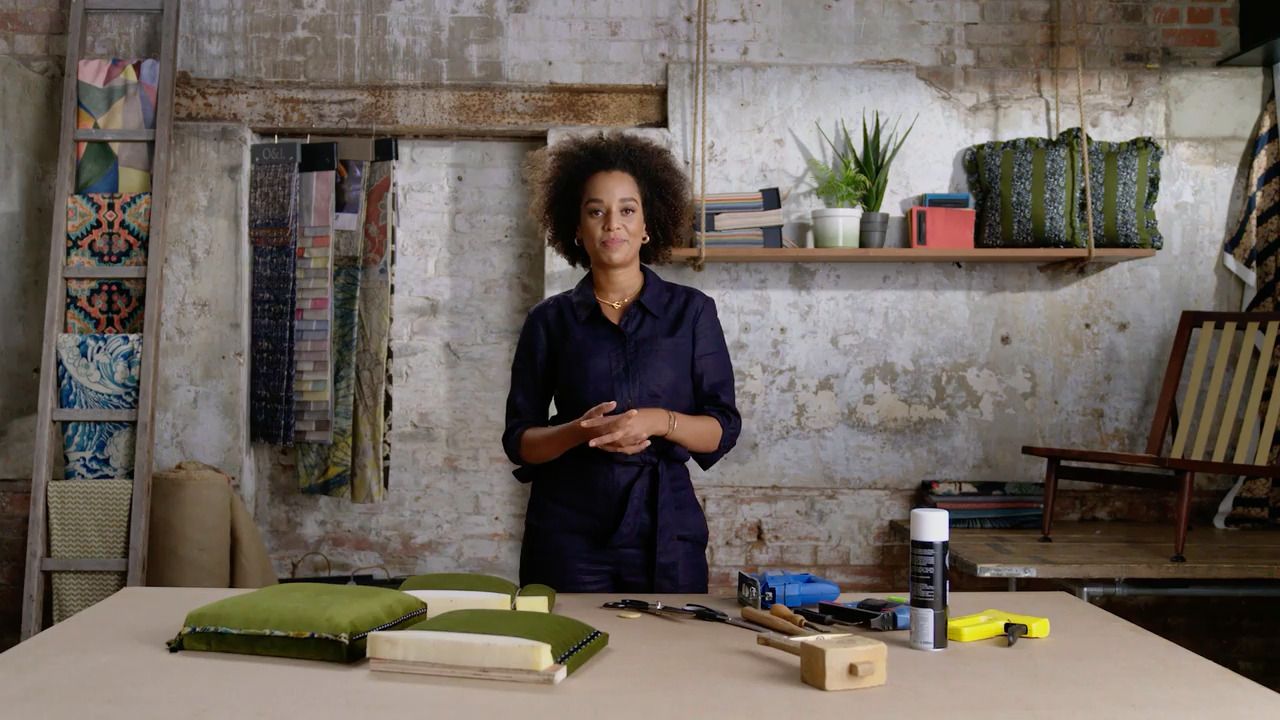
Micaela Sharp
Sustainable designer and modern upholstery expert. TV presenter and interior design judge.
Micaela Sharp is a professional upholsterer, interior designer and broadcaster who champions the art of reupholstery and its ability to breathe new life into pre-loved furniture. Growing up, Micaela learnt both carpentry and sewing skills from her grandparents. It was this knowledge, alongside a passion for sustainability and longevity, that inspired her to take up upholstery and set up her own practice. Whether it’s designing furniture from scratch, reimagining a tired armchair into an heirloom to be cherished for years to come, or creating a room scheme layered with fabric and colour, Micaela brings her unique creativity and inventive flair to every project.


Access to all courses