Part 10 - Sewing the zip
with MICAELA SHARP
Lesson 36 of 68


Already a member? Sign in
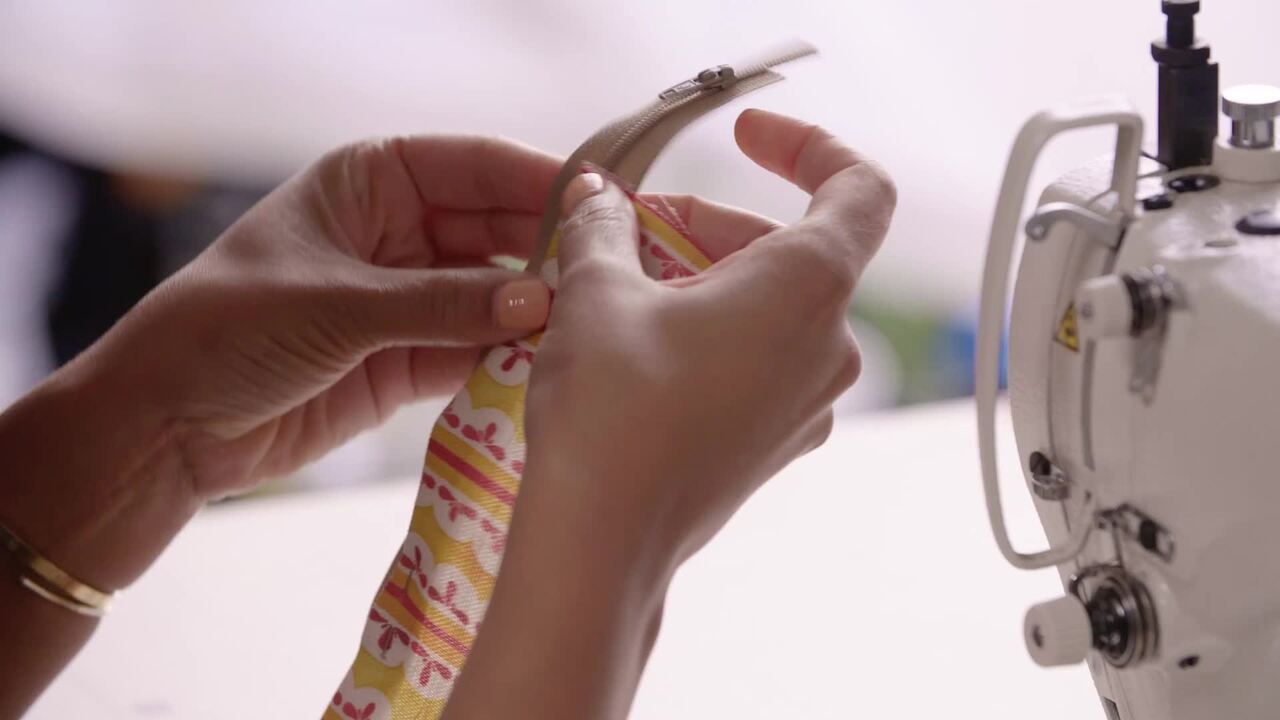
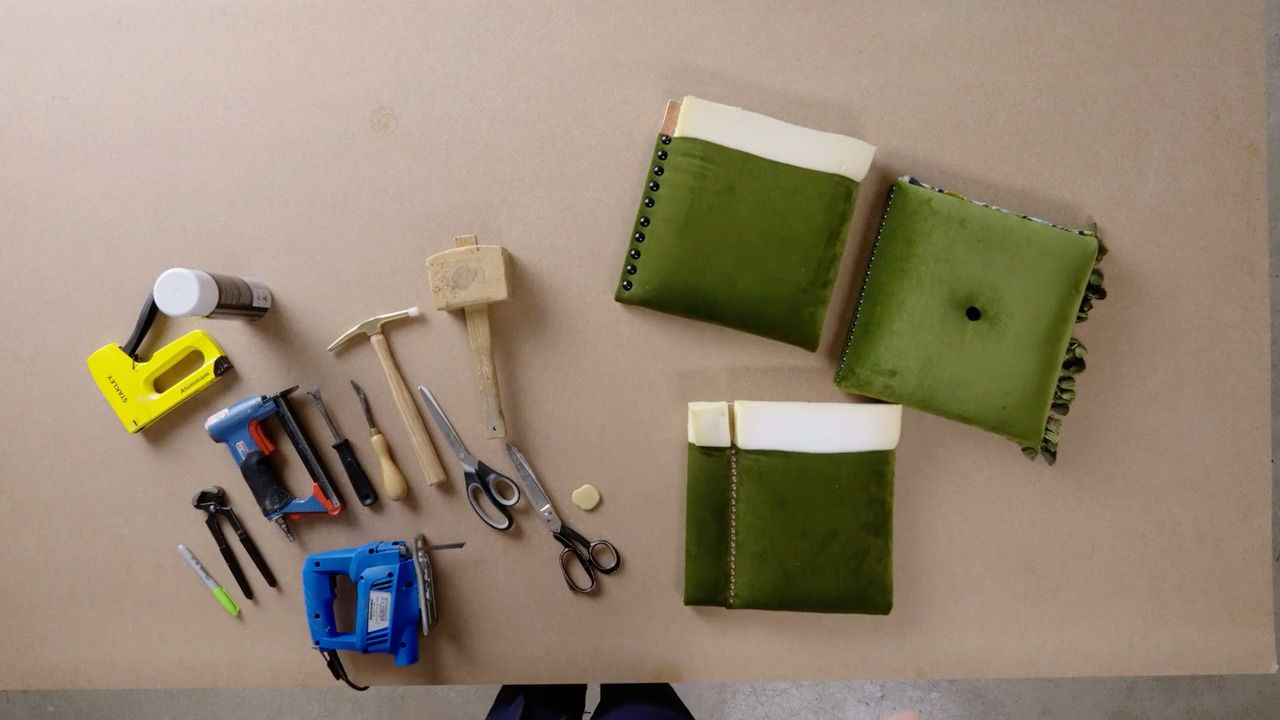
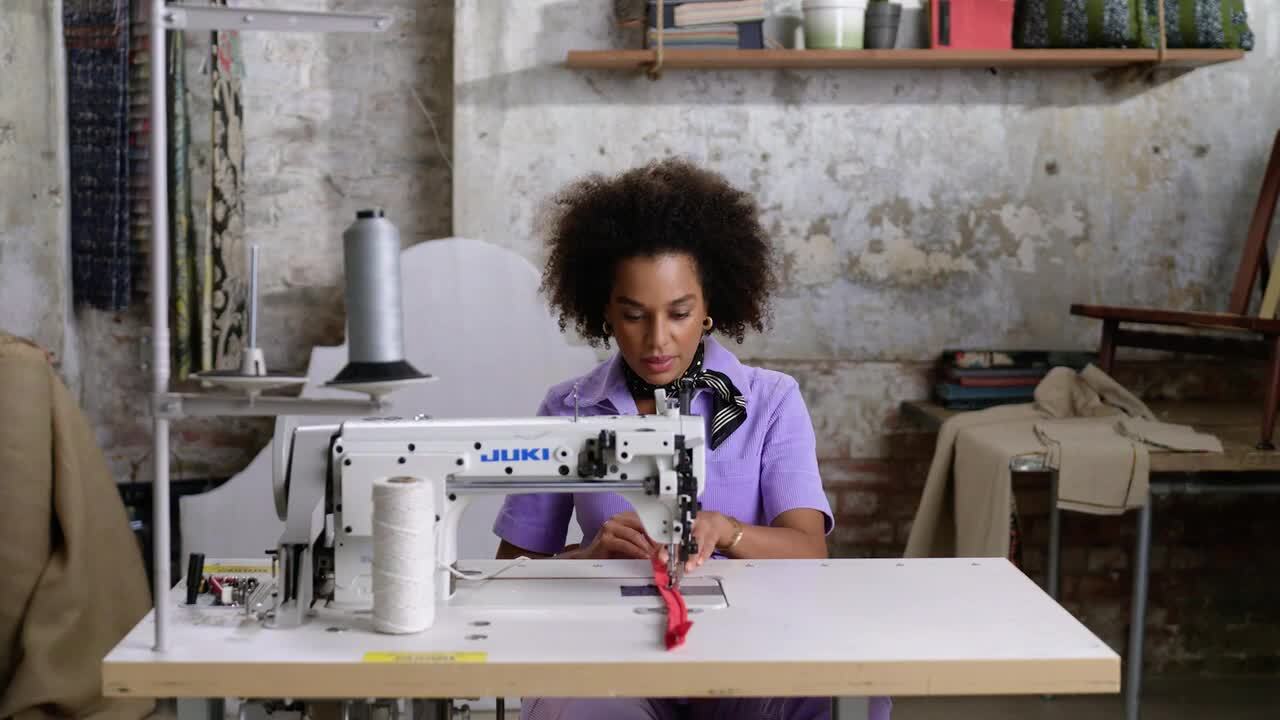
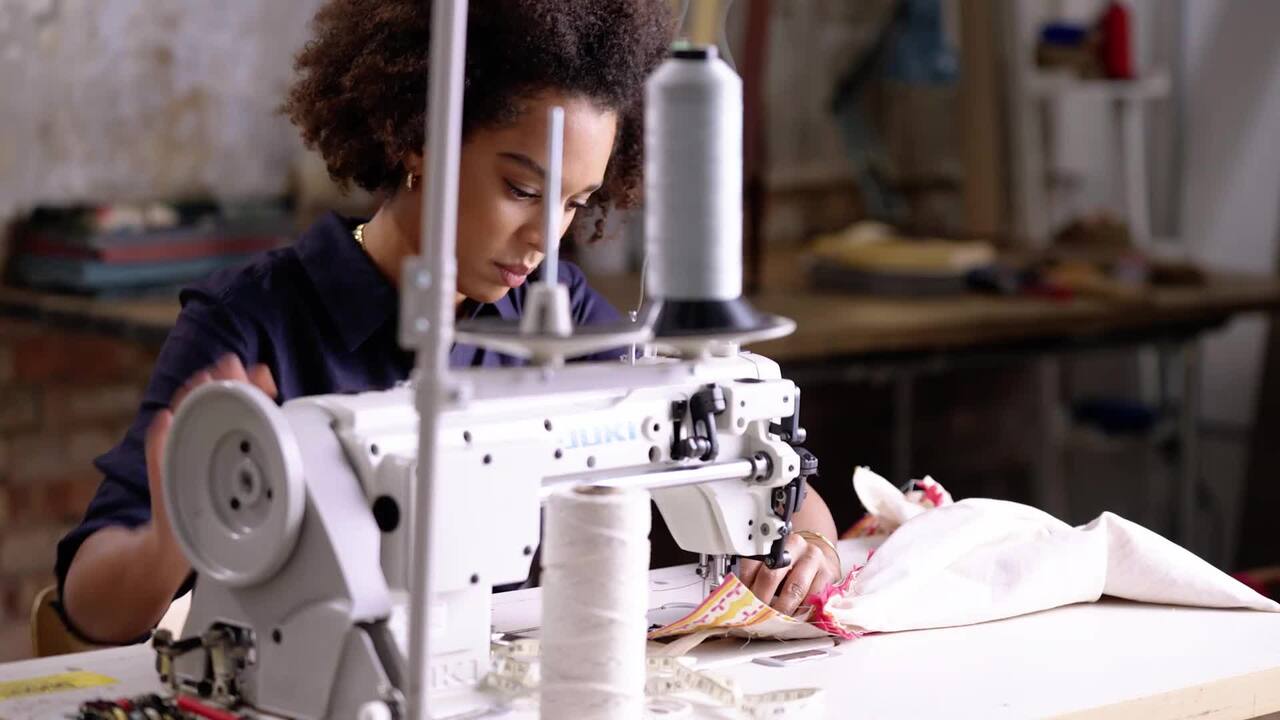
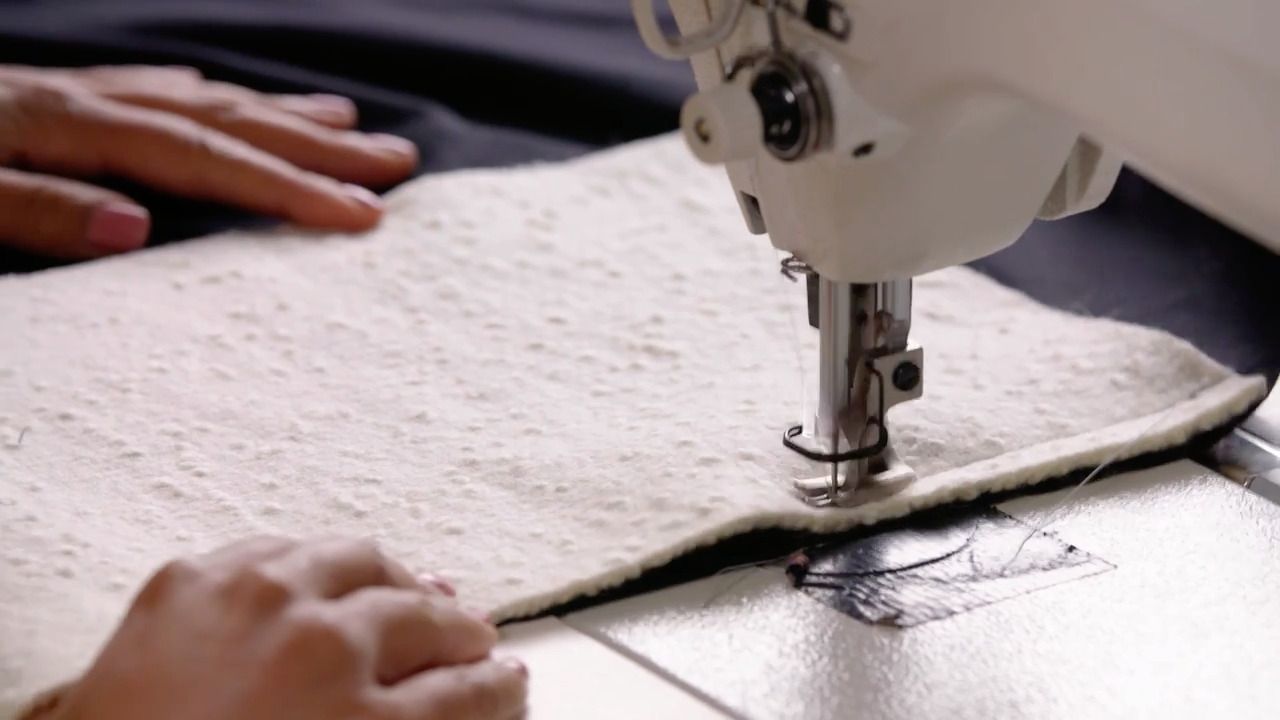
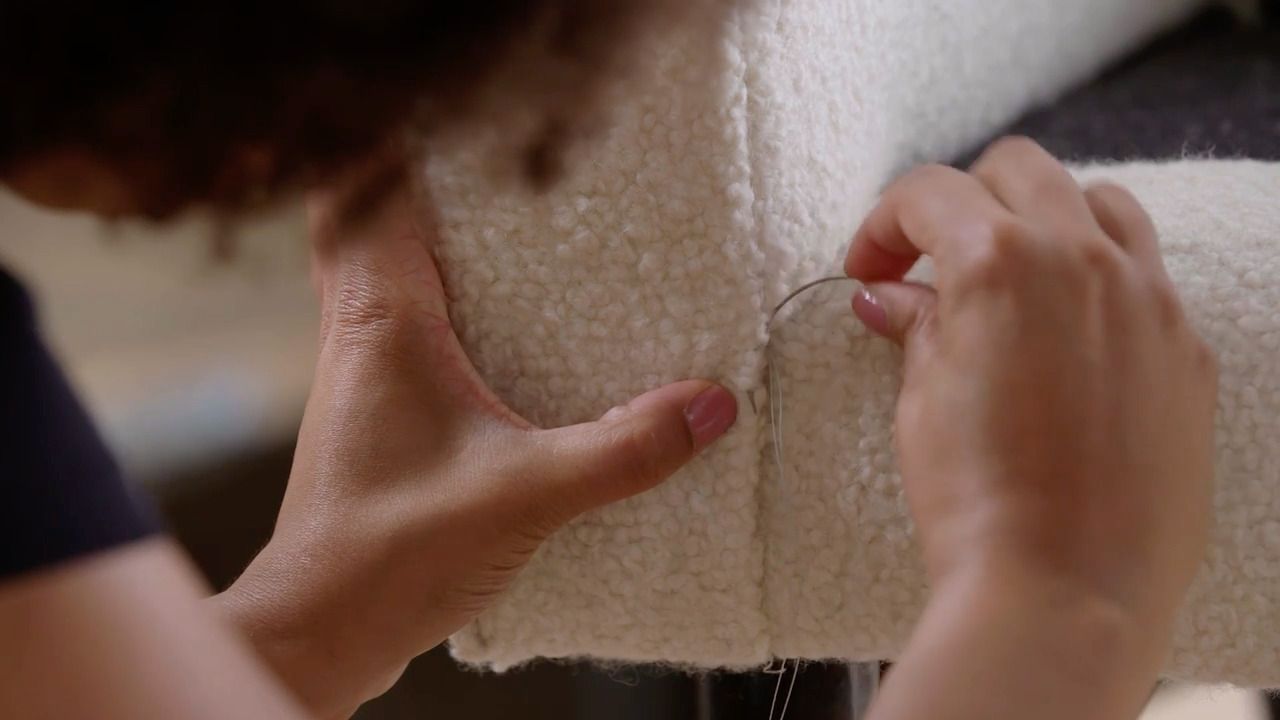
The next part of the process is to install the zip into your back border piece.
From the Lesson Workbook
Part 10- Sewing the Zip
The next part of the process is to install the zip into your back border piece.
- Change back to the standard pressure foot on your sewing machine.
- Think about the colour of the thread you are using to sew in your zip, as this will be on show at the back of the cushion.
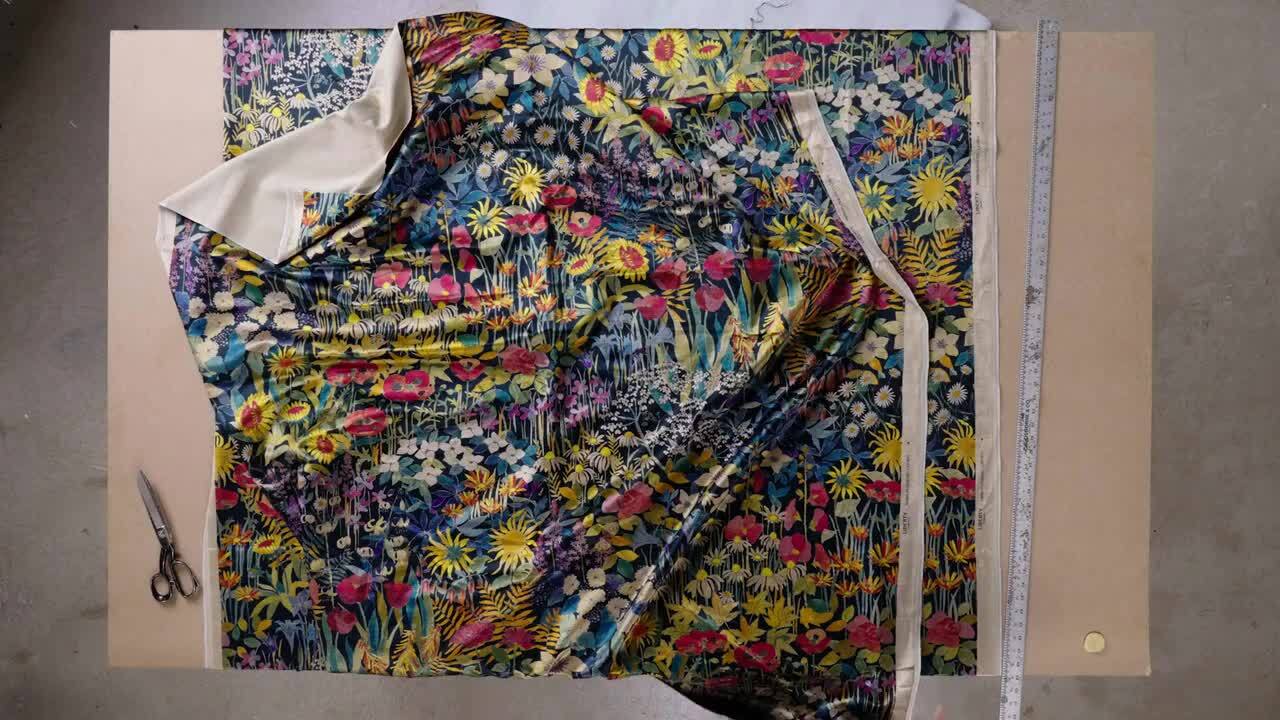
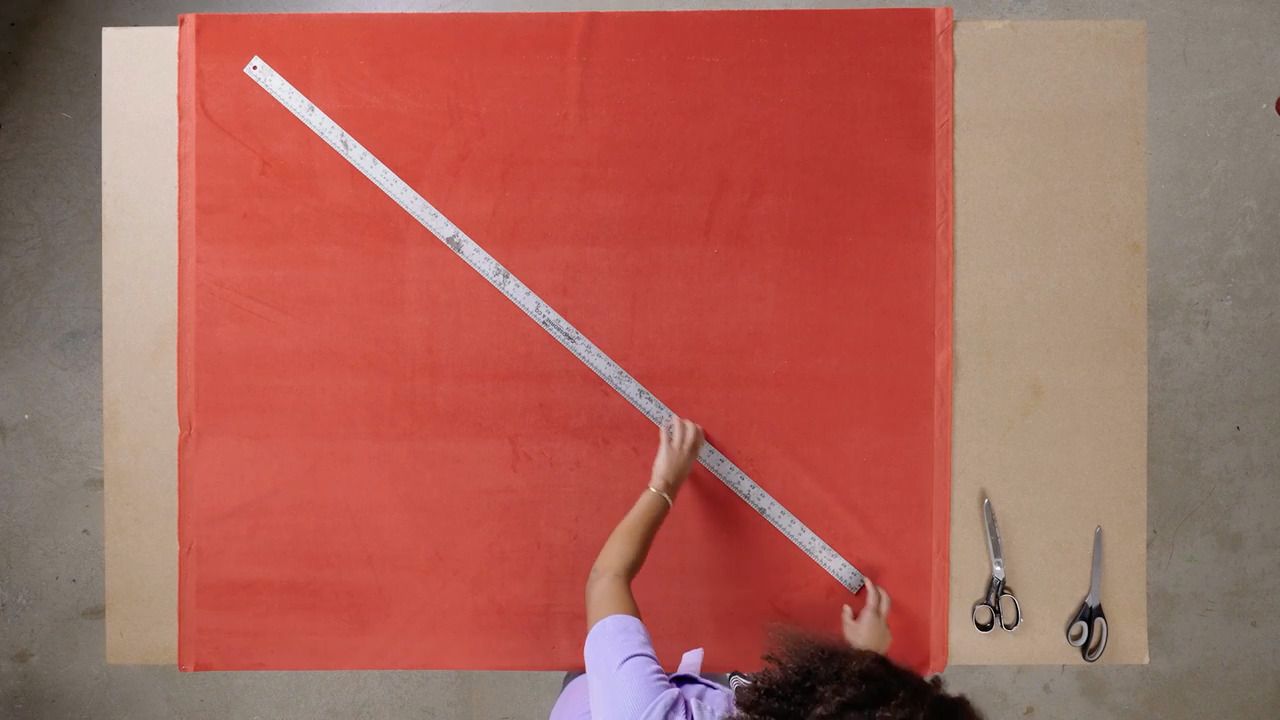
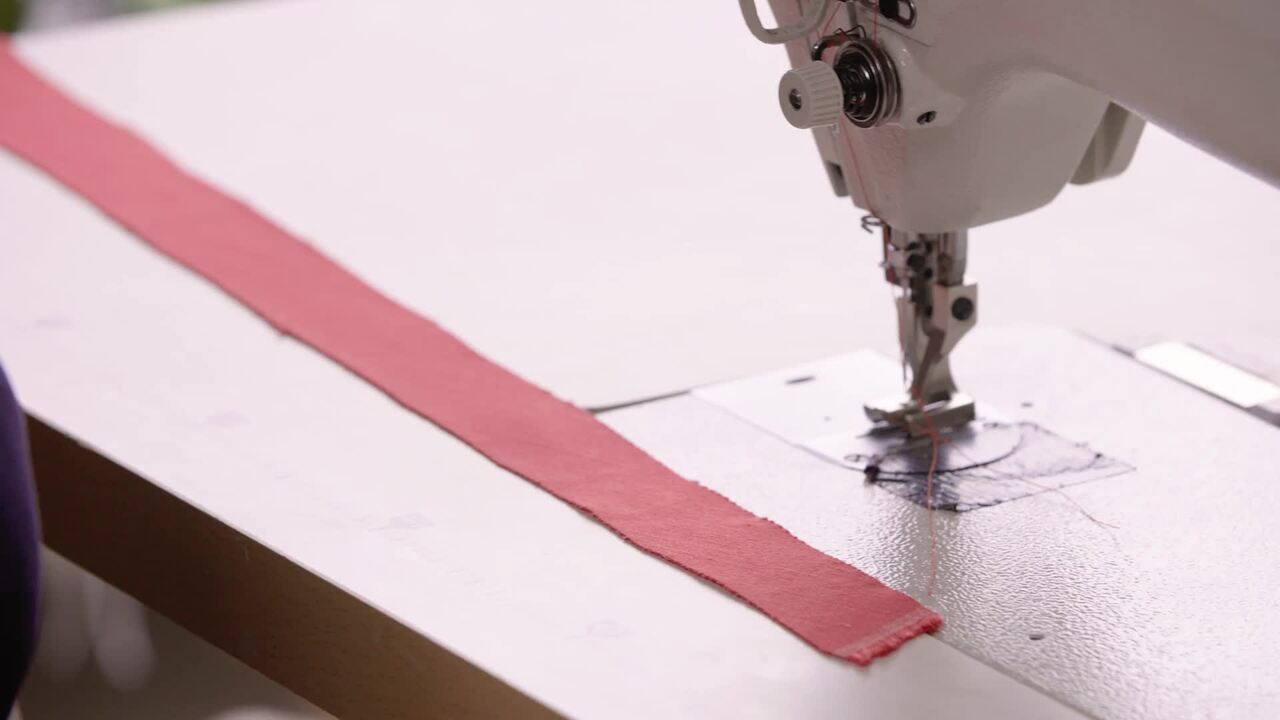
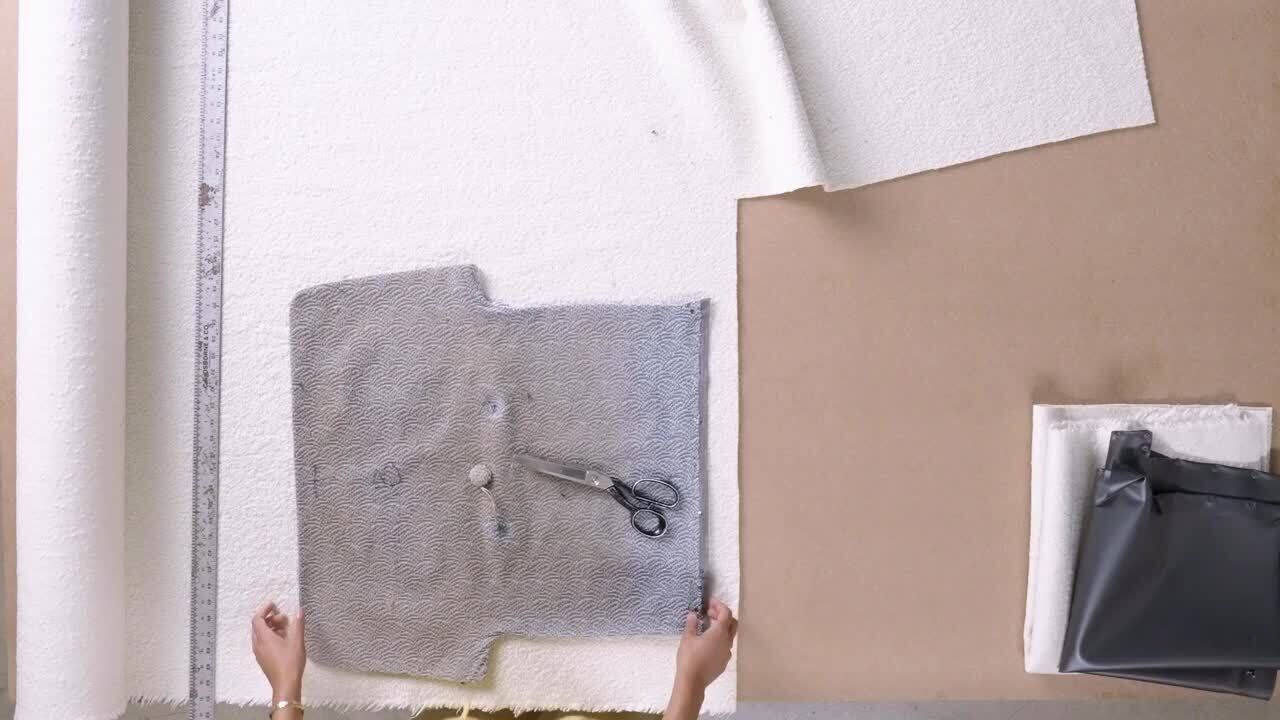
- Take your continuous zip and cut it so that it's the length of your border plus a few inches either end.
- Attach the slider by opening the zip and sliding it first onto one side. Then straight cut about 1 cm off the end of the other side and carefully edge the slider down to attach. You might find it helpful to watch this demonstration on YouTube: https://www.youtube.com/watch?v=drRR9y7oeqM
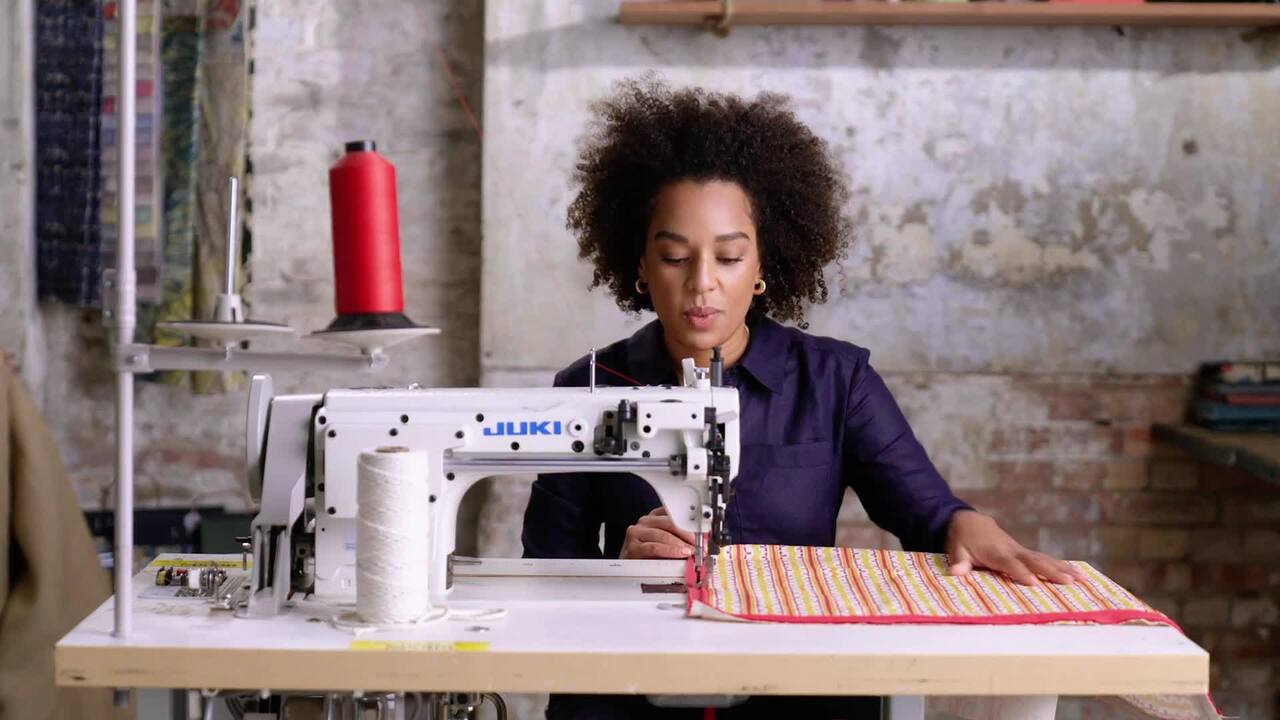
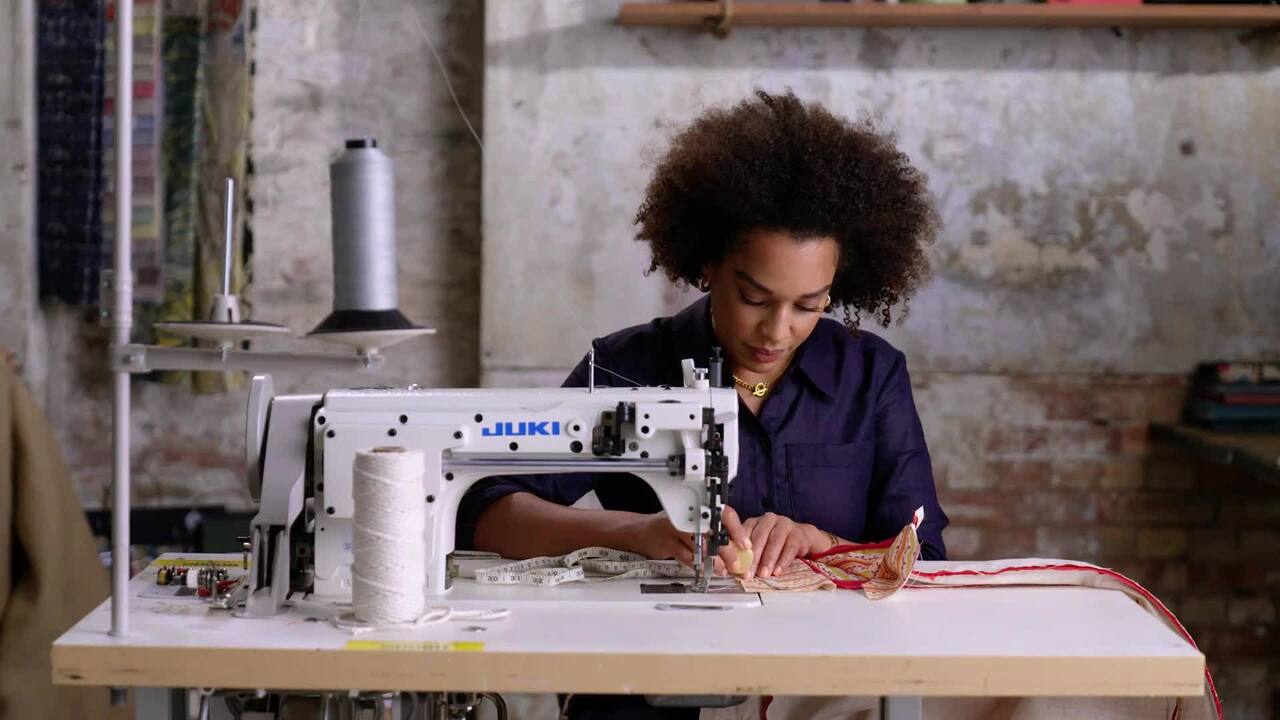
- Lay both sides of your back border pieces face up.
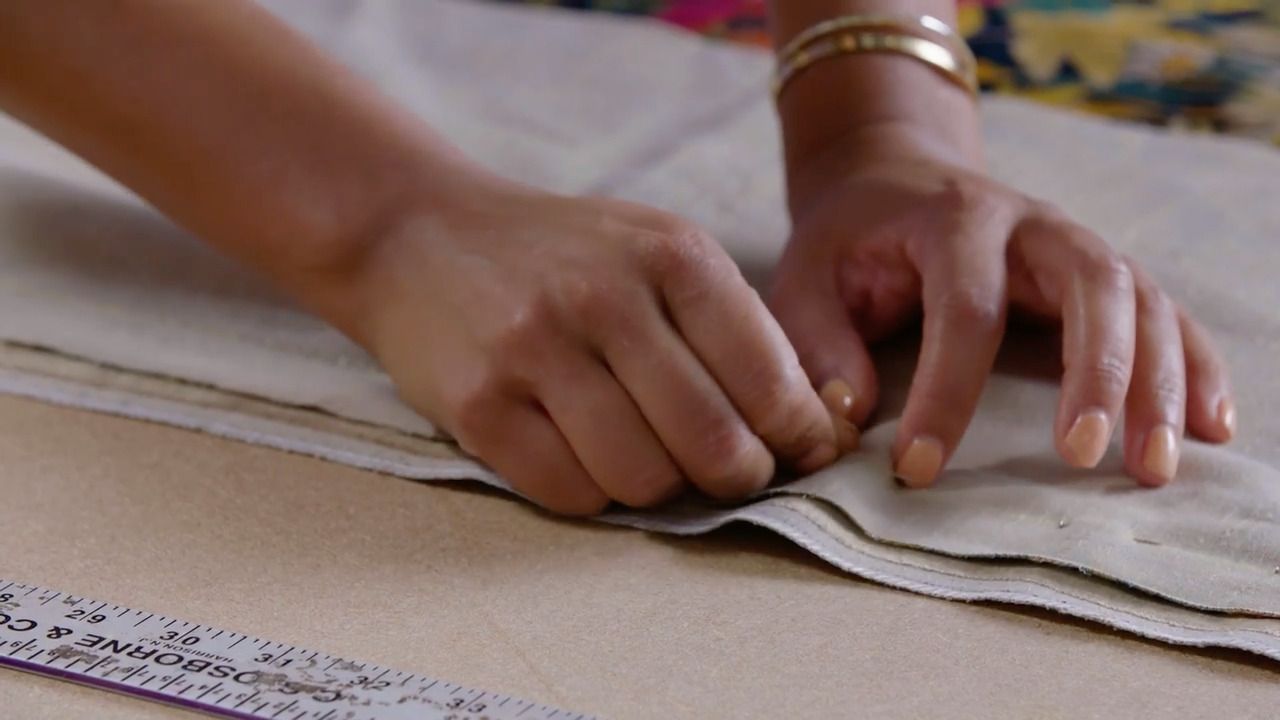
- Take the top side and fold the bottom edge under (0.5 in.) for your seam allowance; pin in place.
- Line up the folded edge of your fabric so it just overlaps the zip and secure with pins.
- Before you place the zip and the fabric on the sewing machine, turn the piece over to double check that you are lined up correctly to sew through both pieces of fabric.
- Take this to your sewing machine and line up the far edge of your presser foot with the far edge of your zip. Run a straight stitch down to secure your fabric and zip together, ensuring everything remains lined up all the way down.
- Remember to take the pins out as you sew along to avoid breaking the needle.
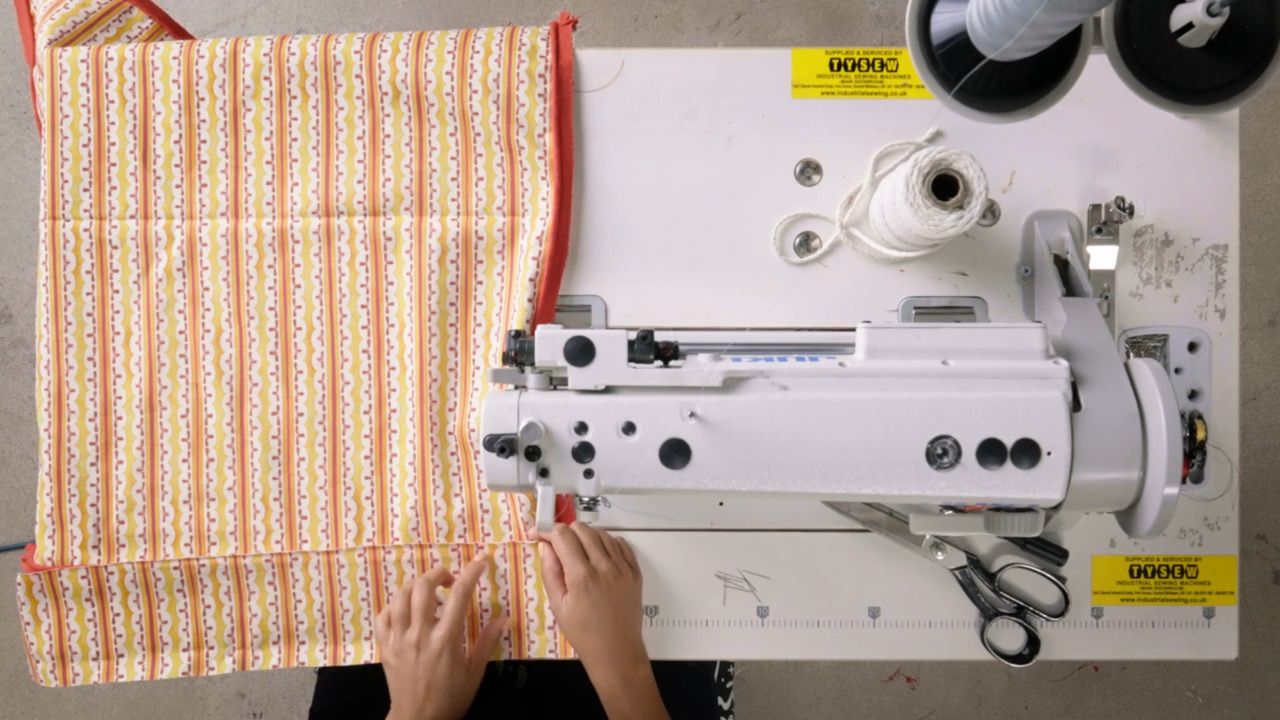
- Take the other side of your border fabric and fold the top edge under (0.5 in.) for your seam allowance, pinning to secure.
- Now it's time to pin this side to your zip. Line up the folded edge so it sits flush against the folded edge on the other side, and secure with pins.
- Take this to your sewing machine and run a straight stitch down to secure the pieces together, just as you did on the first side – the only difference this time is you are lining up the inside edge of your presser foot with the inside edge of the zip.
- Once you're done, pull the slider into the middle of your zip.
Get the full workbook, video lessons, and more with a Create Academy subscription.
Subscribe to access the full workbookYour Instructor
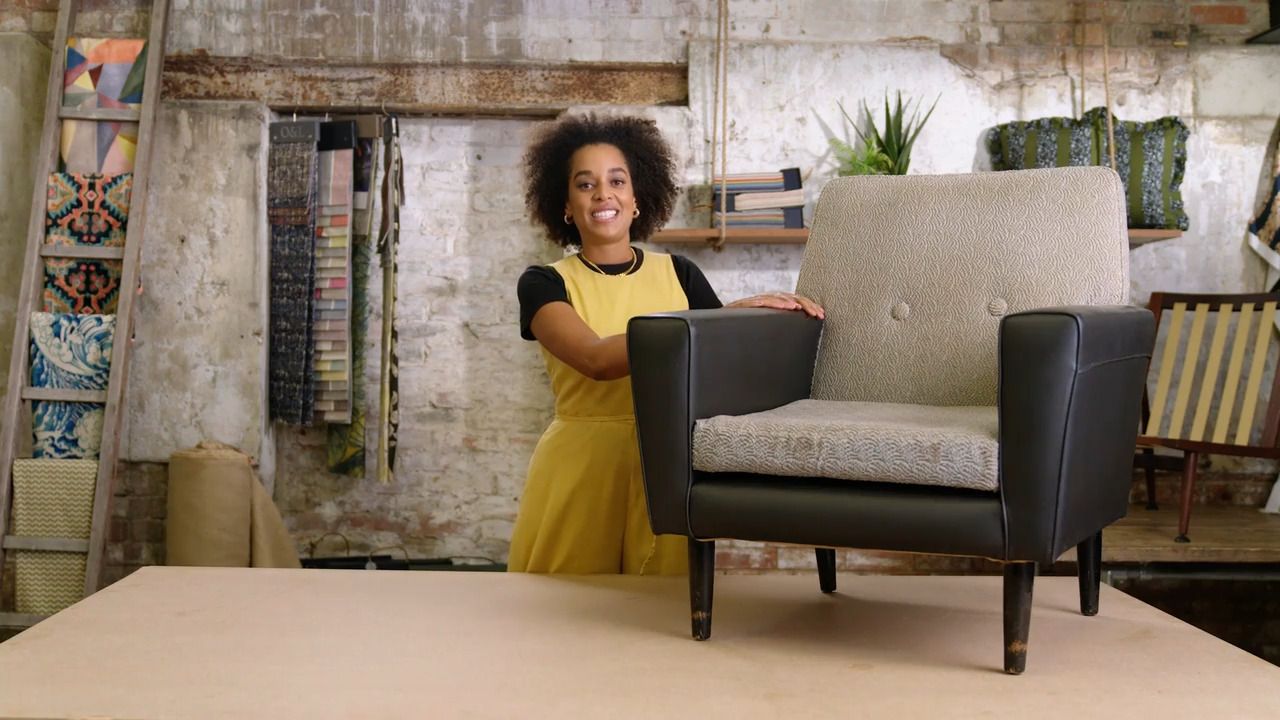
Micaela Sharp
Sustainable designer and modern upholstery expert. TV presenter and interior design judge.
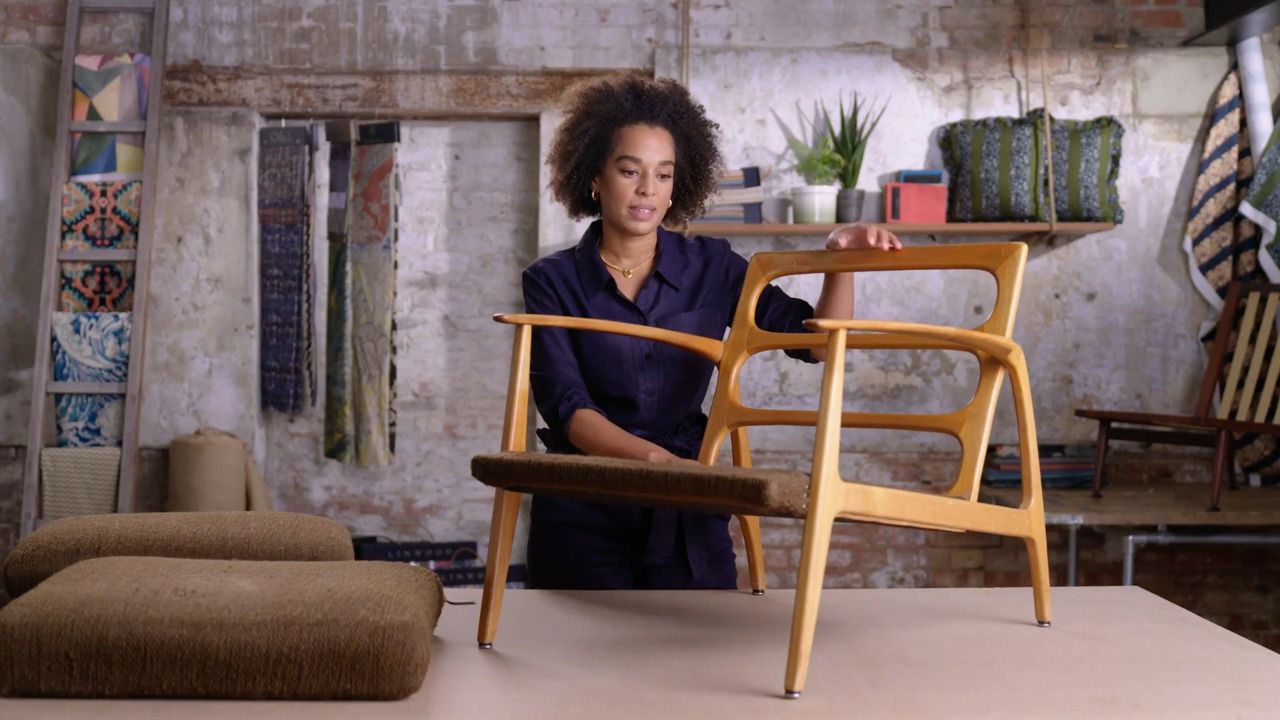
Micaela Sharp is a professional upholsterer, interior designer and broadcaster who champions the art of reupholstery and its ability to breathe new life into pre-loved furniture. Growing up, Micaela learnt both carpentry and sewing skills from her grandparents. It was this knowledge, alongside a passion for sustainability and longevity, that inspired her to take up upholstery and set up her own practice. Whether it’s designing furniture from scratch, reimagining a tired armchair into an heirloom to be cherished for years to come, or creating a room scheme layered with fabric and colour, Micaela brings her unique creativity and inventive flair to every project.


Access to all courses